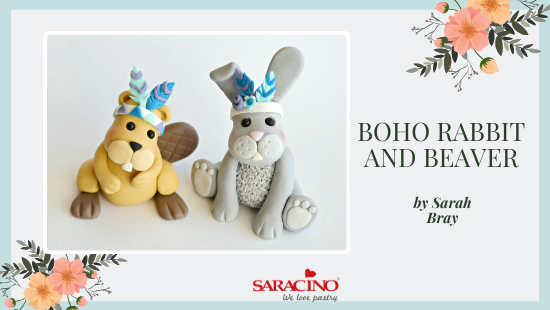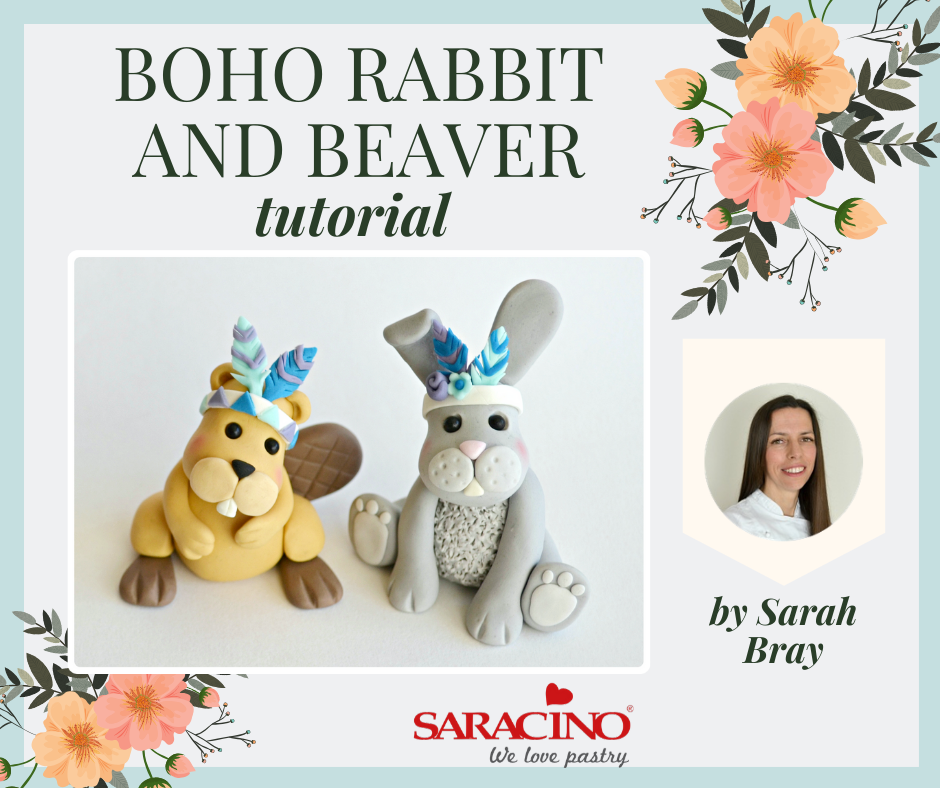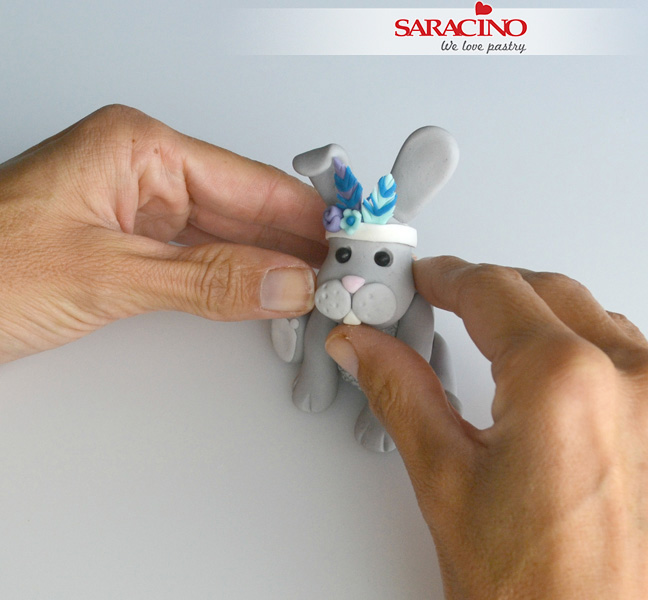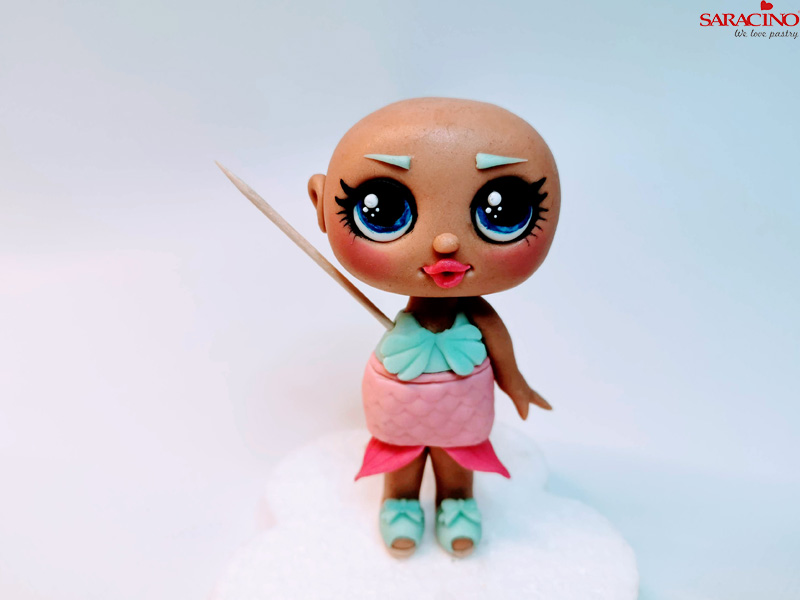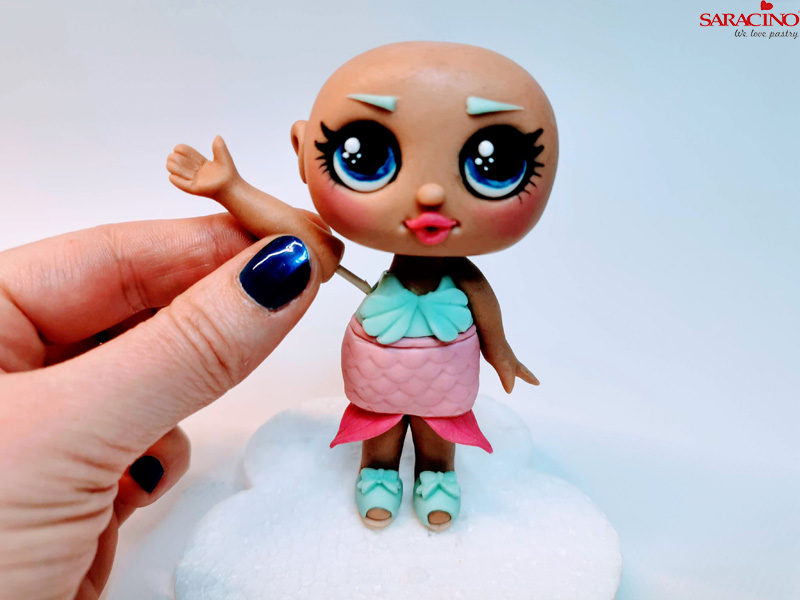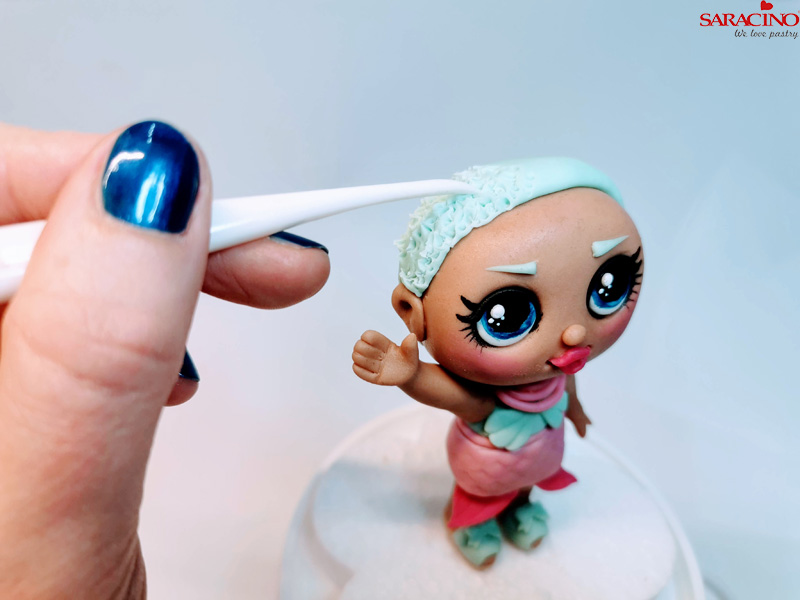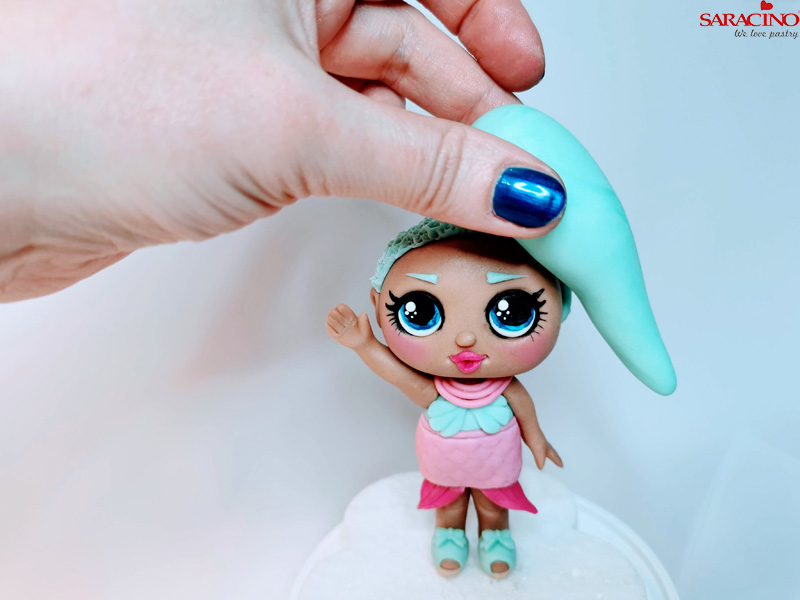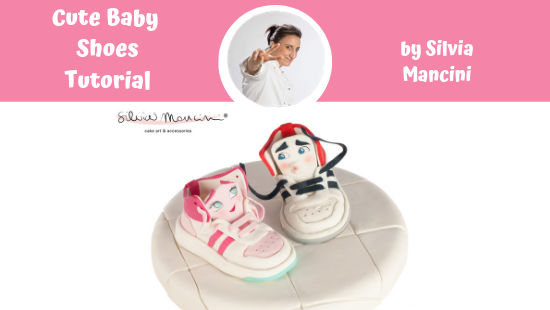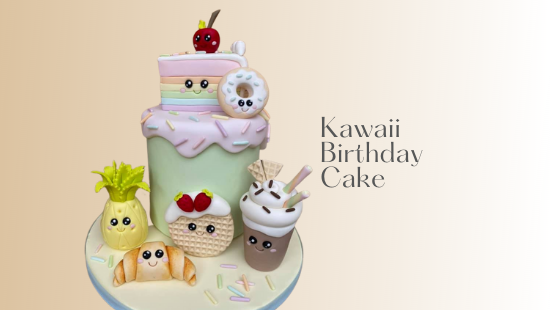
KAWAII BIRTHDAY CAKE


You will need:
- Saracino Pasta Model
- Saracino white Pasta Top
- Waffle Texture Mat
- Ball tools large, medium & Small
- Scallop tool
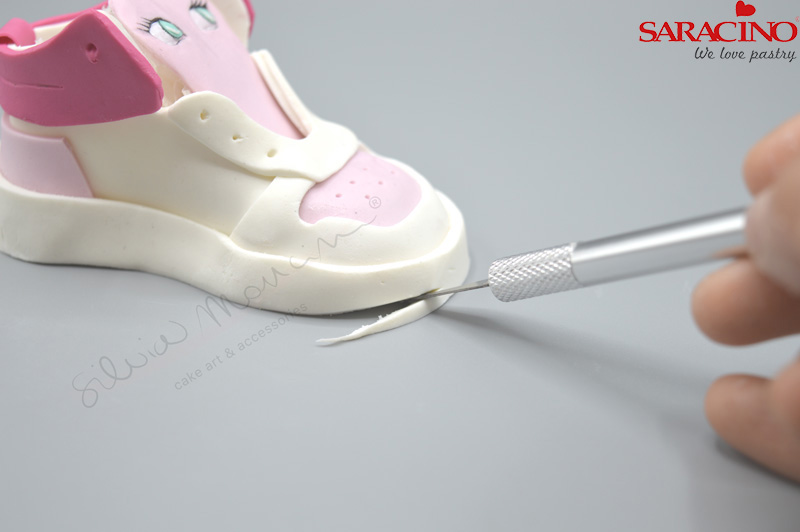
- Craft Knife
- Dresden Tool
- Small Blossom Cutter
- Flower veiner mould
- Ribbon Cutter
- Serrated cone tool
- Rose Leaf Cutter
- Heart Cutter
- Paint Brush
- Lemon Extract
- Circle Cutters
- Sugar Glue
- Heart cutter

Step 1
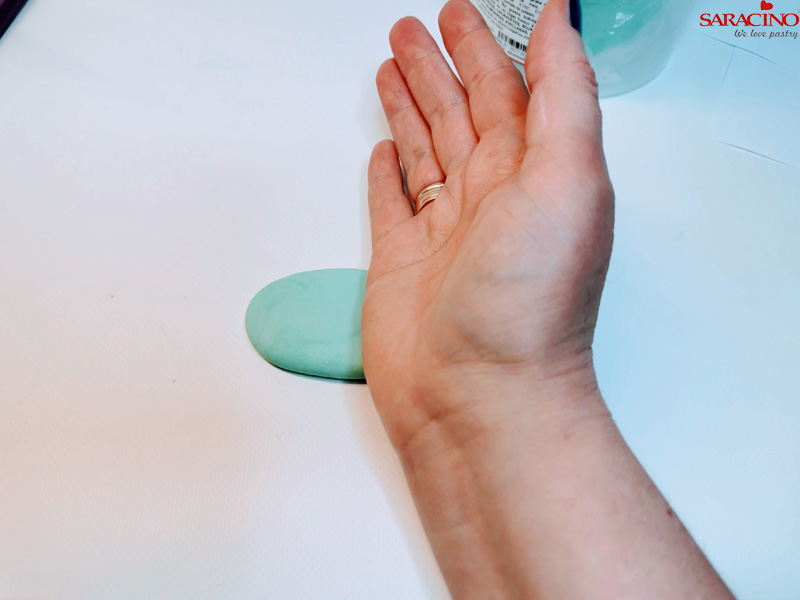
Cover your cake board with Pasta Top coloured in pale yellow and your cake with Pasta Top coloured in light shade of mint green.

Step 2
For the top part, colour Pasta Top pale pink. Roll the paste to about 4mm thick (we dont want it too thin). Place a cake board the size of your cake in the middle of the icing and cut your ‘drip’ part around the board, leaving space so it hangs down the side of the cake.

Step 3
Place the drip part on the cake after brushing the cake with some sugar glue. Apply a little glue under each ‘drop’ part and the press against the cake.

Step 4
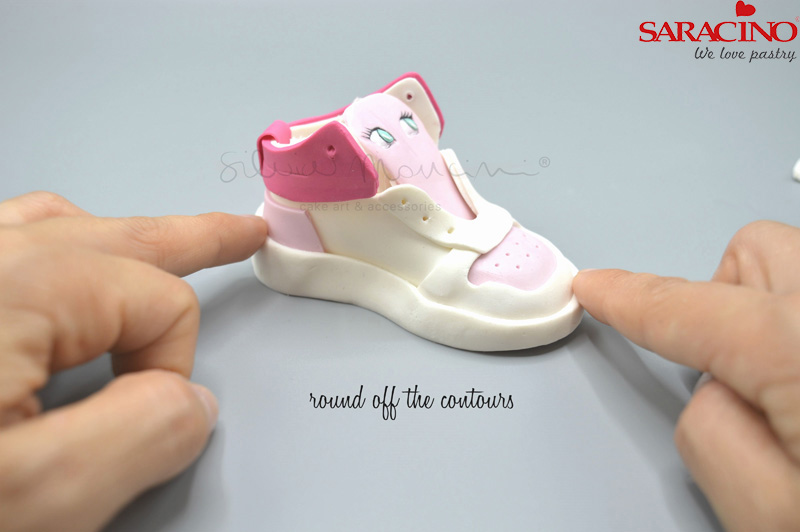
Use the inside of your thumb to run over the edges to smooth them off and round them nicely.

Step 5
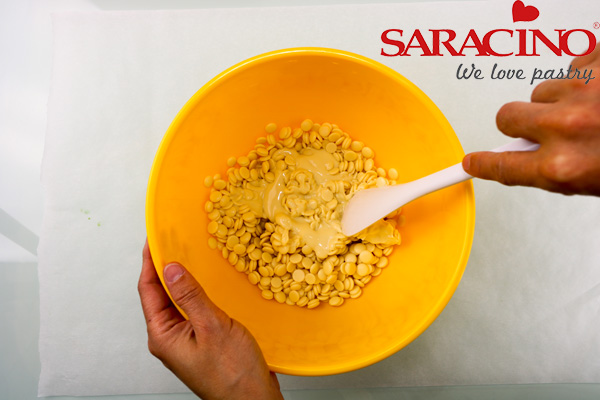
Here’s a guide on how to create some pastel colours and extra colours using ready coloured Saracino Pasta Model.
Peach – mix 2g yellow with 3g orange and 50g white, for a darker peach just add more orange.

Step 6
Mint green – mix 2g green with 3g yellow and 50g white, for a darker green just add more green

Step 7
Pale purple – mix 2g dark pink with 3g purple and 50g white. I always add pink to my purple as it just lifts the colour a bit.

Step 8
Baby pink – Mix 25g light pink with 50g white. You can add more pink for a slightly darker shade or just use a dark pink mixed with white for different shades too.

Step 9
Light yellow – mix 15g yellow with 50g white. Add more yellow if you would prefer a darker yellow.

Step 10
Pale blue – mix 25g tiffany with 50g white. Add more tiffany if you’d like a darker shade

Step 11
Lime green – mix 10g dark green with 25g yellow for a lovely bright lime green, more yellow will give it a more vivid green look or more green will tone down the brightness.

Step 12
Bright orange – mix equal portions of yellow and orange

Step 13
Dark coral – mix 15g fuschia with 25g orange.

Step 14
Rich purple – mix 15g dark pink with 20g purple.

Step 15
Light coral – mix 3g orange with 25g light pink

Step 16
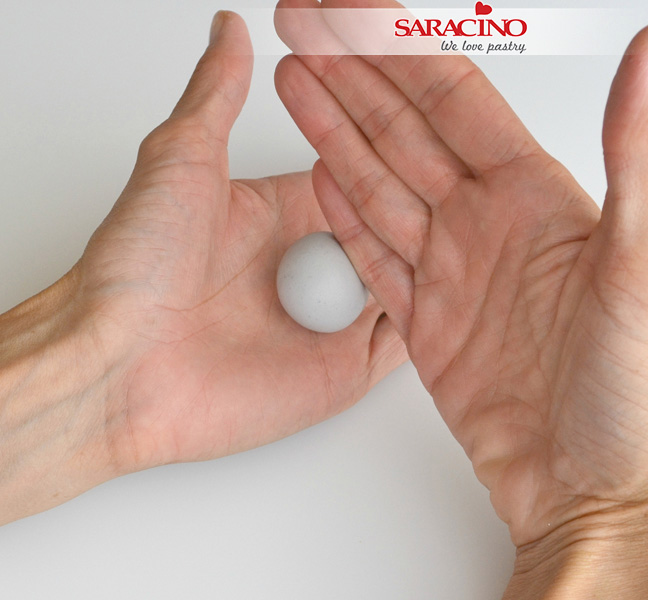
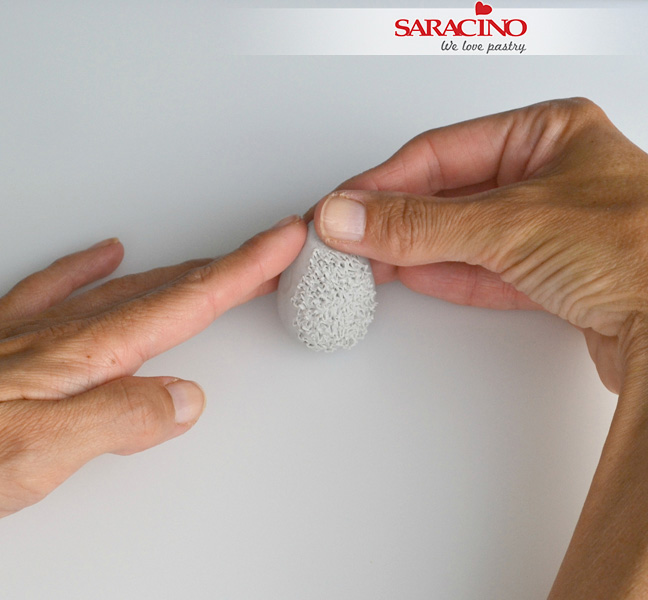
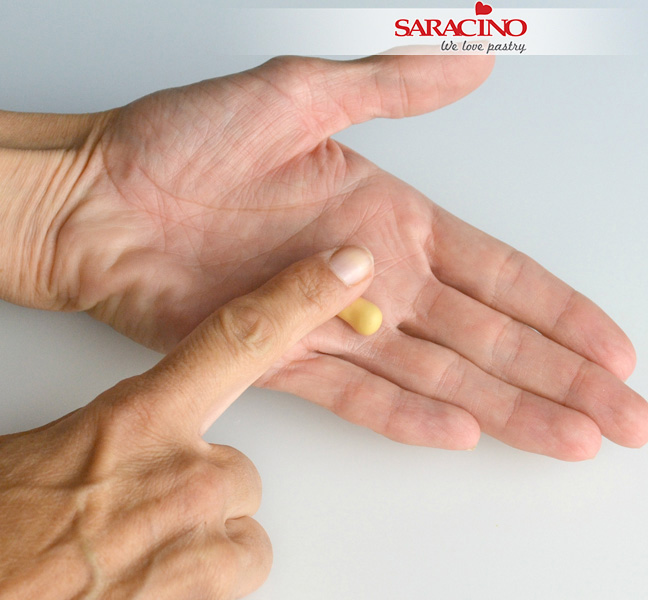
Use the waffle texture mat to texture some Pasta Model, the paste must be 5-6mm thick so it can stand up properly when dry. Cut out a circle for the waffle. I coloured this paste with a little bit of caramel and autumn leaf colours.

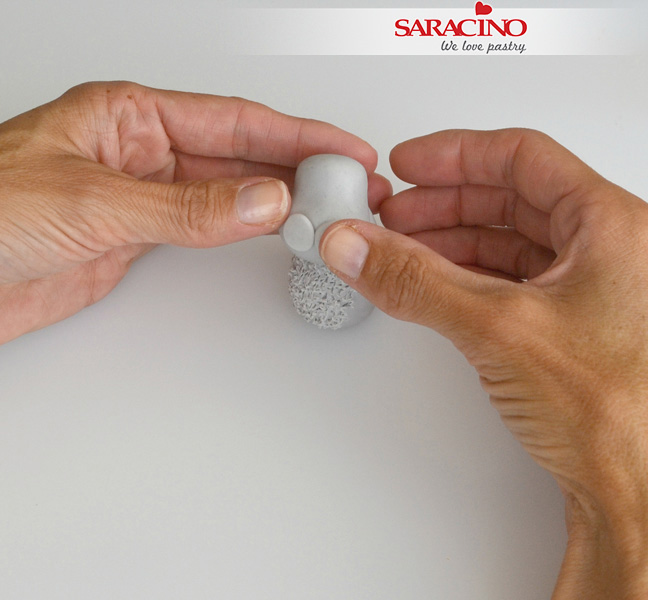
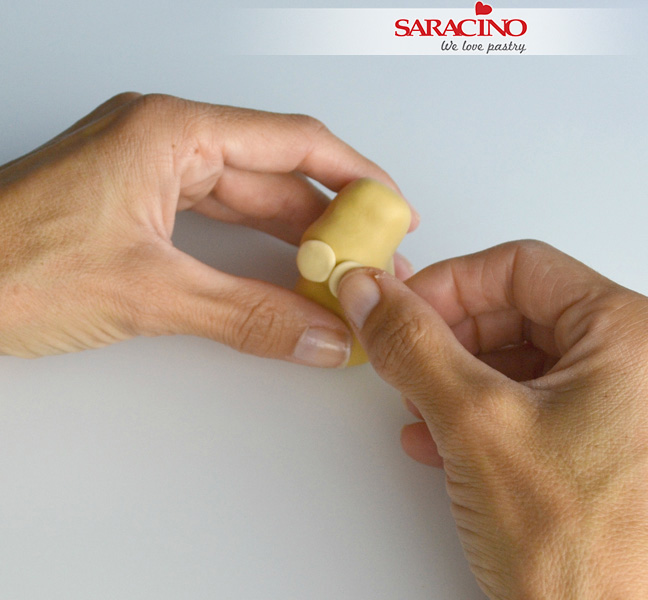
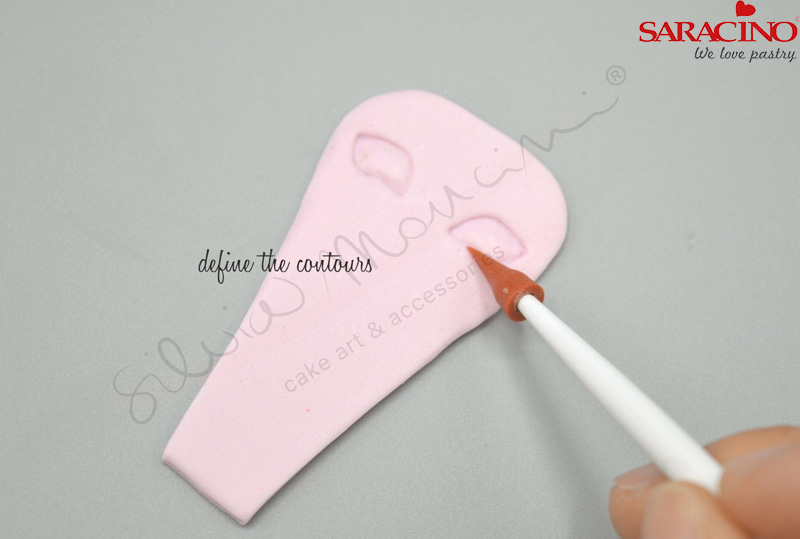
Step 17
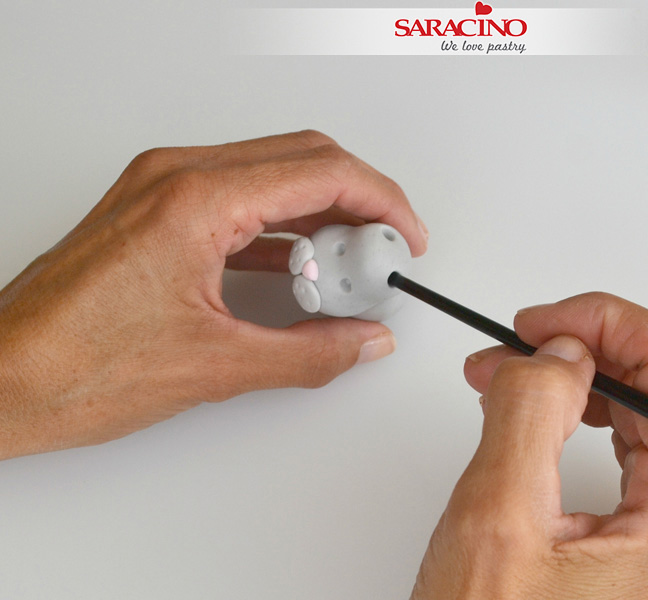
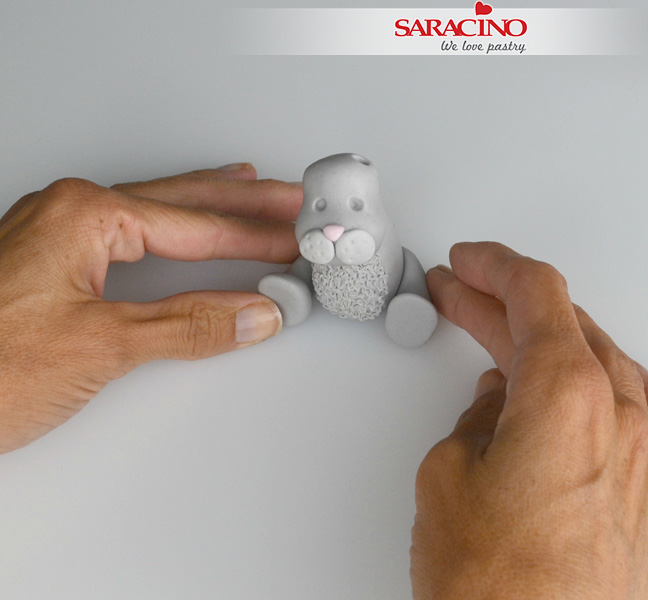
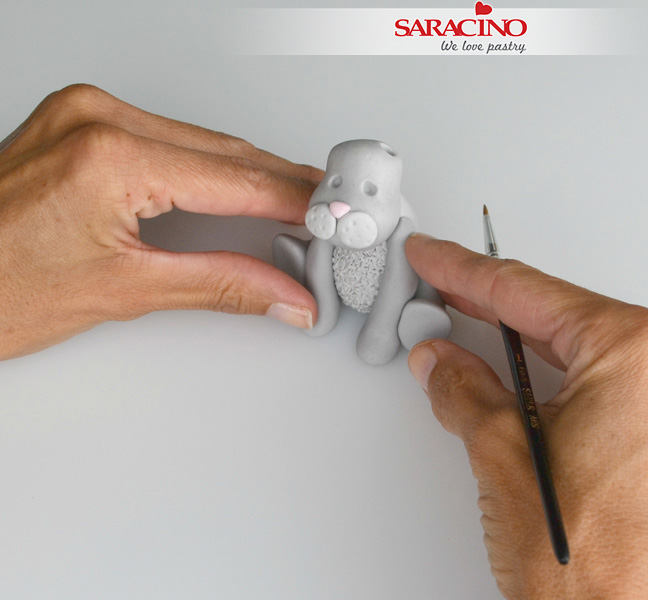
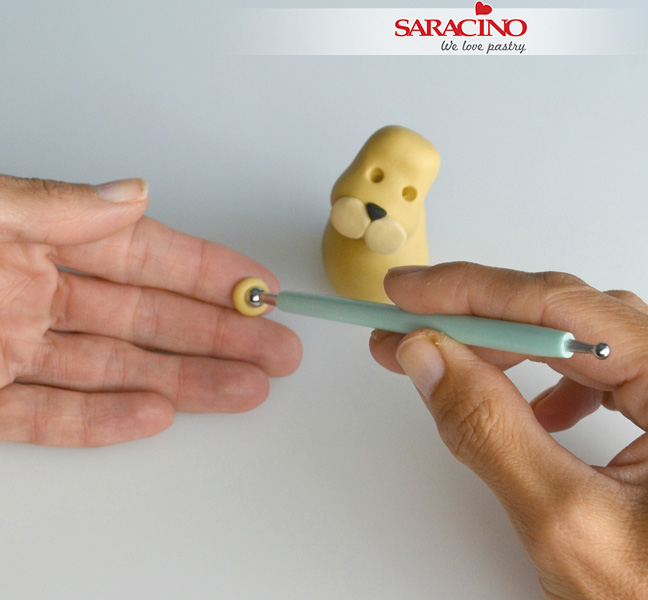
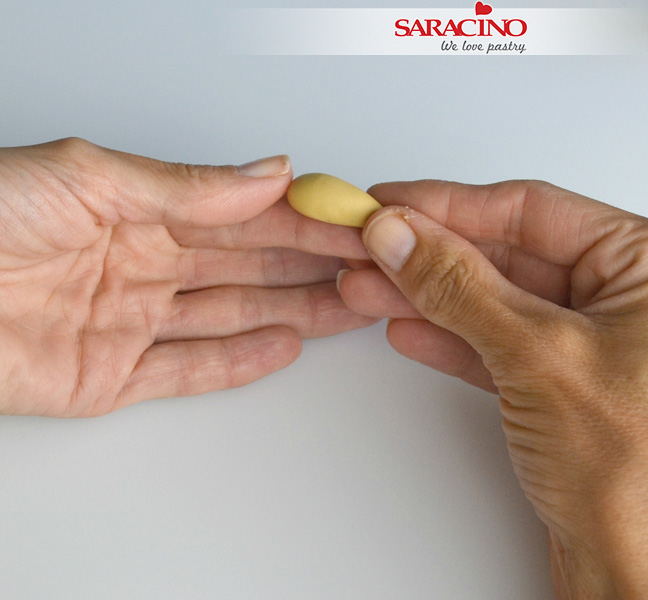
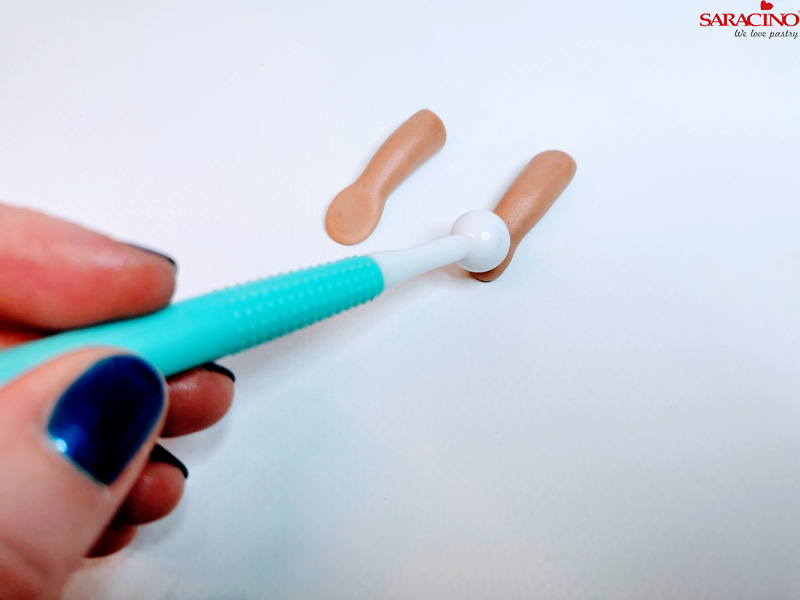
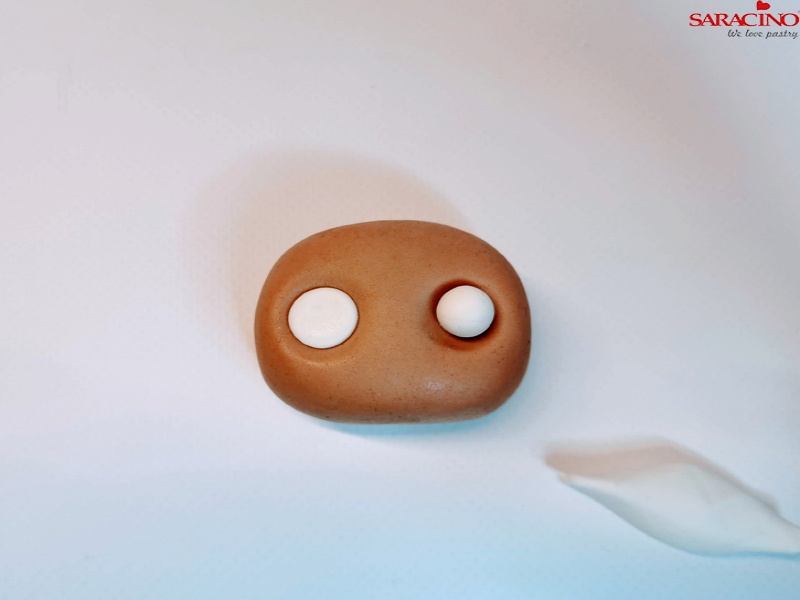
Use a medium ball tool to make some sockets for eyes. All the character faces are made exactly the same as this. Use a small ball tool to shape a small oval socket for the cheeks.

Step 18
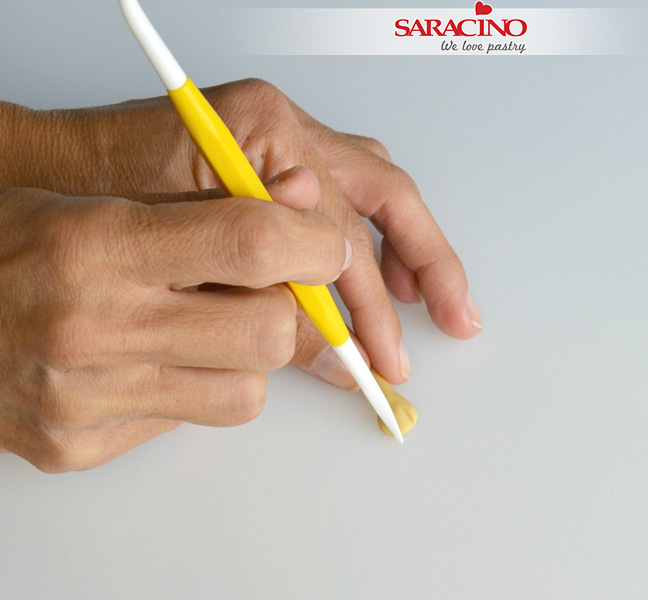
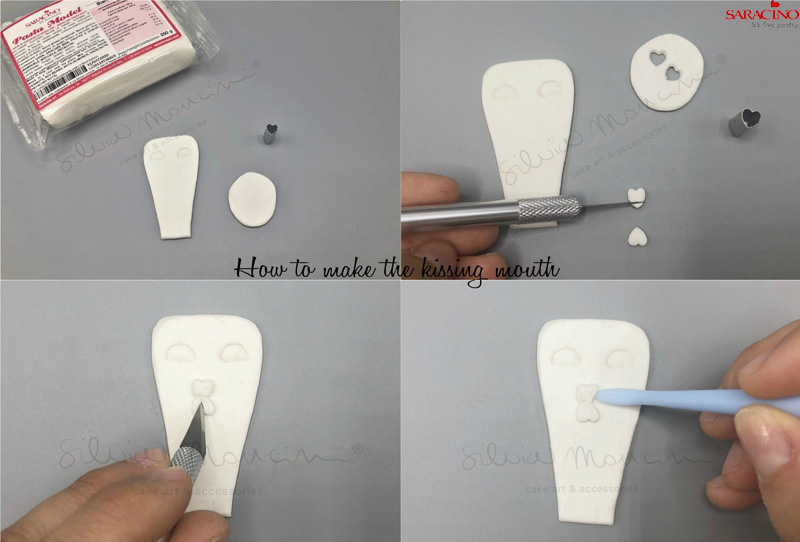
To make a small mouth use a PME scallop tool and press it in fairly deep (not all the way through).

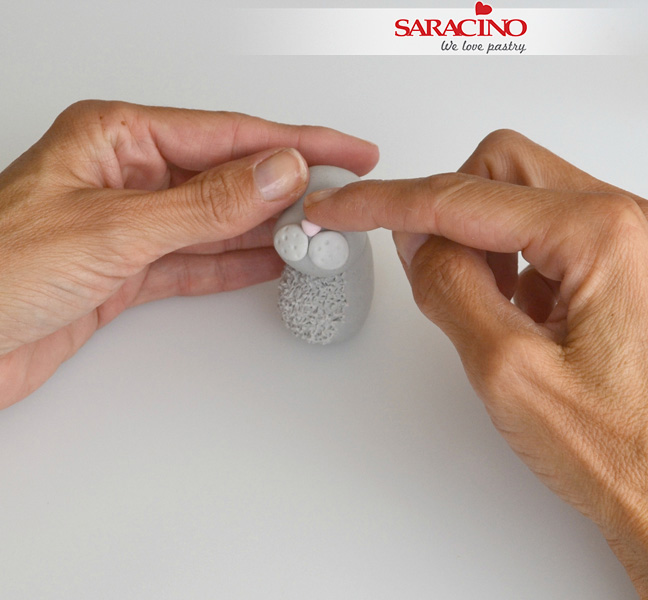
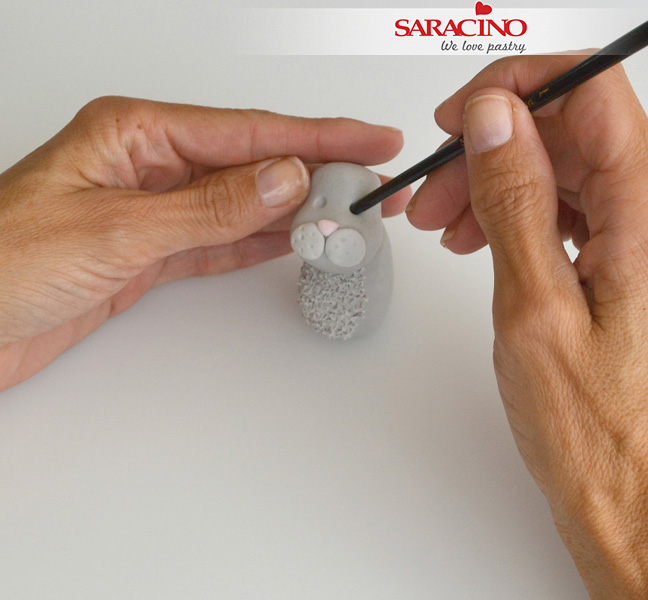
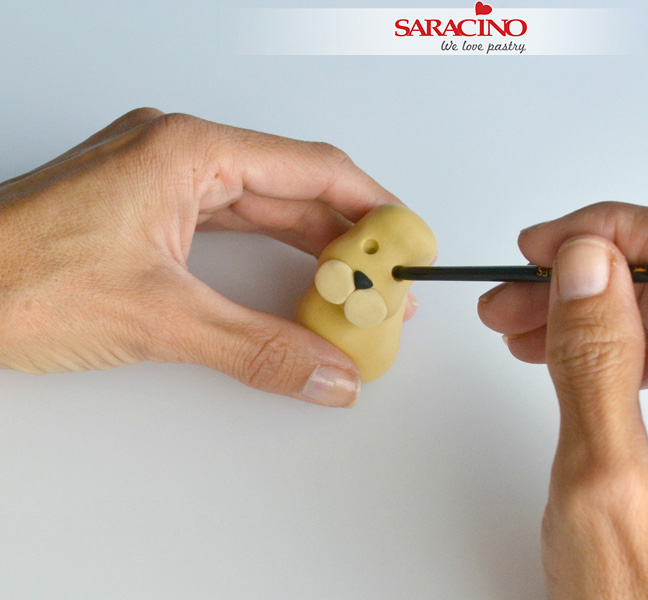
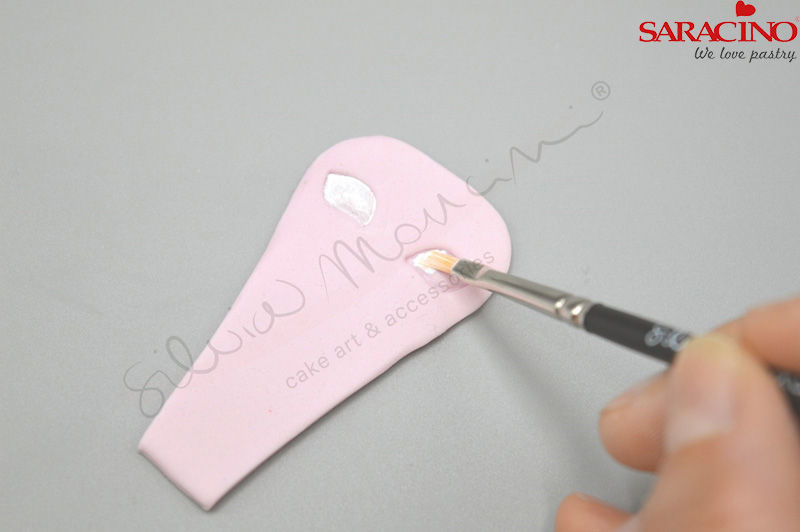
Step 19
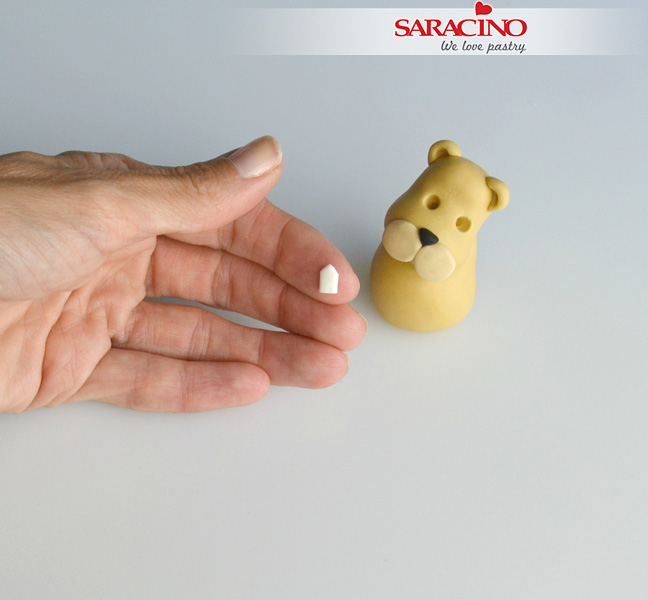
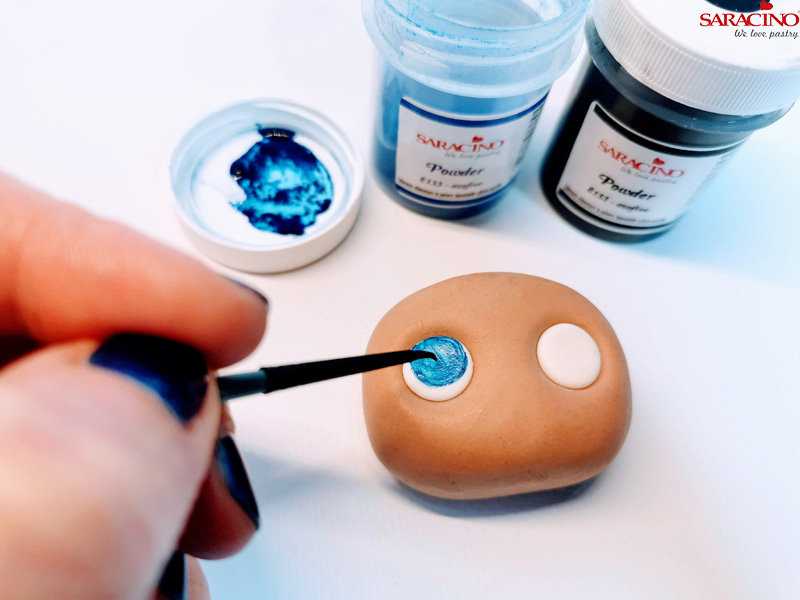
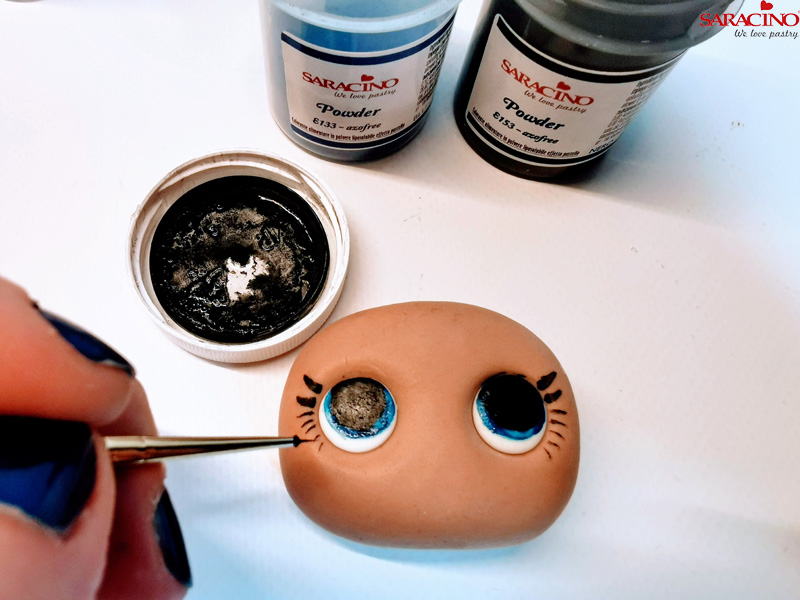
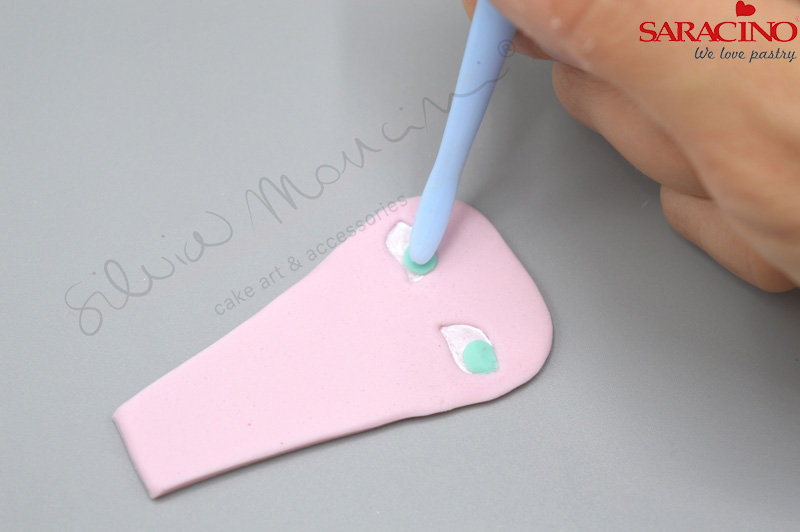
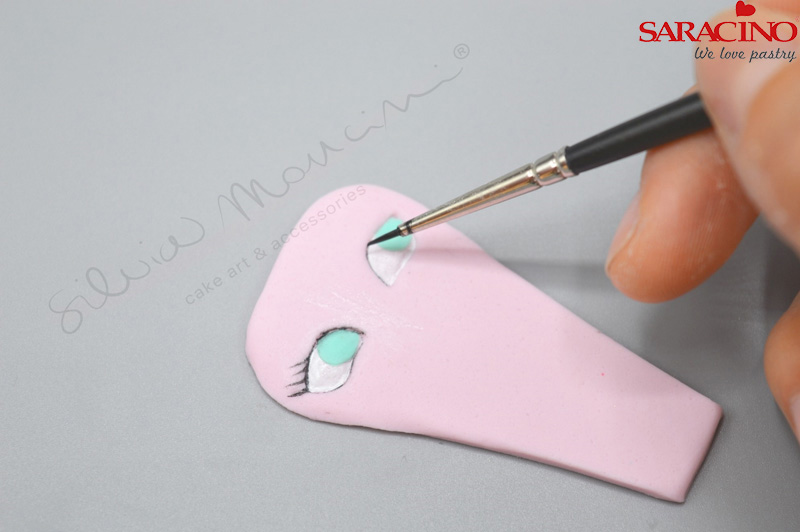
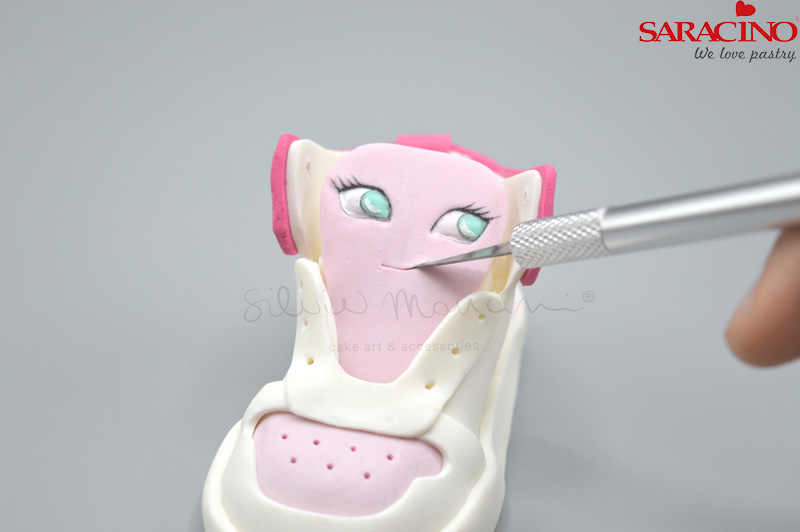
Using black Pasta Model add two eyes and then mark small sockets on each eye. Add two tiny sockets to each eye. Add two small balls of white Pasta Model to the cheeks.

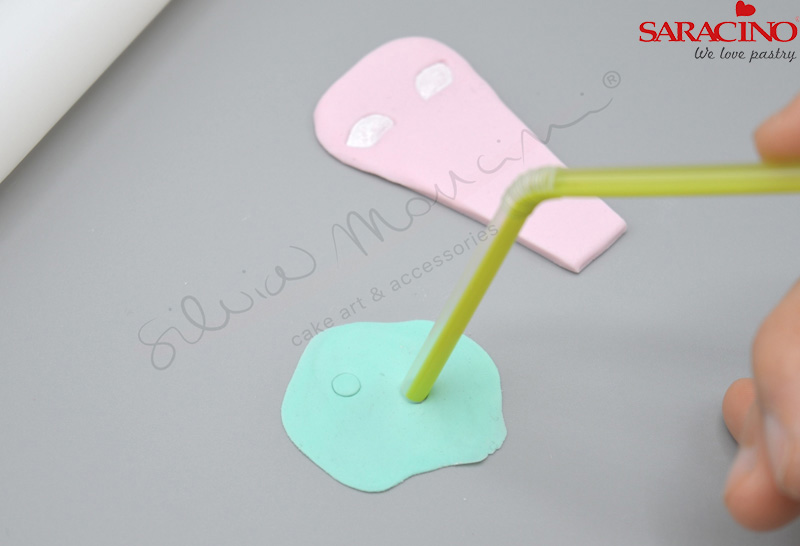
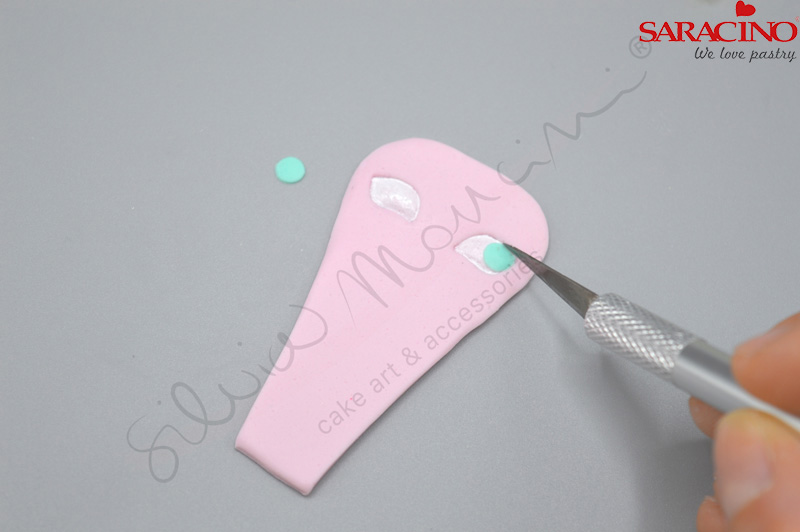
Step 20
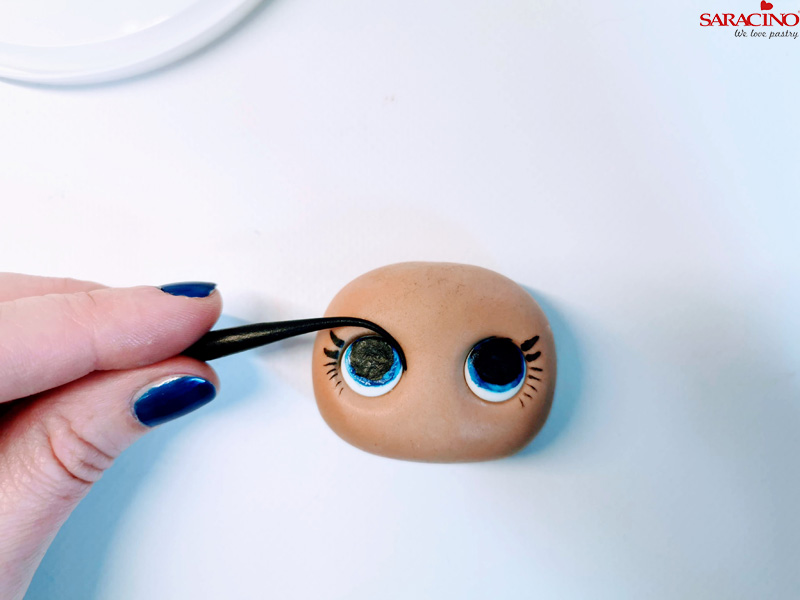
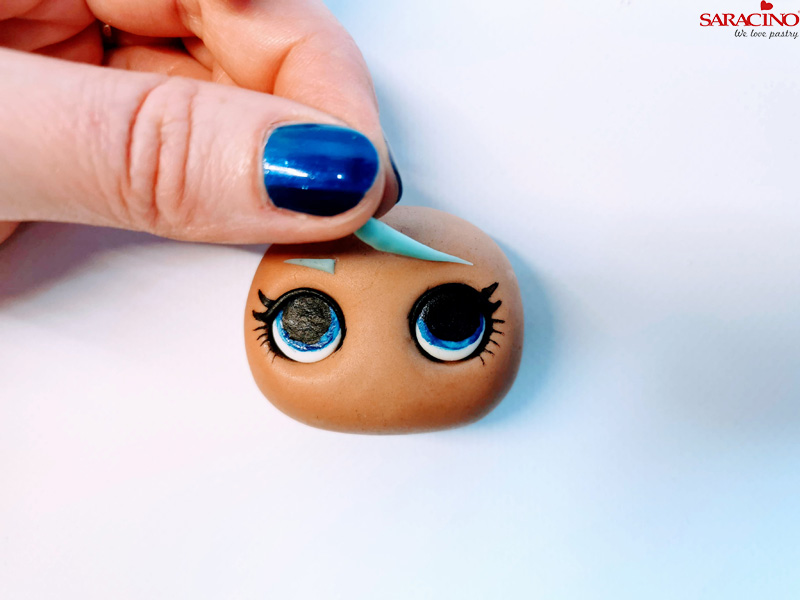
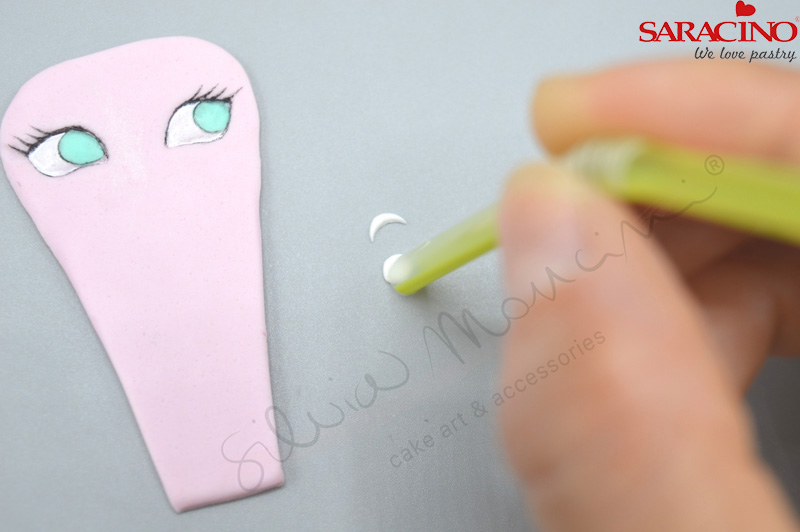
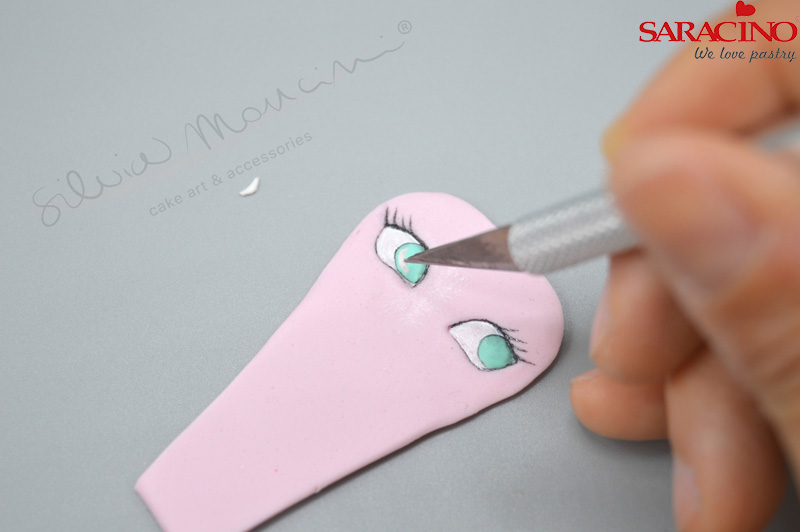
Add two different sized white dots to each eye to finish the face of the little character.

Step 21
To make an icing drip, roll out white Pasta Model and shape with your fingers. Trim off the top before adding to the waffle.

Step 22
Add the icing drip to one side of the top of the waffle.

Step 23
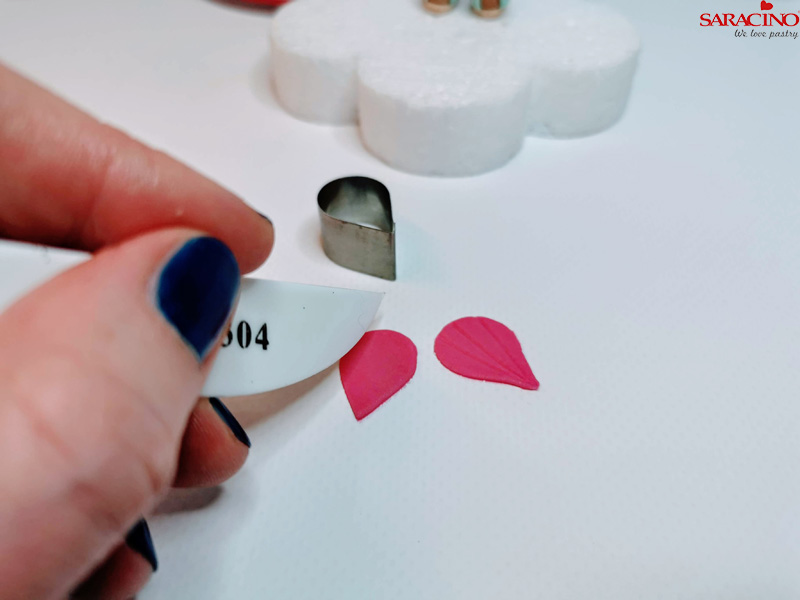
Make some strawberries for some extra decoration. Roll the strawberry shape using red Pasta Model and use a Dresden tool to mark the little seeds on the fruit.

Step 24
For the top of the strawberry use a small blossom cutter to cut 2 bright green leaves and use the veining mould to give these some texture.

Step 25
Add the strawberries at the top. Your little waffle is complete. Let it dry.

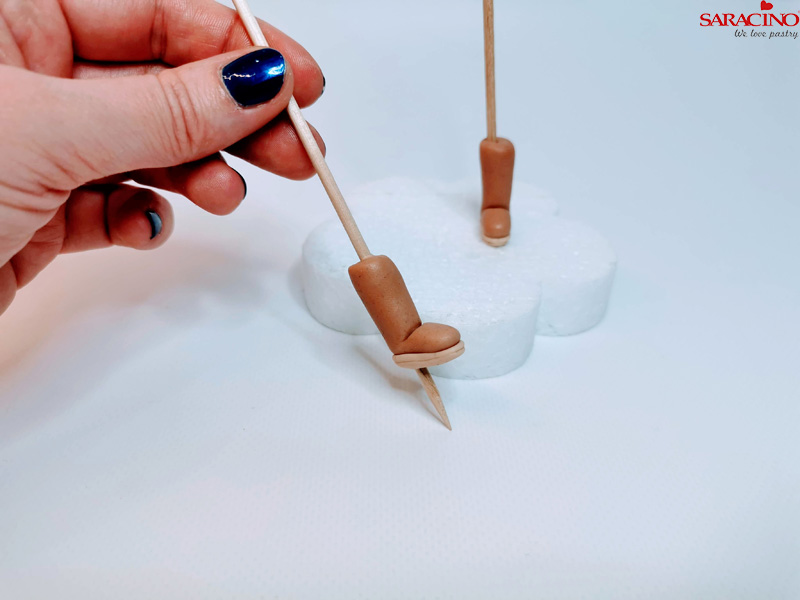
Step 26
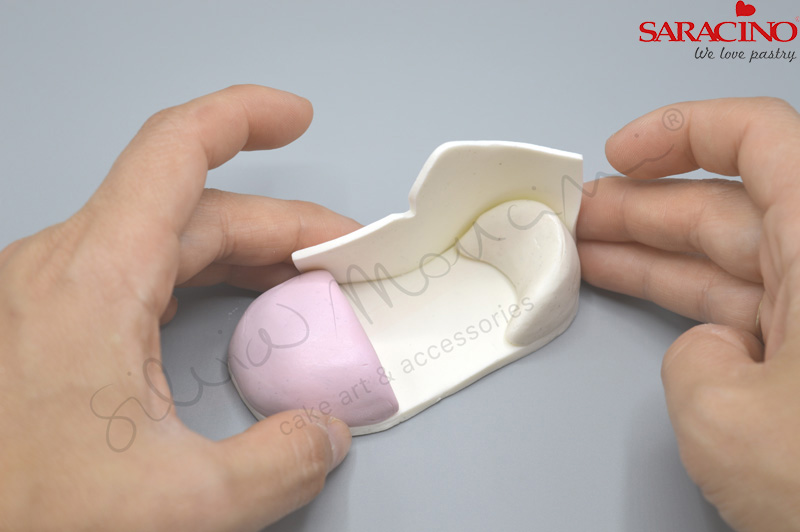
For the cake slice use Pasta Model to form a square in your hands and then roll one side thinner. Trim your shape to create a cake slice shape.

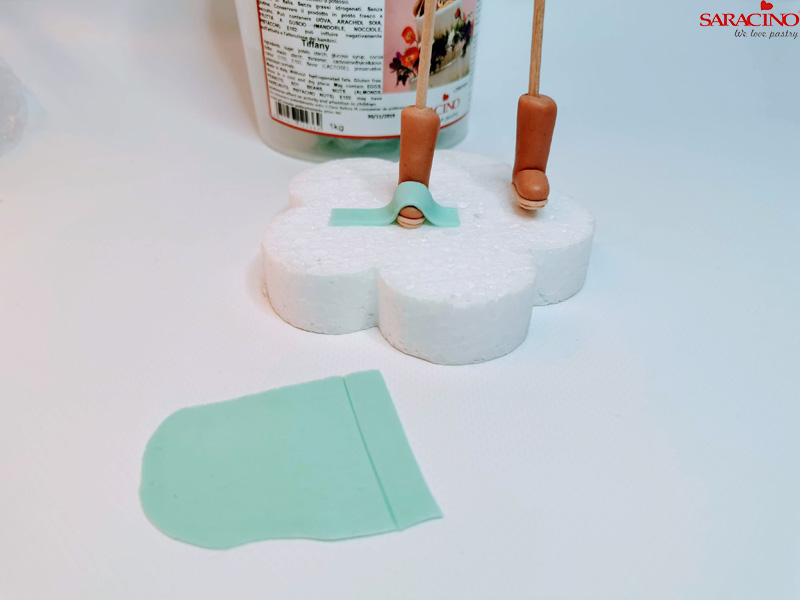
Step 27
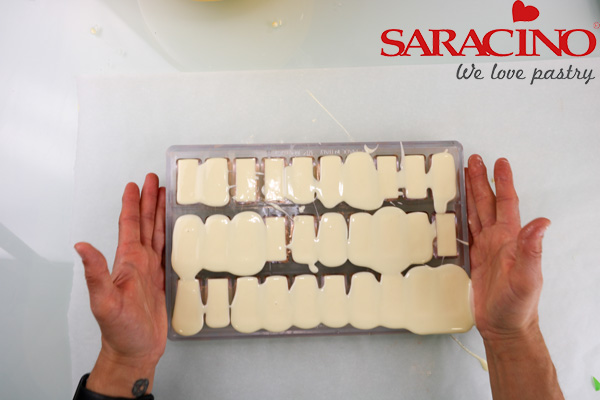
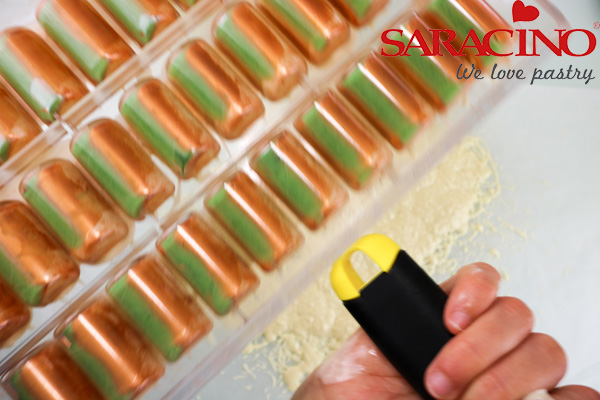
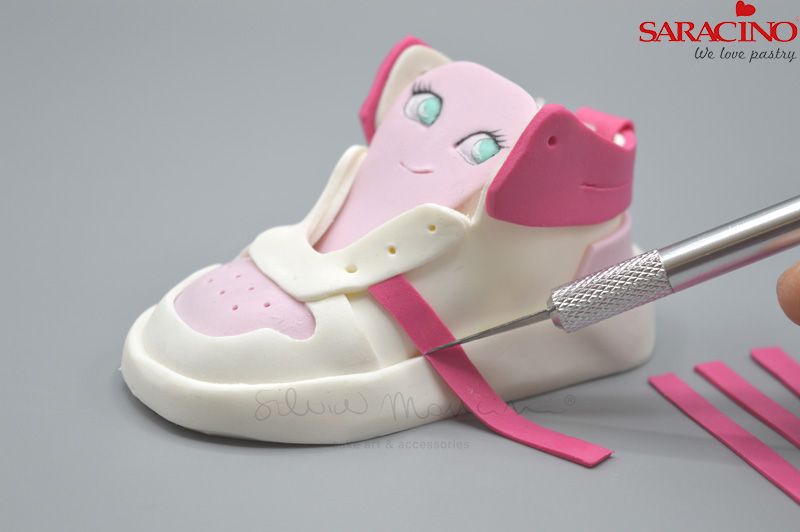
We will be using the pastel coloured pastes we mixed earlier. Roll out the paste and using a ribbon cutter cut strips of each colour.

Step 28
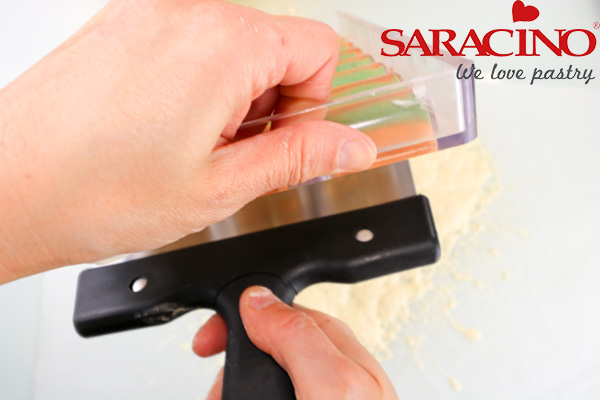
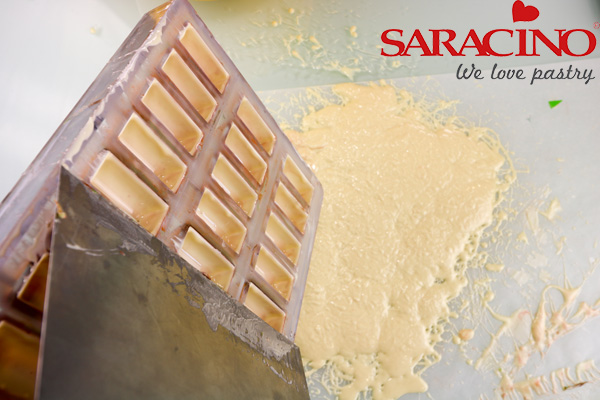
Start adding the stripes from the bottom and work your way up. I always finish with a wider band of colour as this allows me to add drippy icing over the top if I want to. Finished colour stripes

Step 29
For the ‘icing’ covering roll out some white Pasta Model to approx. 3mm thick. It needs to be long enough to cover the top and side of the cake slice. Now glue the back of your cake slice on to the piece of paste.

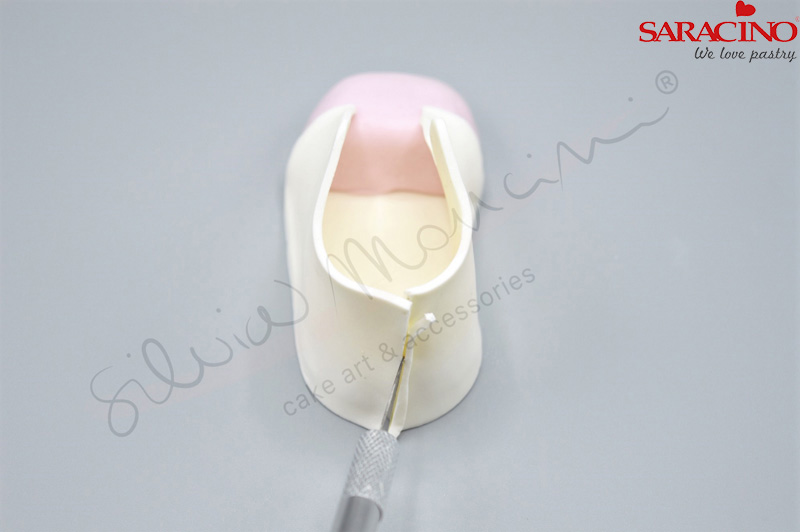
Step 30
Trim excess icing off each side of the cake slice but keep the long piece to go over the top of the cake.

Step 31
Flip the slice over and brush the top with glue and bring the rest of the white paste up over the top.

Step 32
Now turn the slice upside down so you can see where you need to trim each side of the triangle top shape.

Step 33
Once trimmed flip back upright.

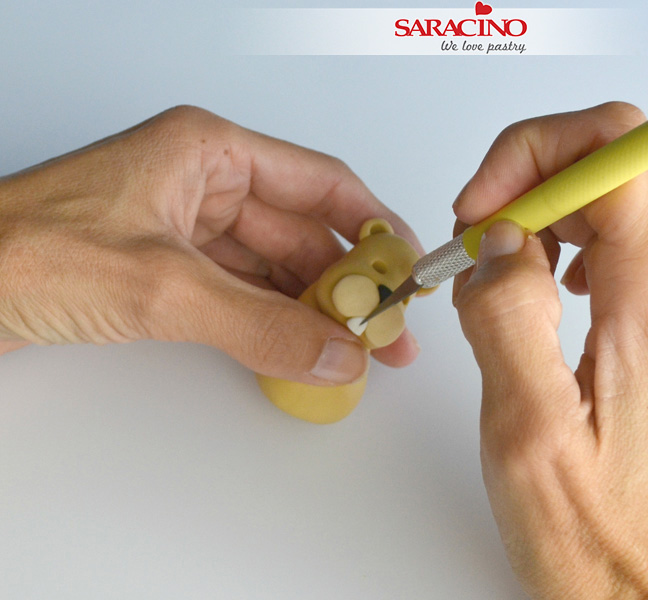
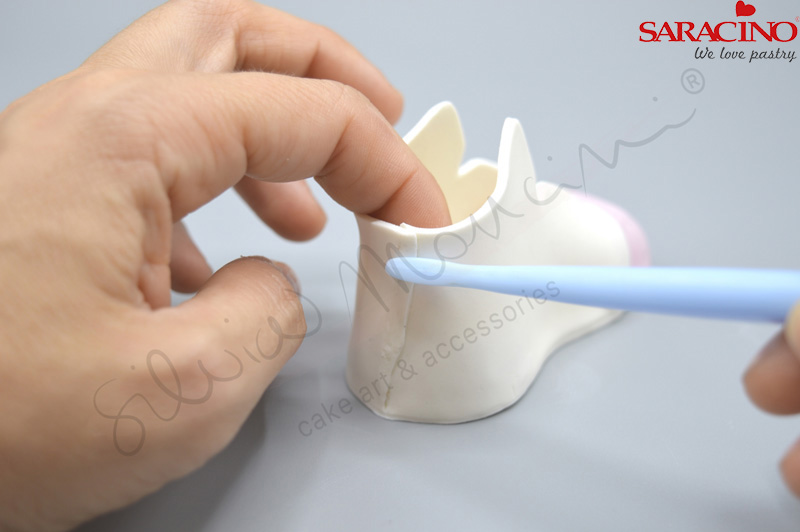
Step 34
Smooth off the edges nicely. Add eyes, cheeks and mouth like you did with the waffle. Roll out some little teardrop shapes for icing.

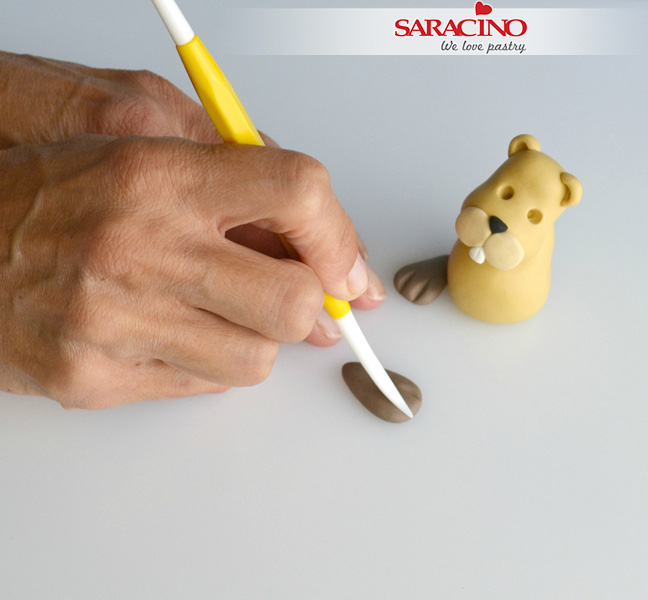
Step 35
Add the icing decoration to the top of the cake slice.

Step 36
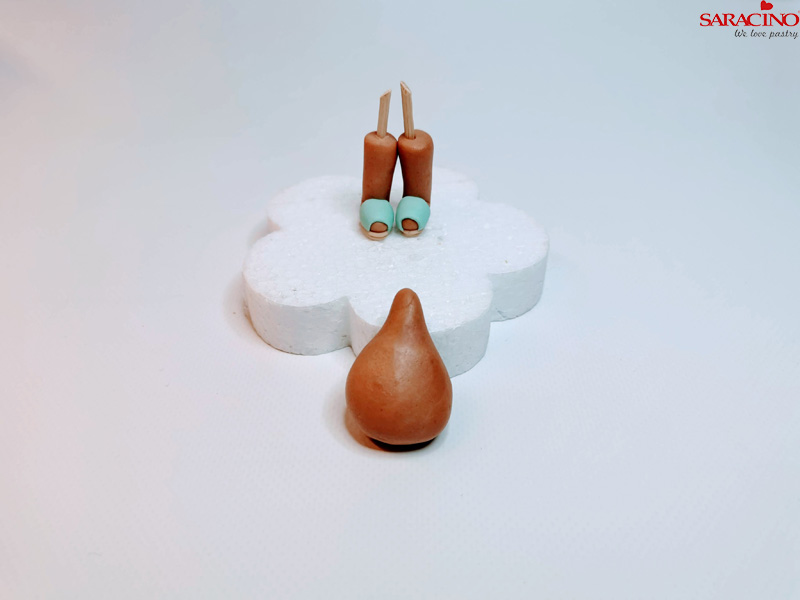
For the chocolate milk shake character use light brown Pasta Model to shape a cup.

Step 37
Roll out some white Pasta Top. Keep it fatter one end and then roll thinner and thinner to create a nice swirl of cream on your shake. Make some little wafers for the shake too, use the waffle mat again, cut a circle and then cut some wedge shapes.

Step 38
Add your ‘cream’ swirl to your shake.

Step 39
For the straw roll 2, 3 or 4 colours to a thin long sausage shape.

Step 40
Place your colours together and twist them, after a gentle twist, roll out under the palm of your hand on your mat. Twist again and roll until you have a smooth long colourful sausage shape to cut into straws.

Step 41
Cut some straws in different sizes.

Step 42
Following the steps we used previously add eyes, cheeks and mouth. Roll some little dark brown sprinkles and use a ball tool to make holes for the straws to go in to.

Step 43
Thinly roll out some white Pasta Model and cut out a drip shape. Add around the top of the cup.

Step 44
Add the wafers, sprinkles and straws to finish your character.

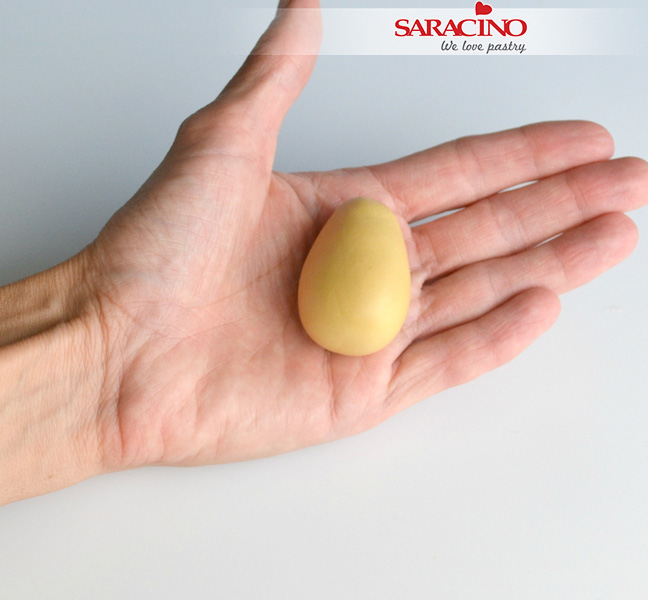
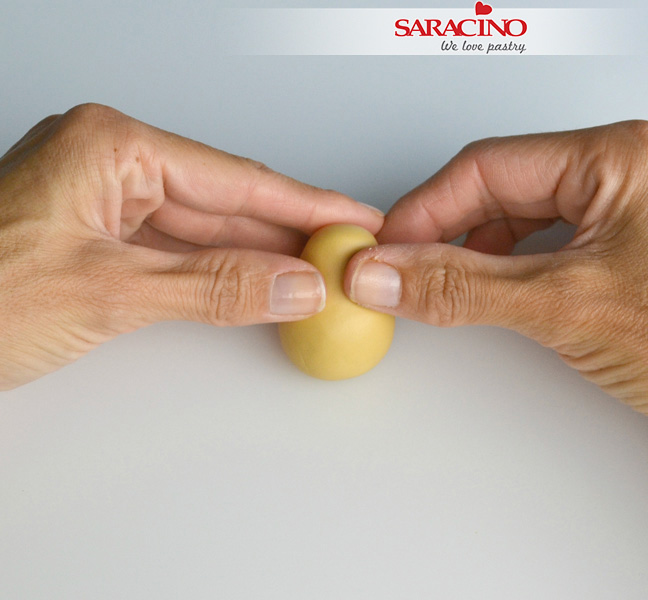
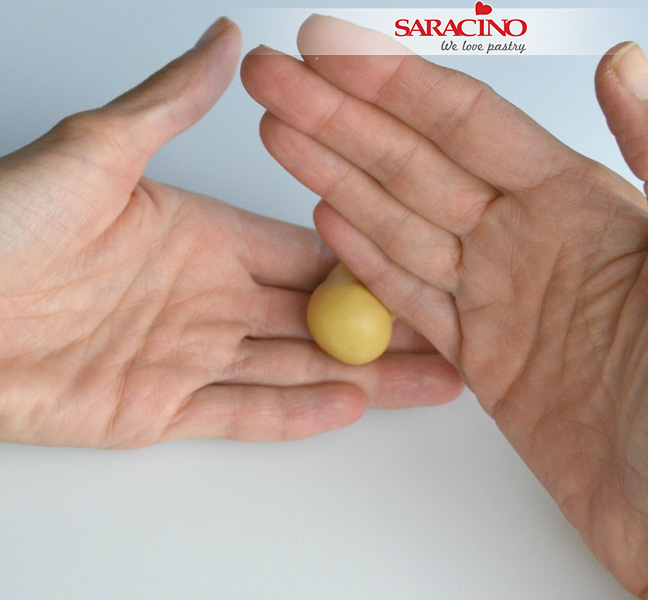
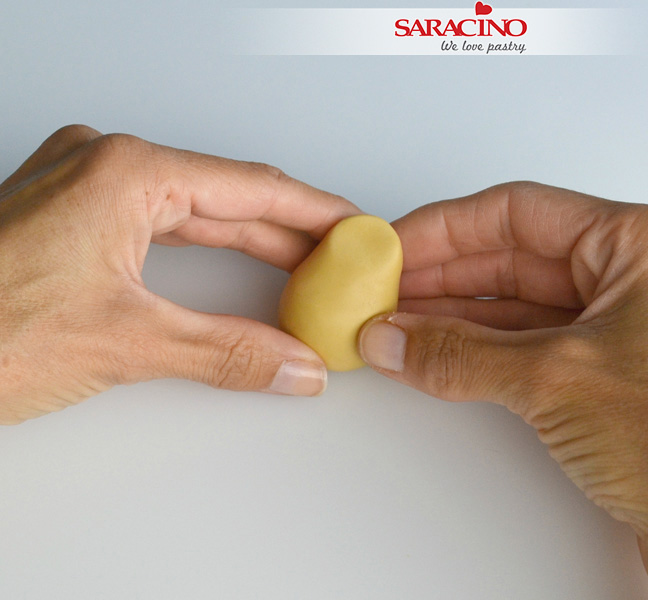
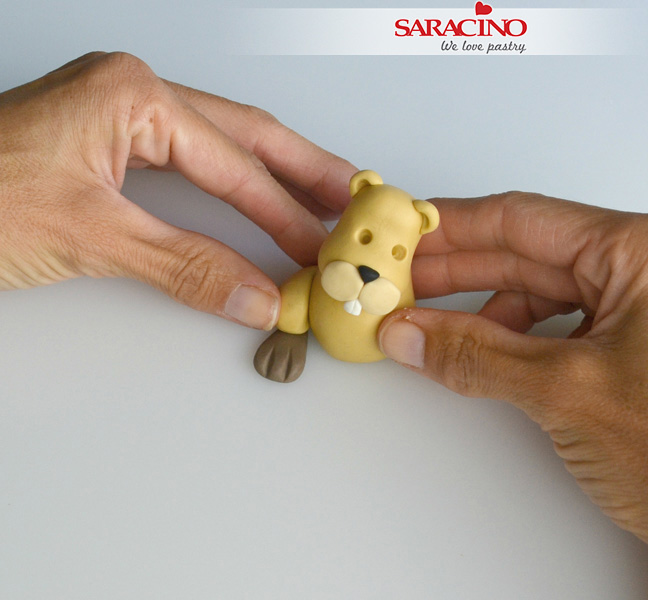
Step 45
For the pineapple, use yellow Pasta Model and roll an egg shape then trim off the top. Use a long sharp knife too make some lines on the egg shape.

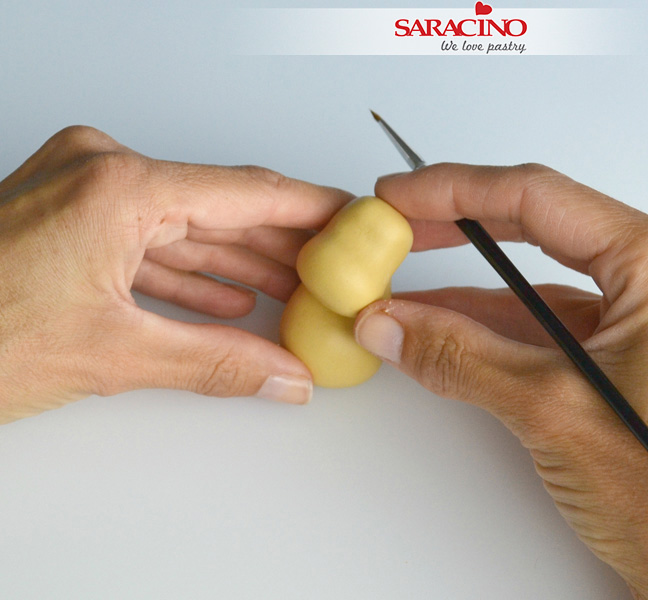
Step 46
I made bigger diamond shapes as they are easier to create around this pineapple shape. Use a serrated cone tool to make the little star dents inside each diamond shape.

Step 47
The little star shapes in the centre of each diamond shape.

Step 48
Add the eyes, cheeks and mouth. For the top leaves of the pineapple, use green Pasta Model and cut out some leaves using a rose petal cutter. Use a Dresden tool to mark a line in the centre of the leaf. As Pasta Model is so flexible, stretch each leaf out longer and as it stretches also thin the ends with your fingers.

Step 49
Start putting your leaves together starting in the centre.

Step 50
Once you have put all the leaves together trim off the base so they sit flush on top of the pineapple and you have another completed character.

Step 51
For the croissant roll out Pasta Model (the same colour as your waffle) and cut out a long triangle shape.

Step 52
Start rolling this from the larger side. Roll right to the end.

Step 53
Turn this over and press together nicely. Smooth the edges and shape the ends to make your croissant.

Step 54
Add the little face and use the Dresden tool to indent slightly along each line.

Step 55
I used a little bit of lemon extract and autumn leaf colouring to add some colour on the croissant.

Step 56
For the cherry use red Pasta Model. Roll it into a ball. Use a cone tool to make the dent in the top of the cherry.

Step 57
Use a small heart cutter to cut out some leaves and fold in on the rounded side and pinch together. Create a stalk for the cherry.

Step 58
Add the face and complete your little cherry for the top of the cake slice.

Step 59
To make the donut character cut out a circle from light brown Pasta Model. Use a smaller circle cutter to remove the centre from the donut.

Step 60
Roll out some white Pasta model. Cut a wavy edge around the outside slightly smaller than your donut. Place on top of the donut.

Step 61
Use a ball tool to press the white through the centre of the donut so it fills the side of the centre hole.

Step 62
Add the happy face and finish off with some sprinkles.

Step 63
Using the pastel colours roll lots of sprinkles. Add to the top of your cake and to the cake board.
Step 64
Add your kawaii characters to the cake. Ta Da! It’s ready.