PEONY FLOWER TUTORIAL

Author: Barbara Burzynska

Skill level: BEGINNERS
TIP:
You may find the flower paste a bit sticky. Use corn flour to prevent this.
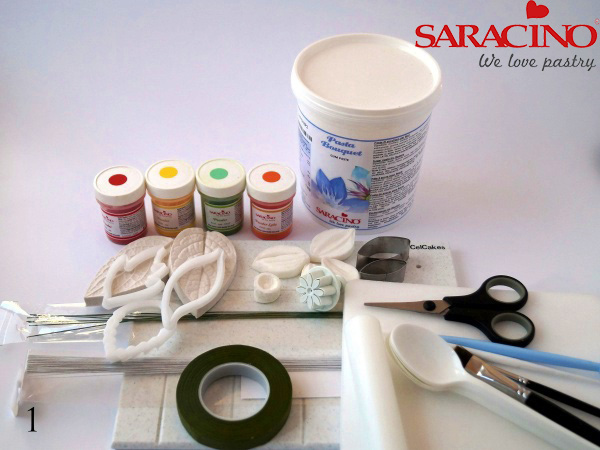
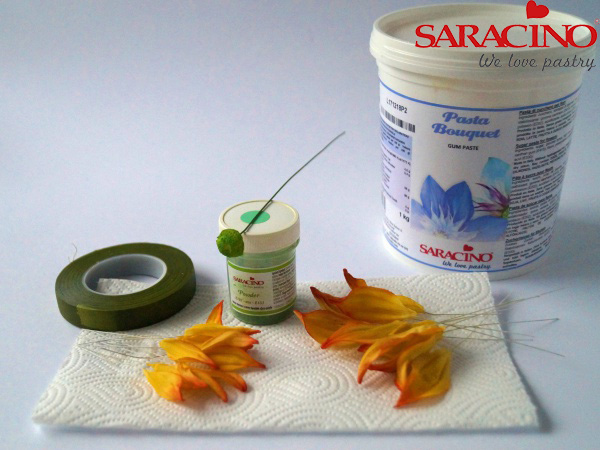
You will need:
-
Saracino flower paste Pasta Bouquet
-
Saracino colour powder yellow and green
-
Flower wires gauge 26
-
Small peony cutters by The Crafty Cutter Lady
-
Medium and large peony veiner by Sugar Art Studio
-
Work board
-
Deep plastic teaspoons
-
Powder coloiurs light, dark green and gold
-
Powder brush
-
White lily flower stamens
-
Florist tape
-
Dresden tool
-
Flower foam mat
-
Work board with grooves
-
CelCakes
-
Paper towel
-
Scissors
- Drying foam
- Leaf cutter
- Ball tool
- Leaf veiner

Step 1
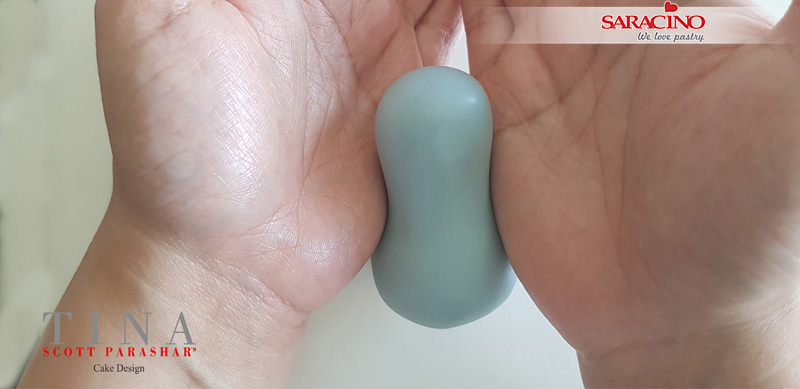
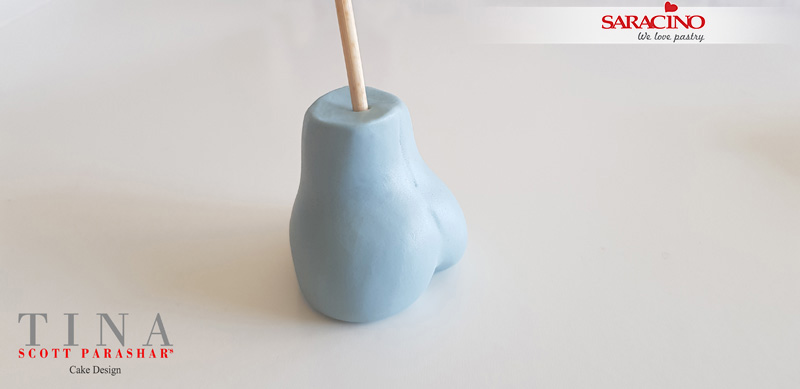
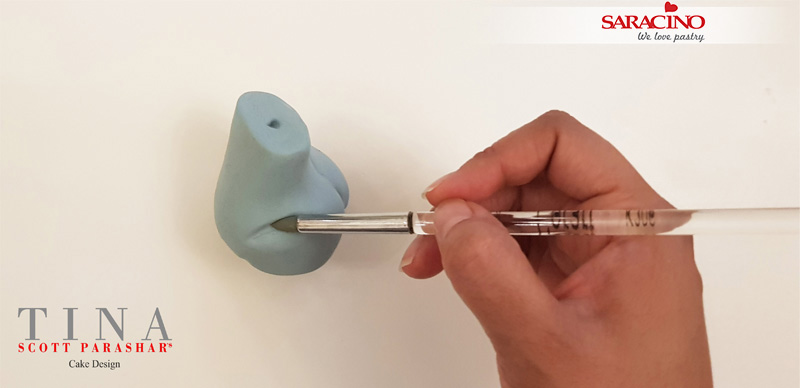
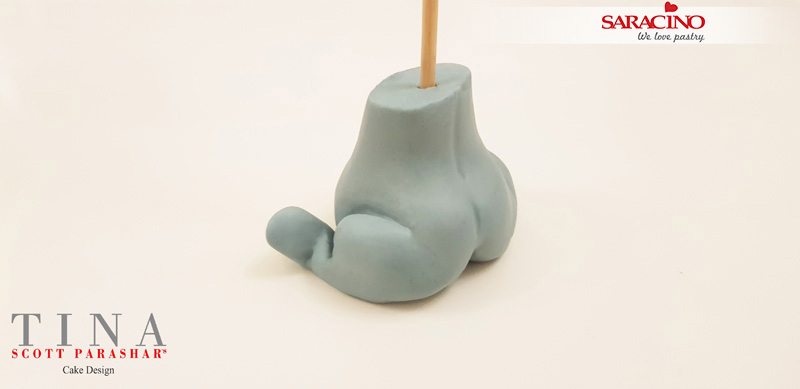
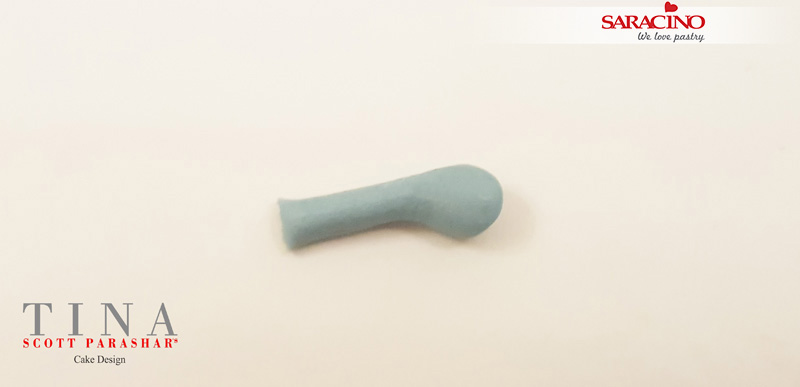
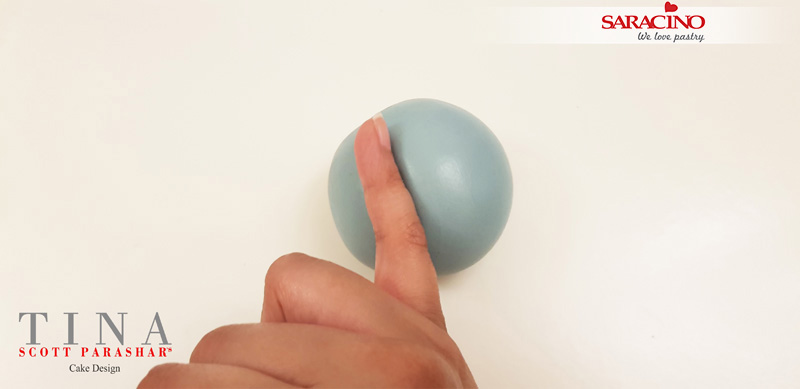
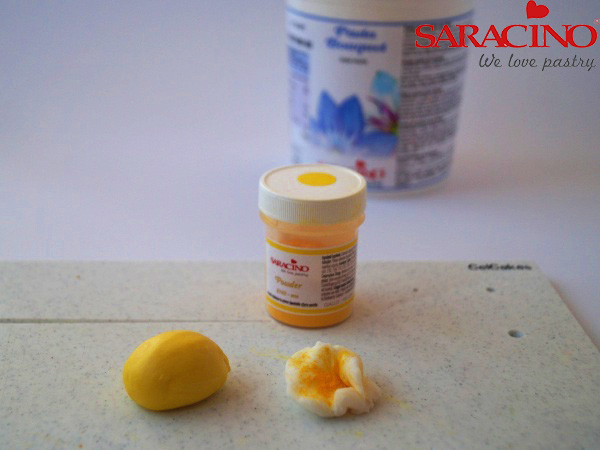
For the middle you need about 6g of green paste, divide it into 3 parts and form it into a cone.

Step 2
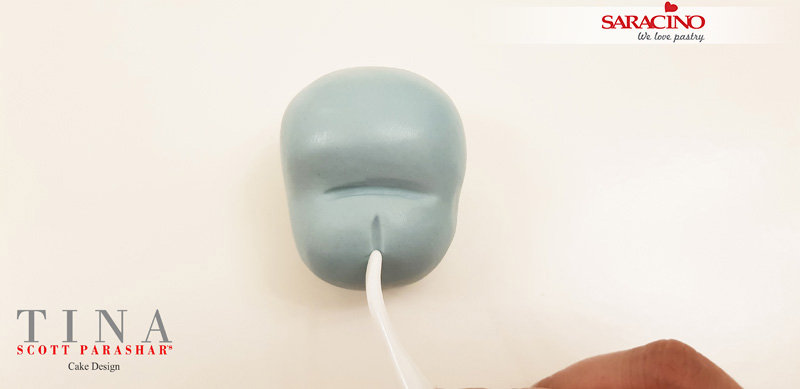
Add a little glue to the end of your wire and insert into the cones. Leave to dry completely (about 10 hours).

Step 3
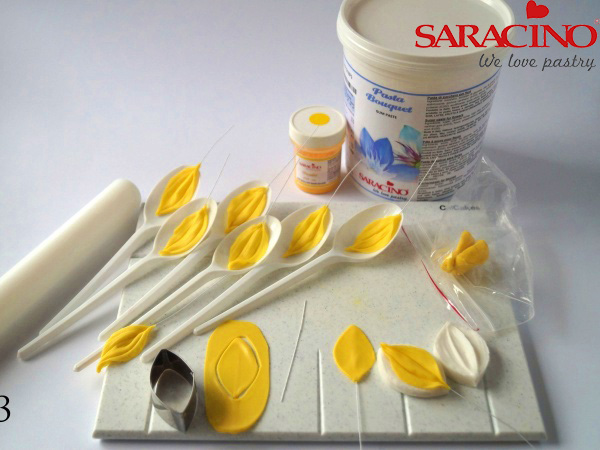
Prepare three sizes of peony cutters: small, medium and large.

Step 4
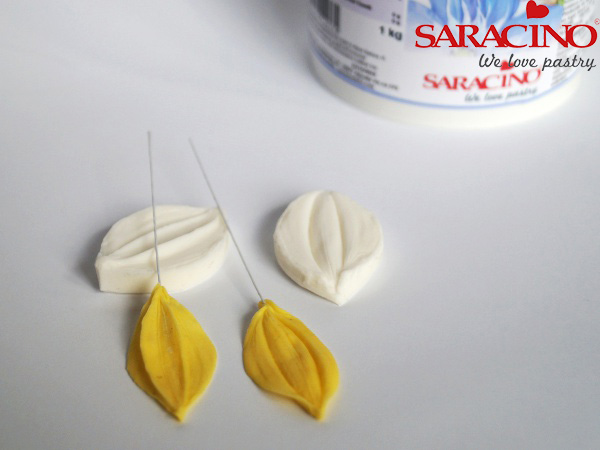
Colour your white Pasta Bouquet with yellow. Roll on your board over the groove and using the smallest cutter cut out 3 petals.

Step 5
Twist the wire into the petals about 3/4 length of the petal.

Step 6
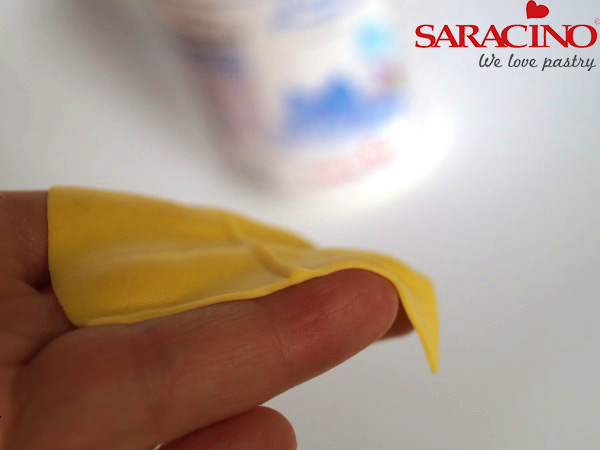
Dust your veiner with corn flour. Place your petal on the veiner and gently press to achieve the structure.

Step 7
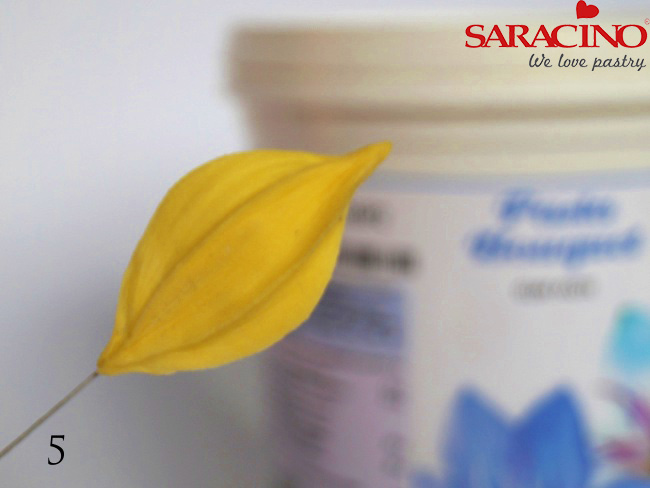
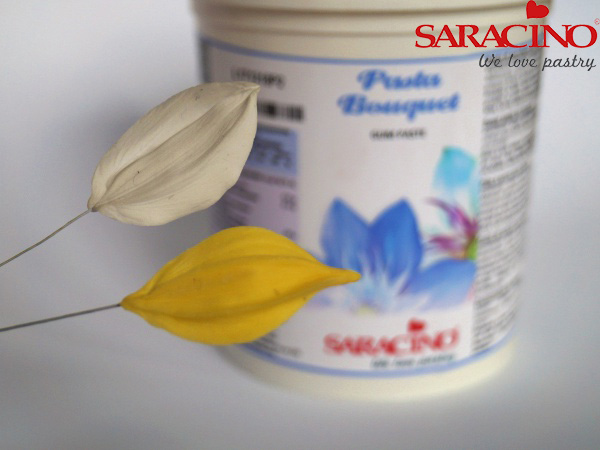
Your petals should look like this.

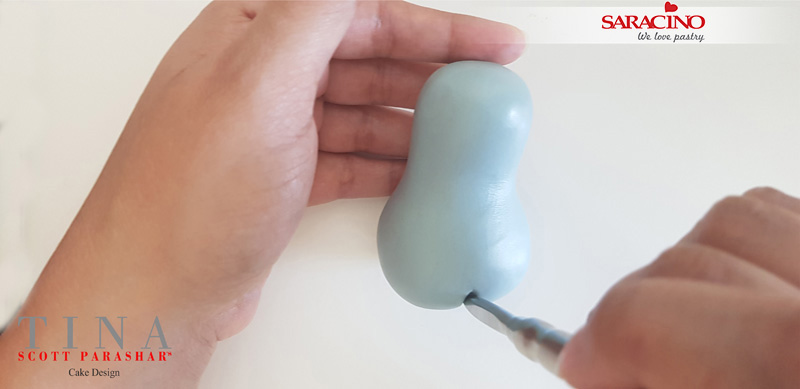
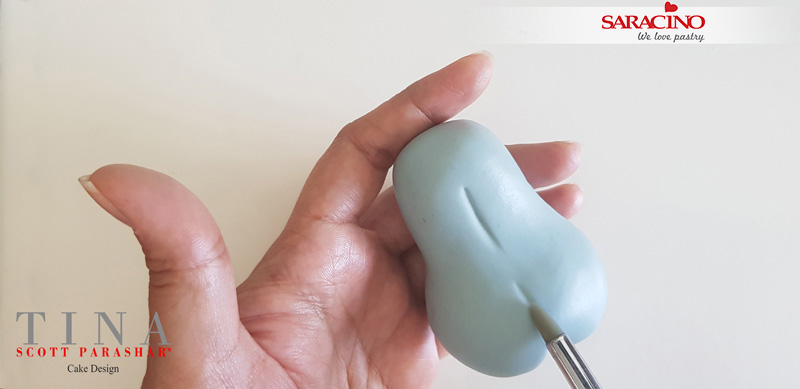
Step 8
Using your Dresden tool drag it along the petal at various intervals from the top to 1/3 of the petal length. Repeat the action for the next two.

Step 9
The edge of the petal should be curled and raised.

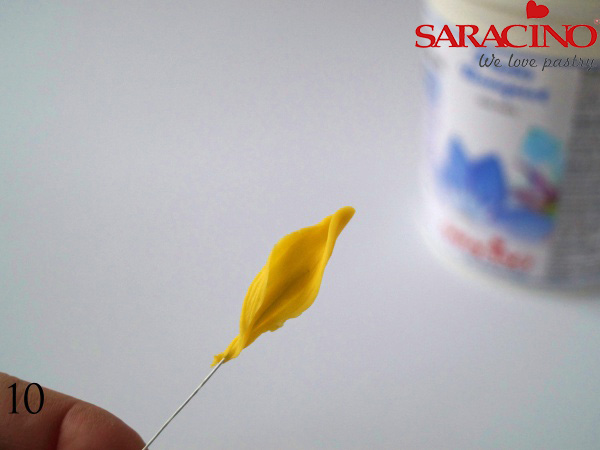
Step 10
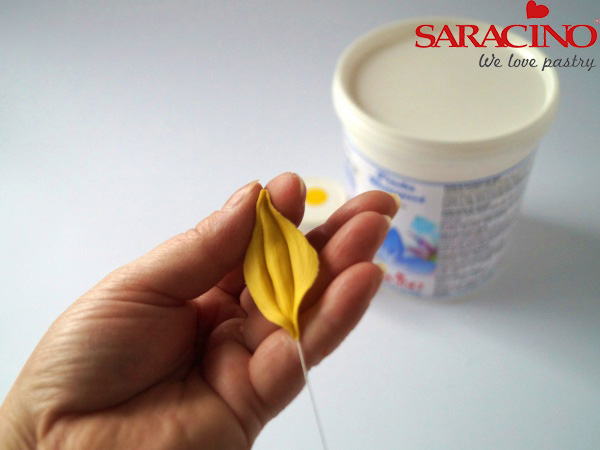
Put the petals on teaspoons and let them dry completely.

Step 11
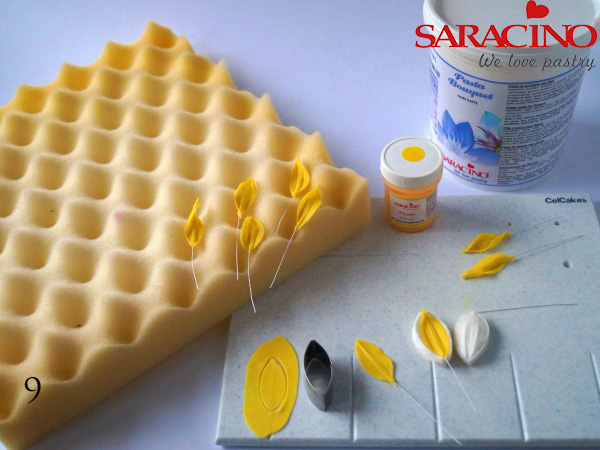
Using medium size cutter cut out 12 petals and follow the steps above with veining and adding a flower wire. Make sure you keep the petals covered with film while making each one.

Step 12
And again follow the steps to make large petals. We will need 7 of these.

Step 13
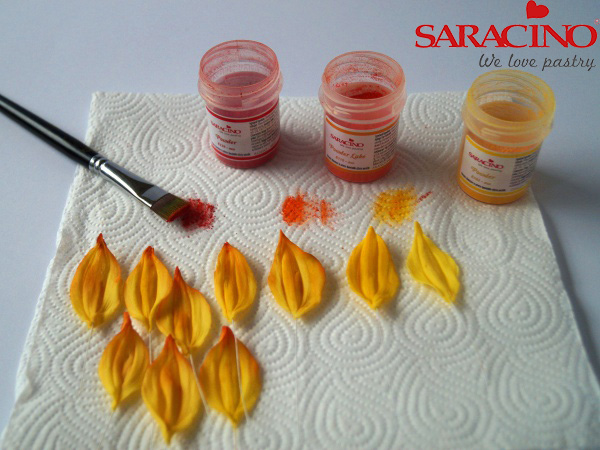
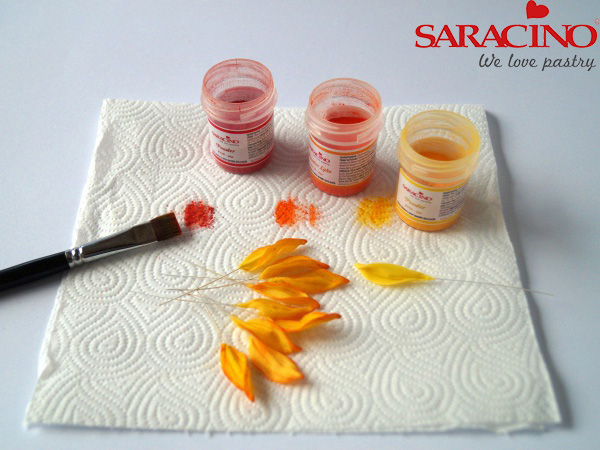
Place the petals as follow: 3 smallest petals – 5 medium petals – 7 large petals – 7 medium petals. Let them all dry. Drying time depends on humidity.

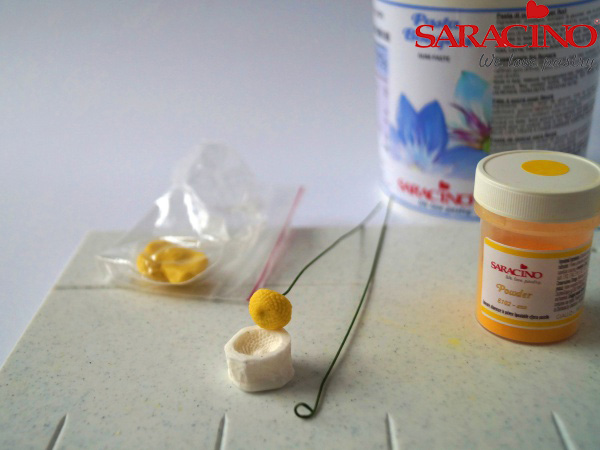
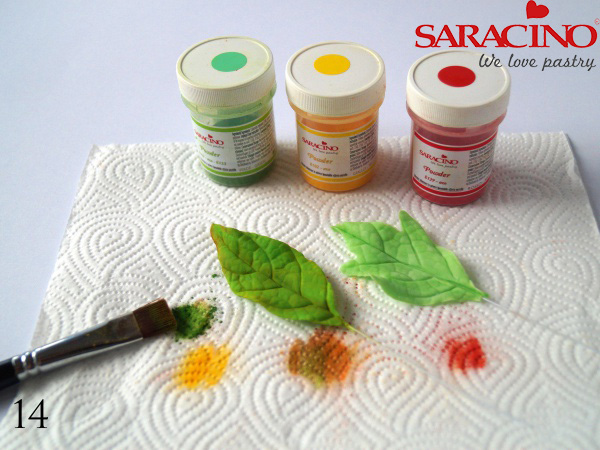
Step 14
Prepare a piece of paper towel, brushes and powders and pre-prepared cones. Mix both green powder colours.

Step 15
Starting from the bottom darken all the cones as desired.

Step 16
Apply a little maroon powder on the brush.

Step 17
Lightly powder the top of each cone with the maroon powder.

Step 18
Using your yellow powder and a brush dust the tips of the stamens. Turn over and make sure you cover all sides.

Step 19
Cut the stamens in half.

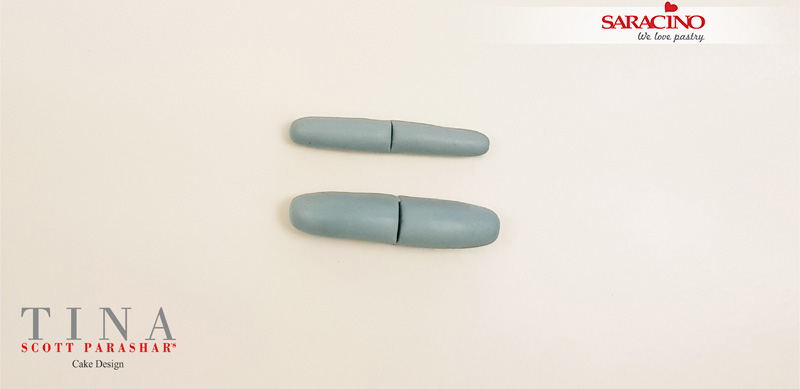
Step 20
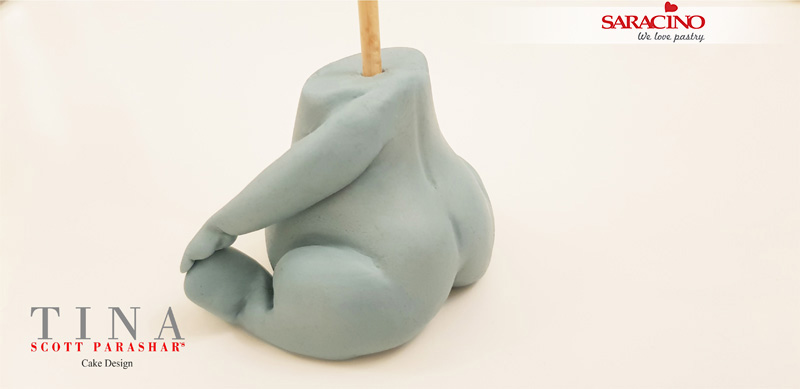
Fix the dried cones together and cover them using green floral tape.

Step 21
Using floral tape start adding stamens.

Step 22
Work all the way around to achieve this look.

Step 23
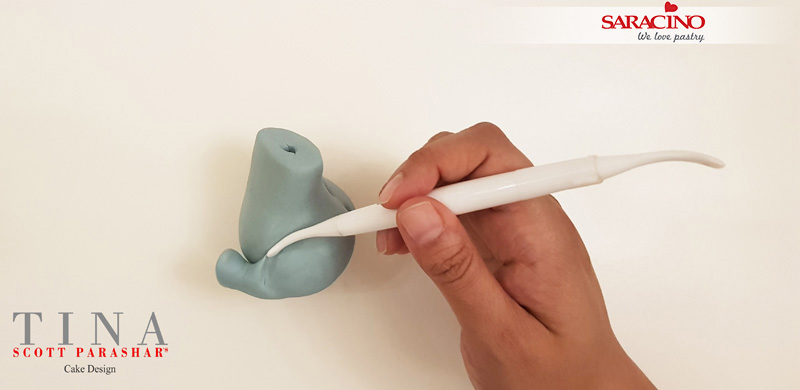
Prepare the smallest size petal and bend the wire slightly. Attach to the stem using florist tape as shown.

Step 24
Add another two smallest petals.

Step 25
Prepare five medium size petals, bend the wire a little at the petal and repeat as in step 23.

Step 26
Prepare seven largest size petals, bend the wires a little and repeat step 23.

Step 27
Prepare last seven medium size petals, bend the wires a little and repeat step 23.

Step 28
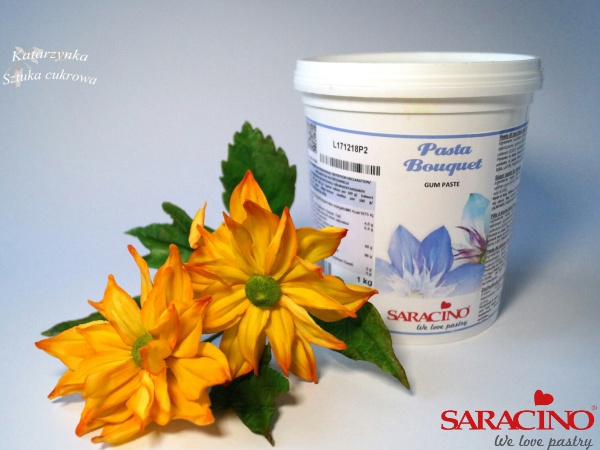
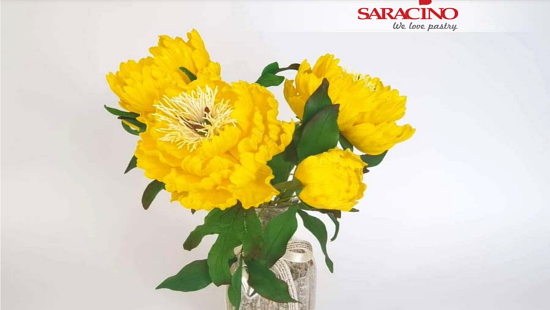
Your peony should look like this.

Step 29
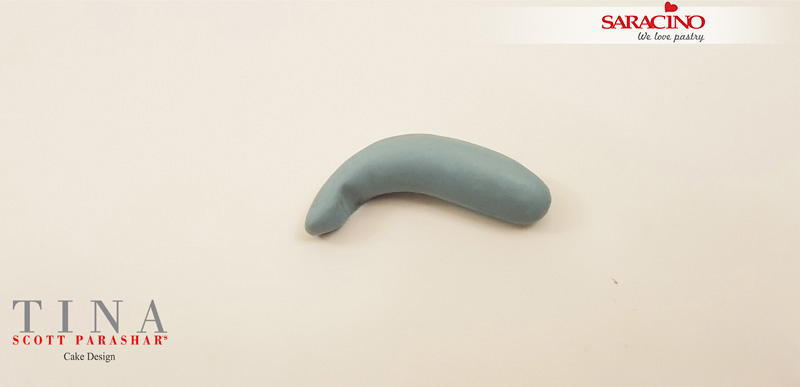
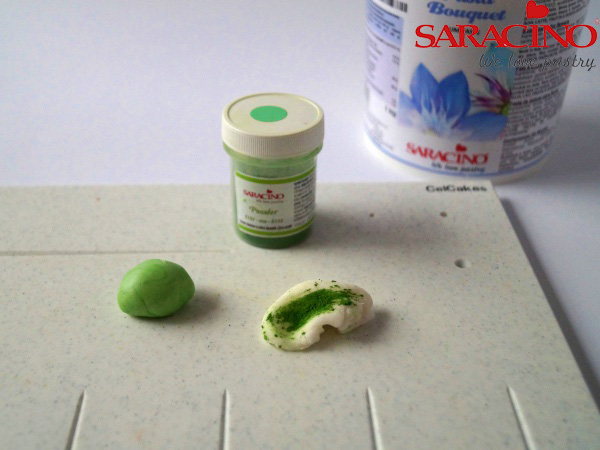
Colour your white Pasta Bouquet with green powder. Roll on your board and use a cutter to cut out a leaf.

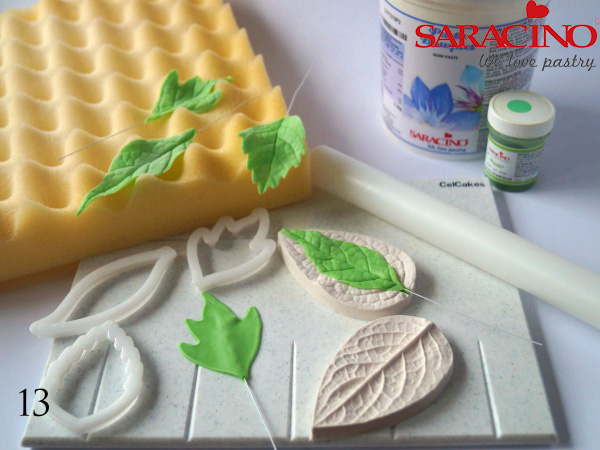
Step 30
Twist the wire up to 3/4 of the leaf and place on the veiner. Press the top of the veiner to achieve the texture.

Step 31
Using ball tool smooth the edges.

Step 32
Place on the foam and let it dry for few hours.

Step 33
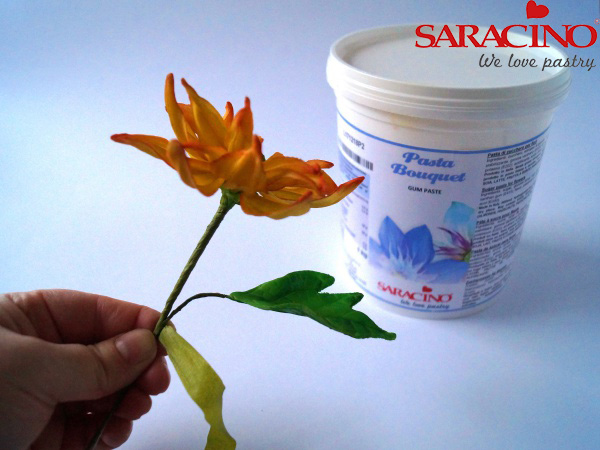
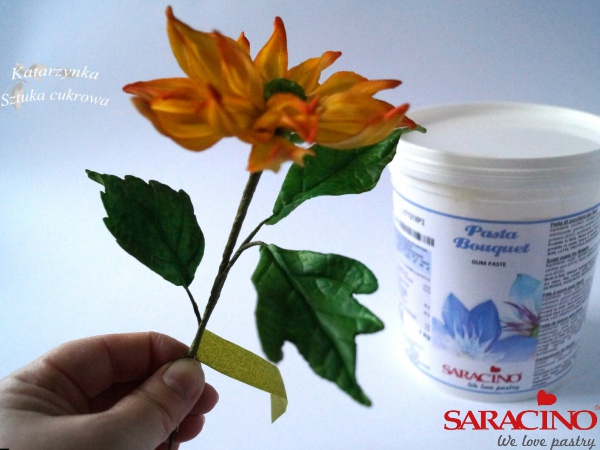
Using green colour powder dust the leaf. Also use some claret powder to dust the edge of your leaf.

Step 34
Using green floral tape fix the leaf to the flower.