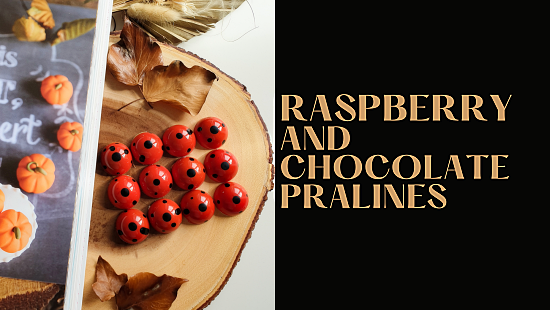
RASPBERRY AND CHOCOLATE PRALINES

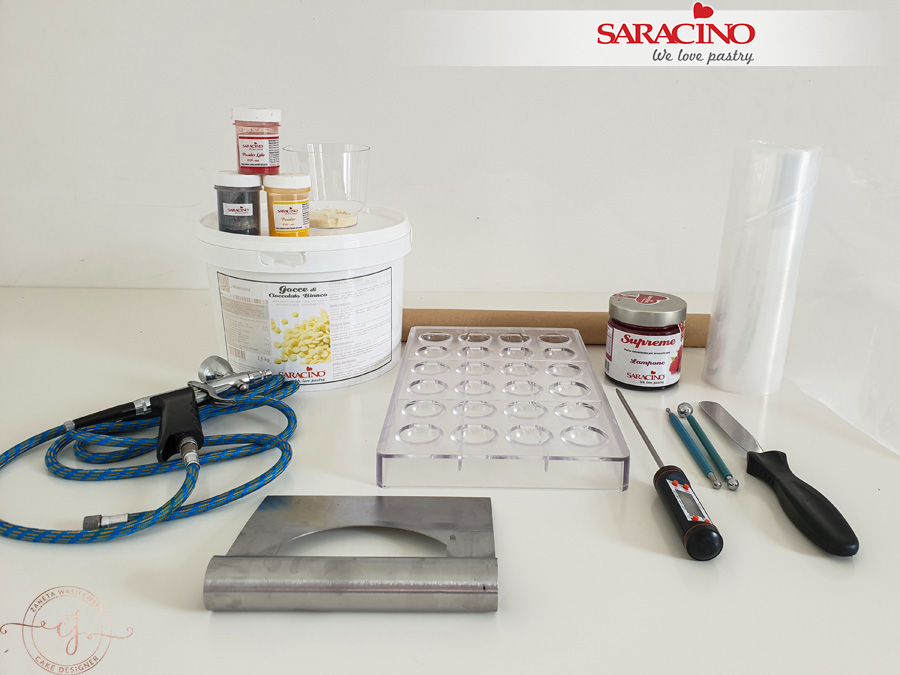
You will need:
Raspberry Ganache
- 65g double cream
- 150g Saracino white chocolate drops
- 60g Saracino Le Supreme raspberry flavour paste
- 18g of white rum (optional)
- Saracino cocoa butter
- Saracino colour powder (red, yellow, black)
- Silicone spatula
- Baking paper
- Food thermometer
- Airbrush with 0.8 nozzle
- Piping bags
- Polycarbonate mould
- Microwave
- Scraper
- Glass or plastic bowl
- Small pot
- Blender
- Metal ball tools
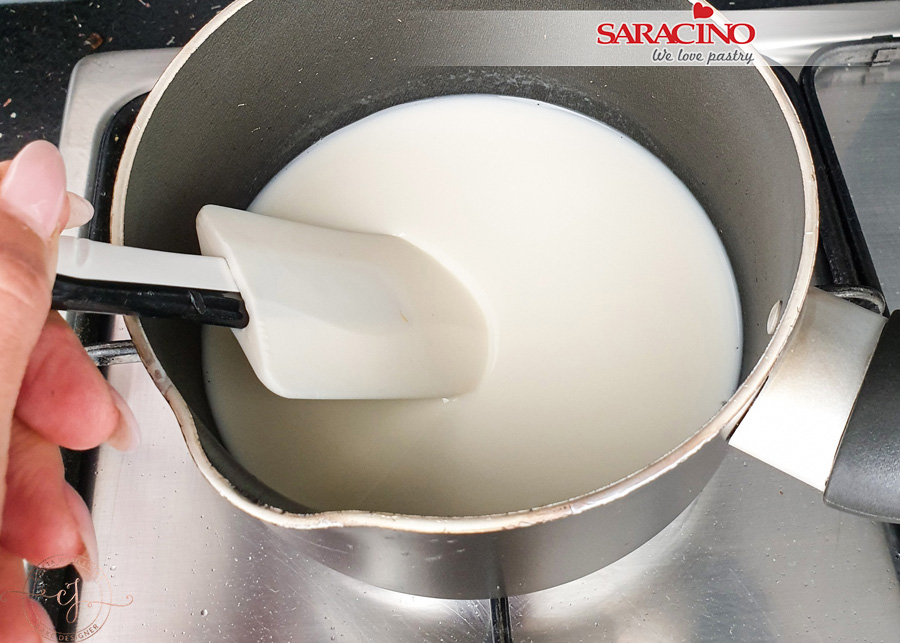
Step 1
Pour the cream into a saucepan and heat it to about 40-50 ° C. Remove from the heat
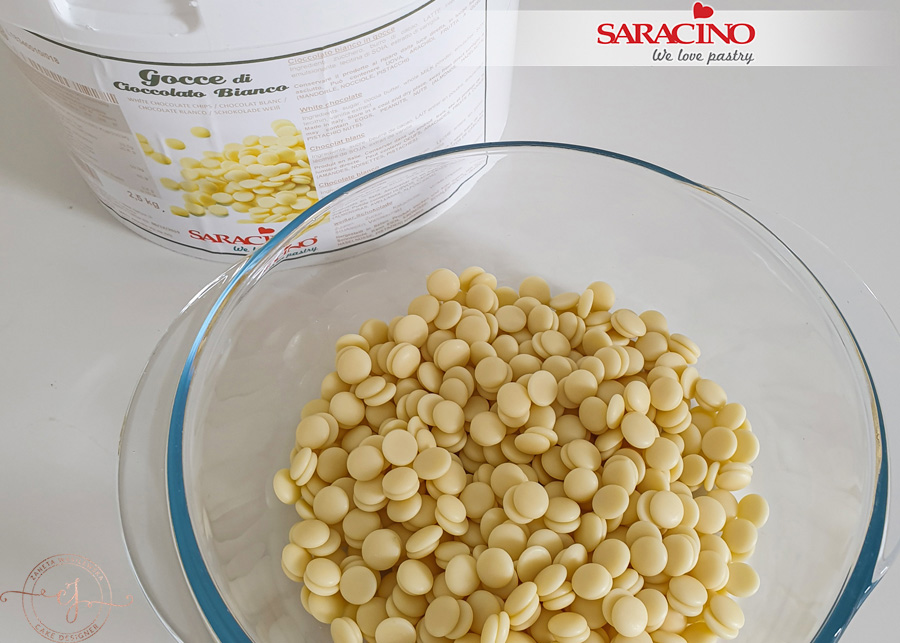
Step 2
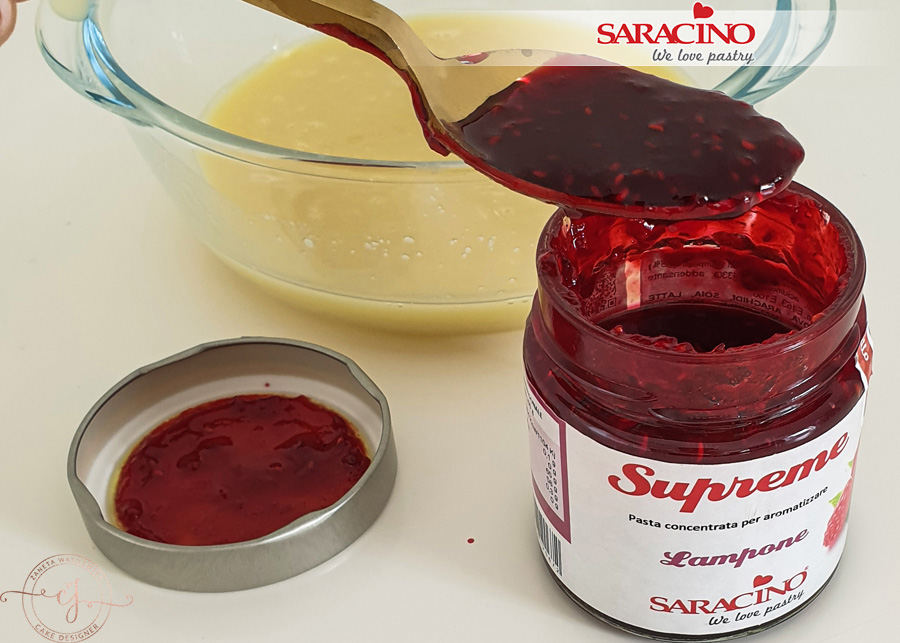
For the ganache put your white chocolate drops into a bowl. This amount will made approximately 24 pralines.
Step 3
Pour warm cream onto the chocolate and combine until a smooth consistency is achieved.
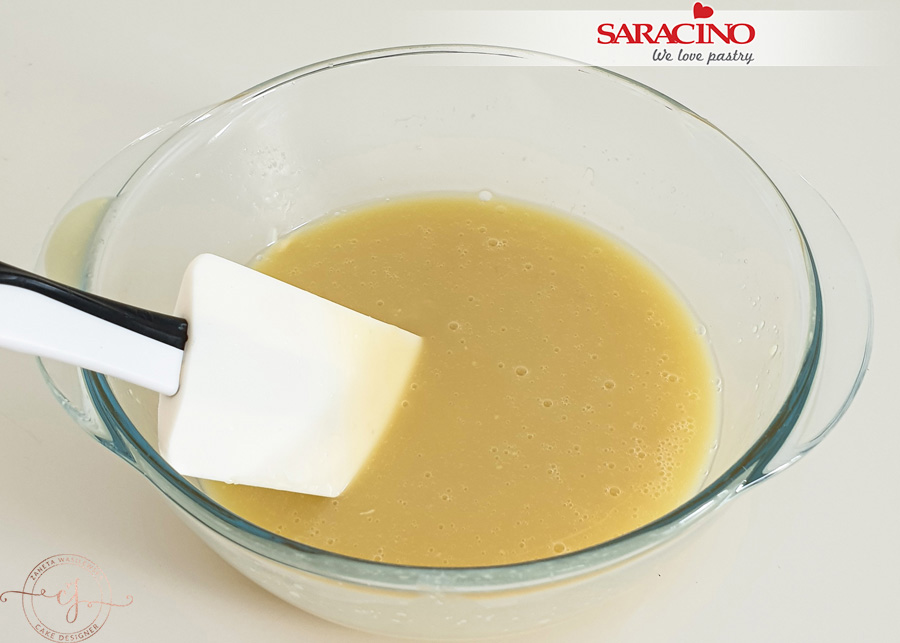
Step 4
Add your Saracino raspberry flavour paste to the chocolate mix.
TIP: If you want the flavour to be stronger use more food flavouring.
Step 5
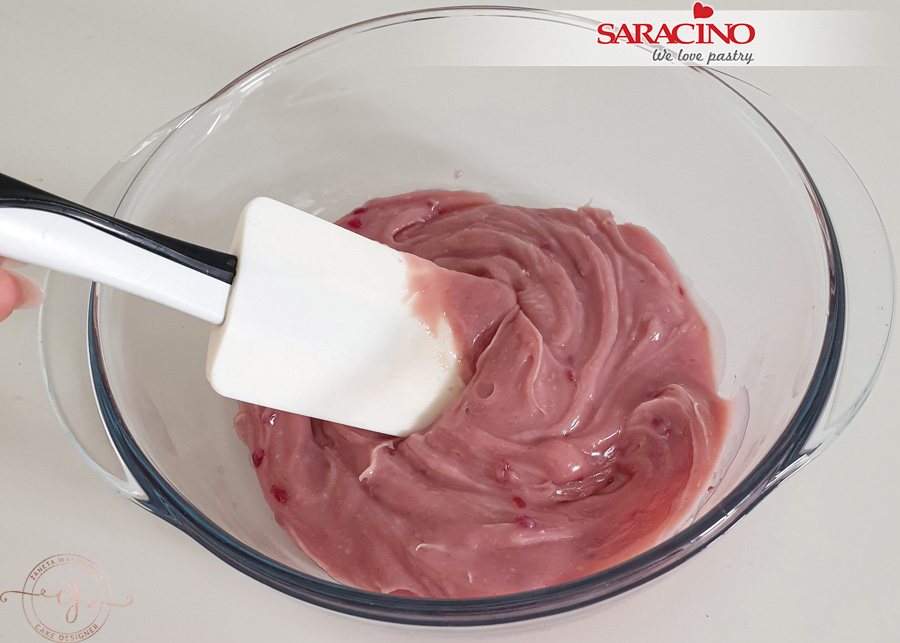
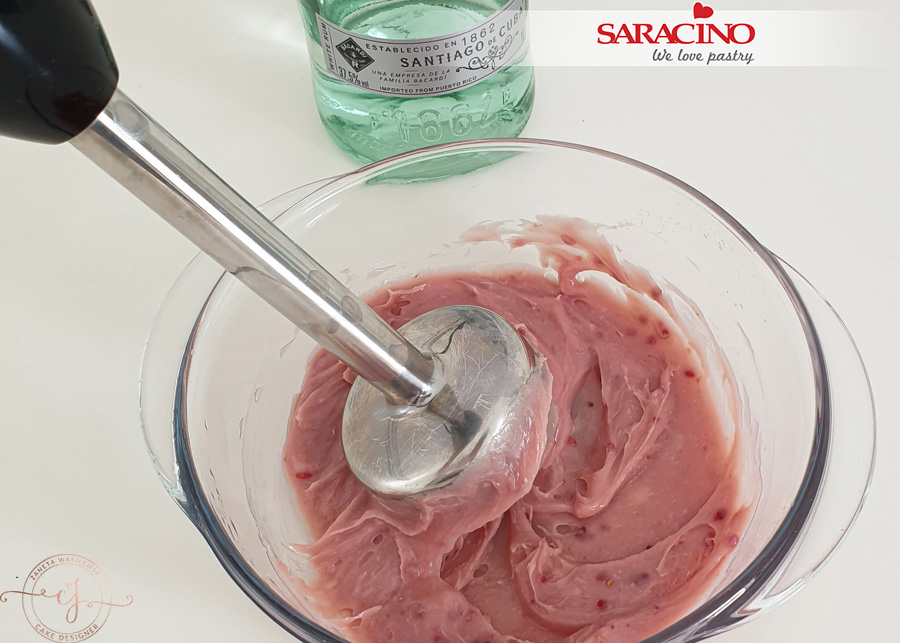
Mix until smooth
Step 6
Optional to add white rum at this stage and mix to combine
Step 7
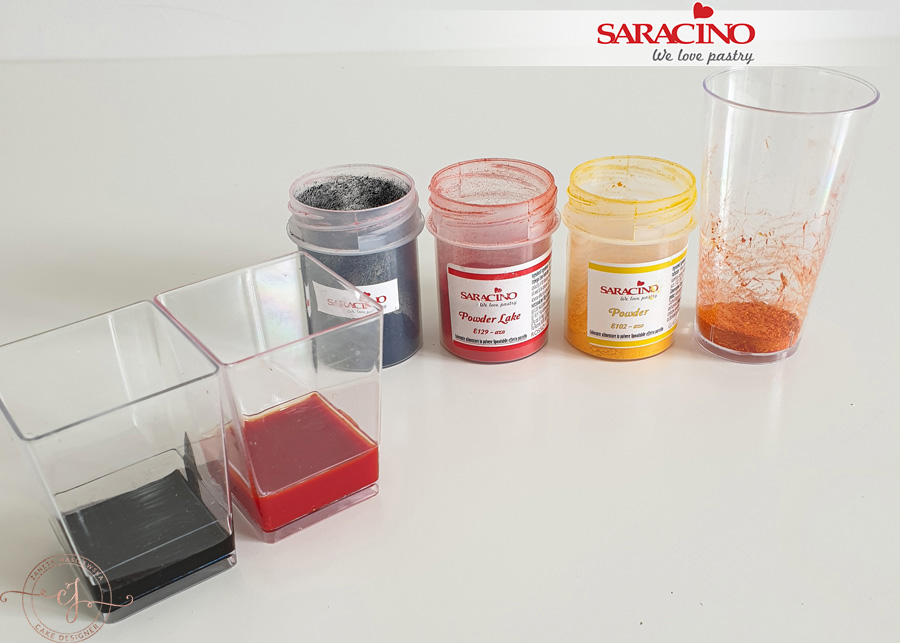
Melt Saracino cocoa butter in a microwave and mix with powder colours. The orange colour can be obtained by mixing the red and yellow powders.
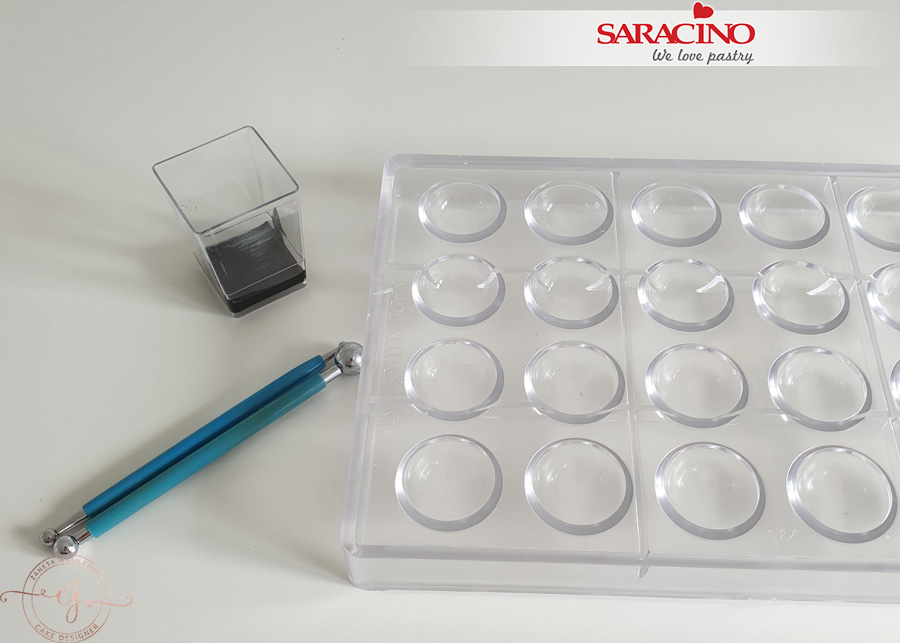
Step 8
Prepare a polycarbonate mould (make sure that it does not contain any traces of fat), metal ball tool and ready-made cocoa butter mixed with black powder
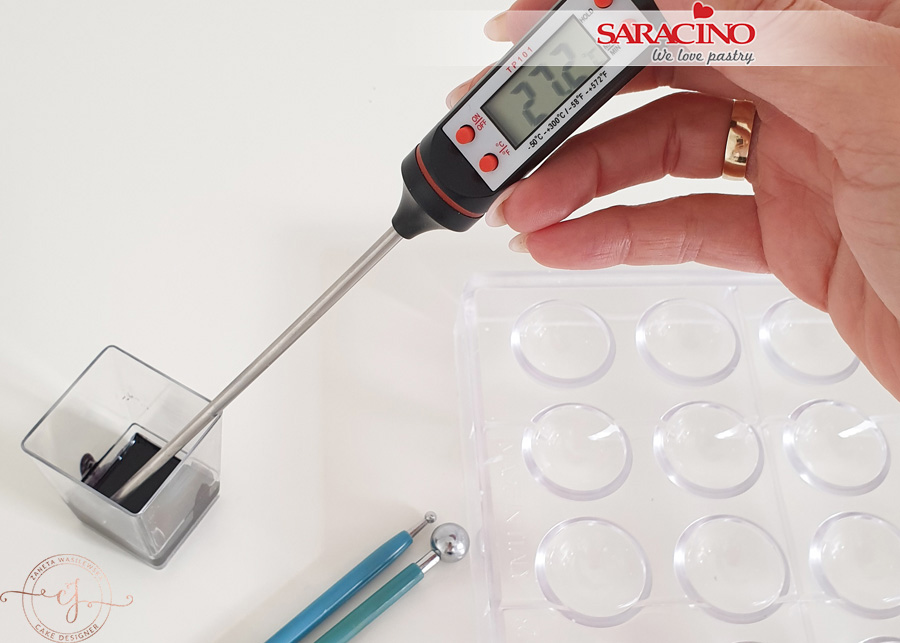
Step 9
Temper the coloured cocoa butter (around 27-28°C)
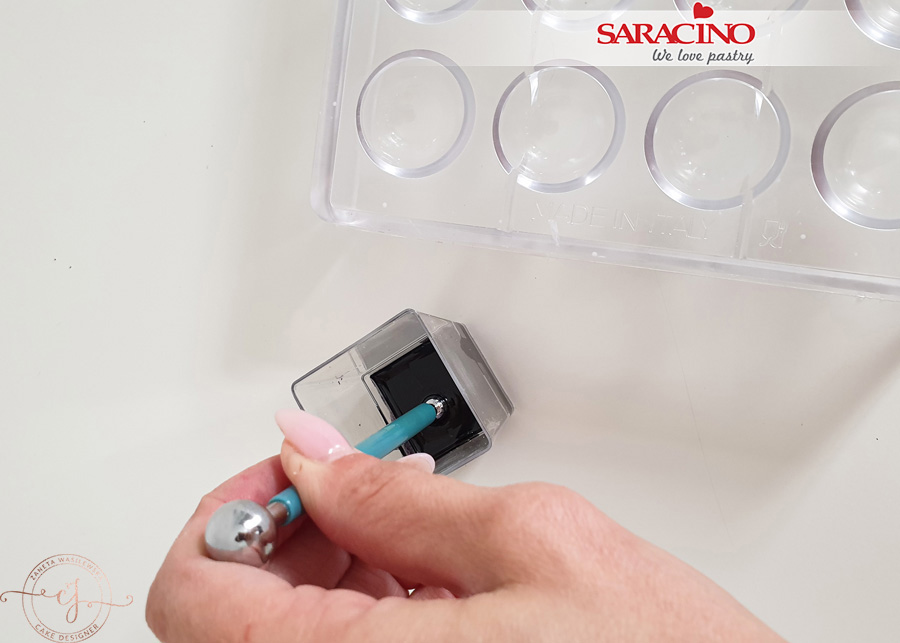
Step 10
Dip the metal ball into the black cocoa butter and gently press it into the mould.
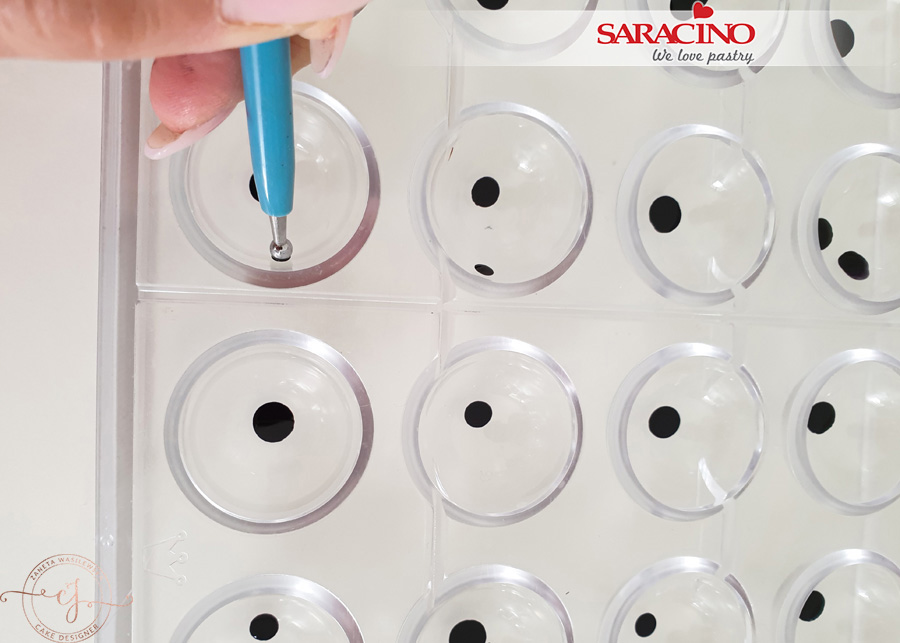
Step 11
We repeat this activity many times and use different sizes of balls to get different sized dots.
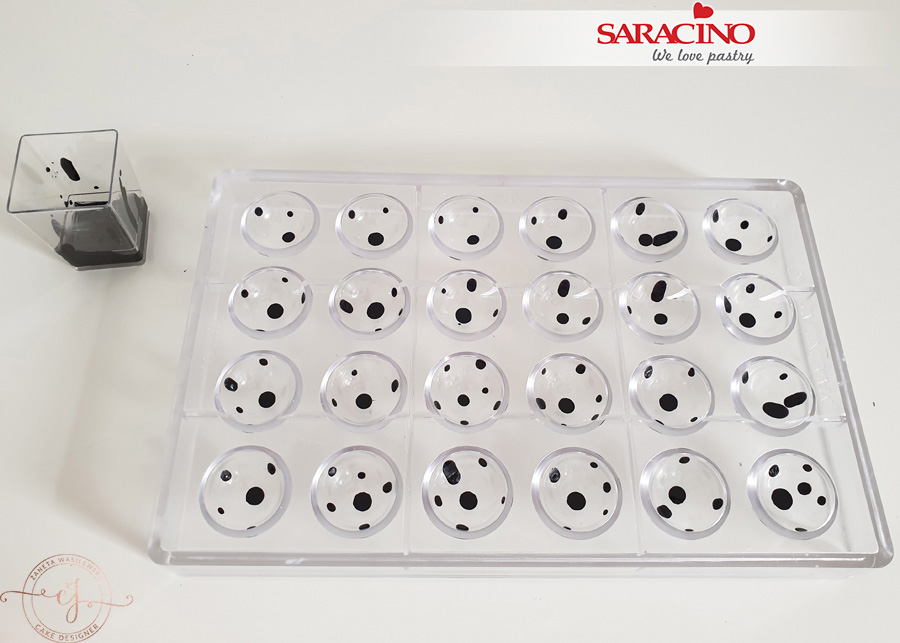
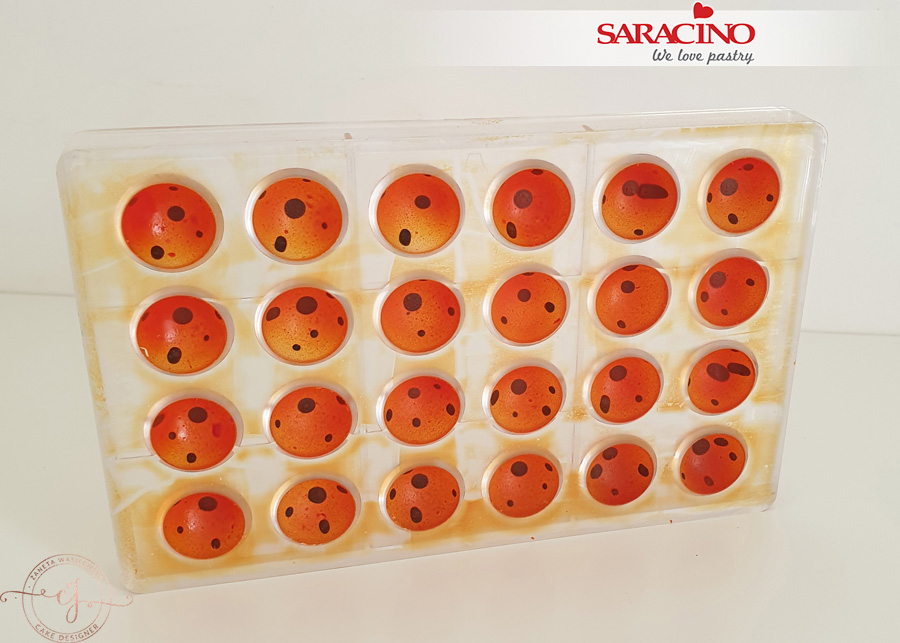
Step 12
Place aside to allow to set.
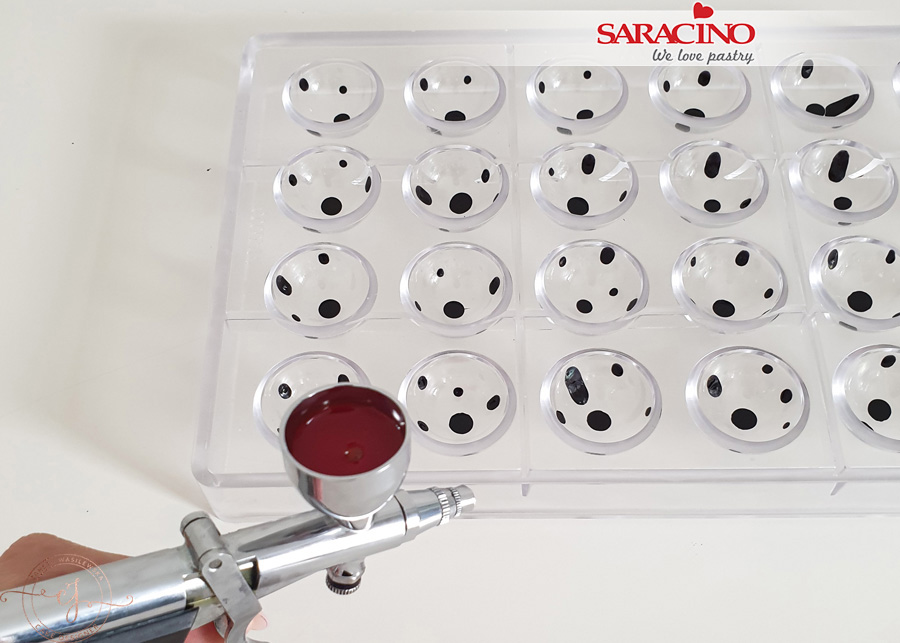
Step 13
Prepare an airbrush and pour in tempered orange-coloured cocoa butter.
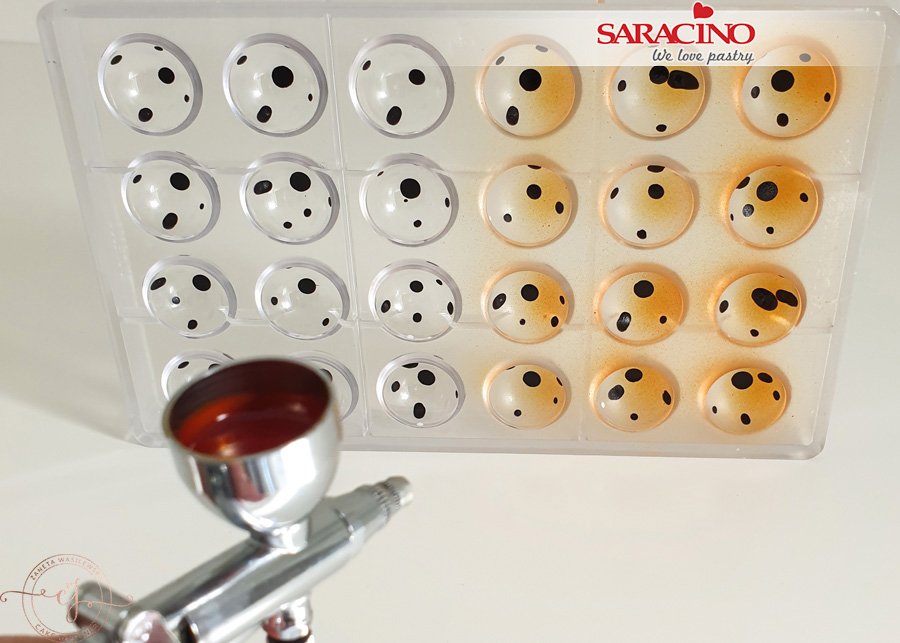
Step 14
Spray the mould.
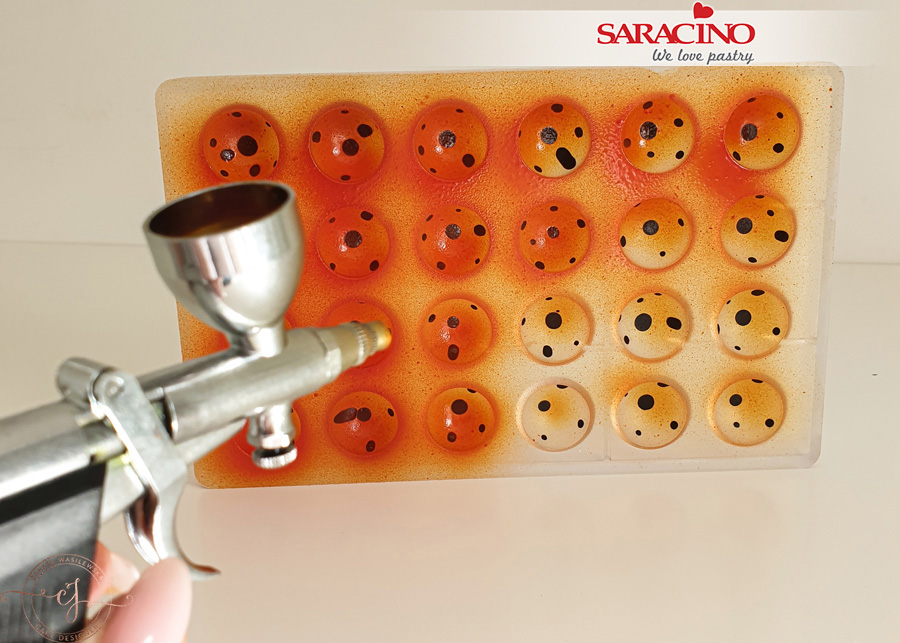
Step 15
Spray over again to achieve darker colour
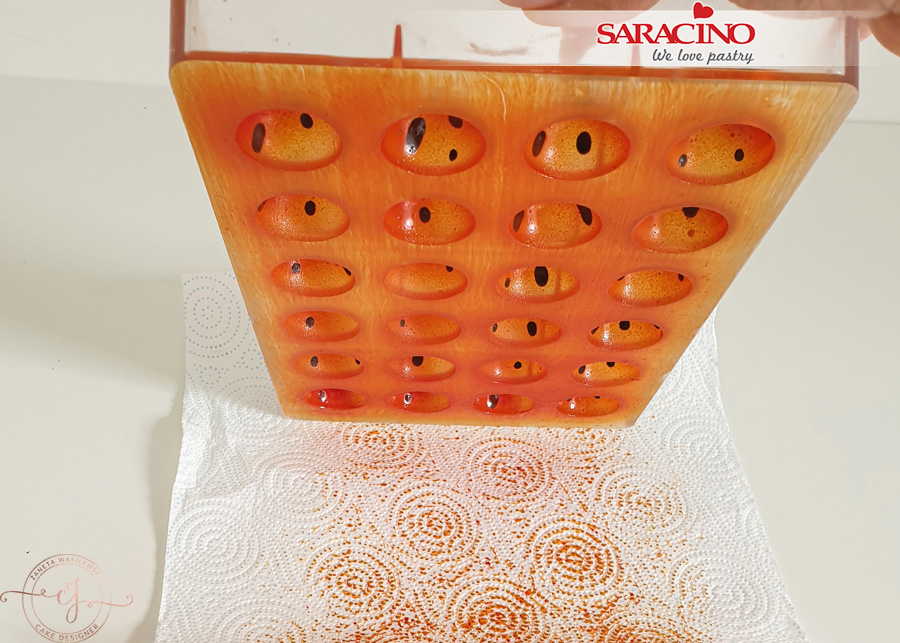
Step 16
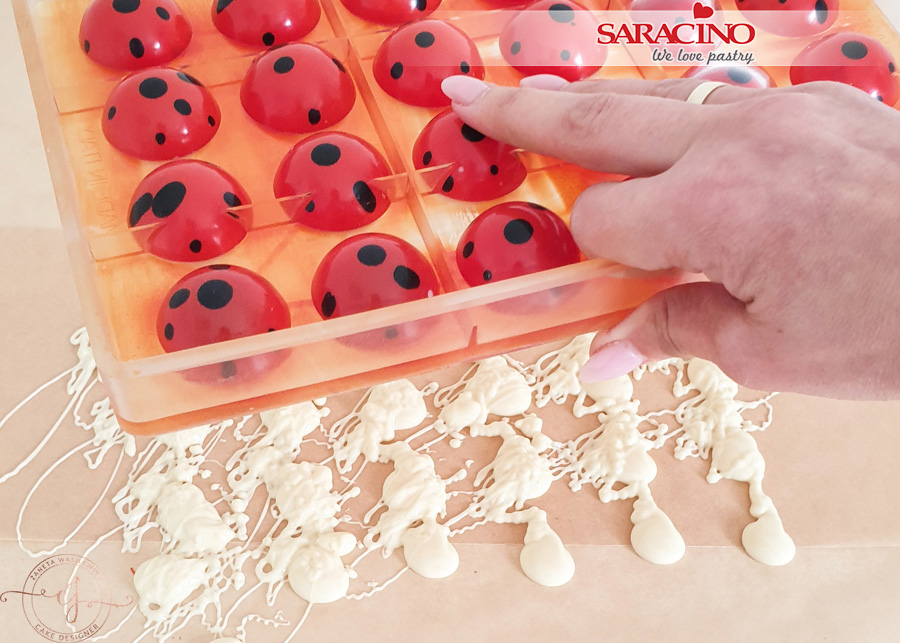
Turn the mould over and tap over a paper towel to remove the excess colour.
Step 17
Wipe the mould clean and put aside until the butter sets.
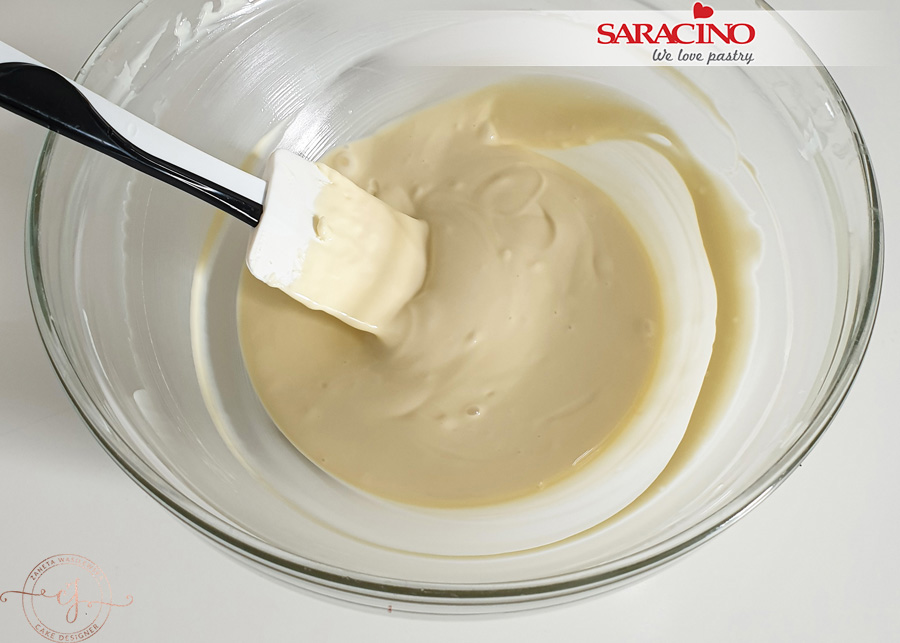
Step 18
Meanwhile, melt approximately 250-300g of white chocolate drops in a microwave to temper it. You will need a temperature of 27-28°C
Step 19
Pour the ready chocolate into the piping bag and fill the mould.
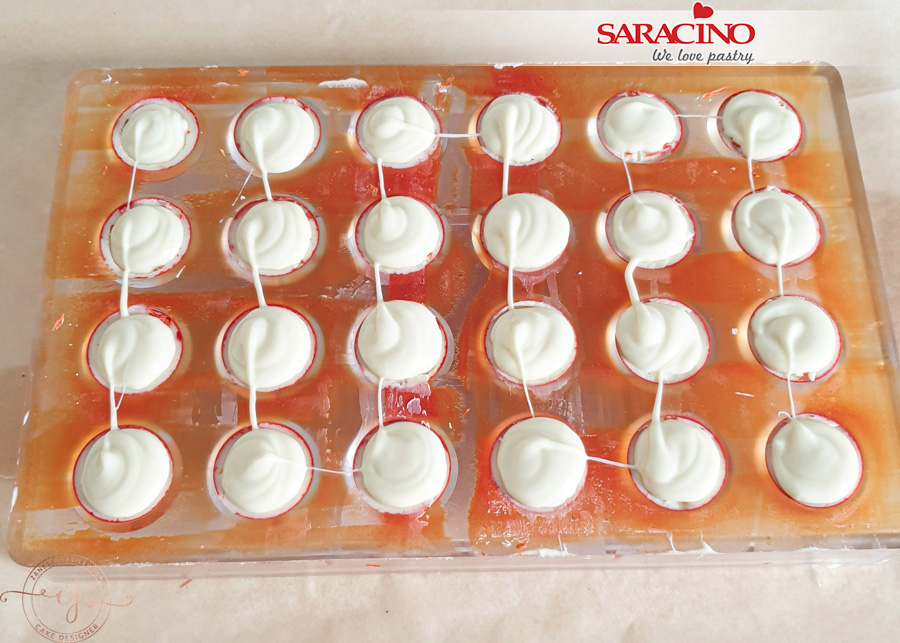
Step 20
Gently tap the mould against the table to get rid of air bubbles
Step 21
Place your sheet of baking paper on the table and turn the mould upside down over it to remove the excess chocolate. Gently tap the mould. Don’t throw the remaining chocolate away as we will be reusing it.
Step 22
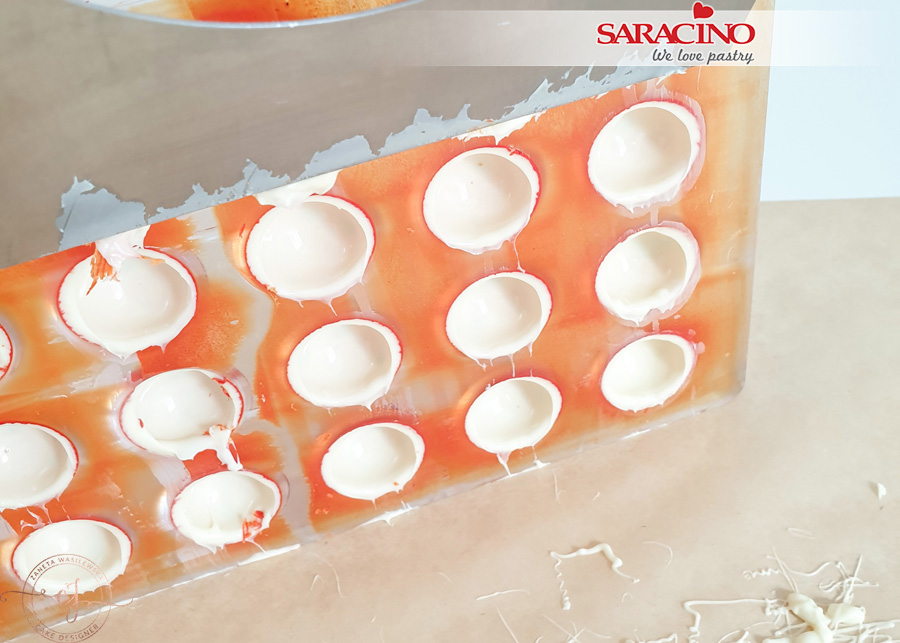
Use a scraper to remove the excess

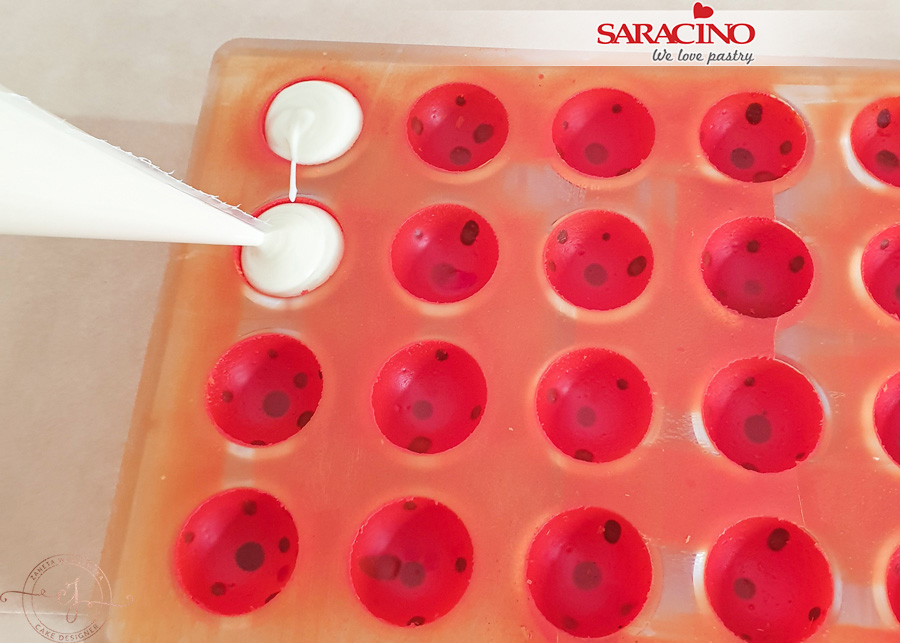
Step 23
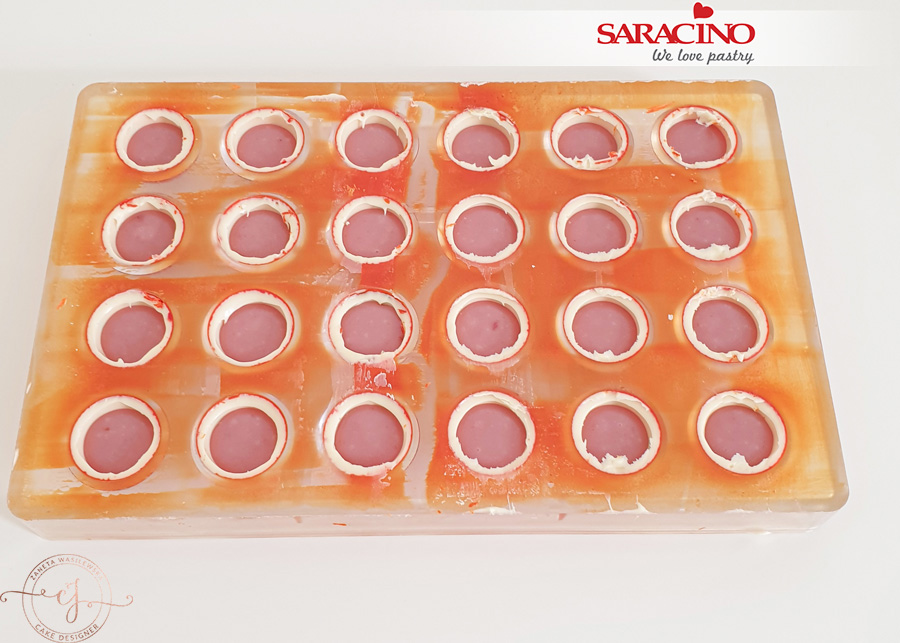
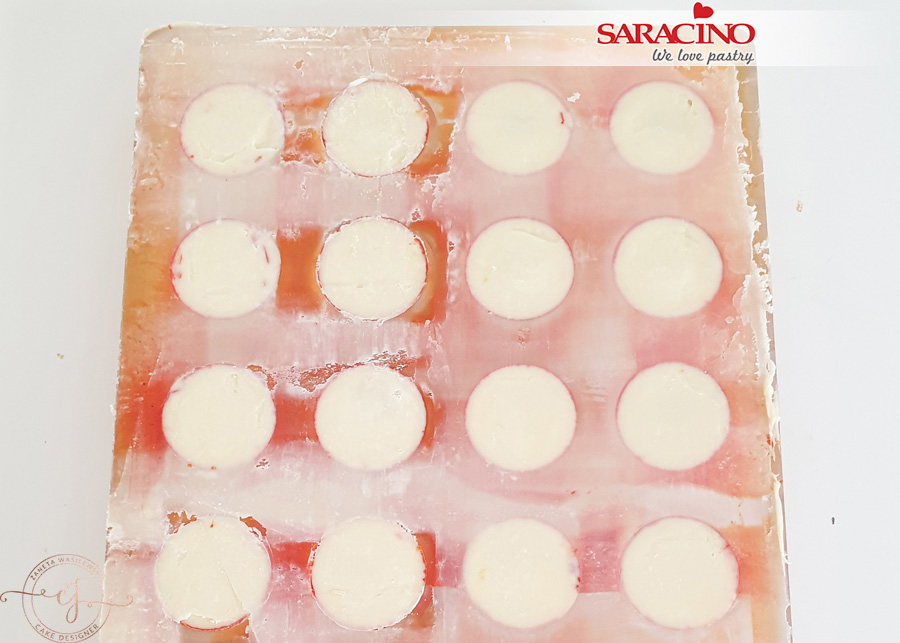
Fill each with the raspberry ganache we prepared earlier. Do not fill to the top as you will need to leave room to add chocolate over.
Step 24
Once all are filled put the mould into the fridge for 10-15 minutes.
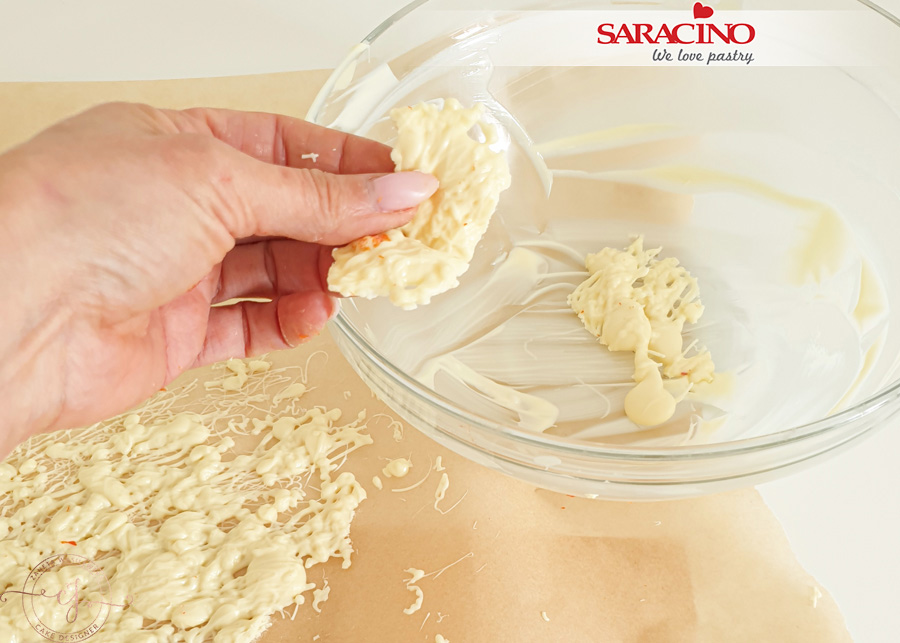
Step 25
Meanwhile, remove the remaining chocolate from the paper and put it into a bowl.
Step 26
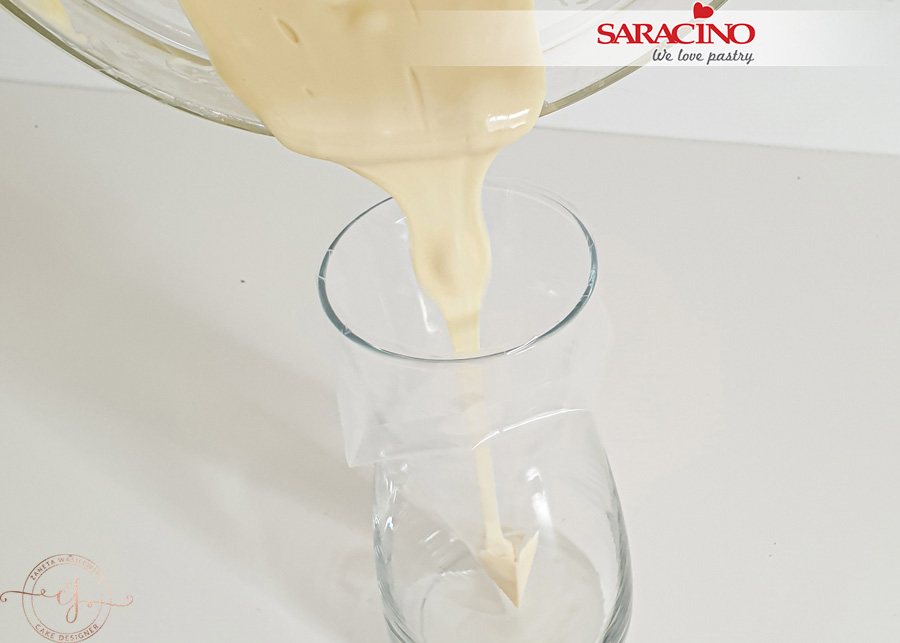
Temper the chocolate and pour into a piping bag.
TIP: I place my piping bag in a glass to hold it open.

Step 27
Remove your pralines from the fridge and pipe chocolate on the top
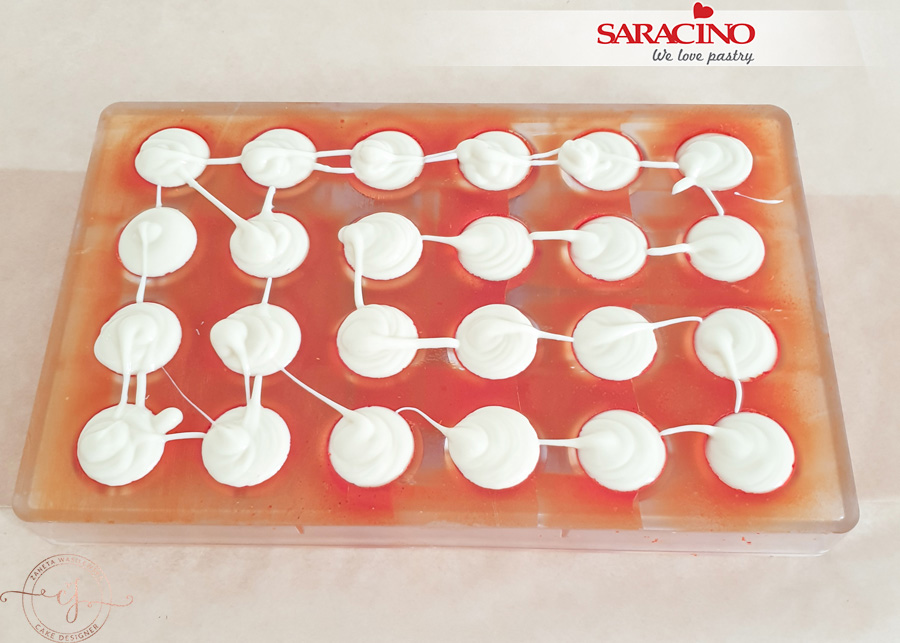
Step 28
Tap the mould over the table to remove any air bubbles
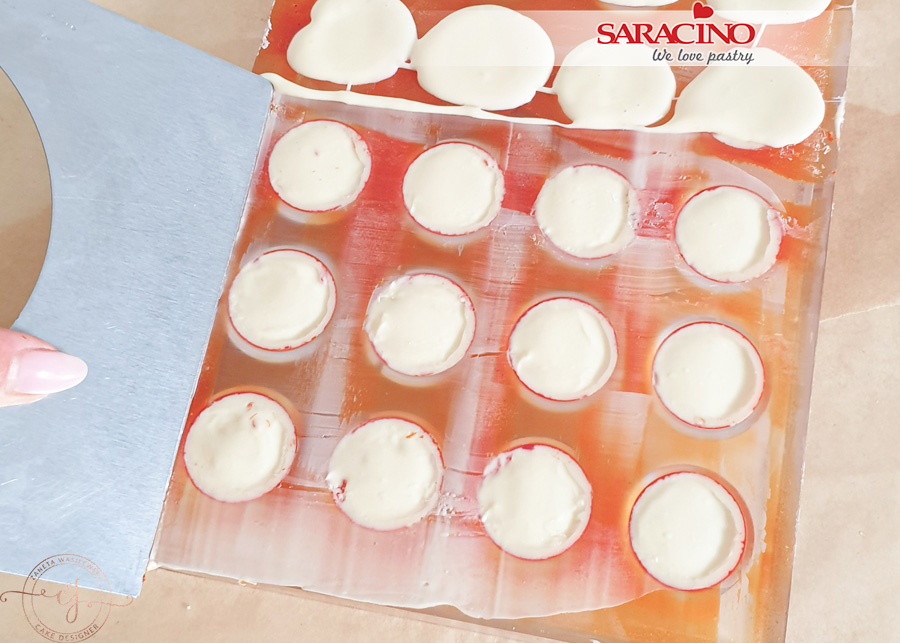
Step 29
Use your scraper to remove the excess
Step 30
When ready, place your mould into the fridge for 15-20 minutes
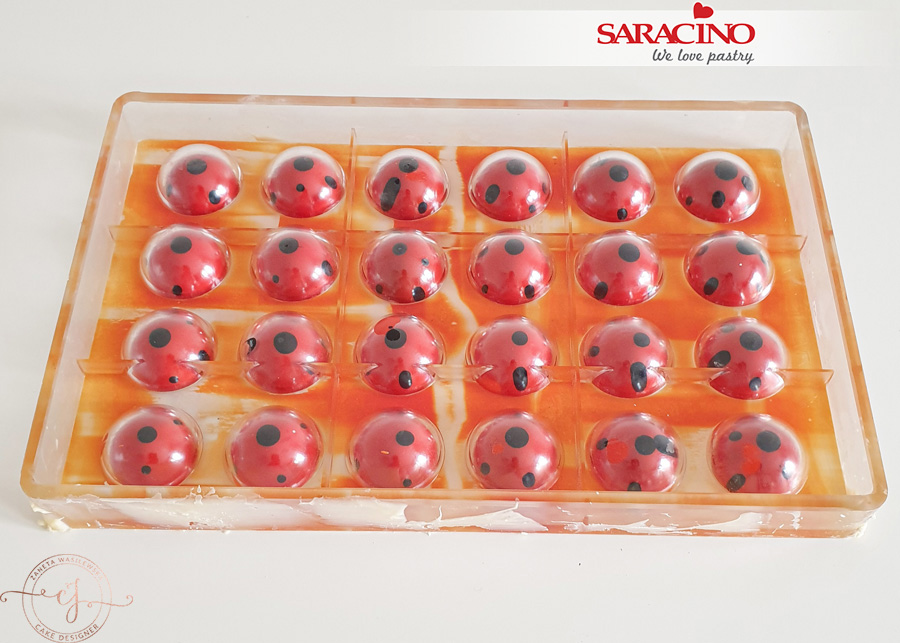
Step 31
Turn the mould upside down and tap over the table to realise the pralines from the mould
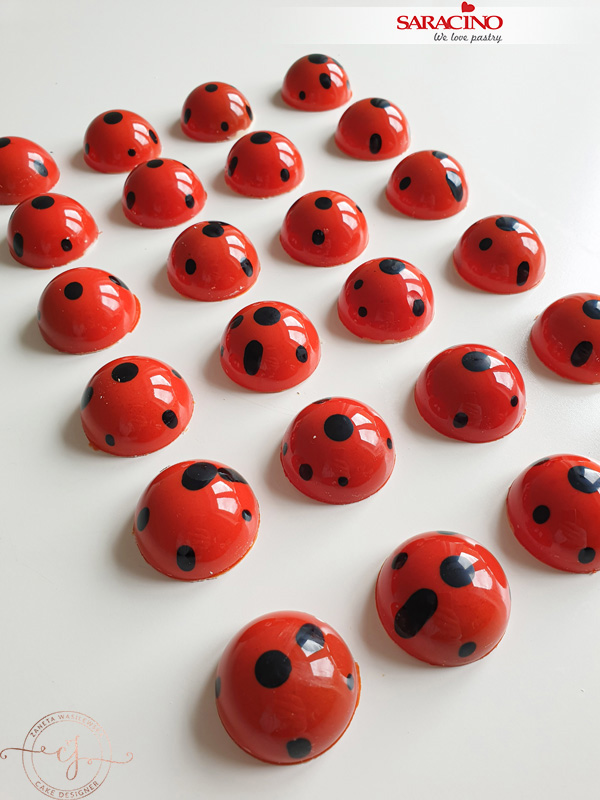
Step 32
Your pralines are ready! Bon appetite