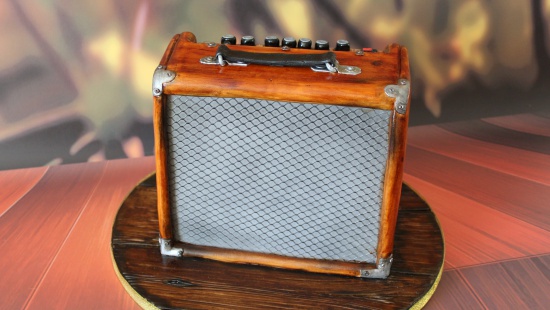
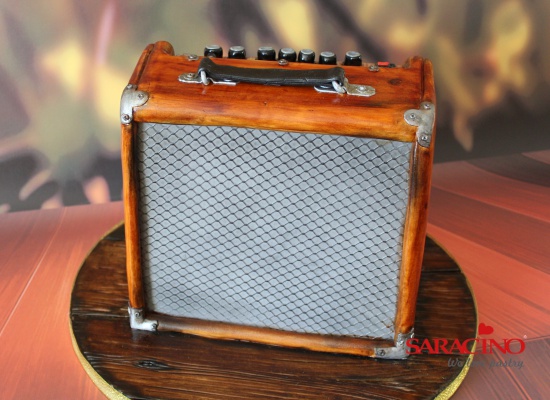
AMPLIFIER SCULPTED CAKE
AMPLIFIER SCULPTED CAKE
Author: RHIANYDD WEBB
You will need:
- 18” x 12” (45cm x 30cm) single layer sponge cake (10 egg mix)
- 750g buttercream
- 1.2kg white chocolate ganache
- 2kg pasta top white
- 50g black pasta model
- 100g pasta model white
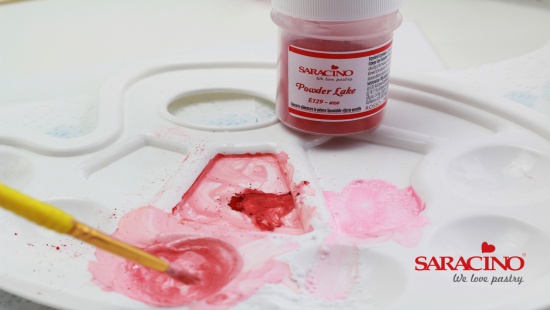
- Dust colours: yellow, orange, brown, green, black
- Paste colours: black, red
- Metallic colours: light silver; light gold; bronze
- Saracino Liquid shiny
- Nielssen Massey lemon Extract
- Dinkydoodle Shell and shine
- Greaseproof paper
- PME Stitch wheel
- Long serrated knife
- Long and small rolling pins
- Palette Knife
- Scalpel
- PME dresden
- No.2 brush for glue
- No.8 filbert brush
- Large wide paintbrush
- Large blusher paintbrush
- 14” (35.5cm) round cake drum
- 8” x 4” (21 x 10cm) cake card with one hole in centre for a dowel
- 3 long cake dowels
- Fishnet cake lace mat (Clare Bowman)
- Circle cutters 1m, 1.5cM
Step 1
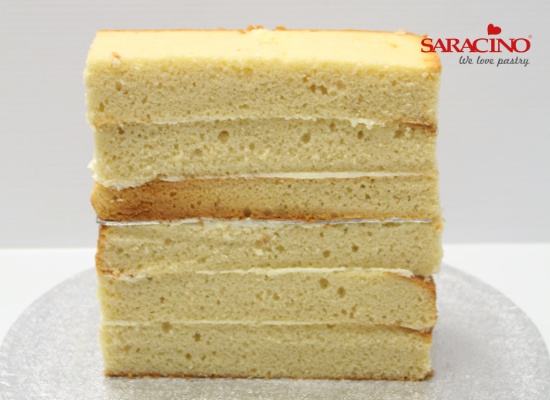
Cut the prepared sponge into layers 21.5cm by 11cm. Spread a little buttercream onto the cake drum and place on the first layer. Spread buttercream and add two more layers. Cut two of the dowels to size and dowel through the first three layers of cake, buttercream and fix the cake card on top. Push a long dowel down through the hole, buttercream the cake card and continue to add layers. Trim the sides and top of the sponges straight.
Step 2
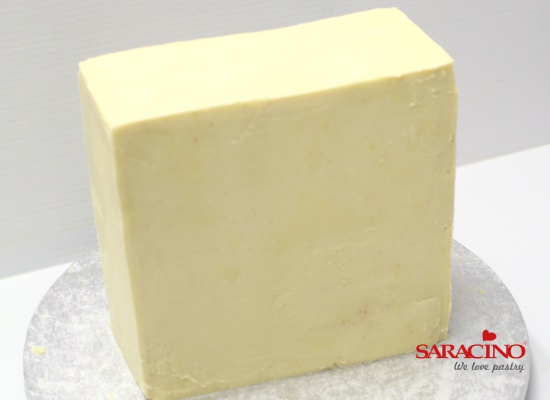
Cover the sponge with white chocolate ganache by spreading with a palette knife. Chill in between adding layers until approximately 4mm thick. Smooth down with a hot knife to neaten.
Step 3
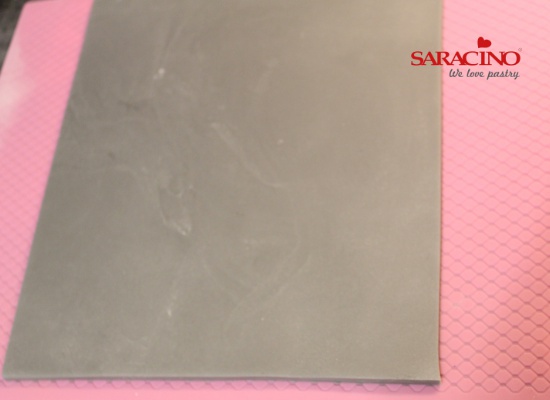
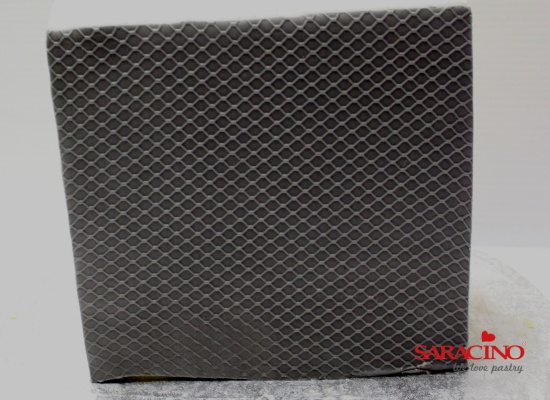
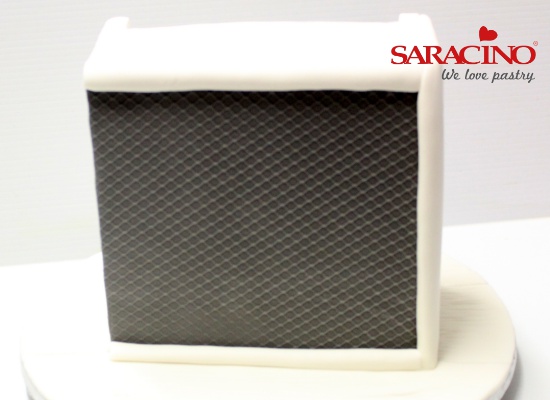
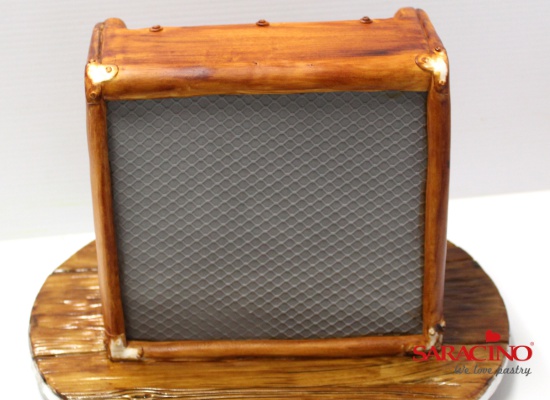
Colour 300g of the pasta top grey by adding a little black paste colour. Pin out to 3mm thick and place onto the cake lace mat. Roll over with a rolling pin to emboss, then measure the cake and cut the grey to fit the front. (You can also choose to trim when it is in place).
Step 4
Brush the ganache with tepid boiled water. Use the cake lace mat to lift the paste into place.
Step 5
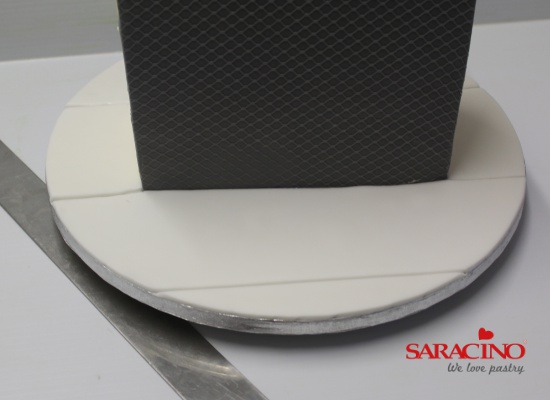
Pin out 300g of white paste top and cover the cake drum (moisten the drum first with water) by adding a strip first to the front, then the back of the drum. Finally add smaller sections either side. Emphasise these joins and add a couple more by pressing in a ruler to represent floor boards. Trim the edges.

Step 6
Mark knots and lines on the boards with the narrow end of the Dresden tool.
Step 7
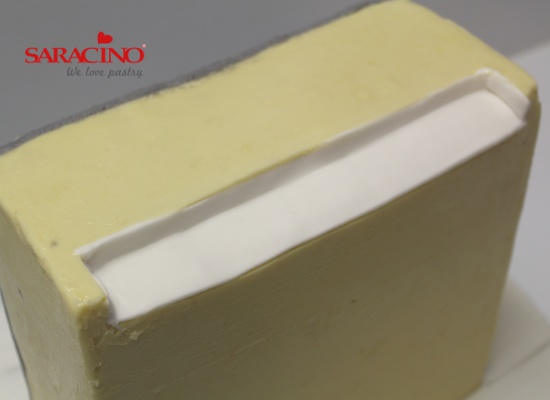
Use a sharp knife to cut a small recessed section from the back of the top of the amplifier as shown 18cm long and 4cm wide. Add more ganache then cover this section with thin white pasta top.
Step 8
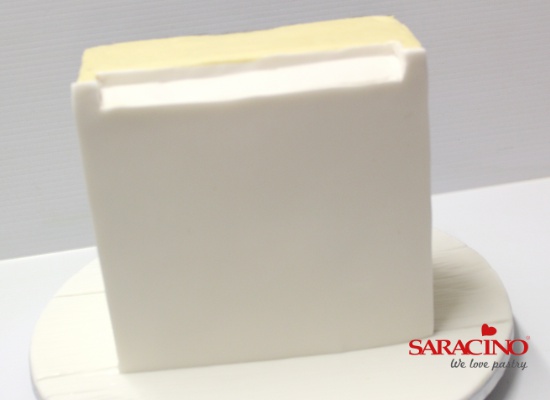
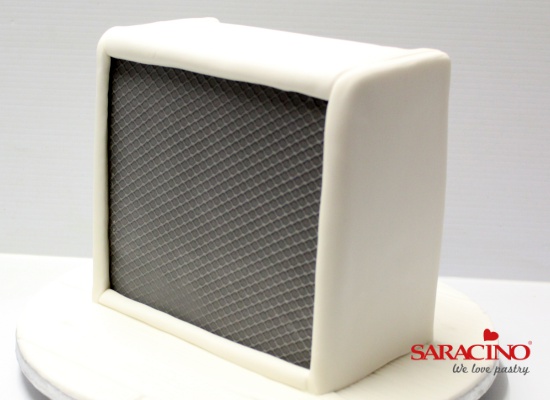
Pin out white pasta top 3mm thick and cut a panel to fit the back of the cake. Fix in place with tepid water as before. Trim to fit.
Step 9
Pin out more white paste and next cover the top, curving the paste over the edge towards the front. Next add a strip at the front to represent the base, then cover the sides, curving the front edge as before.
Step 10
Add the final side and then use a Dresden tool to emphasise the joins.
Step 11
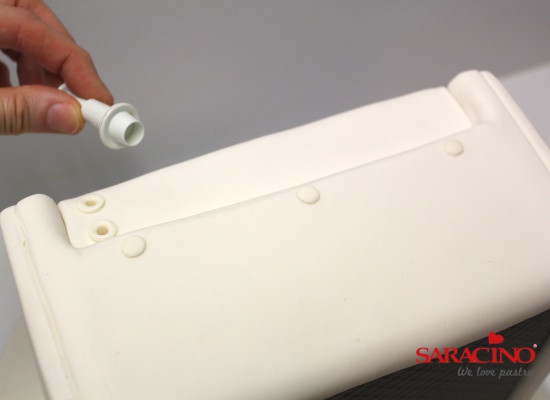
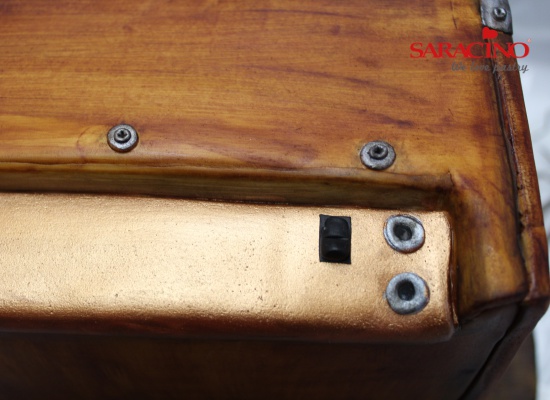
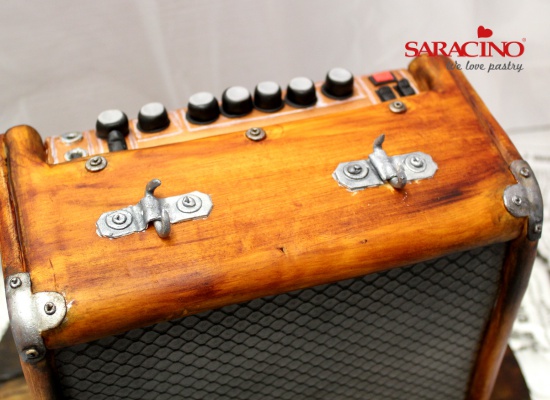
Add the washers and sockets as in the image by pinning out pasta model white thinly and using a 1cm circle cutter. Fix into place with edible glue. Use the handle of the paint brush to make holes into the input sockets.
Step 12
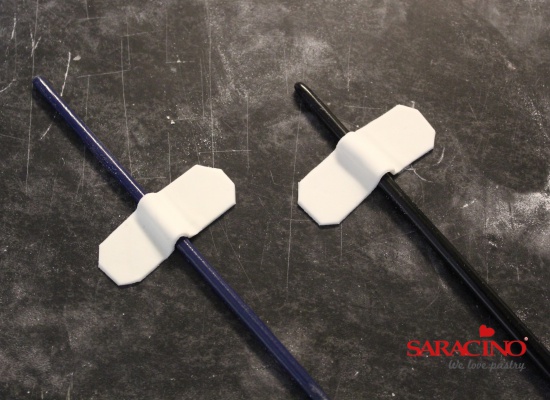
Create brackets for the handles by cutting out strips of white pasta model 3cm x 1cm and cut off the corners. Place the shapes onto paintbrush handles to create the ridge. Leave to set.
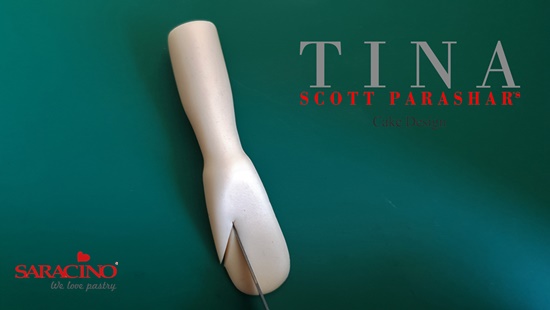
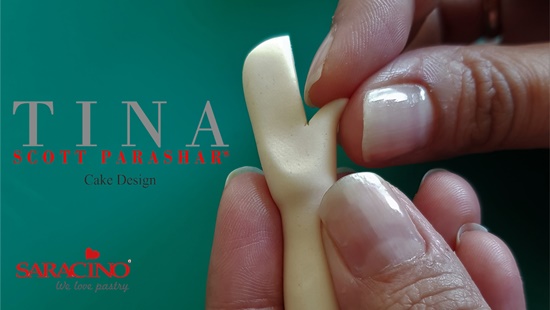
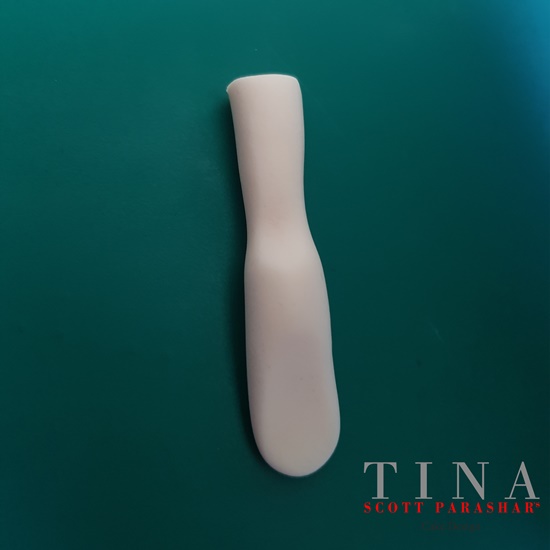
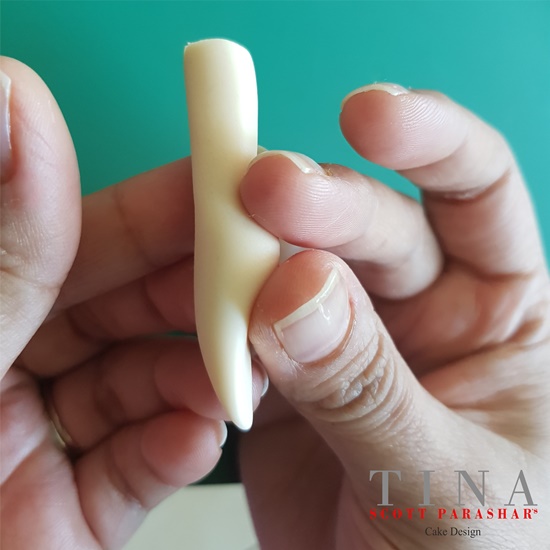
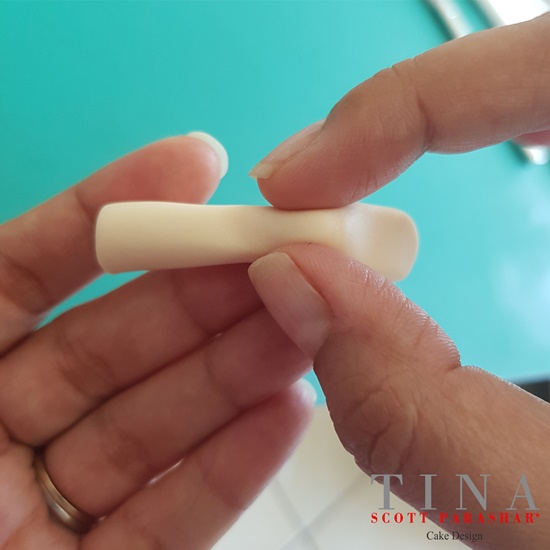
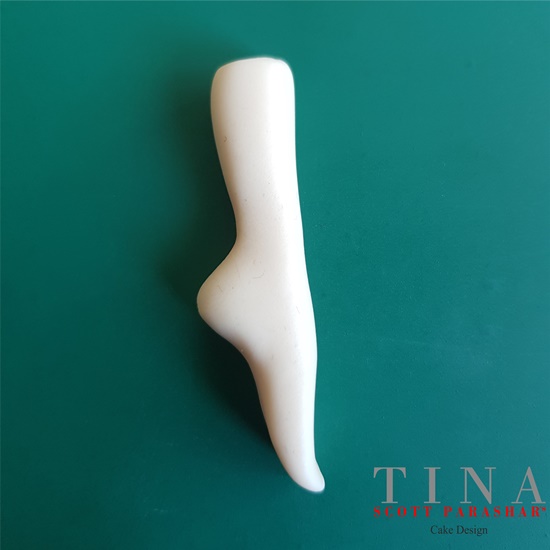
Step 13
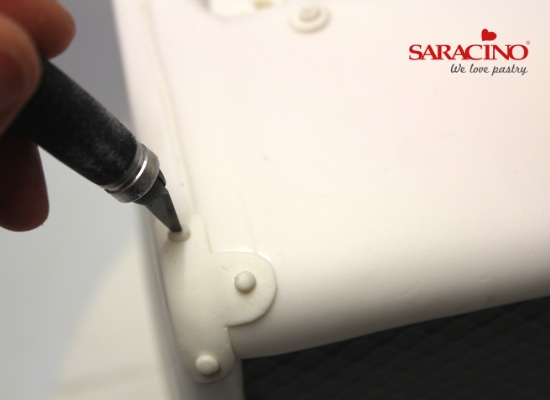
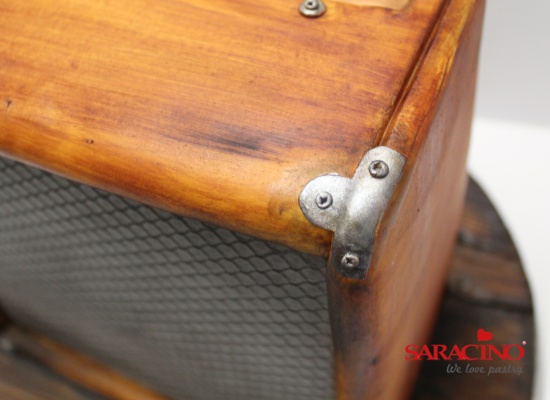
Cut the T-shapes as in the image to act as the corner protectors. Roll tiny balls of white pasta model and gently press into place for the screws. Mark a cross on the top of each by pushing a scalpel into the ball.
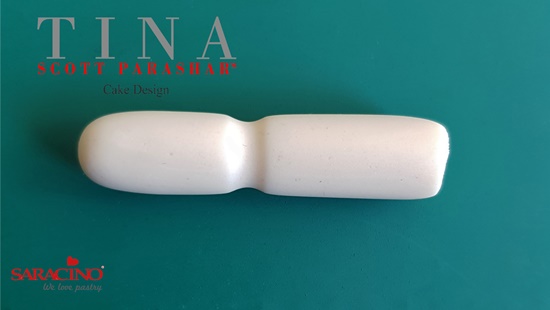
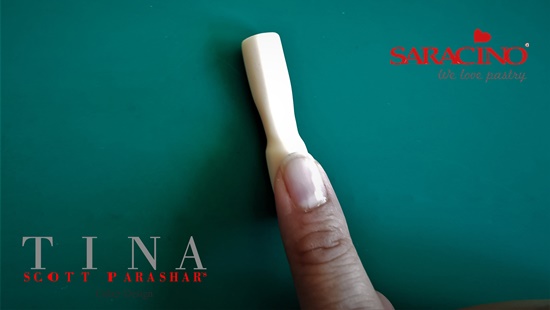
Step 14
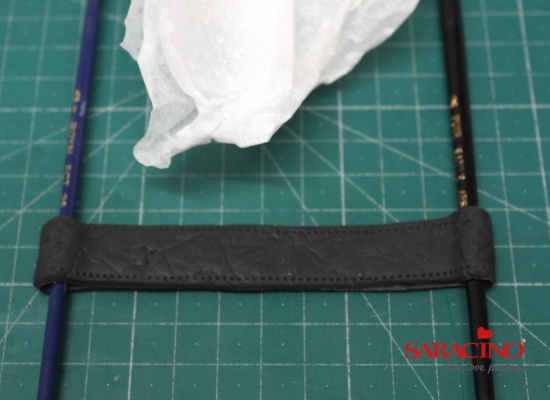
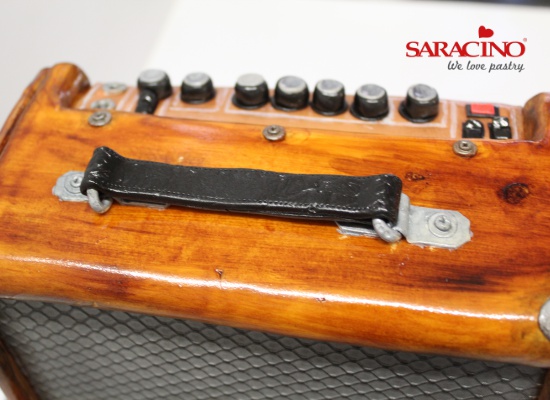
To make the handle, Cut out a strip of black pasta model 20cm long by 1.5cm. Use a stitch wheel to mark along the length. Turn face down. Place the two paint brushes onto the paste, each 5cm from the middle and fold the paste over so that they form a double layer. Turn back over and pressed crunched greaseproof paper on to create a leather effect.
Step 15
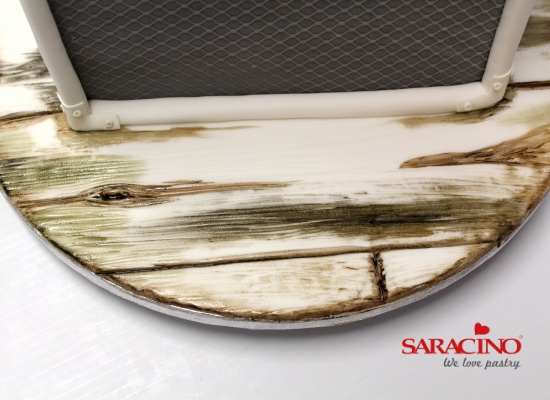
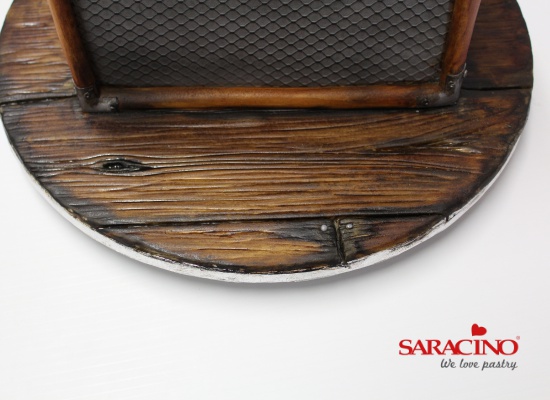
Mix brown, green and a little black dust colours together with Nielssen Massey lemon extract and use a large wide paint brush to paint colour into the deeper marks and the edges of the iced drum. Vary the colour so that the deeper shades are in the deeper gaps.
Step 16
Add more brown to the mixture and paint the drum with long strokes until covered. Next add yellow and a little orange into the mix and add stripes to the cake as in the image. Allow these to dry before adding the next layer of colour.
Step 17
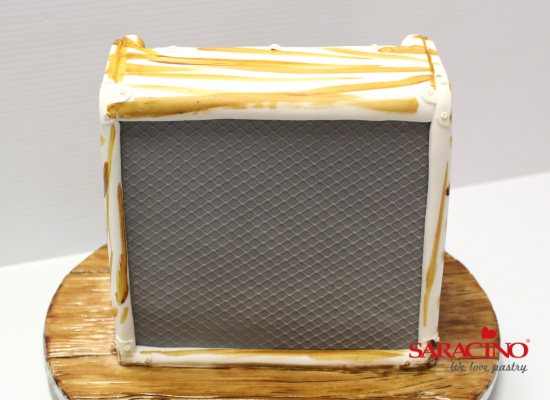
Paint the cake with long strokes of the same colour mixture slightly diluted down more until an even covering in achieved.
Step 18
Cover a plate with foil. (This protects the plate and means you can simply discard the foil when you have finished.) Mix light silver with a small amount of black dust colour and add liquid shiny and paint onto any screws or corner protectors. Next use a dry large blusher brush and dry dust the grey front in circular motions with black to add depth to the grey. Mix a little lemon extract in with the black and add shading into the screws and around the brackets using a small brush.
Step 19
Mix a little brown into black dust and lemon extract and use a large flat paint brush to add the depth as shown in the image into the gaps between floor boards and in the knots. Add two small balls of grey and place as in the image to represent nails and paint silver.
Step 20
Paint the recessed panel with bronze and brown mixed with liquid shiny. Create switches by cutting out 1cm long rectangles from black pasta model. Next roll a small sausage of the black slightly shorter than the rectangle and flatten one side. Make two more.
Step 21
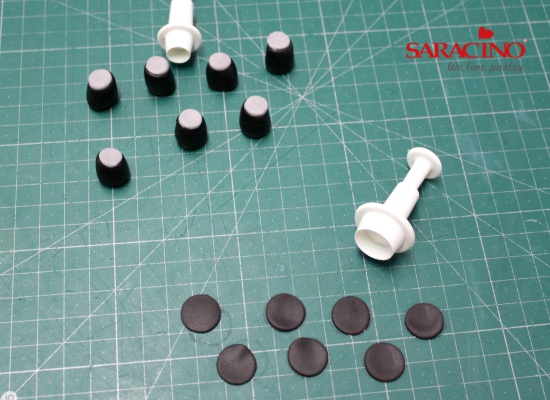
To create the dials, roll 1g balls of black pasta model into a sausage shape and press down onto the board to flatten one end. Pin out more black and cut 1.5cm circles for each of the dials. Use a little of the grey leftover paste, pin out thinly and cut 1cm circles to sit on top of the dials.
Step 22
Mix light silver with liquid shiny and paint the lines onto the dials section as in the image using a fine paintbrush. Create the red light but cutting a small rectangle of red paste, place this on top of rolled out black paste and cut a slightly larger rectangle around. Fix the brackets for the handles on top of the cake and make washers and screws as in step 11. Roll a thin sausage of white pasta model and fit under the ridge in the brackets for the fixings. Cut each to 1cm longer than the bracket either side and pinch to a point. Paint silver and add a little black as before the age the silver. Fix the dials into place.
Step 23
Place the handle onto the brackets slightly pulled to one side. Gently press the points of the fixings into the hollows on the handle left by the paintbrush. Spray the whole cake with Dinkydoodle shell and shine

Step 24
TA -DA