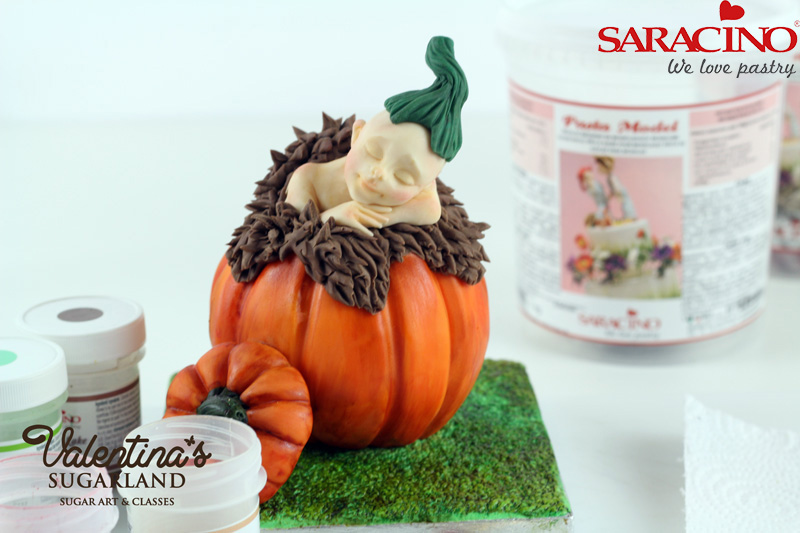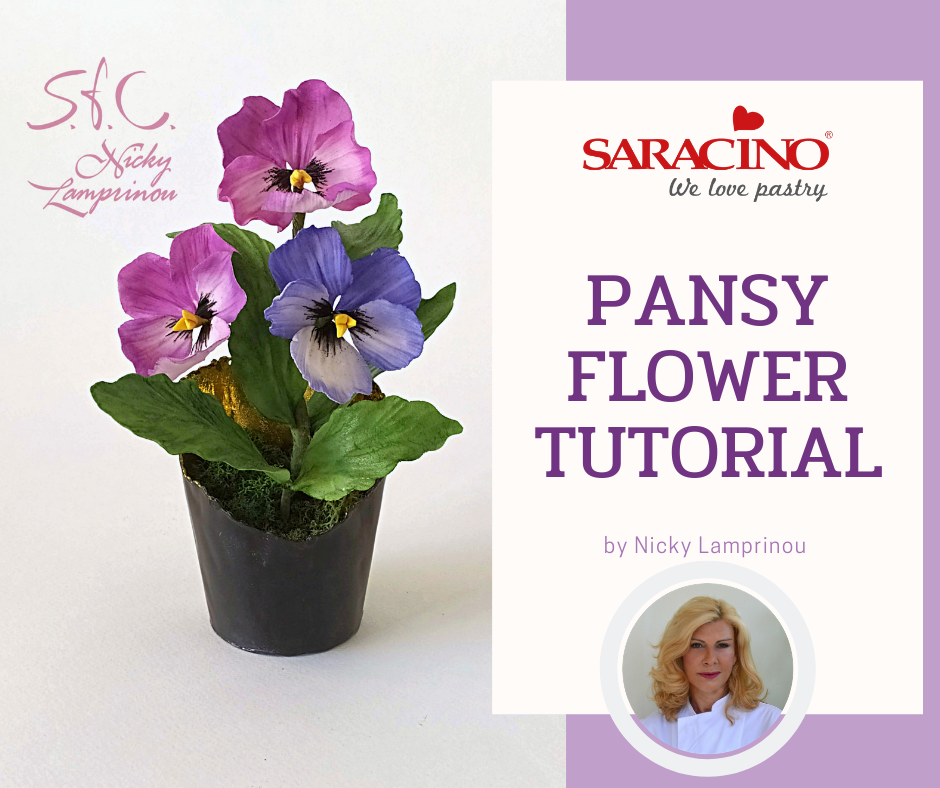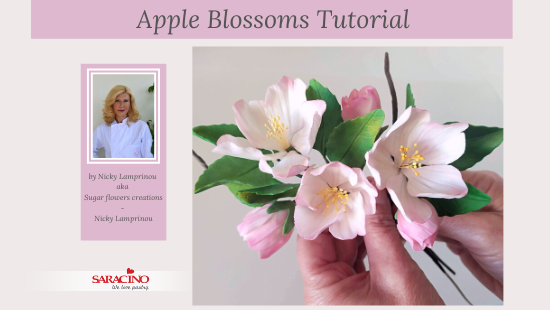
APPLE BLOSSOMS TUTORIAL


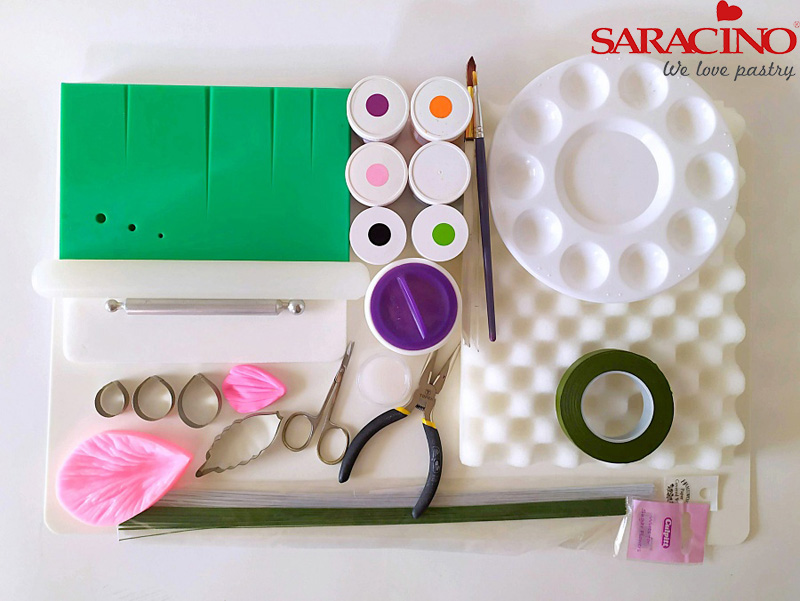
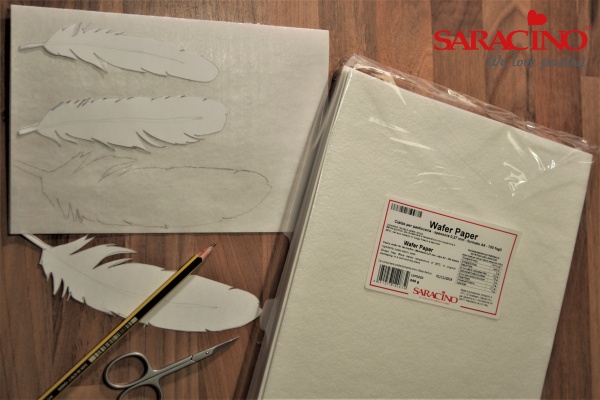
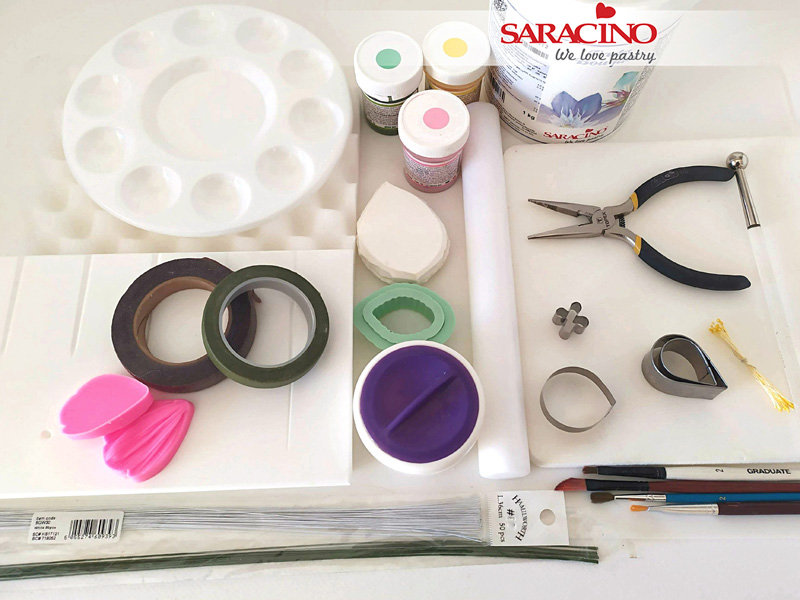
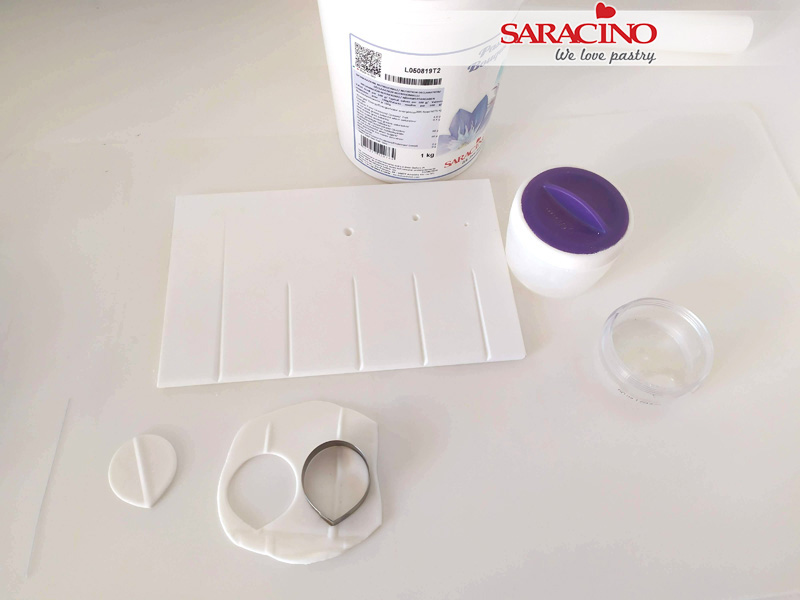
You will need:
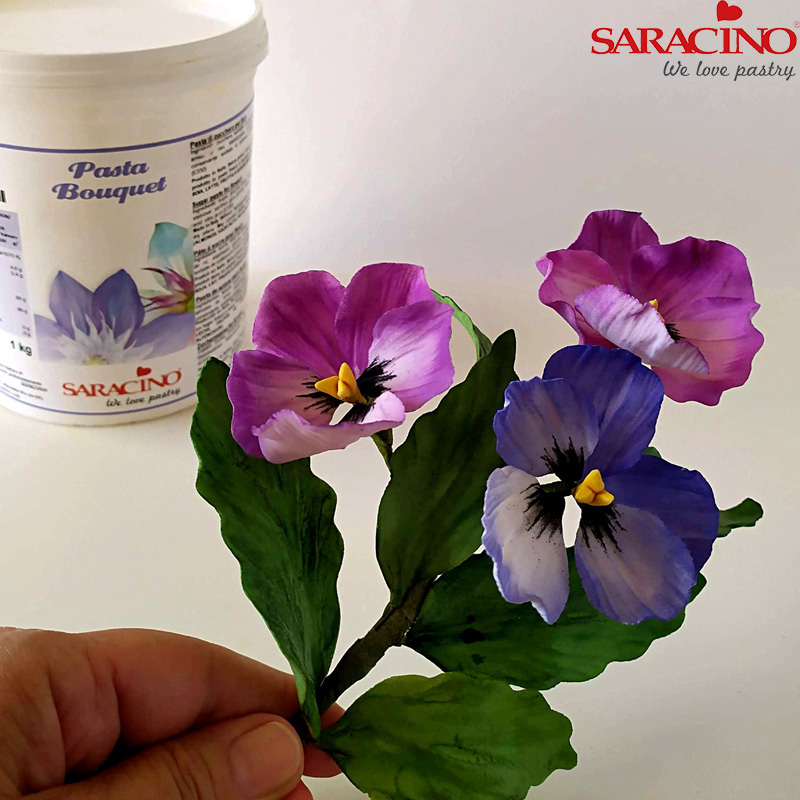
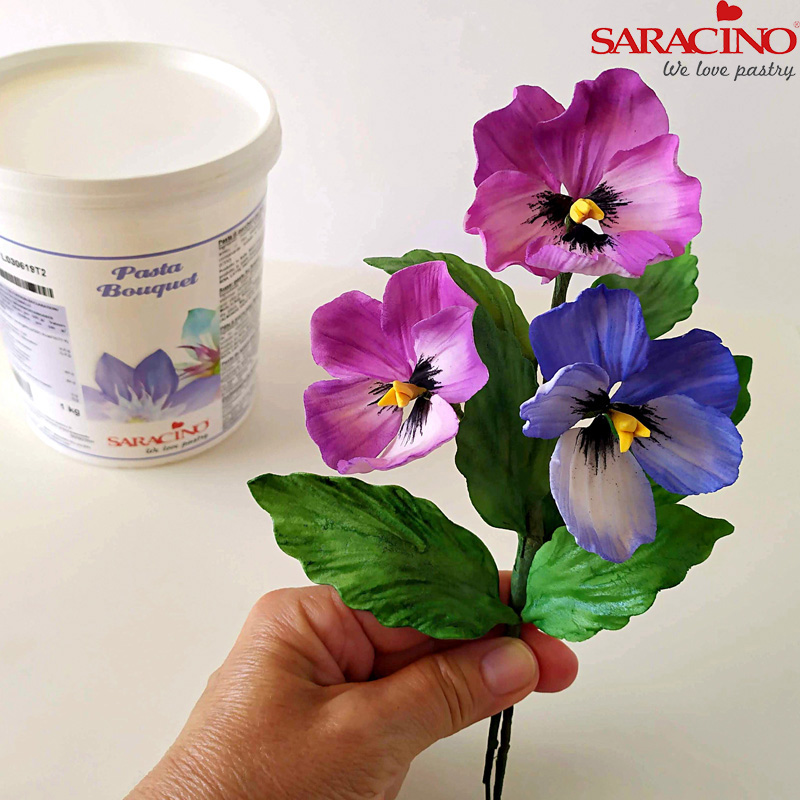
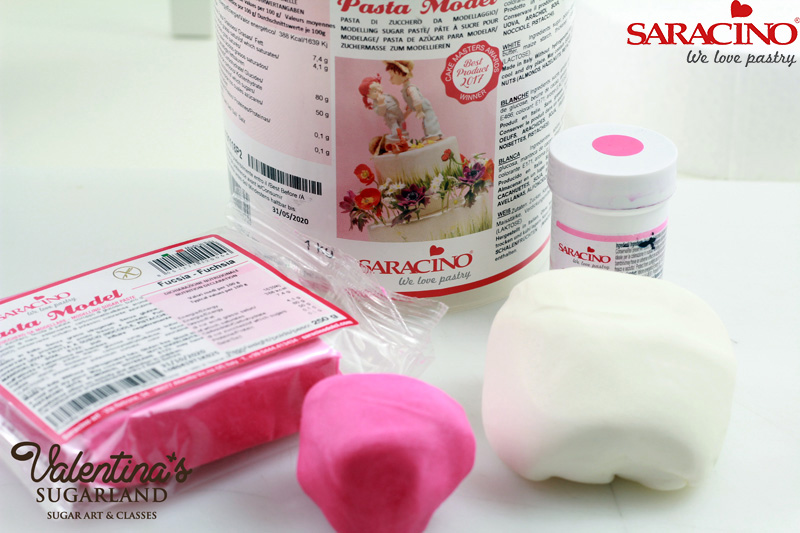
- Flower paste Saracino – Pasta Bouquet
- Non stick board
- Small rolling pin
- Ball tool
- Foam pad
- Groove board
- Corn flour for dusting
- Saracino Green gel colour
- Saracino powder colours. Green – Pink – Yellow
- Petal cutter and veiner
- Leaf cutter and veiner
- White flower wire gauge 28
- Green flower wire gauge 26
- Flower tape green – brown
- Small head stamens
- Saracino edible glue
- Wire cutter
- Paint brushes
- Kitchen paper
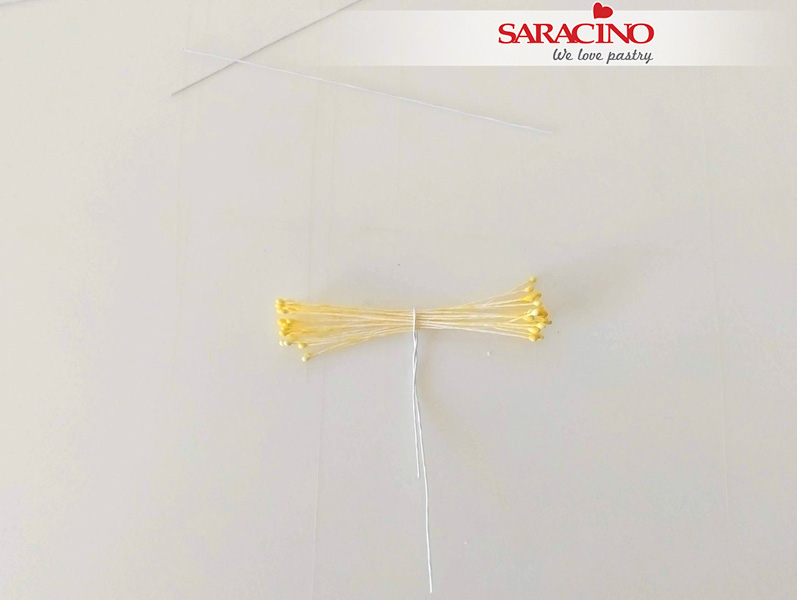
Step 1
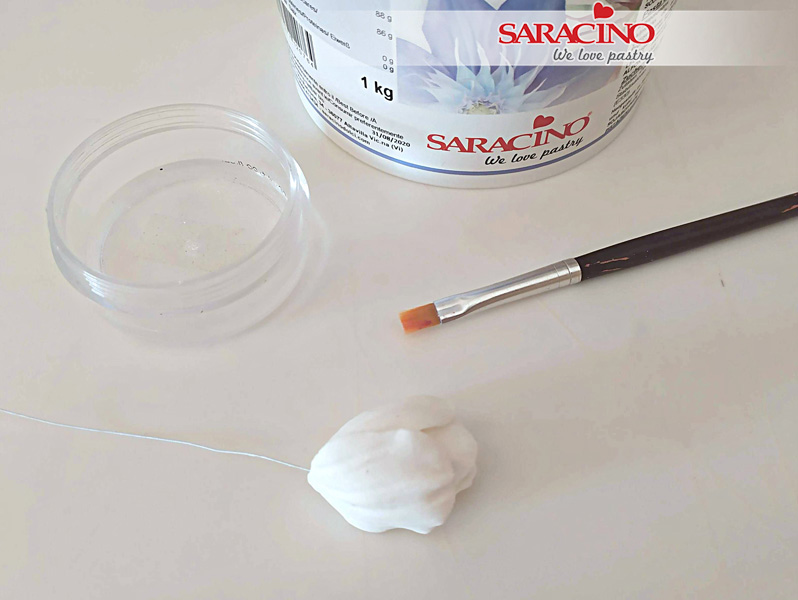
To make the centre of the blossom take about 12 small head stamens and twist a 28 gauge wire to secure at the centre.
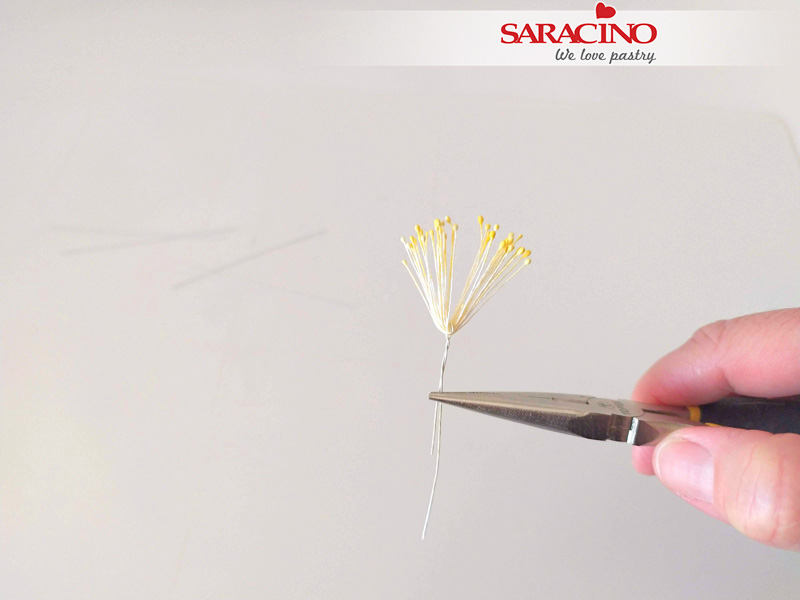
Step 2
Lift the two sides up and twist the wire firmly with the wire cutter to keep the sides in shape.
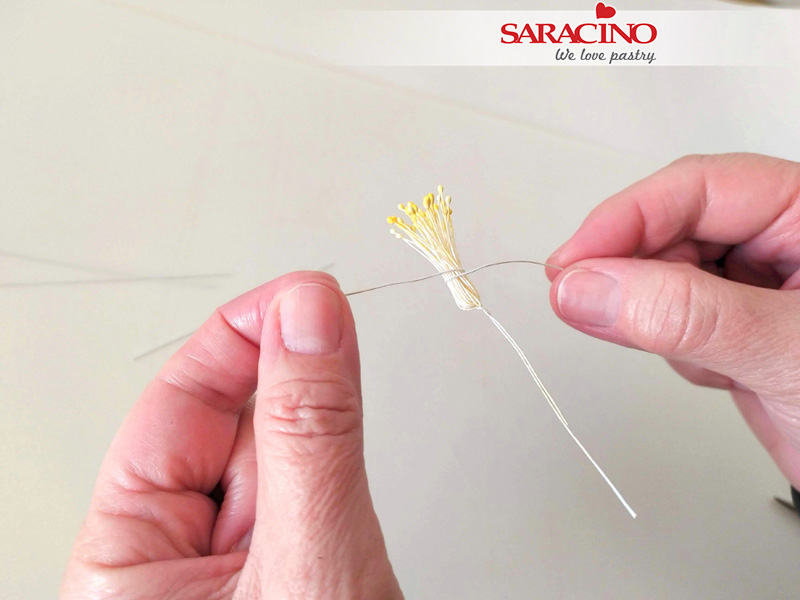
Step 3
Take another small length of wire and wrap around the stamens as it is shown in the picture.

Step 4
Wrap the stamens and the wire with green florists tape.
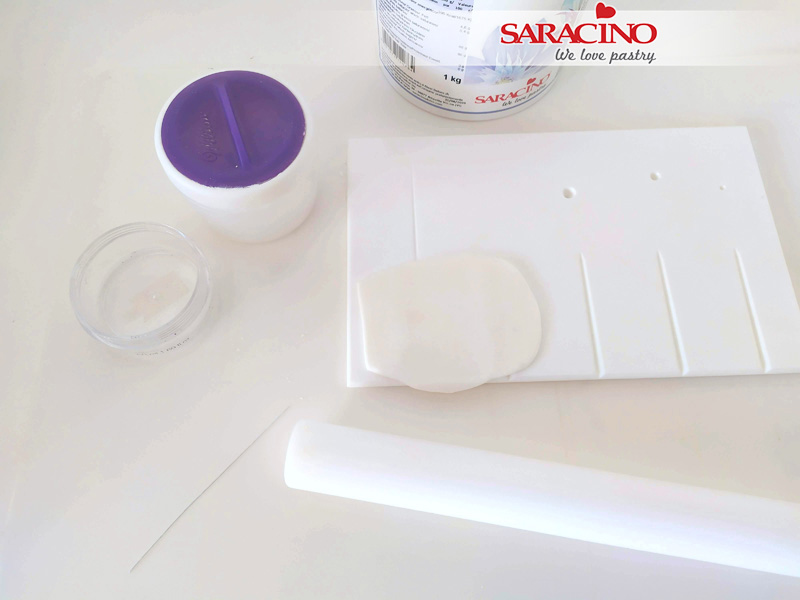
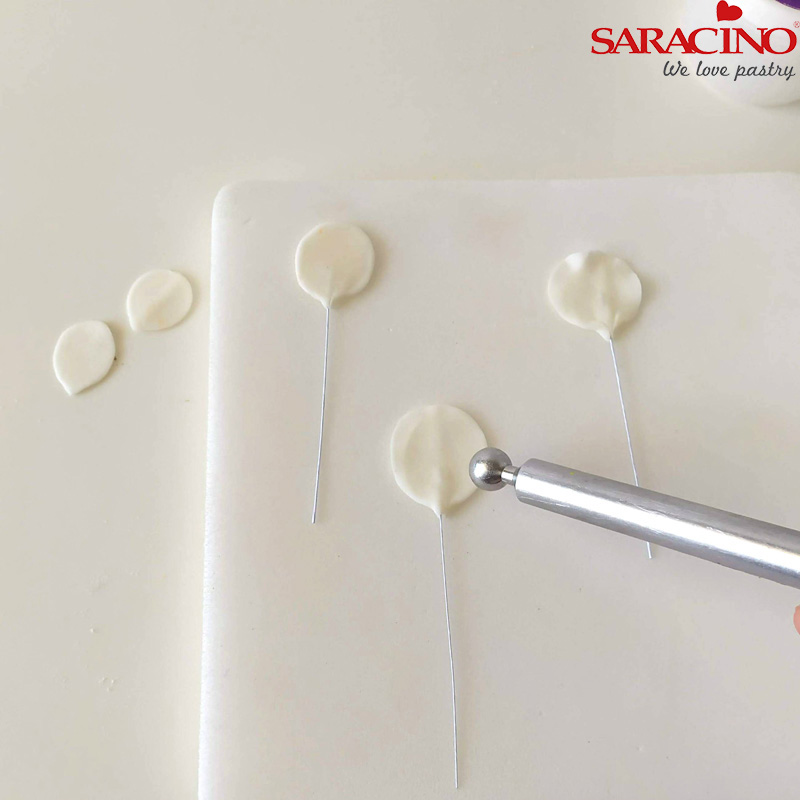
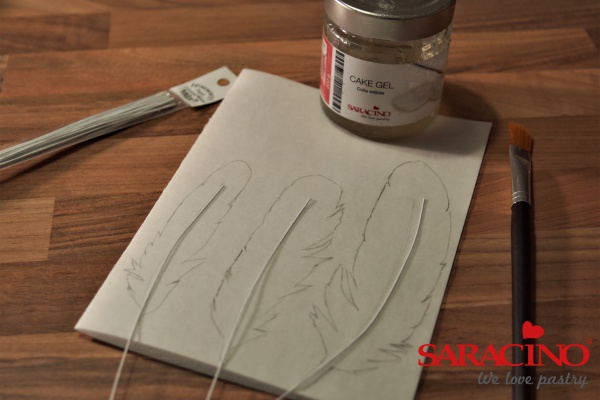
Step 5
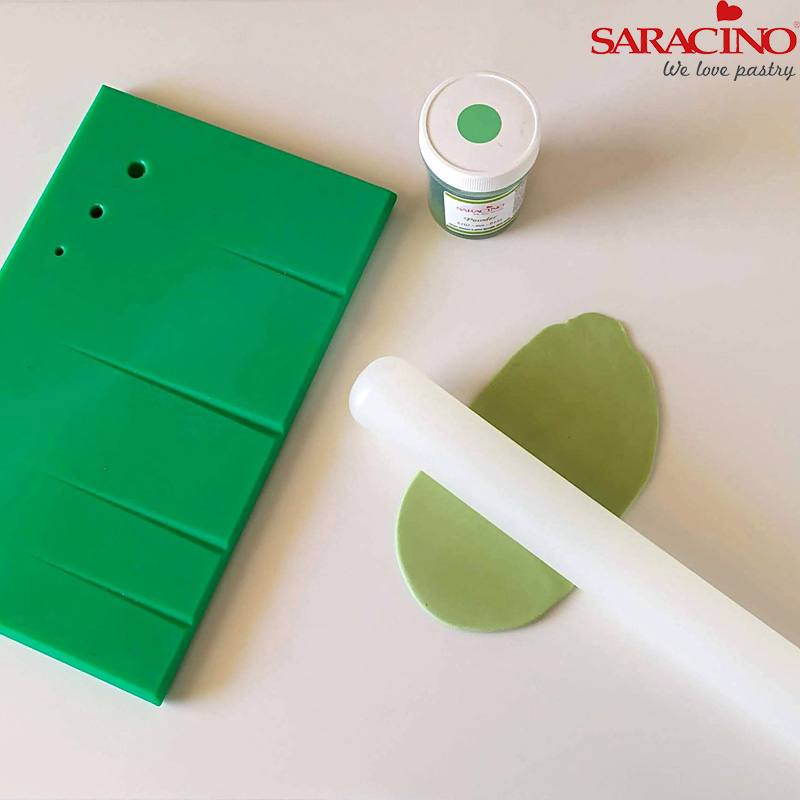
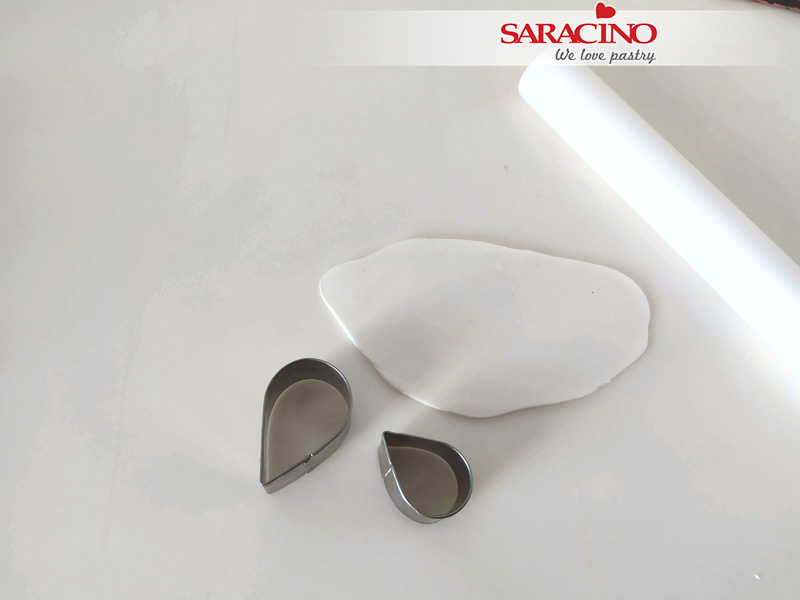
To make the petals dust the board with a small amount of corn flour. Roll out the flower paste with a rolling pin on the board over one of the grooves.
Step 6
Cut out 5 petals for each flower with a leaf cutter.
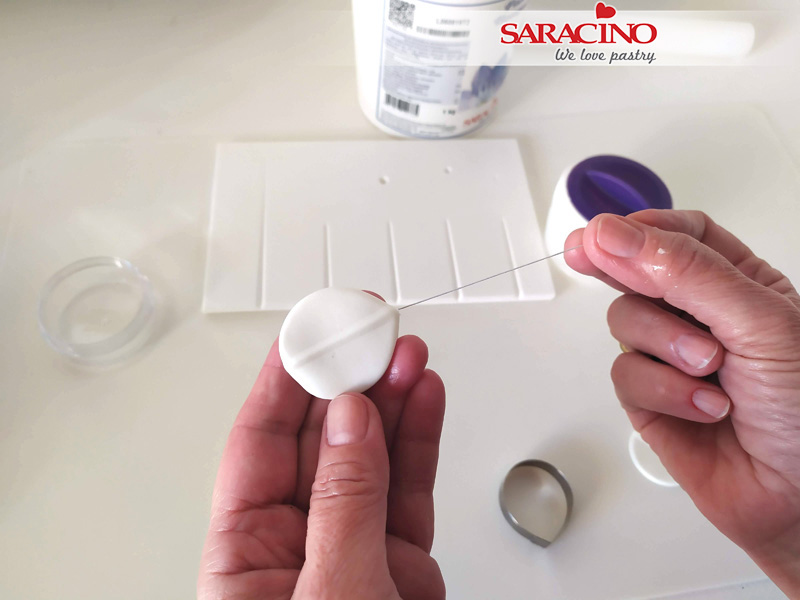
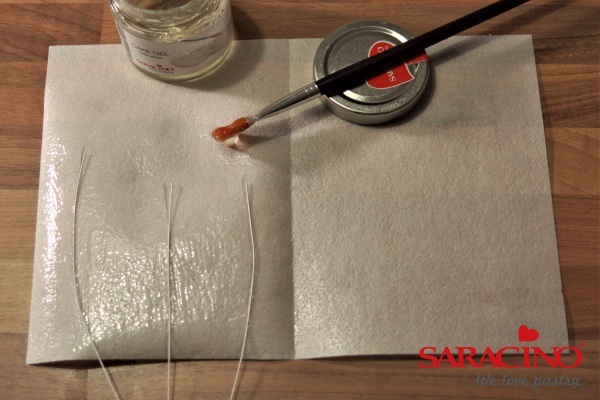
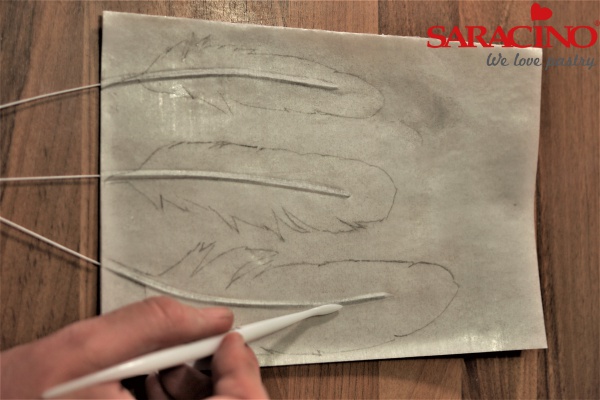
Step 7
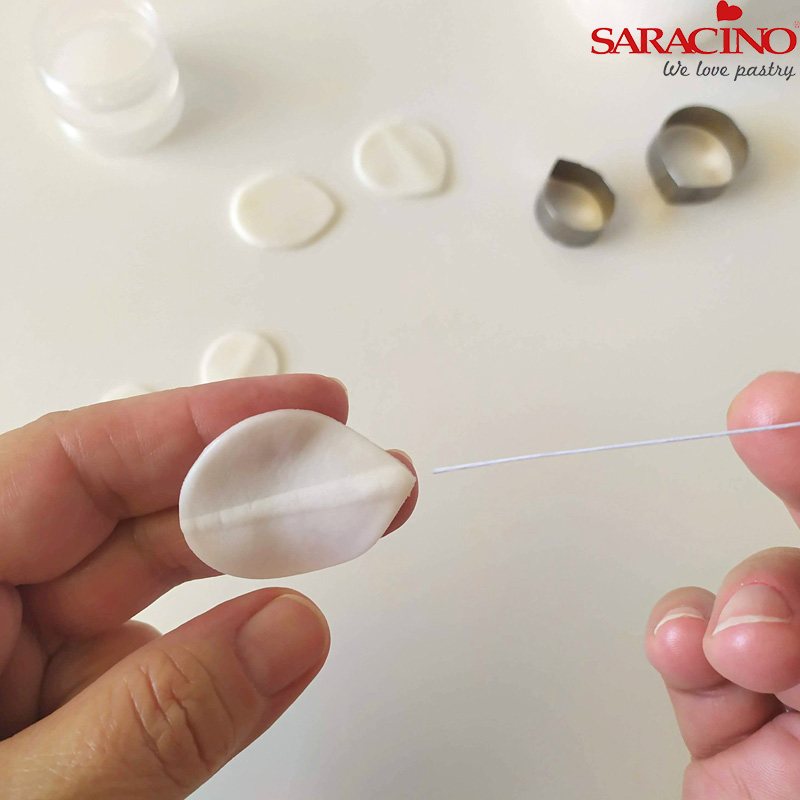
Add some edible glue at the end of the 28 gauge wire. Insert the wire into the groove. Pinch the bottom of the petal gently to secure it to the wire.
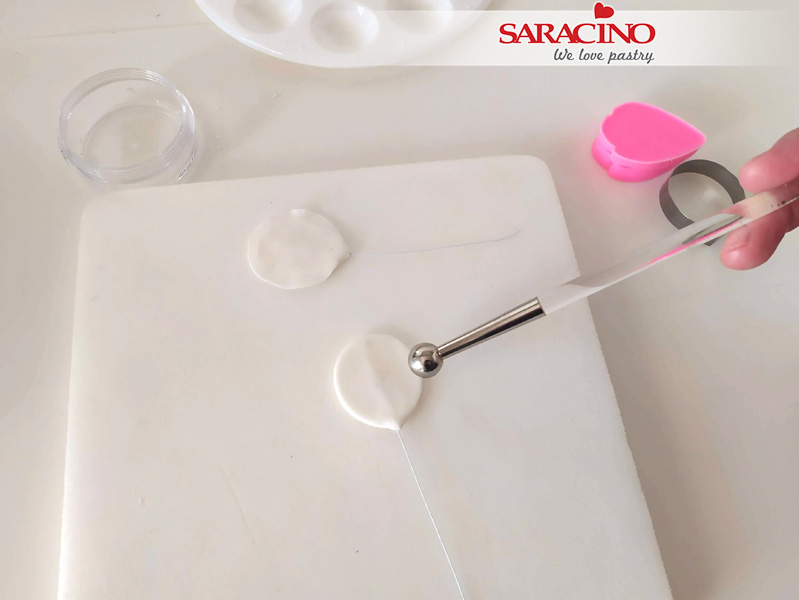
Step 8
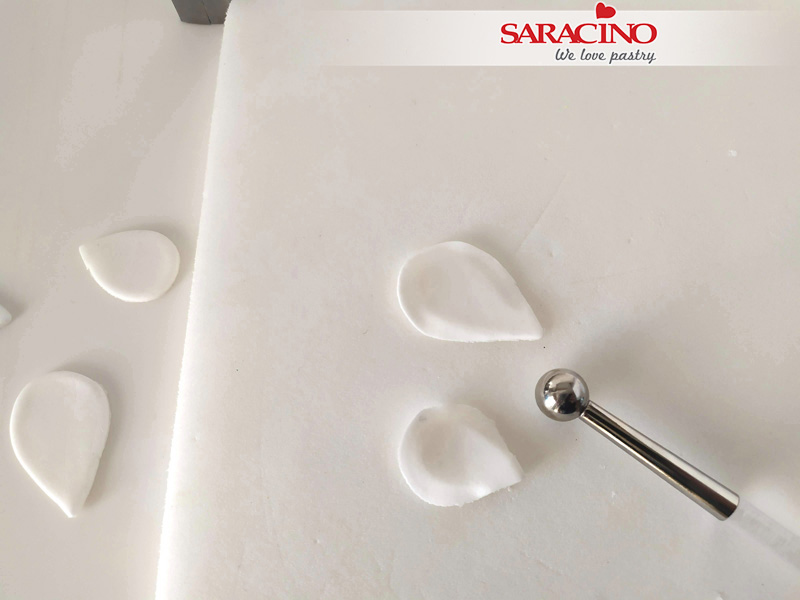
Move the petal onto a foam pad and thin the edges of the petal with a ball tool.
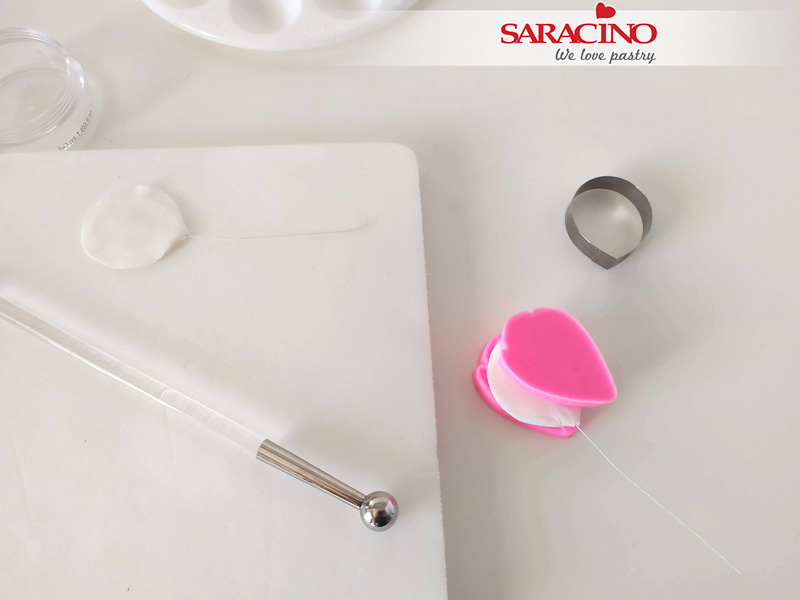
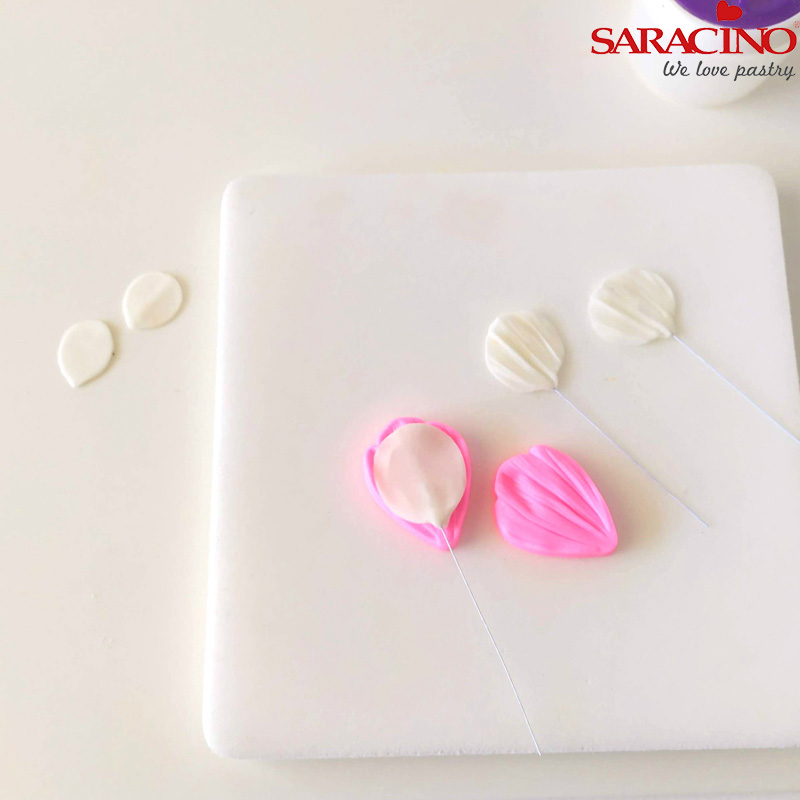
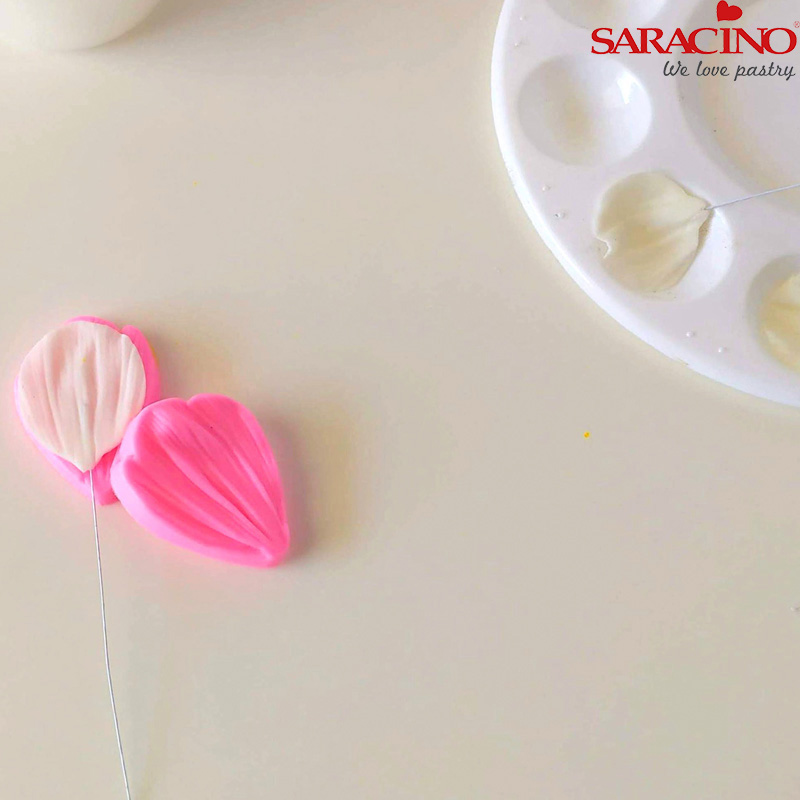
Step 9
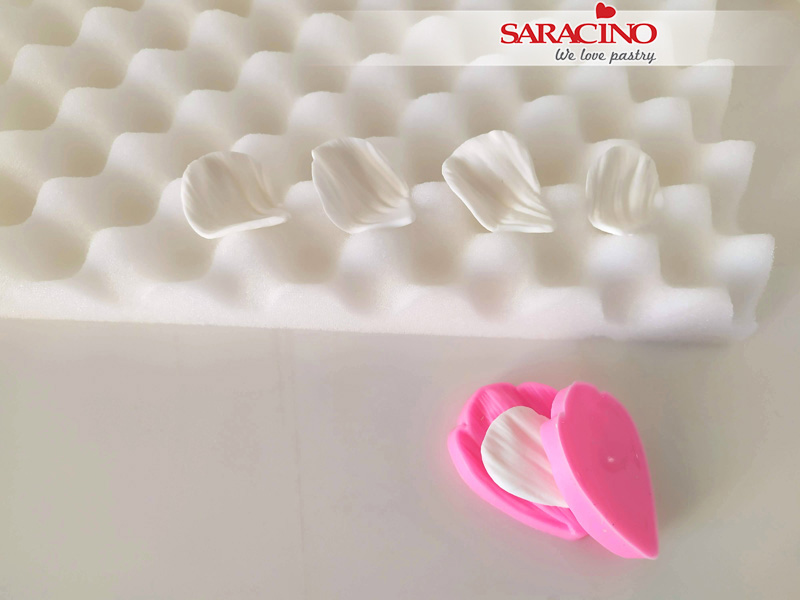
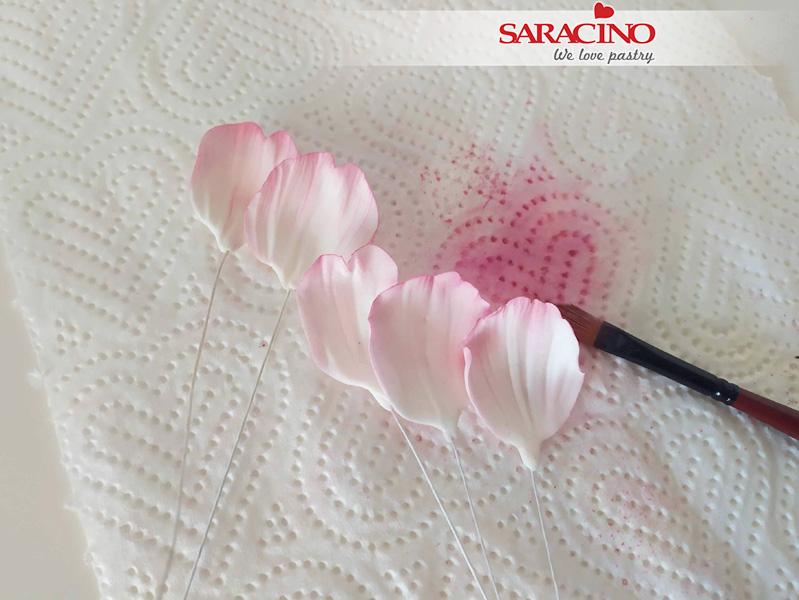
Press each petal firmly into the veiner to form the veiner pattern.
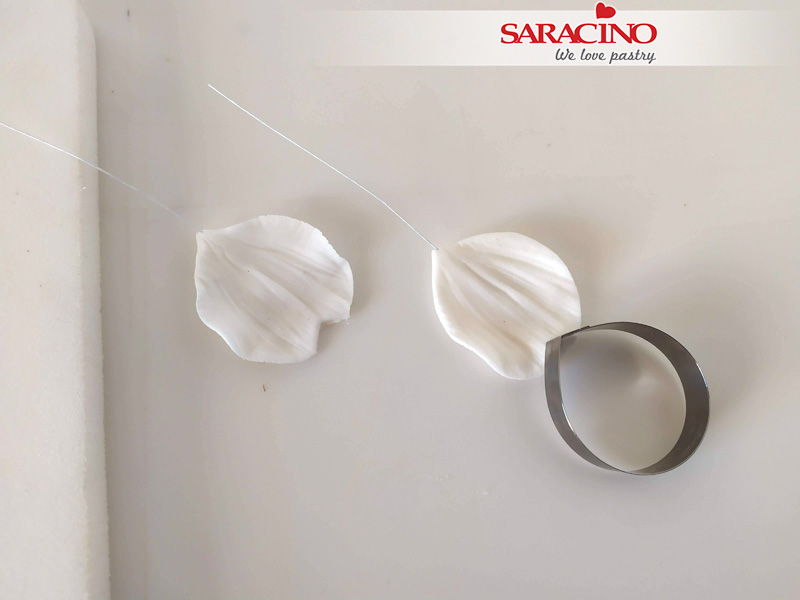
Step 10
By using the corner of your cutter cut a small notch at the top of the petal.
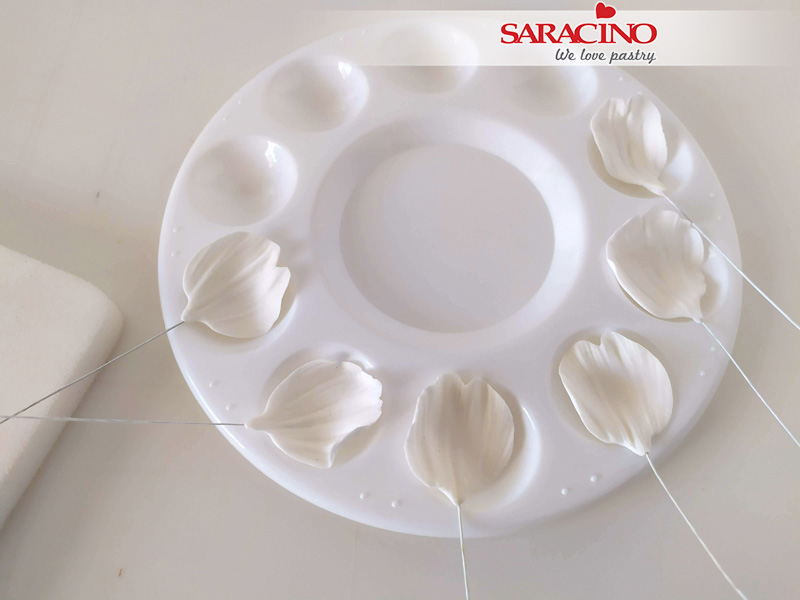
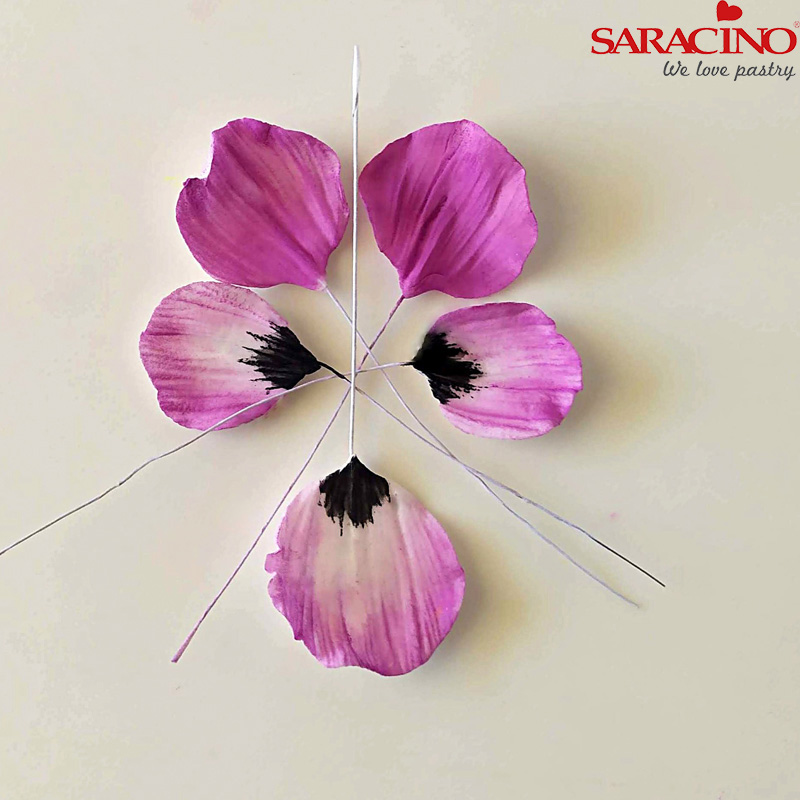
Step 11
Let the petals dry overnight on a former to give definition and shape (we do not want flat petals)
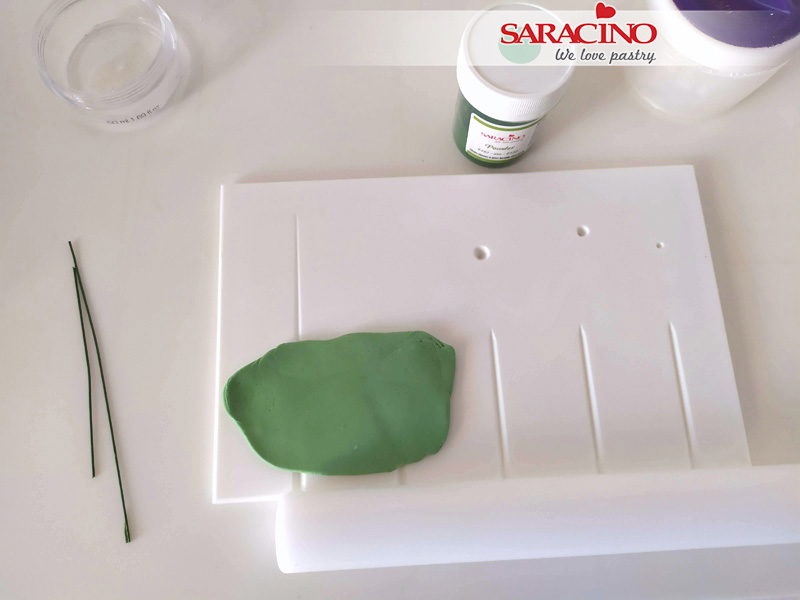
Step 12
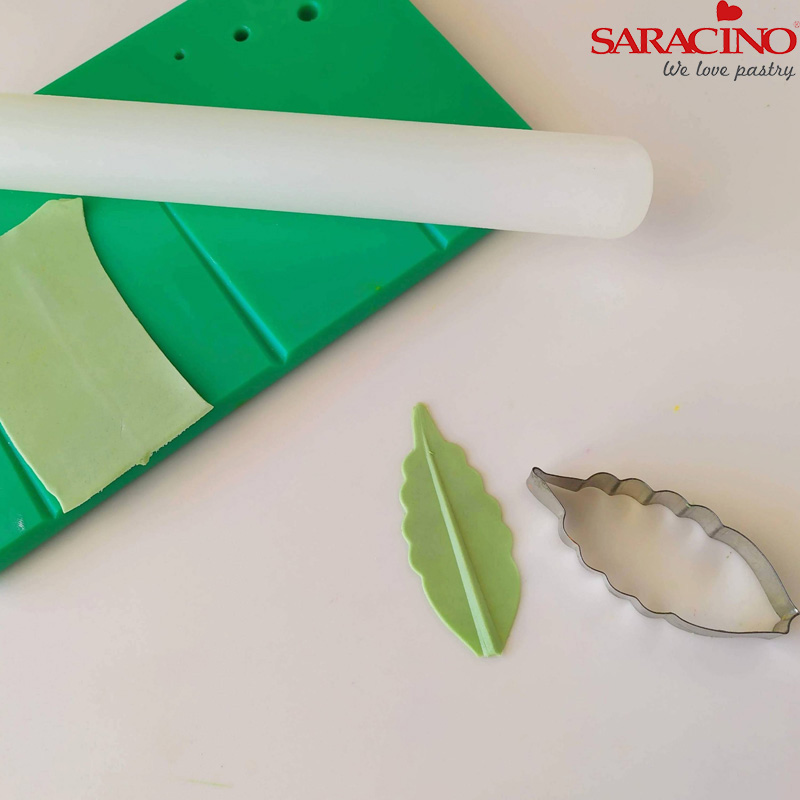
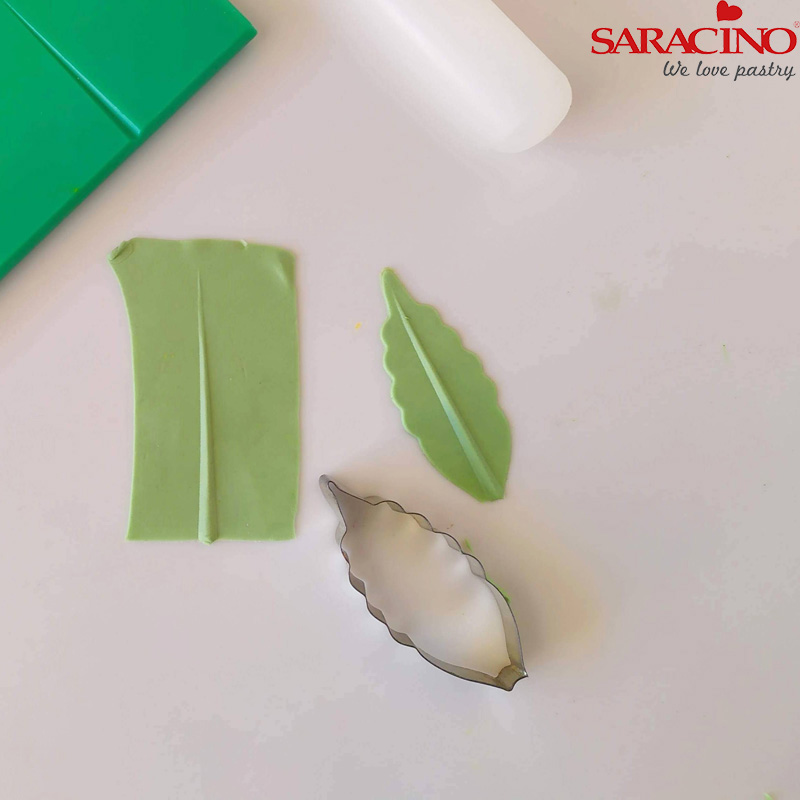
To make the leaves roll out a small amount of green flower paste on the groove board
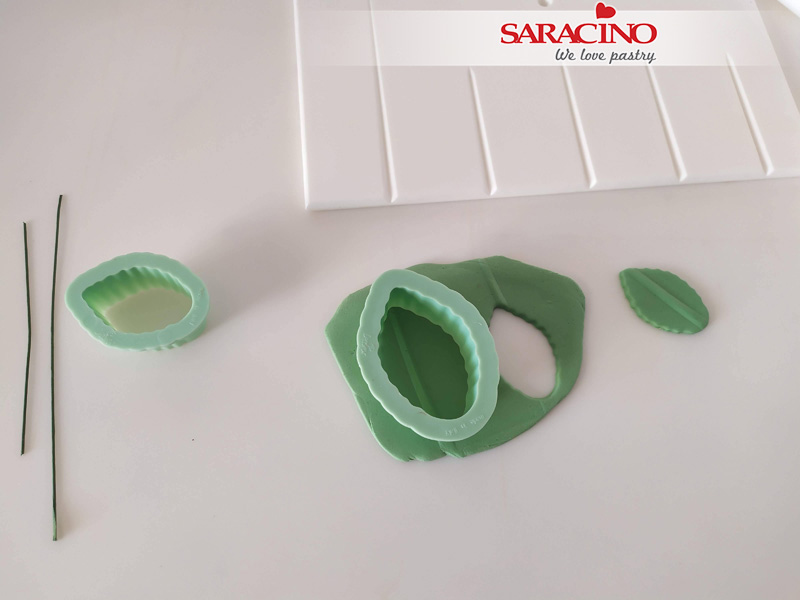
Step 13
Cut out leaves using the leaf cutter in two different sizes.
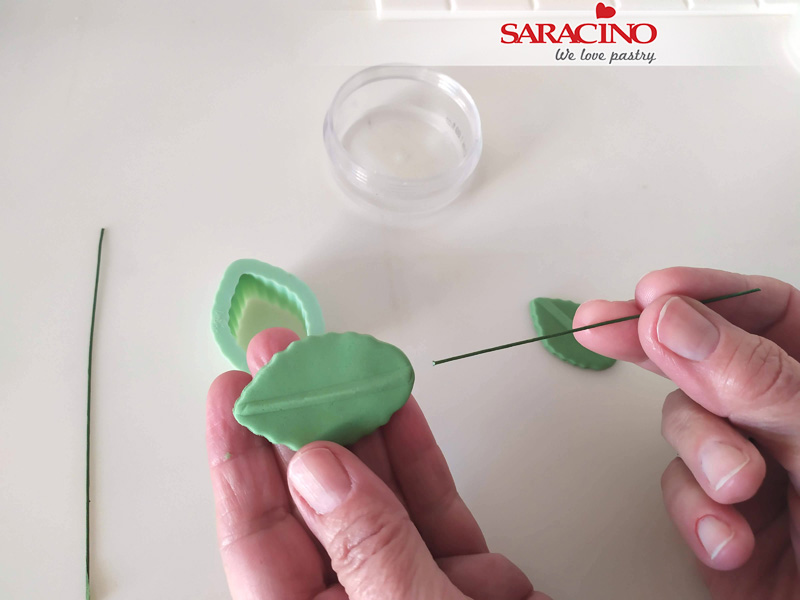
Step 14
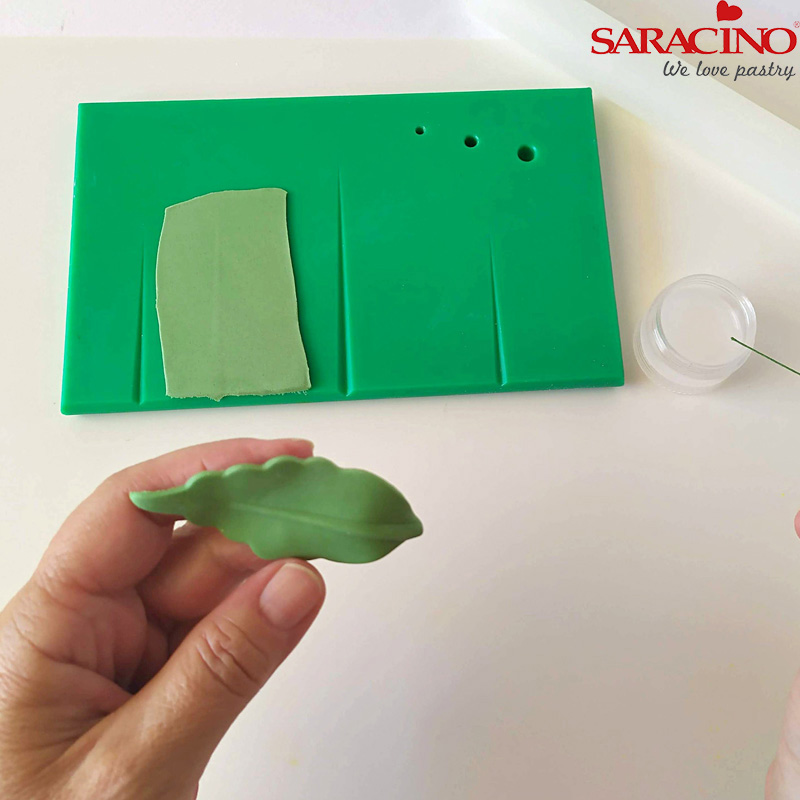
Add some edible glue at the end of the wire insert into the groove of the leaf.
Step 15
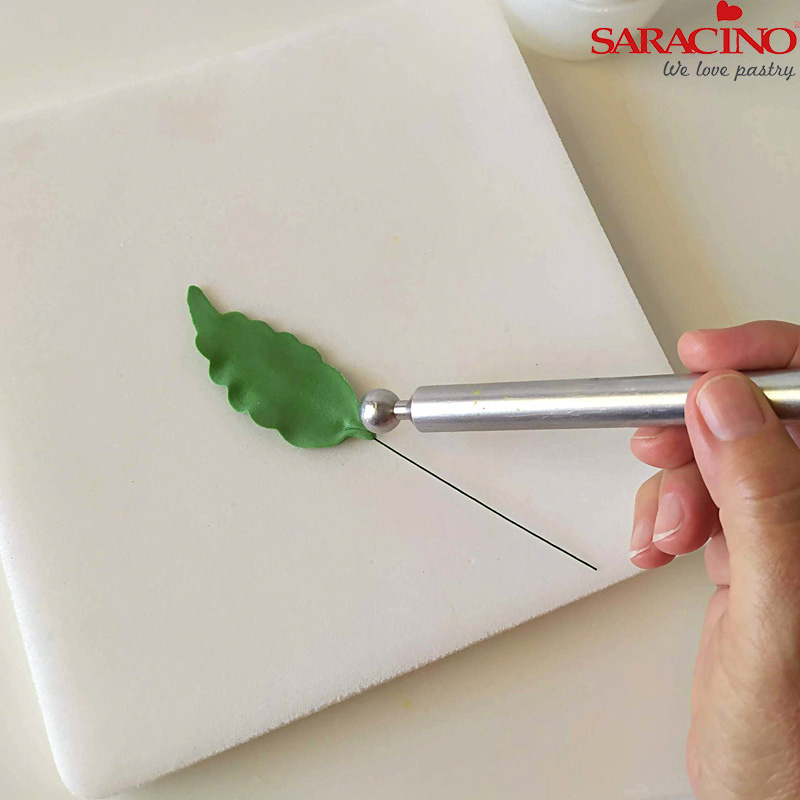
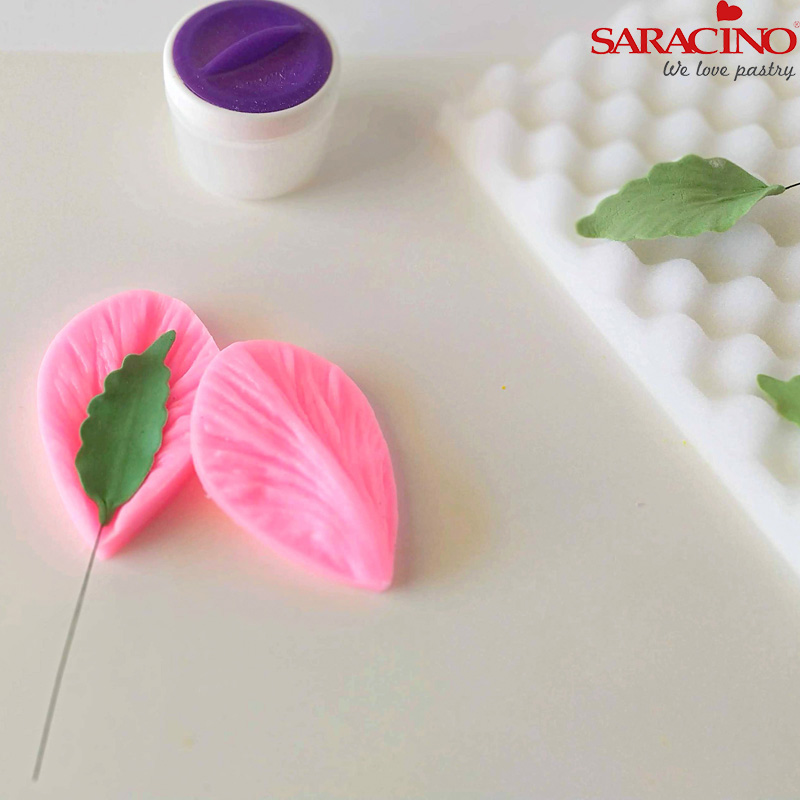
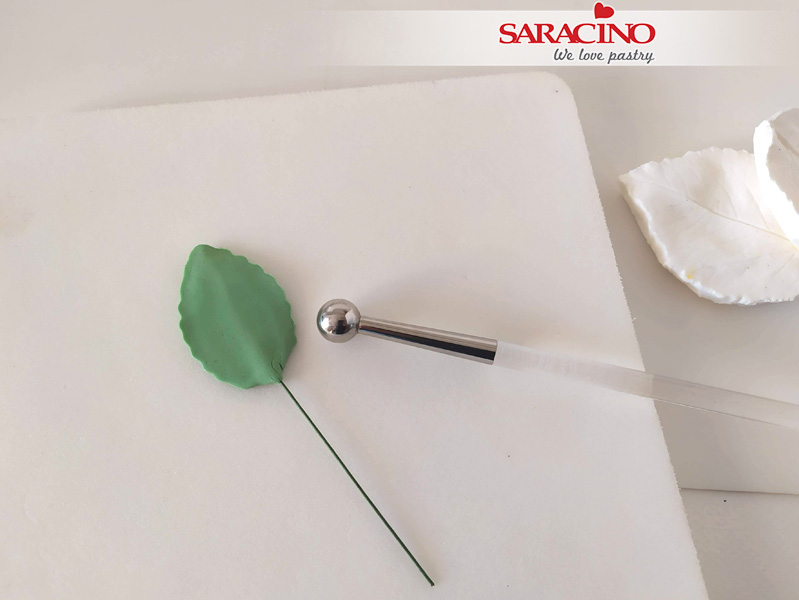
Move the leaf onto a foam pad and thin the edges with the ball tool.
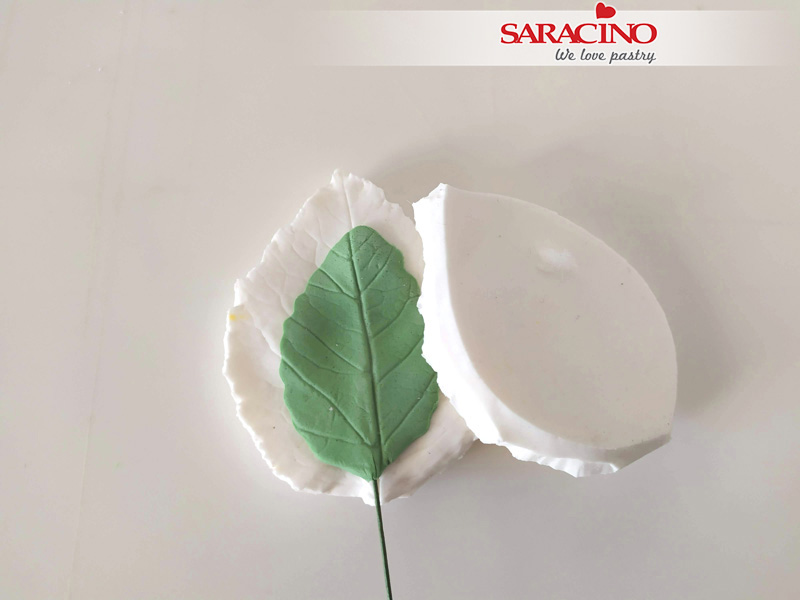
Step 16
Move the leaf onto the veiner and press firmly to shape the pattern
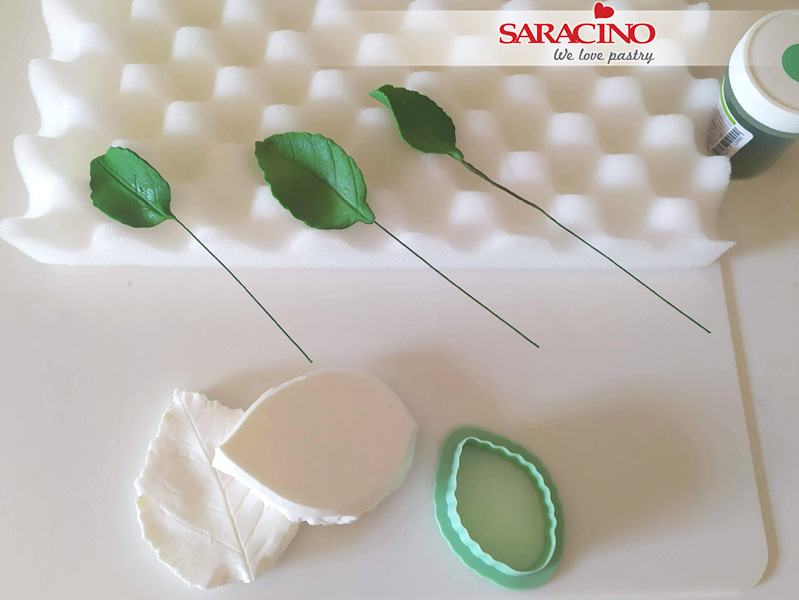
Step 17
Let them dry on a foam. If you wish you can also dust the leaves with Saracino green powder or you can use confectioner glaze, to shine the leaves.
Step 18
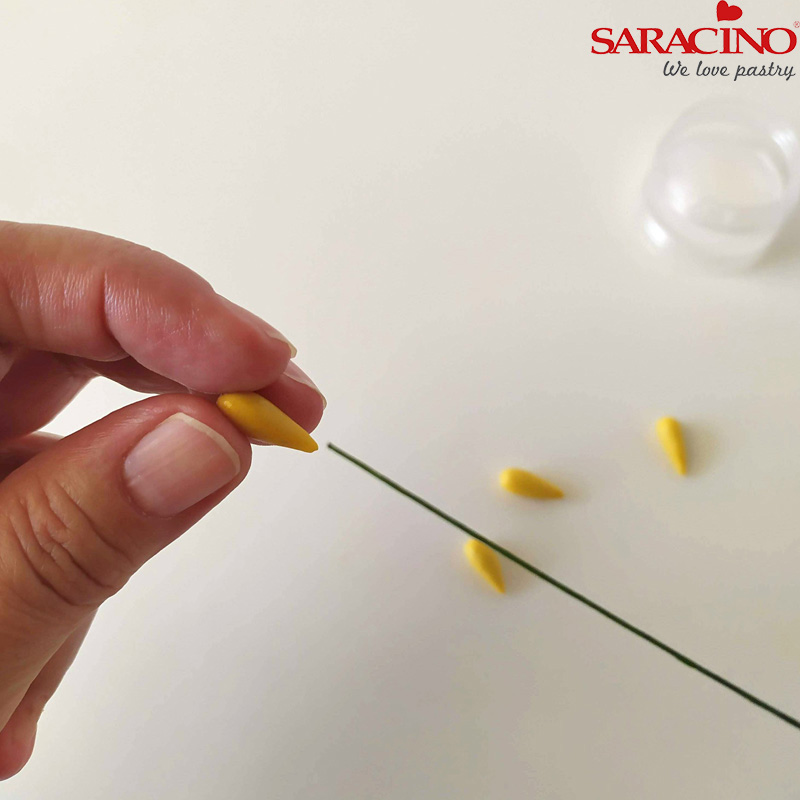
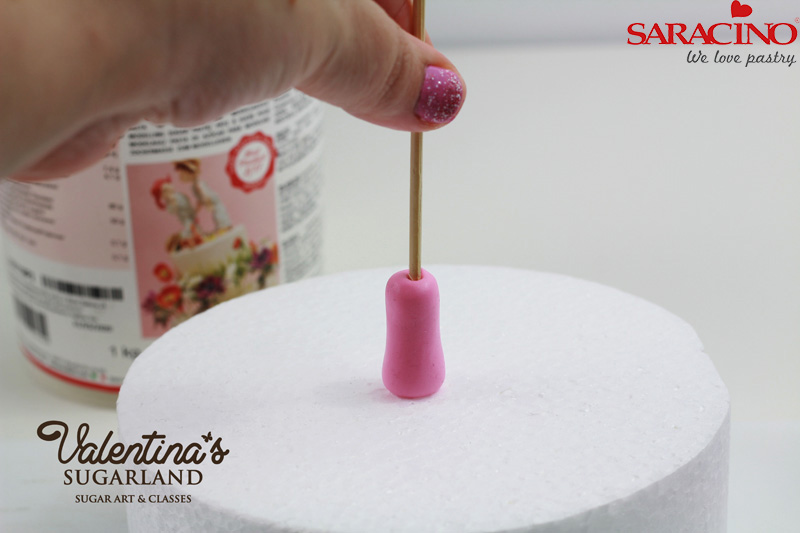
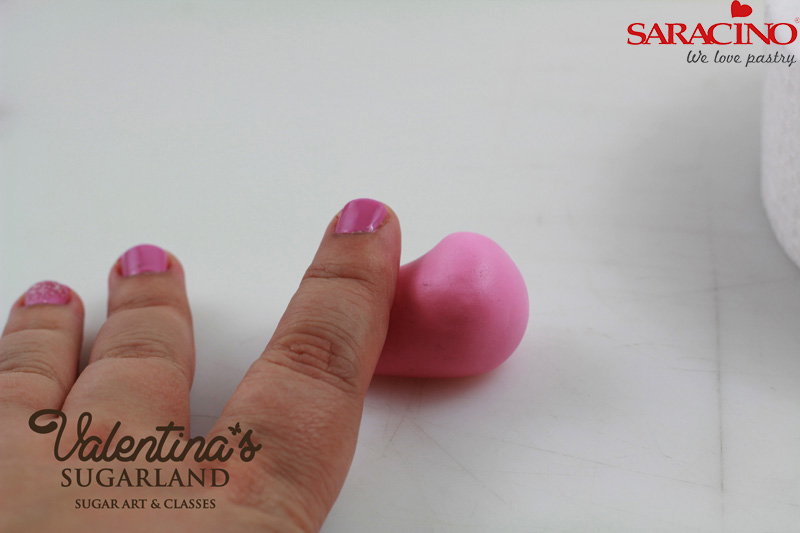
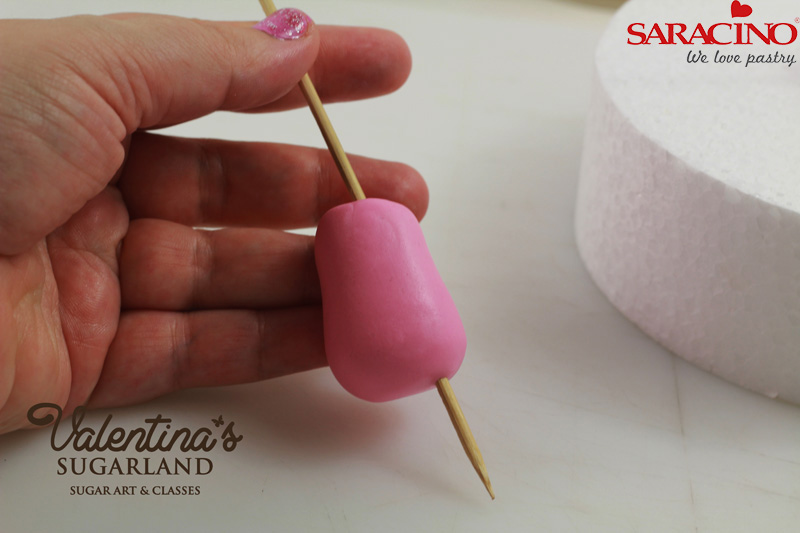
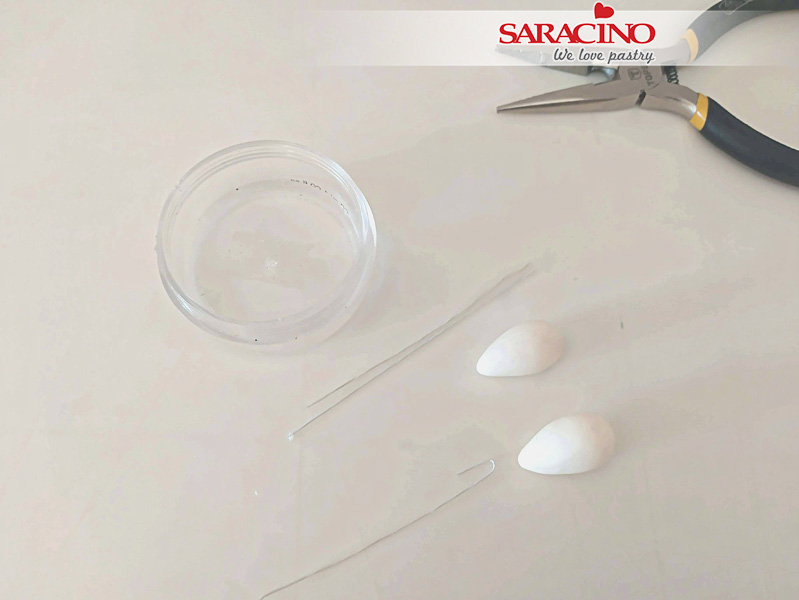
To make the buds take a 24 gauge wire and make a small hook at one end. Roll a small ball of white paste and form a cone shape to create the bud. Add some edible glue to the hook and insert it into the bud. Press the bud onto the wire to secure it
Step 19
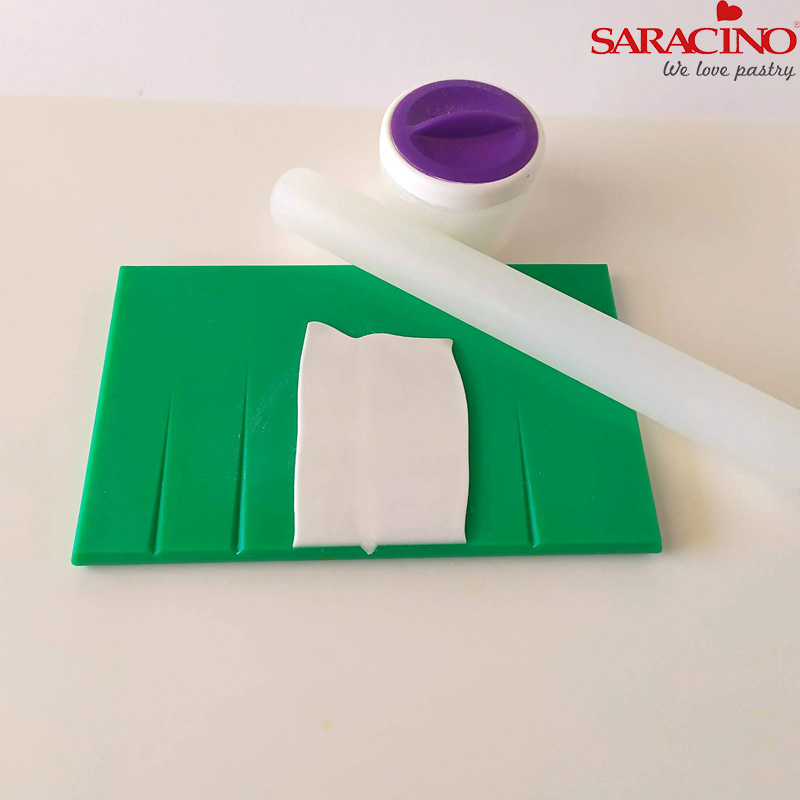
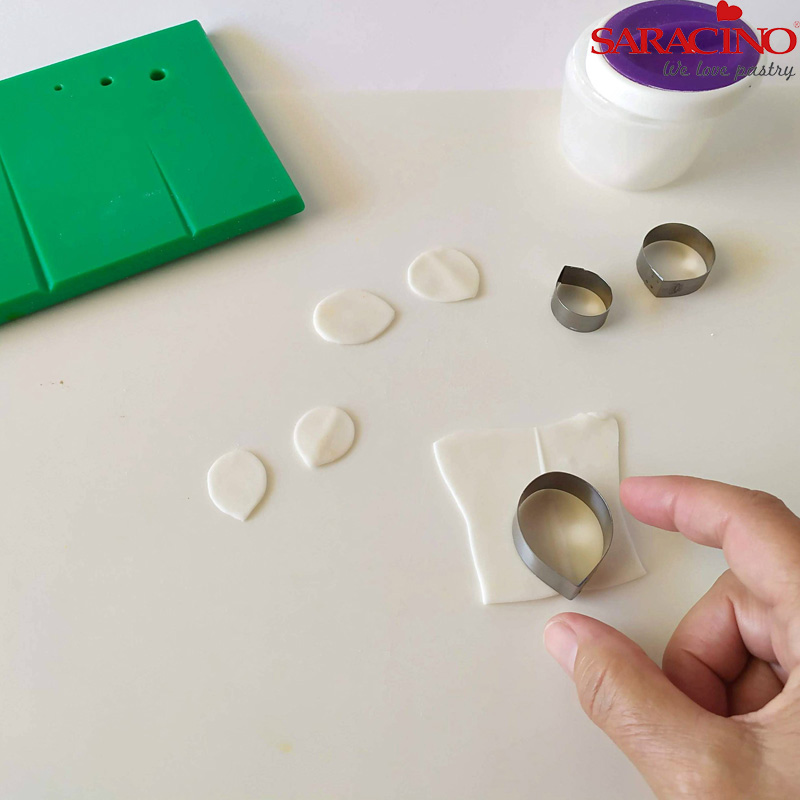
For the ‘blooming’ flowers roll out white flower paste and cut out 3 small and 3 large petals for each bud.
Step 20
Thin the edges with the ball tool
Step 21
Press the petals into the veiner and let them dry and form for 10 minutes
Step 22
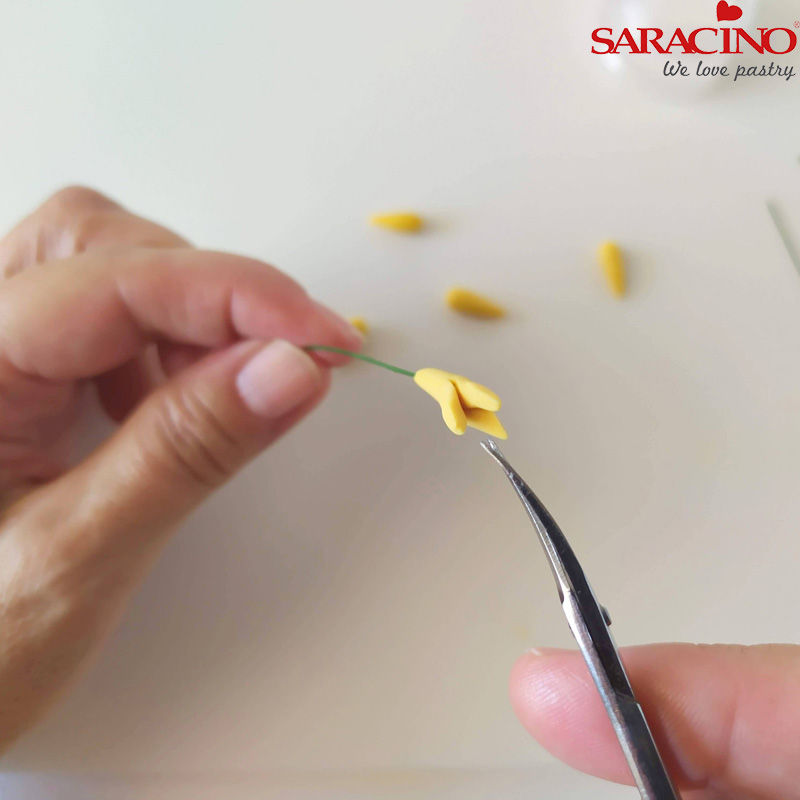
Fix the 3 small petals around the bud and then the 3 large ones over the smaller petals. Use a little edible glue on each petal.
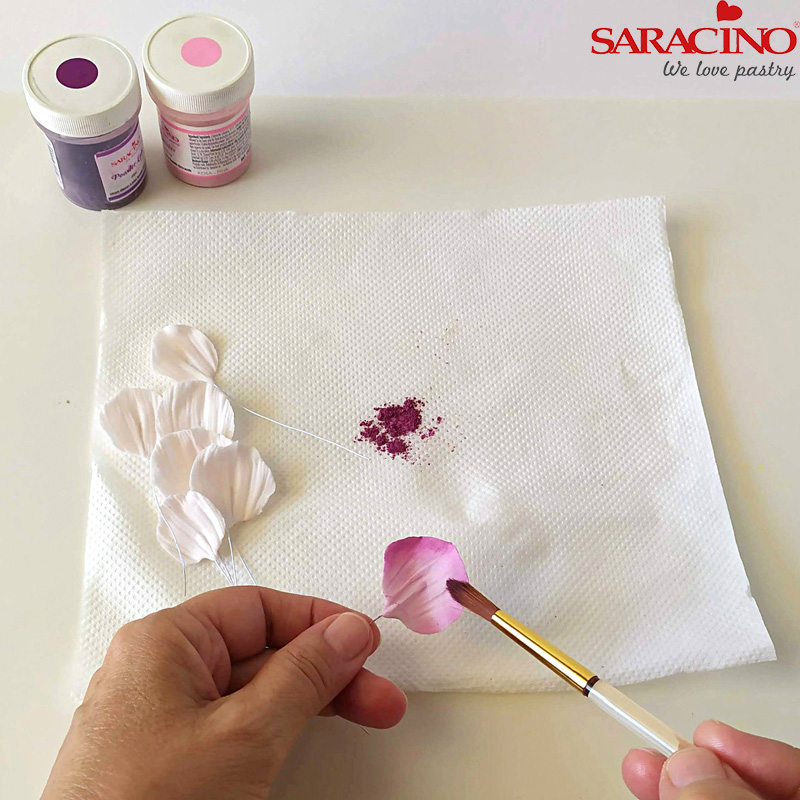
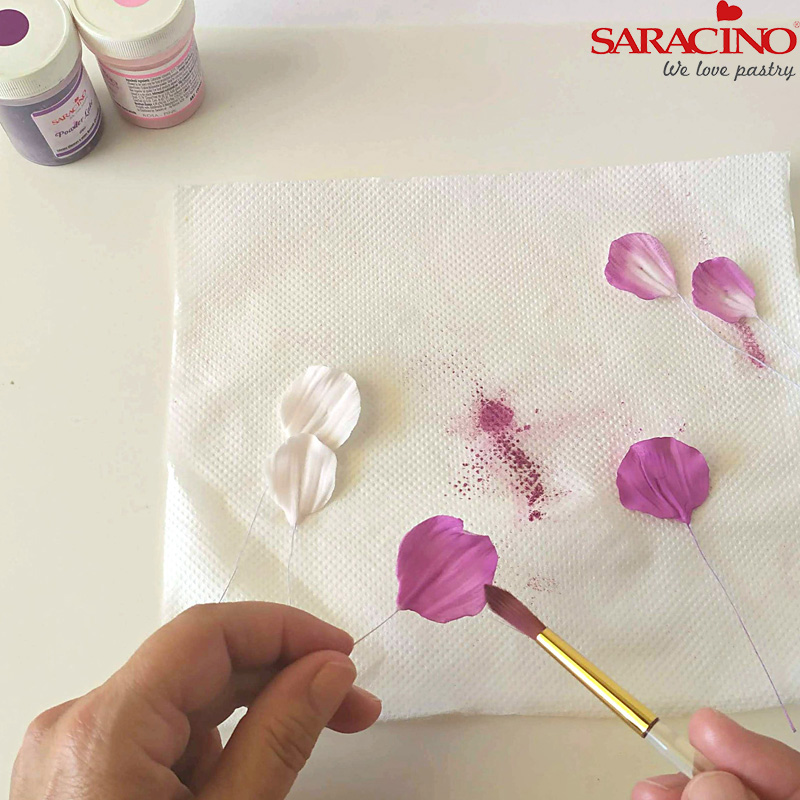
Step 23
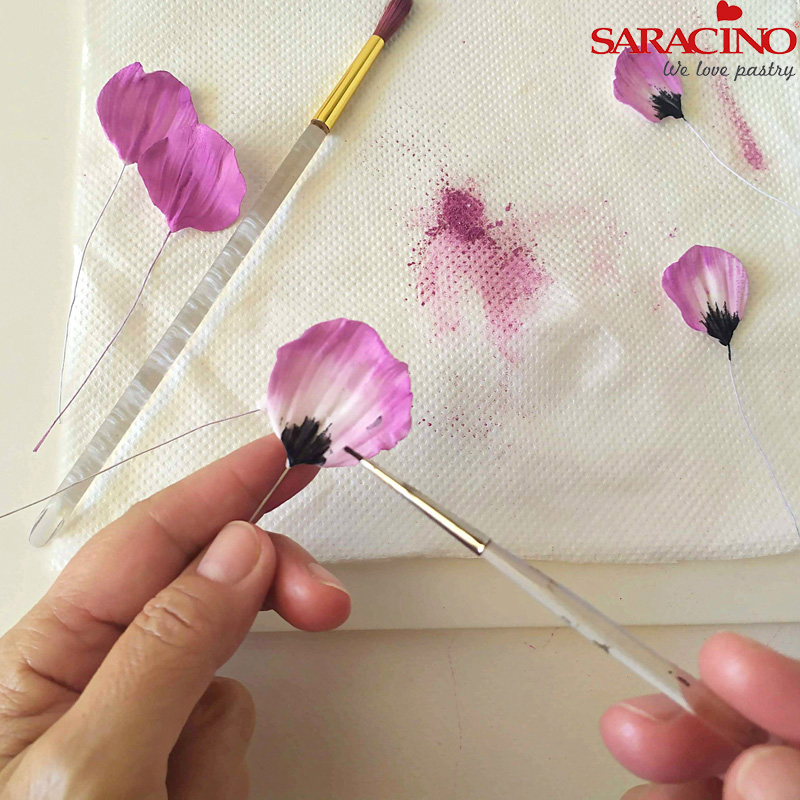
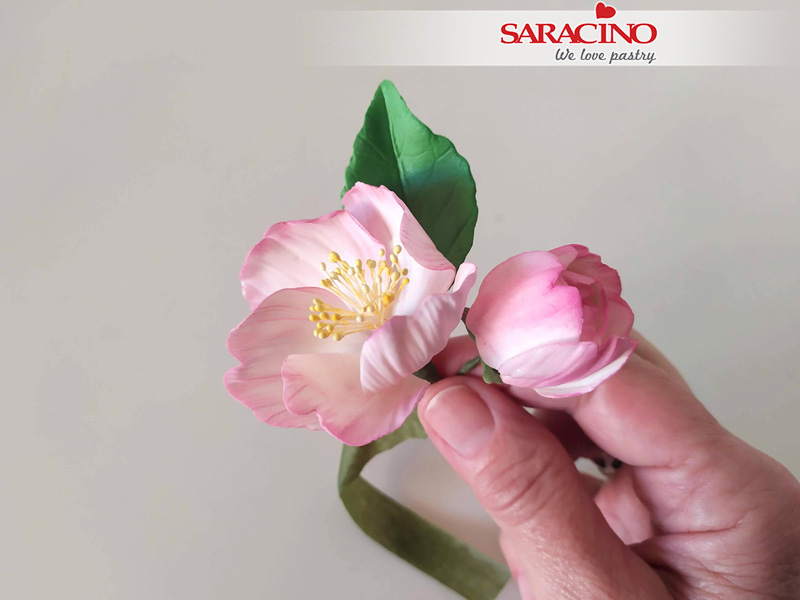
For the flowers already ‘bloomed’ dust the petals using pink powder colour and a soft brush.
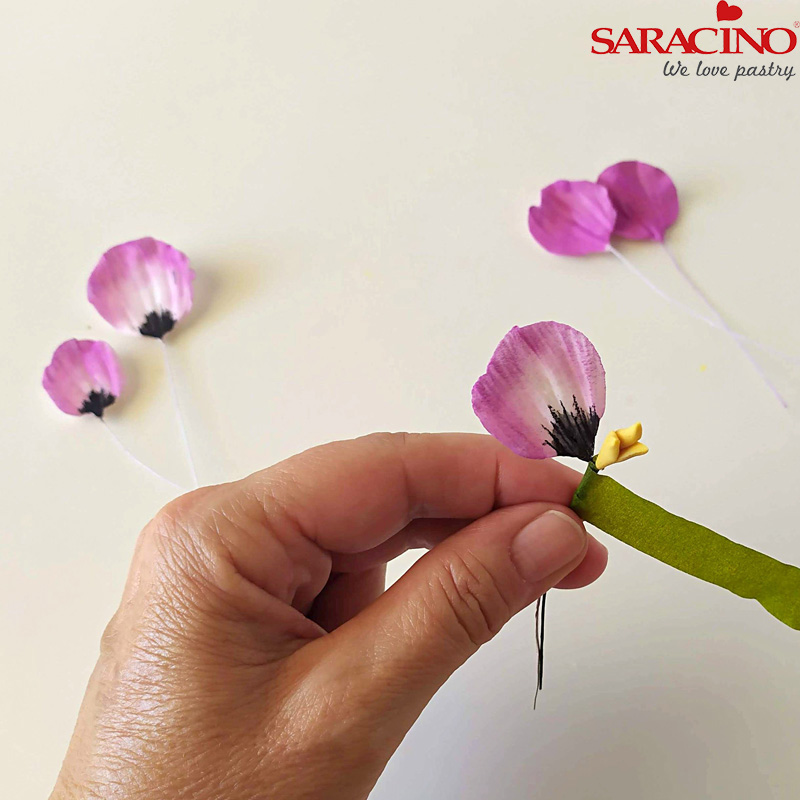
Step 24
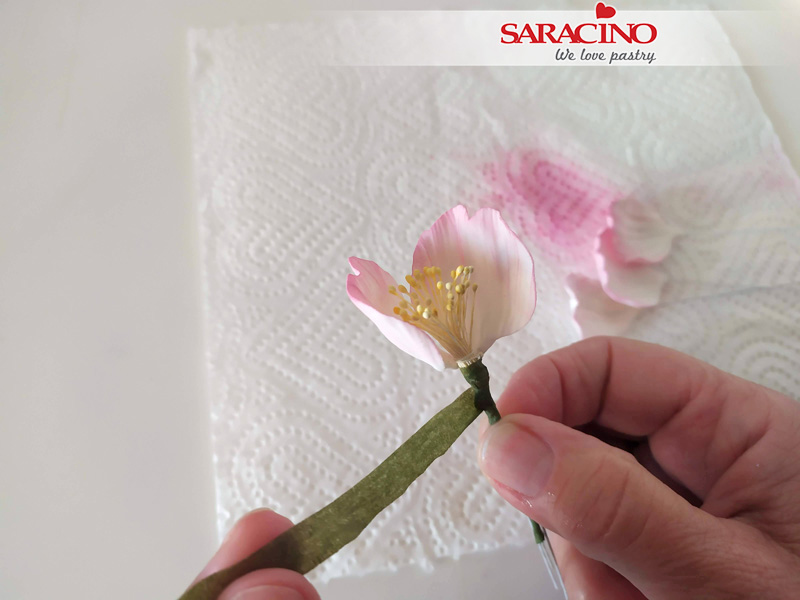
Using green florist tape attach 2 petals to the stamens.
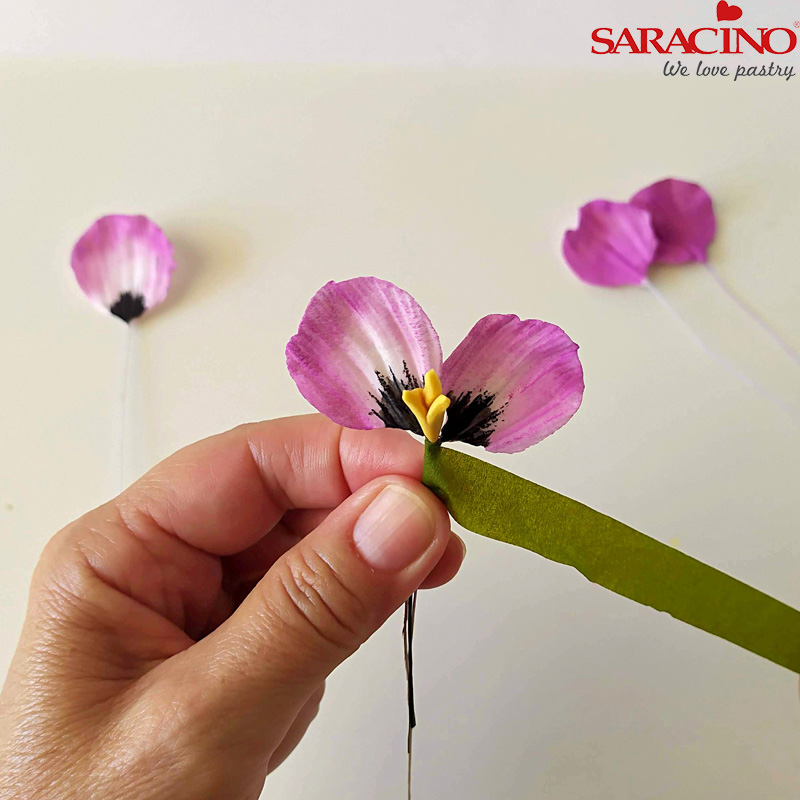
Step 25
Add the other 3 petals around and bind them one by one.
Step 26
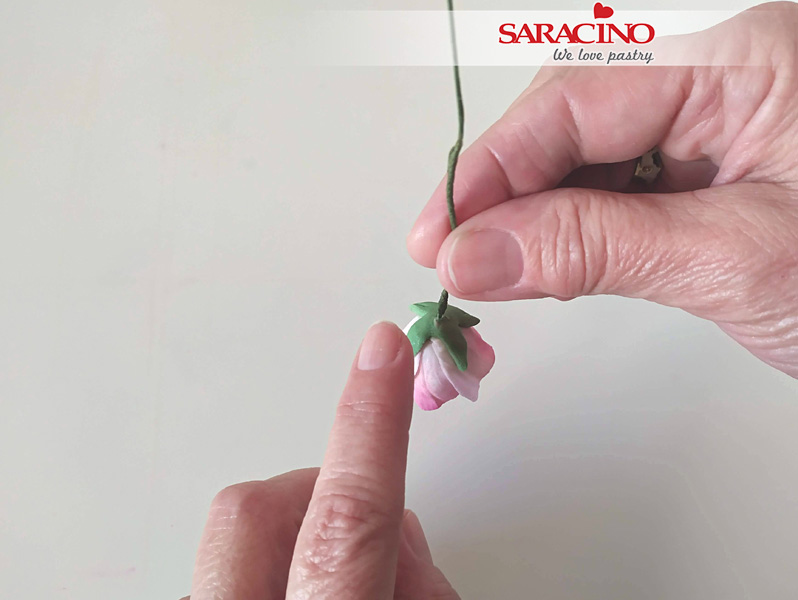
For the ‘Blooming’ bud dust with pink powder colour and a small soft brush. Add a small green calyx onto the base of the bud.
Step 27
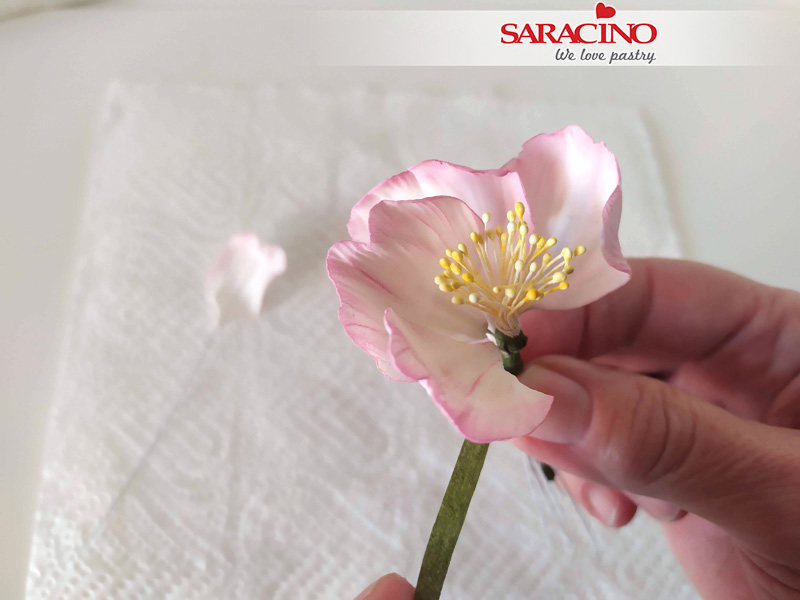
Tape one blossom with a bud and one leaf or more, using green tape

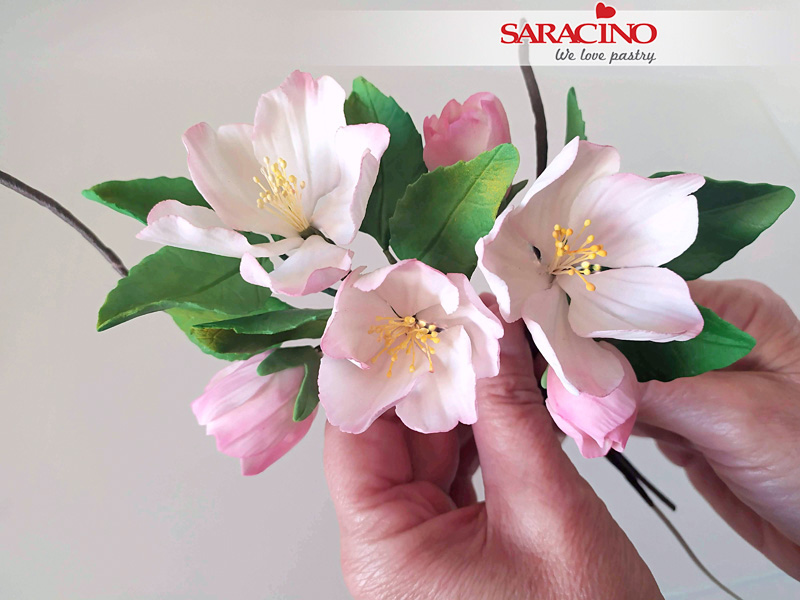
Step 28
Add the rest of the leaves and flowers
Step 29
I have made this branch of apple blossoms. Feel free to create your own arrangement.