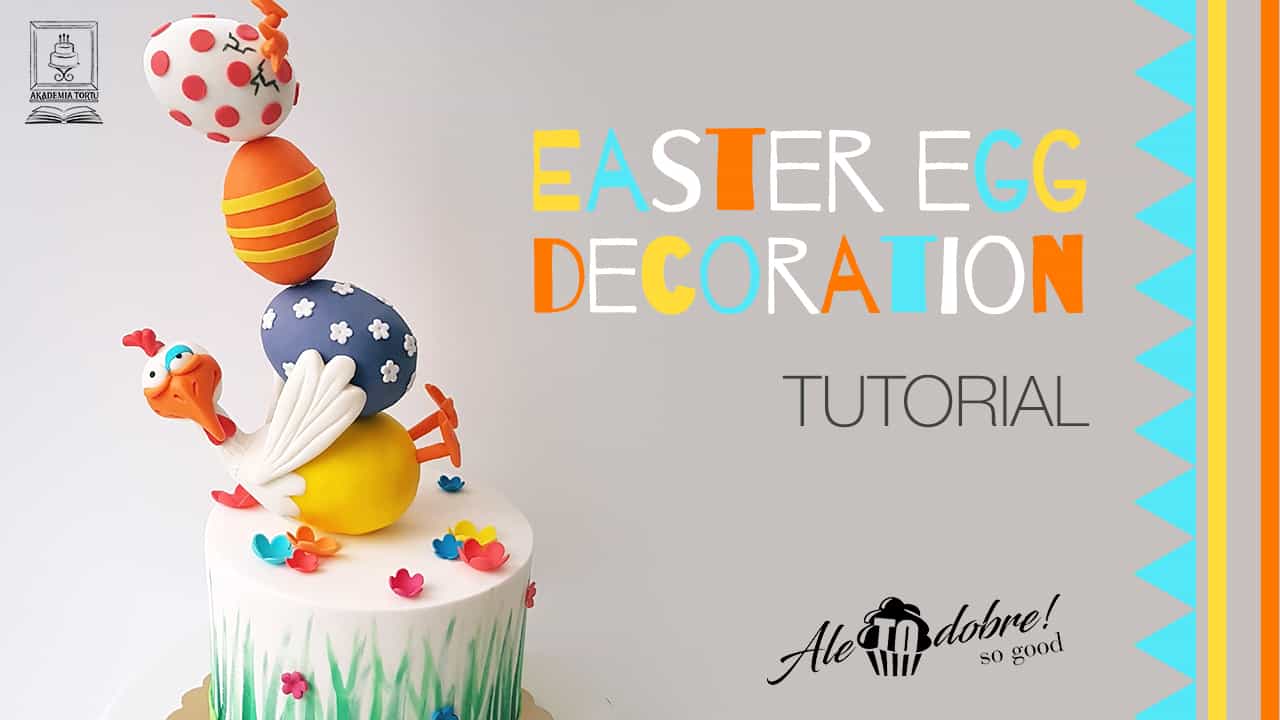
EASTER EGG DECORATION

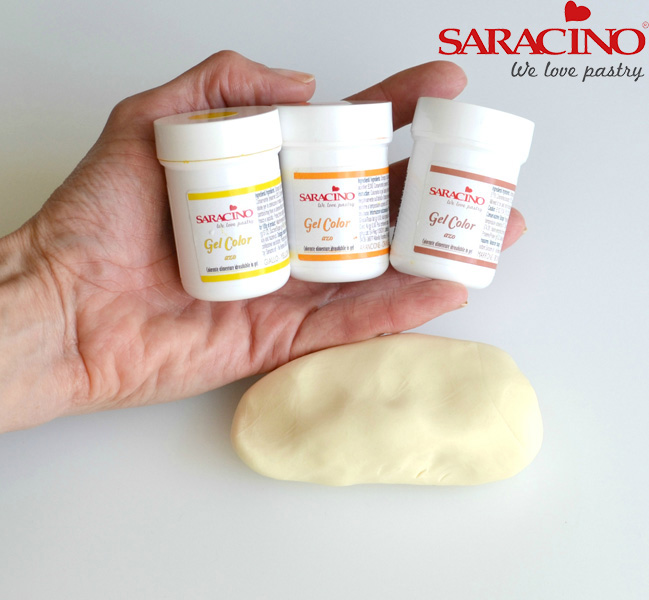
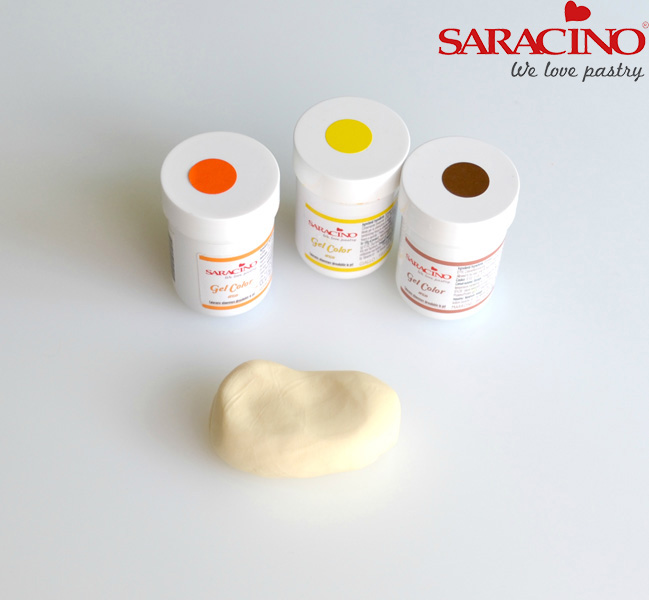
Using a cocktail stick, add small spots of Saracino yellow, orange and brown gel colours to 100g white paste to create a light golden brown colour.
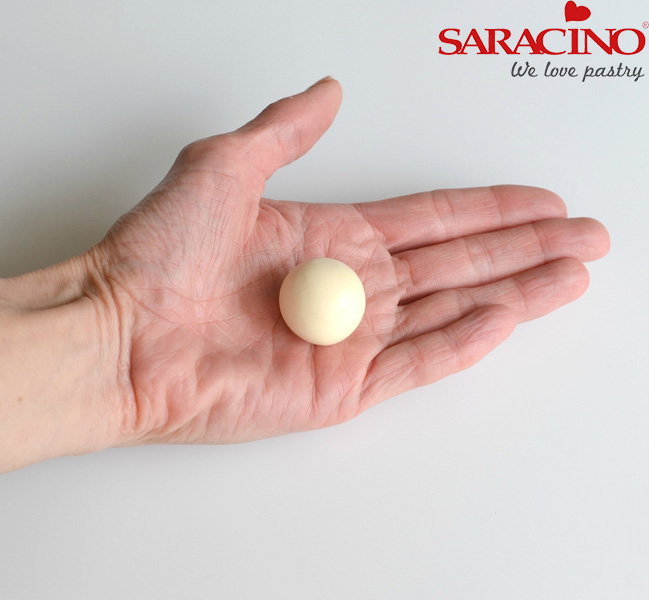
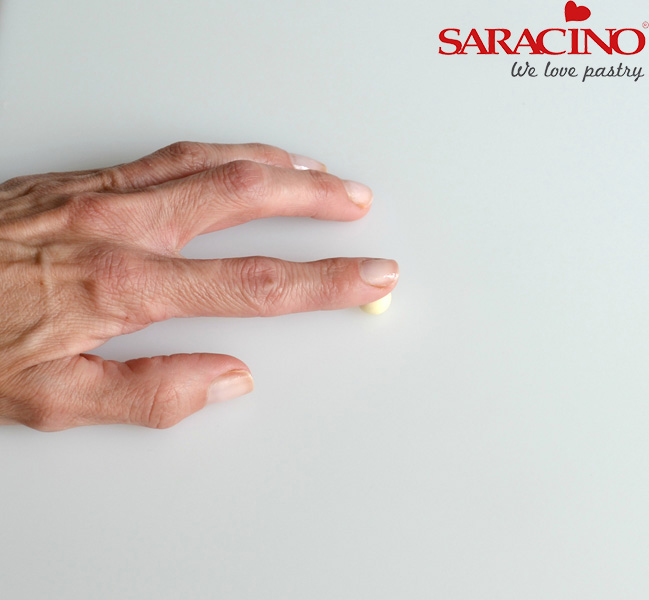
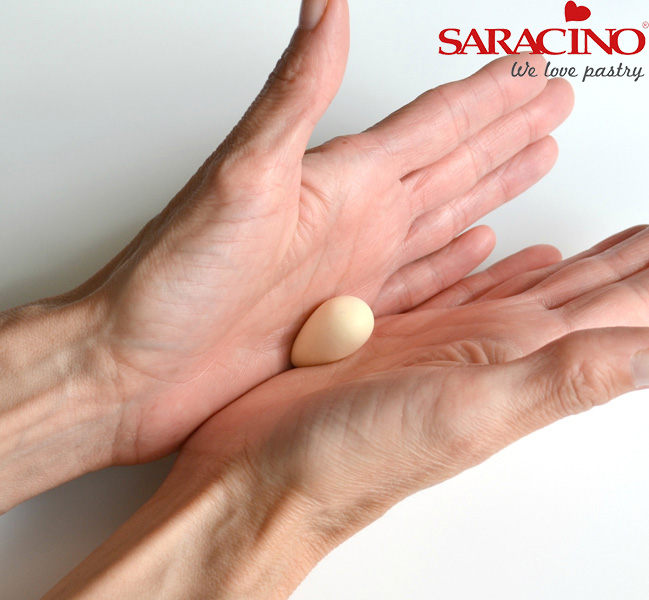
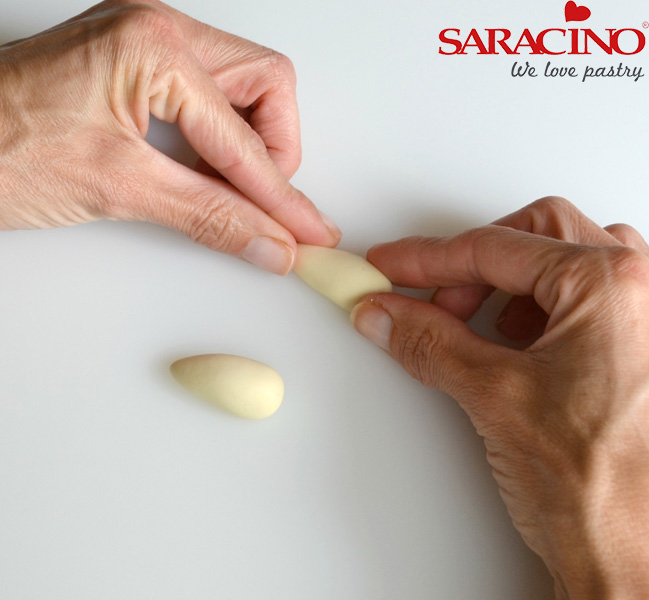
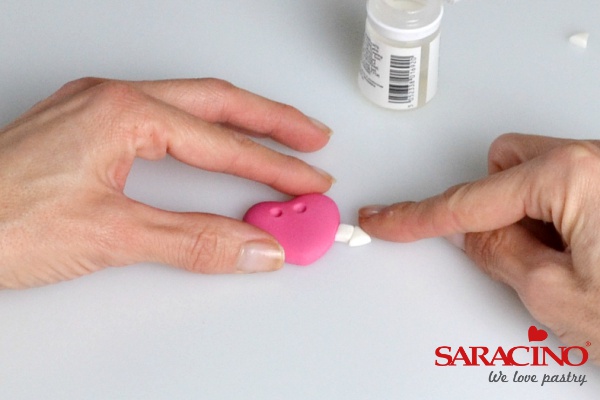
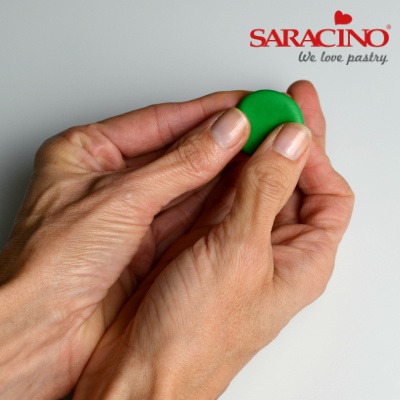
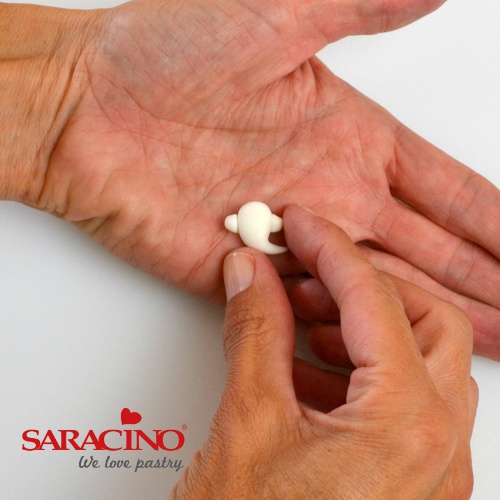
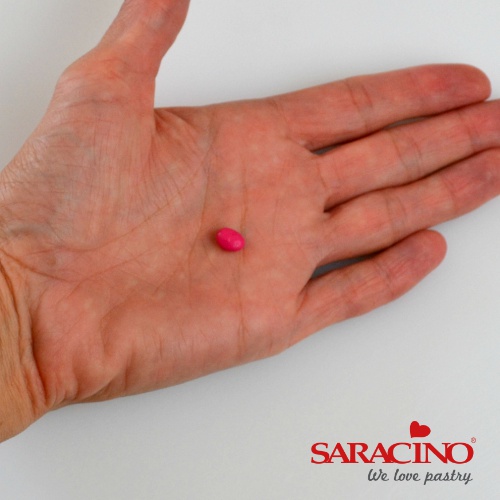
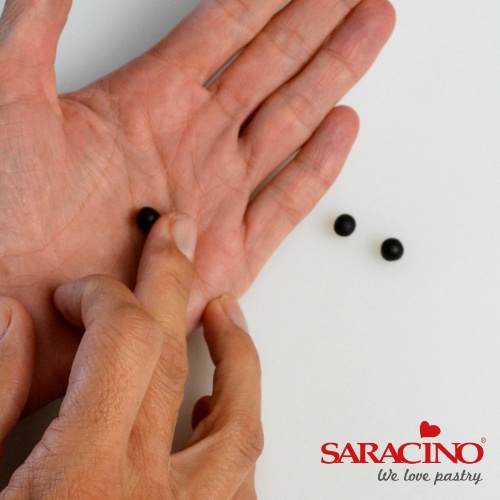
To make the legs take a 12g piece of golden brown paste and roll into a ball in the palm of your hands

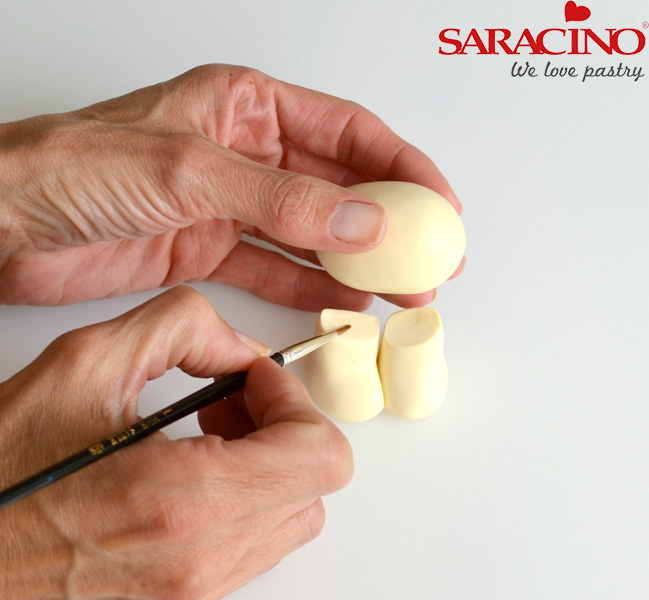
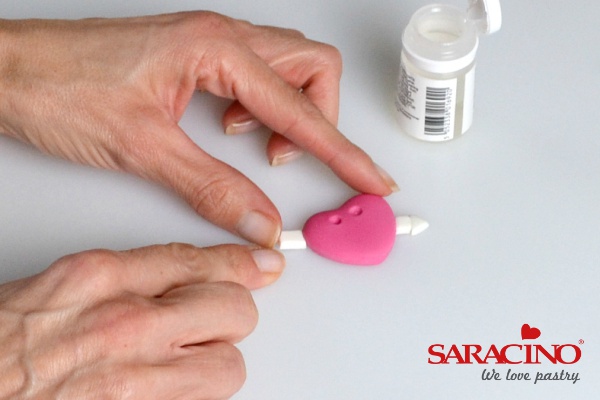
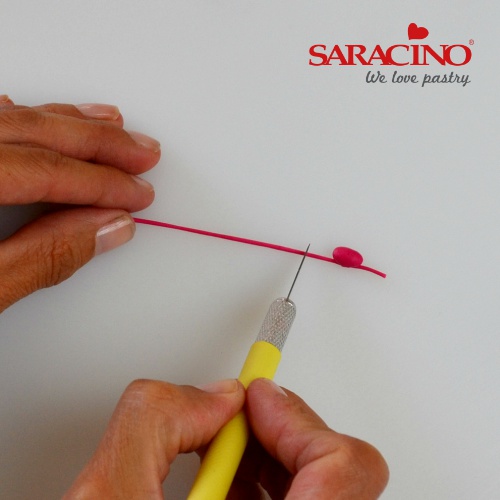
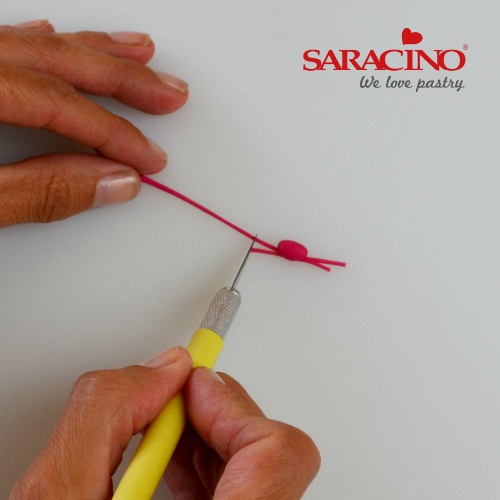
With the ball of paste in your hand use your index finger and middle finger to roll just one end to create a leg shape.
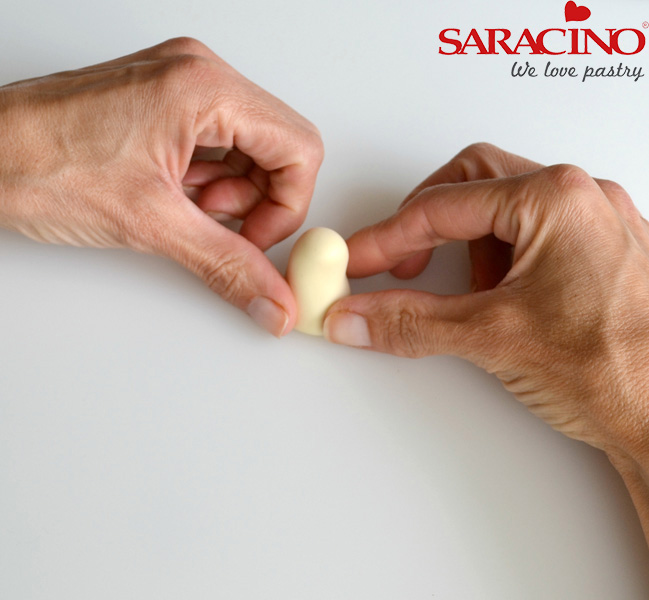
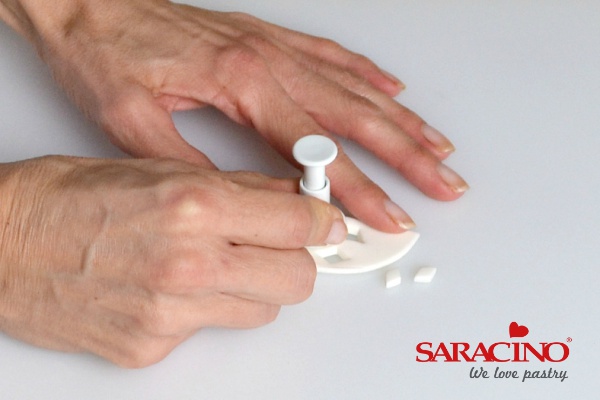
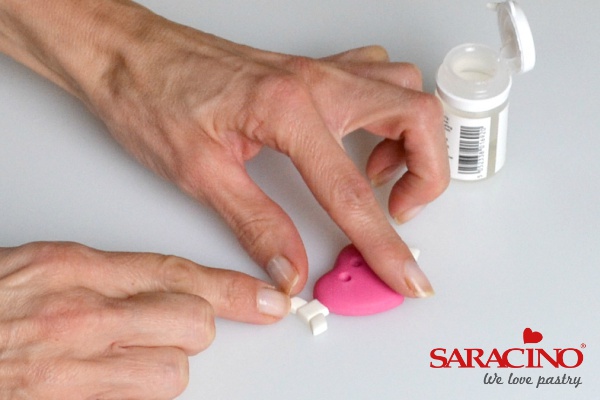
Stand the leg onto the board and push it down onto the board to make the foot. Smooth over with fingers to soften any bumps. Repeat steps 2 – 4 to make the second leg
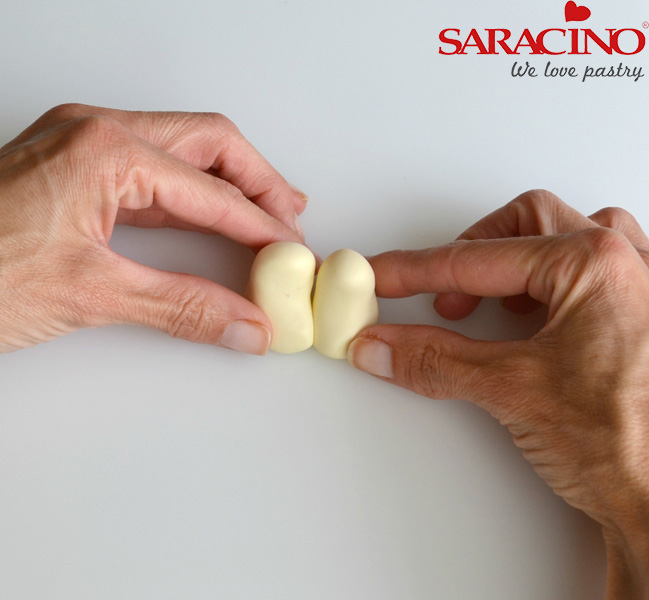
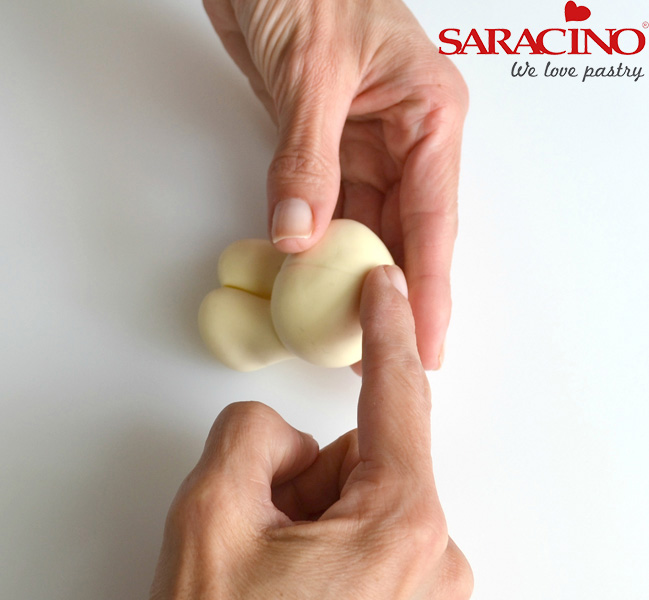
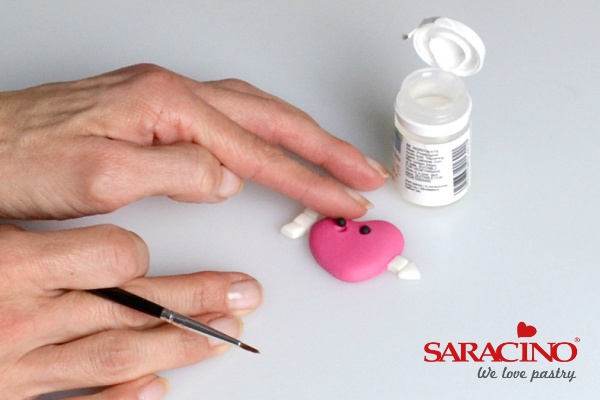
Push the two legs together using sugar glue if necessary to secure them together. Be careful not to lose the ankle shape when joining together.
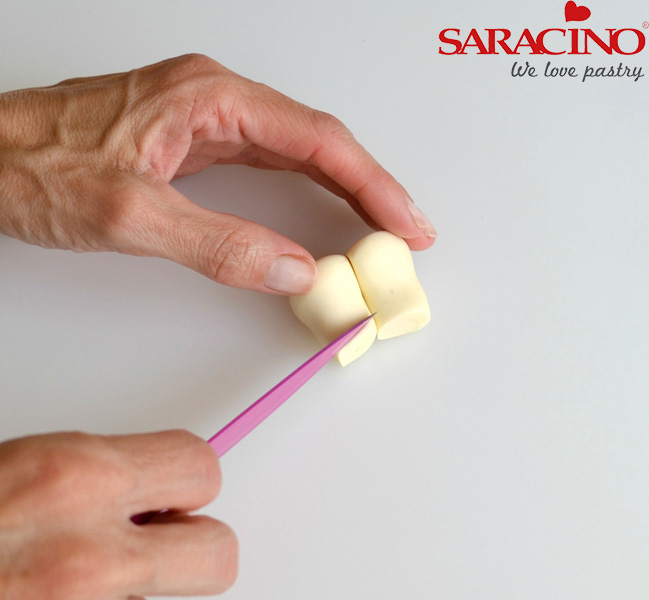
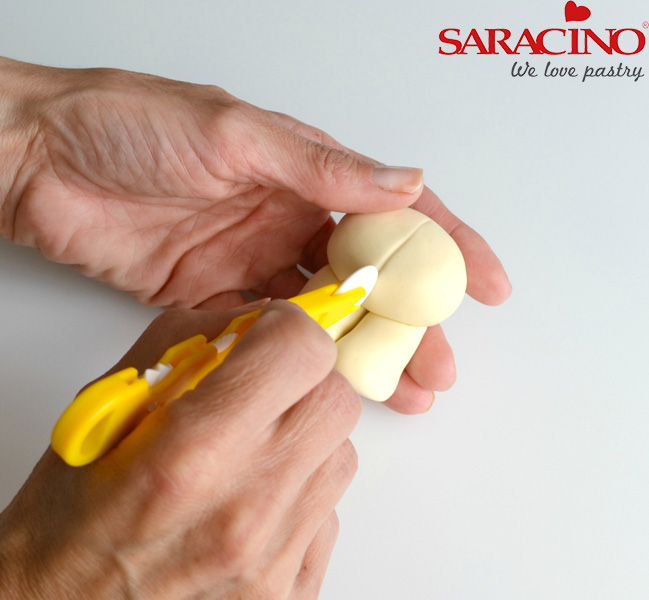
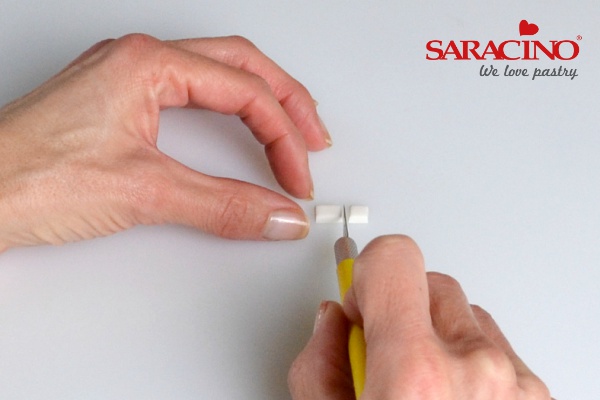
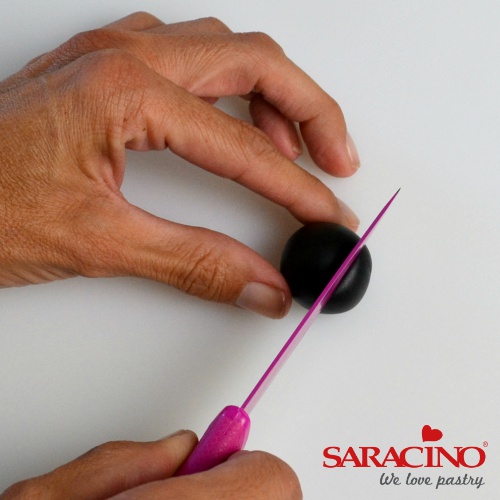
Use a sharp knife to diagonally trim off the top of the legs. Leave to set.
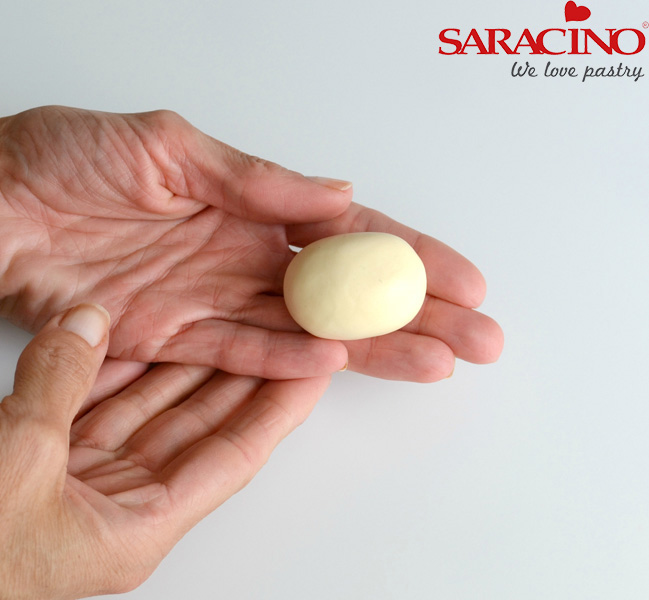
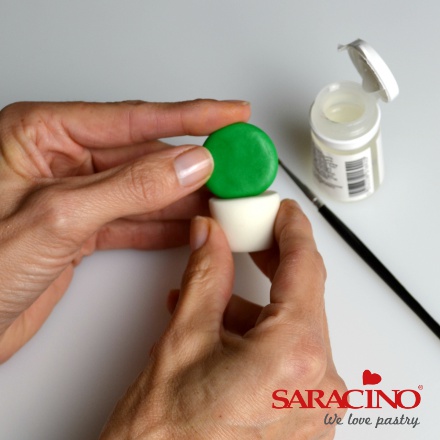
For the bears body roll a 35g ball of golden brown paste into a ball in the palm of your hands and roll gently to make a slight oval.
Use sugar glue to attach the body to the legs.
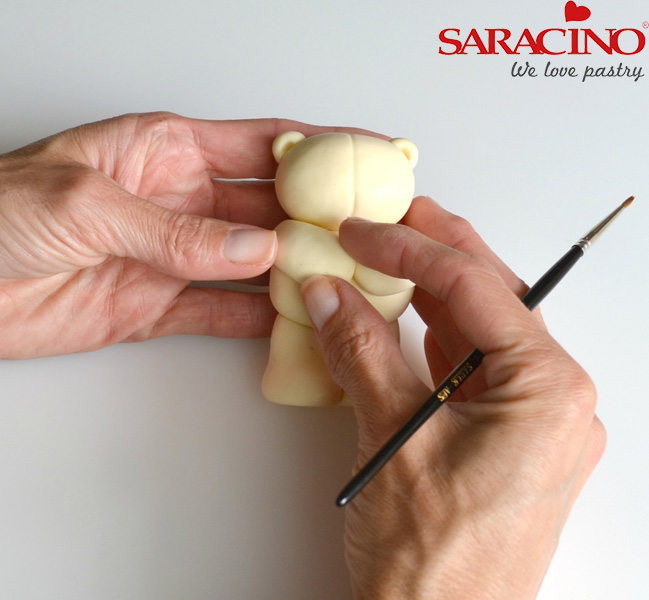
Mark a line down the body using a plain wheel modelling tool and leave to set (supporting if necessary)
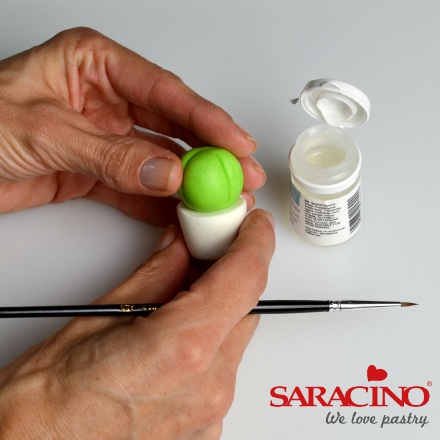
To make the head roll a 25g piece of golden brown paste into a ball and soften gently into a slight oval.
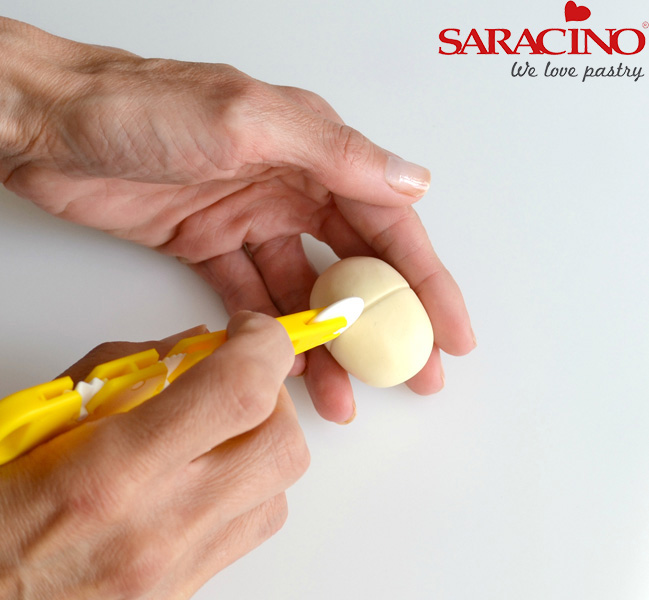
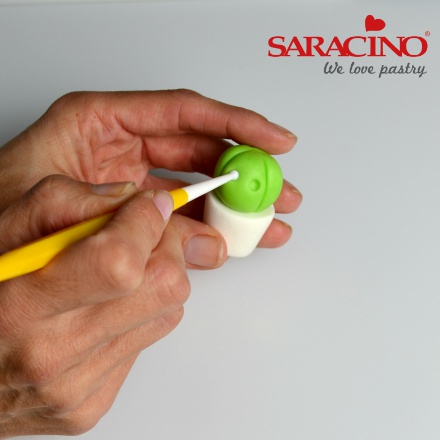
Mark a line down the middle of the head using a plain wheel modelling tool and continue down the back.
Use your finger to slightly flatten the top of the body in order to secure the head more easily.
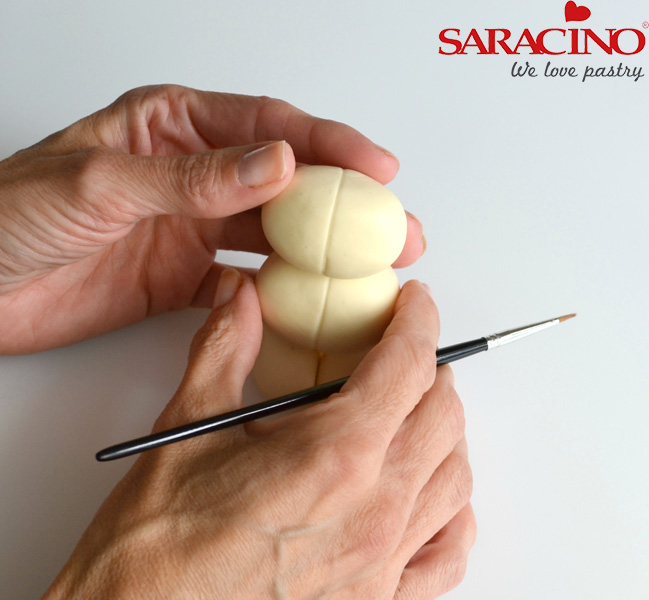
Use some sugar glue to attach the head to the body and leave to dry (supporting if necessary)
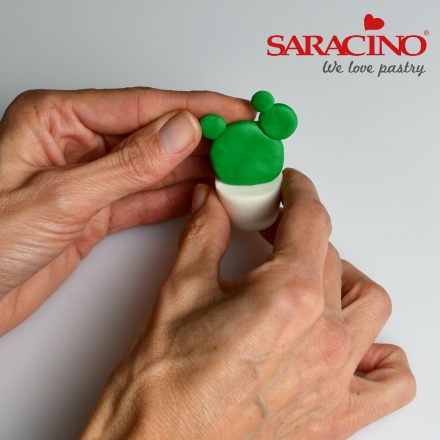
For the ears roll a pea sized piece of golden brown paste into a ball and flatten slightly with your finger.
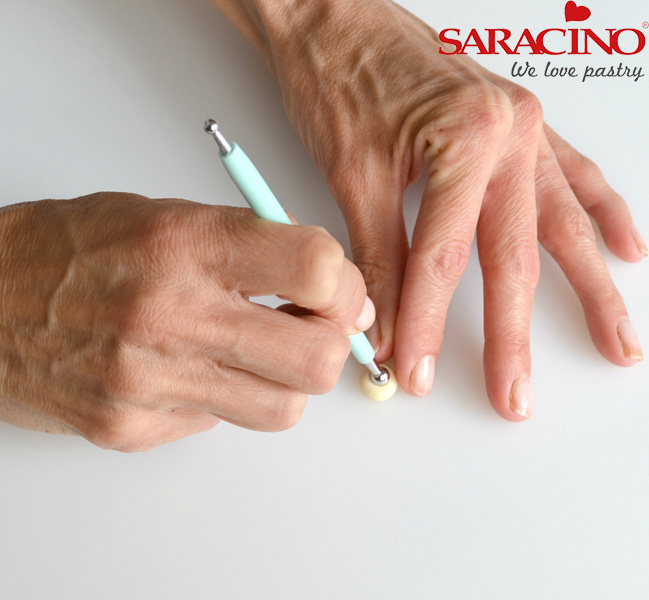
With a ball tool press into the centre of this ball.
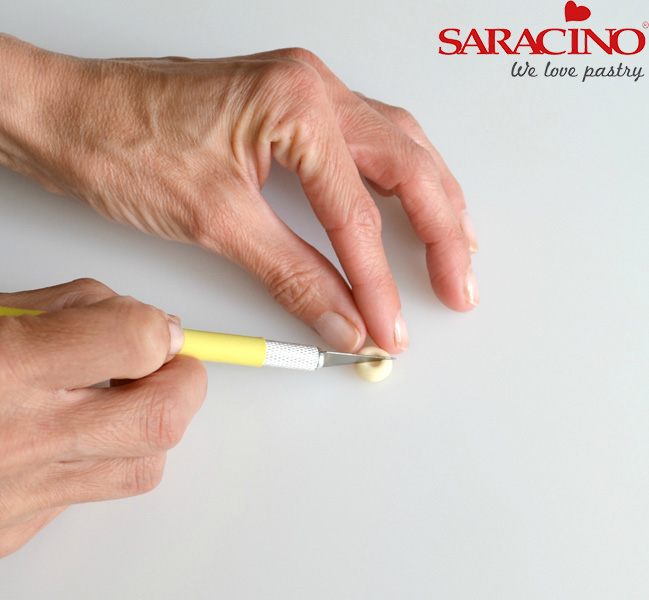
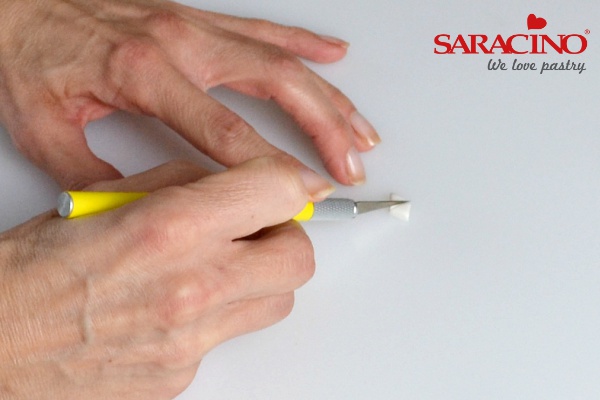
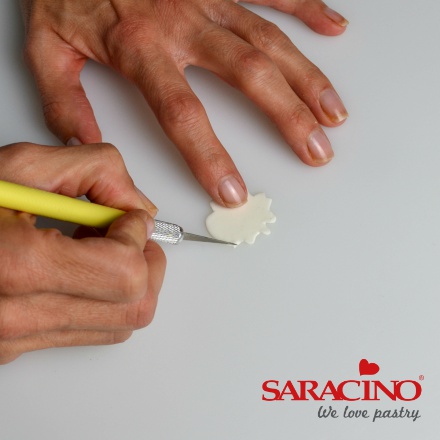
Using a craft knife cut this in two to create two ears.
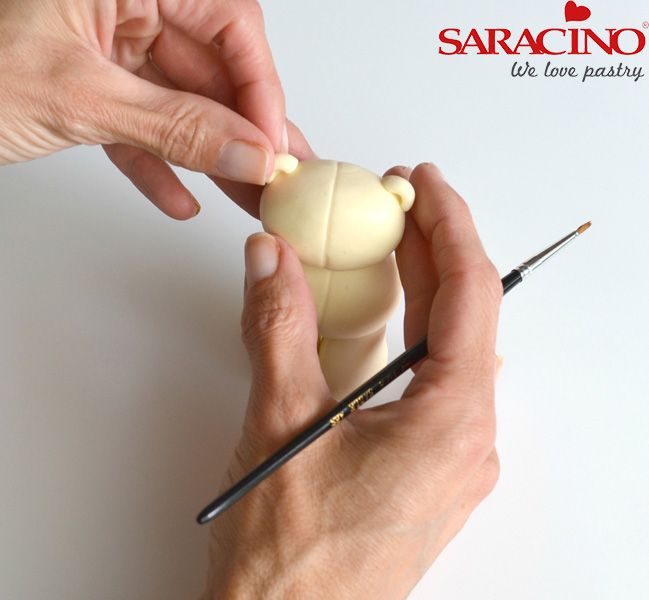
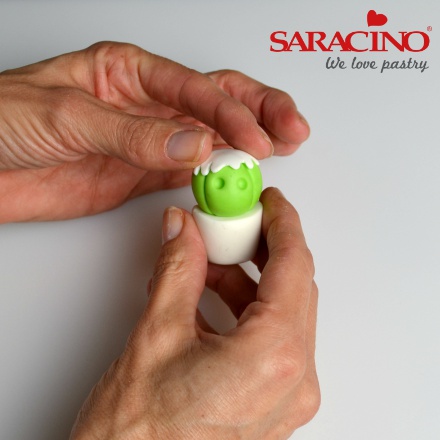
Attach one either side of the head to create ears.
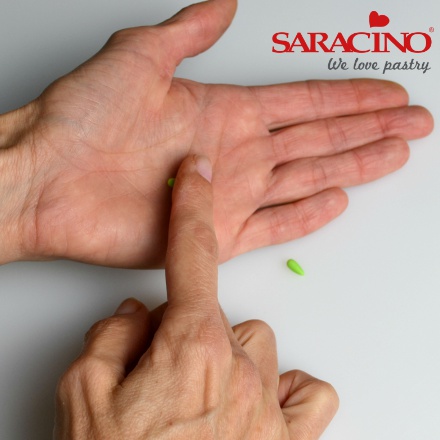
To make the arms roll 5g of golden brown paste into a ball and then roll into a teardrop shape with your hands at an angle. Repeat for the second arm.
Place the pieces on the board and use your fingers to flatten slightly onto the board.
Attach the arms with sugar glue making sure they meet in the middle. If they aren’t long enough elongate the arm slightly before attaching.
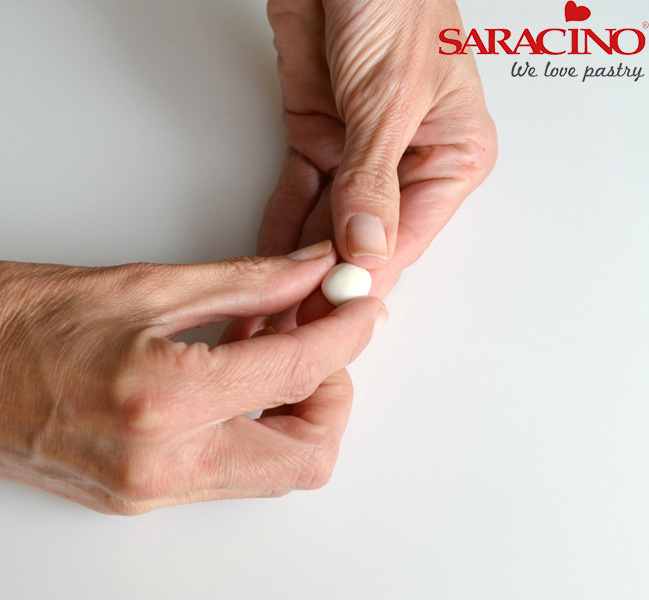
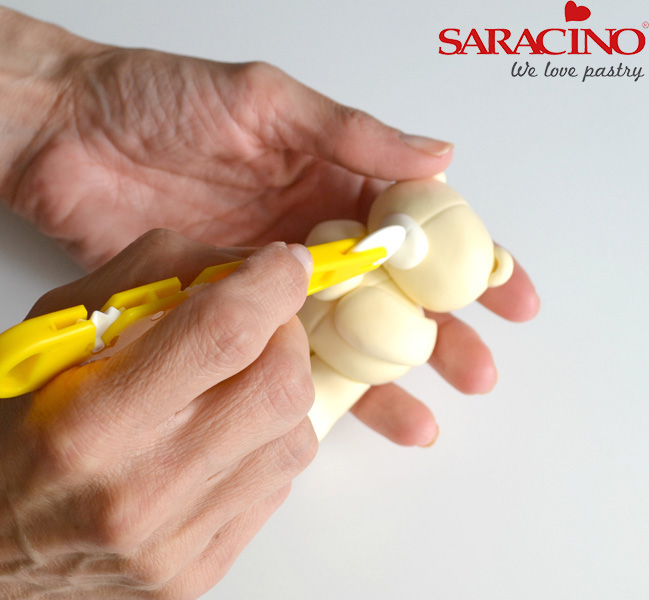
Roll a pea sized ball of white paste and flatten slightly onto finger in an oval shape.
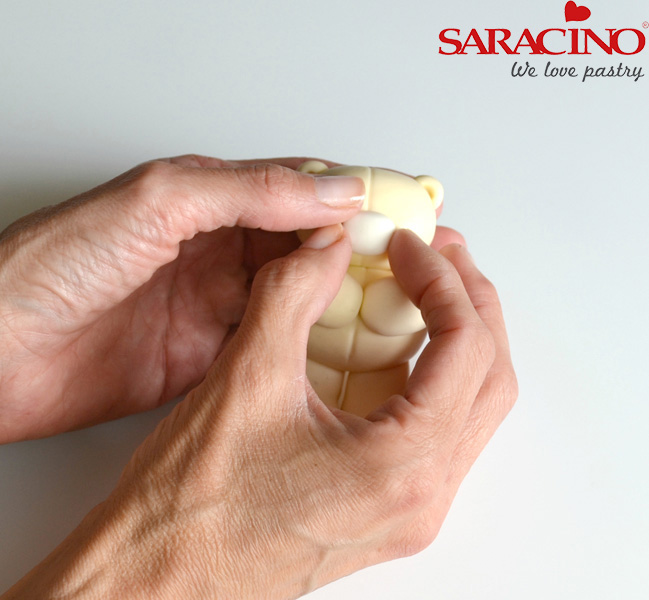
Attach muzzle to bottom half of the face with sugar glue.
Using a plain wheel modelling tool mark a vertical line from the top of the muzzle to the bottom.
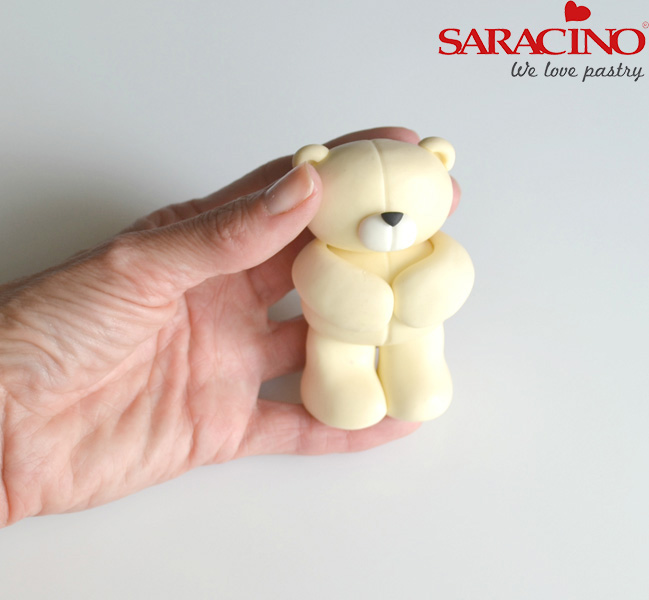
Shape a small piece of black paste into a triangular nose shape and attach to the top of the line just made using a small bit of sugar glue.
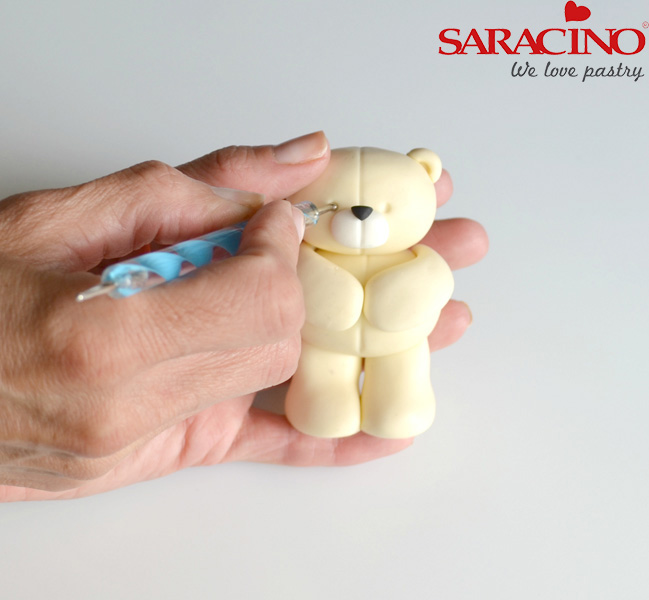
Using a small dotting tool mark out two indents for eyes. Leave to dry
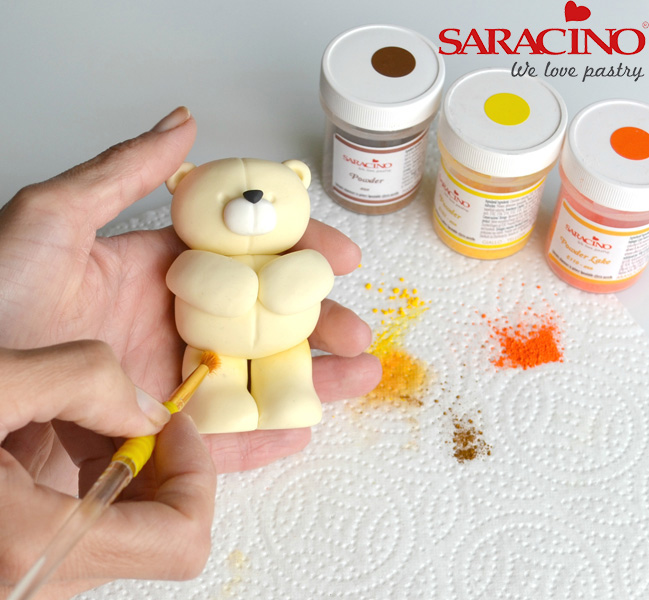
To dust mix a small quantity of Saracino yellow, orange and brown dusts to get a golden colour. Build the colour up slowly with a soft brush dusting the top of the legs, around the base of the feet, under the head and around the edge of his head.
Tip: I keep a small piece of the paste used for the bear to check the colour of the dust before adding to the bear himself
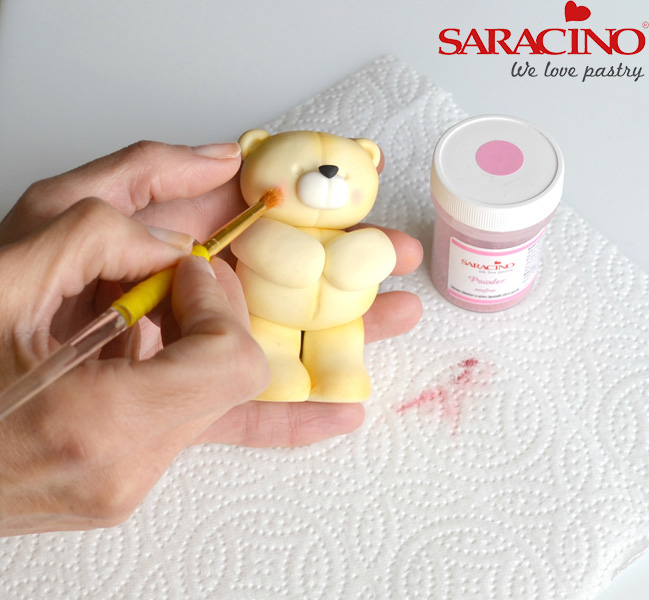
Use a small amount of Saracino pink dust for the cheeks.
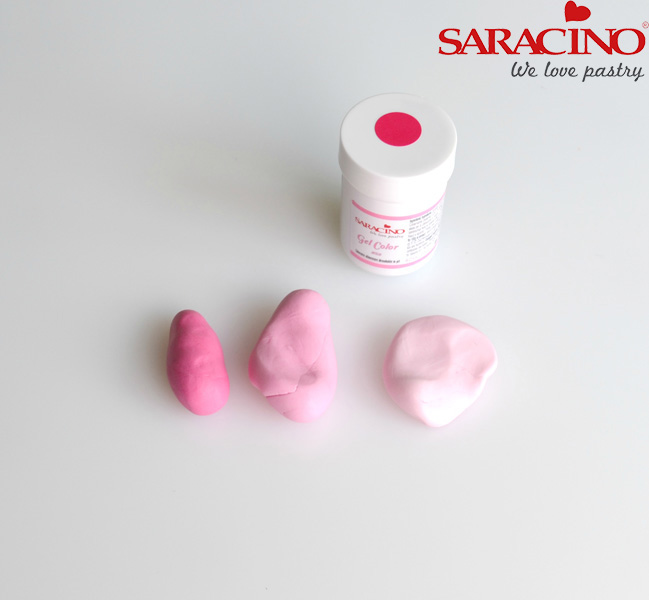
For the flowers mix up three shades of pink using the Saracino pink gel colour and keep a small portion white.
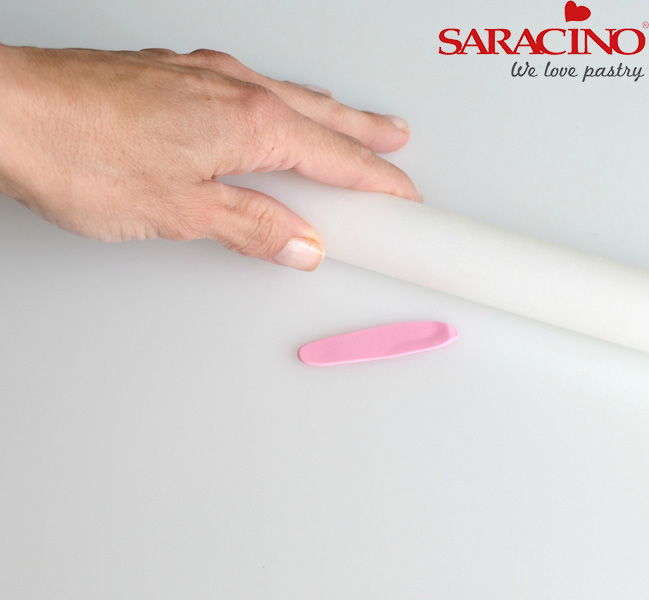
To make the roses roll small pieces of paste into sausage shapes and flatten with the rolling pin
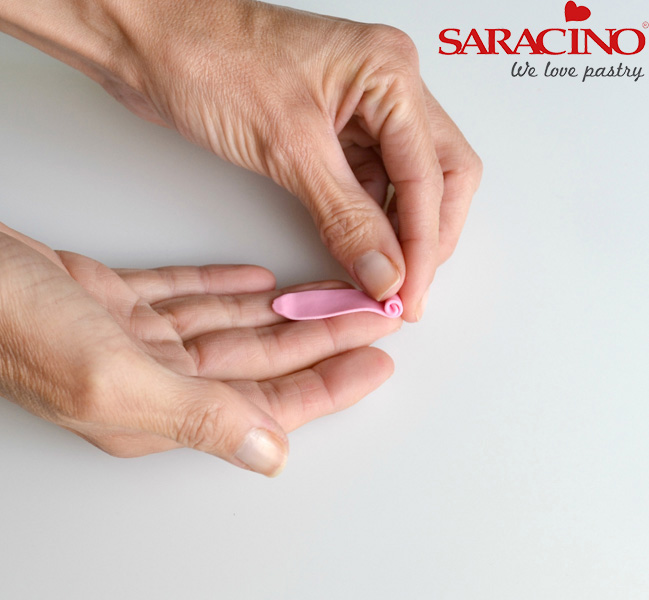
Roll up into flowers. You may need to trim the excess paste off with a craft knife before attaching.
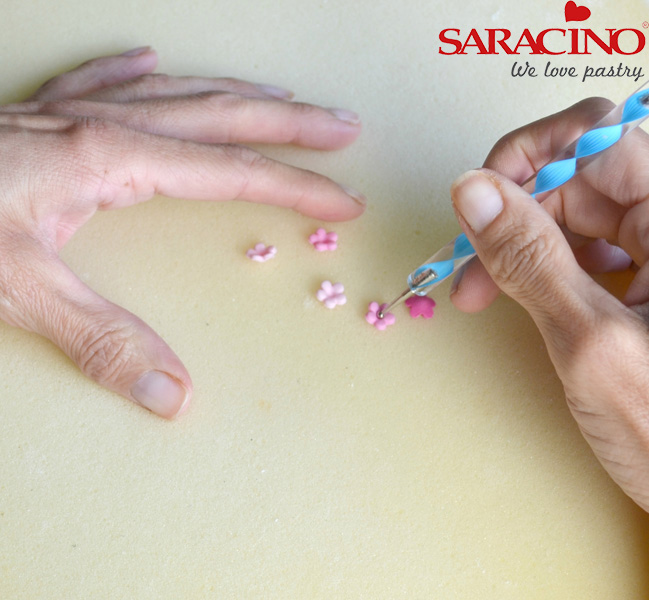
Cut out a variety of flowers using simple blossom cutters and other small flower cutters in all three shades, shaping on a sponge mat with a ball tool.
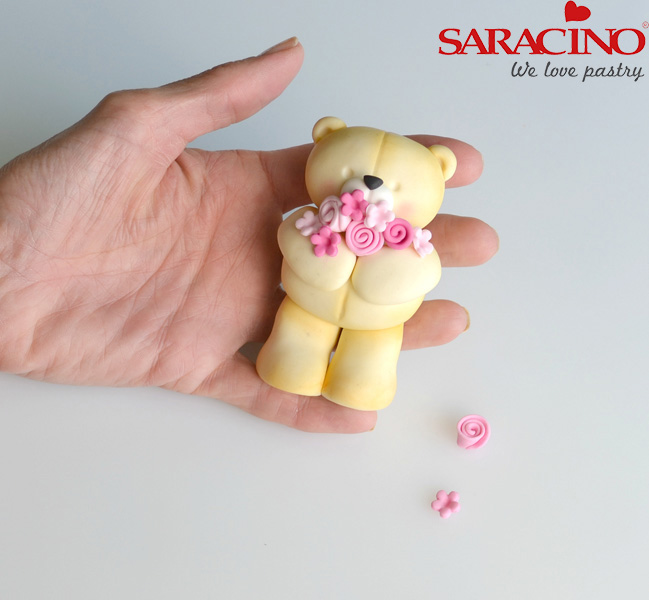
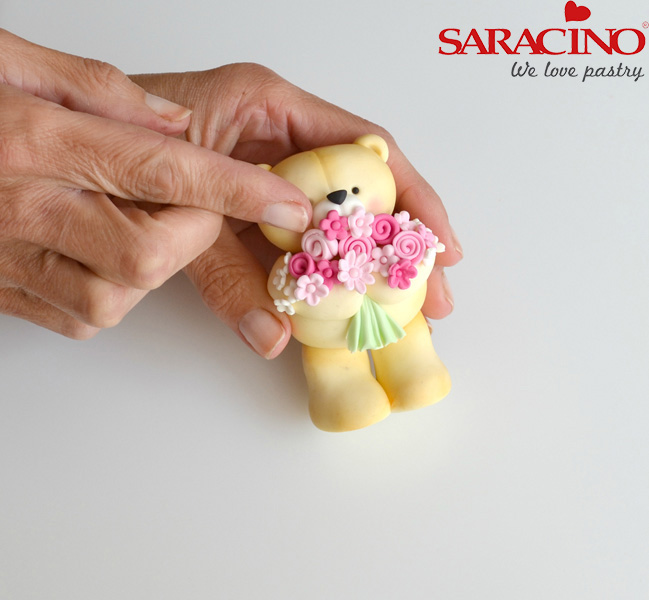
Start to arrange these to the front of the bear securing with sugar glue. Try to add the smaller flowers towards the edges. Roll tiny balls of paste for the centres of the flowers.
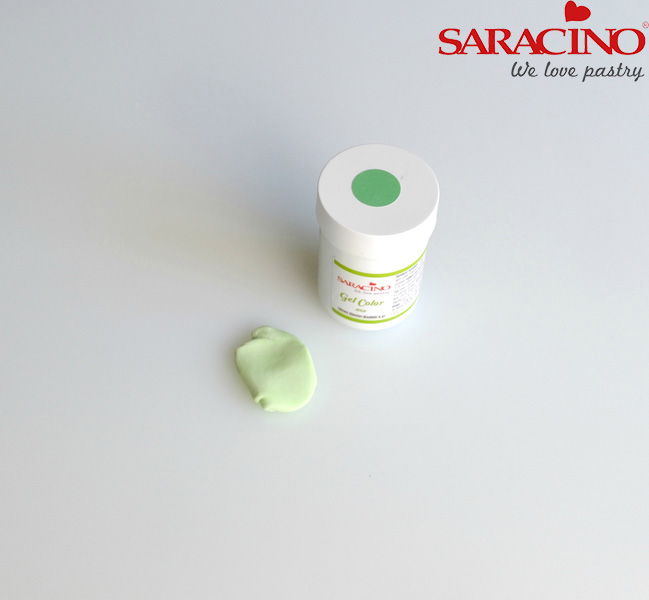
For the leaves and stems mix up a small piece of white paste with a small amount of Saracino green gel colour to create a soft green.
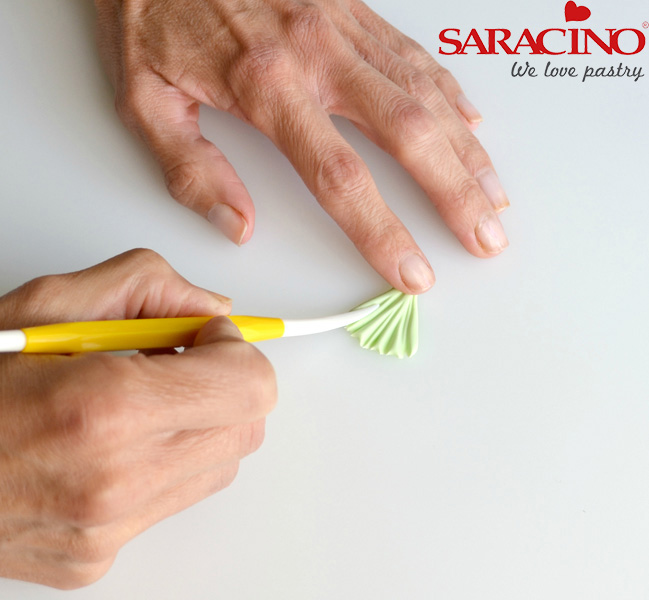
Shape a small triangle of green paste in your fingers and use the thin end of the dresden tool to press lines in to create the look of stems
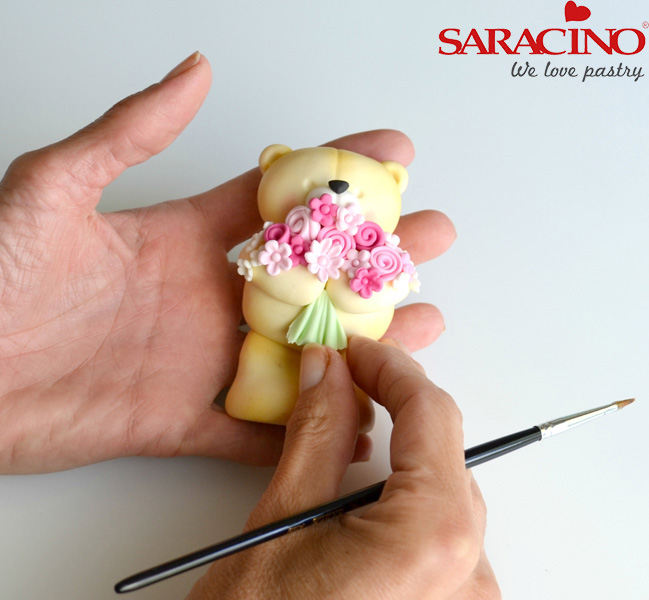
Trim down and attach below the bears arms with sugar glue
For the flower pots mix up a 25g piece of white modelling paste to a golden cream colour using spots of Saracino orange, yellow and brown gel colour.
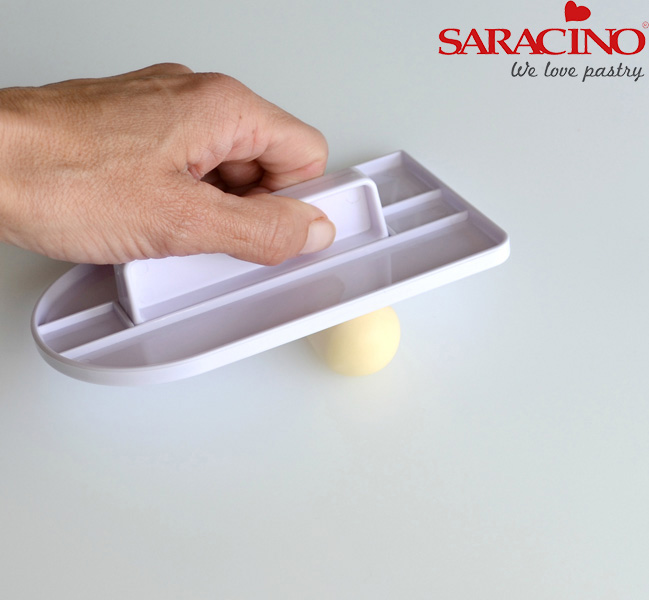
Cut in half and using a smoother at an angle, roll to a cone shape.
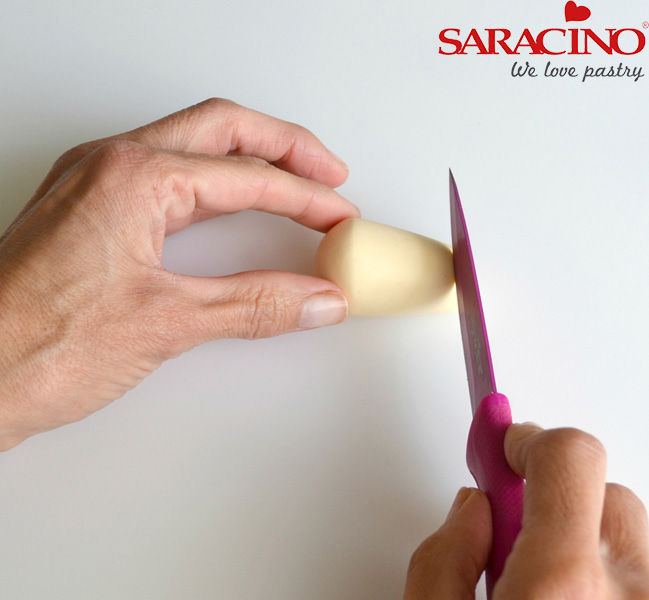
Use a sharp knife to cut the excess off from either end to create a flower pot shape.
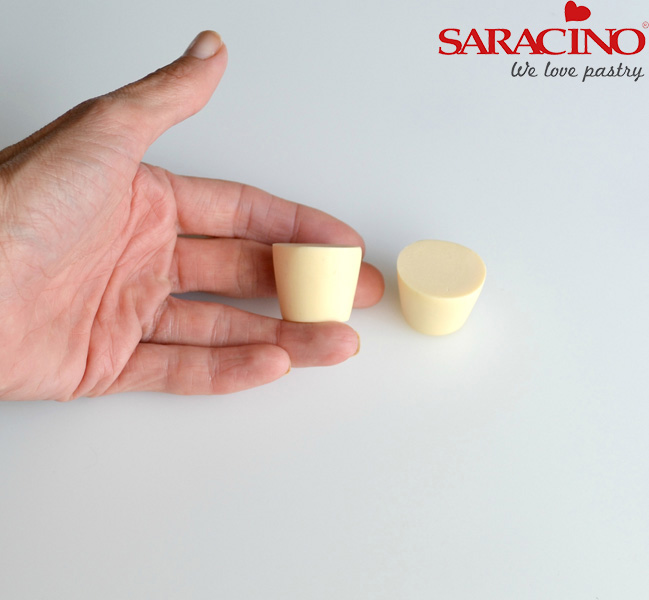
Repeat to make the second pot
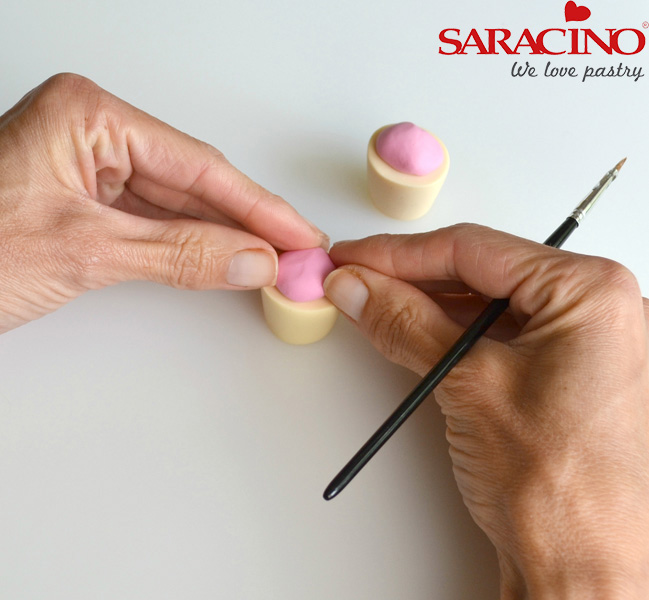
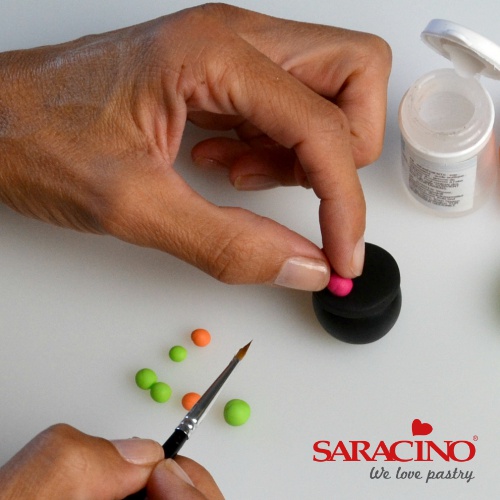
Take a small piece of pink (any shade is fine) and stick to the top of each flower pot.
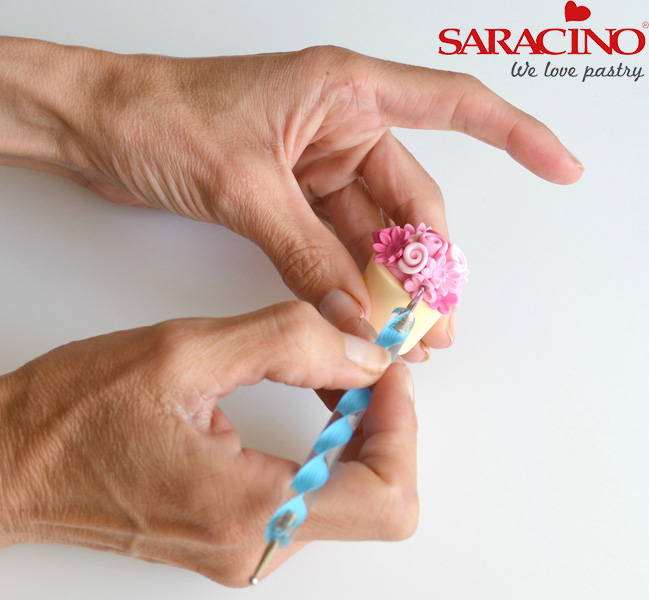
Roll roses and cut out flowers as before and stick to both flower pots.

Roll tiny teardrops of green paste and using the thin end of the dresden tool make a line down the middle. Push a few of these leaves in between the flowers in the pots
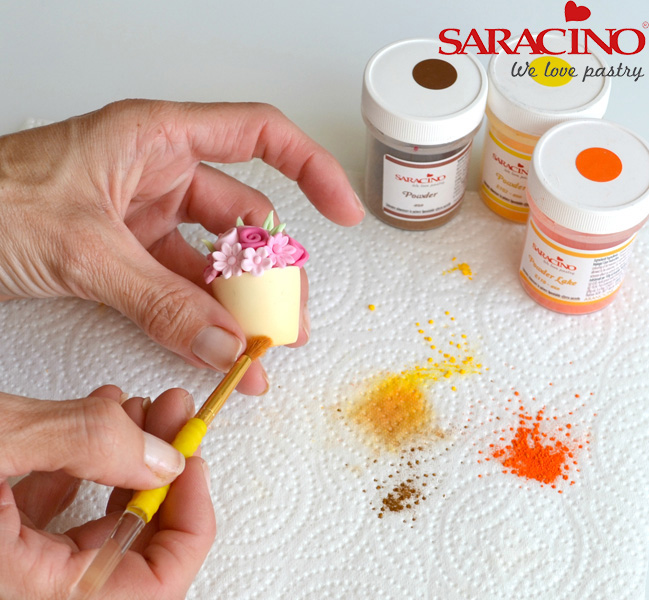
Finish pots by very lightly dusting the bottoms using a mixture of Saracino yellow, orange and brown dusts.
Roll two tiny balls of black paste for eyes and secure with sugar glue.
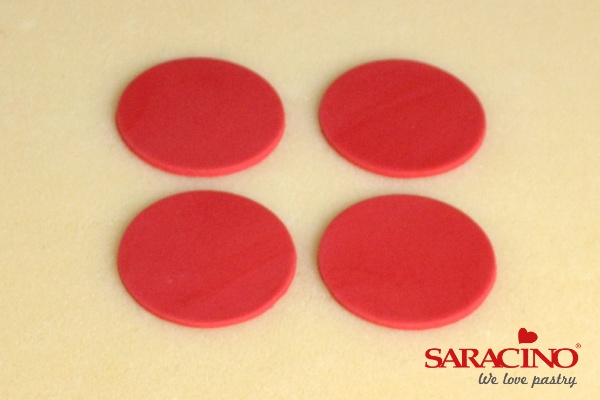
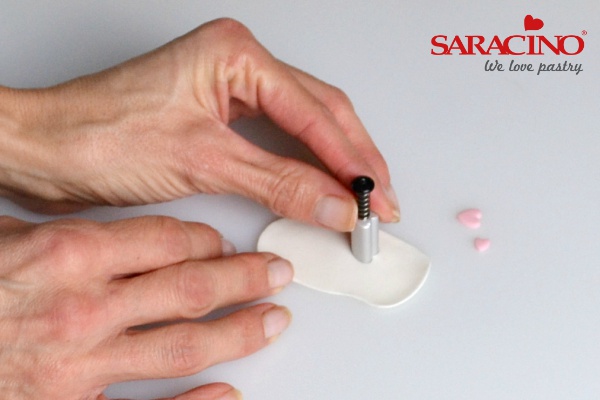
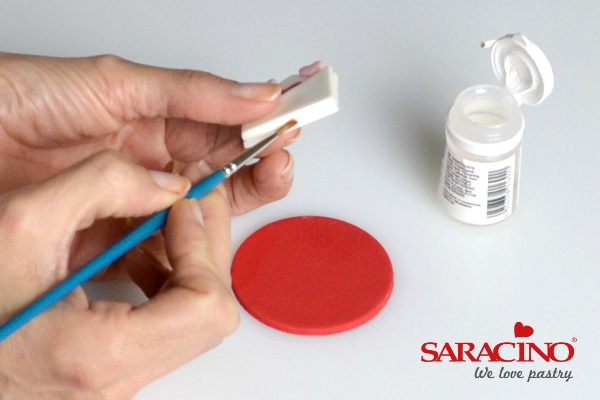
Roll out red sugarpaste (pretreated with tylose powder) and cut 4 x 58mm circles. Set aside to dry completely on foam mat.
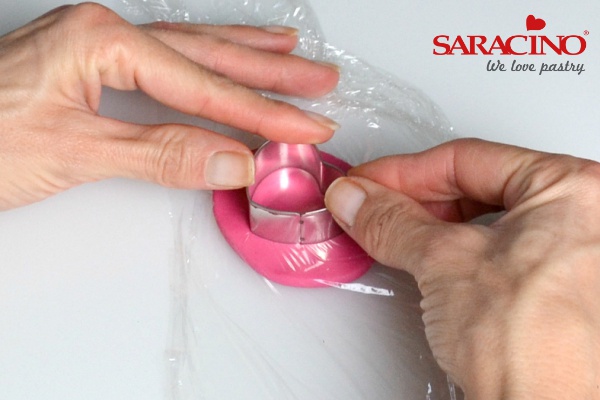
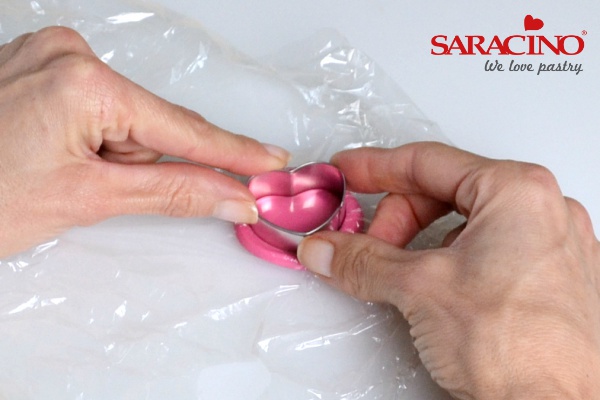
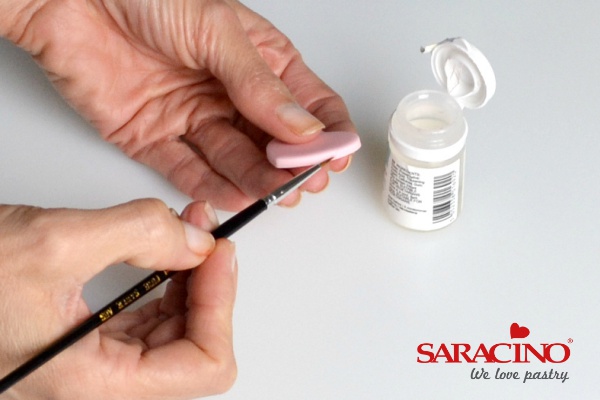
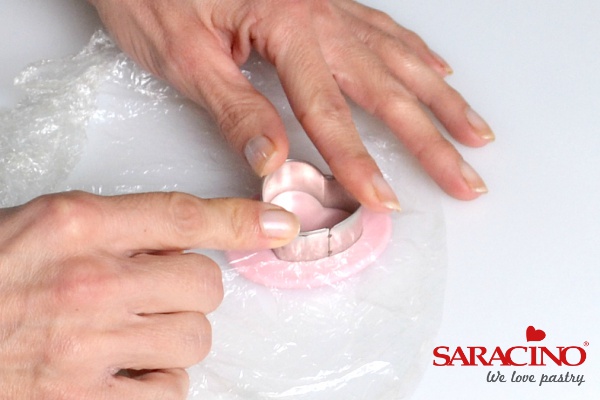
Roll out fuchsia pink paste to approx. 6mm in thickness and place a piece of cling film on top. Smooth over with fingers so there are no creases and push heart cutter down on top. Carefully remove cling film (making sure the cutter hasn’t left any on the top of the paste) and set aside to dry. Repeat with the rose paste.
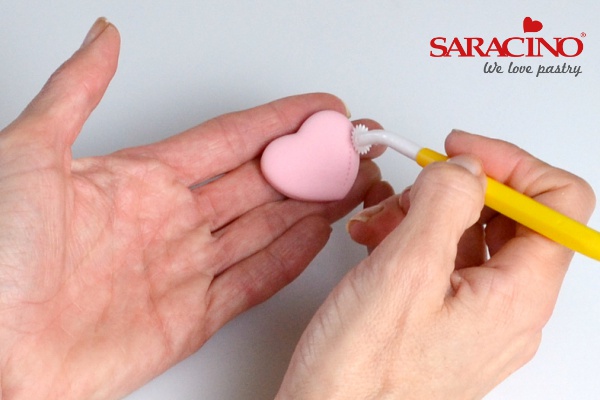
Use a stitching tool to add detail around the edge of the rose heart and leave to dry.
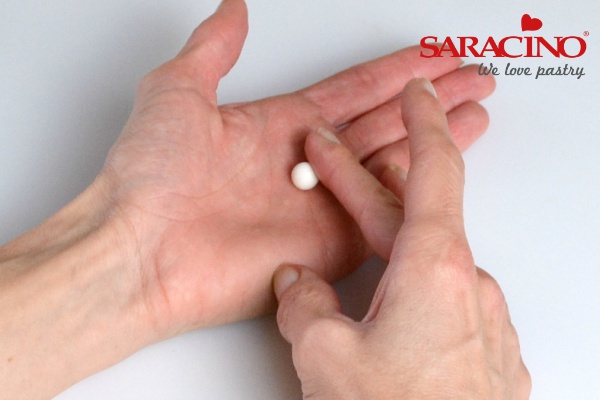
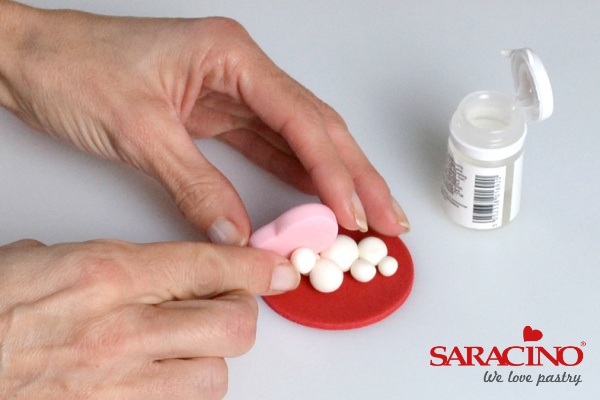
To make the cloud roll out a number of white paste balls in the palm of your hand. Try to have a variety of different sizes.
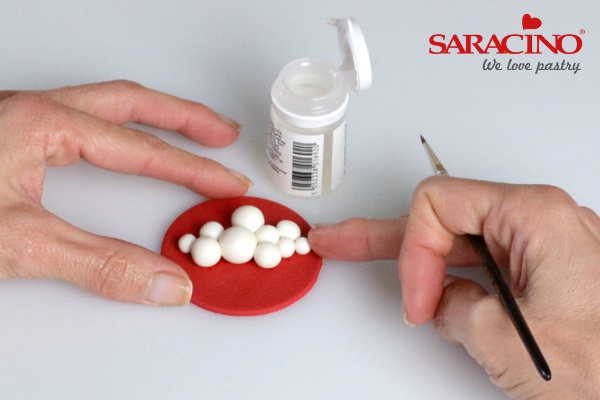
Stick the balls onto the topper with the larger balls in the centre and getting smaller towards the two sides.
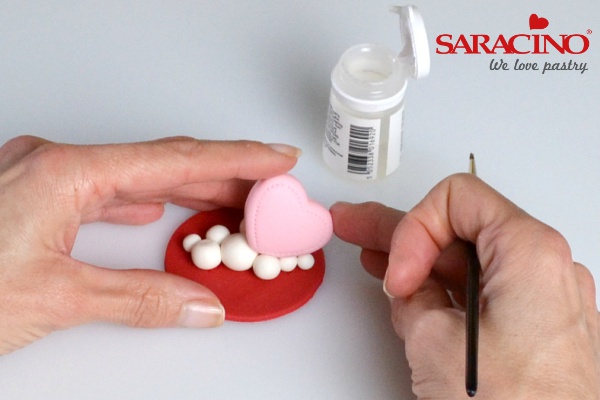
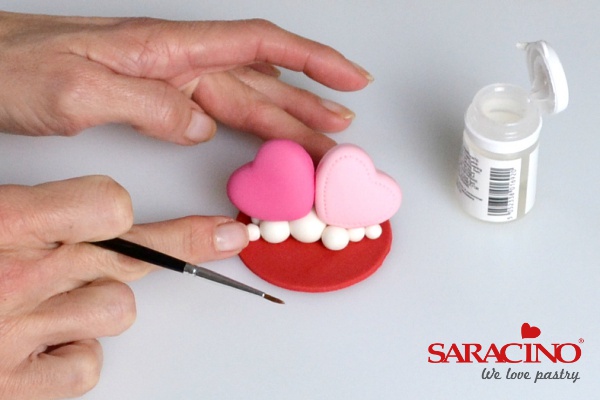
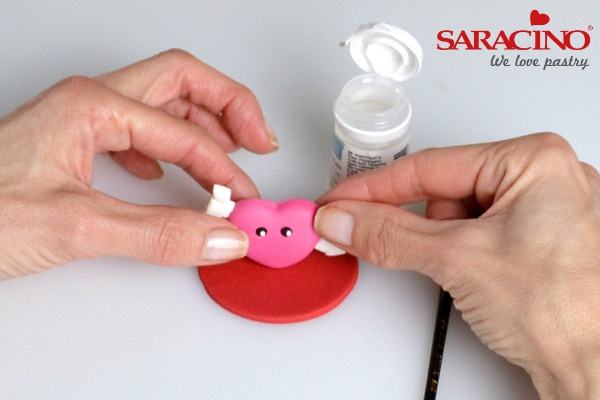
Using sugar glue, stick the rose pink heart onto the right hand side of the cloud at an angle.
If necessary turn the topper around and support the back with another small ball of white paste.

Glue the second fuchsia pink heart onto the left hand side of the cloud, also add a spot of glue to join the two hearts together in the middle. Push together gently onto the cloud. Again, if necessary, add a white paste ball to the back to support the heart.
You may now want to add in a small white paste ball or two just to finish off the cloud. Leave to dry completely.
Roll out a piece of fuchsia paste about 6mm in thickness. Cover with cling film and smooth the top. Cut out a heart shape as before.
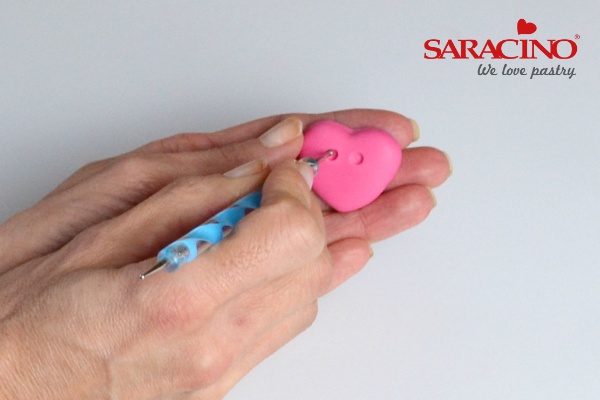
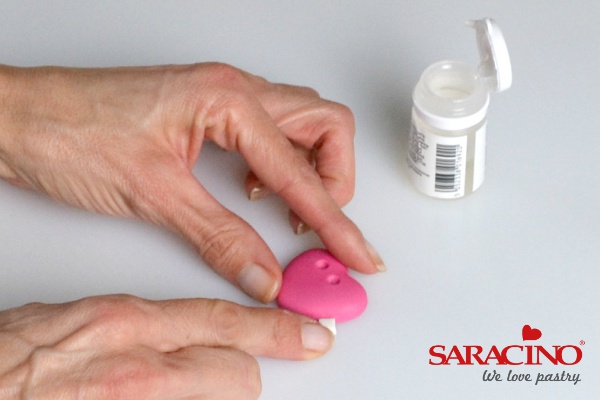
Use a small dotting tool to make two dents for eyes and set aside to dry.
Roll out a piece of white paste approx. 3mm in thickness. Use a knife and ruler to cut a strip approx. 16mm long and 6mm wide. Cut this into two lengths, one 10mm and the other 6mm.
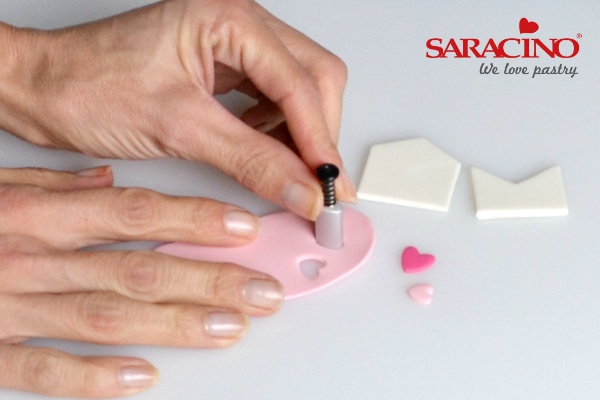
Using a piece of paste of the same thickness cut out 2 small diamonds using your diamond plunger cutter (1cm) Cut another diamond with a 13mm diamond plunger cutter.
Cut the larger diamond into two triangles.
Using sugar glue attach the small rectangle to the heart approximately half way down on the right hand side.
Glue one of the triangles to the end of this rectangle
Attach the other larger rectangle to the left hand side of the heart opposite the previous piece.
Use sugar glue to add the two small diamonds either side to complete the arrow. Set aside to dry completely
Roll two small balls of black paste and glue into dents for eyes. Add small pieces of white paste for accents.
Using a small amount of sugar glue attach the large heart (with arrow) to the middle of one of the toppers and support from behind whilst drying.
Using a small heart plunger cutter, cut out one small rose pink heart. Cut two hearts using a medium plunger cutter (one rose pink and one white)
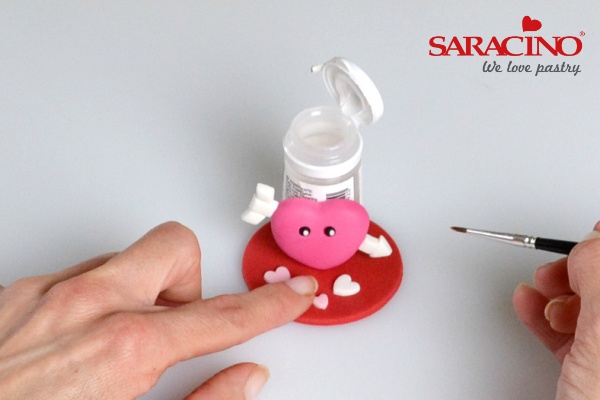
Use sugar glue to attach these hearts to the front of the topper
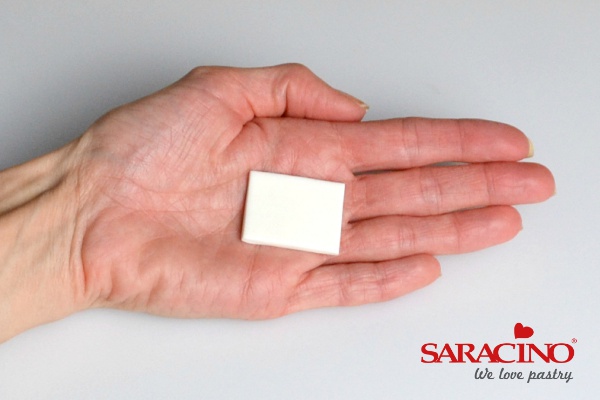
Roll out the white paste to approximately 3mm in thickness. Cut out a rectangle approximately 35mm by 28mm with a knife.
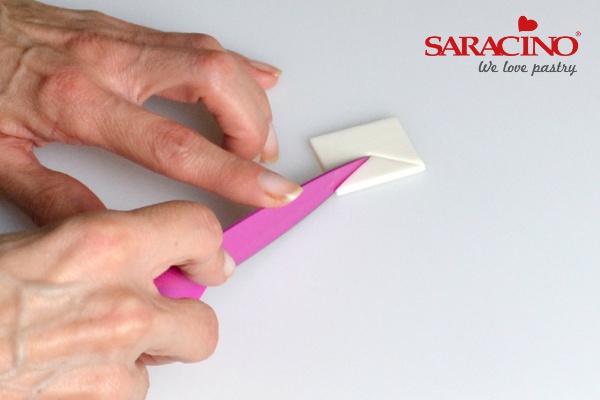
Remove a triangle from one of the long sides of the rectangle with a knife.
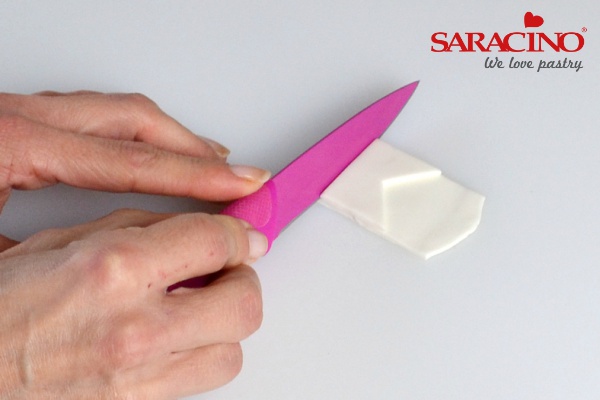
Roll out another piece of white paste thinner to approximately 2mm in thickness. Lay the cut shape on top and using a knife cut around the three straight sides.
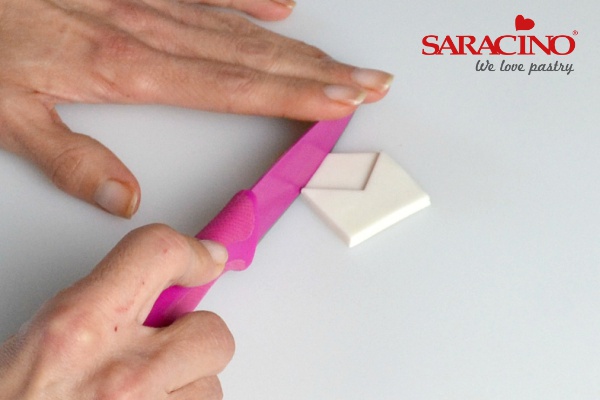
Now cut the top of the envelope to make it look open
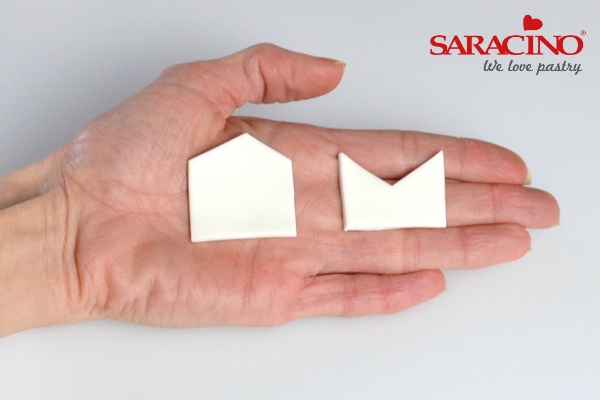
You will have two shapes like this.
Roll out the fuchsia paste and rose paste fairly thinly. Using the large and medium heart plunger cutters, cut out one large fuchsia heart and two medium rose pink hearts.
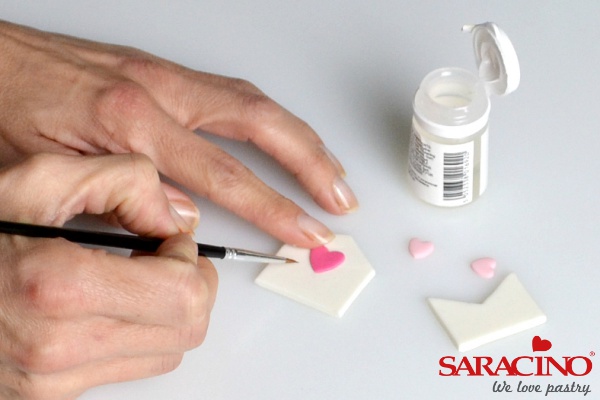
Attach the larger fuchsia heart to the envelope just slightly above the middle checking that when the other piece is overlaid it is poking out. Apply glue at the bottom of the letter and fix to the cupcake topper
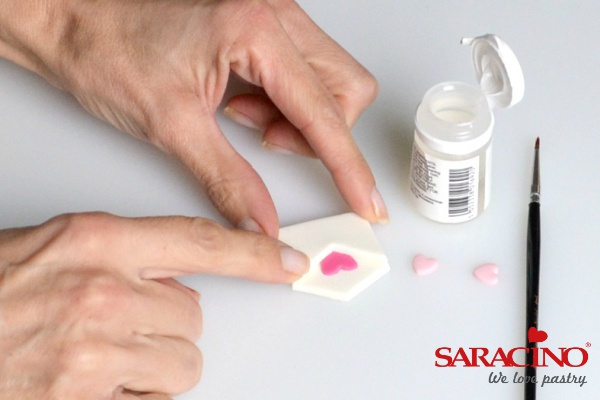
Use sugar glue to attach the other piece of the envelope on top.

Add the two medium sized rose pink hearts to the top of the envelope with sugar glue.
Roll out the rose pink paste to approximately 2mm in thickness and cut out a large heart.
Roll a strip of rose pink paste and set aside for a minute to slightly harden (as this makes the next step easier) using a long bladed knife in a rocking motion cut a strip approximately 1cm in width.
Brush a small amount of sugar glue around the side of the heart.

From the middle of the left hand side, start to wrap the strip around the edge of the heart to create the side of the chocolate box
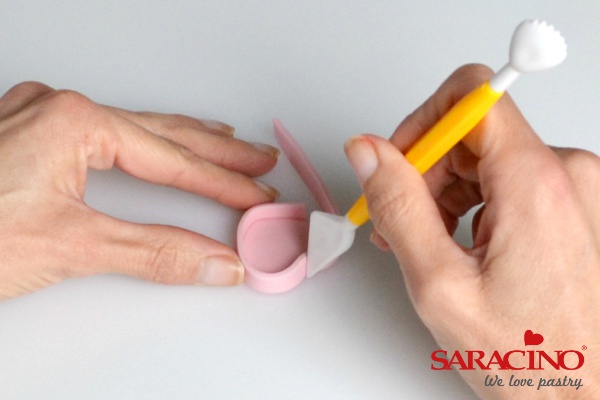
Use the blade tool to push the paste into the shape of the heart.
With a craft knife cut off the excess paste and use a small amount of sugar glue to stick the two ends together.
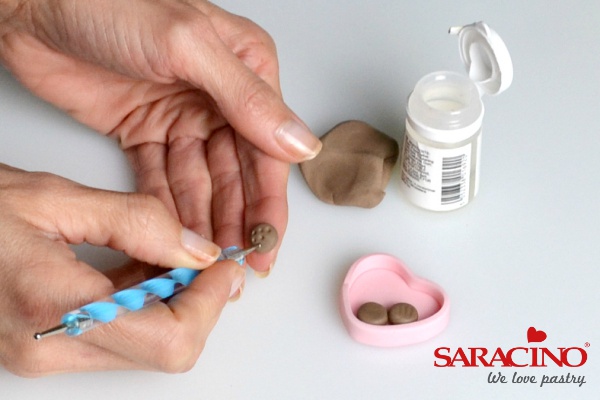
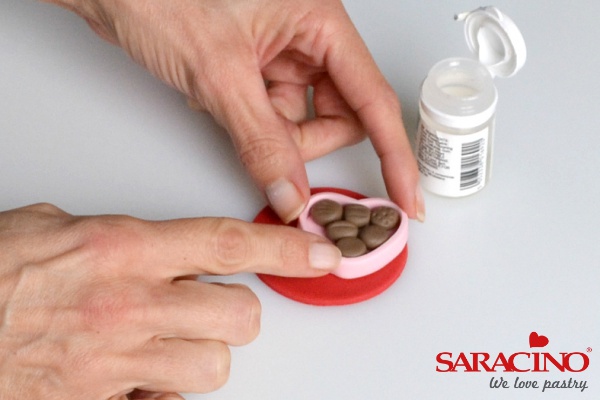
Using small balls of brown paste make chocolates for the inside of the box. Mark the tops of the chocolates with a small dotting tool, shell tool etc. Secure inside the box with sugar glue. Don’t worry if there is a gap on the left hand side as the box lid will cover this.
To make the lid roll a piece of rose pink paste approximately 4mm in thickness. Cover with cling film as before and cut out a heart.
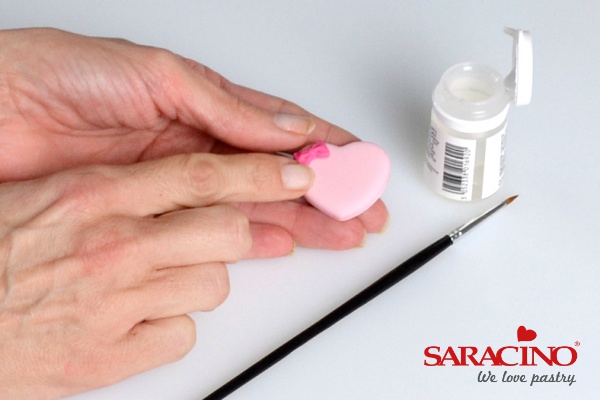
Take a small piece of fuchsia paste and use a small mould to make a bow. Glue this to the top left of the heart with sugar glue.
Stick the chocolate box to the right hand side of the topper with sugar glue.
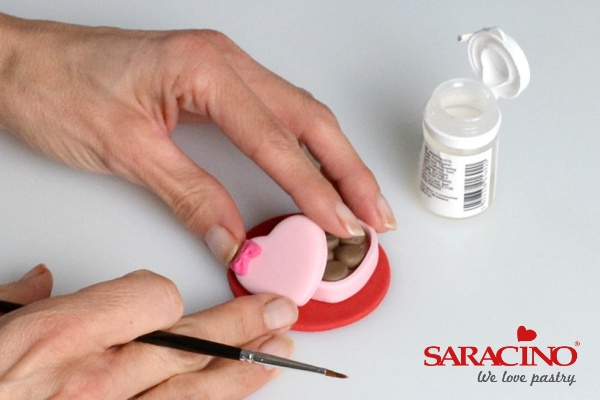
Add the lid at an angle securing with sugar glue. Set this to dry.
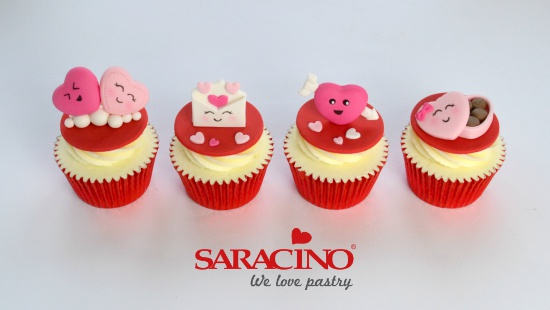
When completely dry use an edible black pen to mark on the faces and eyes of the hearts, envelope and chocolate box. Be very careful here as they are still quite fragile. Use some soft pink edible dust to add pink cheeks to the pale pink heart on the cloud, the pale pink chocolate box lid, and the envelope.
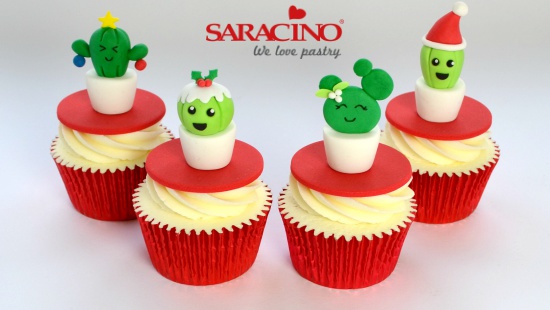
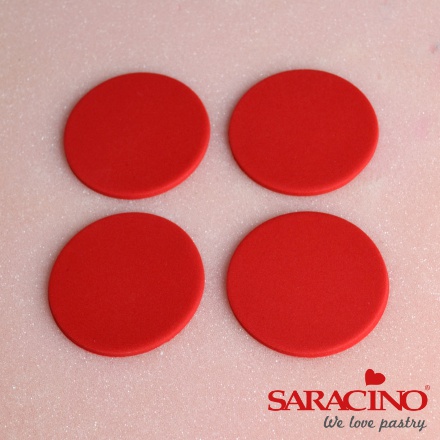
Roll out the red sugarpaste and cut out four 58mm circles. Leave to dry on a foam mat
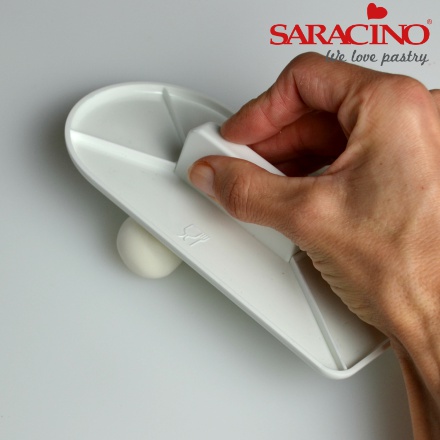
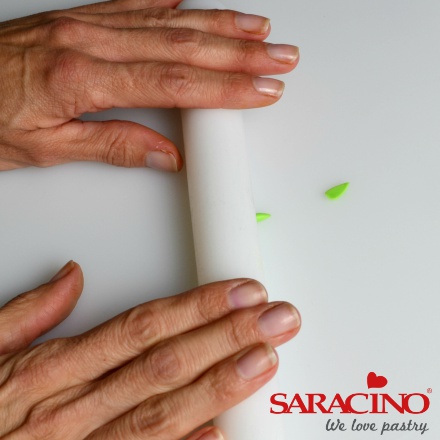
Take a piece of white paste about the size of a large cherry tomato. Holding a smoother at an angle, roll back and forth to create a large teardrop shape.

Using a sharp knife, cut the excess off at either end to make the pot. Repeat this three times to make four pots and set aside.
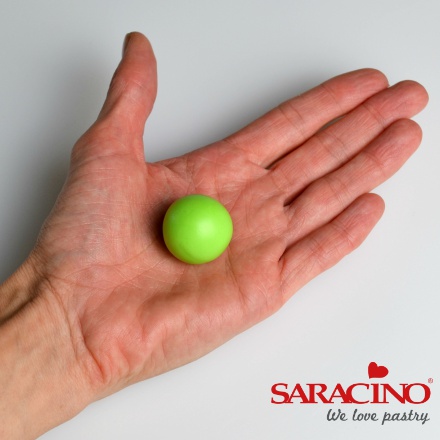
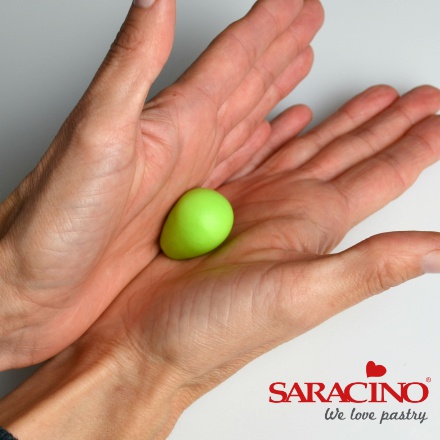
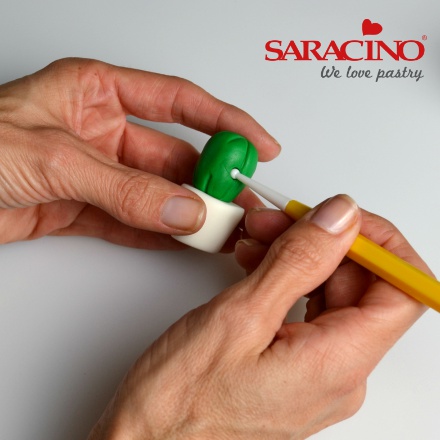
Roll a cherry tomato sized piece of light green paste into a ball in the palms of your hands.

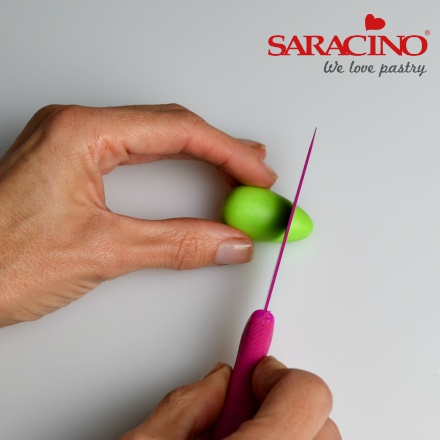
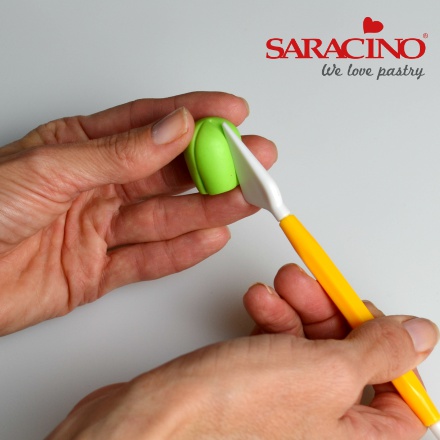
Using a blade tool mark four deep creases into the cactus.
Using some sugar glue attach the cactus to one of the pots.
In one of the spaces use a small ball tool to make dents for the eyes.
Cut out a 29mm circle of thin white paste and leave it to harden for a minute. Use a craft knife to cut a wiggly line all the way round to make the cream for the top of the cactus Christmas pudding.
With your fingers, press this onto the top of the pudding using a spot of edible glue if necessary.

To make the holly cut out two diamonds using the 1cm plunger diamond cutter and use a straw to remove the corners off two of the opposite sides
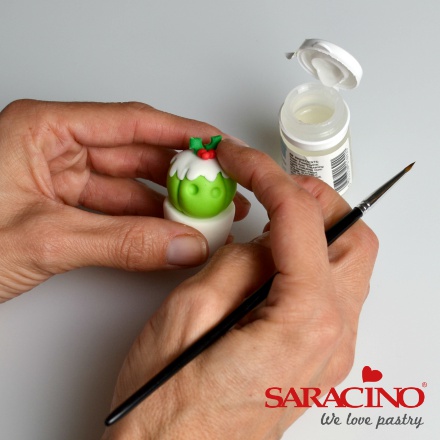
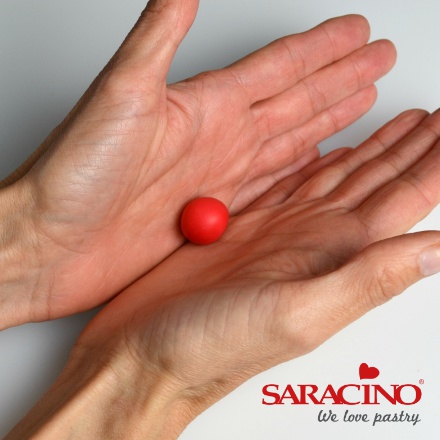
Roll three tiny balls of red paste and attach the leaves and berries to the top of the pudding with sugar glue.
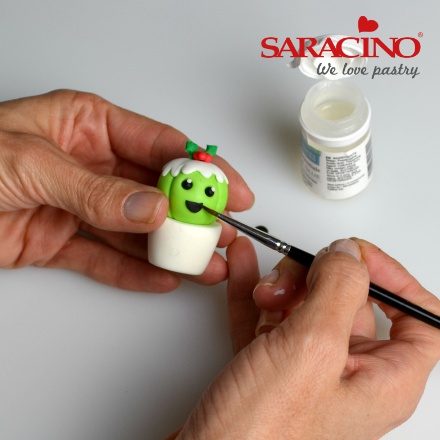
For the eyes roll two small balls of black paste and secure with sugar glue. Add tiny white balls of paste as highlights. Roll a piece of black paste thinly and cut out a 6mm circle. Cut in half with a craft knife and attach one half for the mouth. Attach this pot to one of the red toppers with sugar glue.
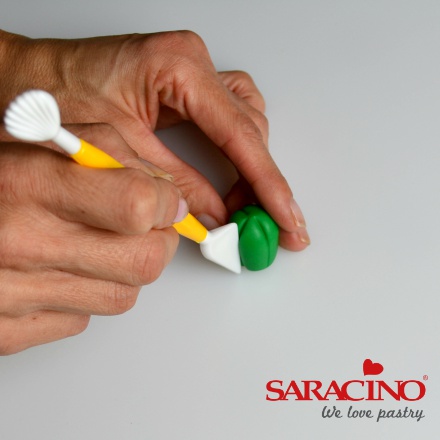
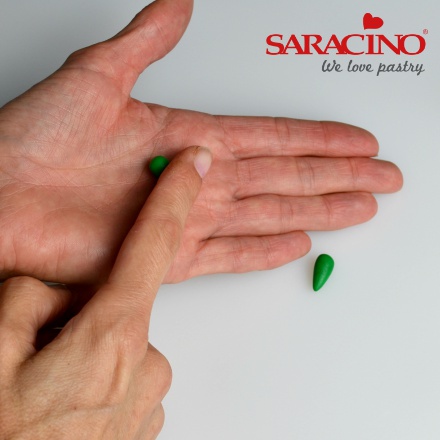
Roll a cherry tomato sized piece of light green paste into a ball and angle your hands to roll into a teardrop shape.
Roll a cherry tomato sized piece of light green paste into a ball and angle your hands to roll into a teardrop shape.
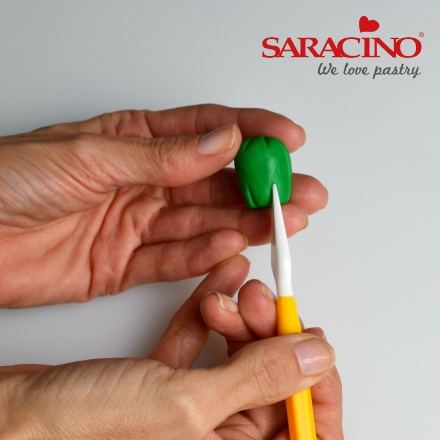
Mark 5 lines on the cactus with a blade tool as before and attach the cactus to the pot with sugar glue. Mark in two dents for the eyes with a small ball tool as before.
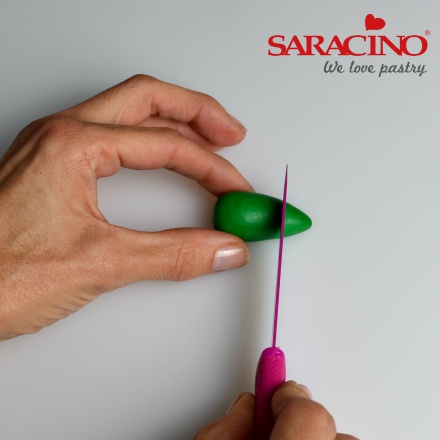
To make the Santa hat roll a large marble sized piece of red paste into a ball. Angle your hands and roll into a teardrop shape
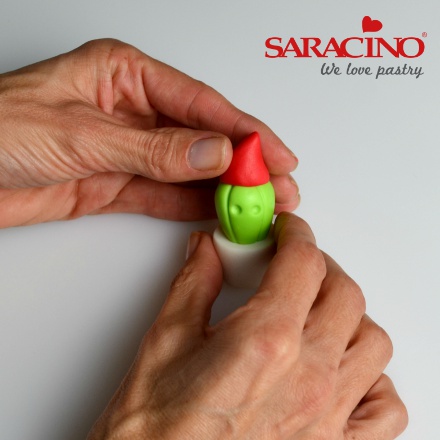
Cut off the rounded end with a sharp knife to make the hat and stick onto the cactus’ head using sugar glue if needed. Bend the tip over slightly
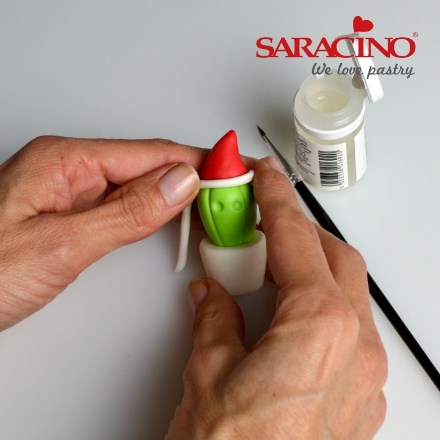
Roll a long sausage of white paste (about 3mm thick) and flatten slightly. Wrap around the base of the hat and trim off excess at the back with craft knife. Use a spot of sugar glue to secure if needed. Roll a small pea sized piece of white paste into a ball and attach to the top of the hat with sugar glue
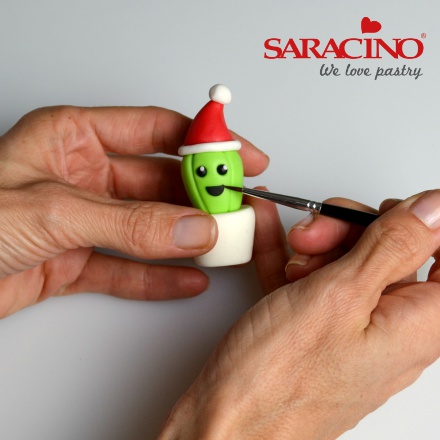
To finish off add two small balls of black paste for the eyes and add white accents as before. For his mouth roll a piece of black paste thinly and cut out a 6mm circle. Cut in half and attach one half. Glue the cactus pot to a red topper.
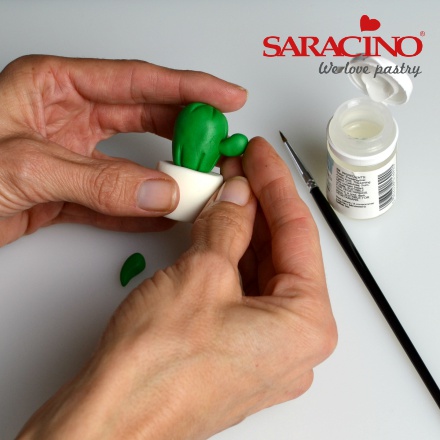
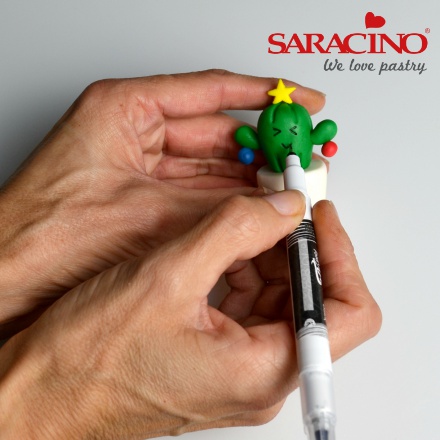
Roll a cherry tomato sized piece of green paste into a ball. Angle you hands and roll into a tear drop shape. Cut off the pointed end with a sharp knife.
Place on board and in a rocking motion from bottom to top mark on three lines using a blade tool. These will be the back of the cactus
For the front mark only a quarter of the way up from the bottom and repeat. Do this from the top a quarter of the way down and repeat. This will then leave a space for his face to drawn on later. Use sugar glue to attach the cactus to the pot.
Use a small ball tool to mark a dent half way down on either side (this is where his arms will attach into)
Roll 2 pea-sized pieces of green paste into balls. Roll into teardrops with the side of your finger.
Bend slightly and use sugar glue to stick these into the dent on either side. You may need to support these for a few seconds whilst they are drying. Set aside.
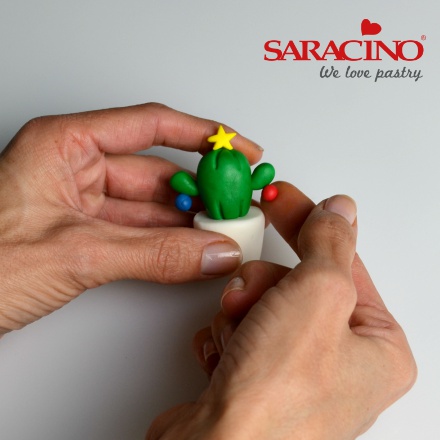
To make the decorations cut out a star (10mm star plunger cutter) from yellow paste. Attach to the top of the cactus. Roll a small petit pois sized piece of blue and red paste for the baubles. Attach one bauble to each arm using a spot of sugar glue if necessary. Set aside to dry.
Take a large marble sized piece of green paste and roll into a ball. Use your fingers and thumbs to flatten into a thick circle.
Attach to one of the pots with sugar glue.
Roll another piece of green paste into a pea sized ball and flatten in the same way. Attach to the top right hand side of the circle. Roll two more petit pois sized balls of green paste, flatten and stick one on the previous circle and the other on the left hand side
For the mistletoe make two tiny balls of light green paste and roll into teardrops using the side of your finger.
Roll out from the rounded end first using a rolling pin to make two small leaves. Attach these two the left hand side of the cactus.
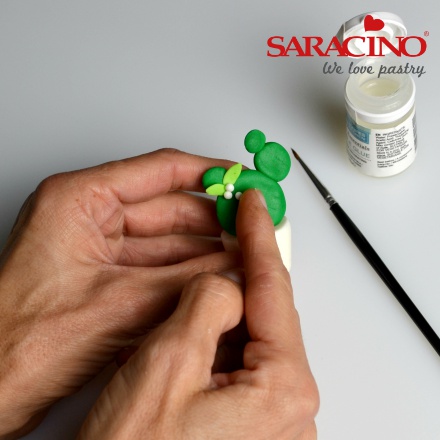
Roll three tiny balls of white paste and secure these next to the leaves with sugar glue. Attach cactus pot to a red topper and leave to dry
When toppers are completely dry draw faces on to both dark green cacti using the fine end of an edible black pen. Stick on last cactus pot to remaining red topper.
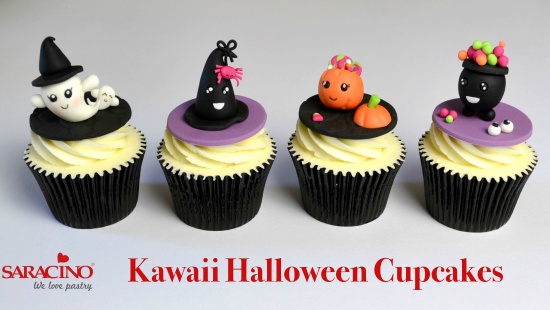
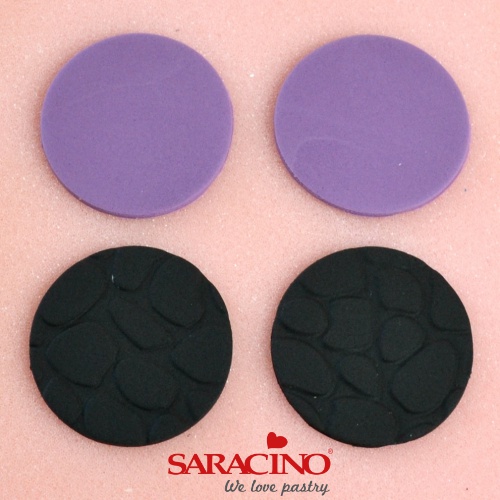
Roll out black paste and use a cobble impression mat to make a pattern. Cut out two 58mm circles. Cut out two 58mm purple circles. Leave to dry on a foam mat.
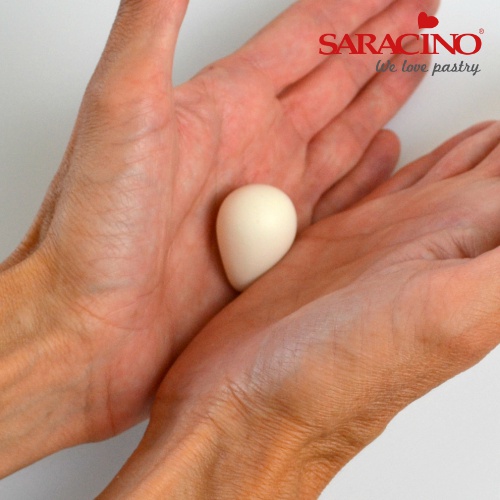
To make the larger ghost roll a cherry tomato sized piece of white paste into a ball and angle your hands to make a teardrop shape. Bend the tail of the ghost slightly.

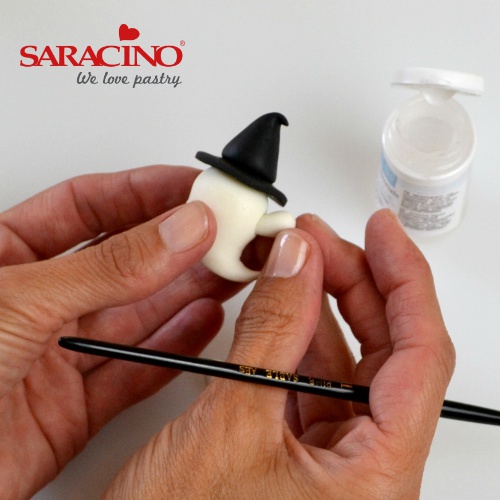
Cut out a 29mm circle of black paste for the brim of the hat and glue to the ghosts head. Roll a marble sized piece of black paste into a teardrop shape using the sides of your hands. Cut off the rounded end and stick onto the brim of the hat bending the tip over.
To make the ghosts arms roll two small teardrop shapes from white paste. Make a little dent on each side of the ghost with the end of a paintbrush and glue the arms inside (pointed end first)
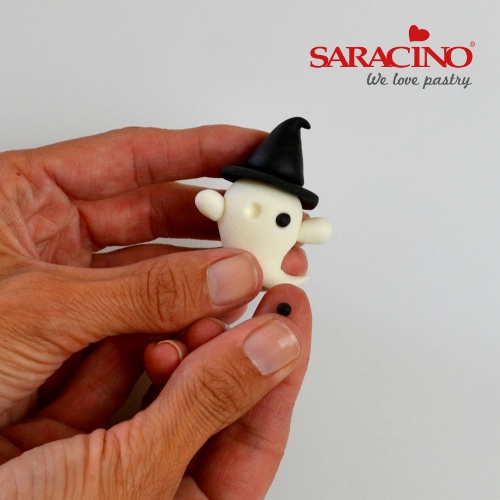
Make two small indents for the eyes and add small balls of black paste. Add tiny white pieces of paste for the highlights.
For the baby ghost make a small teardrop shape as before and bend the end up. Roll a small sausage shape of white paste and cut in half to make the baby ghosts arms and stick on with glue.
Glue both ghosts to the black cobbled topper and leave to dry (supporting with kitchen roll if necessary)
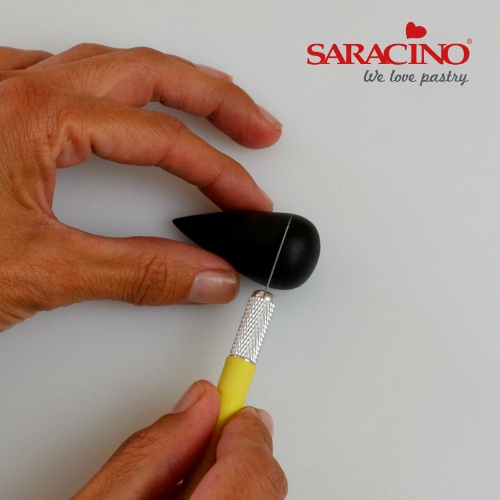
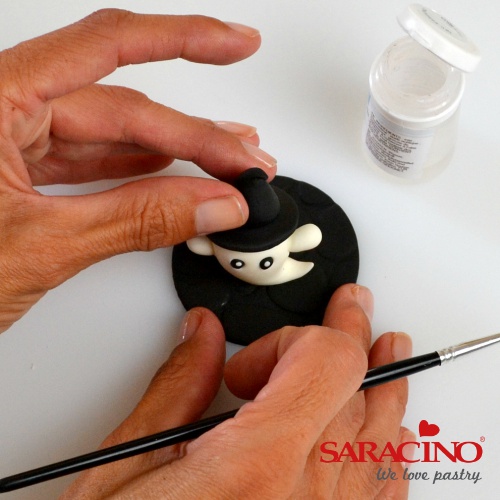
Roll a cherry tomato sized piece of black paste into a ball and angle your hands to make a teardrop shape and cut of the rounded end to make the witches hat.
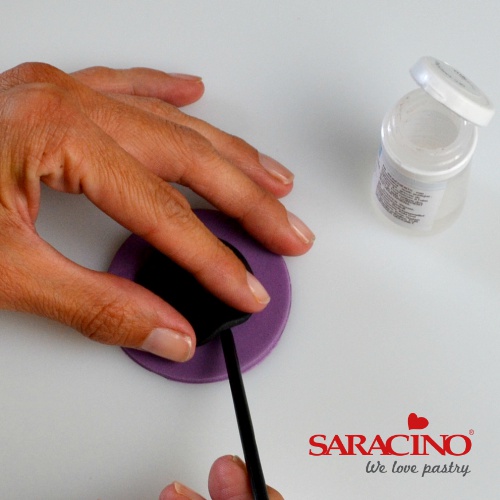
Cut out a 29mm circle of black paste. Add a small spot of glue to the centre of the circle and attach to a purple discs. Use the end of a paintbrush to lift the brim in three places slightly. Glue on the cone of the hat and bend tip slightly.
To make the spider roll a small oval ball of fuschia paste in the palm of your hand.
Roll another piece of fuschia paste into a long thin length. Place the body on top of the length of paste and cut the first pair of legs
Repeat this three times to create the spiders 8 legs and use a craft knife to separate and shorten the legs.
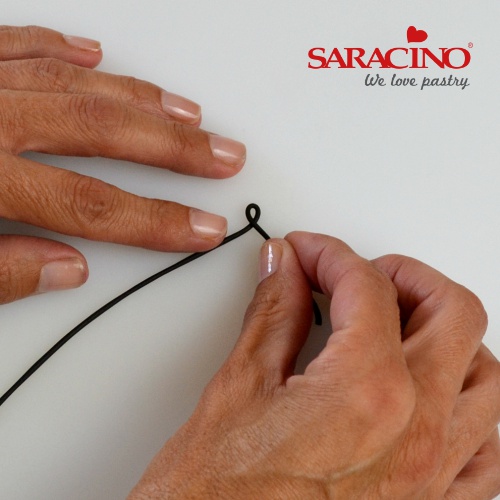
Roll out a long thin length of black paste and bend the top section over to make the first loop (in the shape of an ‘e’)
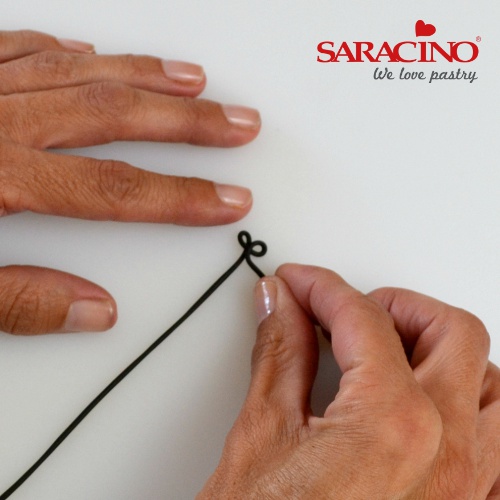
Repeat to make a second loop and cut off excess.
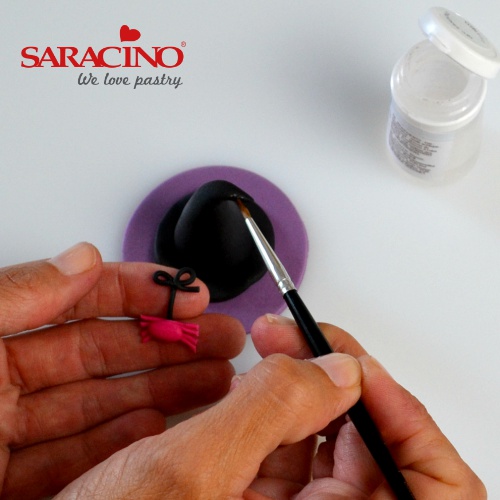
Glue the spider to the bottom of this length and attach this to the witches hat with sugar glue.
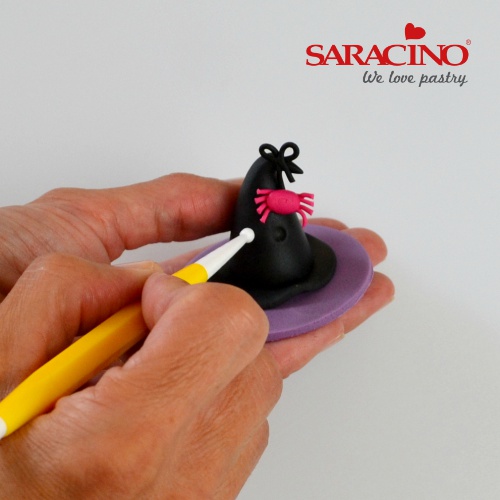
Use a small ball tool to make two indents for eyes and fill with small balls of black paste. Add highlights as before.
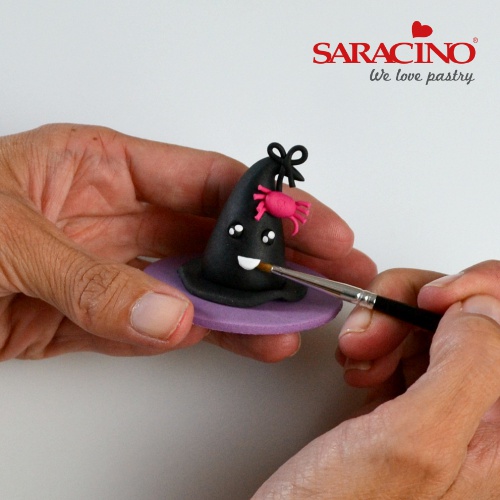
Using a 6mm round plunger cutter, cut out a thin circle of white paste. Cut in half and attach one half for the mouth of the hat.
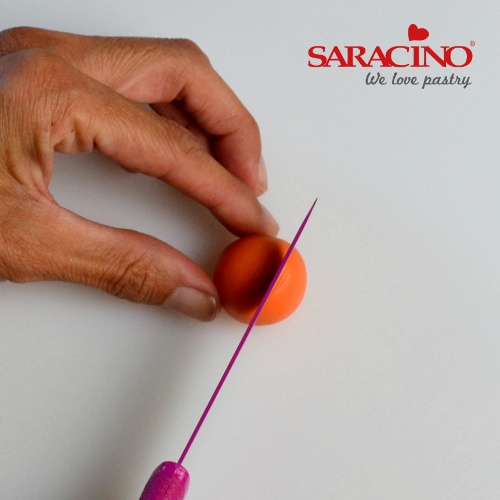
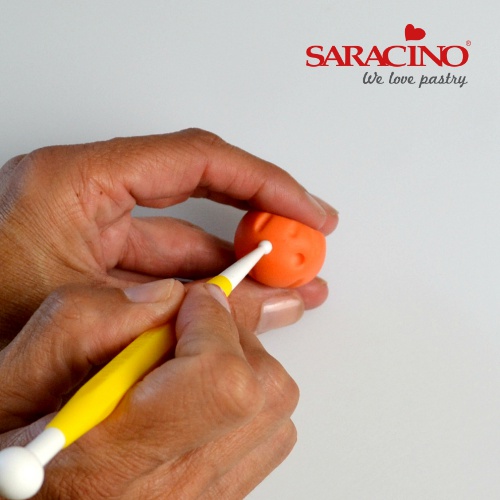
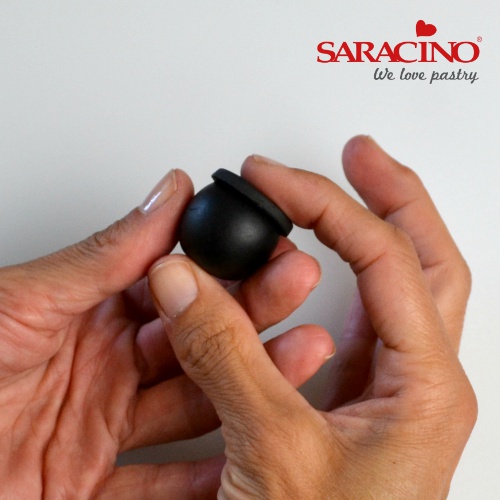
Roll a cherry tomato sized piece of orange paste into a ball and cut off a quarter with a craft knife and set aside.
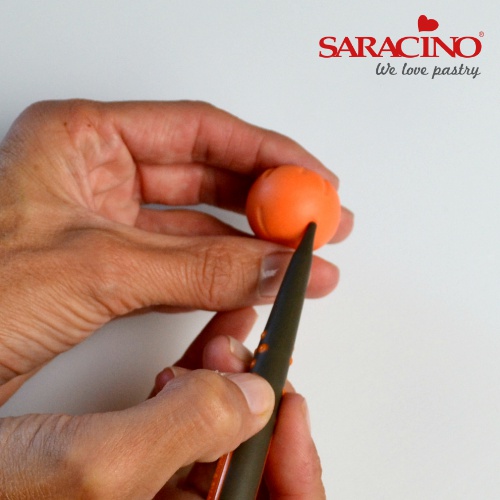
Push the ball into the workboard leaning it back slightly and use a silicon shaping tool to create grooves for the pumpkin and repeat on the lid.
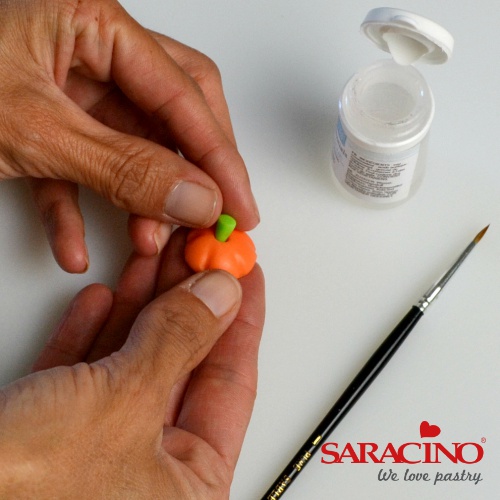
Roll a small piece of light green paste into a teardrop shape and cut off the rounded end. Make a small indent with a small ball tool in the lid and glue in the stalk.

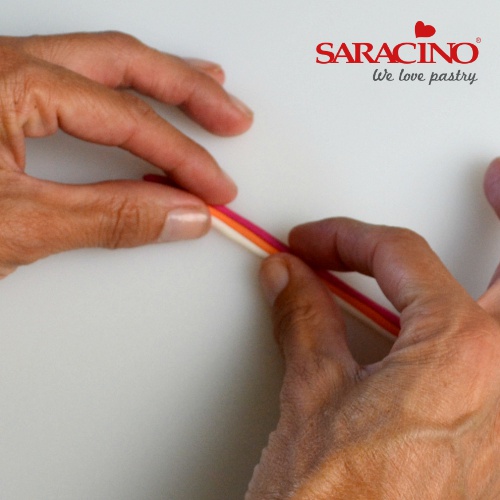
To make the lollies roll out two long thin lengths of green and fuchsia paste. Pinch together and the top and twist into a rope.
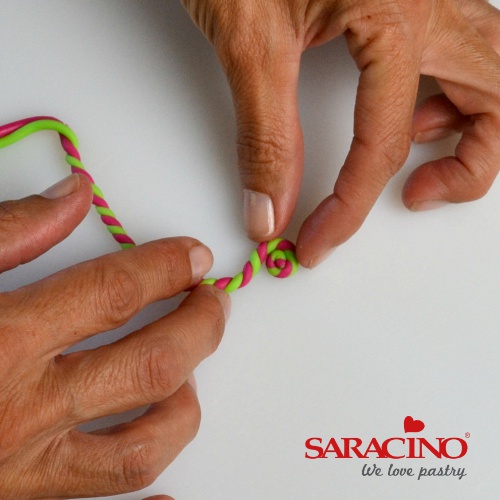
Curl these round to make a lolly and repeat to make a smaller one. Flatten slightly with your finger
To make the candies roll three thin lengths of fuchsia, orange and white paste and push together.
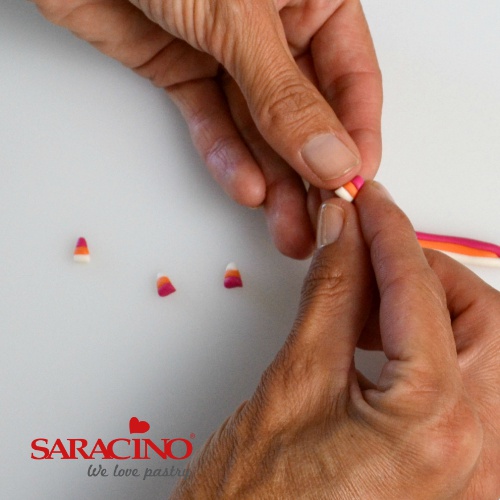
Cut diagonally one way and the other to cut 6 little candies. Use your thumb and fingers to push and shape them together.
Use a small ball tool to make two indents for eyes and fill with small balls of black paste. Add white highlights as before.
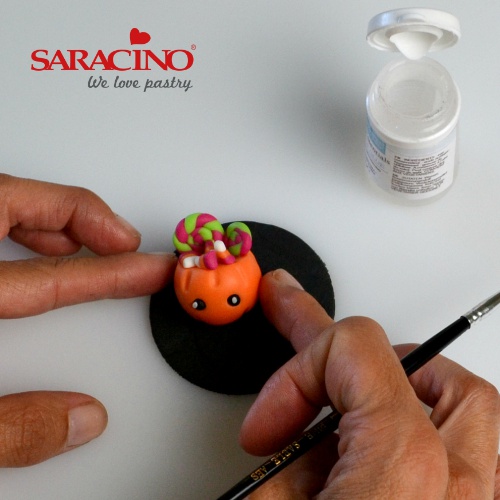
Fill the pumpkin with the sweets and candies. Attach pumpkin, lid and additional sweet onto the black topper.
Roll a cherry tomato sized piece of black paste into a ball. Cut off a quarter with a knife.
Roll 3 pea sized pieces of black paste into balls and set aside to dry.
For the rim of the cauldron roll out a piece of paste 3mm thick and cut out a 2.5cm circle and attach to the flat side of the cauldron with sugar glue.
Roll a collection of little balls of varying sizes using green, fuchsia and orange paste and arrange these on the top of the cauldron securing with sugar glue.
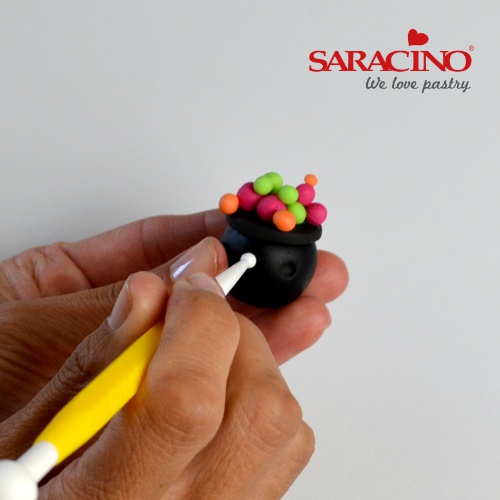
Use a small ball tool to make two indents for eyes and fill with small balls of black paste. Add white highlights as before.
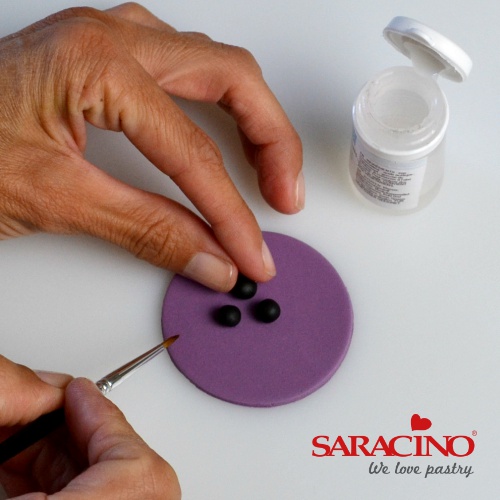
When the cauldron legs feel firmer arrange them in a small triangle on the purple disc and gently stick the cauldron on top.
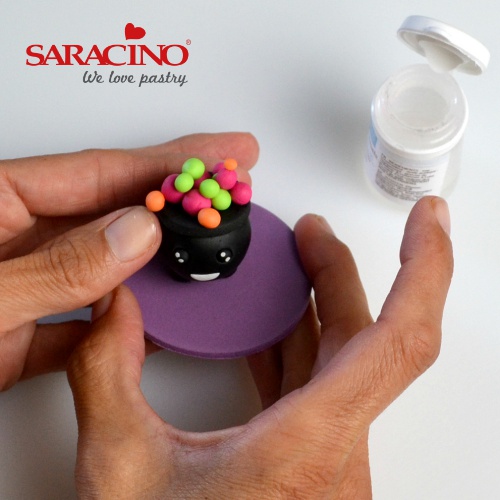
Using a 6mm round plunger cutter, cut out a thin circle of white paste. Cut in half and attach one half for the mouth of the cauldron. Add a few bubbles to the side of the cauldron.

Roll 2 small white balls of paste and use a small ball tool to make an indent. Stick in 2 small balls of black paste and add highlights as before. Stick these onto the topper.