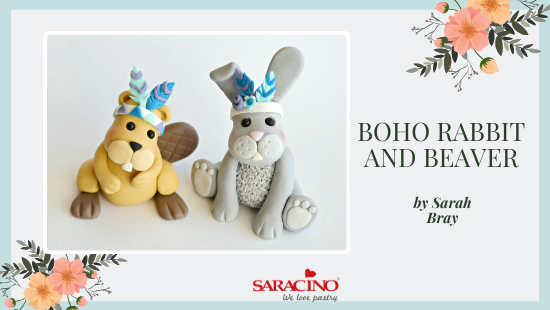
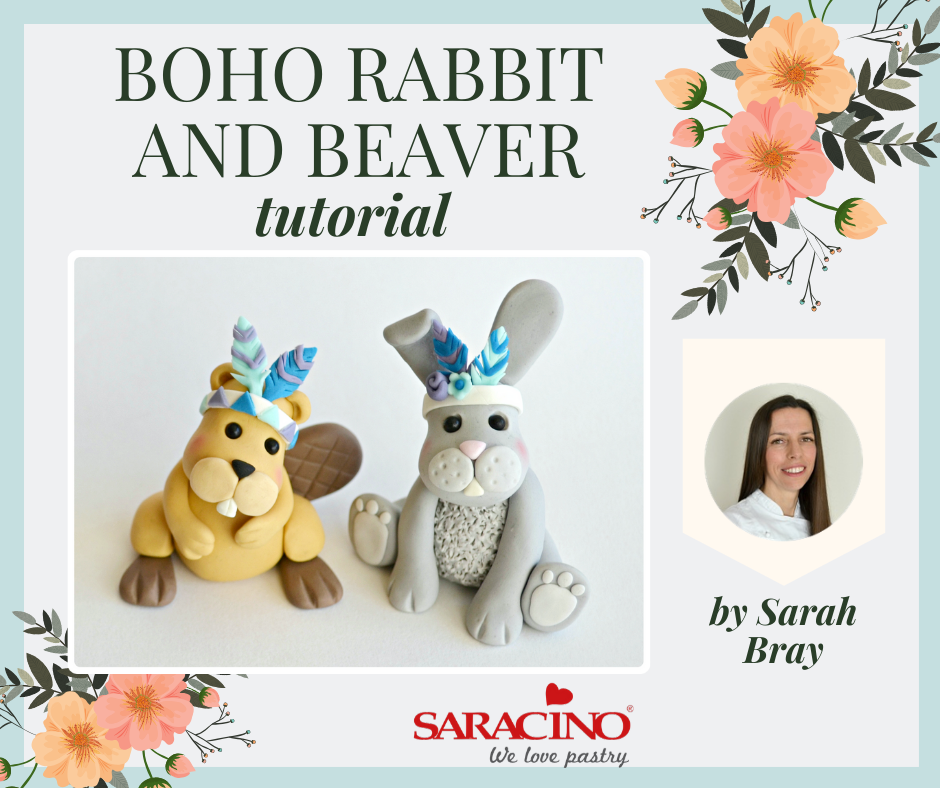
BOHO RABBIT AND BEAVER

You will need:
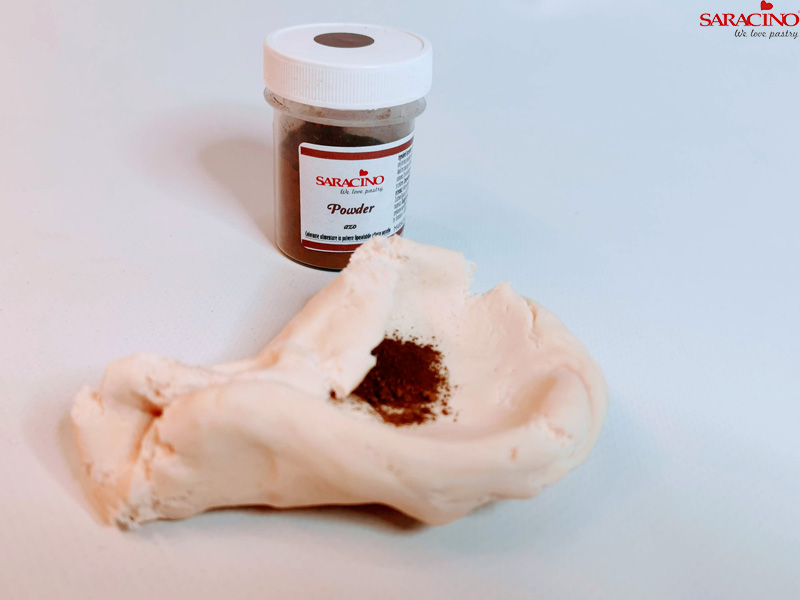
- 60g Grey modelling paste (Saracino white modelling paste with a touch of black)
- 15g Light grey modelling pate (Grey paste above with more white modelling paste added)
- 60g Biscuit brown modelling paste (Saracino white modelling paste coloured with saracino orange, yellow and brown gel colours)
- 30g Light biscuit brown modelling paste (biscuit brown modelling paste with more white added)
- 25g Dark brown modelling paste (Saracino white paste coloured with Saracino brown gel colour)
- Small pieces of Saracino black, Saracino azure blue, Saracino tiffany (light blue) Saracino pink and Saracino white modelling paste
- Sugar glue
- Black sugar pearls
- Saracino edible pink dust
- Workboard
- Craft knife
- Small ball tool
- Very small ball tool
- Paintbrush
- Soft brush
- Veining tool
- Blossom plunger cutter (small)
- Diamond plunger cutter
- Blade tool
- Rolling pin
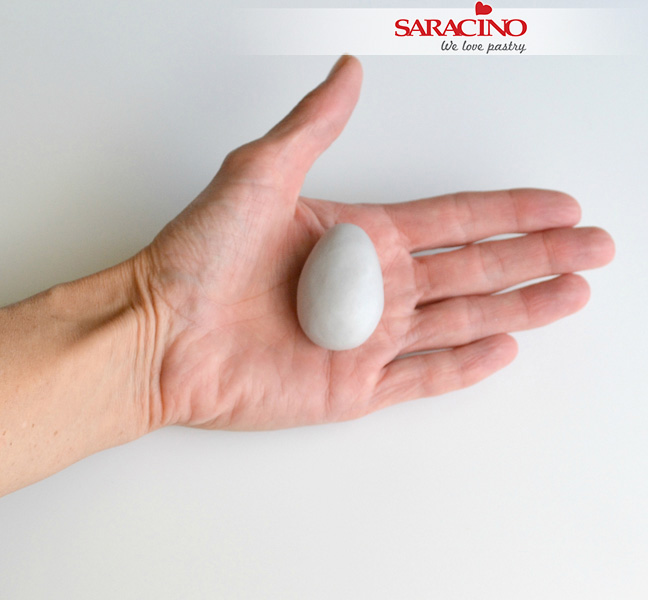
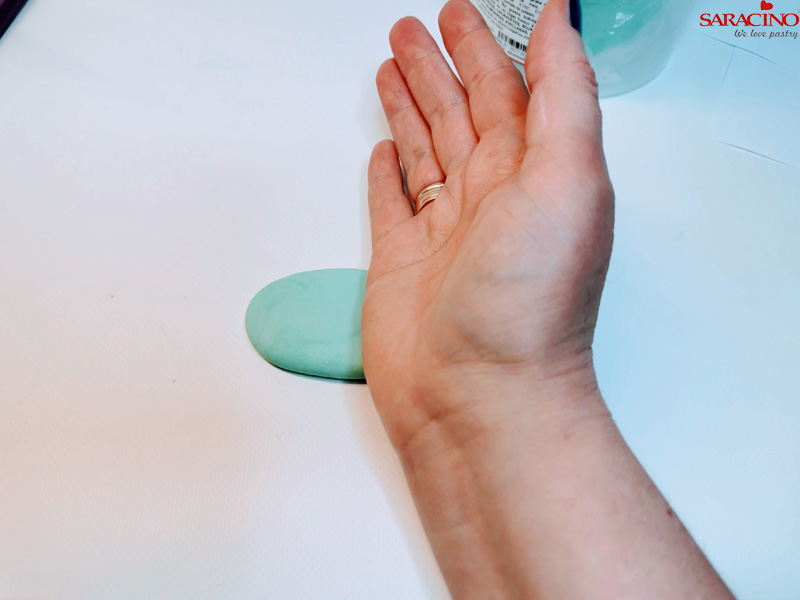
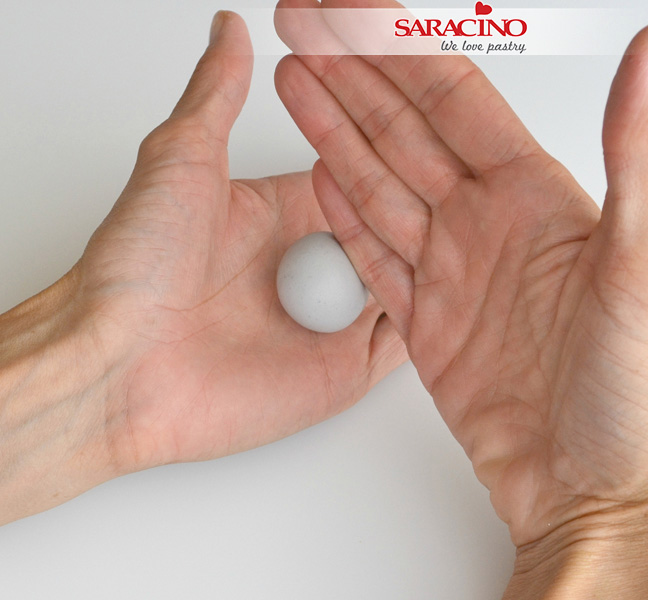
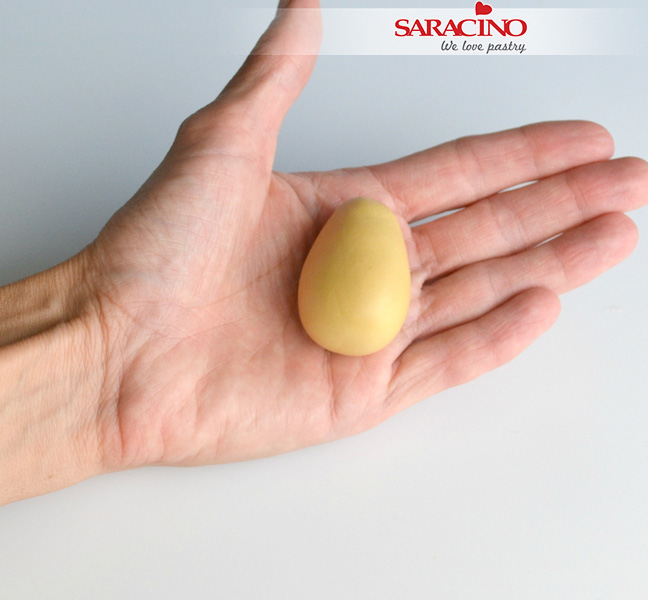
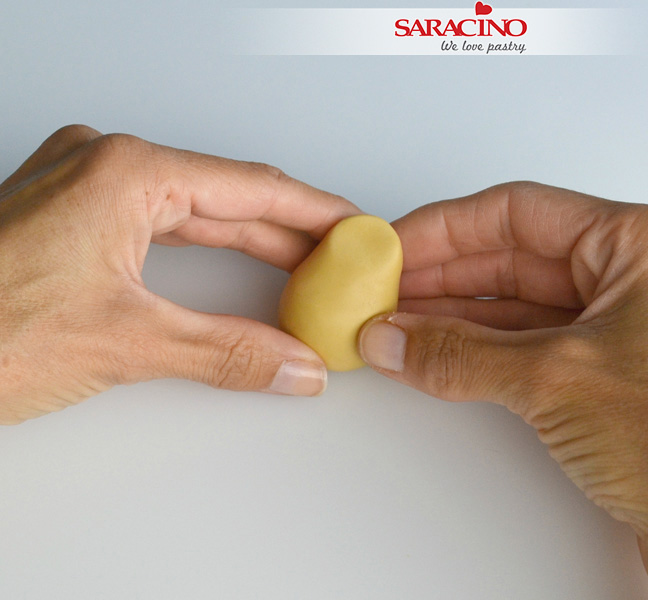
Step 1
Roll 25g of grey paste into an egg shape in the palm of your hands.

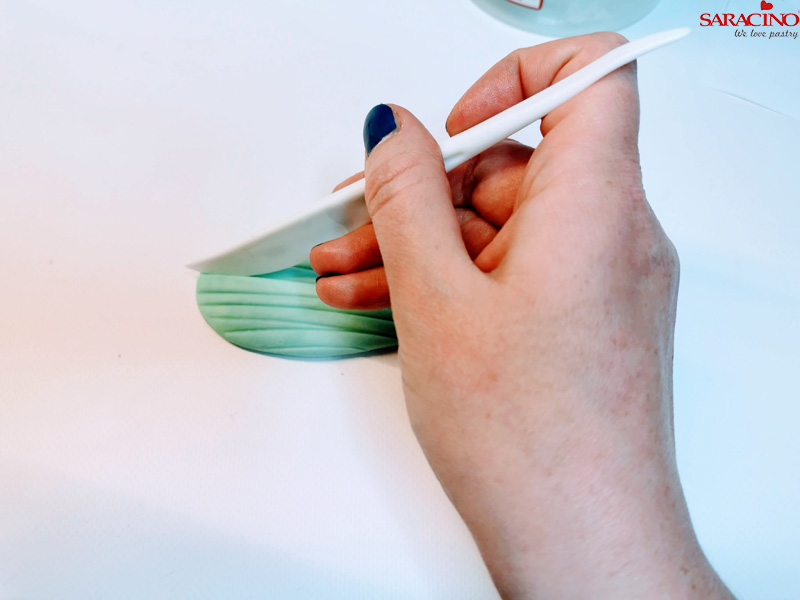
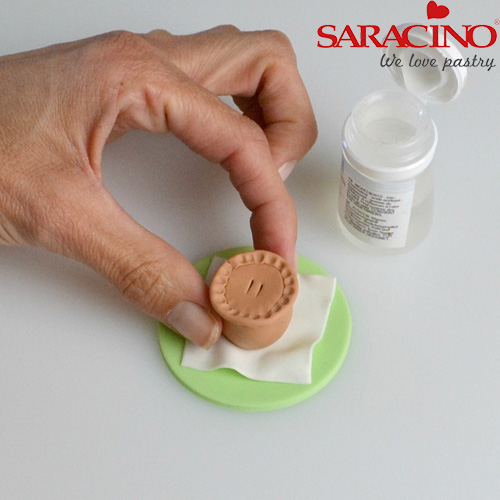
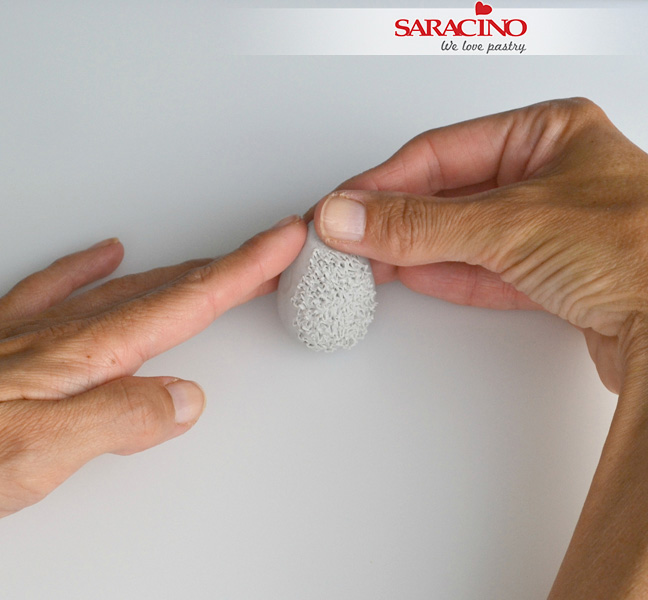
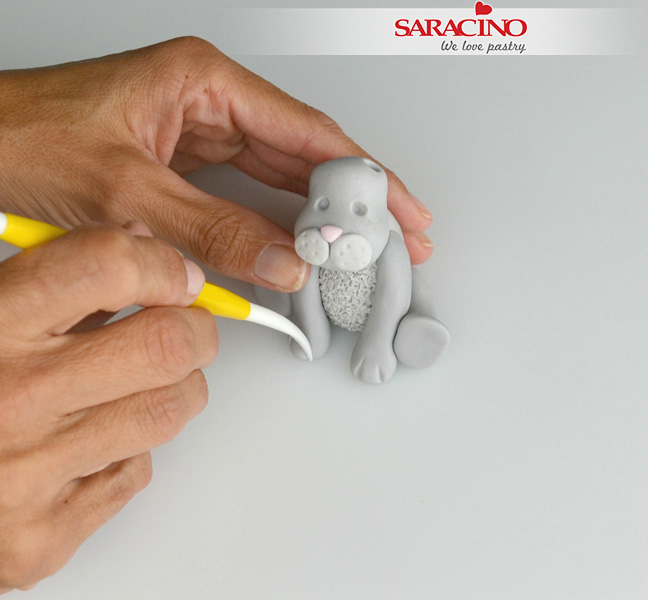
Step 2
Push paste into work board to flatten base and use the tip of a craft knife to add texture to the front of the rabbits tummy.
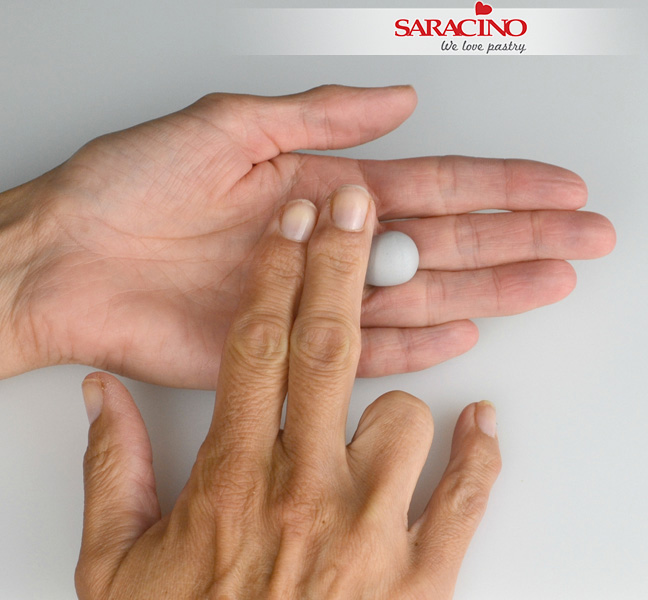
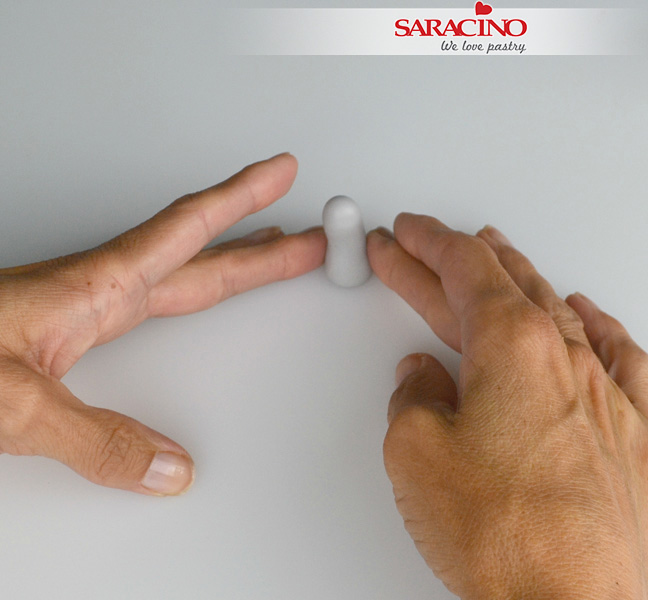
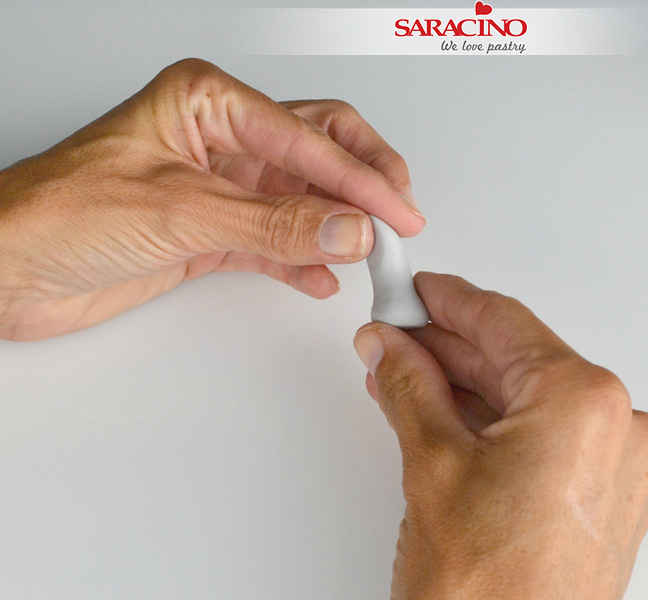
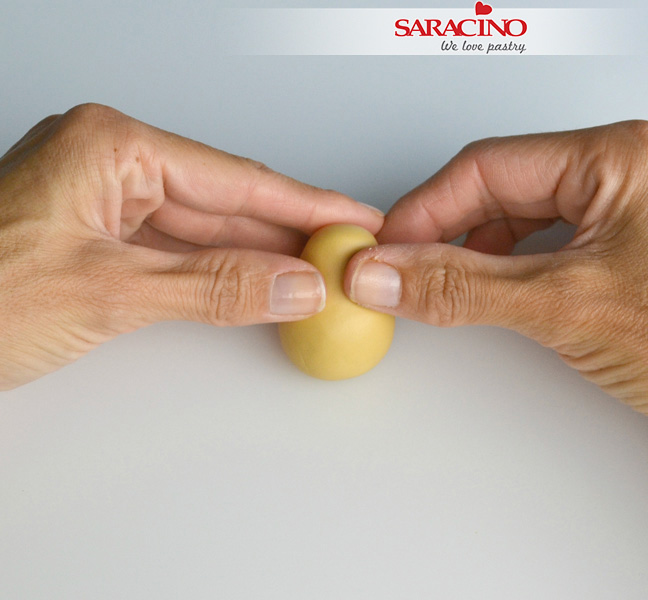
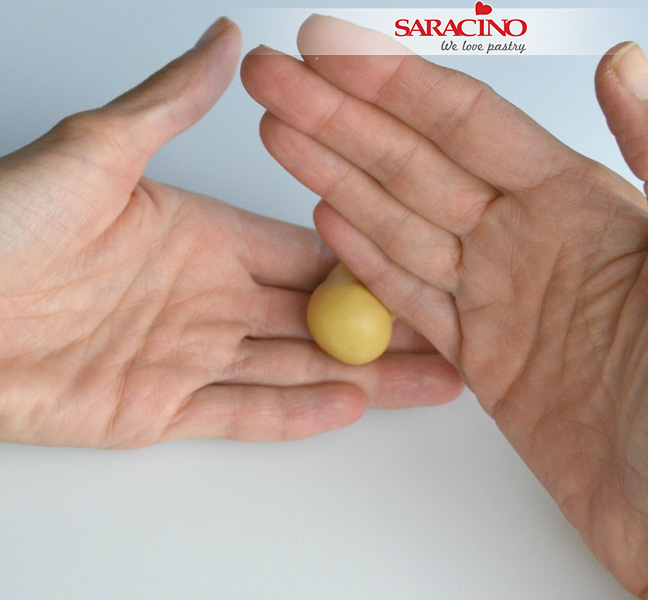
Step 3
For the head take a 20g piece of grey paste and roll into a ball in the palm of your hands. Use the side of your hand to roll the ball backwards and forwards to make a kind of pear shape. Smooth off any edges with your fingers.
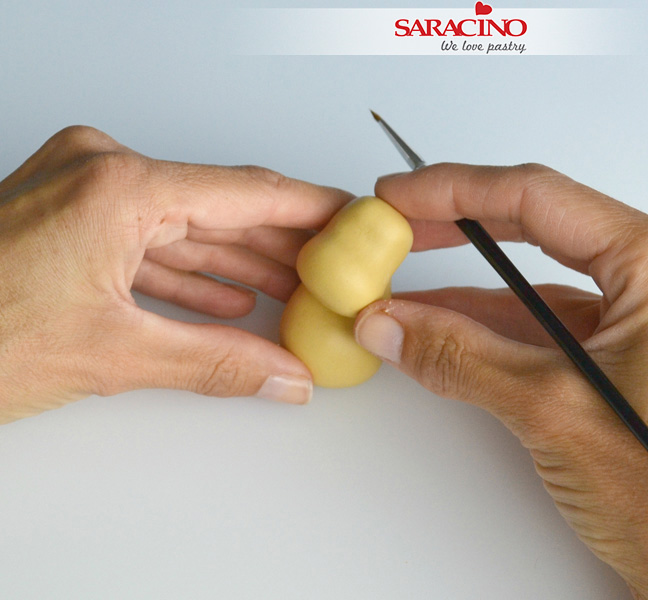
Step 4
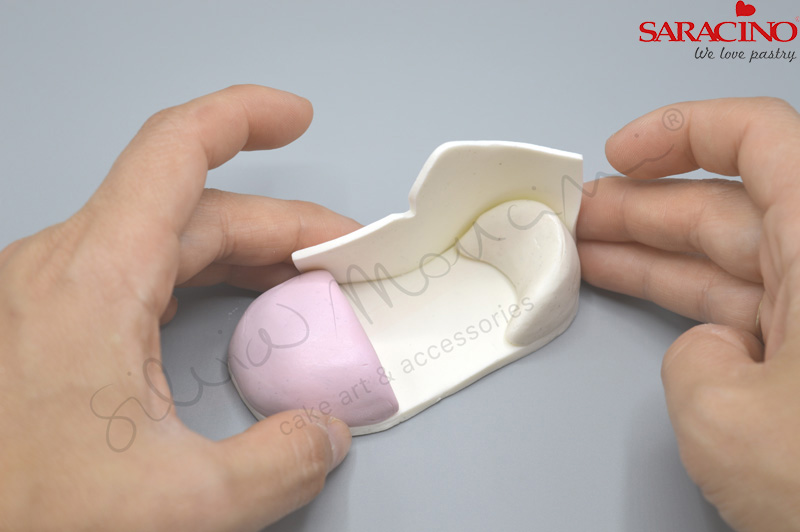
Use your thumb and index finger to shape the top of the body so that the head will sit nicely on the front.

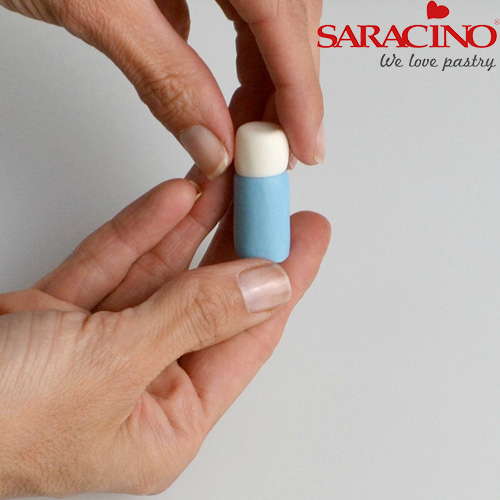
Step 5
Use some sugar glue to attach the head to the body at a slight angle.
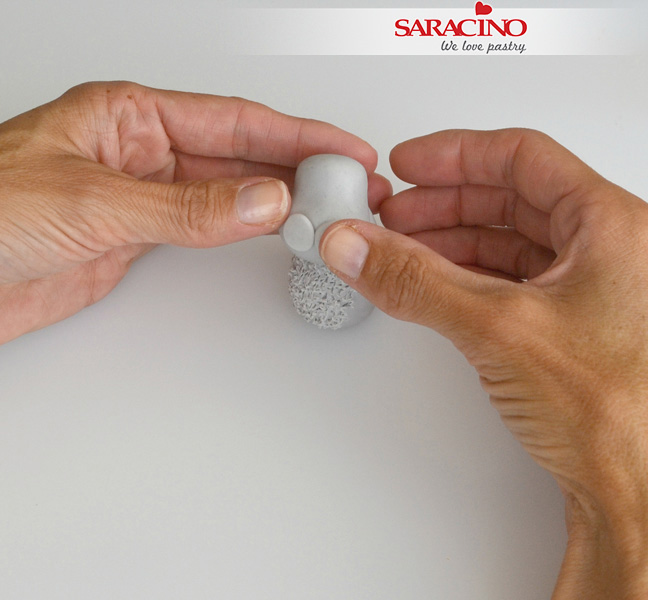
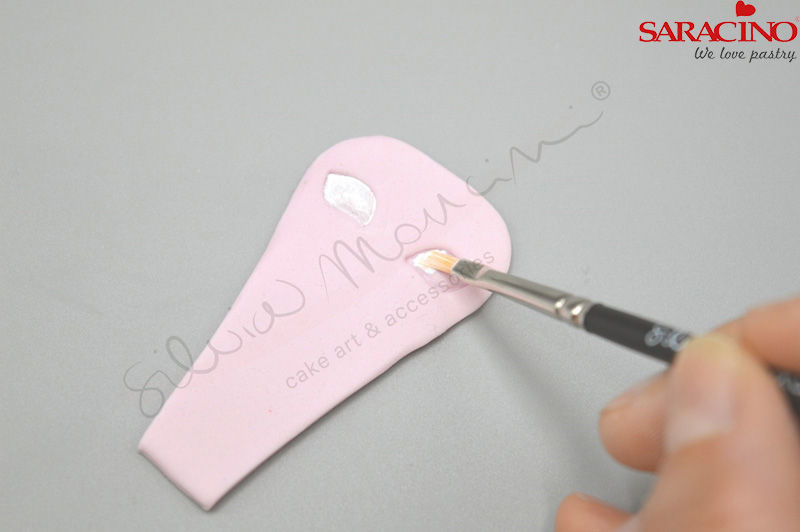
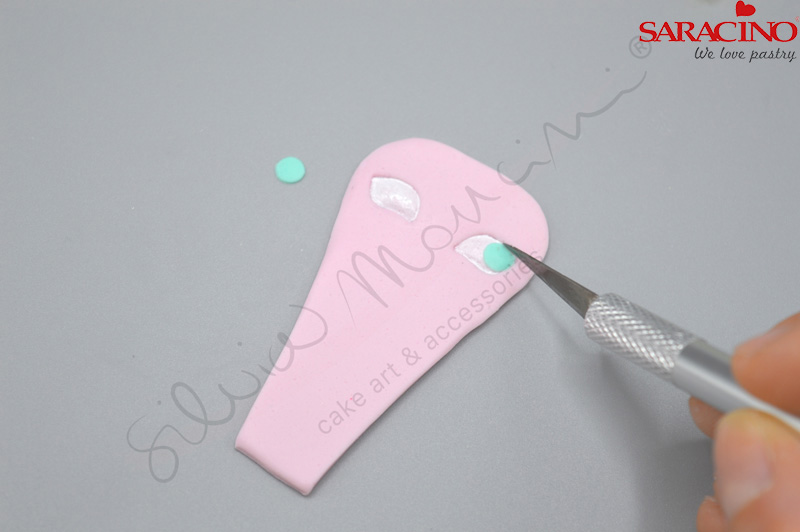
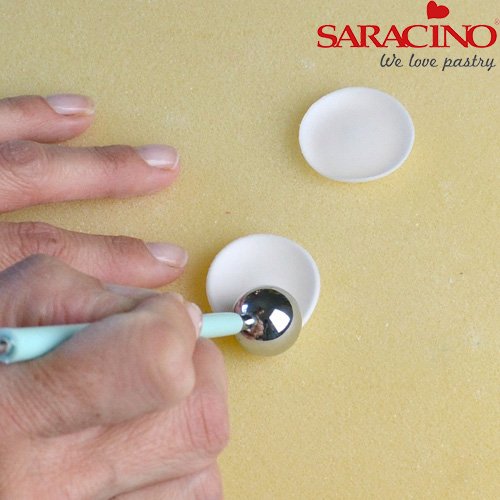
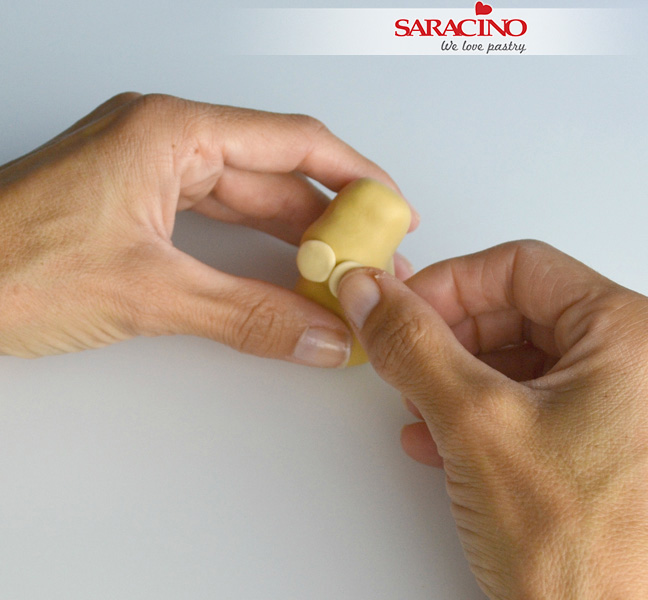
Step 6
Take two small petit pois sized balls of the light grey paste and flatten onto the face.

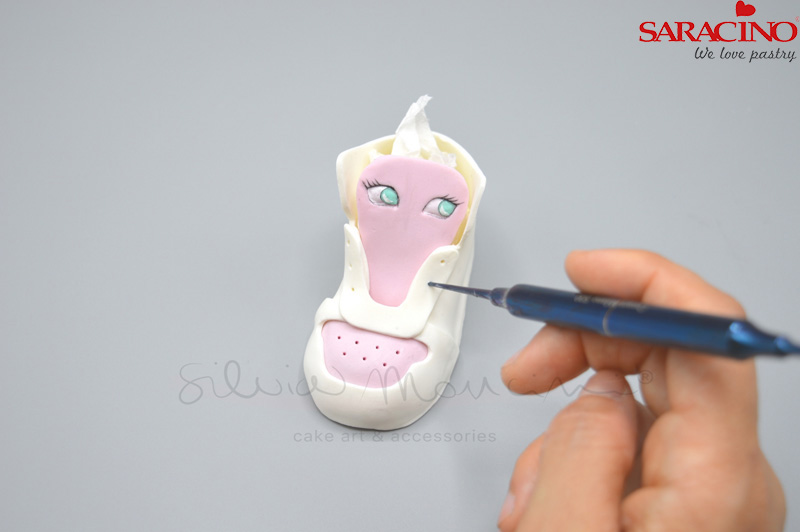
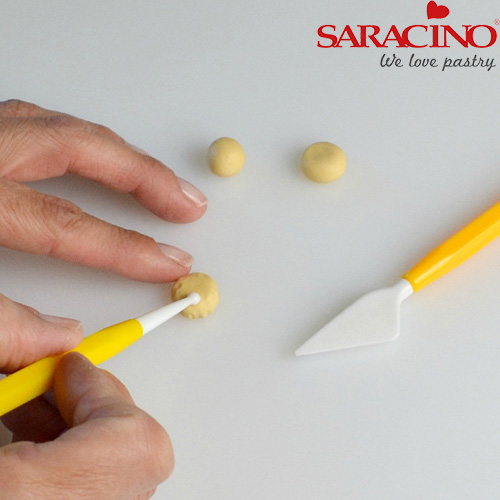
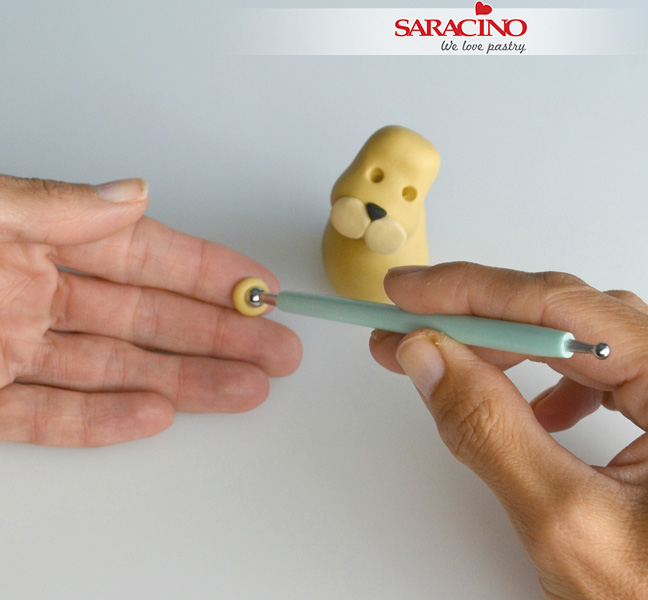
Step 7
Use a very small ball tool to lightly indent little dots.
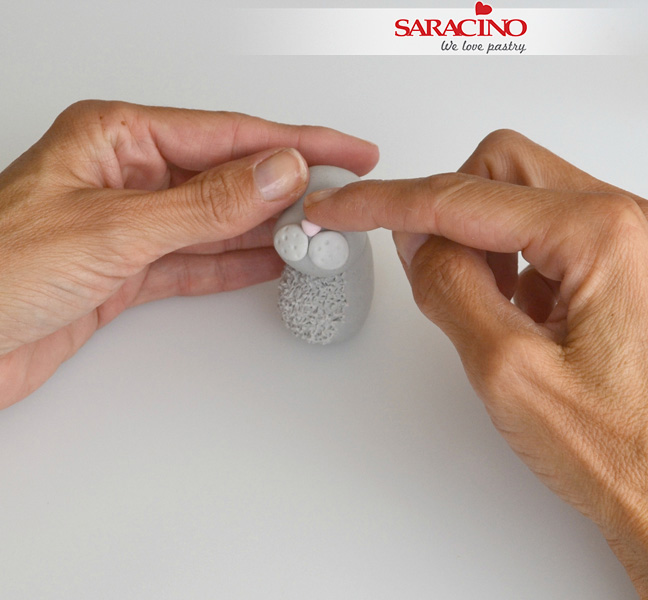
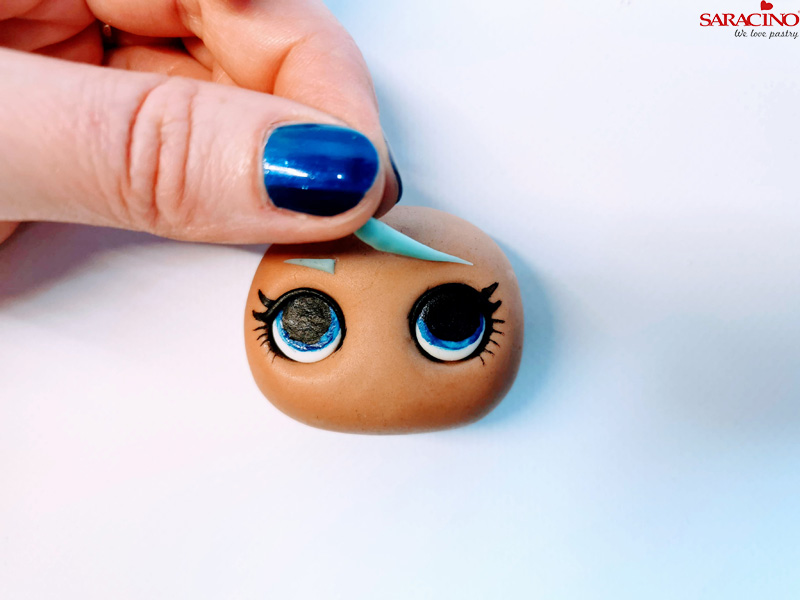
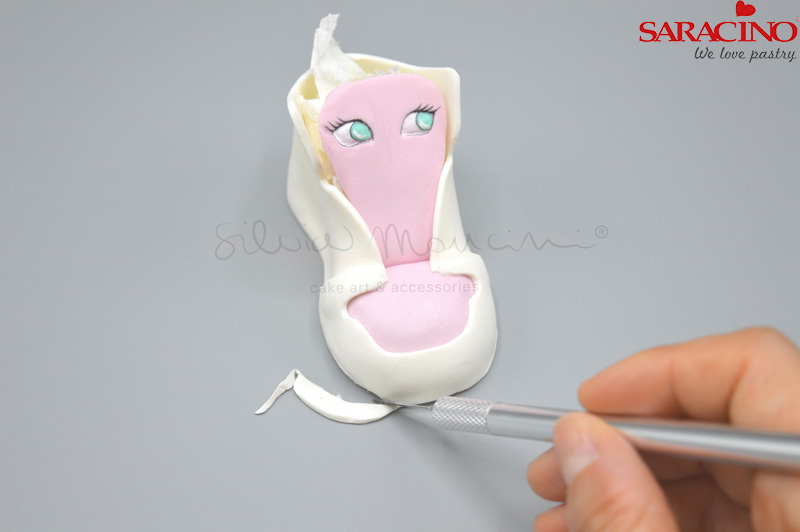
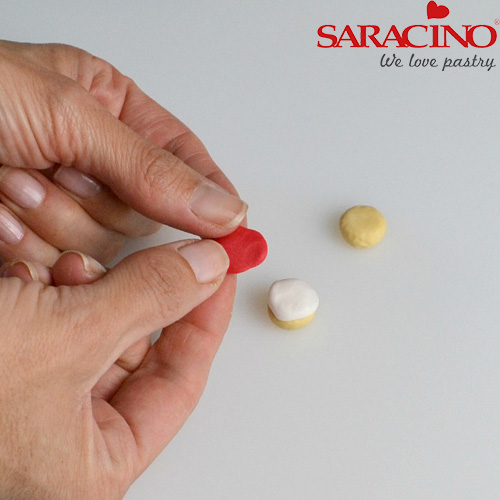
Step 8
Shape a small piece of pink paste into a triangle with your fingers and push between the top of the two circles.
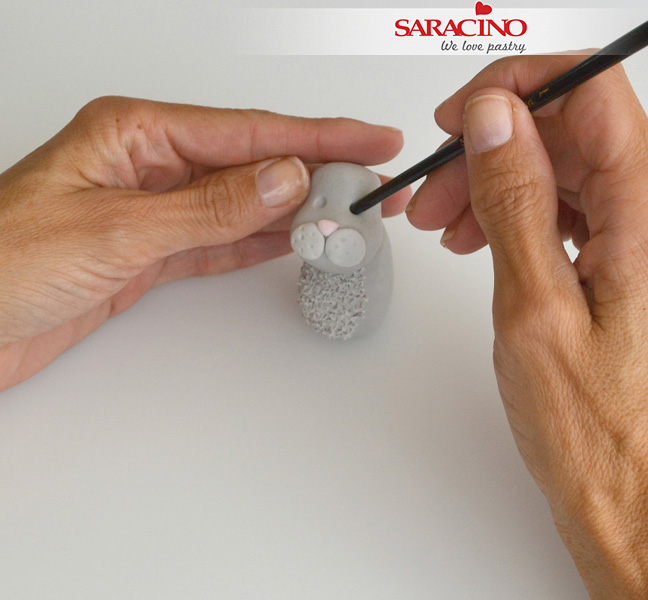
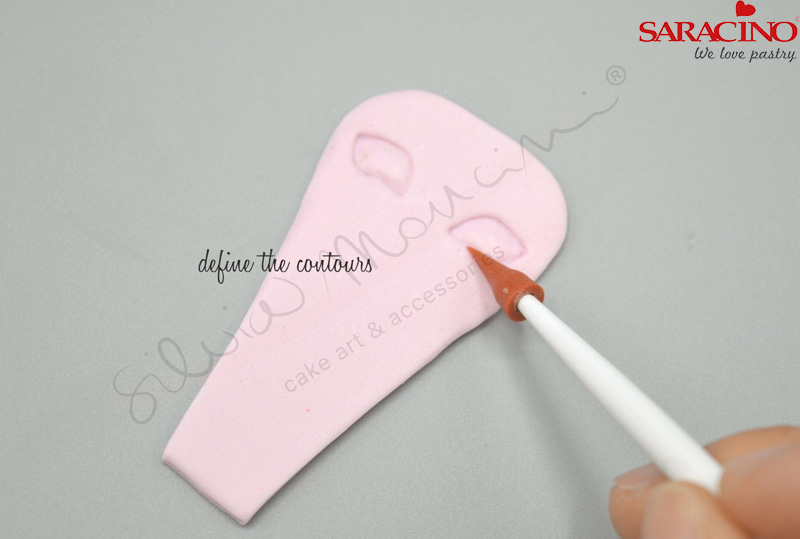
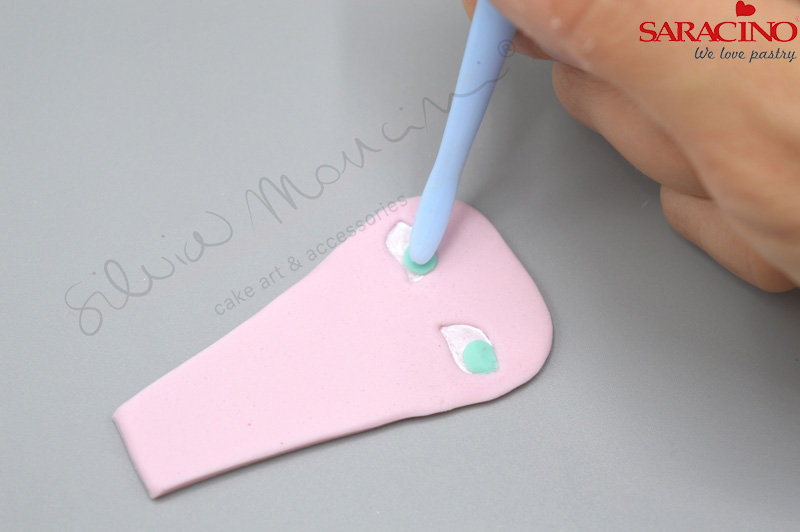
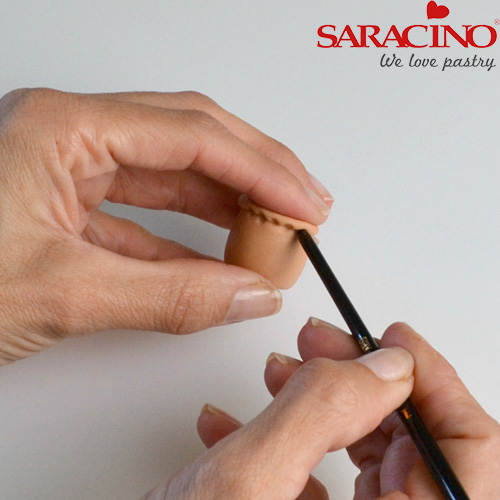
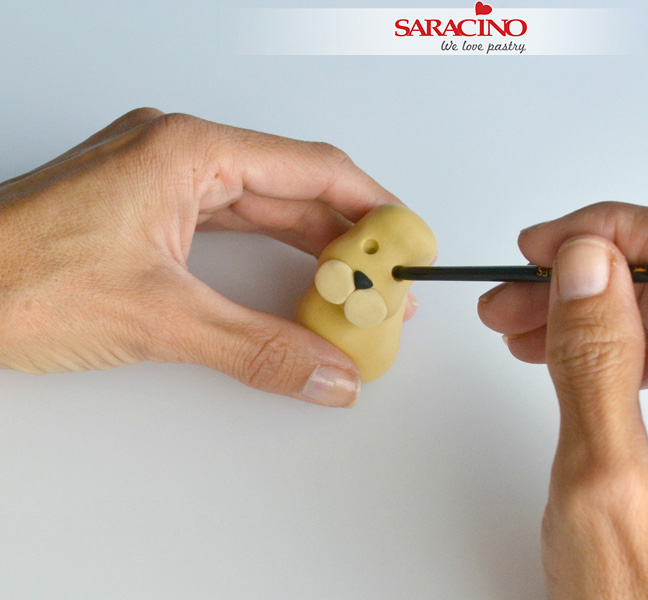
Step 9
Make two holes for eyes using the end of the paintbrush
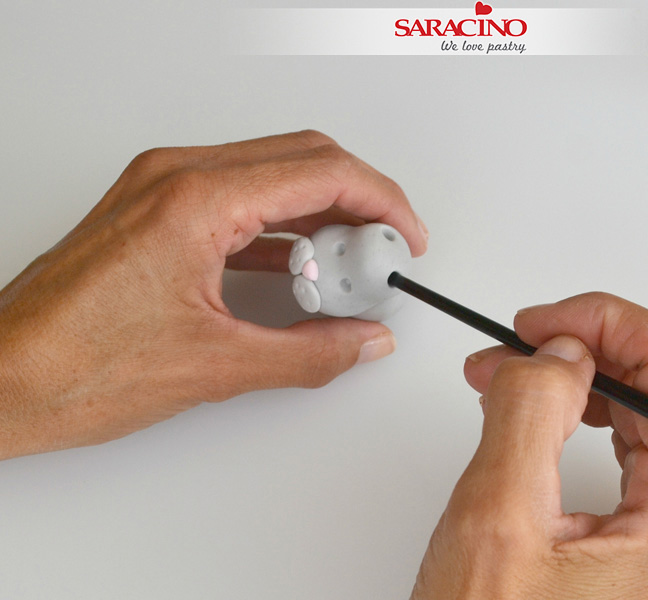
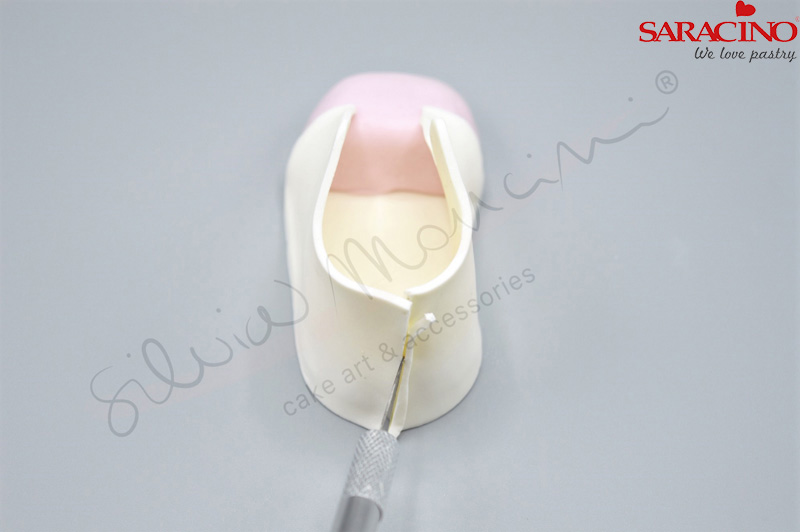
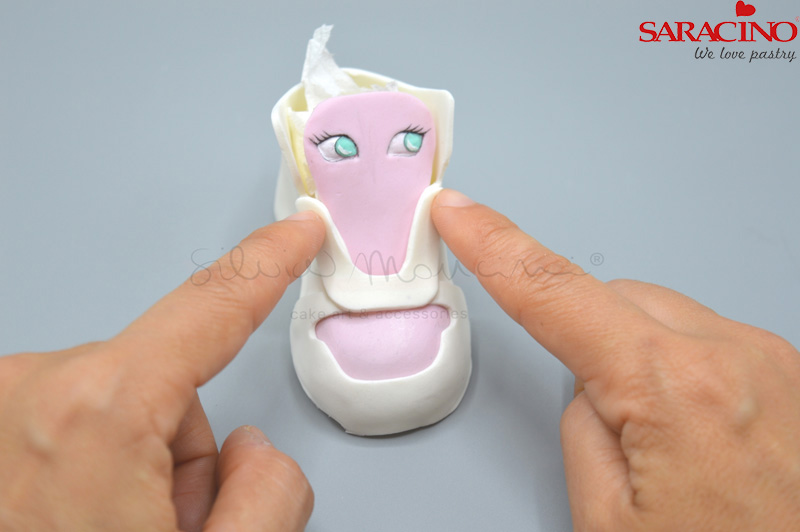
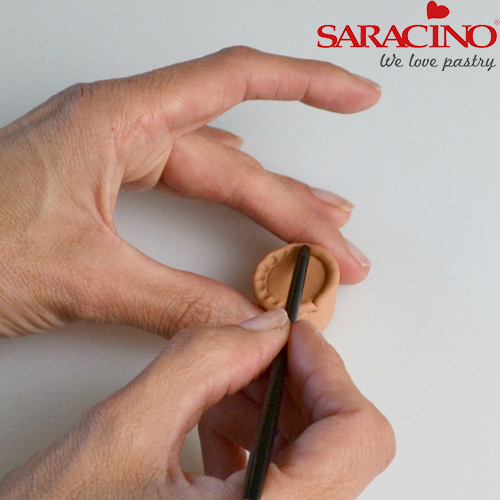
Step 10
Make two further holes on the top of the head for the ears to sit in.
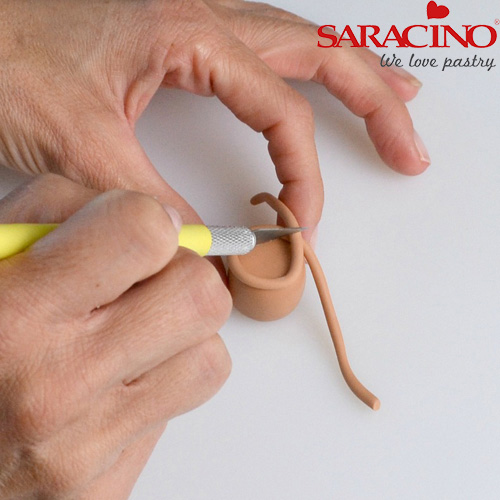
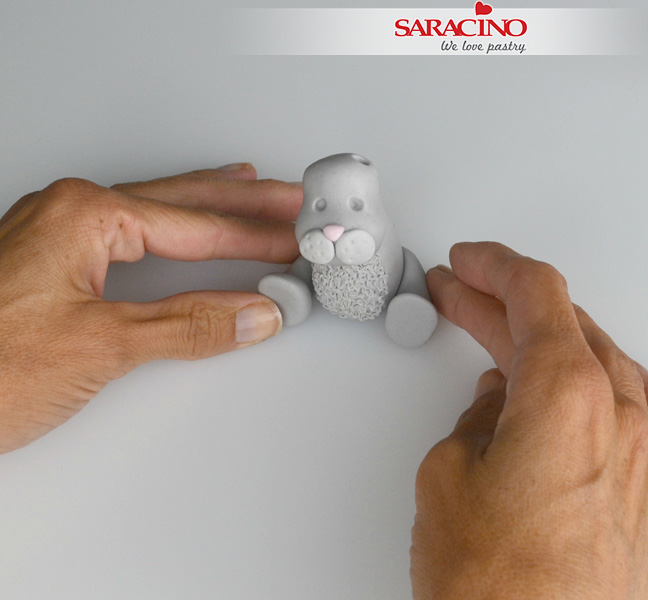
Step 11
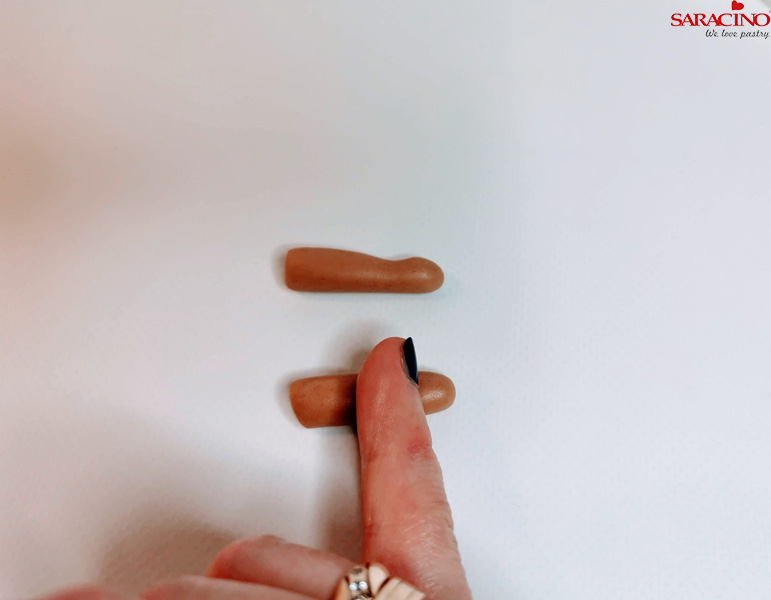
For the back legs roll a small cherry tomato sized ball of grey paste into a sausage with your fingers but do not roll it to the end. This larger part will become his back foot.
Step 12
Press the foot onto the board to flatten and rotate with fingers to create a foot shape.
Step 13
Pinch the top of the leg with the thumb and fingers to shape so it will sit neatly against the rabbits body.
Step 14
Push against the side of the rabbit and use fingers to shape the foot if necessary. Do not stick on at this stage so that you can move the legs slightly if needed when the front legs are added. Repeat to make the second back leg.

Step 15
To make the front legs roll a large marble sized ball of grey paste with your fingers in the palm of your hand, leaving the end bigger for the foot (in the same way as for the back legs) Don’t worry if it looks too long you can always remove the excess.
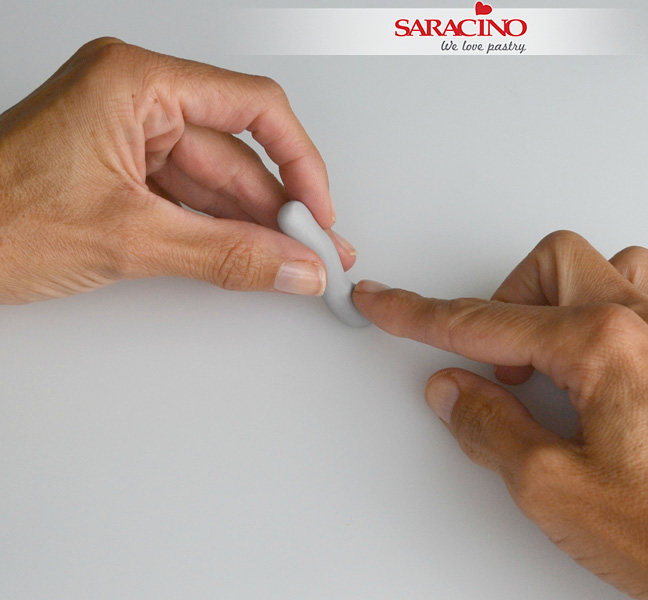
Step 16
Press the wider part into the board with your finger to create a foot.
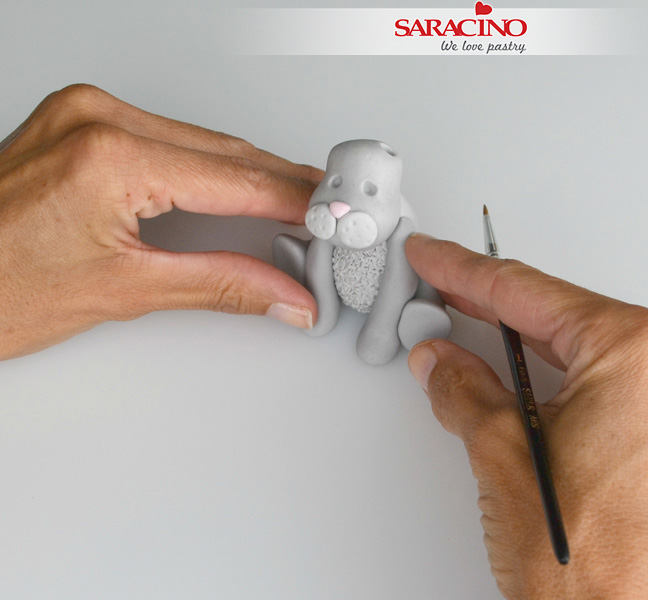
Step 17
Shape the top of the leg and press onto the rabbit securing with sugar glue if necessary. Repeat to make a second leg.
Step 18
Use the narrow end of a veining tool to make two indents onto each paw.

Step 19
Take small balls of light grey paste and flatten in the palm of your hand for the pads on the rabbits feet.

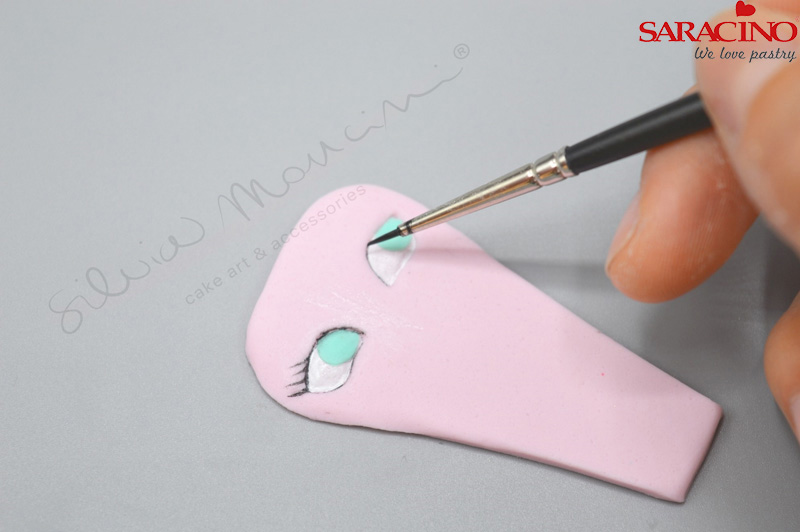
Step 20
Put a small spot of sugar glue into each hole for the eyes and add black sugar pearl. Widen the hole if necessary with the end of a paintbrush.
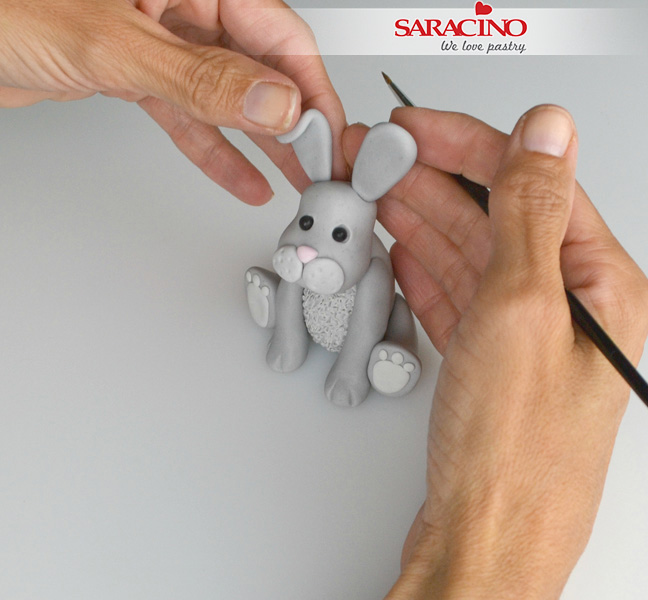
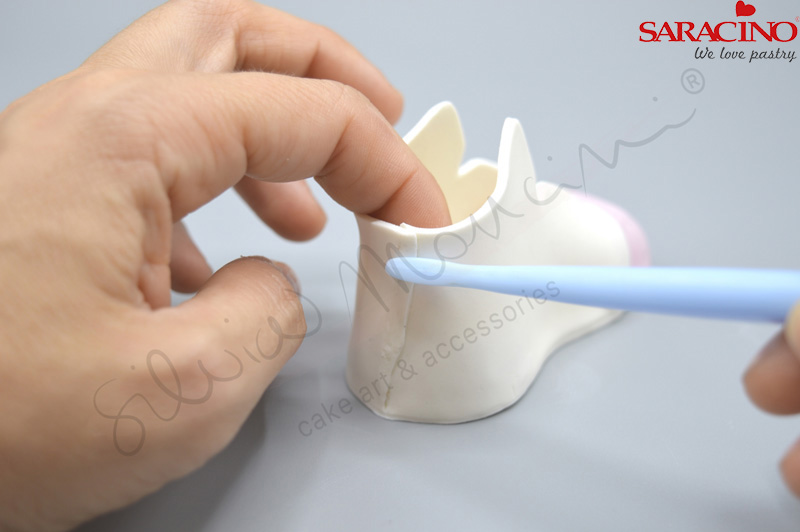
Step 21
For the ears roll a marble sized piece of paste into a teardrop shape (approx. 1” in length) and flatten. Secure into hole on head with sugar glue. Support whilst drying if necessary. Repeat for the second ear bending the tip over slightly after sticking in.

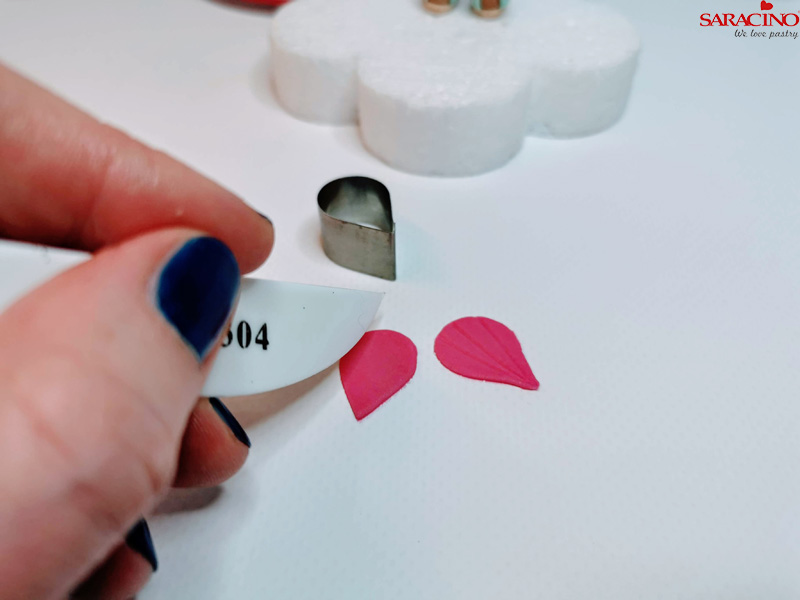
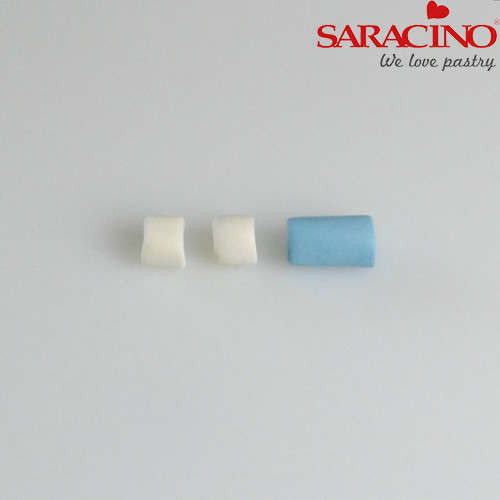
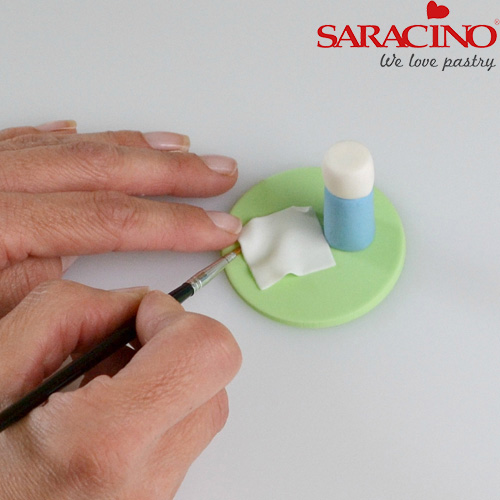
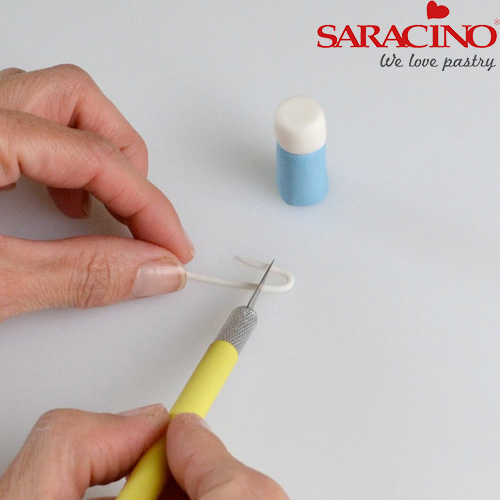
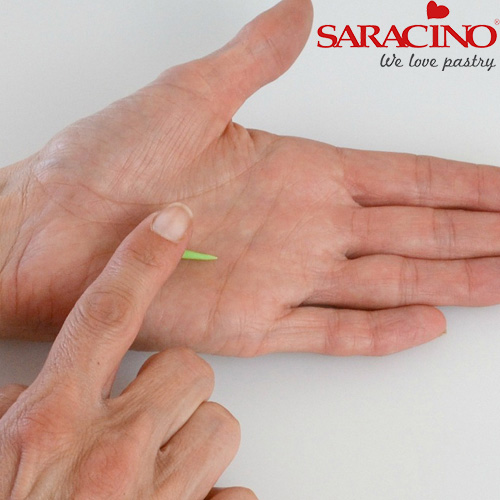
Step 22
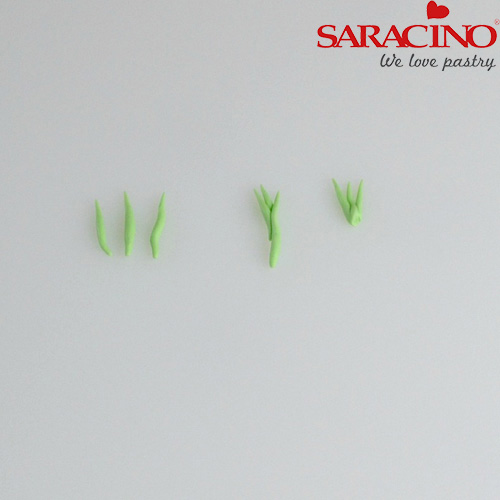
To make the feathers roll a small teardrop piece of purple paste and flatten. Add little v’s of blue paste and cut slits along both sides with a craft knife.
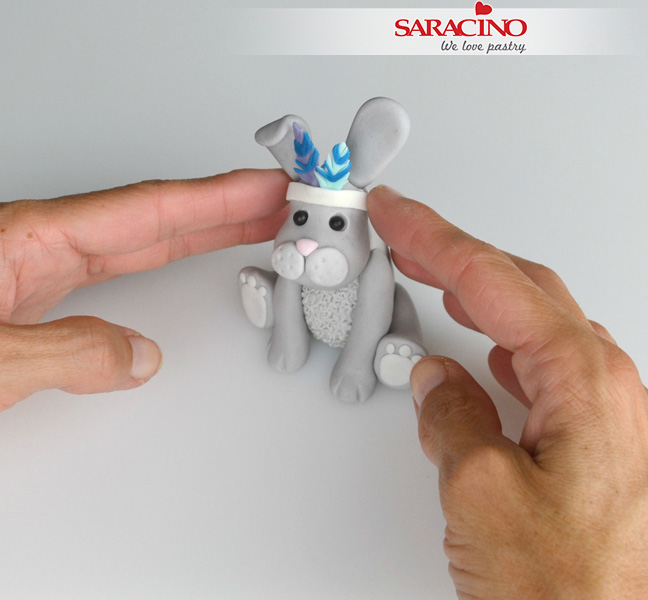
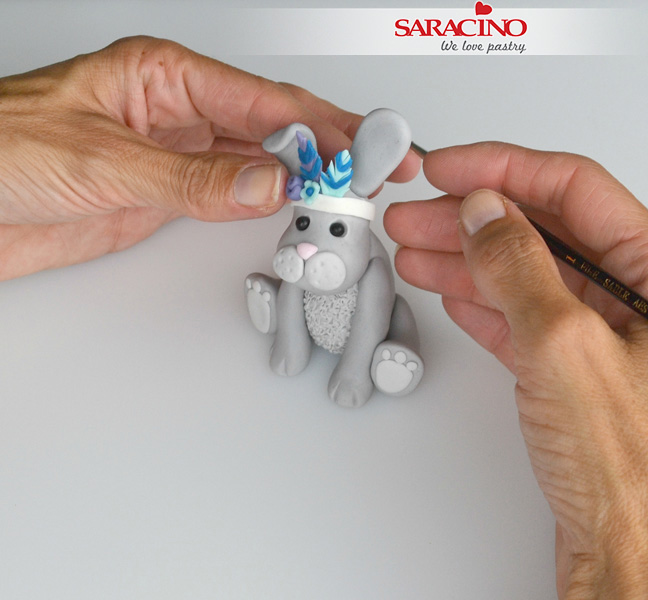
Step 23
Repeat in pale blue and dark blue to make a second feather and stick both to the rabbits head. Roll a thin white band of paste and stick onto the rabbits head using sugar glue if necessary.
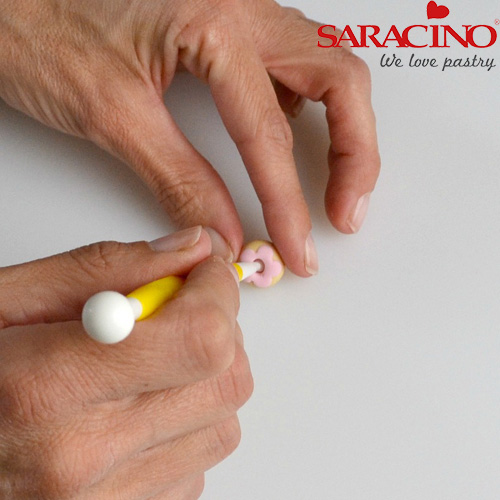
Step 24
Add a couple of little blossom flowers and small rolled roses.
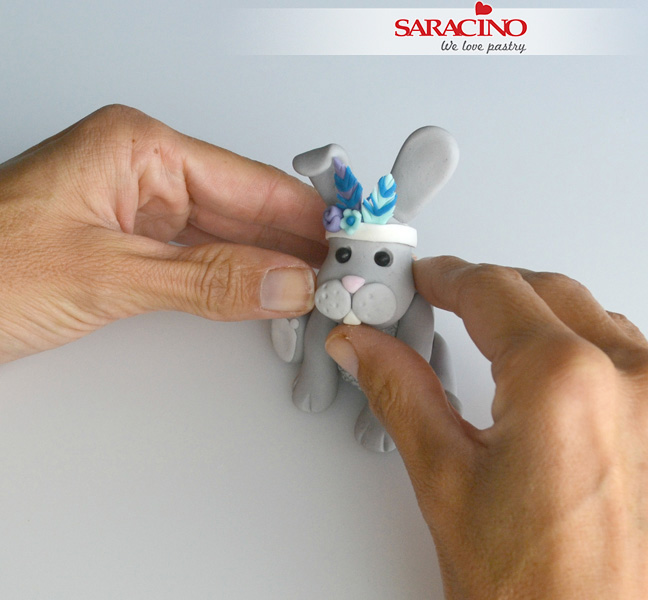
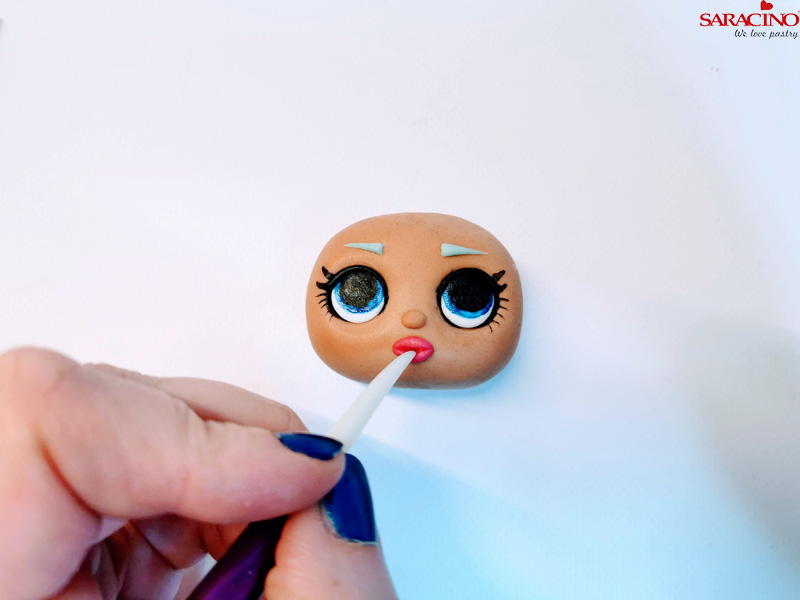
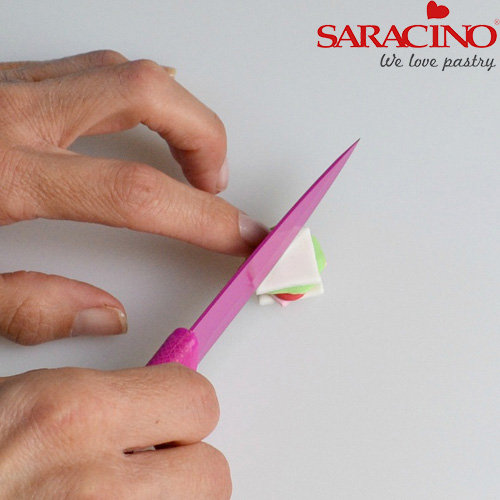
Step 25
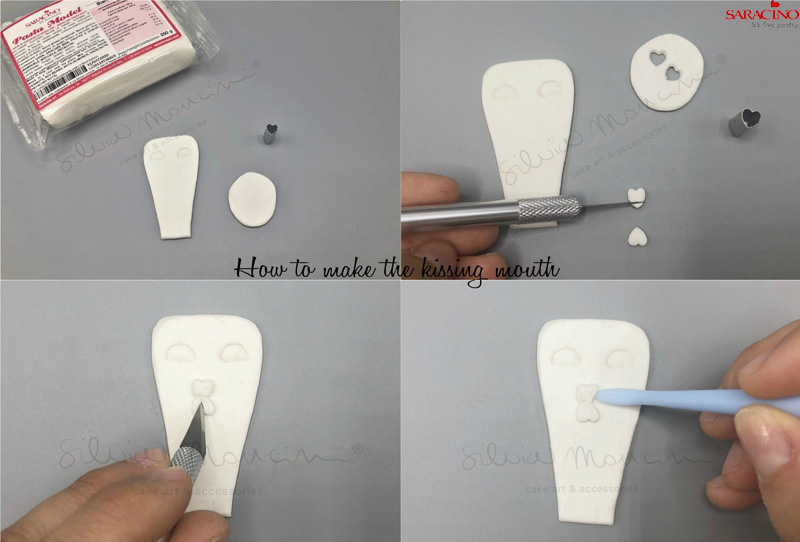
For the teeth shape a small piece of white paste into a triangle and push between the bottom of the circles on the face.
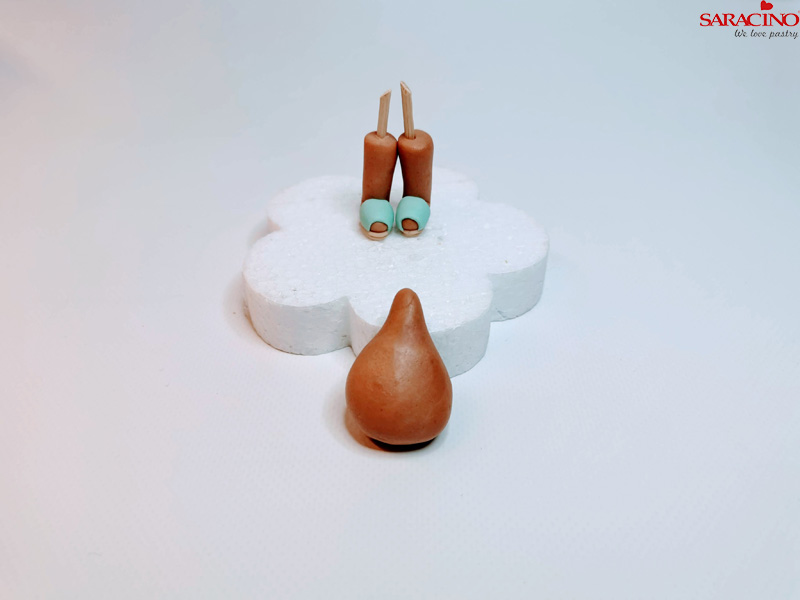
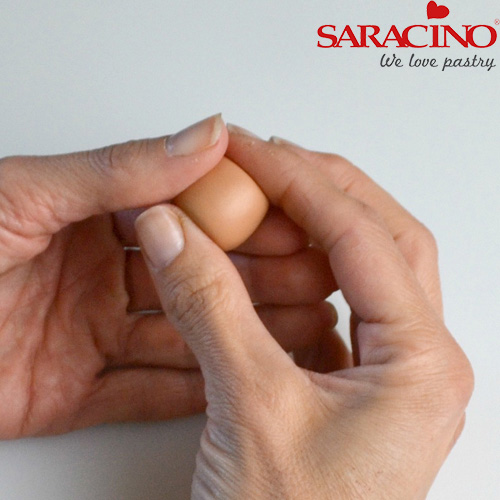
Step 26
Roll 25g of biscuit coloured paste into an egg shape in the palm of your hands.
Step 27
Push onto the work board to flatten the base and use your fingers to accentuate the tummy.
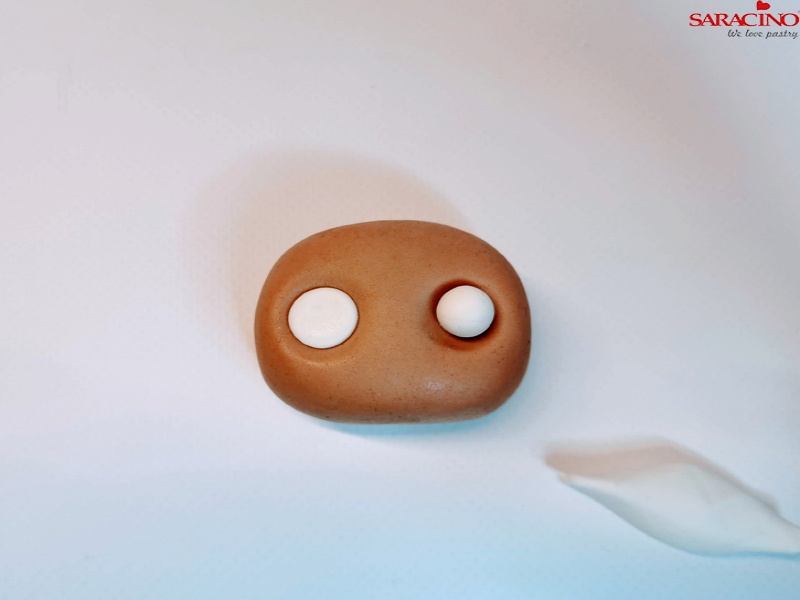
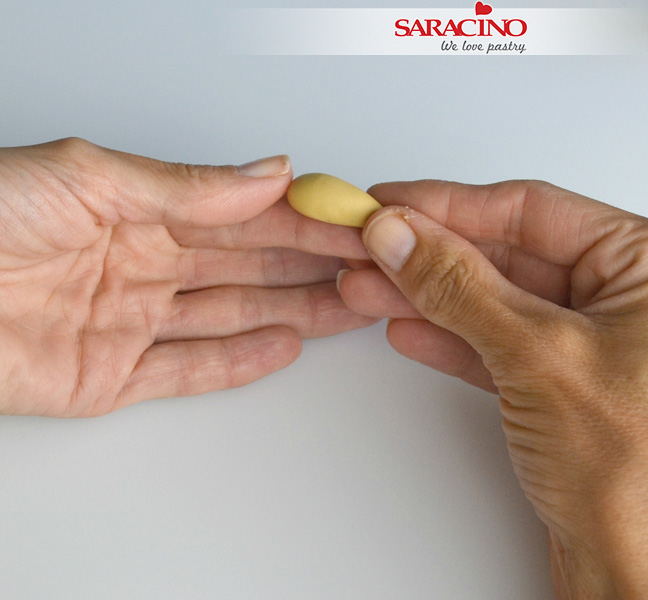
Step 28
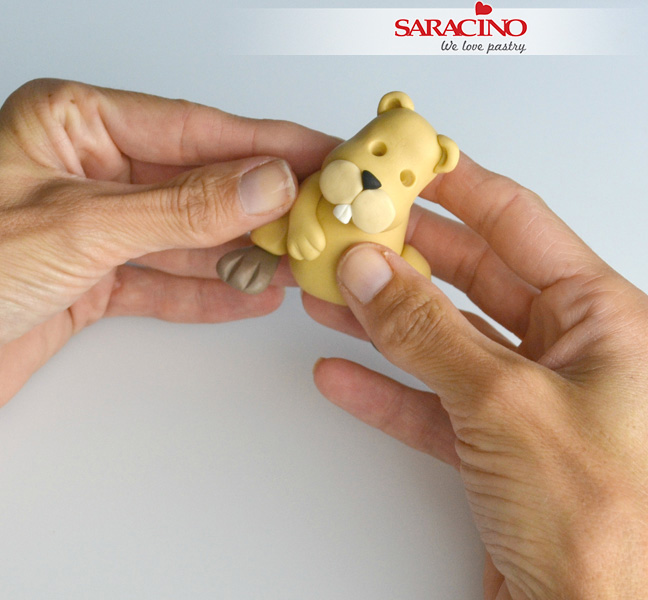
For the beavers head take a 20g piece of biscuit paste. Roll into a ball in the palm of your hands. Use the side of your hand to roll the ball backwards and forwards to make a kind of pear shape. Smooth off any edges with your fingers and square off the base of the head.
Step 29
Use your thumb and index finger to shape the top of the body so that the head will sit nicely on the front.
Step 30
Use some sugar glue to attach the head to the body at a slight angle.
Step 31
Take two small petit pois sized balls of the light biscuit paste, flatten onto hand and press onto face (as with the rabbit).

Step 32
Shape a small piece of black paste into a triangle and push in between the top of the two circles.
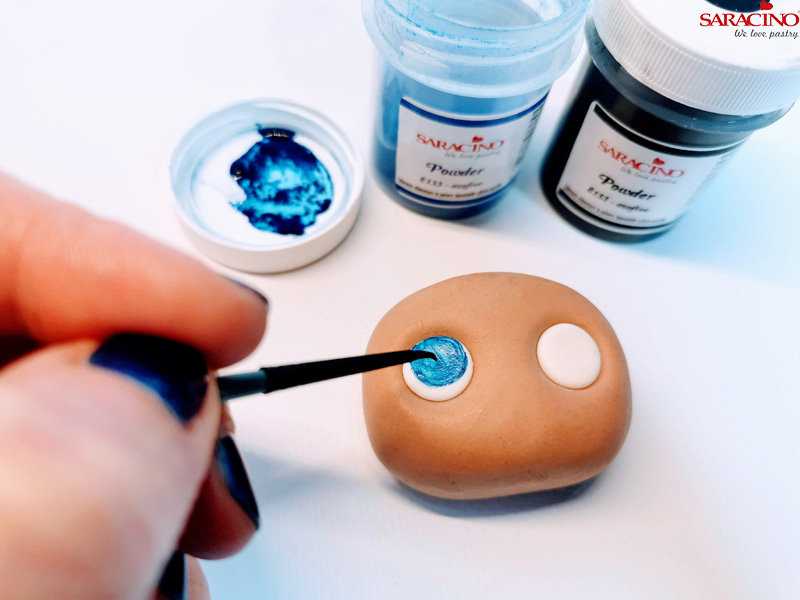
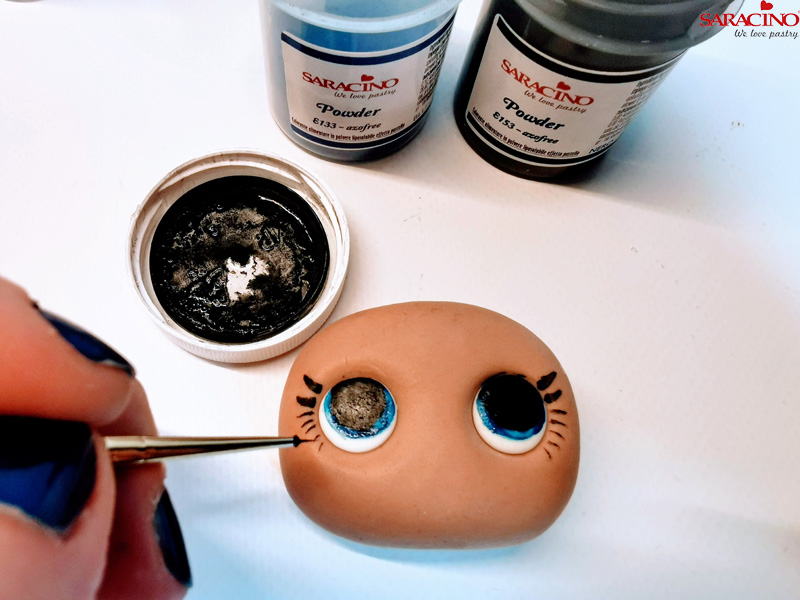
Step 33
Make two holes for eyes using the end of the paintbrush.
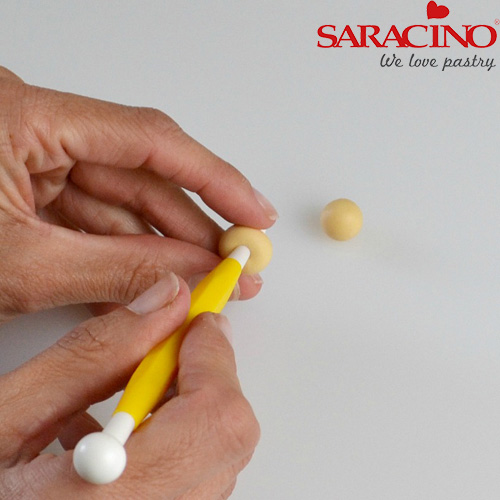
Step 34
To make the ears roll a pea sized piece of biscuit paste into a ball and use a ball tool to indent the centre. Cut in half and attach to either side of the beavers head.
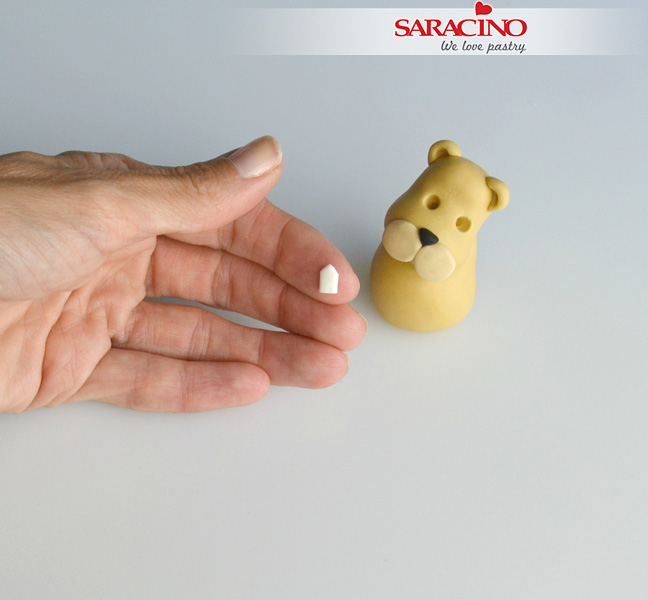
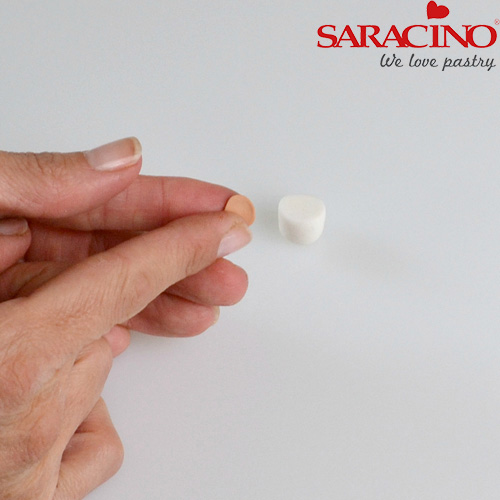
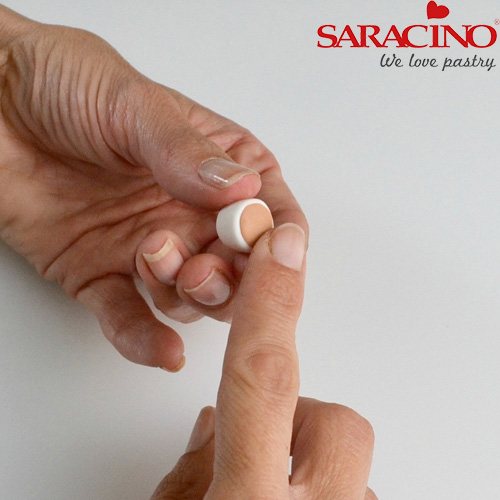
Step 35
For the beaver’s teeth take a small piece of white paste and use fingers or a craft knife to make into a small house shape.
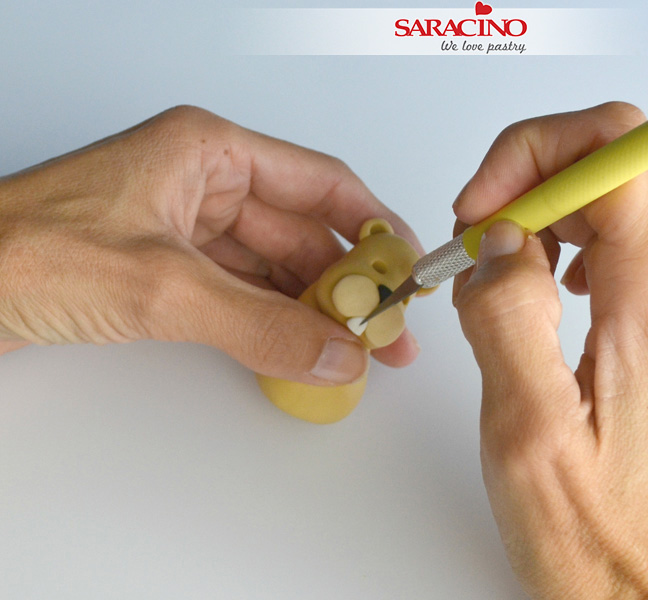
Step 36
Push in between the bottom of the two circles (using sugar glue if necessary) and gently mark teeth with a craft knife.
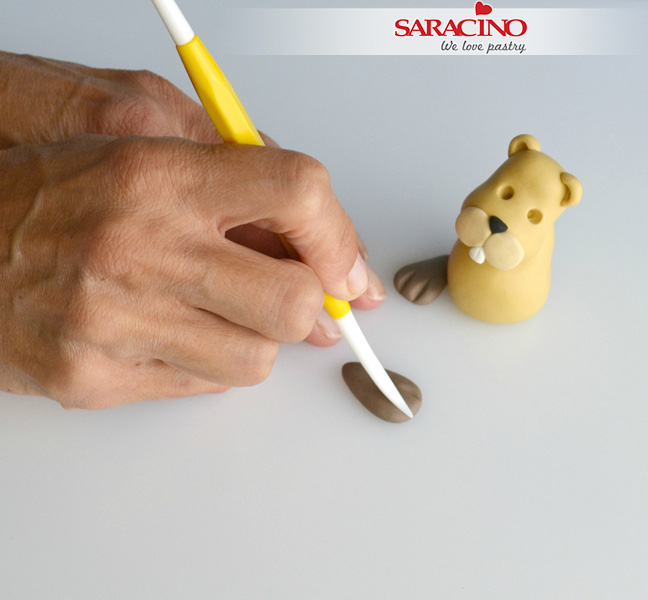
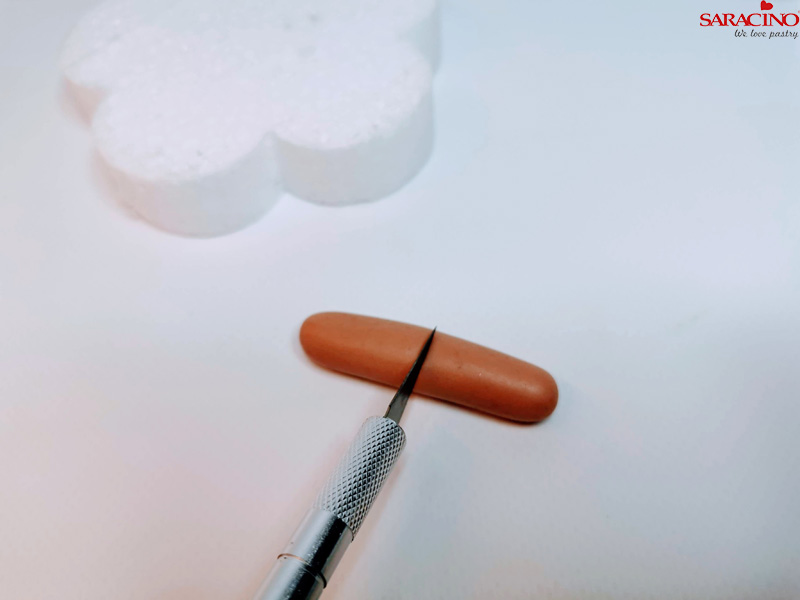
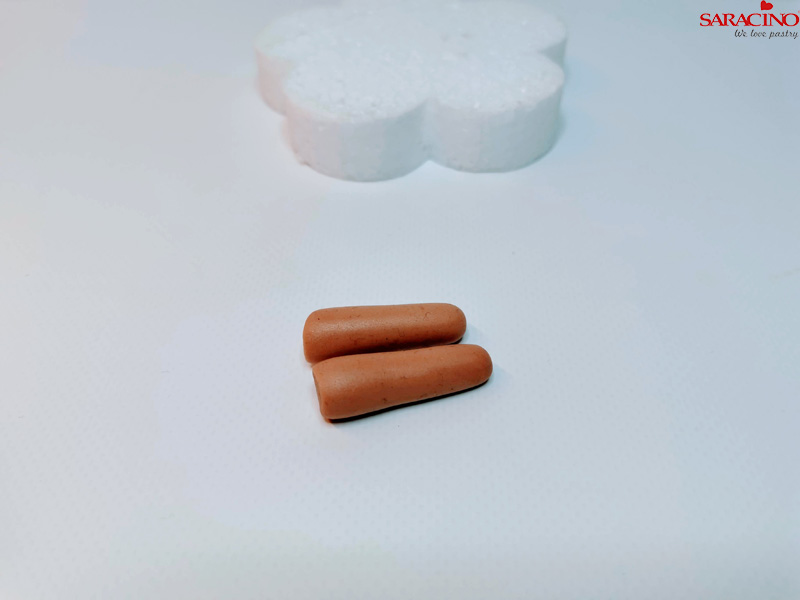
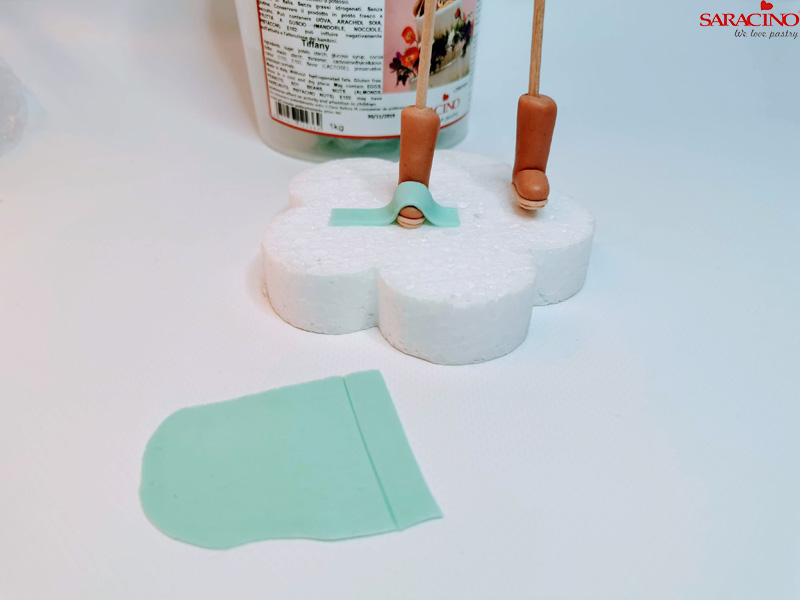
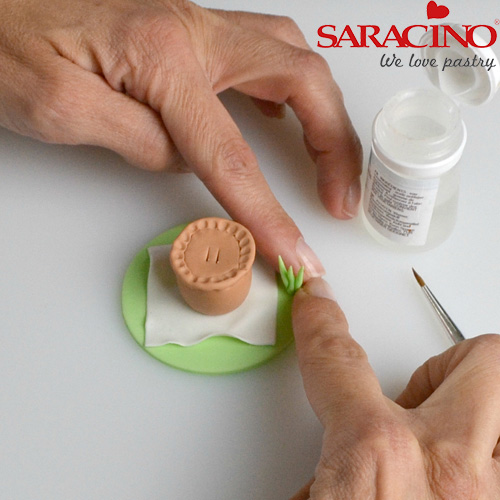
Step 37
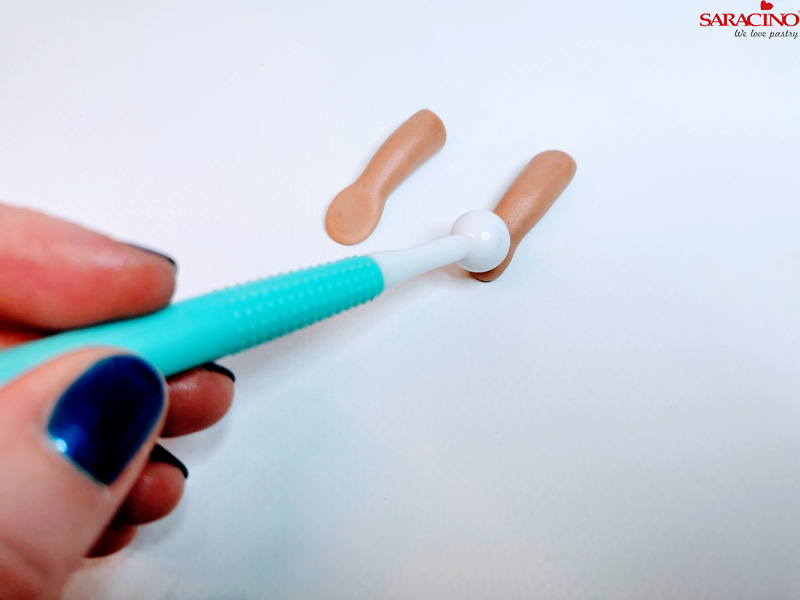
To make the feet take a small marble sized piece of dark brown paste and shape into a teardrop. Flatten slightly and use the thin end of a veining tool in a rocking motion to mark two lines. Repeat for the other foot. Set aside to firm up a bit.
Tip: Setting paste aside, particularly the darker colours, can make it much easier to handle.
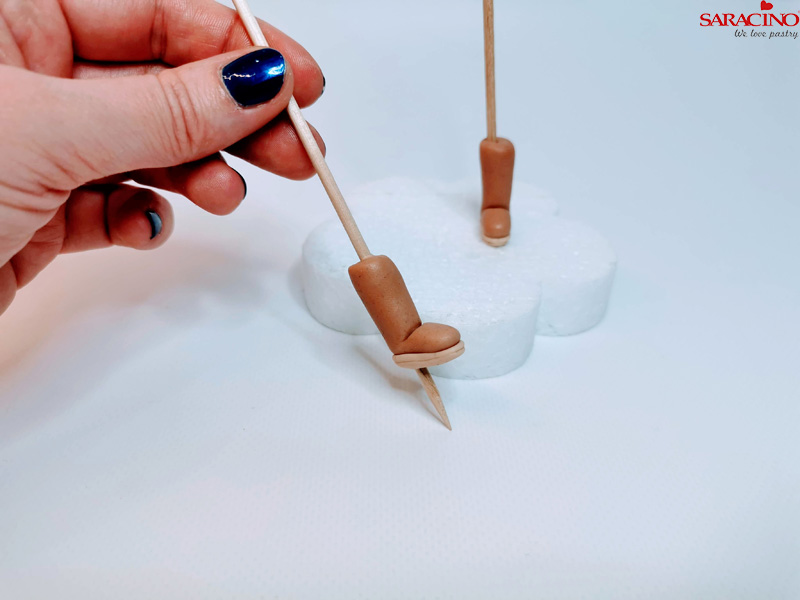
Step 38
Roll a large marble sized piece of biscuit paste into a teardrop shape and place on your index finger. Use your other hand to pull the paste down gently onto your finger to flatten the base. Repeat for the other leg.
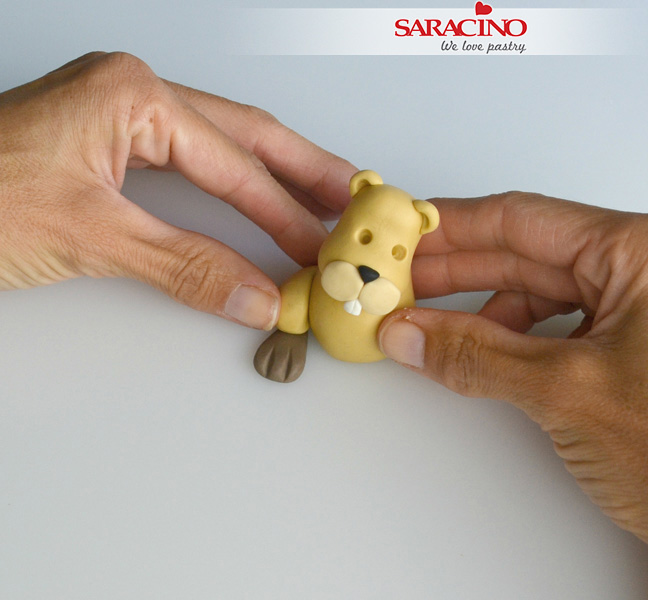
Step 39
Place the foot just next to the beavers body (but not actually stuck to it) With the wider part at the front, push the leg onto the body and foot securing with sugar glue if necessary. Repeat for the other leg.
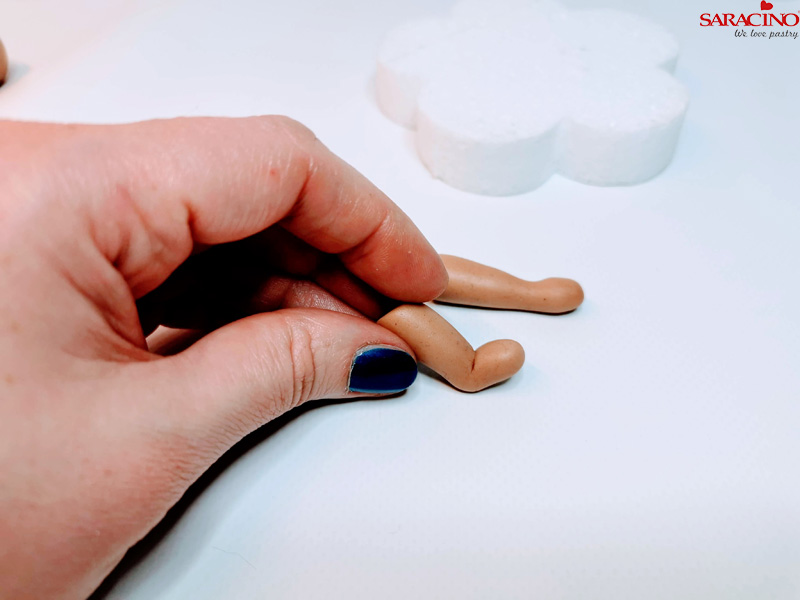
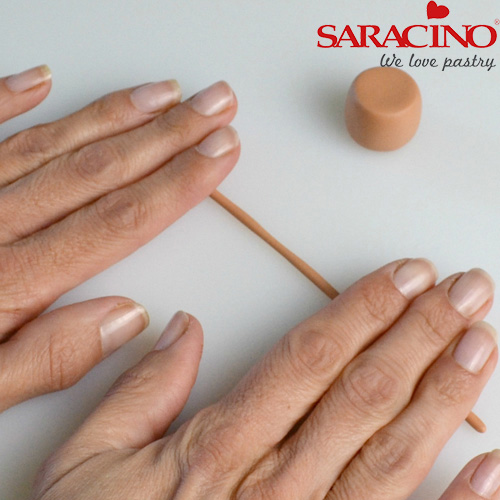
Step 40
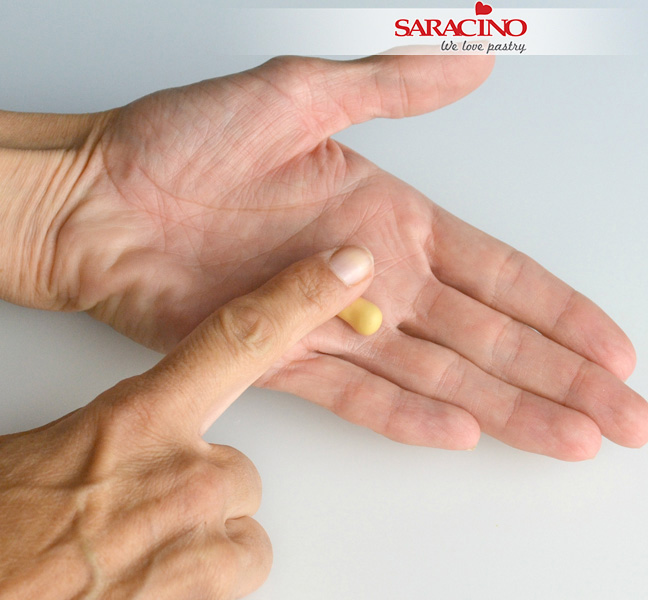
For the front legs roll a small marble sized ball of biscuit paste with your finger in the palm of your hand leaving the end bigger for the foot.
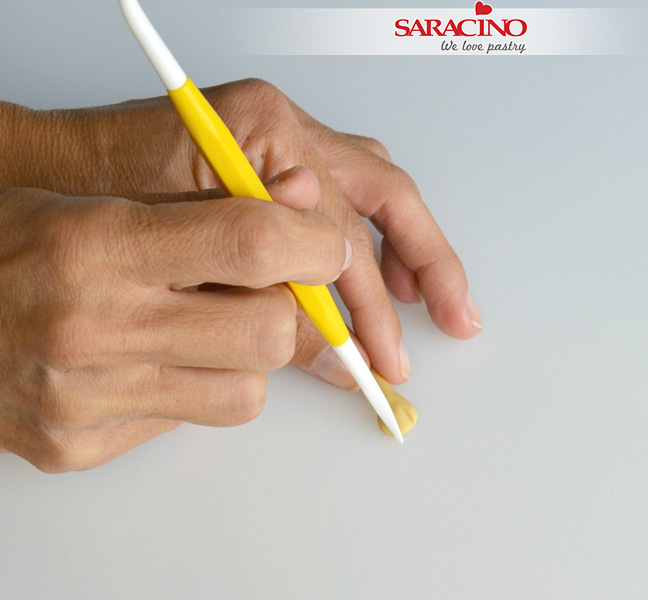
Step 41
Press the wider part onto the board with your finger to make a foot and mark on two lines with the narrow end of a veining tool. Repeat for the other leg.
Step 42
Pinch the top of the leg with your thumb and fingers to shape it so it will sit neatly against the beavers body. Secure both legs to the body with sugar glue if needed.
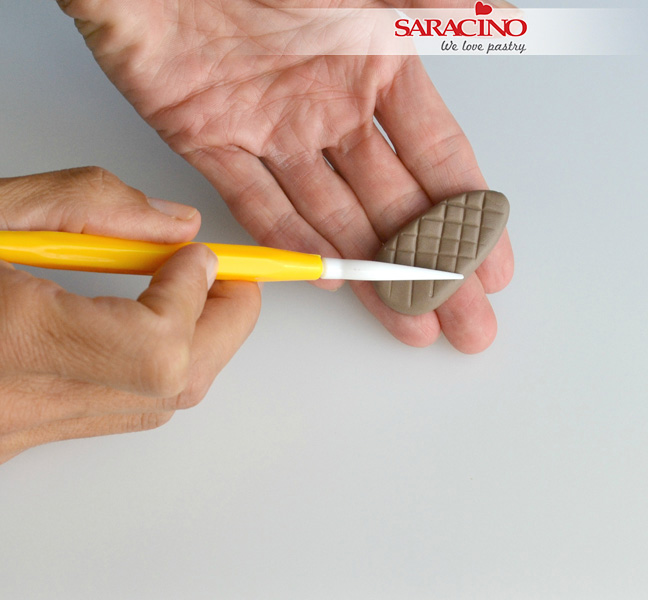
Step 43
To make the tail shape a large marble sized piece of dark brown paste into a teardrop shape and flatten slightly with the palm of your hand. Use a Dresden tool to mark a diagonal criss cross pattern.
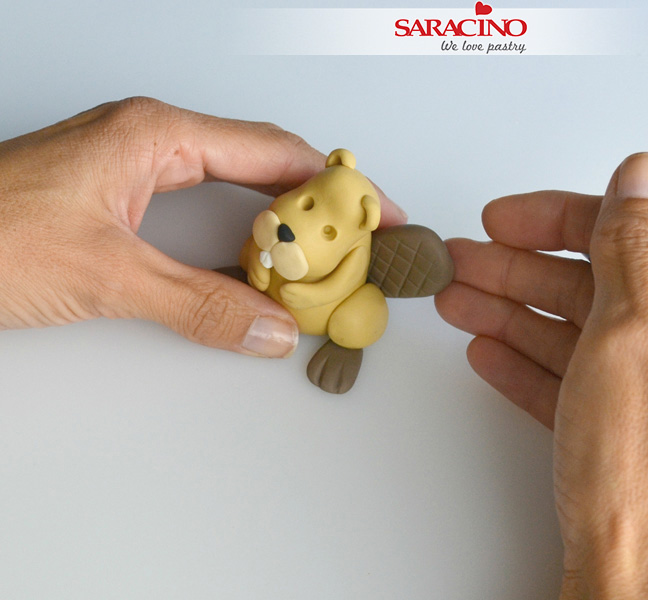
Step 44
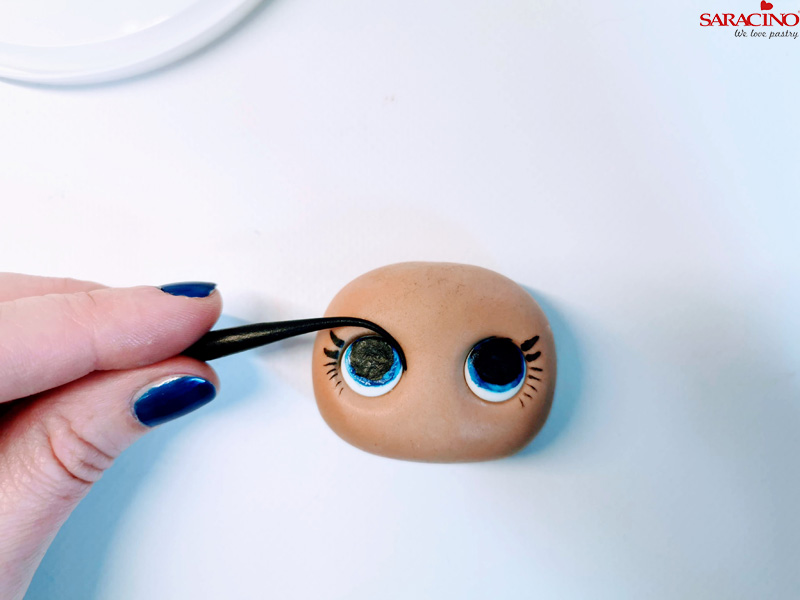
Attach to the back of the beaver securing with sugar glue if necessary.
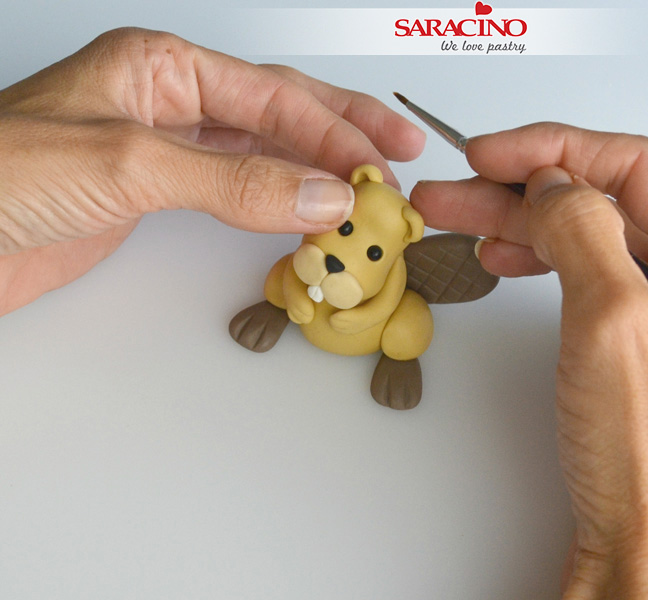
Step 45
Add a spot of sugar glue to each of the eye holes and put a black sugar pearl in each.

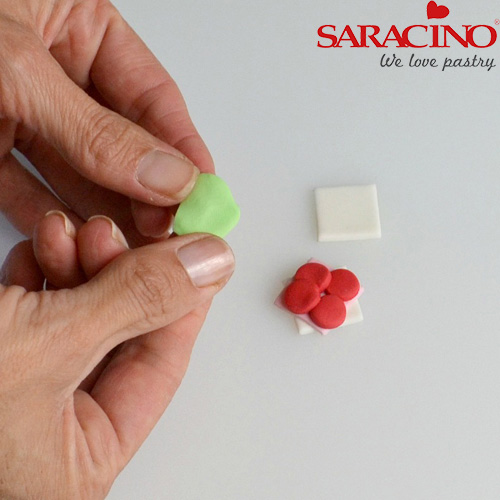
Step 46
To make the feathers roll a small teardrop piece of light blue paste and flatten. Add little v’s of purple paste and cut slits down either side as before. Repeat to make a second feather using dark blue and purple paste.
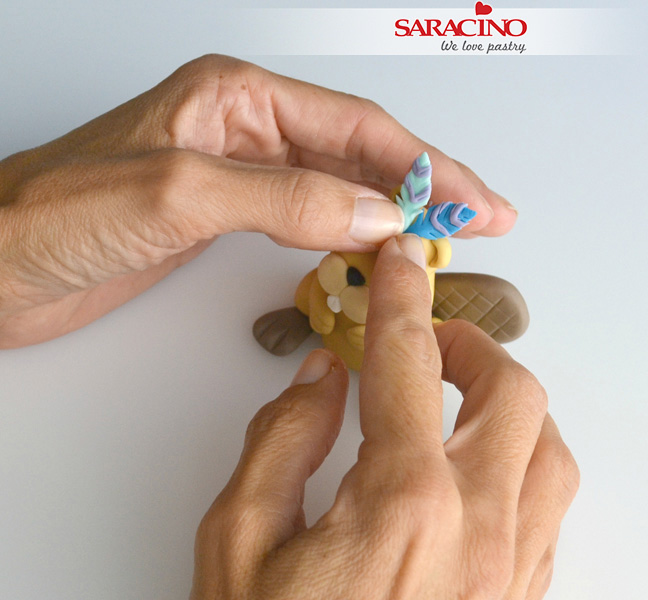
Step 47
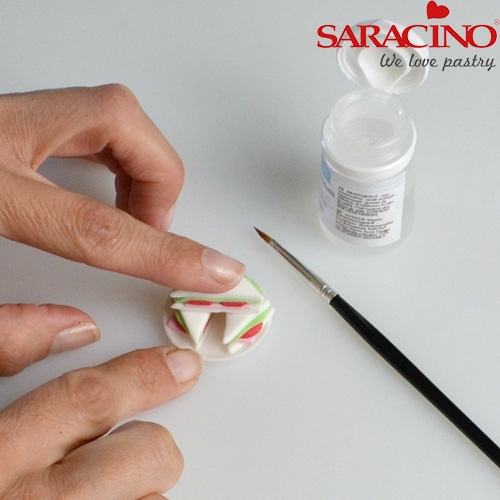
Secure both feathers to the head with sugar glue.

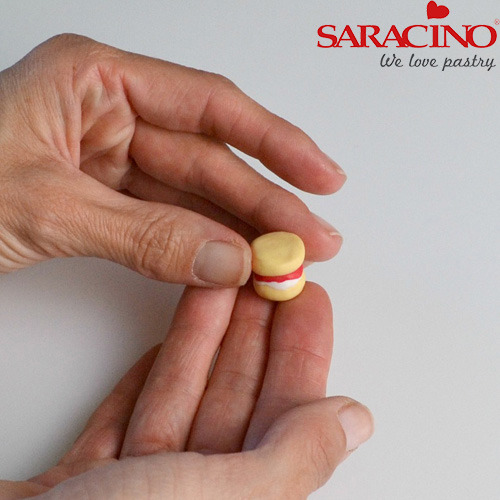
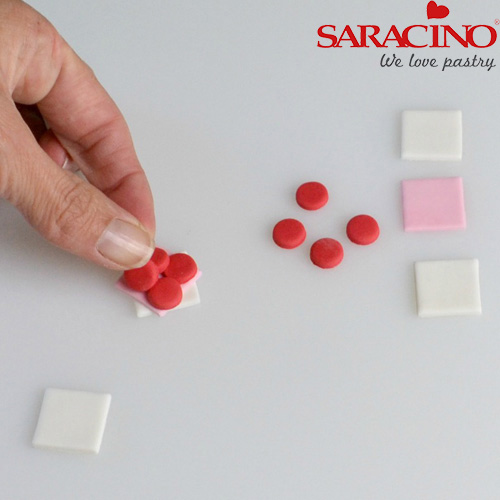
Step 48
To make the band cut out a narrow strip of white paste. Use a diamond plunger cutter to cut out small diamonds then cut them in half and attach the triangles to the band.
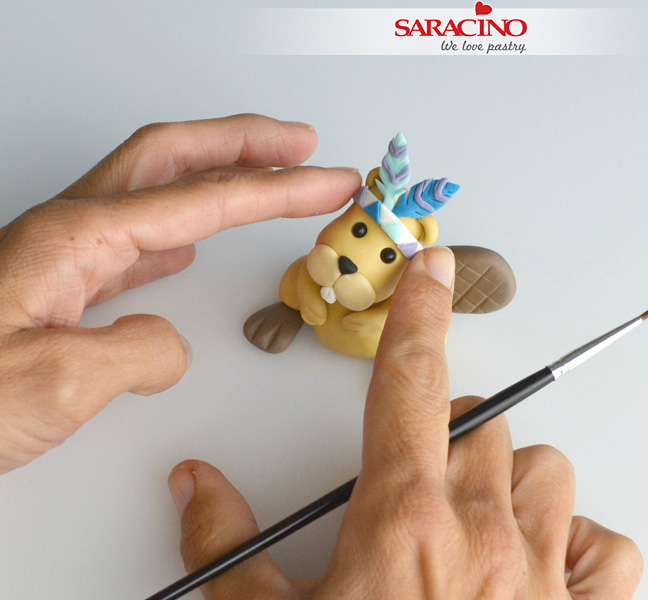
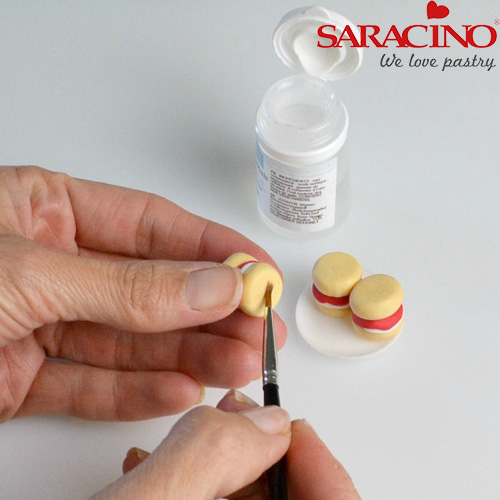
Step 49
Use sugar glue to attach the band to the beavers head and trim off the excess with a craft knife.
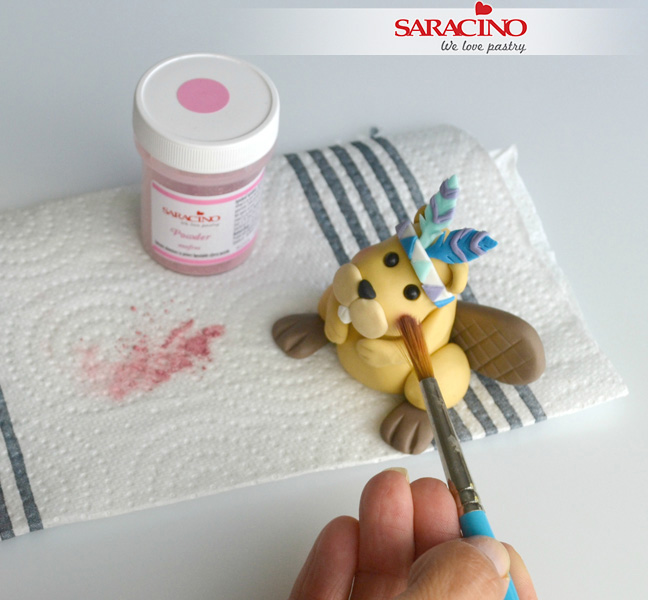
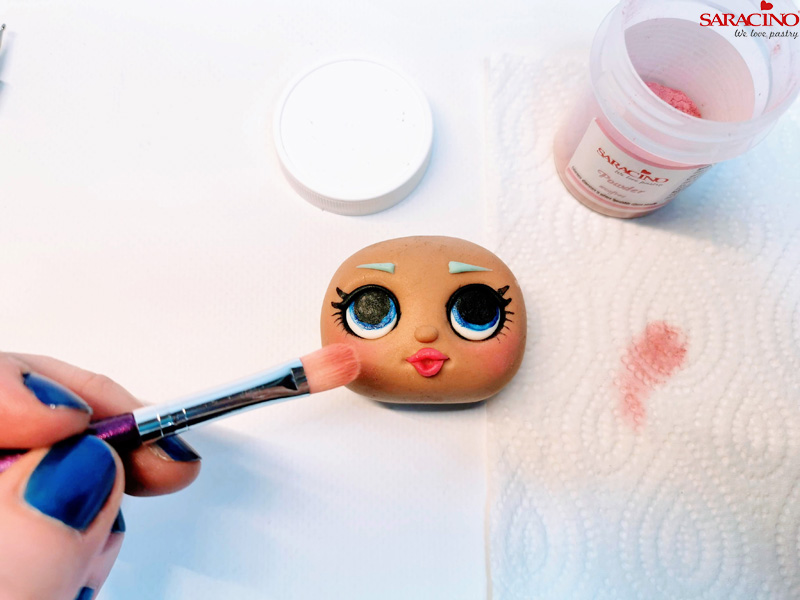
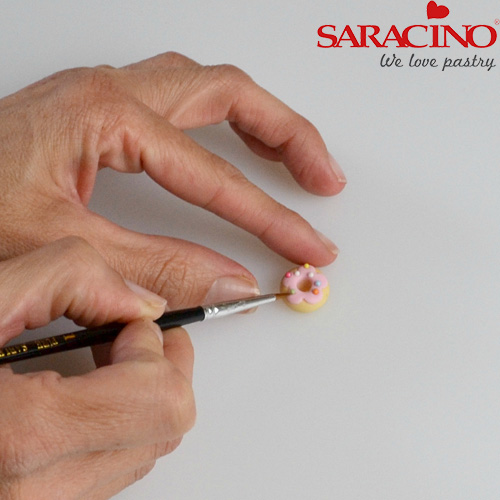
Step 50
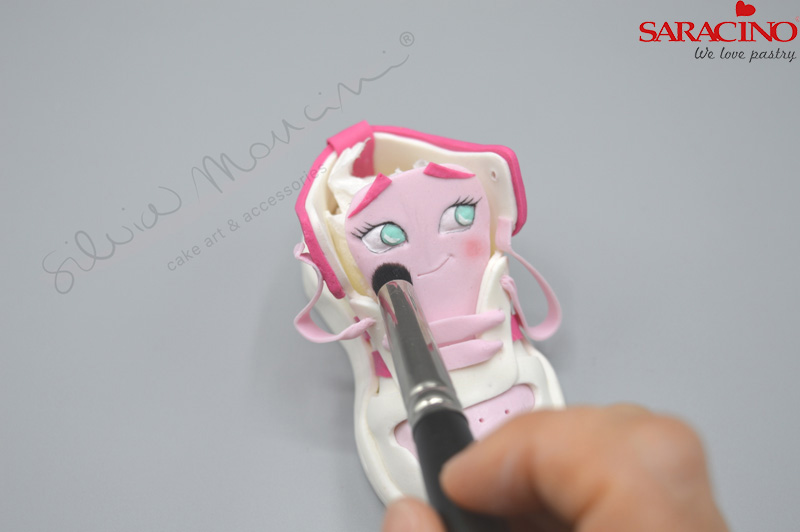
For the finishing touch dust the cheeks of both the beaver and the rabbit using a soft brush and edible pink dust.