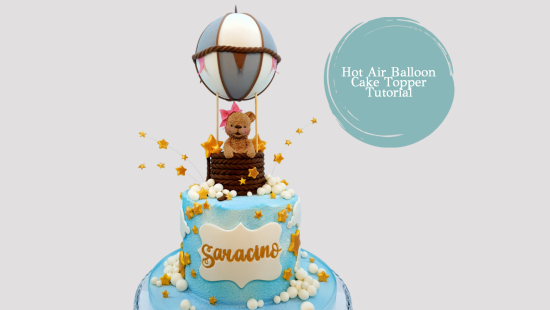
HOT AIR BALLOON CAKE TUTORIAL


You will need:
INGREDIENTS:
- 8″ cake or dummy covered with Swiss meringue buttercream
- Saracino cocoa butter
- Saracino white chocolate drops
- Saracino white powder
- Saracino airbrush colour sky blue
- Saracino brown modelling paste
- Saracino skin tone modelling paste
- Saracino white modelling paste
- Saracino black modelling paste
- Saracino pink modelling paste
- Saracino fucsia modelling paste
- Saracino pink powder
- Saracino silver lustre powder
- Saracino light gold powder
- Saracino push pump glitter dust gold
EQUIPMENT:
- Hand blender
- Thermometer
- Scale
- Paint sprayer
- Airbrush
- Dummy 2” or 3” round for the basket
- Scalpel
- Small rolling pin
- Extruder
- Toothpick
- Water pen
- Scriber needle
- Small craft pin
- Dresden tool
- Small and large soft brush
- 10/0 brush
- 3 wooden skewers
- Pliers
- 12cm styrofoam ball
- Black edible pen
- Ruler
- Parchment paper
- Plaque cookie cutter
- Embosser stamps
- Clear alcohol
- Pallette
- 2 sizes small star cookie cutters
- Small star plunger cutter
- Fondant smoother
- 30 gauge florist wire
- Wooden dowel
- Flower picks
- Scissors
- Palette knife
- Buttercream
- Turntable
- Blue ribbon
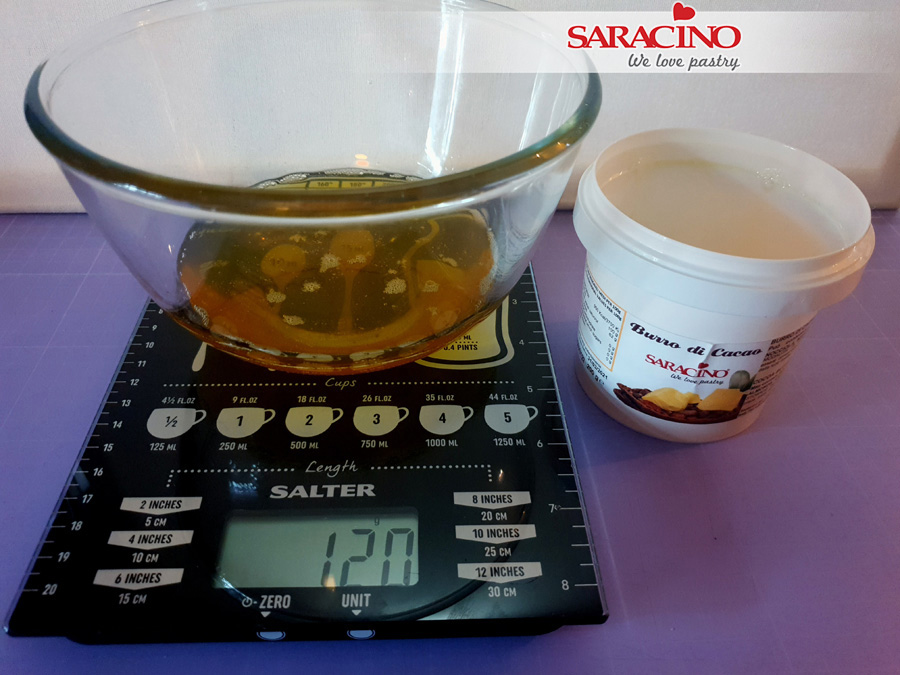
Step 1
Prepare the cocoa butter, the white chocolate drops and your white powder for melting. You will need your thermometer and a hand blender. Melt 120g of cocoa butter in the microwave.
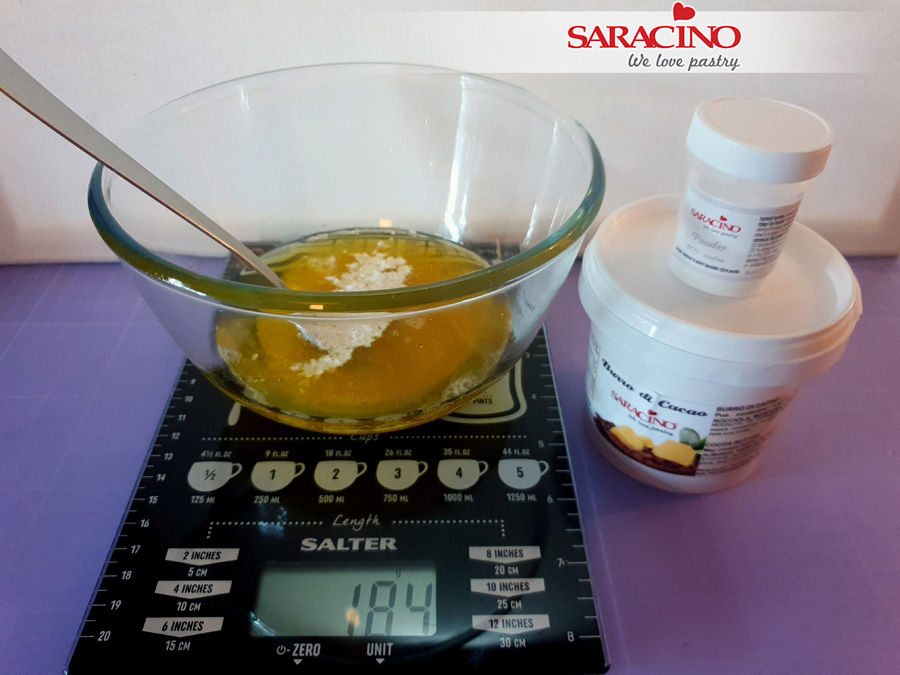
Step 2
Add the white powder to achieve the required colour.

Step 3
Weigh 210g white chocolate drops and melt in the microwave until it is smooth.
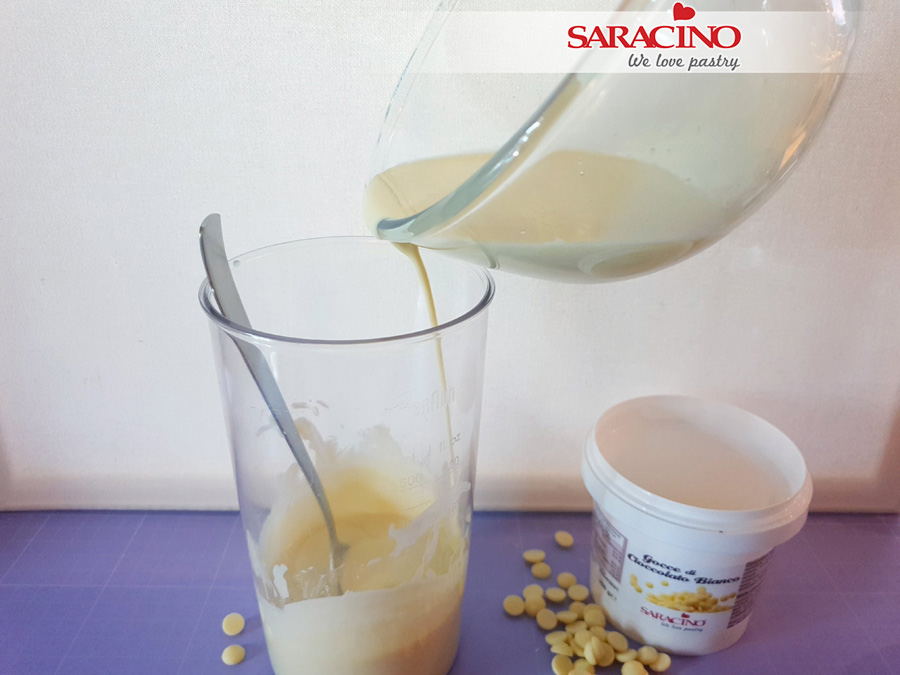
Step 4
Gradually add the melted cocoa butter into the white chocolate.
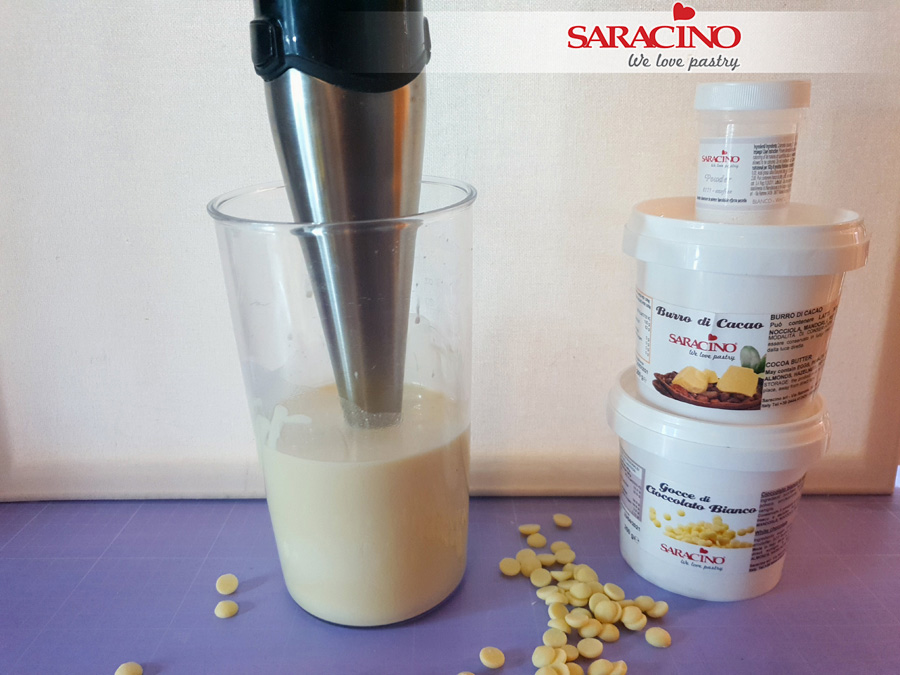
Step 5
Blend it for couple of seconds.
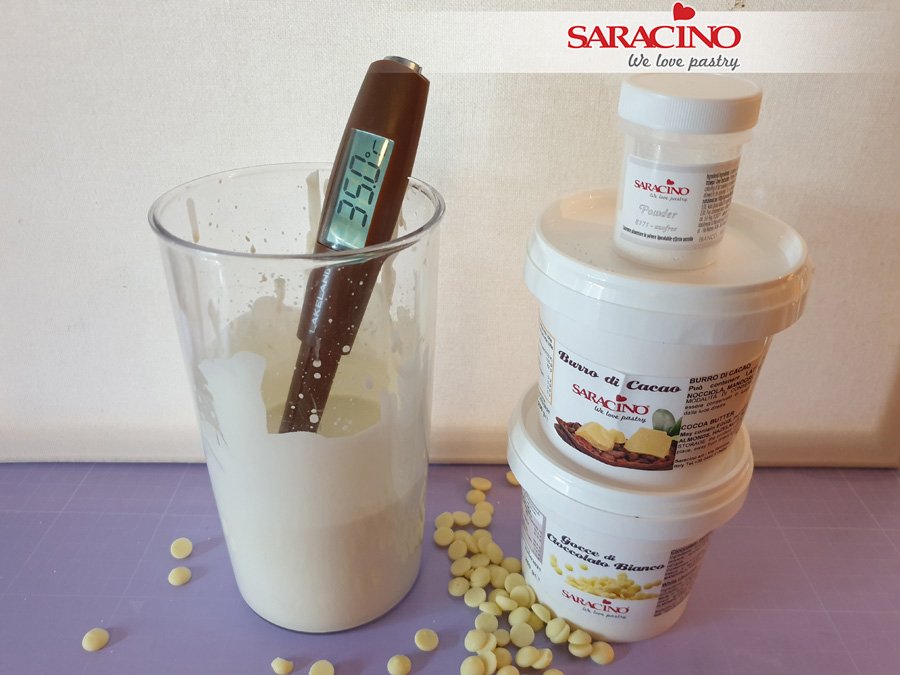
Step 6
Leave it to cool down to 35°C.
Step 7
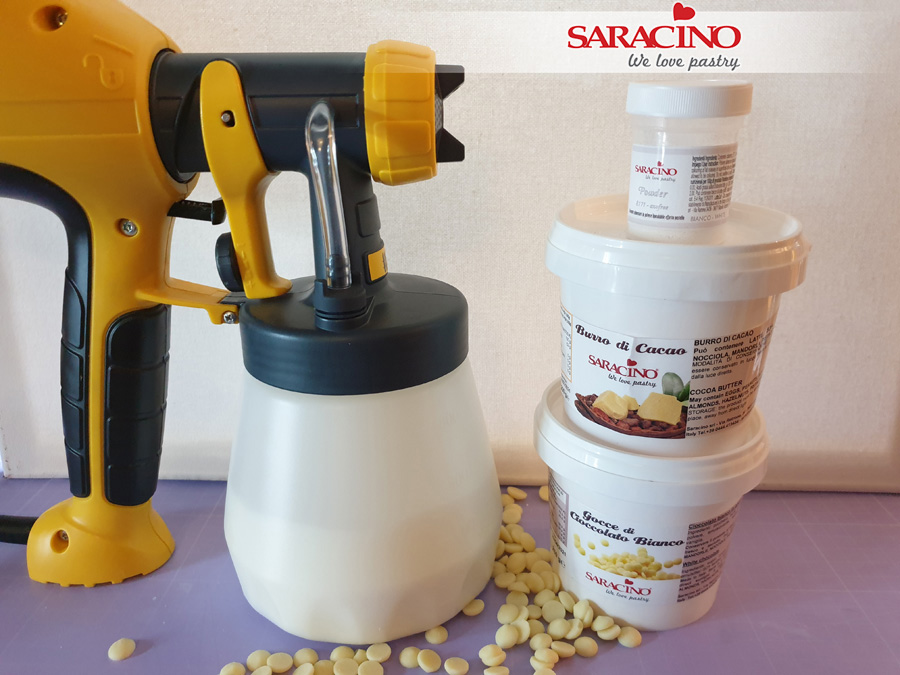
Pour the mixture into the paint sprayer container.
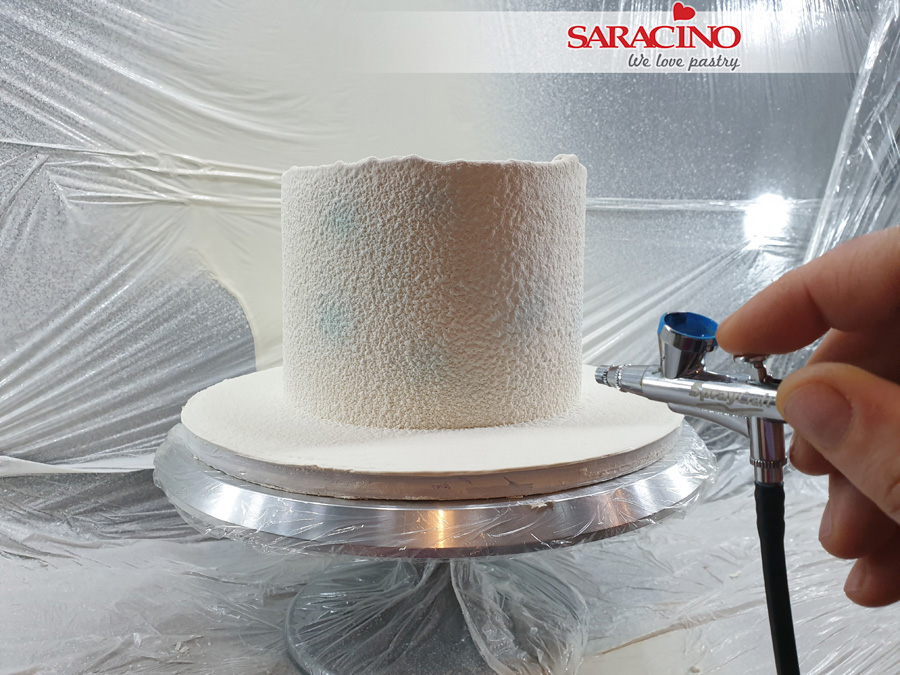
Step 8
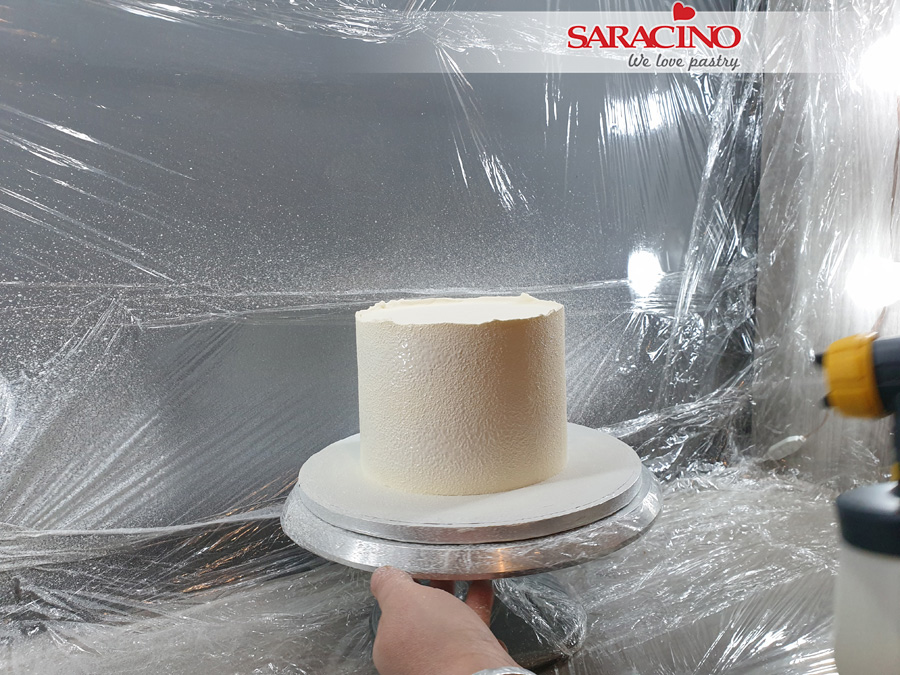
Take the cake from the fridge and spray it immediately to give an even textured finish.
TIP – I used Swiss meringue buttercream to cover my cake before spraying. You can also spray a cake covered in Saracino Pasta Top or even spray a dummy directly.
Step 9
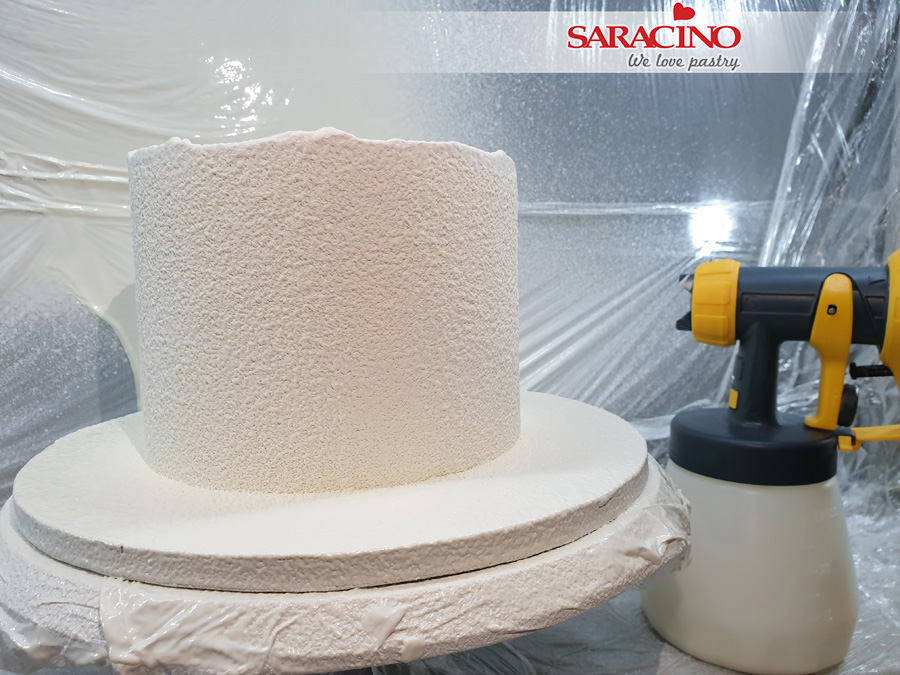
This is the texture that you should achieve.
Step 10
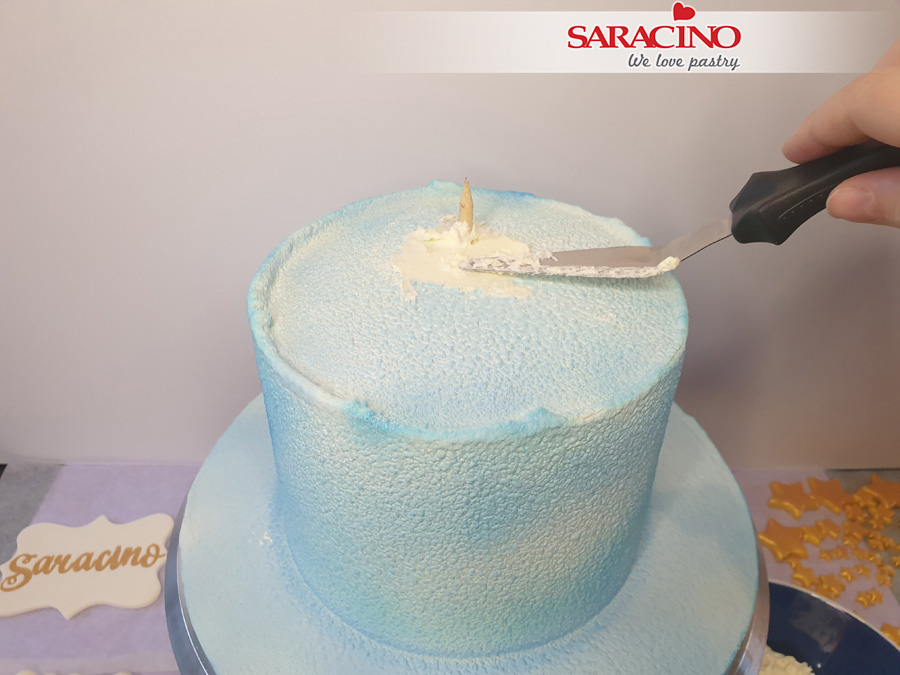
Spray the blue airbrush colour here and there, to look like a cloudy sky.
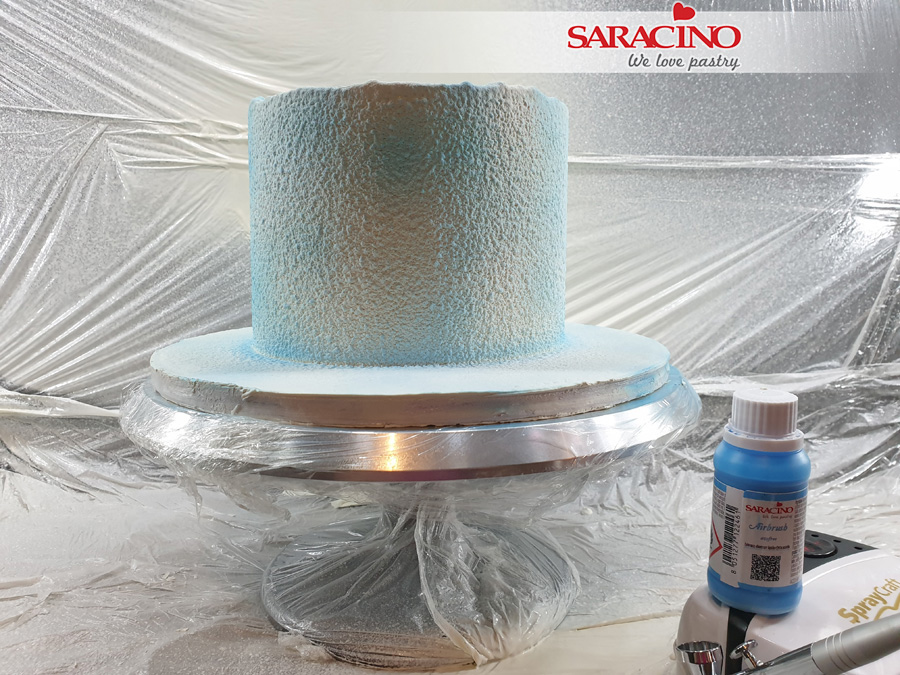
Step 11
This should be your final result.
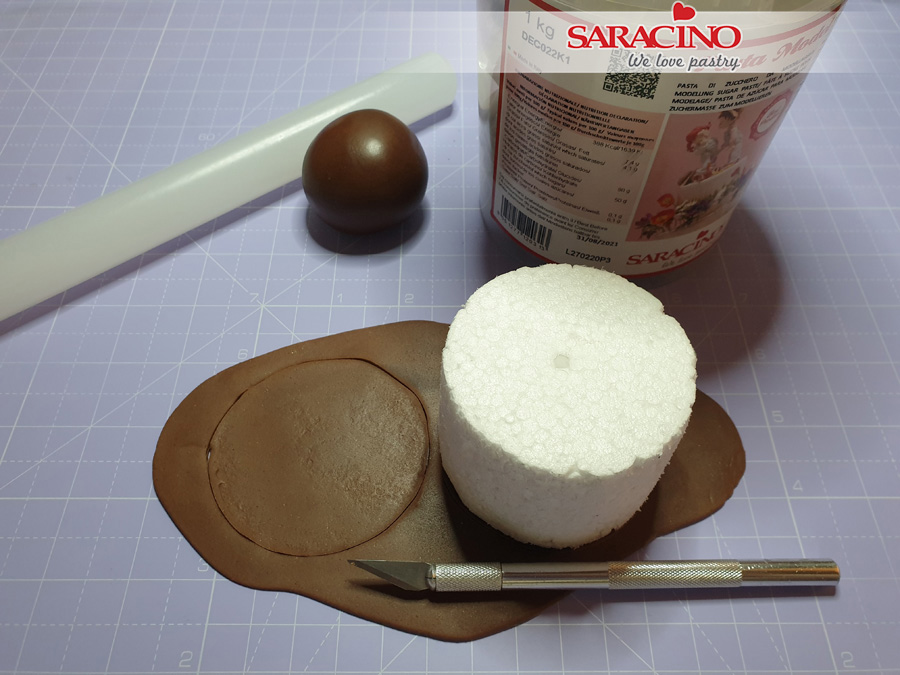
Step 12
Roll out a piece of brown modelling paste and cut out 2 pieces to the shape of the top and bottom of your dummy. Fix them to the top and bottom.
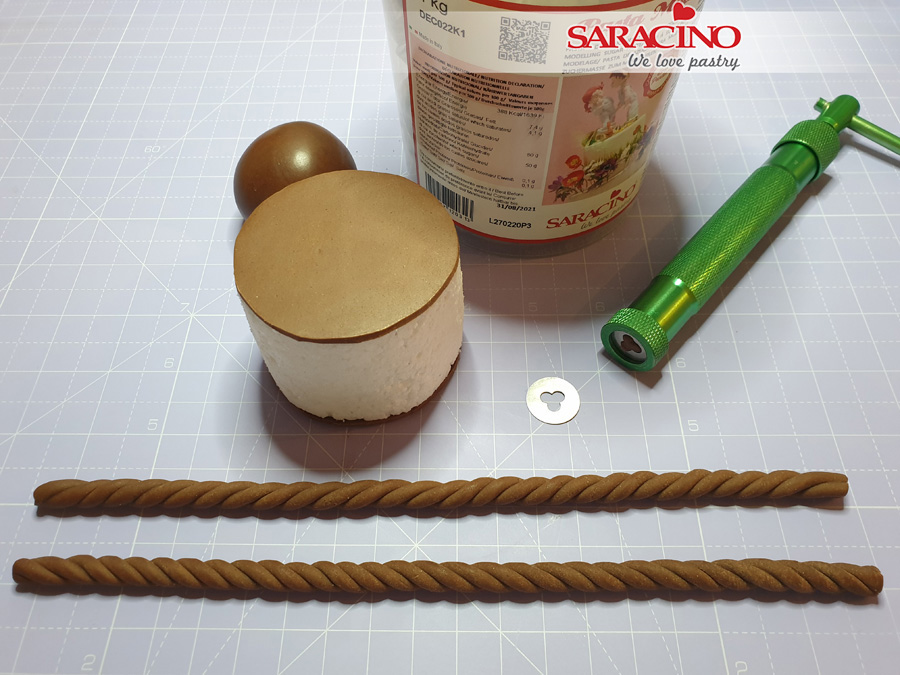
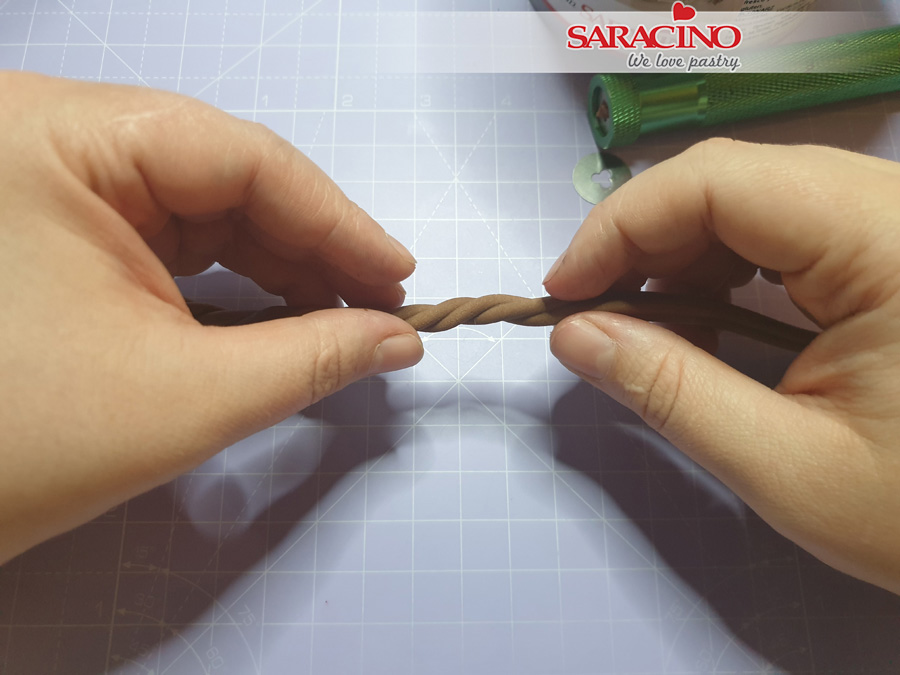
Step 13
Fill the extruder with brown modelling paste and using the shape tip shown on the picture, extrude equal lengths to wrap around the side of your dummy. To achieve the rope pattern twist the extruded piece clockwise / counter-clockwise with both hands. Half of them should be in one direction and the other half in the opposite direction.
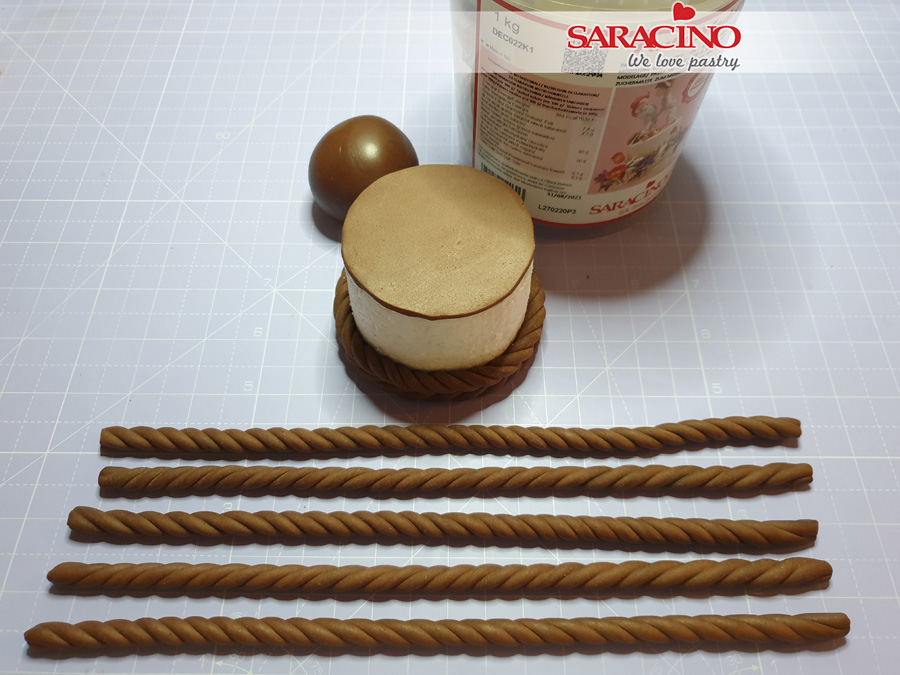
Step 14
Start covering the whole side of the dummy by wrapping the rope around and fixing with a little water or edible glue if required.
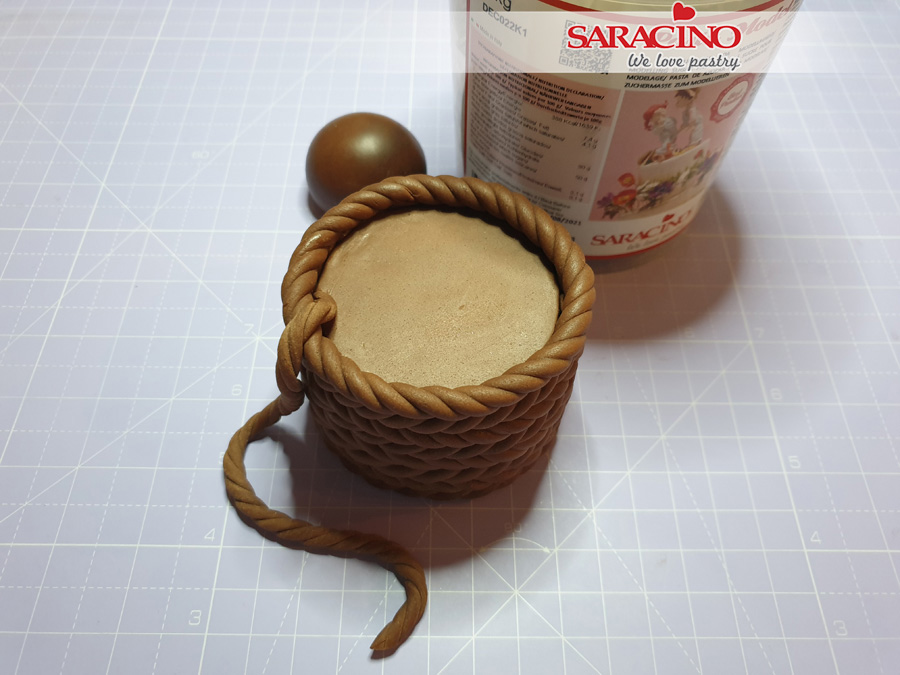
Step 15
Fix one length of the rope to hang down the side of the basket.
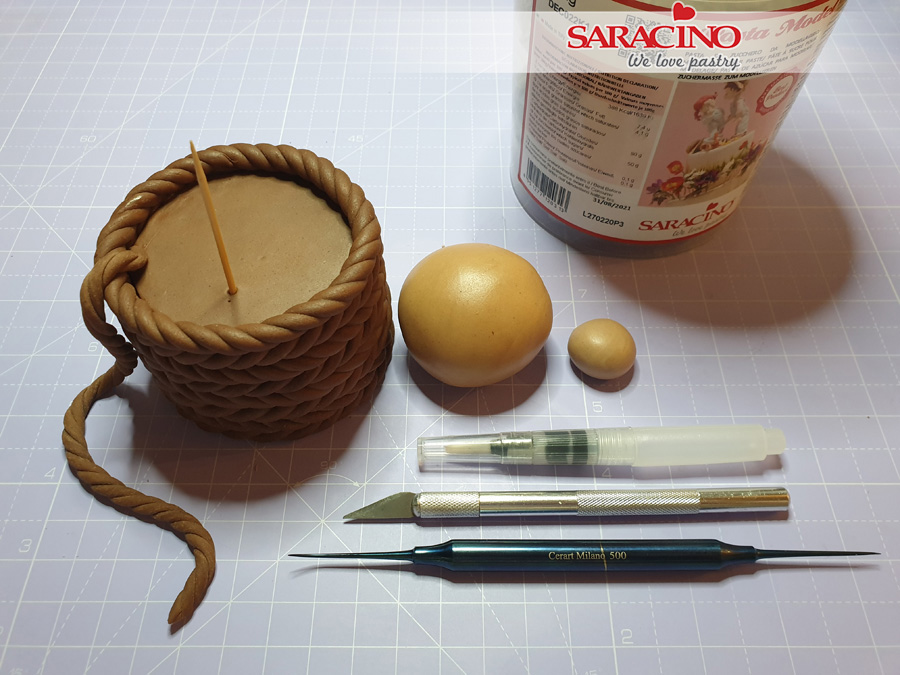
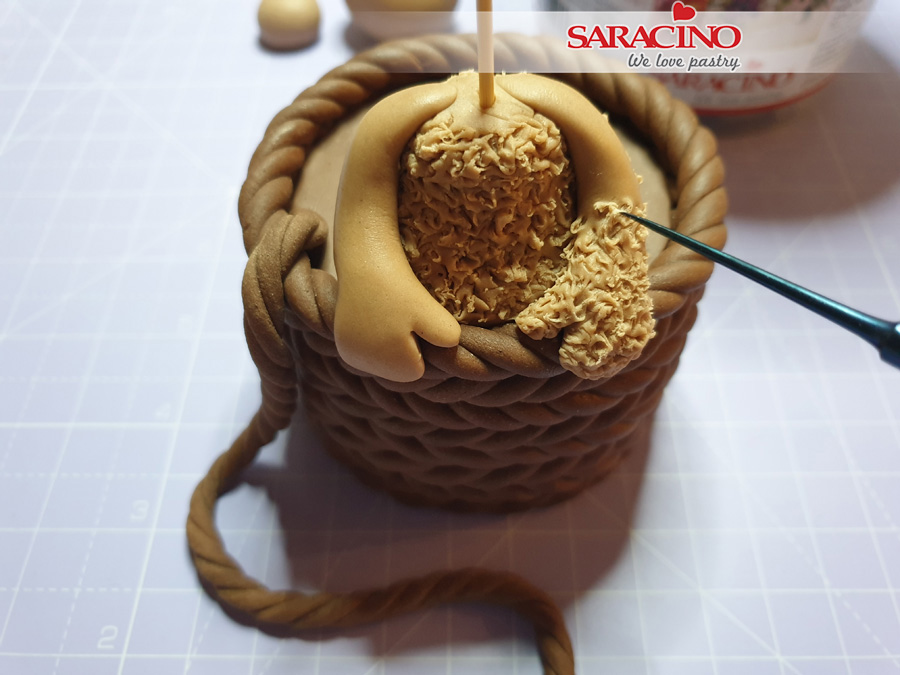
Step 16
Insert a toothpick in the dummy as shown. Now for the bear mix brown and skin tone modelling paste to achieve a light brown colour. You will need the body to be slightly darker shade.
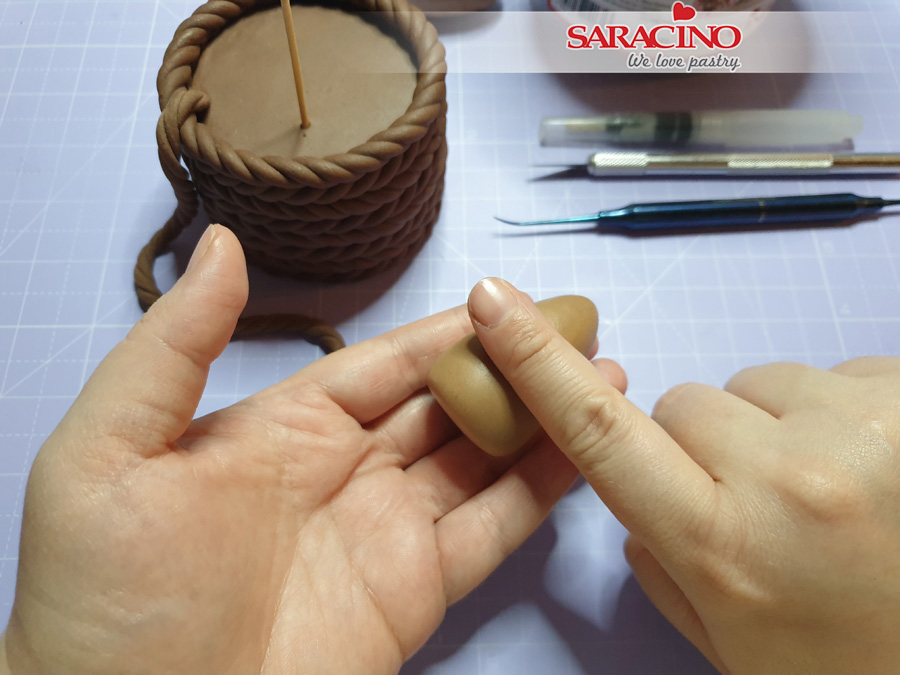
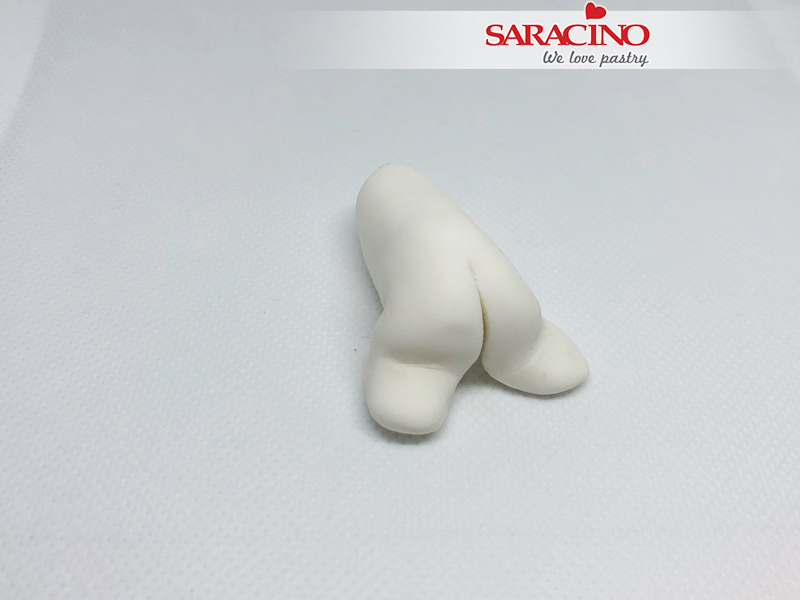
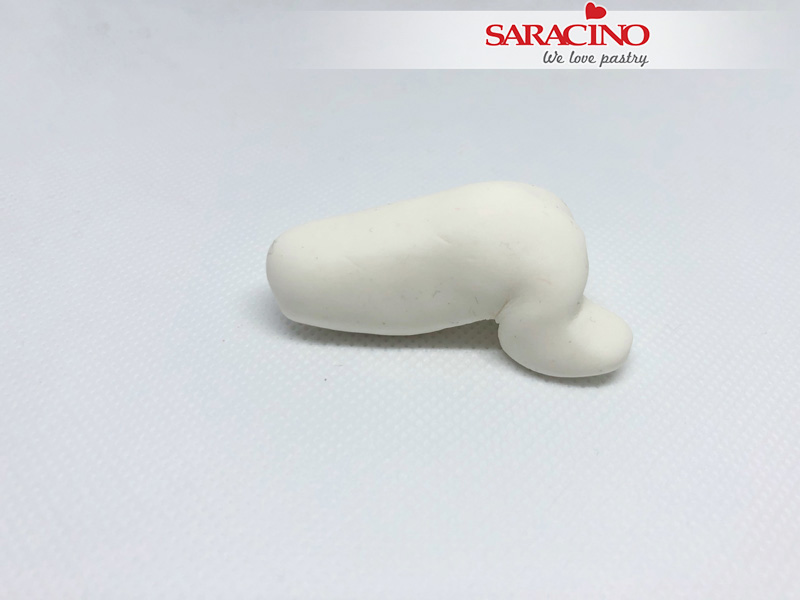
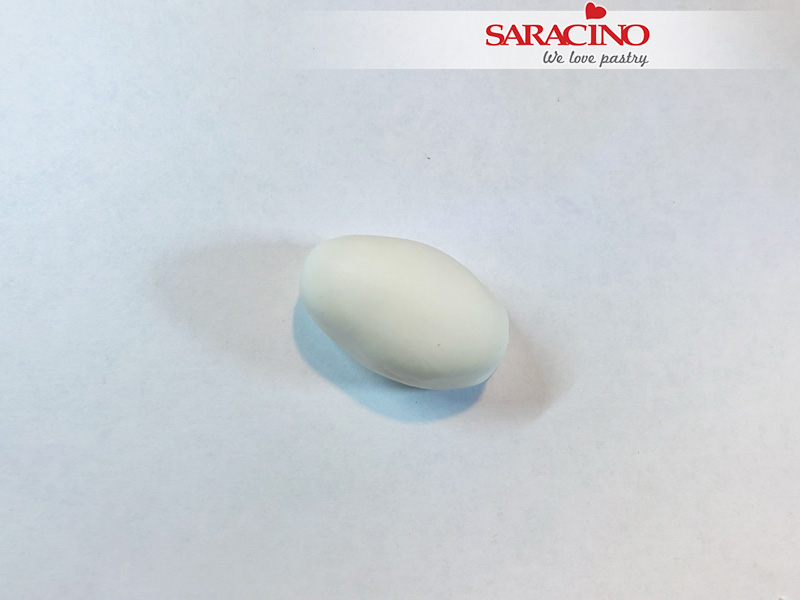
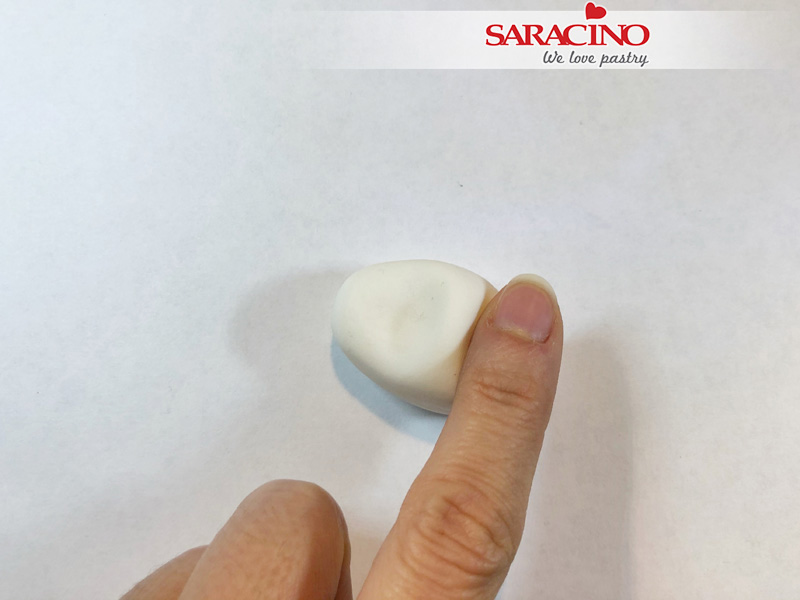
Step 17
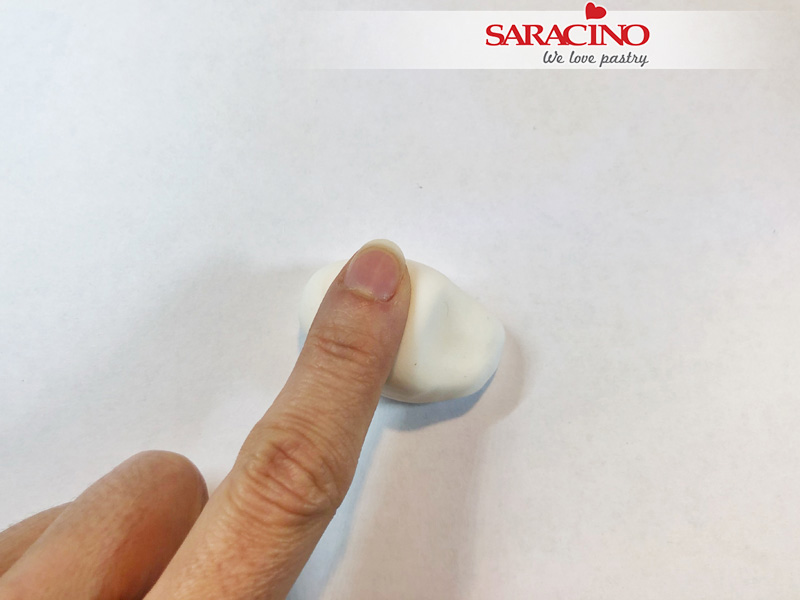
Take a piece from the darker shade and shape it to a teardrop / pear shape. With your index finger press to form the bears tummy.
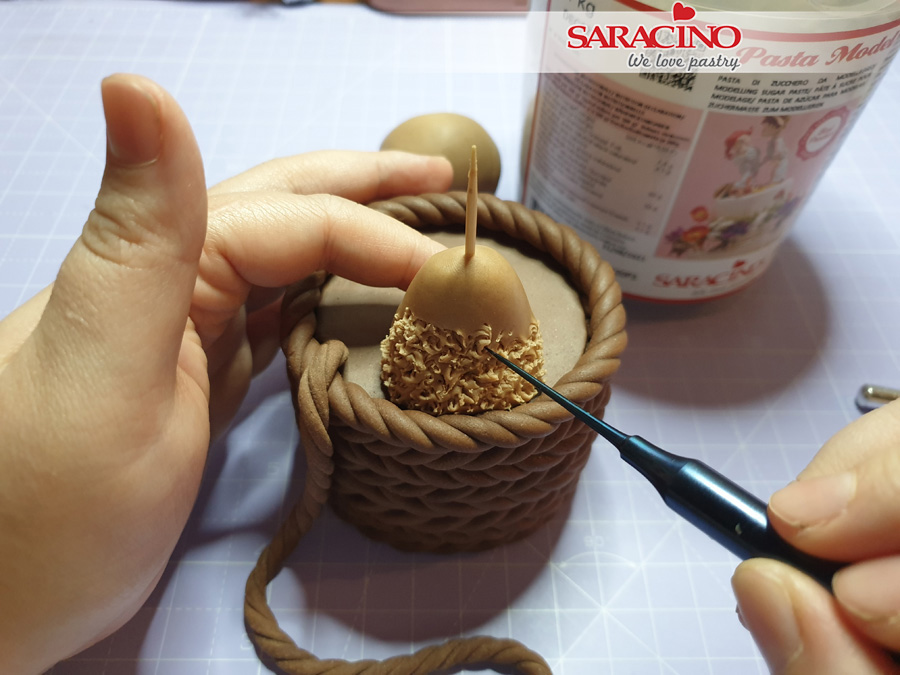
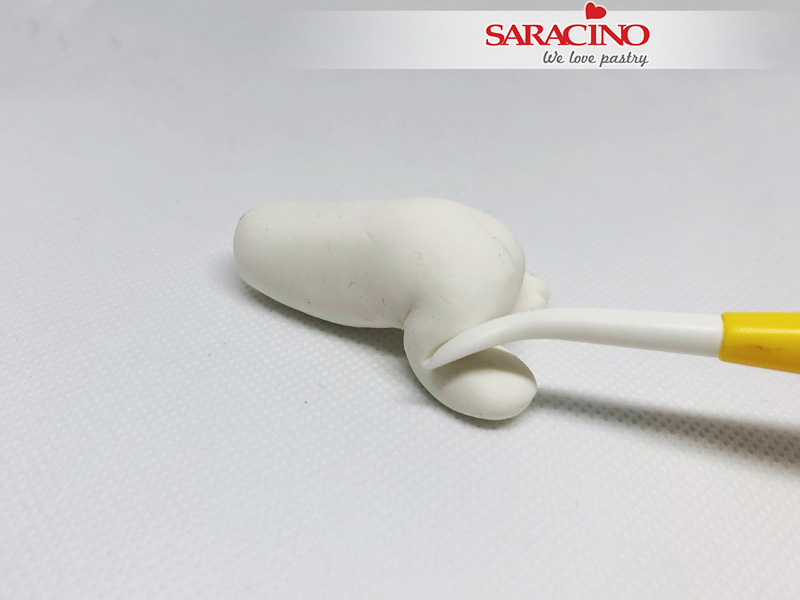
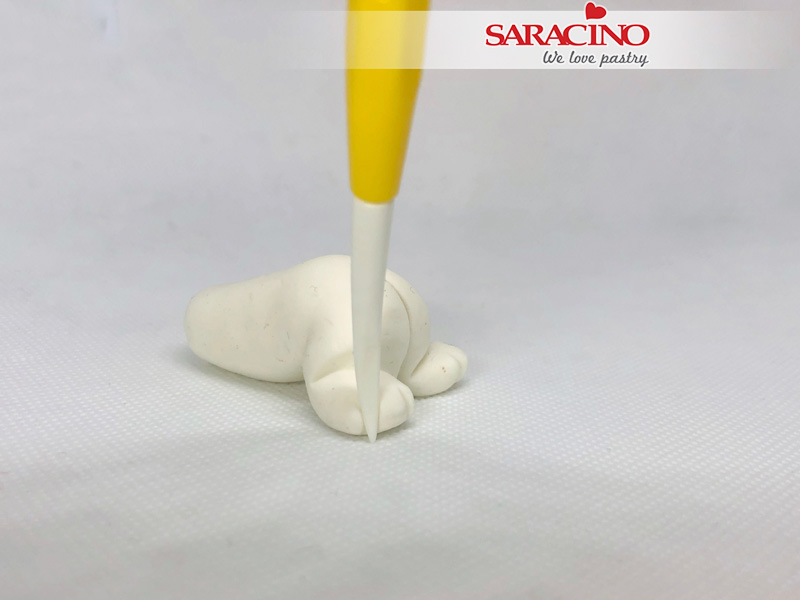
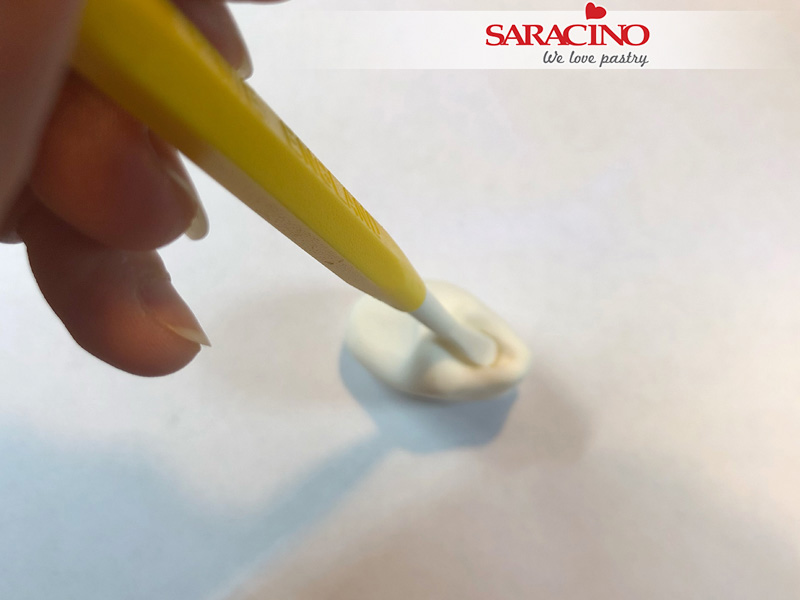
Step 18
Place the body of the bear over the toothpick. With a fine scriber needle add the texture by working and pushing in different directions.
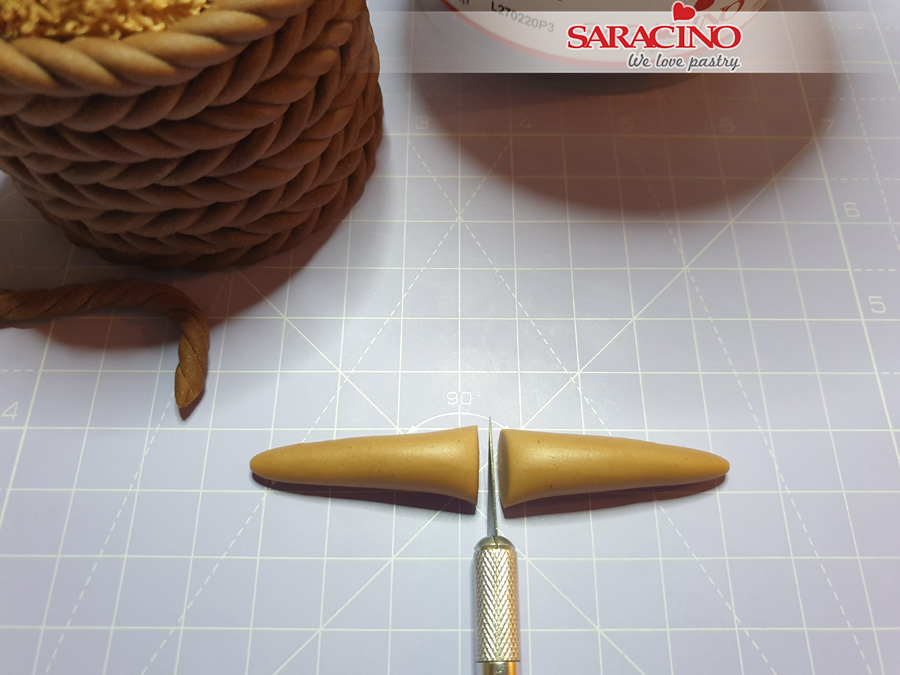
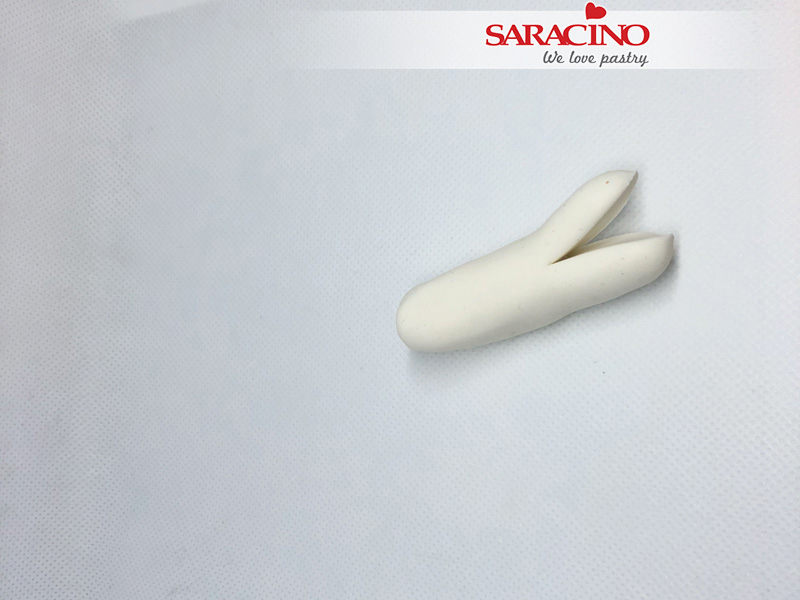
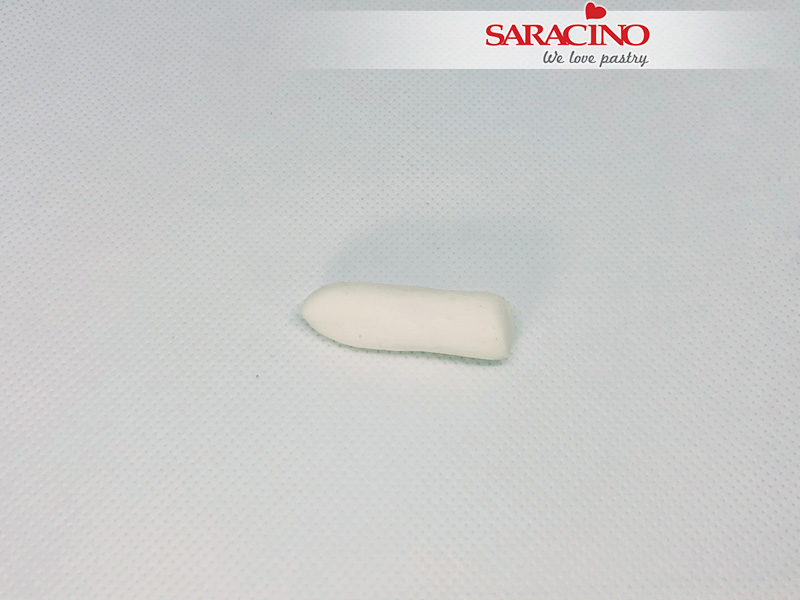
Step 19
For the arms roll a sausage shape and cut it in two equal lengths.
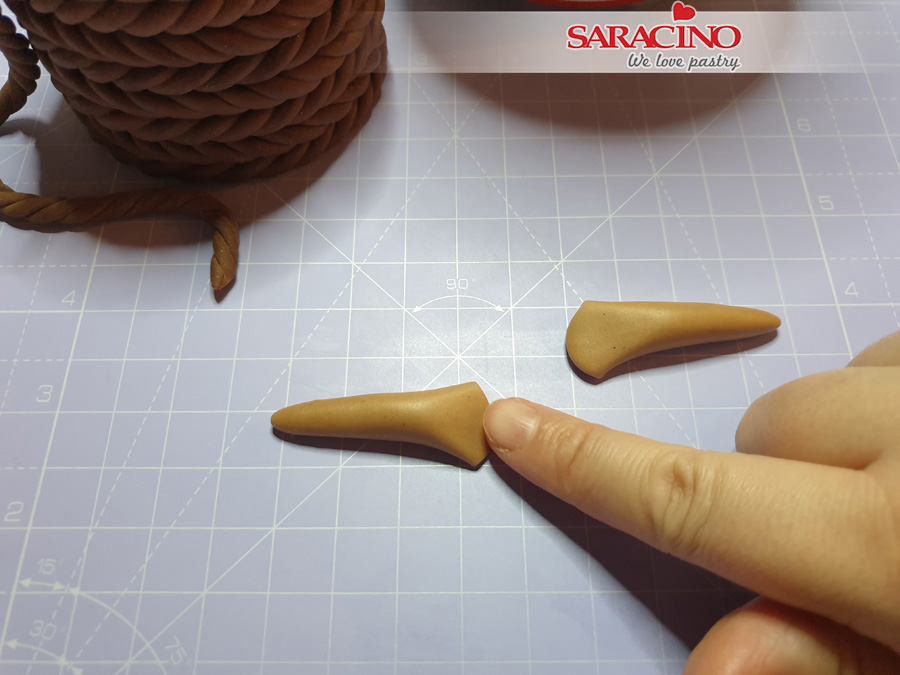
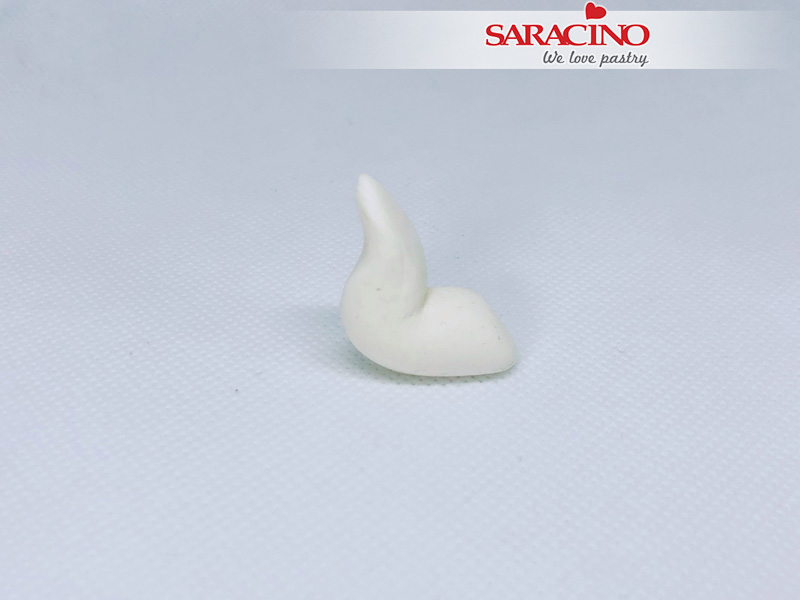
Step 20
Press it gently on the wider side.
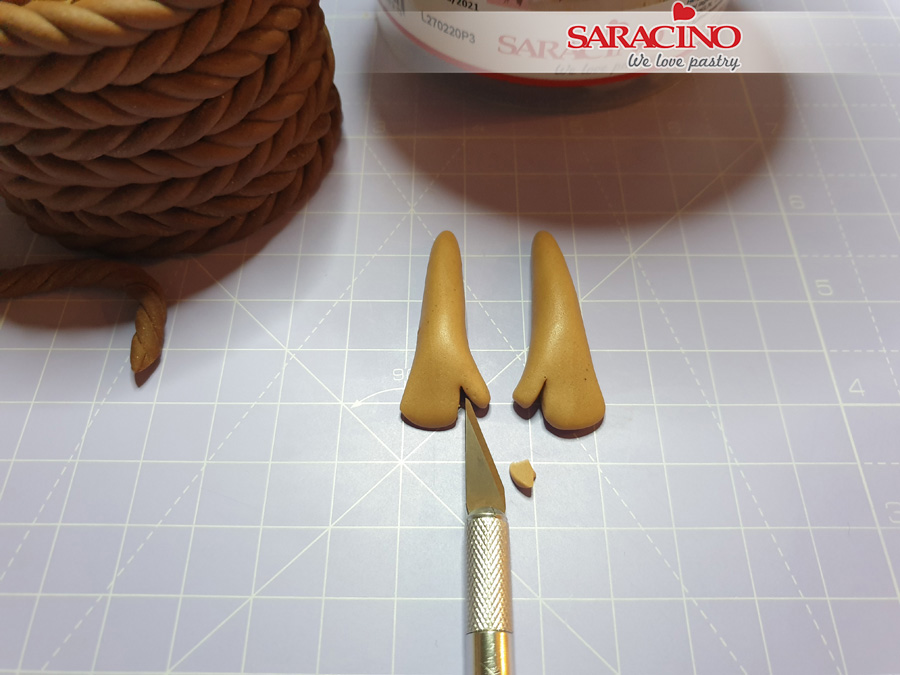
Step 21
Cut a small triangle to form the thumbs.
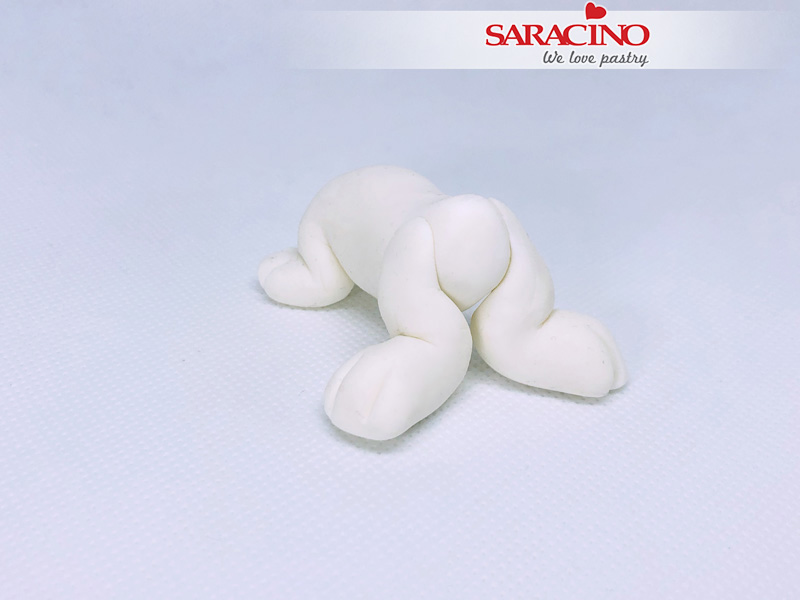
Step 22
Attach the arms to the body and texture them as the body.
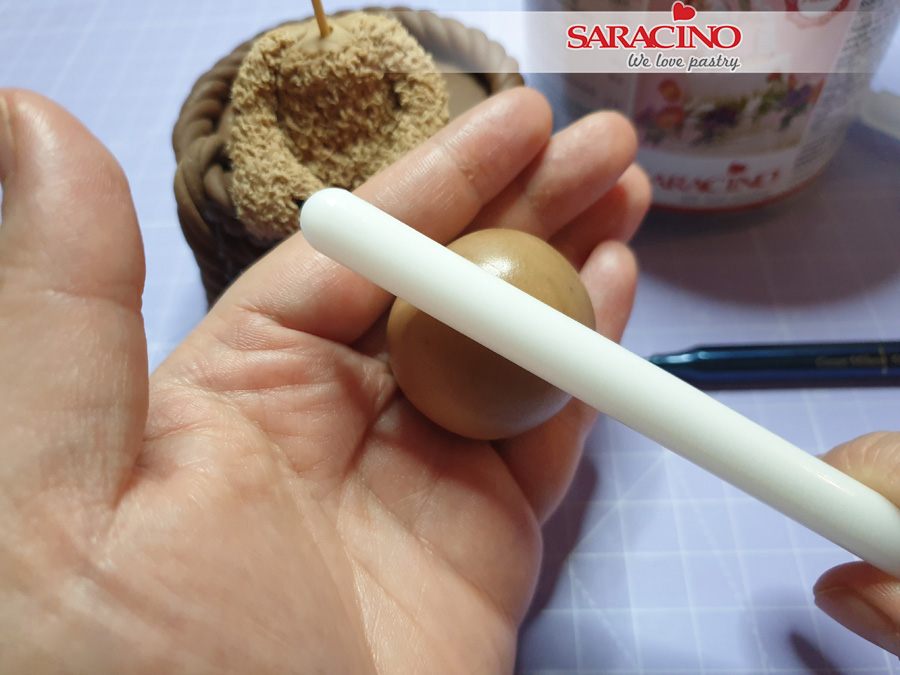
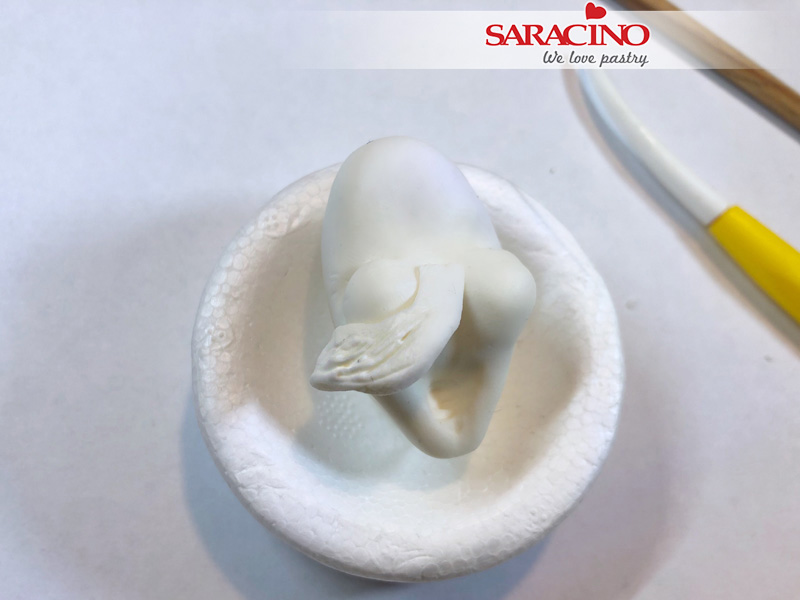
Step 23
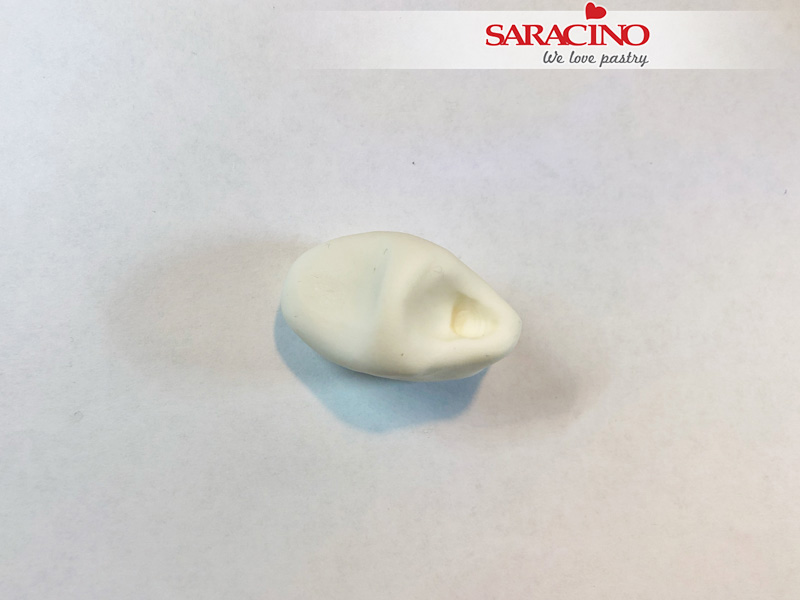
Using the lighter shade of brown roll a ball for the head and press gently in the centre with a small rolling pin.
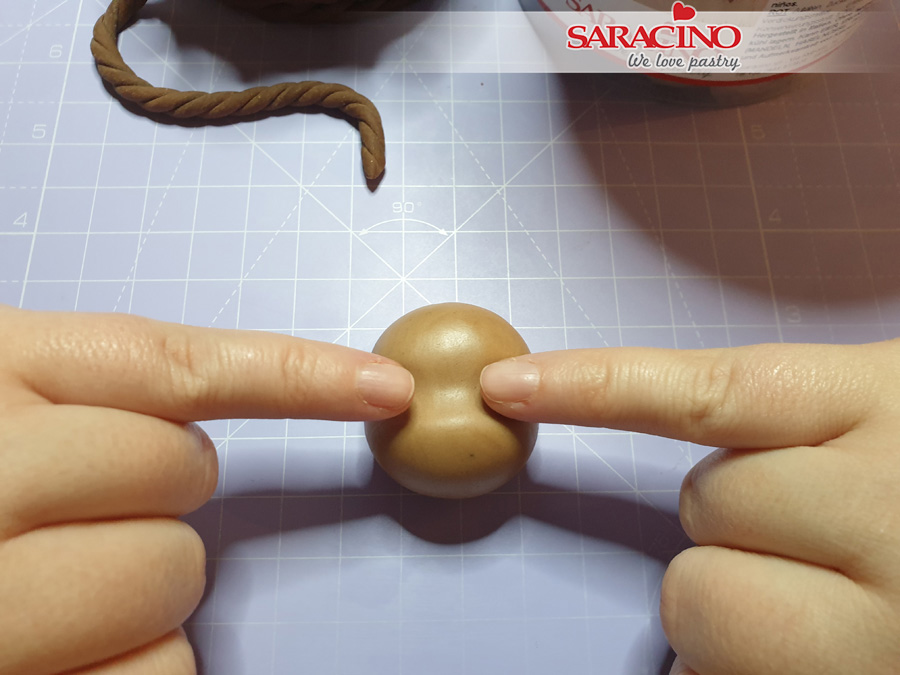
Step 24
Use your fingers to press lightly to form the eye sockets.
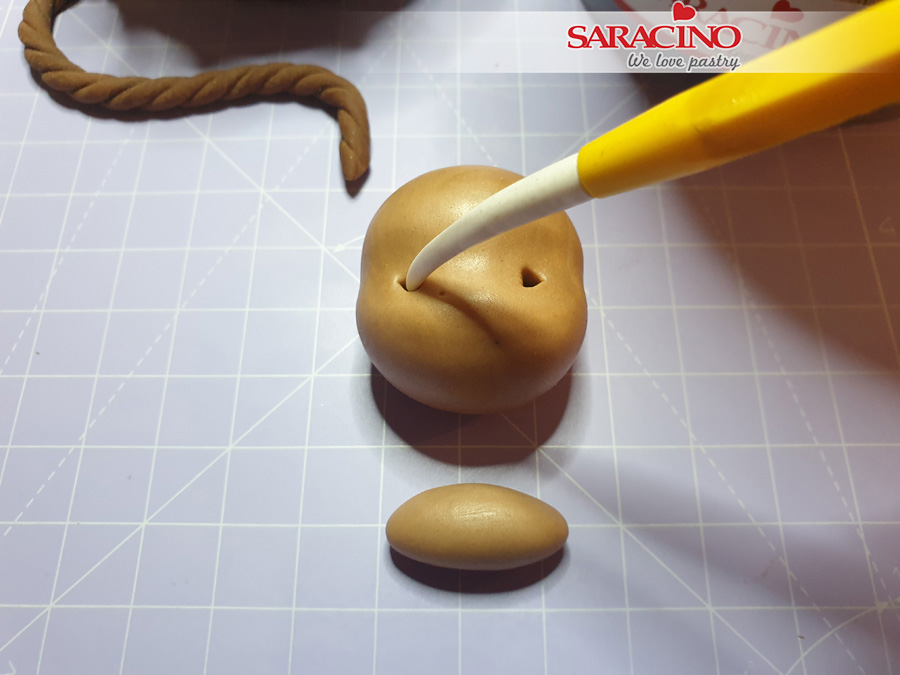
Step 25
For the eyes make small holes with the Dresden tool.
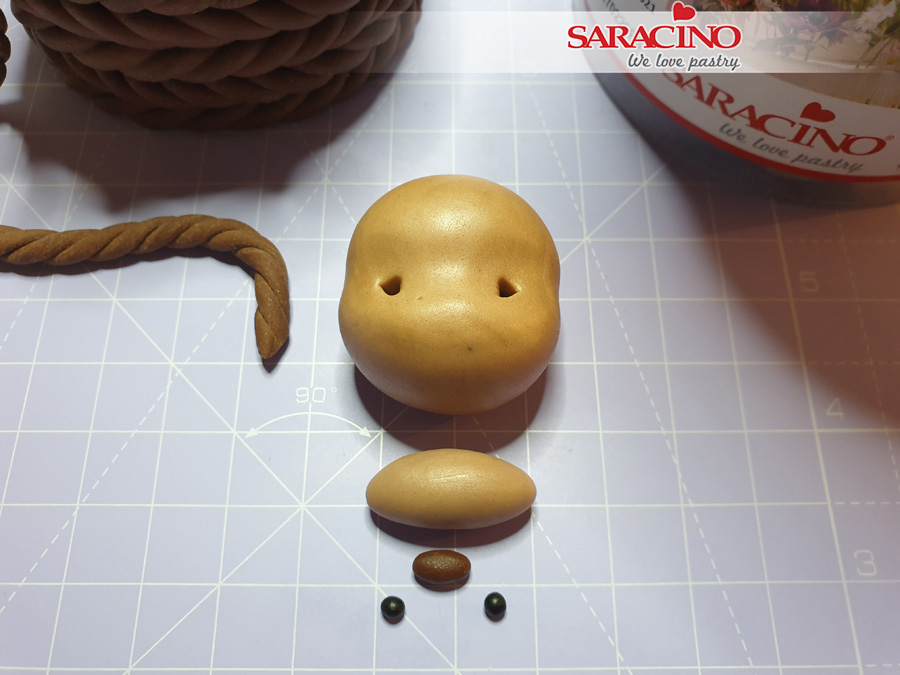
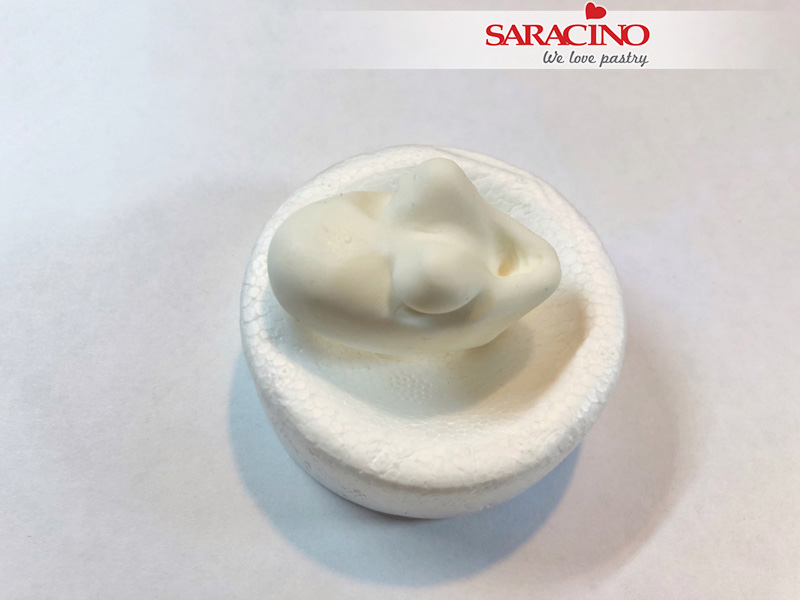
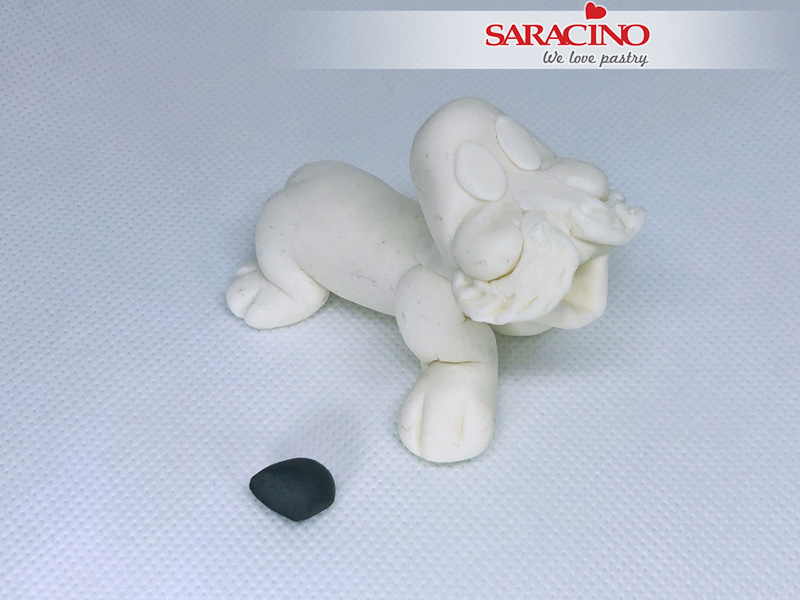
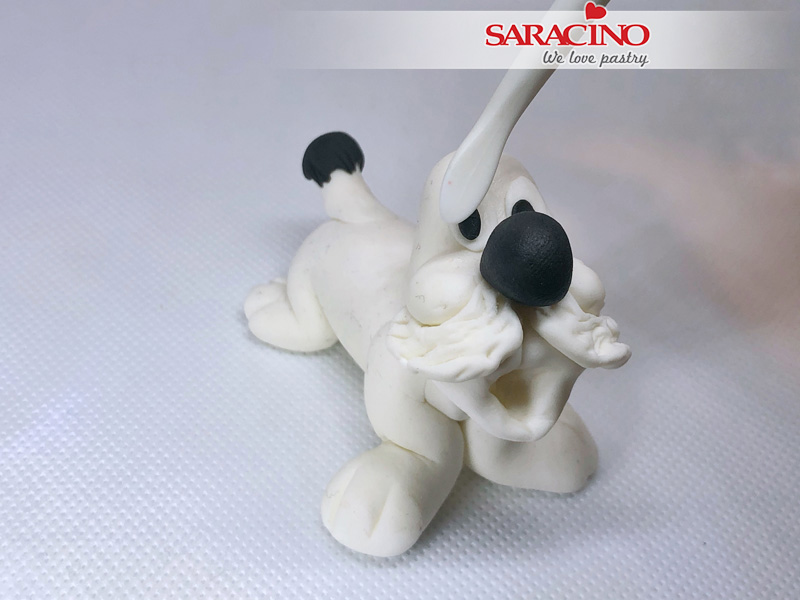
Step 26
Using a small piece of the lighter brown roll for the snout shape, roll another smaller piece for the nose and two small balls of black for the eyes.

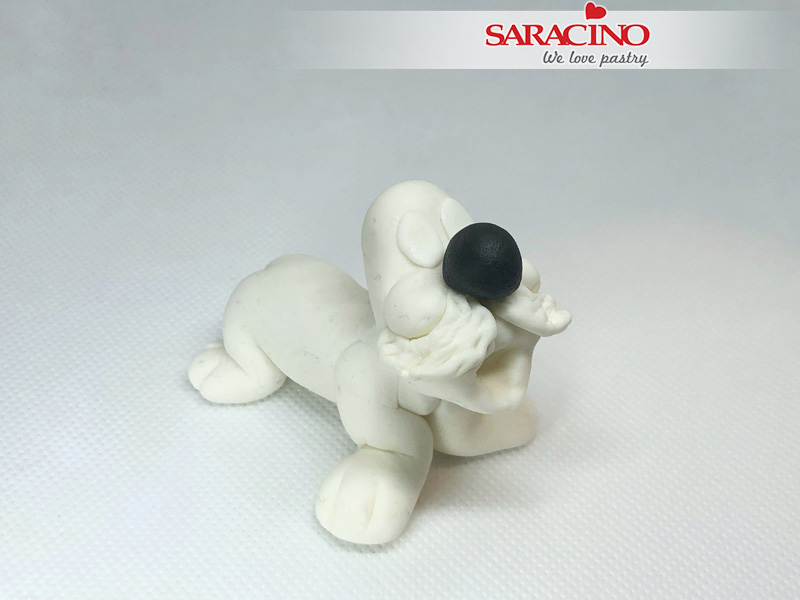
Step 27
Fix the snout, nose and eyes as shown. With the Dresden tool form the mouth.
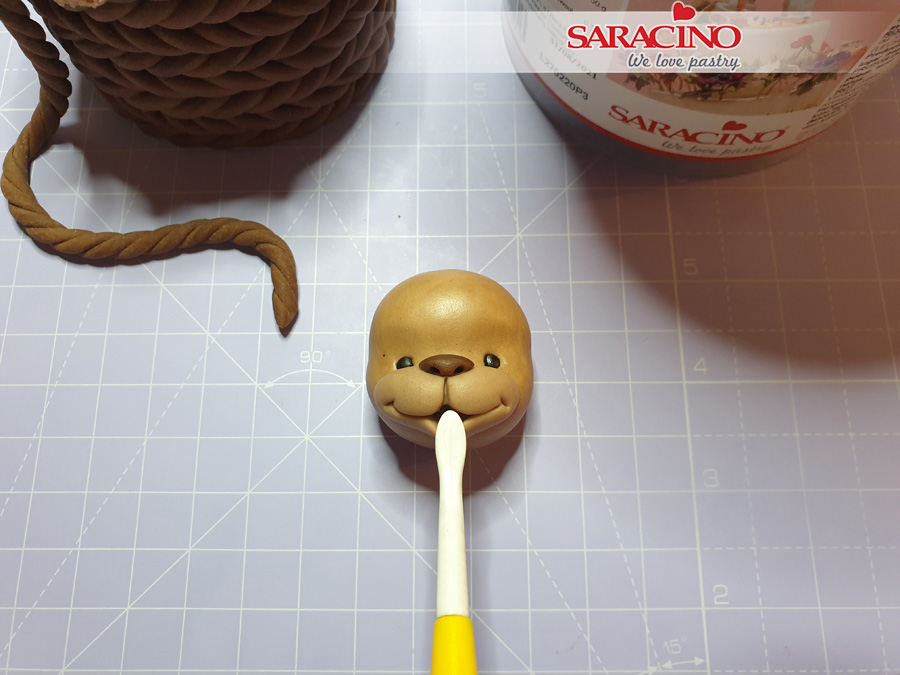
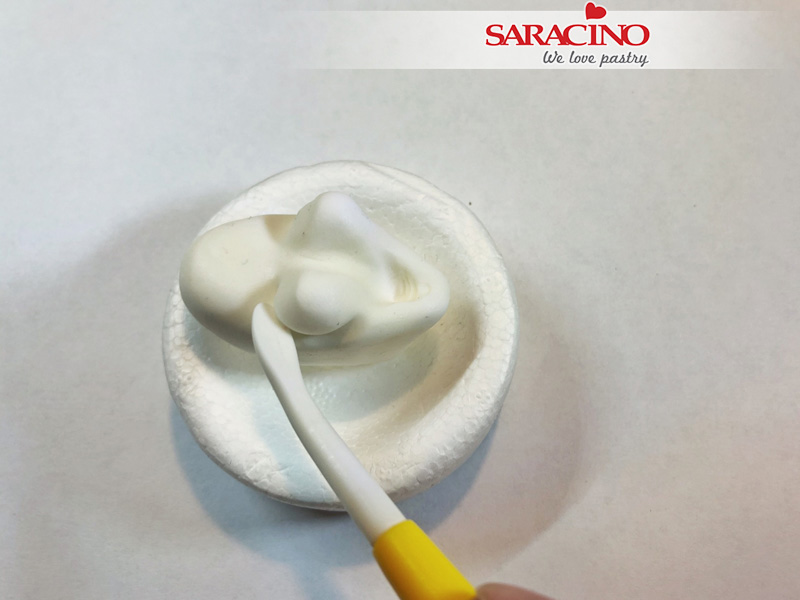
Step 28
Using the Dresden tool open the bear’s mouth.
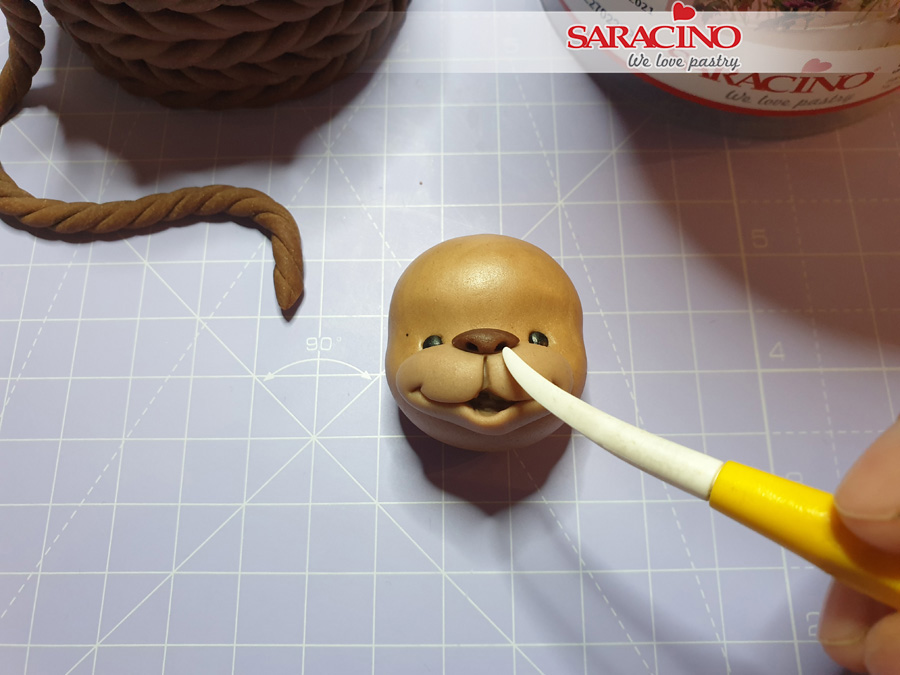
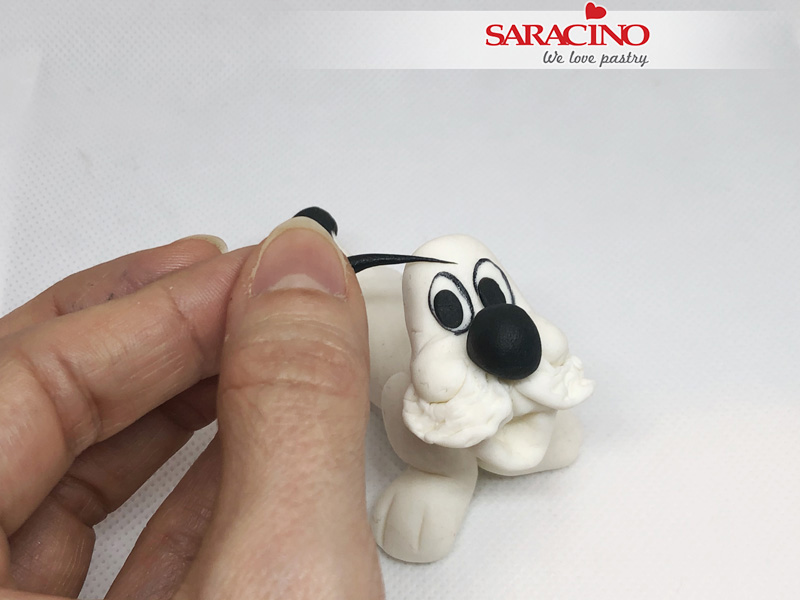
Step 29
Use the Dresden tool to form the nostrils.
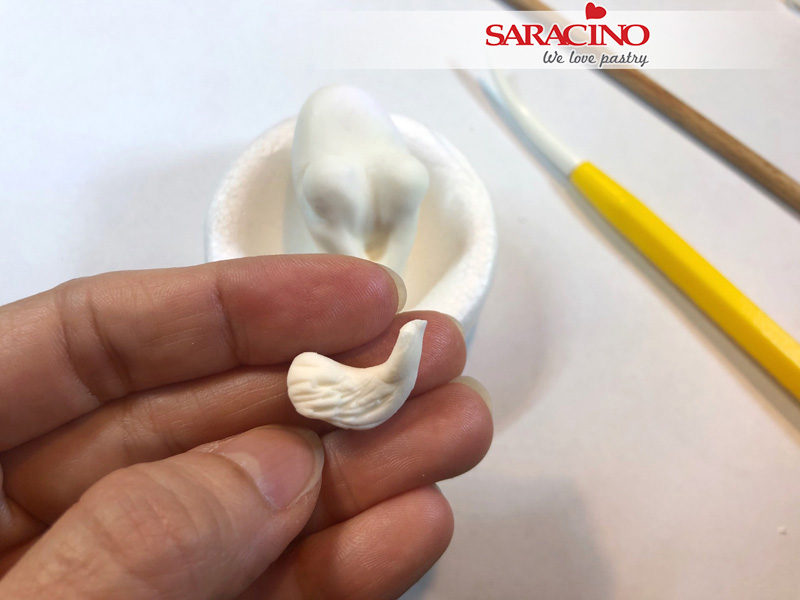
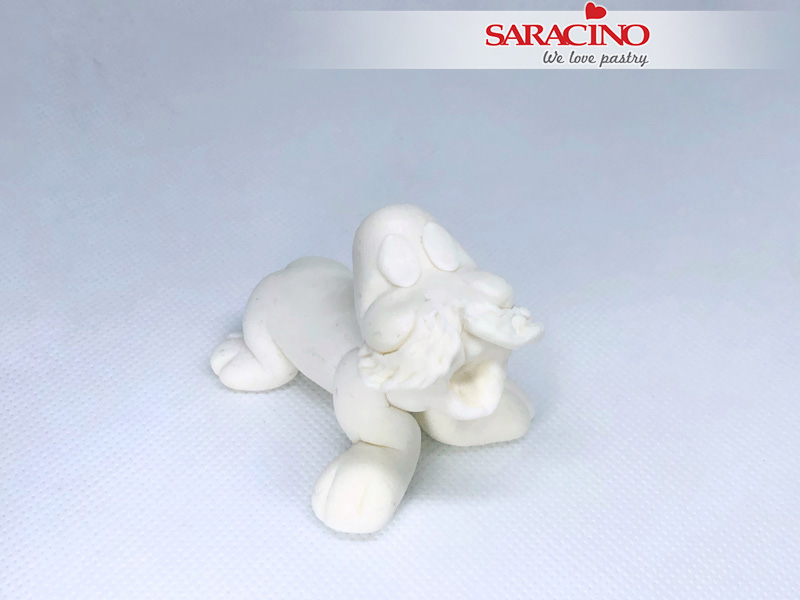
Step 30
Attach the head to the body and texturise as with the body and arms.
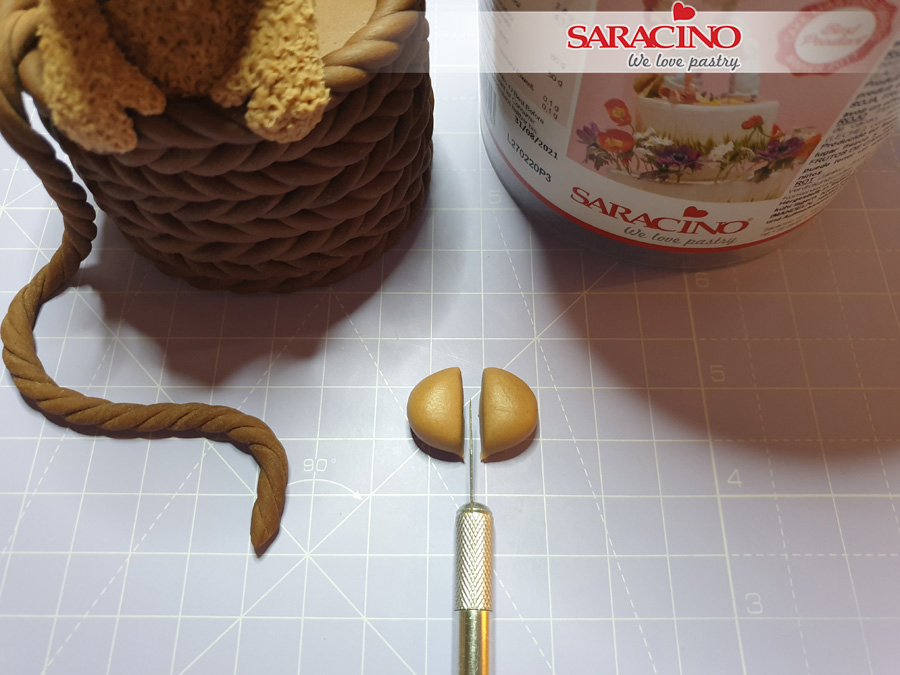
Step 31
Take a small piece of brown paste and roll a ball, cut in half.
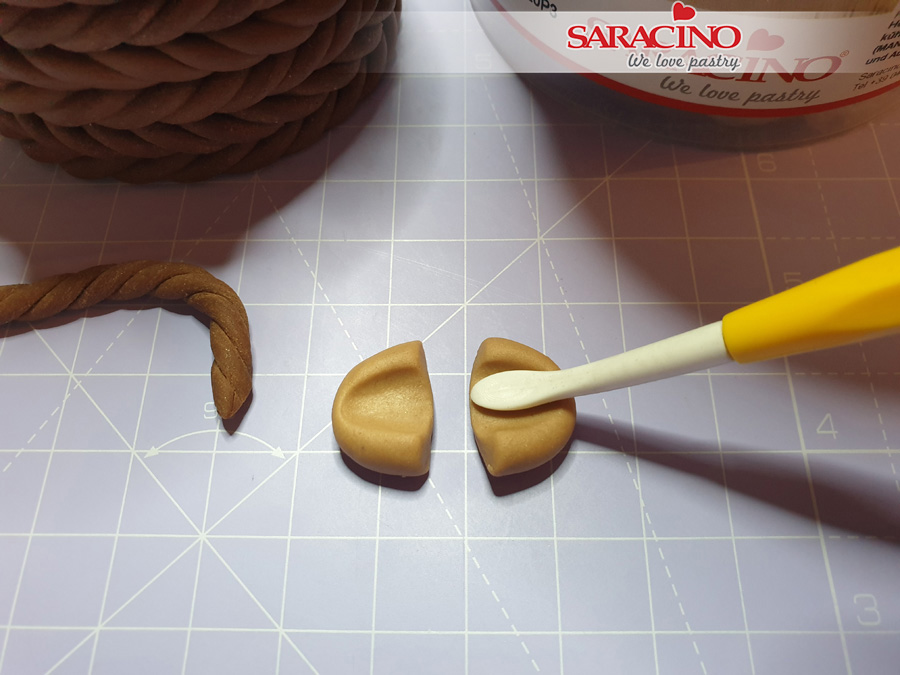
Step 32
Form the ears with the Dresden tool and attach them to the head.
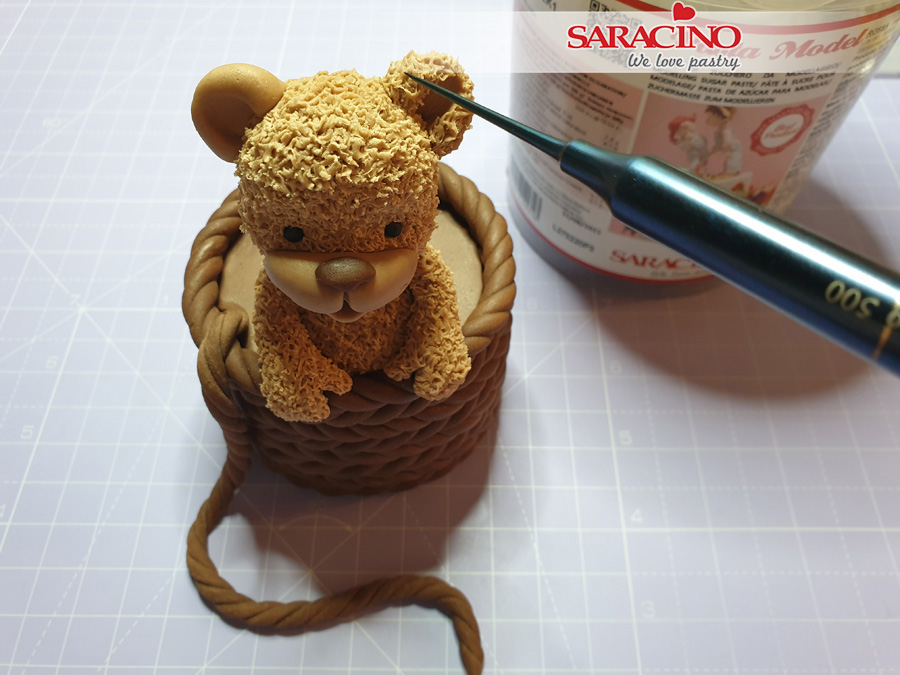
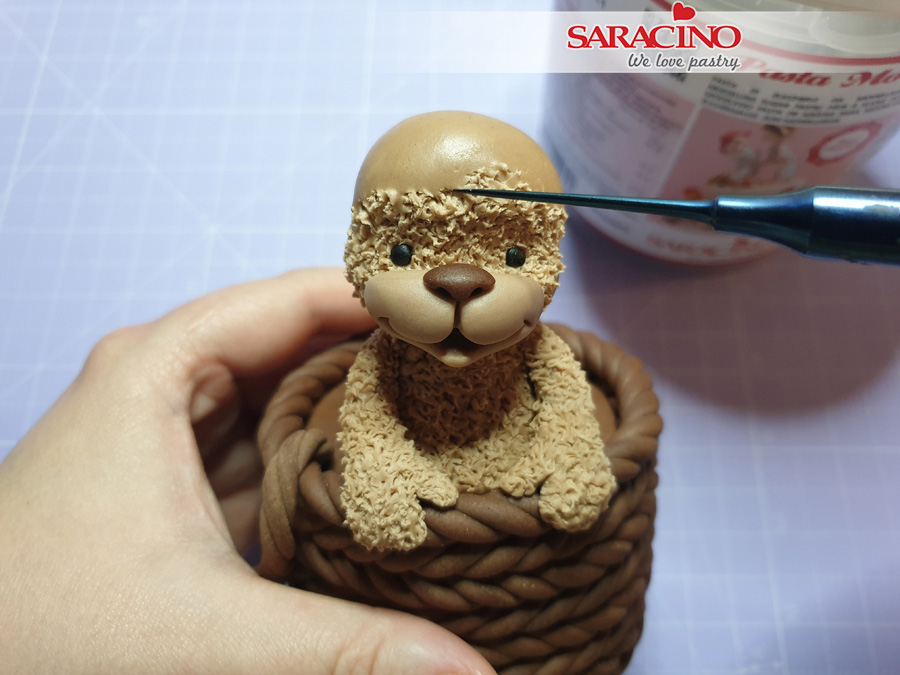
Step 33
Texture them like the rest of the bear.
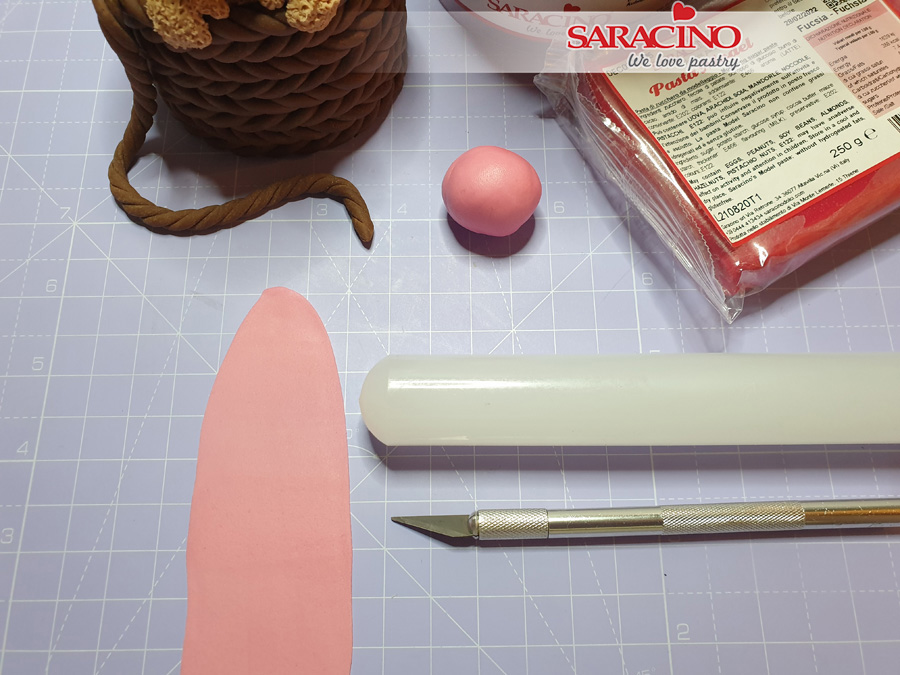
Step 34
For the bow and flags combine pink and fuchsia modelling paste. Roll some of it thinly.
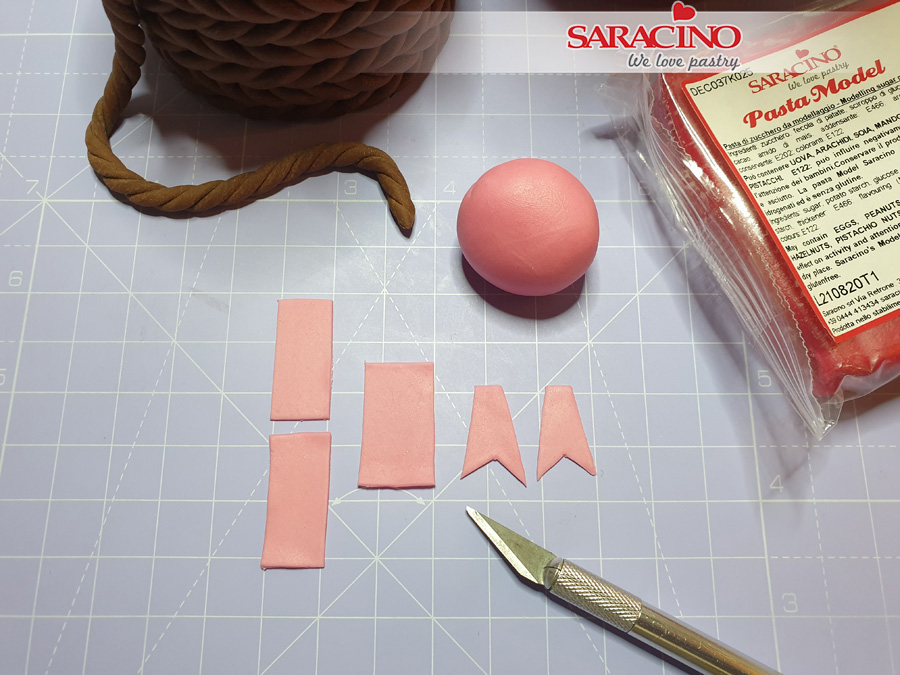
Step 35
For the bow cut the pieces with a scalpel.
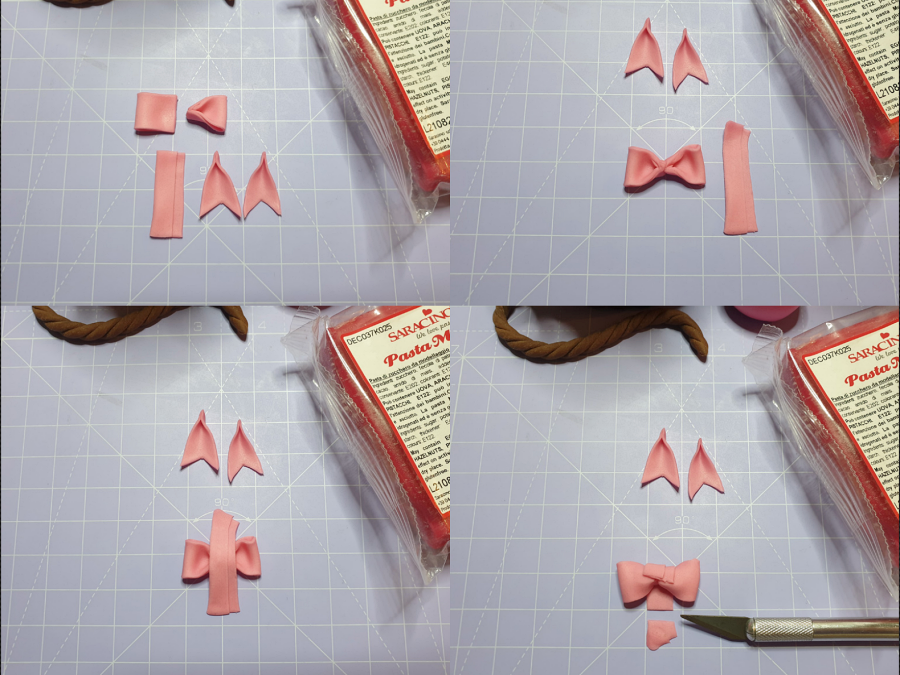
Step 36
Fold the parts of the bow as shown.
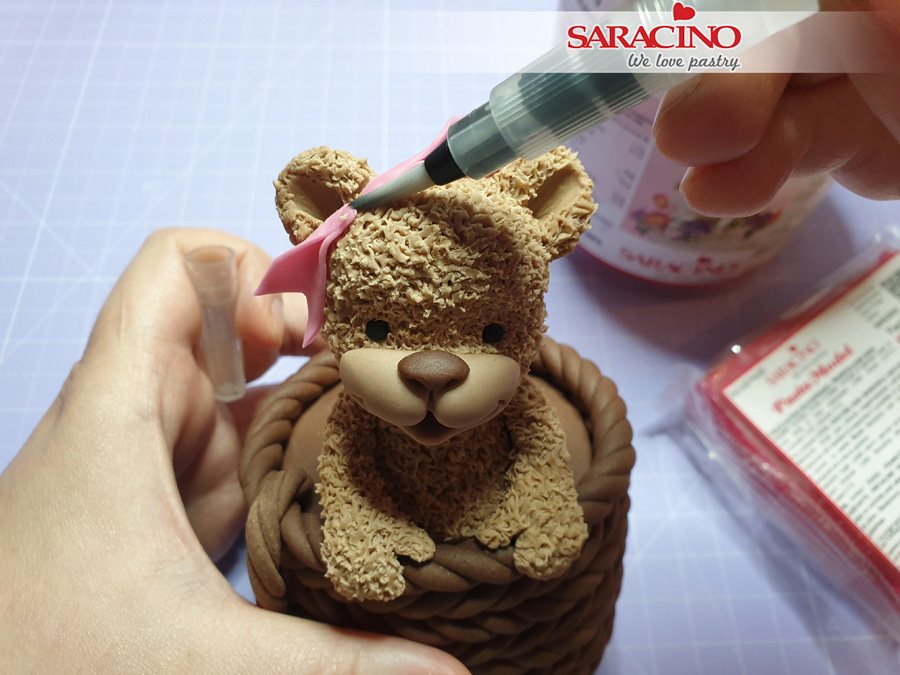
Step 37
Attach the bow to the bears head using a water pen if required.
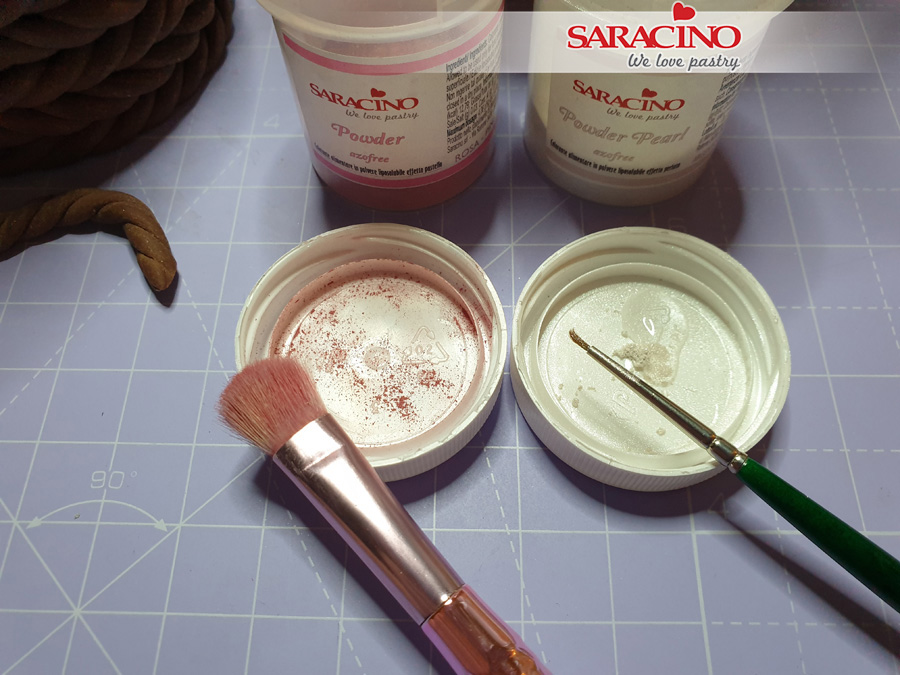
Step 38
Now prepare white paint by mixing the white powder with clear alcohol. Also prepare pink powder dust and a soft brush.
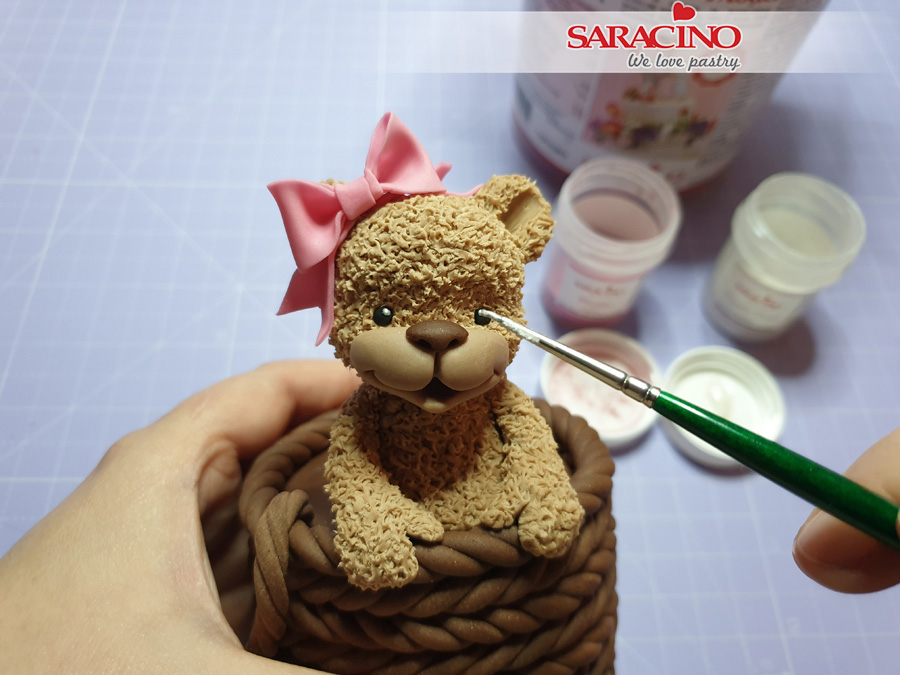
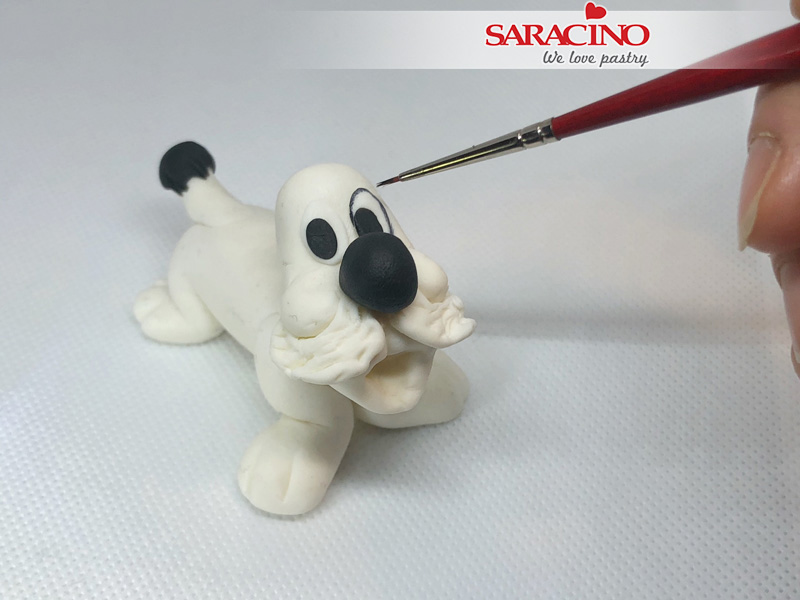
Step 39
Using your fine artists brush use the white paint to apply a tiny dot into each eye.
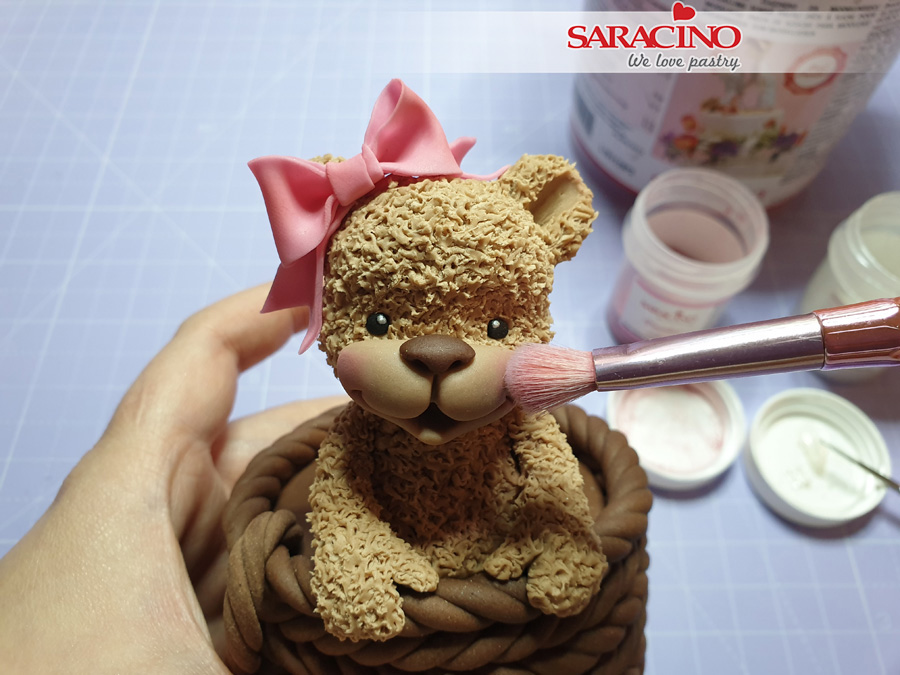
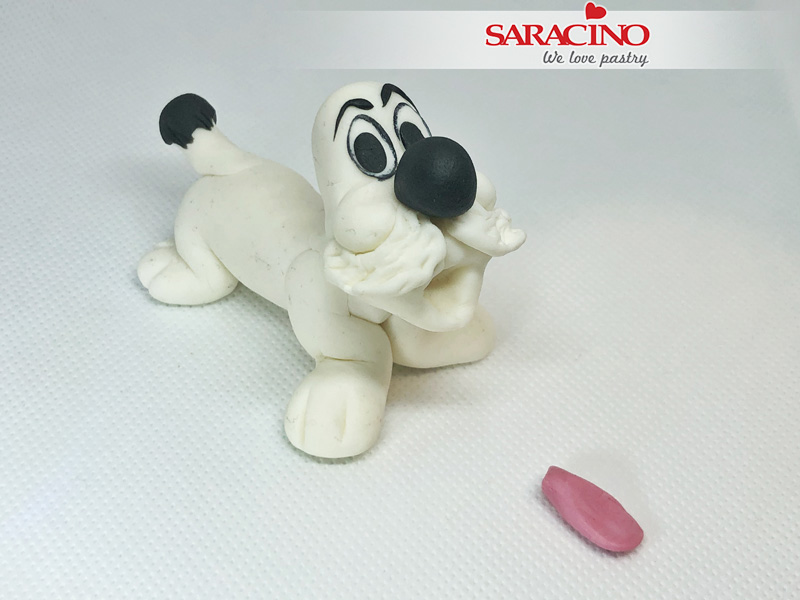
Step 40
Use a soft brush and the pink powder to lightly dust the cheeks.
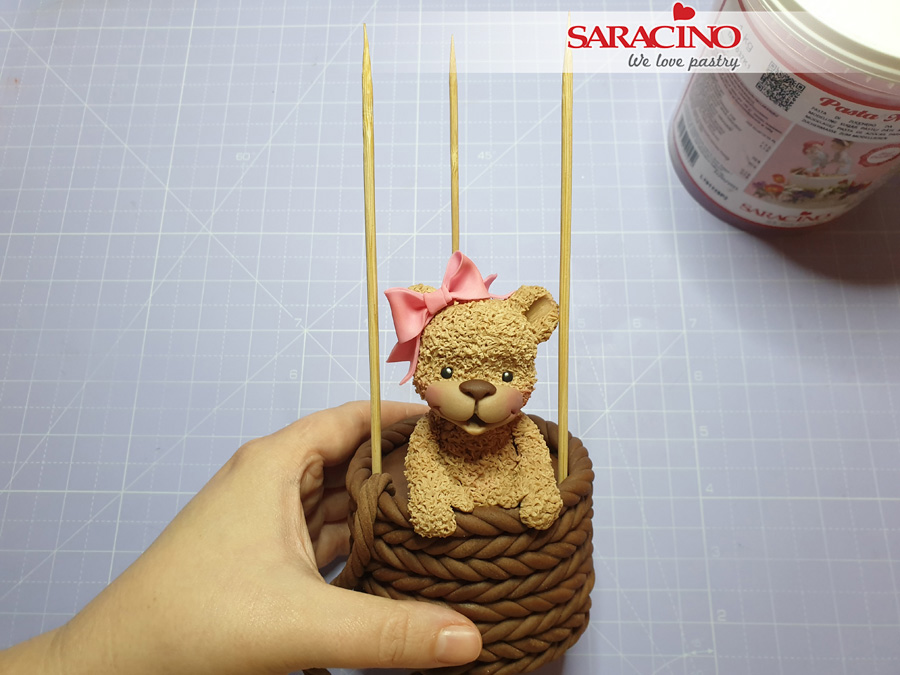
Step 41
Cut 3 equal lengths of wooden skewer. Insert the skewers into the top of the basket with the sharp edge pointing upwards.
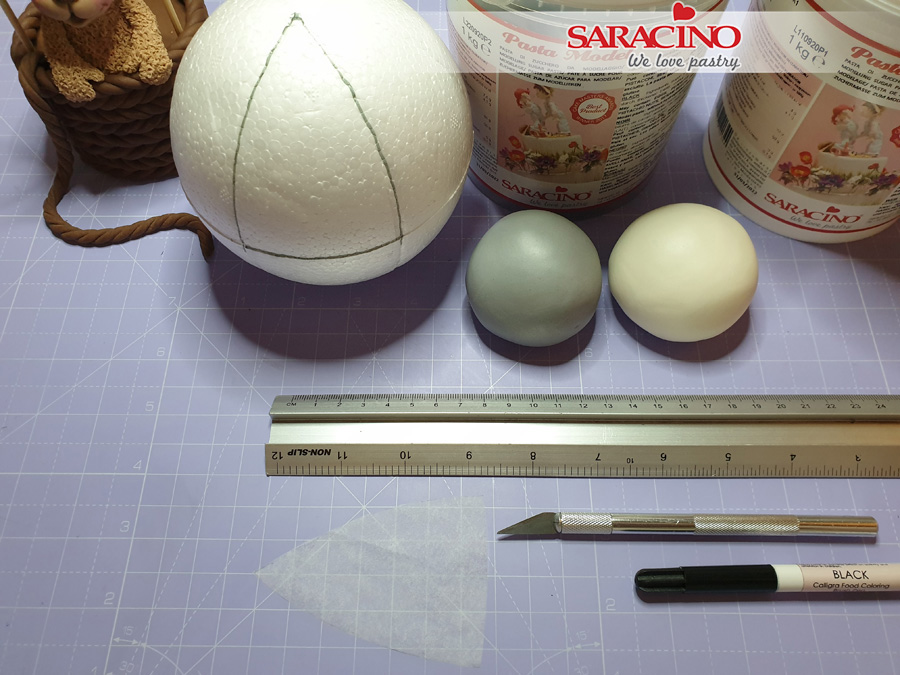
Step 42
Measure the circumference of the polysterene ball and divide by 6. Take the measurement from the widest part of the ball to the top. Make a template to the shape shown. Mix a grey modelling paste by combining white and black paste.
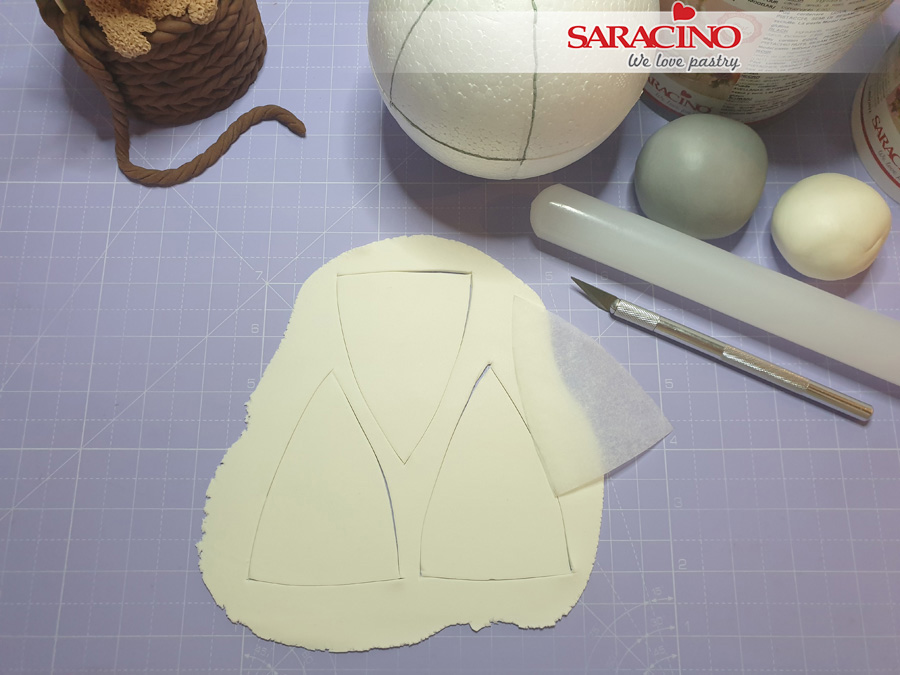
Step 43
Roll out white modelling paste and cut 6 pieces using the template (three for the top and three for the bottom). Repeat with the grey paste.
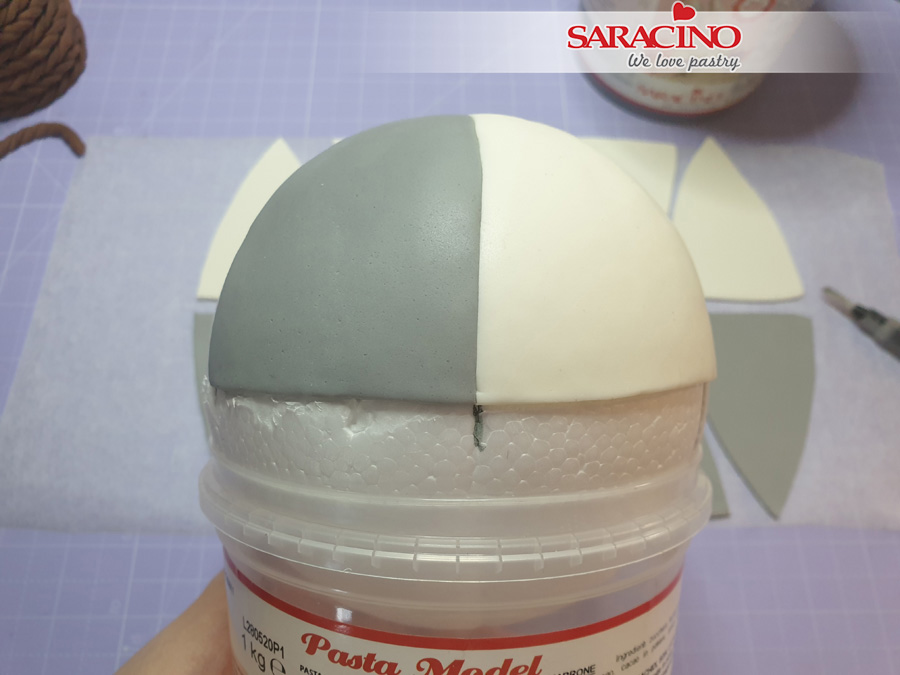
Step 44
Fix the cut out pieces of paste to the ball. You may need a little water or edible glue.
TIP – You may find it easier to rest your ball dummy in the top of tub like I have.
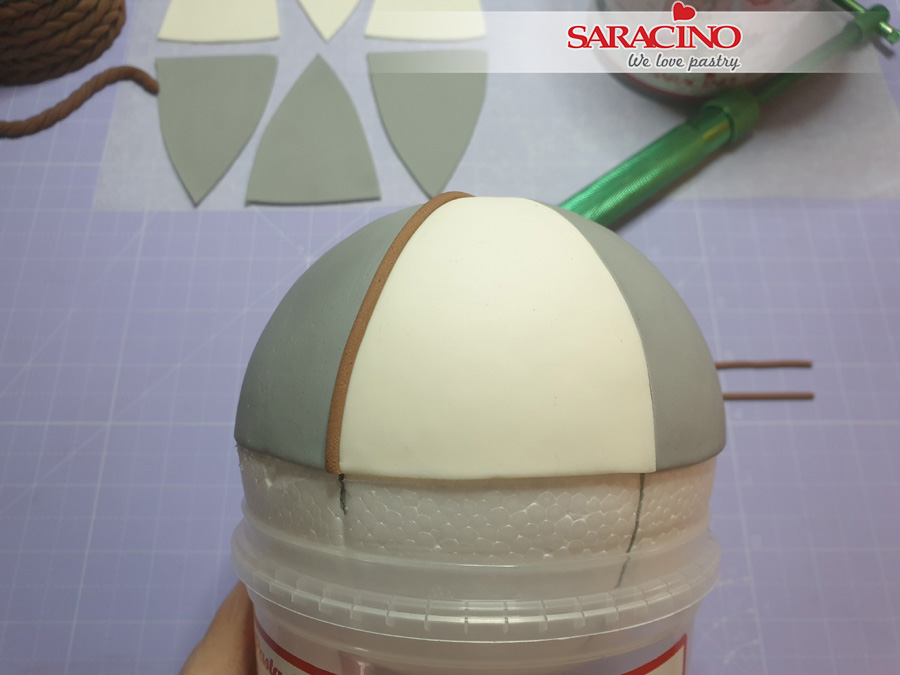
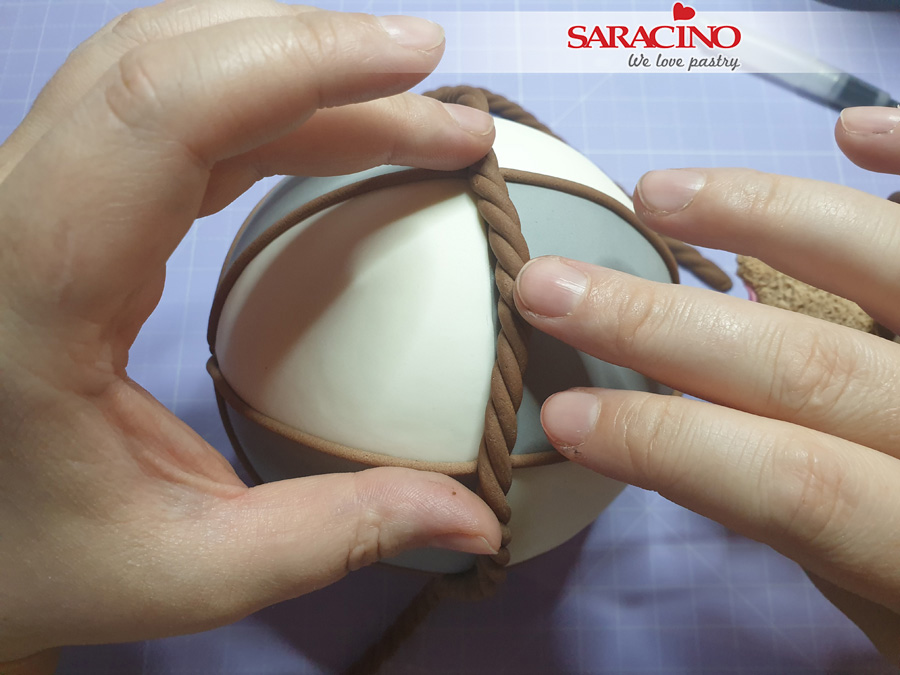
Step 45
Measure the half circumference of the ball. With the small circle tip of the extruder make 6 laces of that length. You will need 3 lengths for the top half and three for the bottom. Attach them with water over the joints between the grey and white panels.
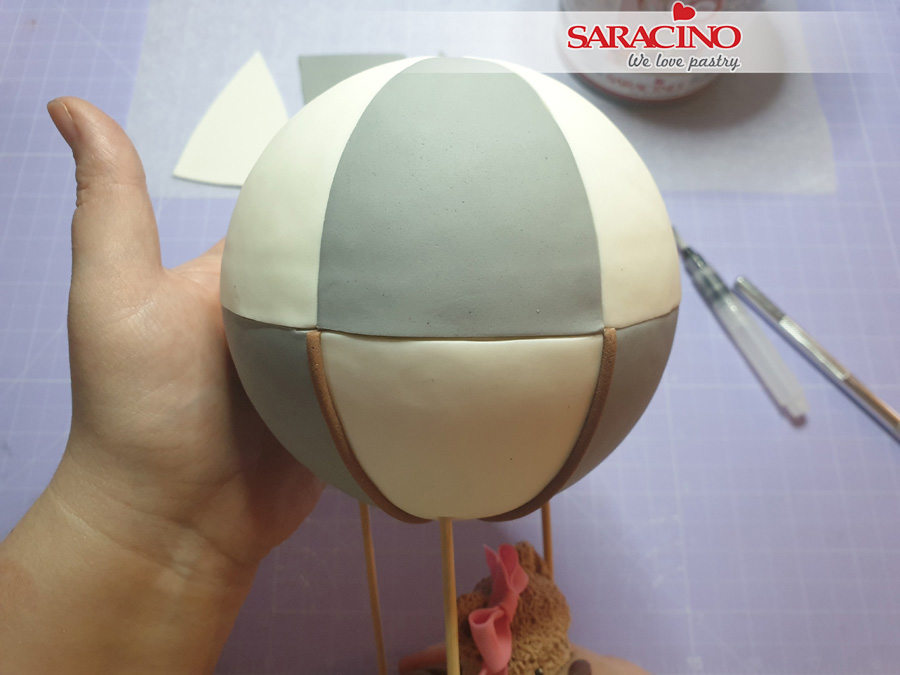
Step 46
Turn the ball over and fix it on the sharp end of the skewers. Fix the remaining panels onto the balloon using an alternating pattern.

Step 47
Attach the remaining laces the same way.
Step 48
Make a brown rope with the extruder.
Step 49
Fix the rope around the centre of the balloon over the joint. Use a little water if required. Pull the rope down slightly at the centre of each panel so it looks like it is hanging naturally.
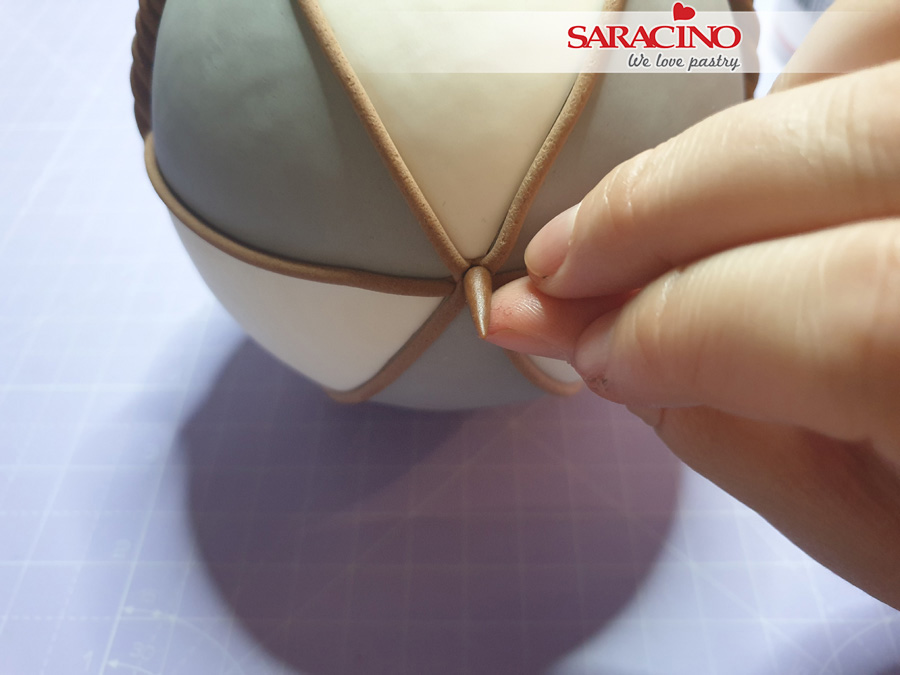
Step 50
Roll a small spike, and fix it on the top of the balloon.
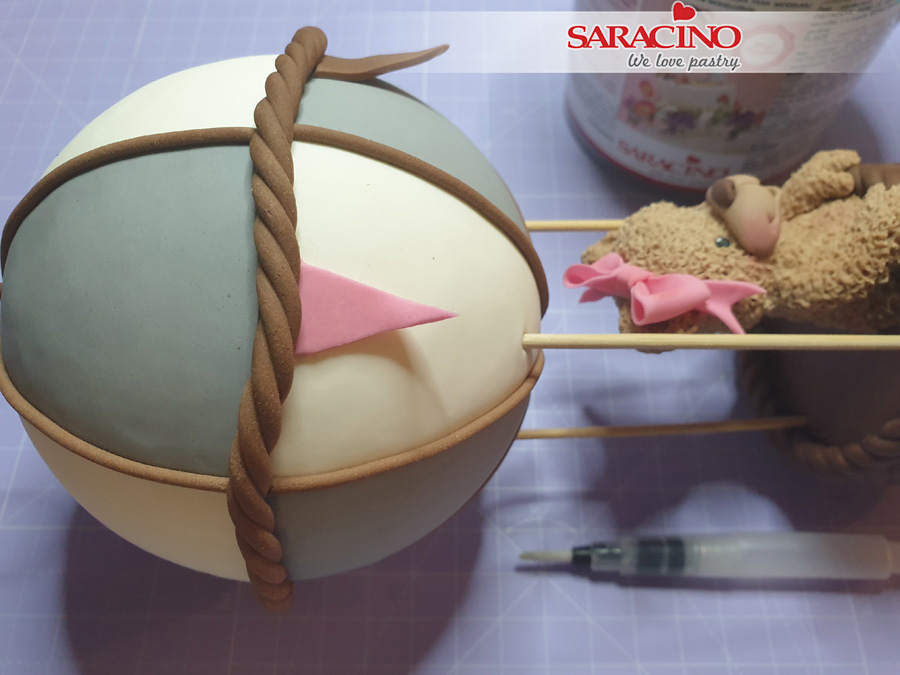
Step 51
Roll out a small amount of brown and pink modelling paste, cut out triangles for the flags. Fix them under the rope in the centre of each panel.
Step 52
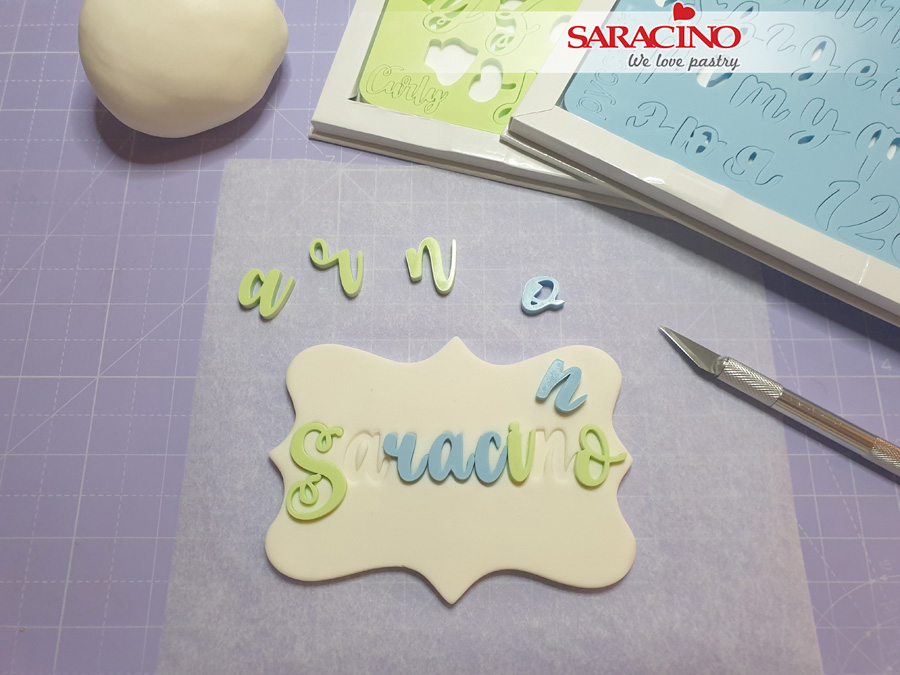
Roll out white modelling paste and cut the plaque for the inscription using your cutter. Using the embosser stamps press the message you would like on your cake.
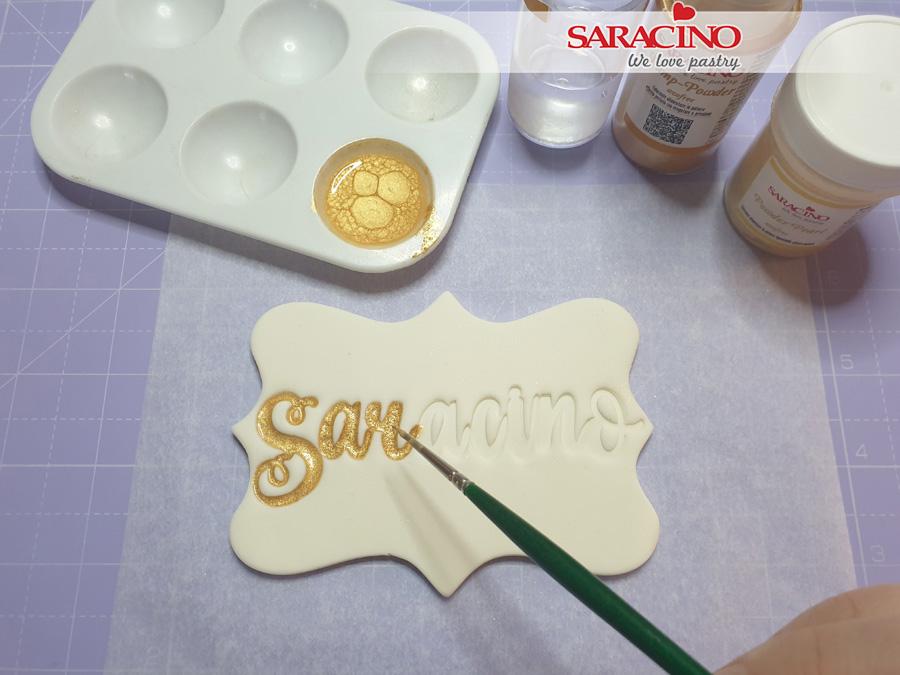
Step 53
Mix together the pump powder gold and light gold powder with clear alcohol. Paint the inscription with a fine brush as shown.
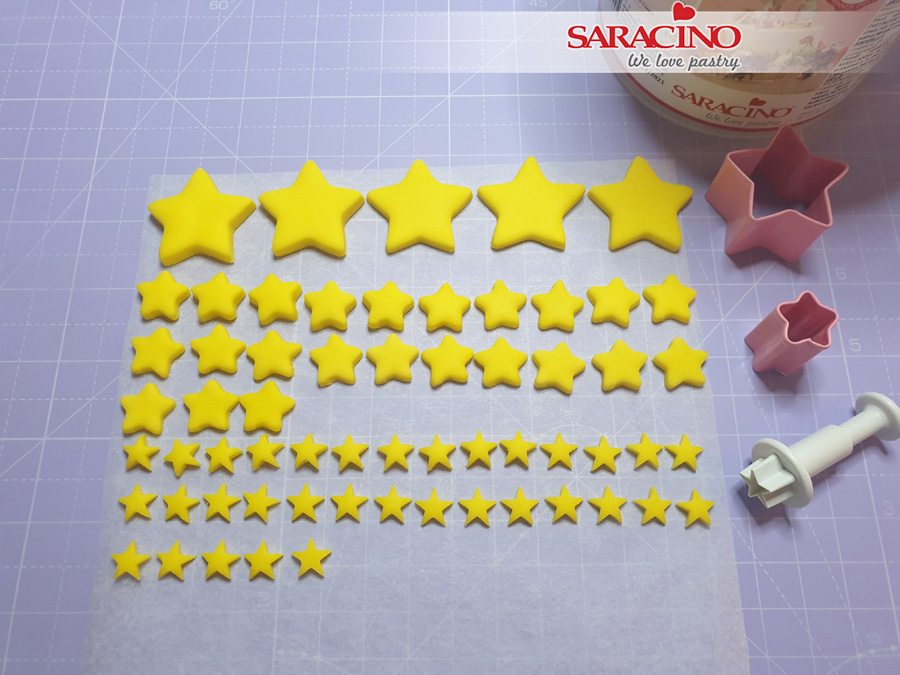
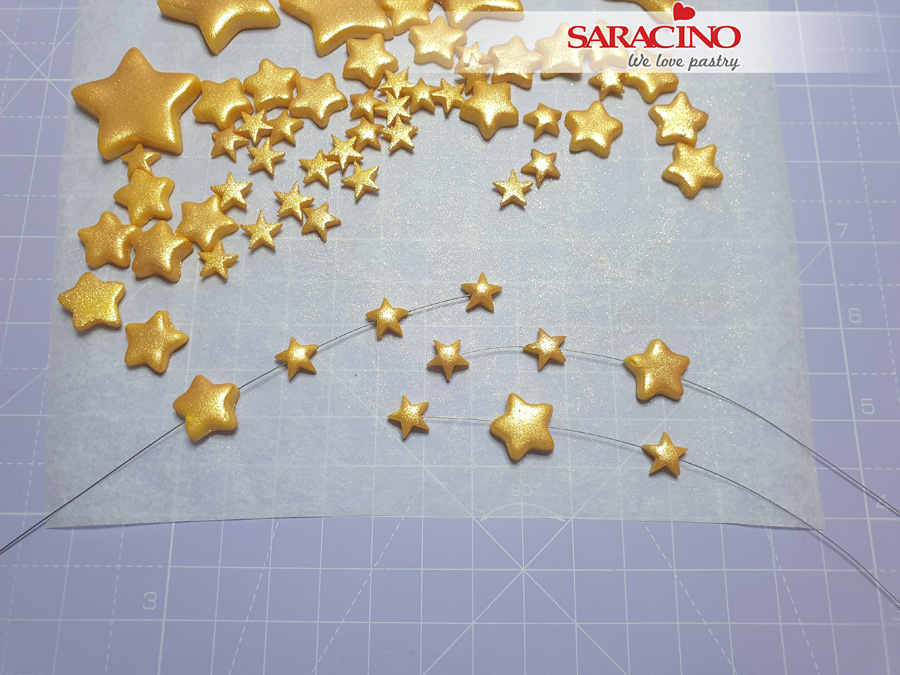
Step 54
Roll out yellow modelling paste and cut out three different sizes of stars.
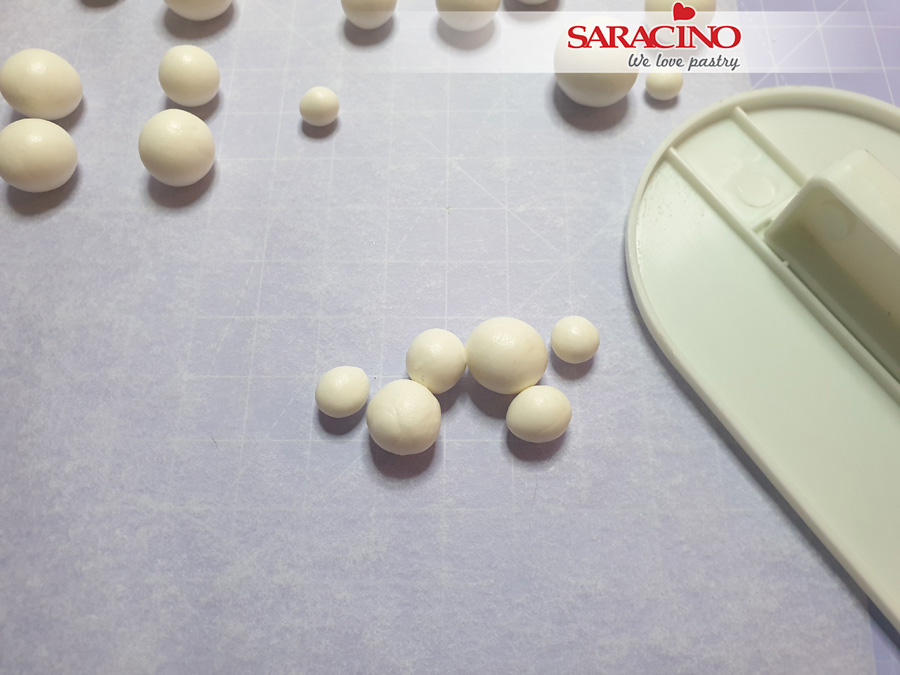
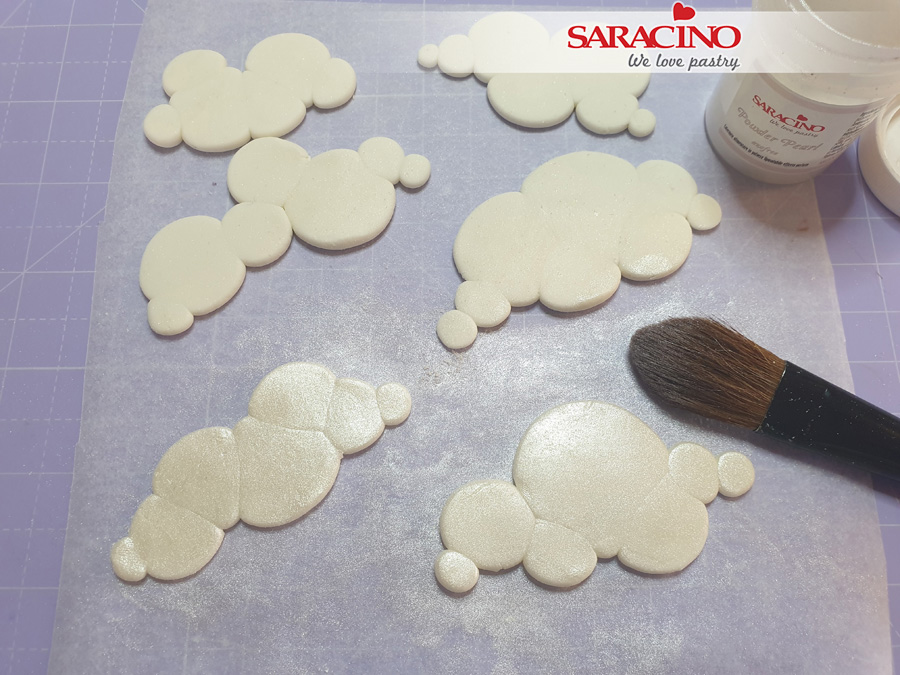
Step 55
Roll differently sized white modelling paste balls. Group a few of them together to form a cloud shape leaving a little bit space between each ball. Don’t use them all at this stage.
Step 56
Step 57
Using the same brush dust the stars with pump powder gold. Thread the medium and small sized stars onto the 32 gauge florist wire, and press them gently with the palm of your hand to secure them in place.
Step 58
Measure the height of the cake with the wooden dowel. Cut it to length so it is 4cm longer than the cake height. Insert the dowel into the cake and spread some buttercream around it, ready for attaching the balloon.
Step 59
Attach the balloon by pressing gently, so the dowel can pierce the dummy.
Step 60
Attach two of the largest size, and two middle sized stars to the balloons basket either side of the bear. Use a little water if required.
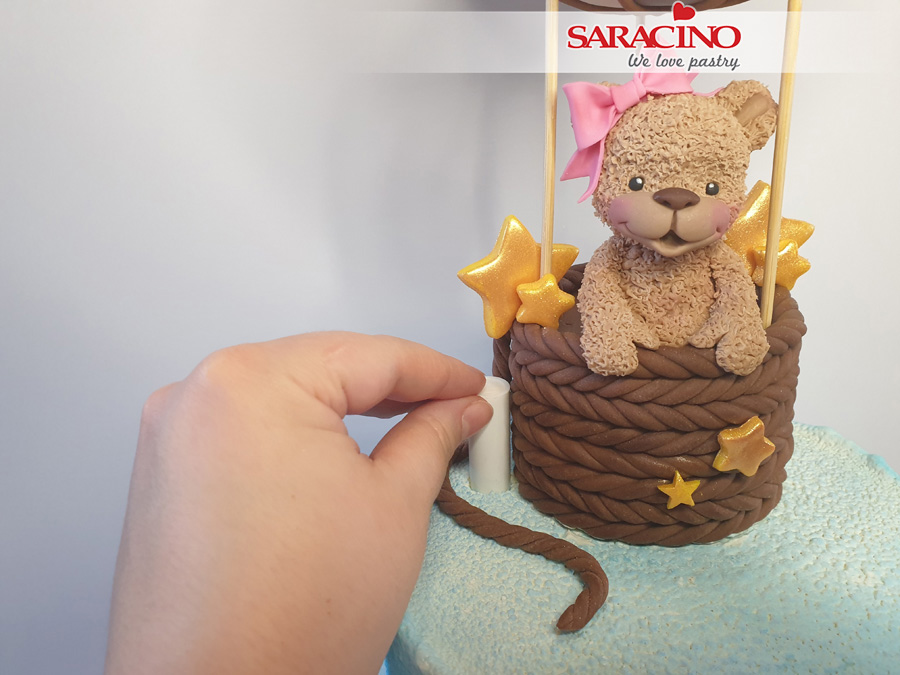
Step 61
Insert two posy picks filled with white modelling paste either side of the balloon.
Step 62
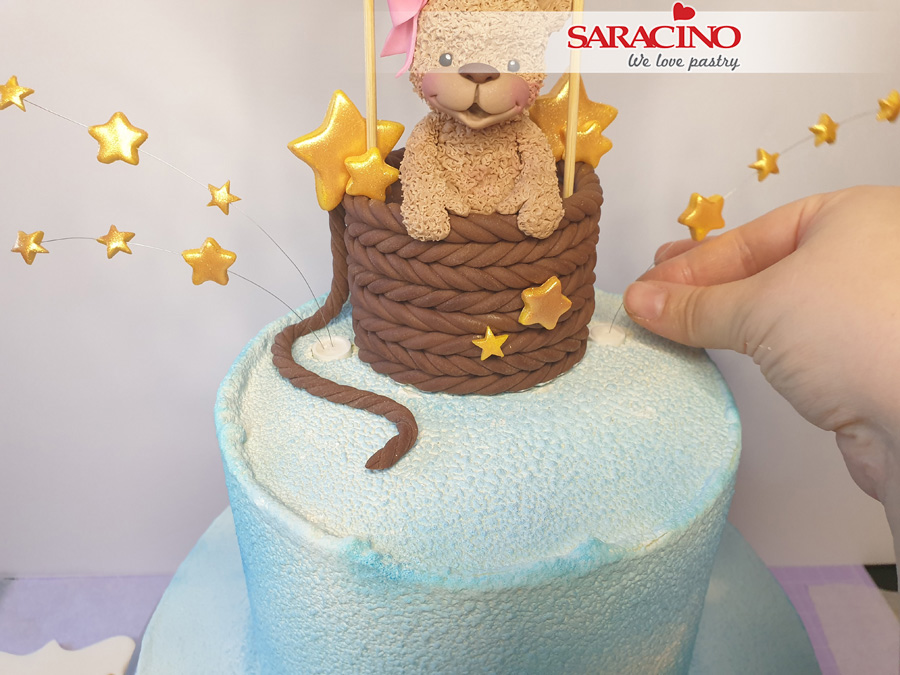
Insert the wired stars into each. Two in one and one in the other.

Step 63
Fix the remaining white balls around the base of the wires to cover them and appear like clouds. Add some stars where you would like. Repeat for the back of the cake.
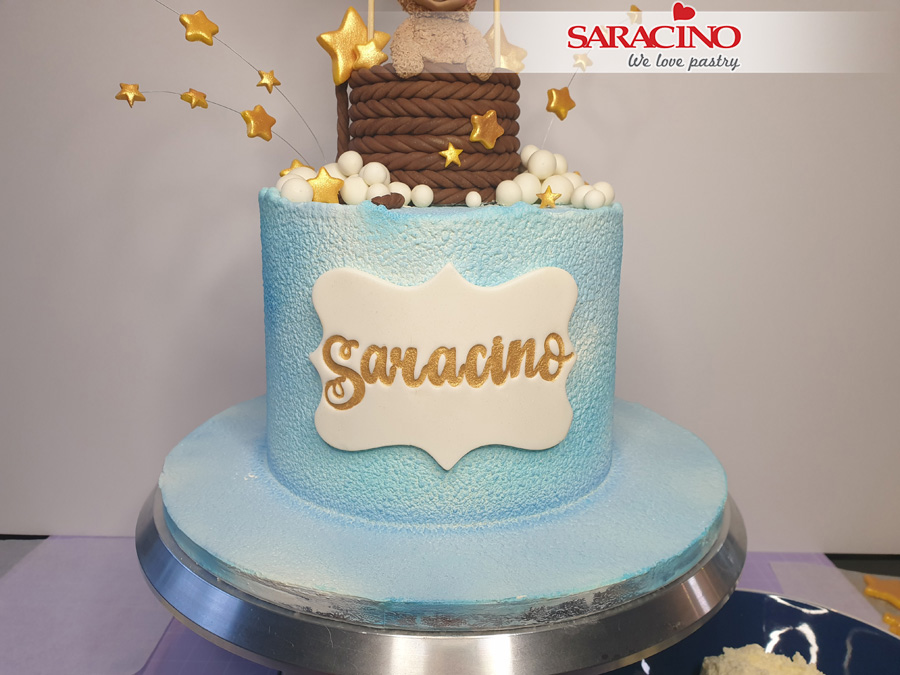
Step 64
Apply a small amount of buttercream to the back of the plaque. Attach it to the front of the cake.
TIP – You can insert cocktail sticks to support the plaque until it is dry and fixed otherwise it may slide. Then remove the sticks.

Step 65
Attach the stars and the clouds using buttercream.

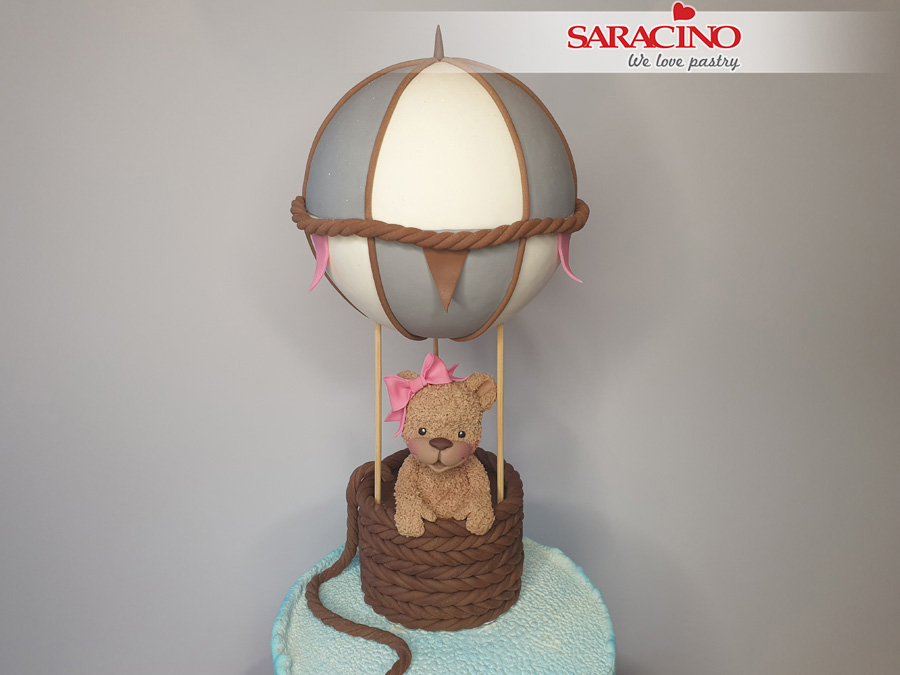
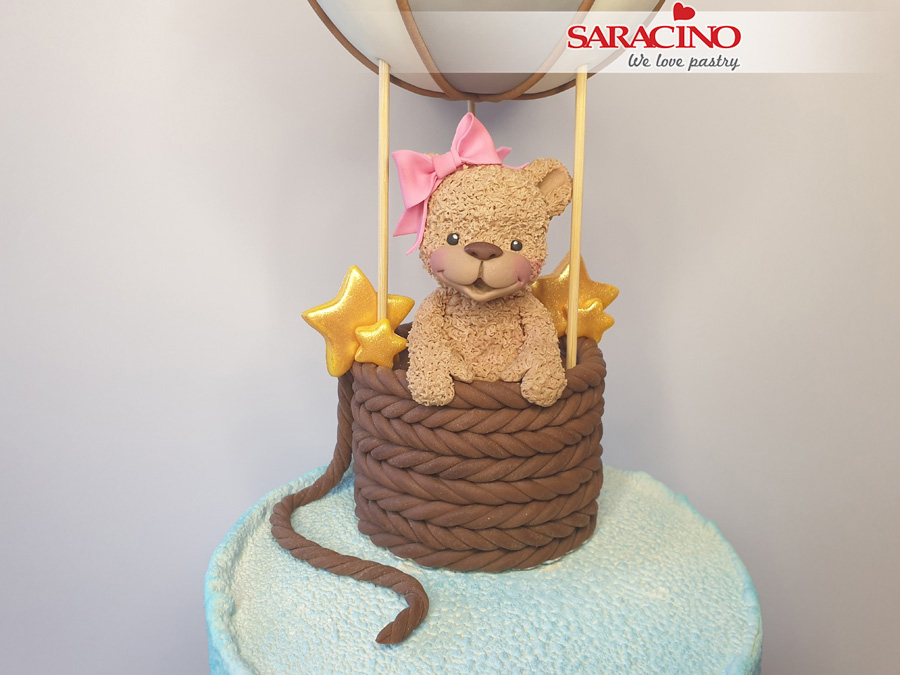
Step 66
Your cake is ready! Up, up and away!