


YOU WILL NEED:
EDIBLES:
- Saracino Pasta Model – white, skin tone, yellow, red, brown
- Edible powder paints – black, orange, yellow, pink, white, dark blue, green, brown, gold
- Saracino Pasta Scultura
- Wafer paper
- Edible glue
- Confection glaze
- Clear alcohol
EQUIPMENT:
- Silicone pad
- Roller
- Brushes
- Modelling tools
- Scissors
- Spatulas
- Sponge
- Gold wires
STEP 1
Bake and layer cake flavours and filling of your choice.
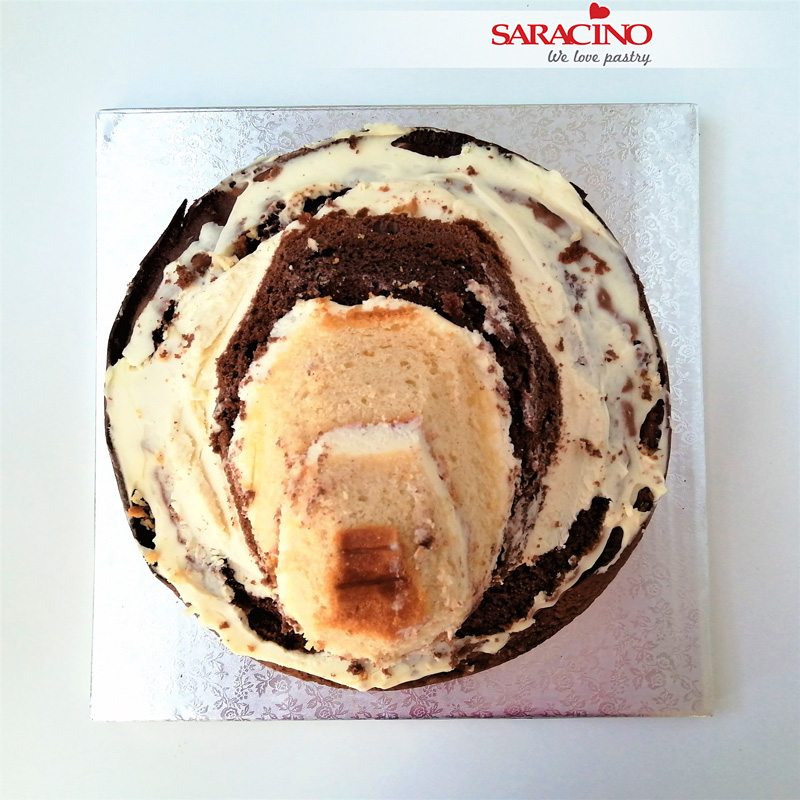
Step 2
Cut the filled cake to the desired shape. If you cut too much sponge off don’t worry. You can always fill any gaps using pieces of the off-cuts.
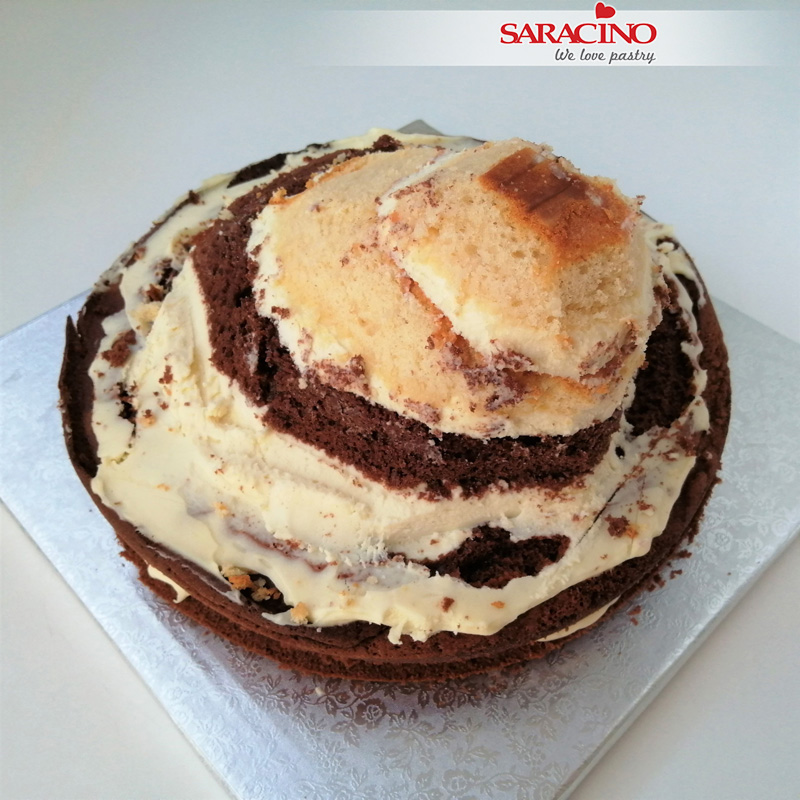
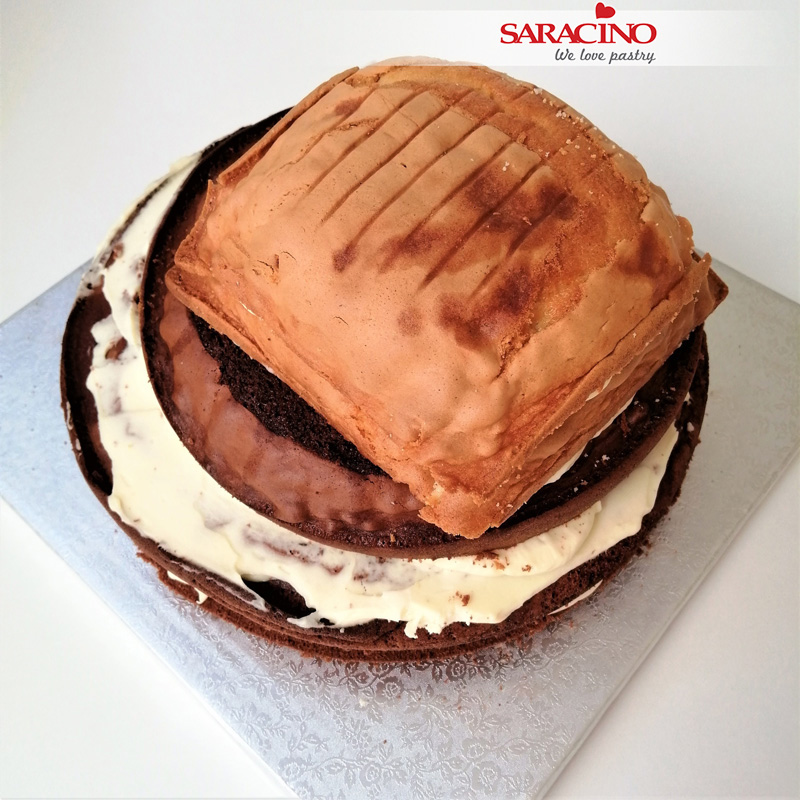
Step 3
Your carved cake should look similar to the picture.
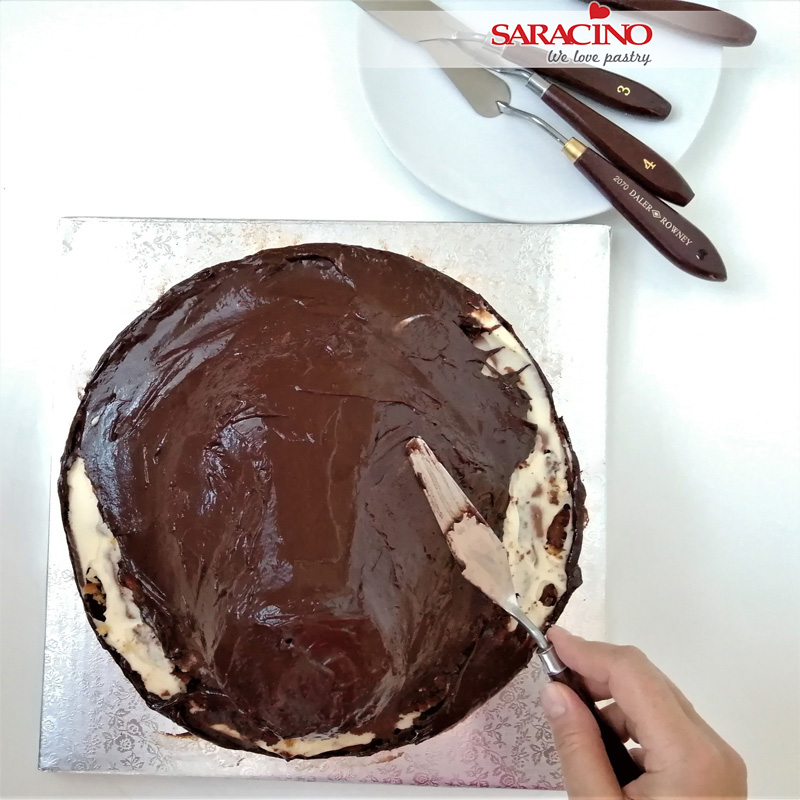
Step 4
Cover the cake with ganache
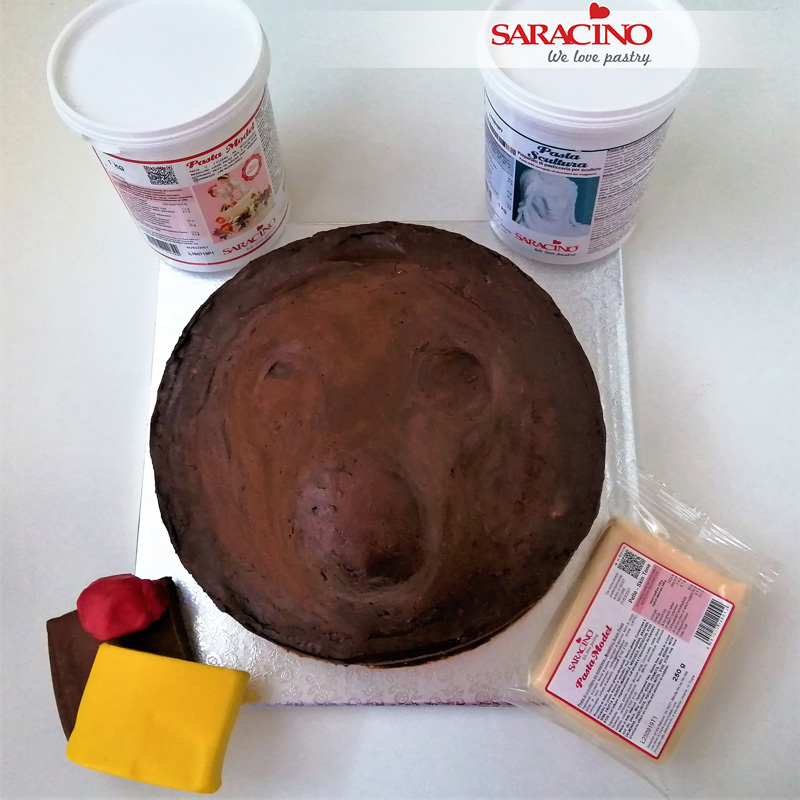
Step 5
Smooth and shape the eye sockets and snout with the ganache.
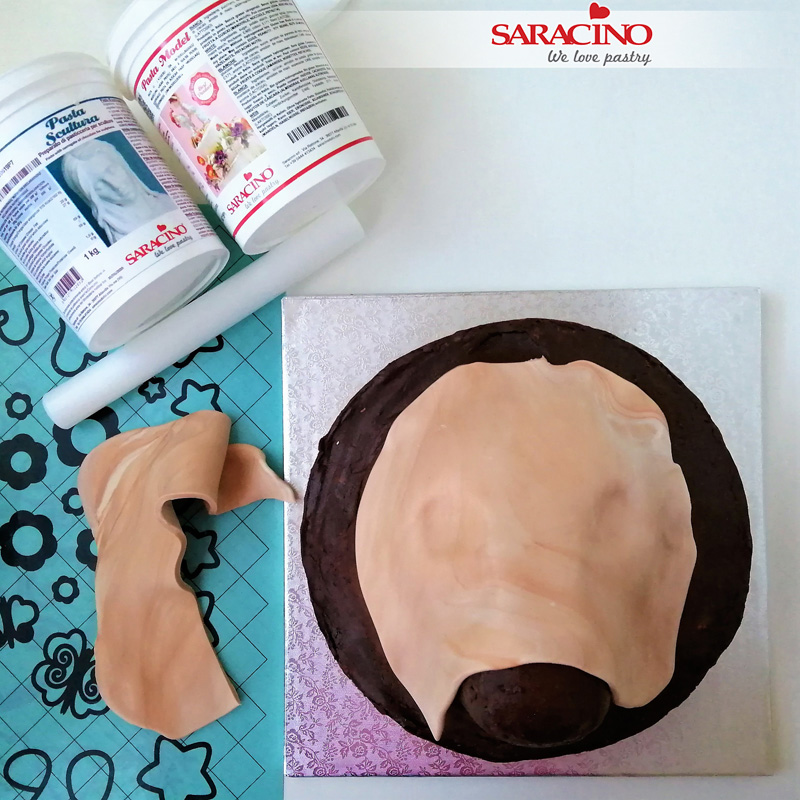
Step 6
Mix modelling paste with Pasta Scultura. 1/3 Pasta Scultura to 2/3 combination of white, skin tone, a little brown, red and yellow modelling paste. It is not necessary to mix the paste to a solid colour, you can leave a fine marbling. Roll the paste and cover the cake up to the chin.

Step 7
Using the paste shape the snout and the semi circular eye lid arches using your fingers.
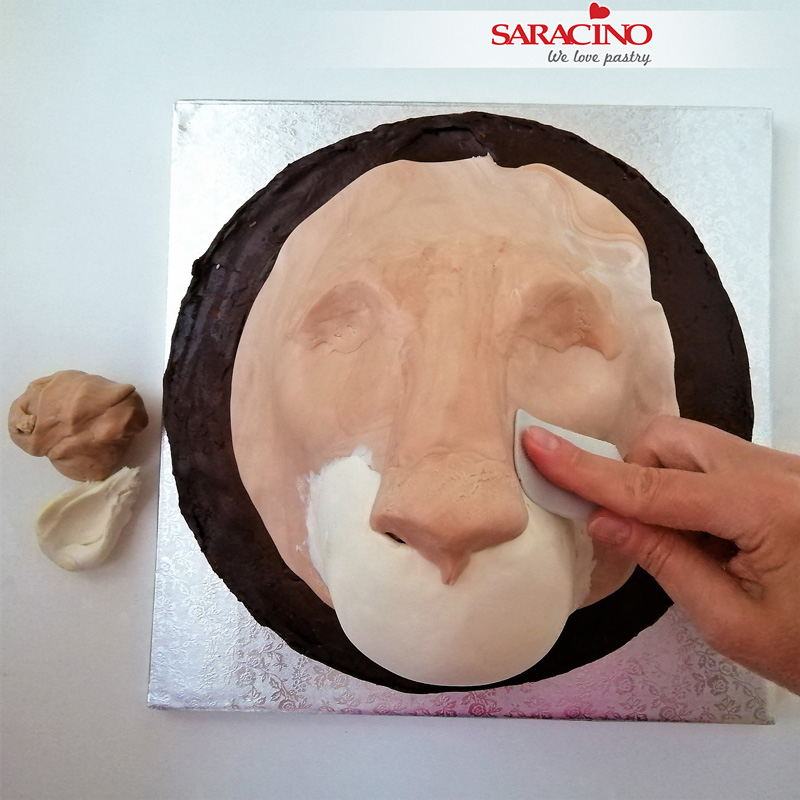
Step 8
Cover the chin using white modelling paste and smooth the joints. Pinch the nose to form a V shape over the chin area.
Step 9
Use the modelling tools to shape the cheeks and chin.
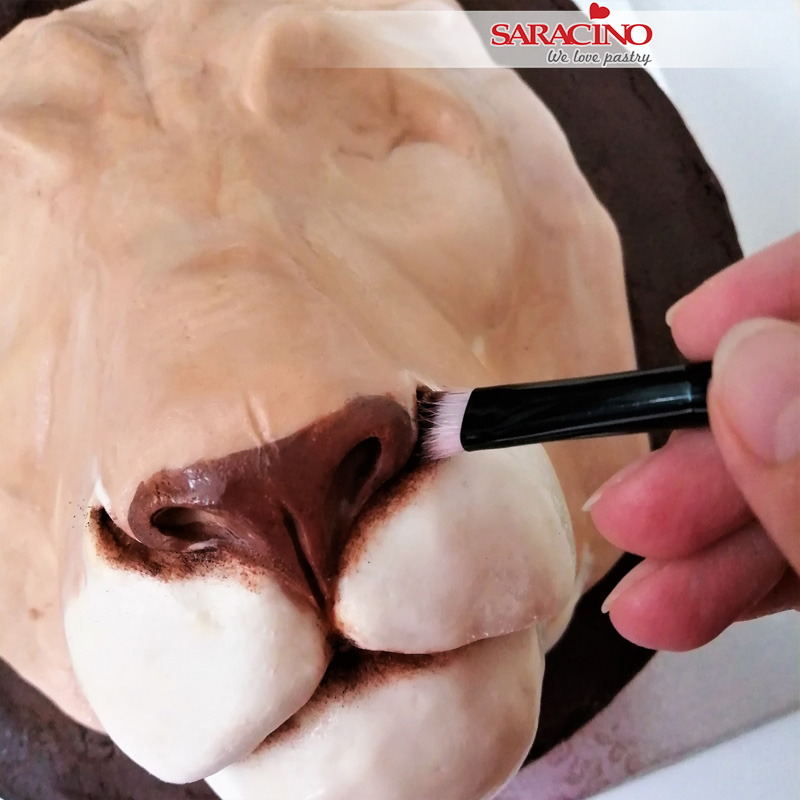
Step 10
Using modelling tool form the holes for the nose. Paint the snout with brown powder paint that has been mixed with the clear alcohol.

Step 11
Mix the flesh powder colour with alcohol and start painting the cake. Start with the brightest colour. All of the colours should be mixed with the clear alcohol.
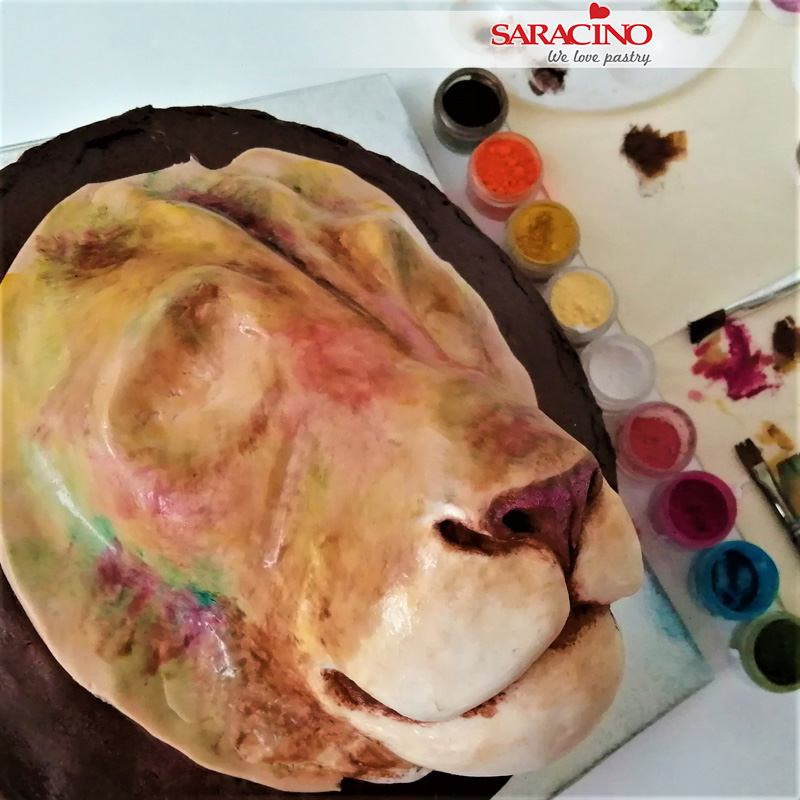
Step 12
Gradually add a little pink, blue and green dusts. Finally use brown for places where there is shadow (eye sockets, wrinkle in the middle of the forehead, etc.)
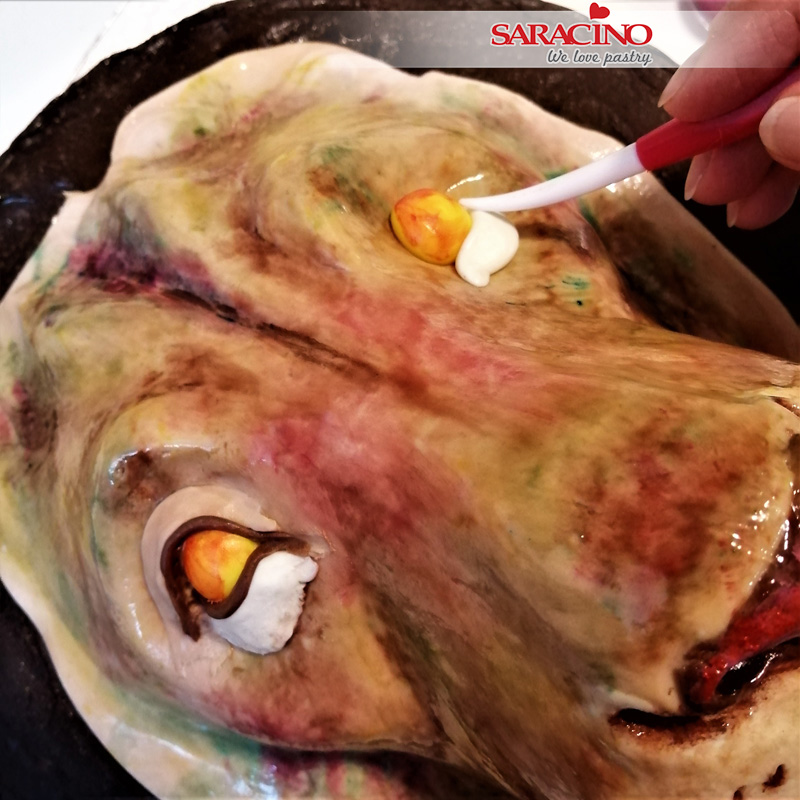
Step 13
Now for the eyes. Shape a little yellow paste and attach into the eye socket. Colour with a little orange paint. Roll a crescent shape out of white paste and attach beneath the eye. Using the same paste you used for the face shape the eyelids and fix. Roll out brown paste thinly and add an outline to the eyes.
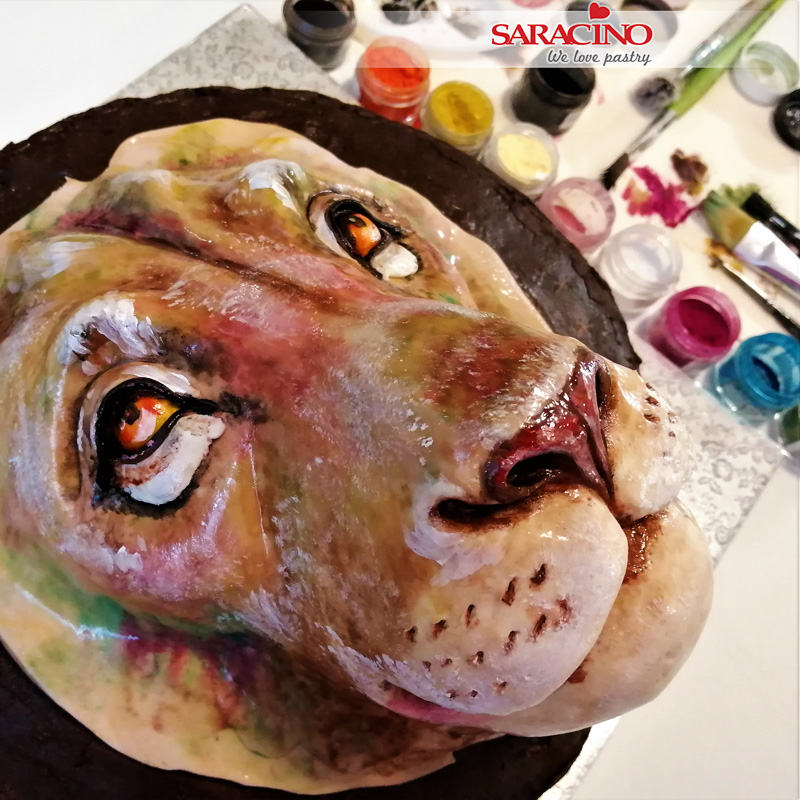
Step 14
Using black powder mixed with clear alcohol paint the pupils. Colour the eye lid, and beneath the eye with brown powder paint. Mix white powder with clear alcohol and add detail to the eyes. Using the white add highlights where required on the face, this should be mainly on the eye lids and forehead. Elsewhere only add fine highlights touching gently with the end of your brush.
Make indents on the cheeks and colour inside with brown for the whiskers.
Using the confectioners glaze paint the whole face.
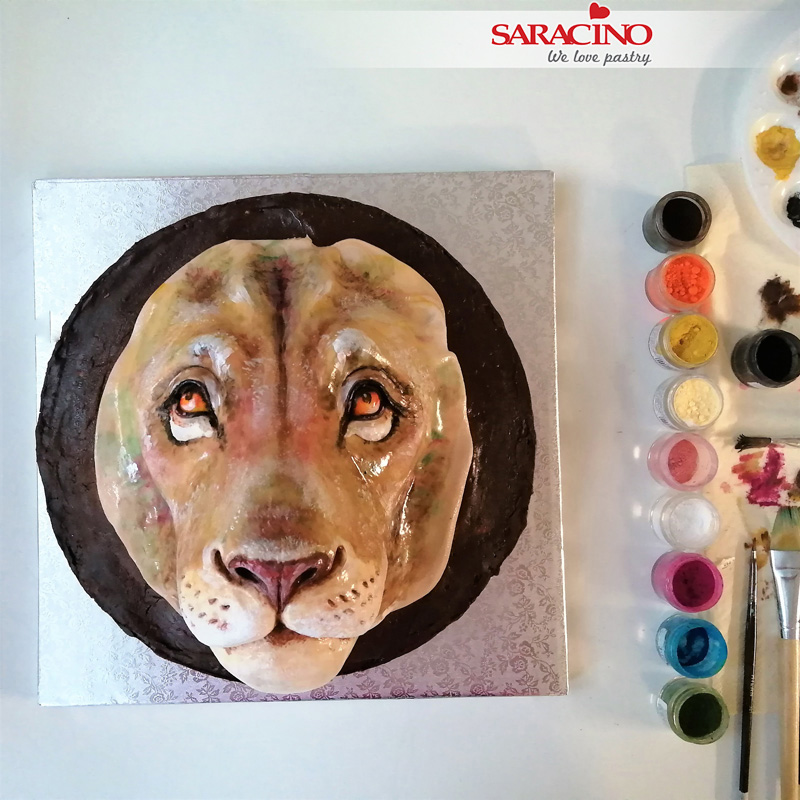
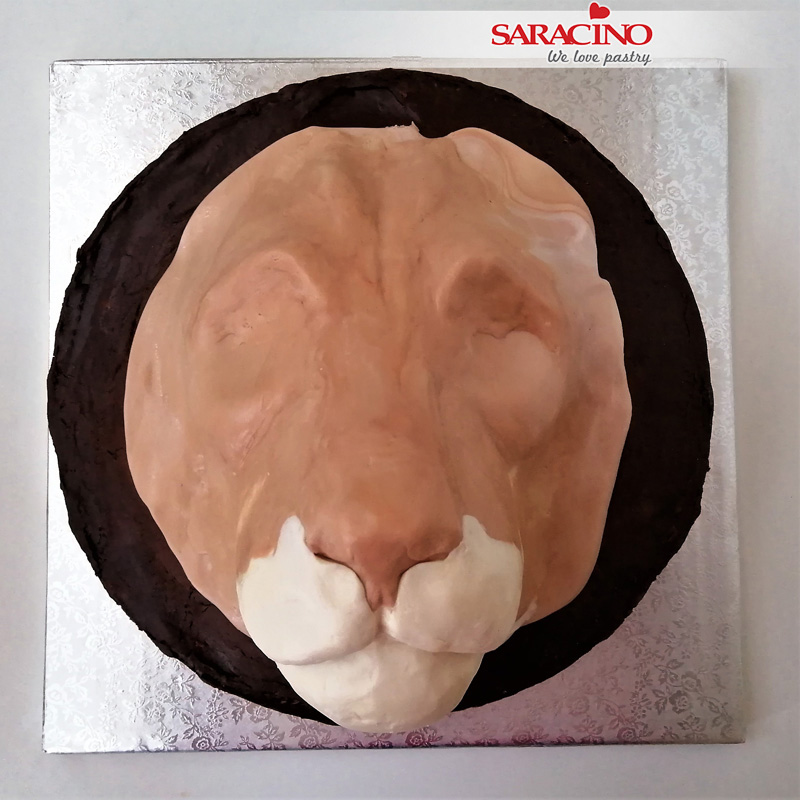
Step 15
Your face should look like this.
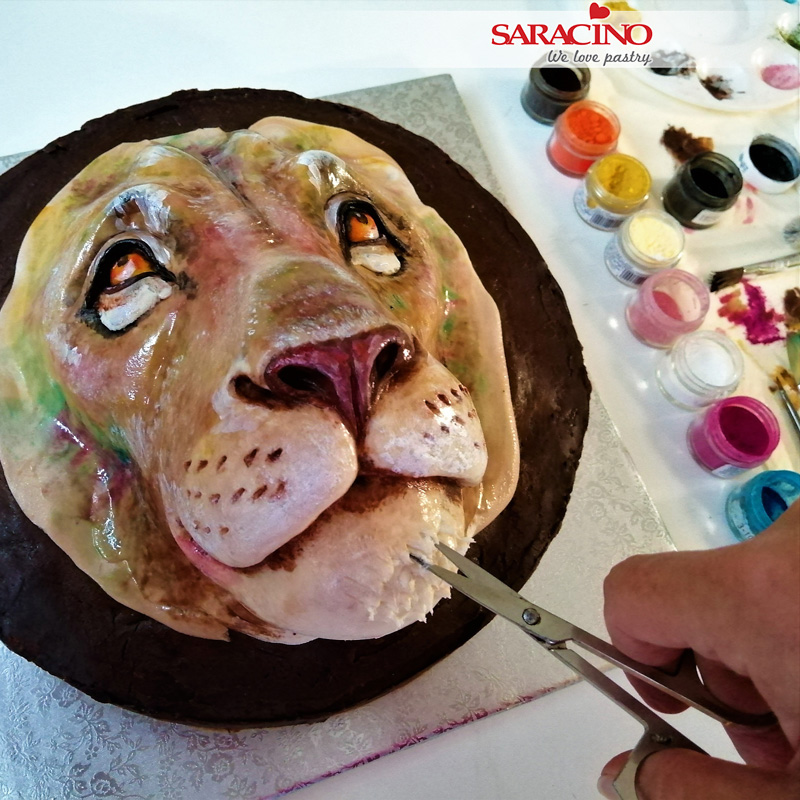
Step 16
Use scissors to cut the chin and parts of the forehead above the eyes to create the illusion of fur.
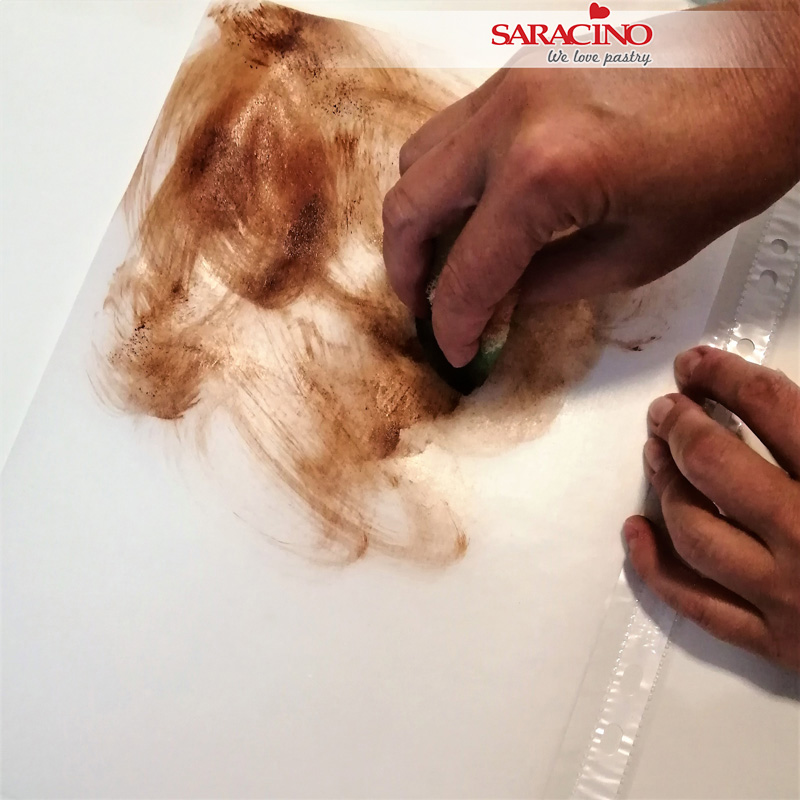
Step 17
Mix brown and orange powder with clear alcohol. Lightly stain the wafer paper with a sponge on both sides. Prepare darker shades for the bottom of the mane and lighter shades around the face.
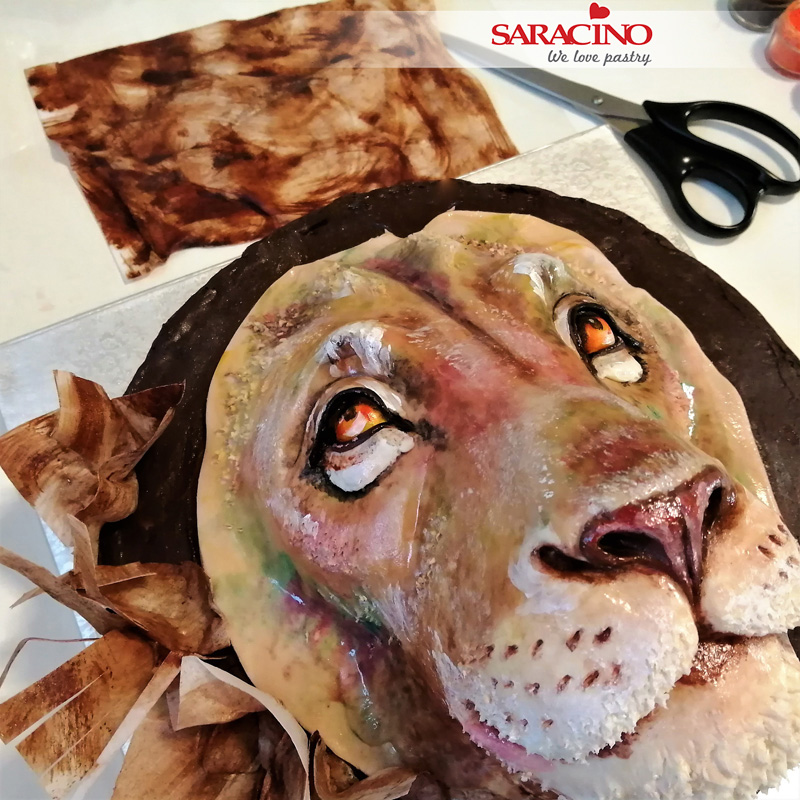
Step 18
Cut the coloured wafer paper into various sized rectangles, gently moisten it and shape it into a “shaggy” mane look with your fingers. Cut some lines to the edges. Now to build up the mane, glue the wafer paper in two layers around the entire face, gluing the larger, darker pieces to the bottom and edge of the face and gluing the smaller and lighter ones above. Finally, you can gently highlight it with gold dust mixed with clear alcohol.
Step 19
Keep adding the wafer paper until this effect is achieved. Cut lengths of gold wire and form the whiskers and eye lashes. Remember if the cake is to be eaten the ends of the wires should be protected where inserted into the cake.
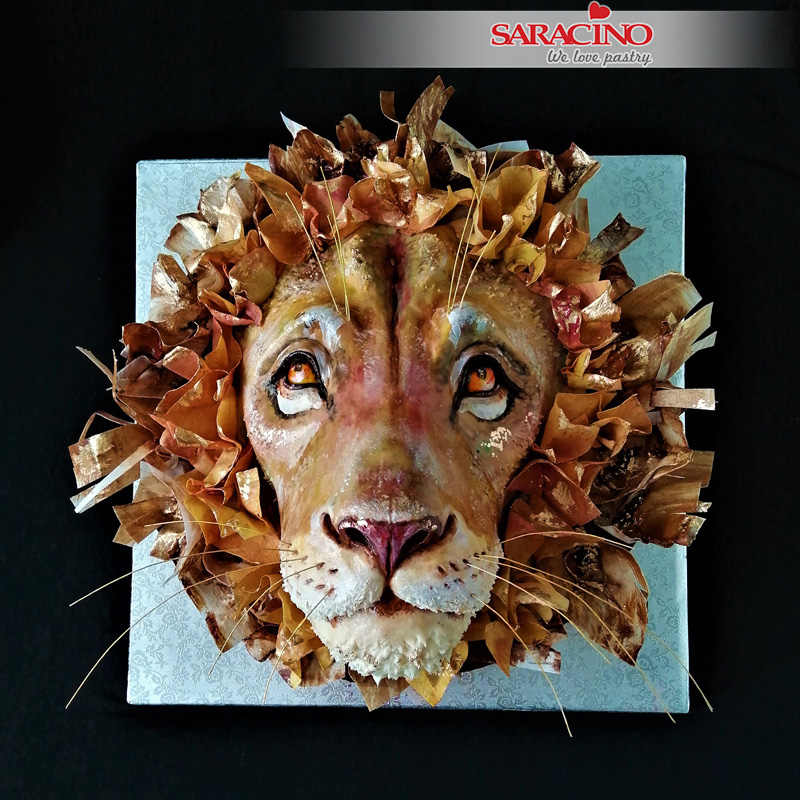
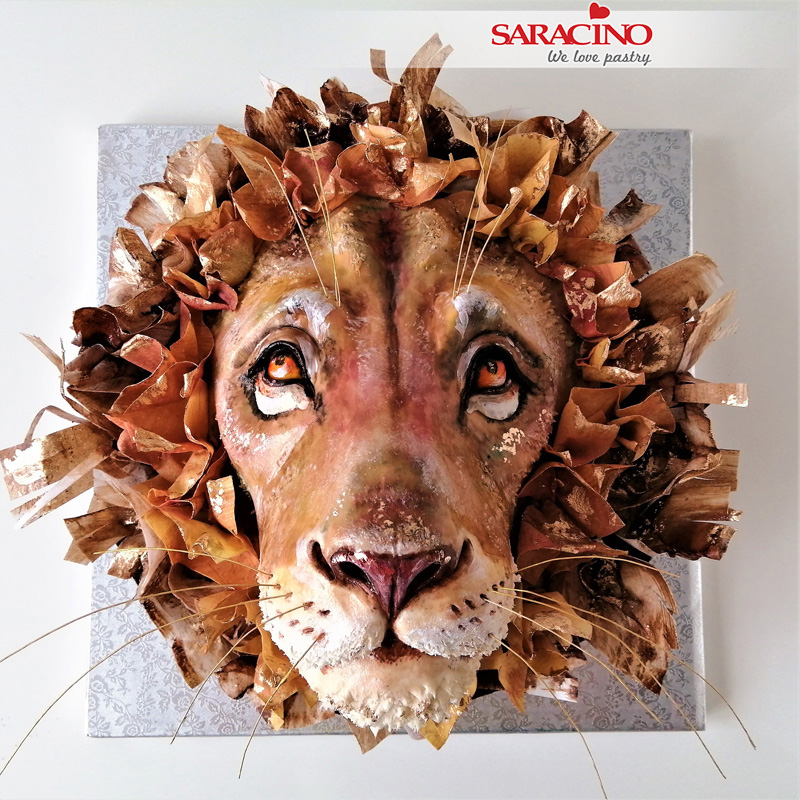
Step 20
Your lion cake is ready
