


You will need:
INGREDIENTS:
-
Pasta Top Black
-
Pasta Model White, Red, Light blue and Yellow
-
Powder colours Skin tone, Black, Yellow, Red, Sky blue, Blue and White
-
CMC
-
Cake gel glue
-
Shiny Effect Confectioners Glaze
EQUIPMENT:
-
4×4″ round cake or dummy
-
6×8″ round cake or dummy
-
9″ round cake board
-
Black ribbon
-
Large and small rolling pins
-
Fondant Smoother
-
Flexible fondant smoothers
-
Ruler
-
Knife
-
Craft knife
-
Palette knife
-
Stars and heart plunger cutters
-
Small ball tool
-
Brushes
-
Paintbrushes
-
Cocktail sticks
-
Small plastic dishes
-
Clear alcohol
-
Corn starch
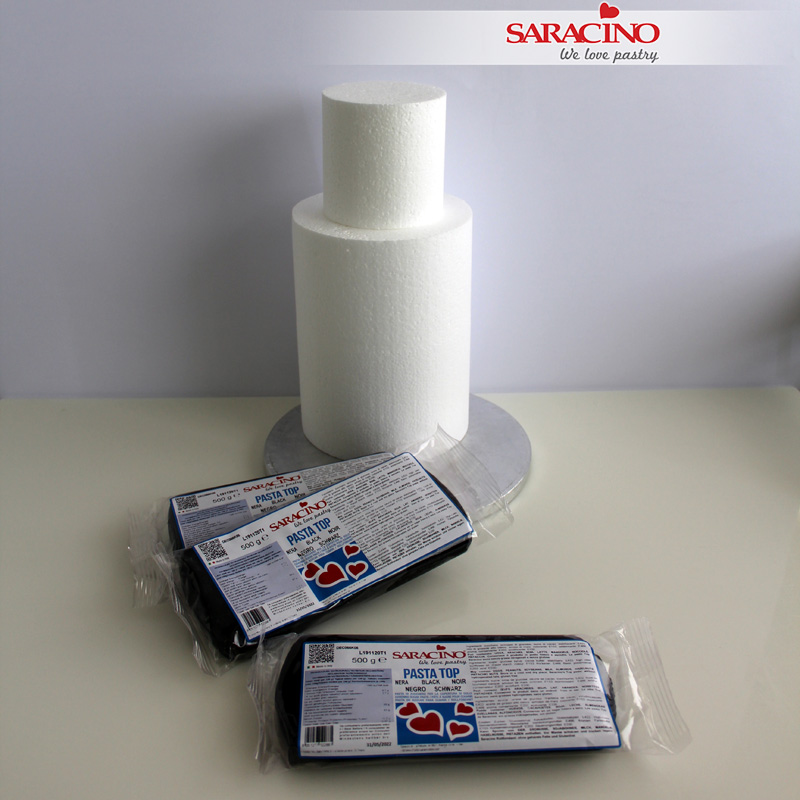
Step 1
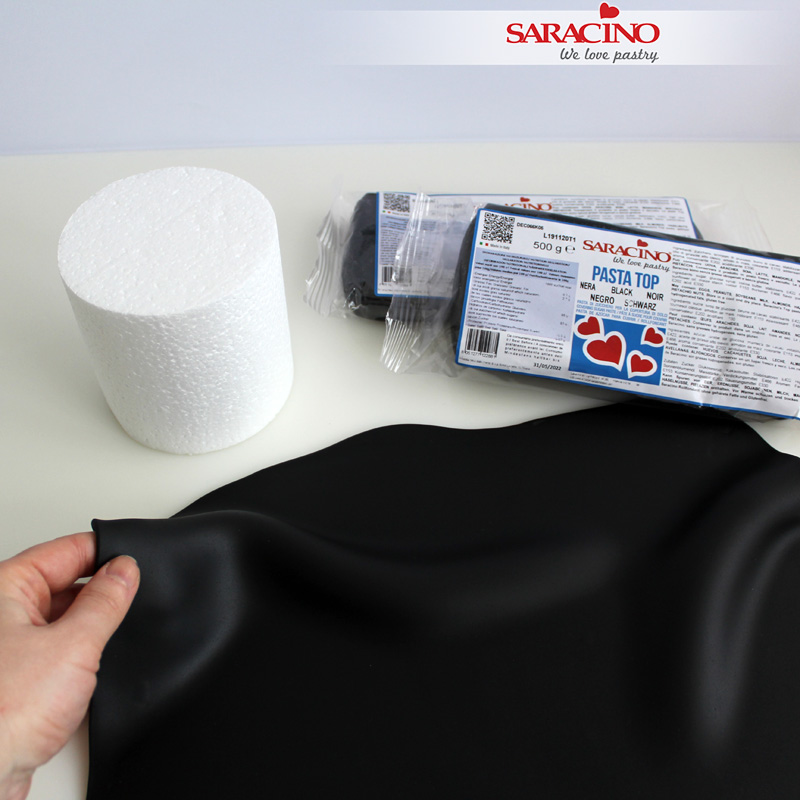
For this project we need 2 dummies (or cakes) 4×4″ round, 6×8″ round and a 9″ round cake board that will be covered with black Pasta Top.
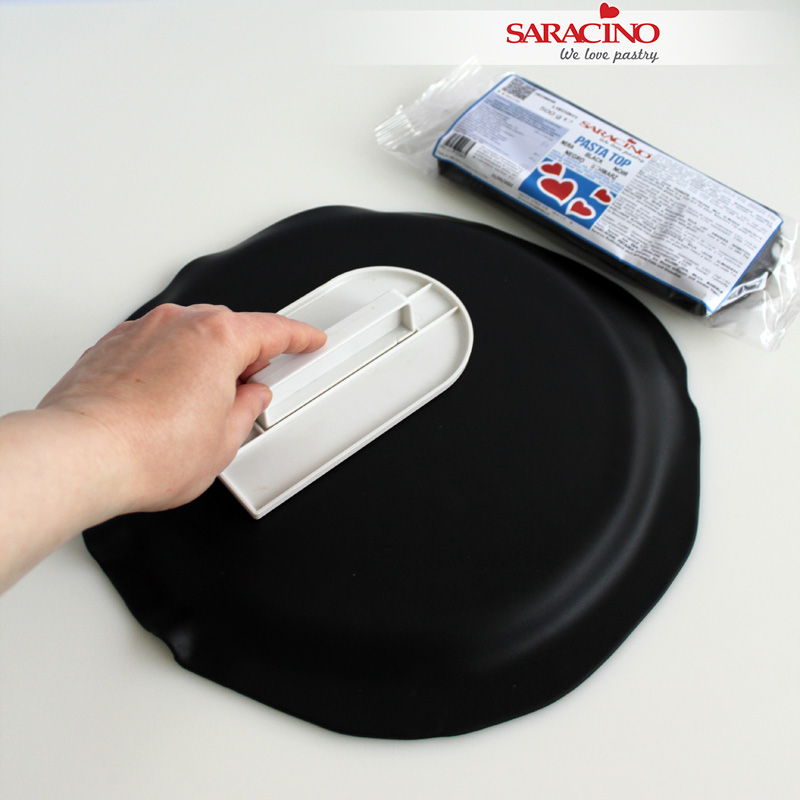
TIP 1: Pasta Top is Vegan, Gluten free and has NO hydrogenated fats. It’s very stretchy and can be rolled very thin.
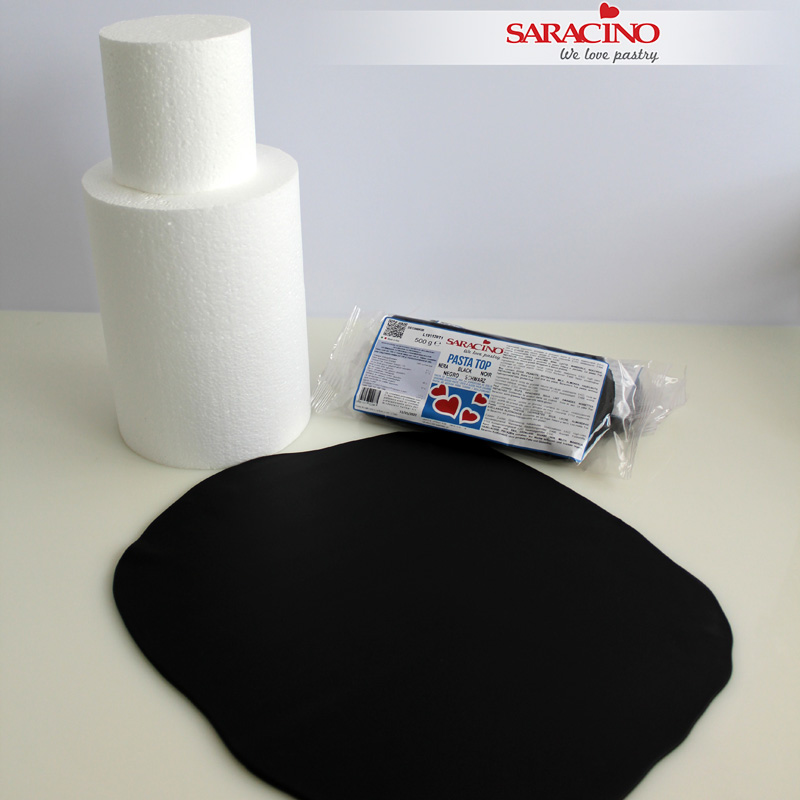
Step 2
Roll out the paste large enough to cover each tier.
Step 3
Roll the black Pasta Top thinly. You can use a little corn starch on your work surface so it doesn’t stick (but not too much to stain the black paste)
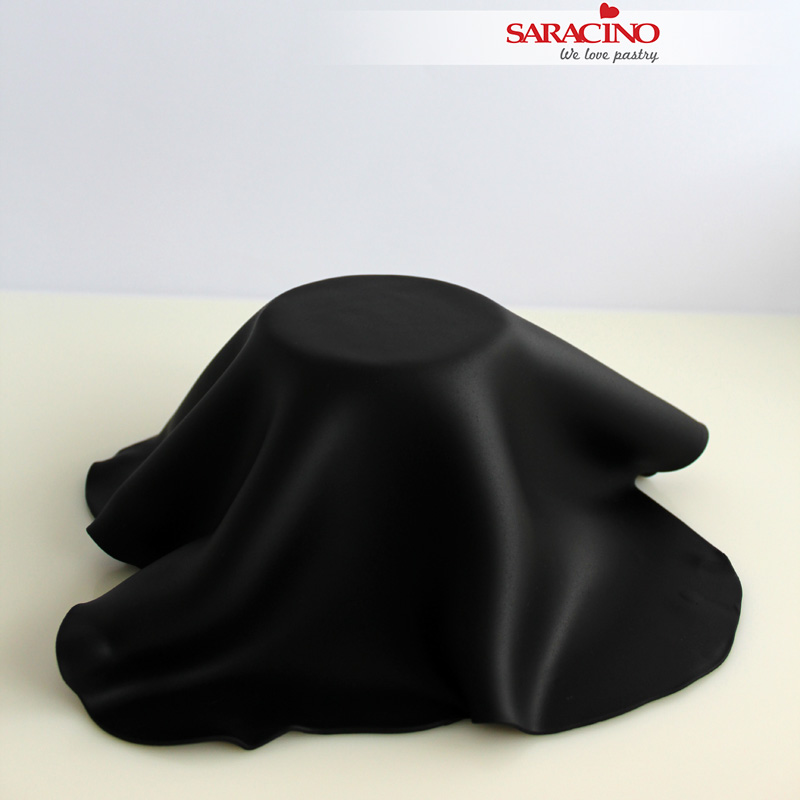
Step 4
Brush the dummy with water and put the paste on top of the dummy as shown
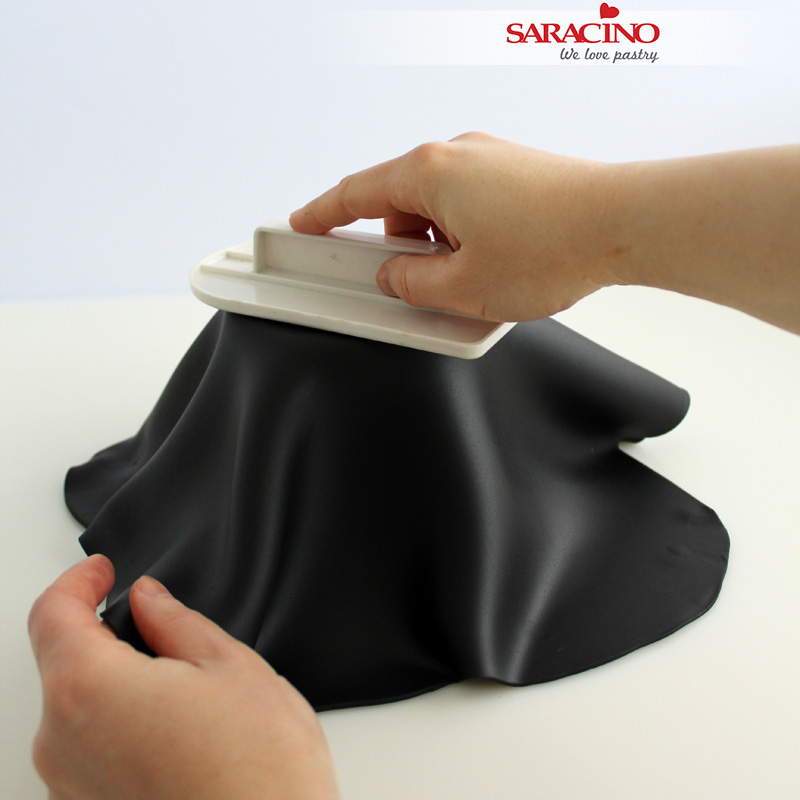
Step 5
Using a smoother press on top to make it smooth and with the hands smooth the paste down the sides of the cake
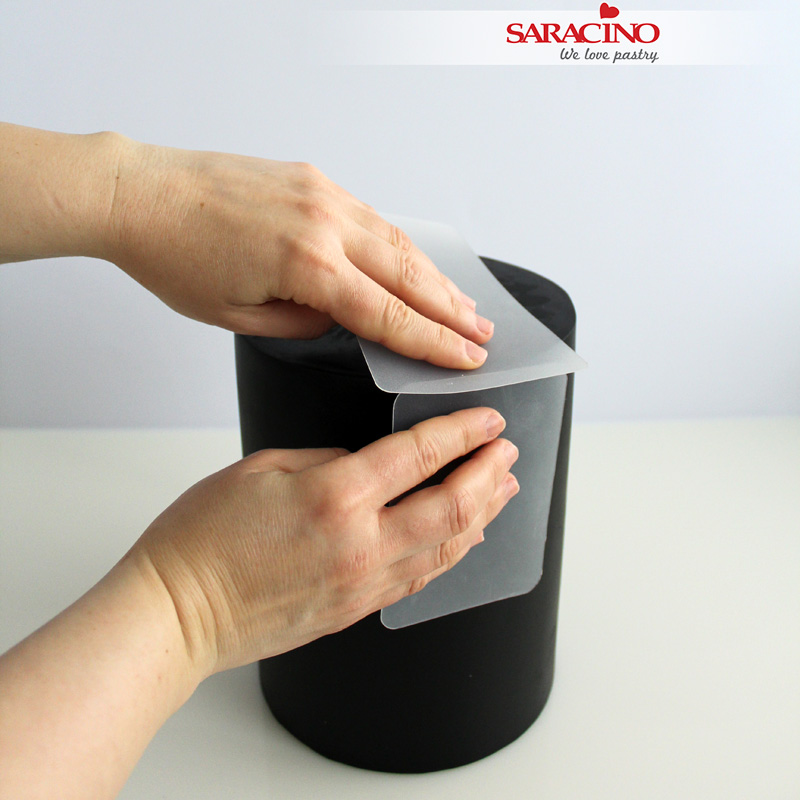
Step 6
Use the same process to cover the other tier and create sharp edges using flexible fondant smoothers

Step 7
Brush the cake board with water, roll out the black Pasta Top and cover the cake board
Step 8
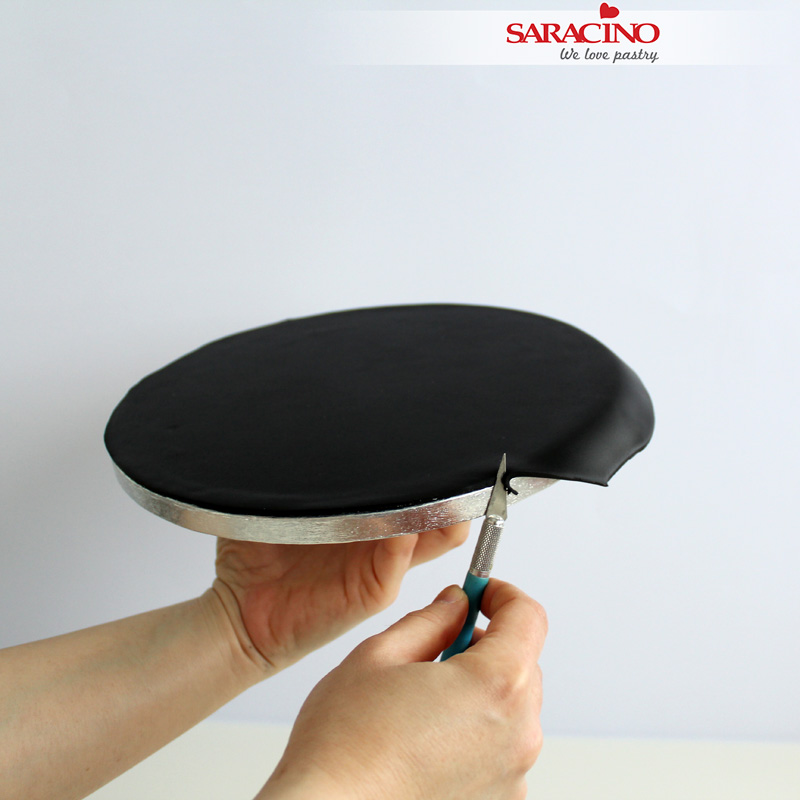
Step 9
Trim the excess paste from around the board using a craft knife
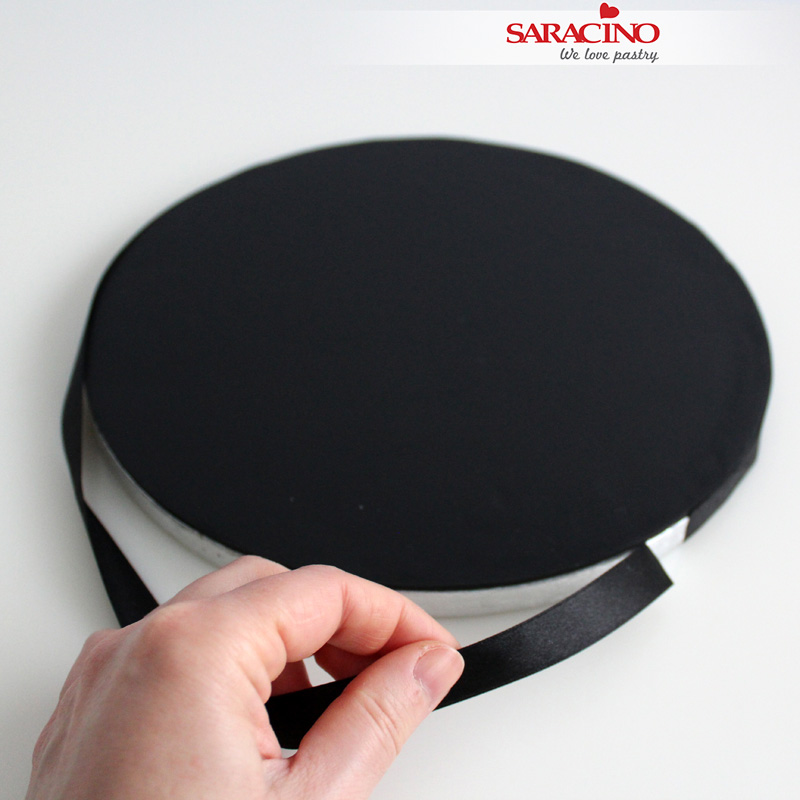
Step 10
Add the black ribbon around the cake board
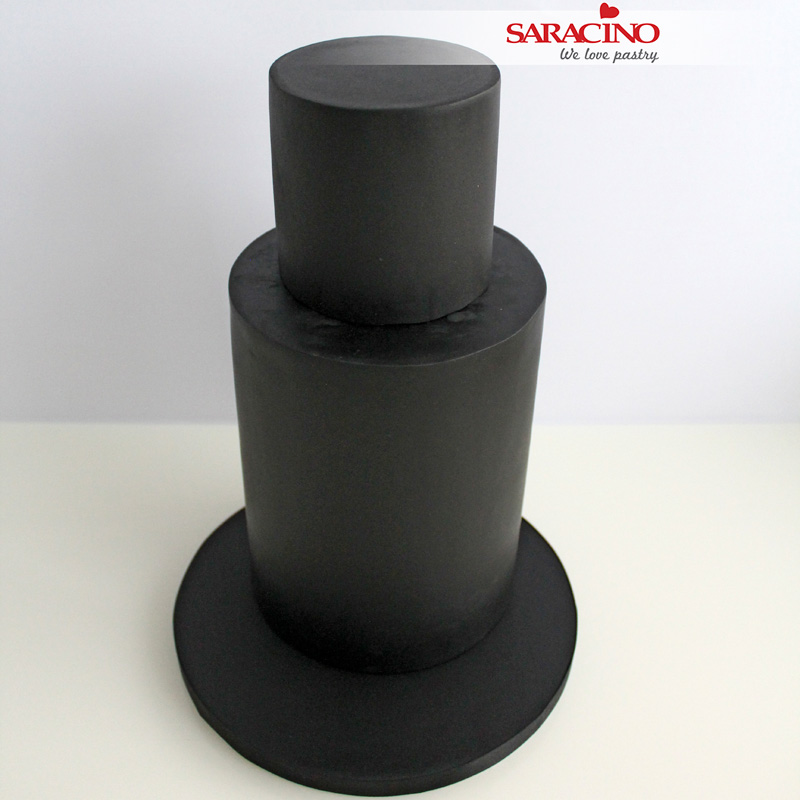
Step 11
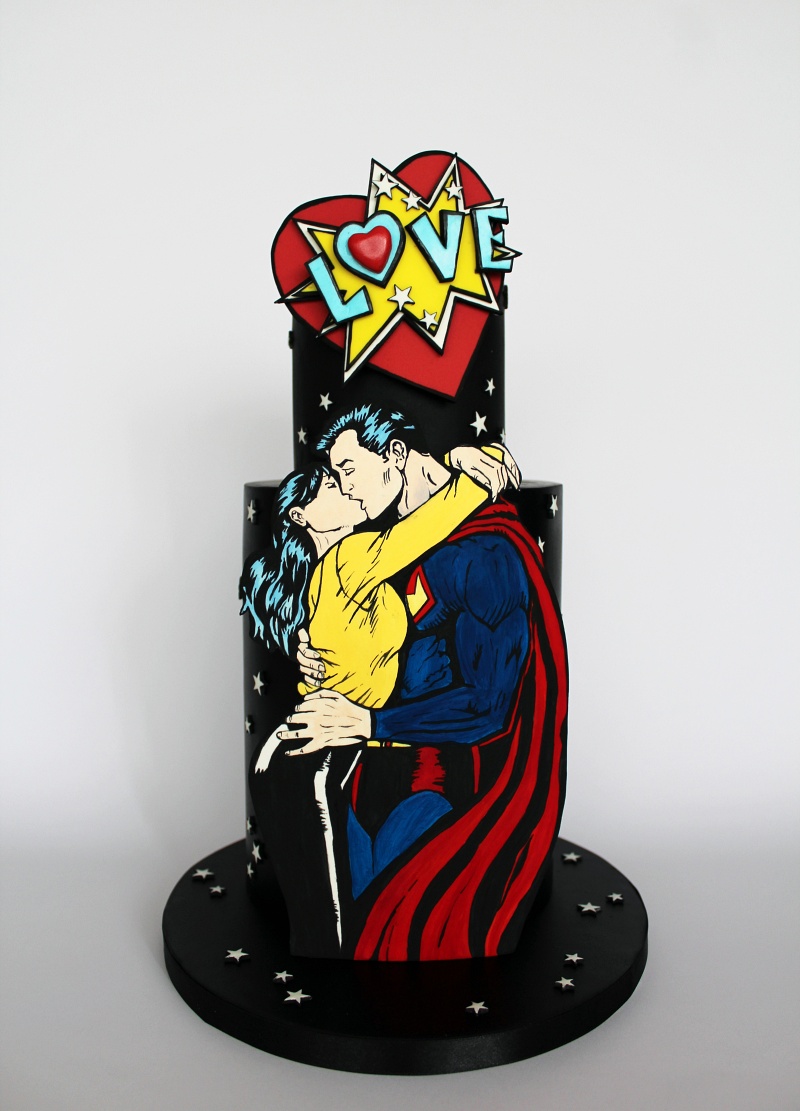
Assemble the cake as shown in the picture
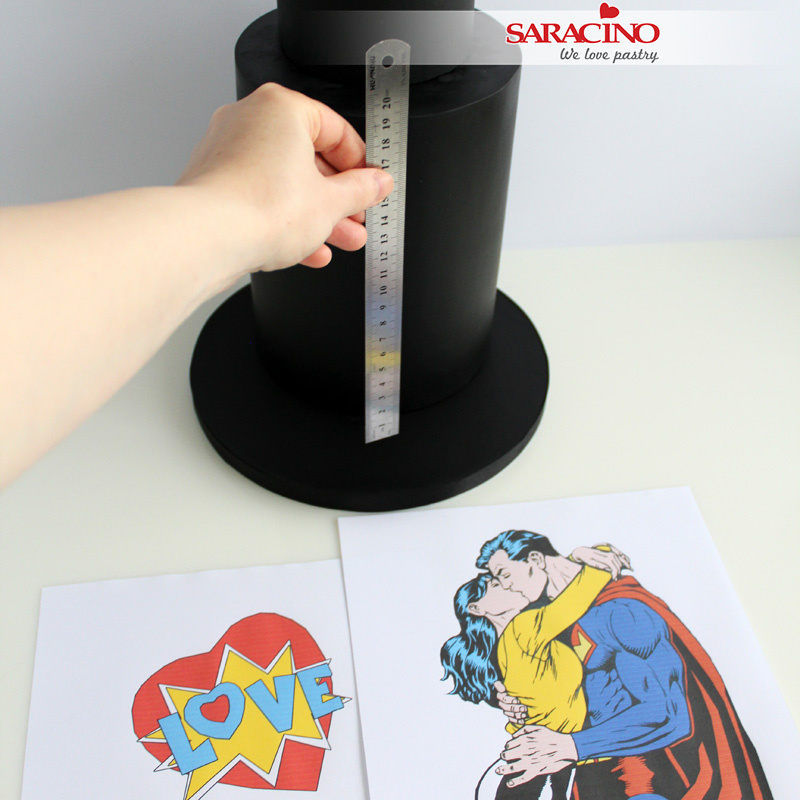
Step 12
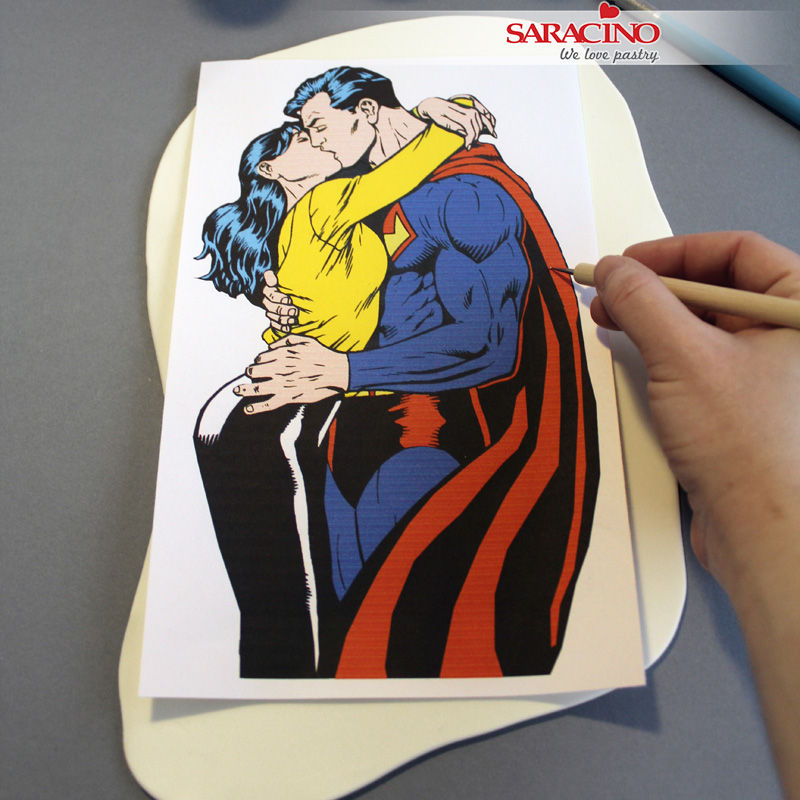
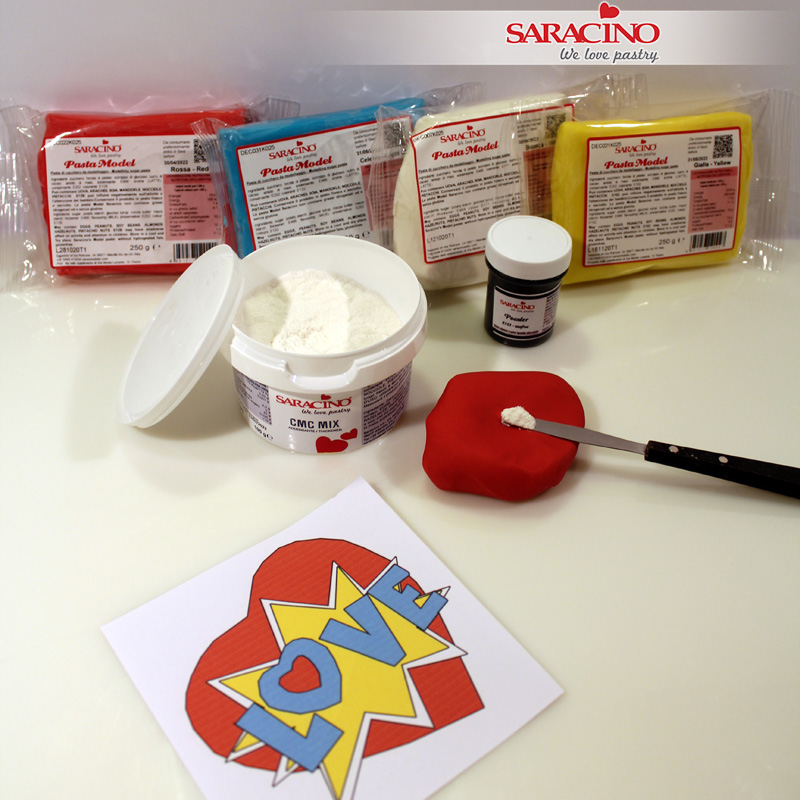
Use a ruler to measure the size of the pop art inspired illustrations and print them, these images will be used as a template
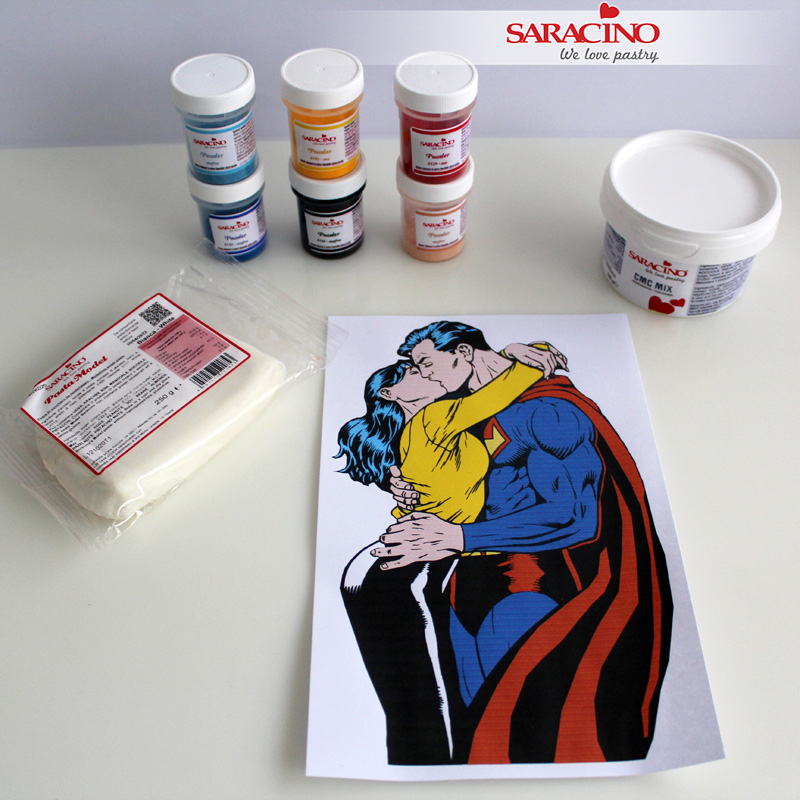
Step 13
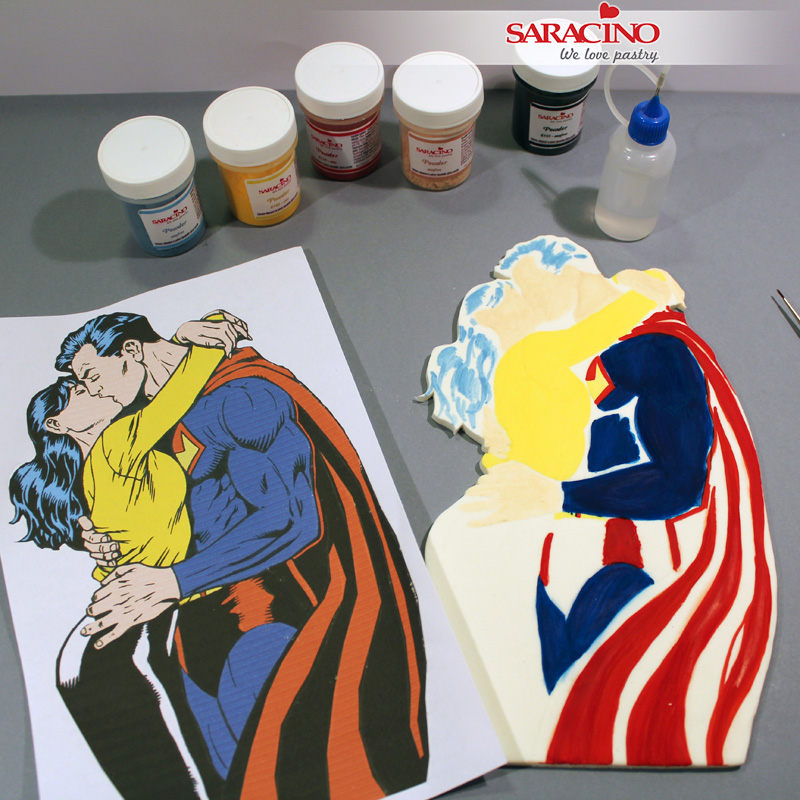
Let’s start with the painting, we need the printed illustration, Pasta Model white, CMC and powder colours skin tone, black, yellow, red, sky blue, blue and white
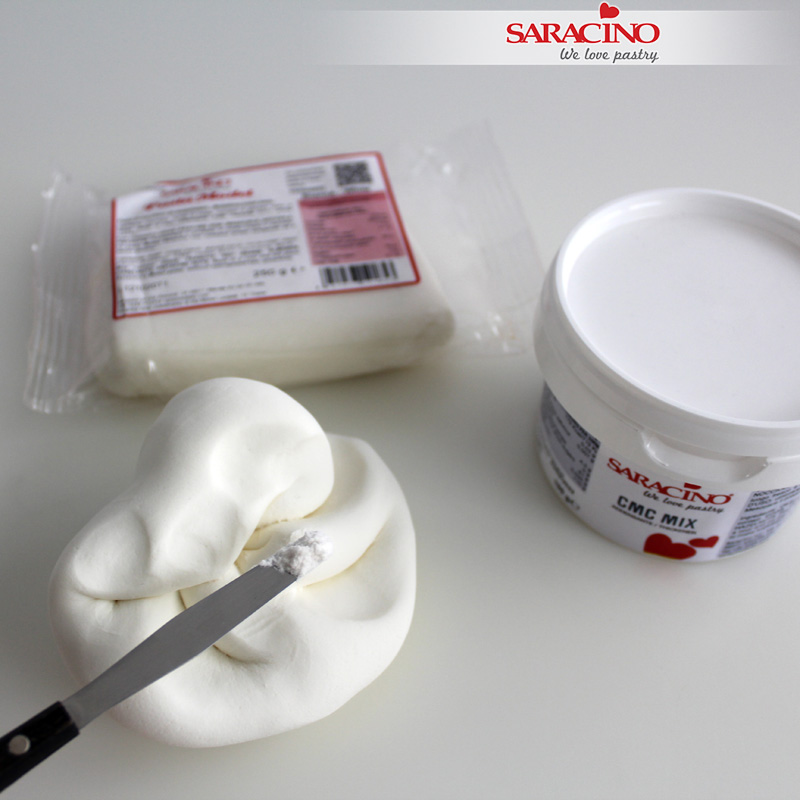
Step 14
Add a little bit of CMC to the paste to help it become firmer.
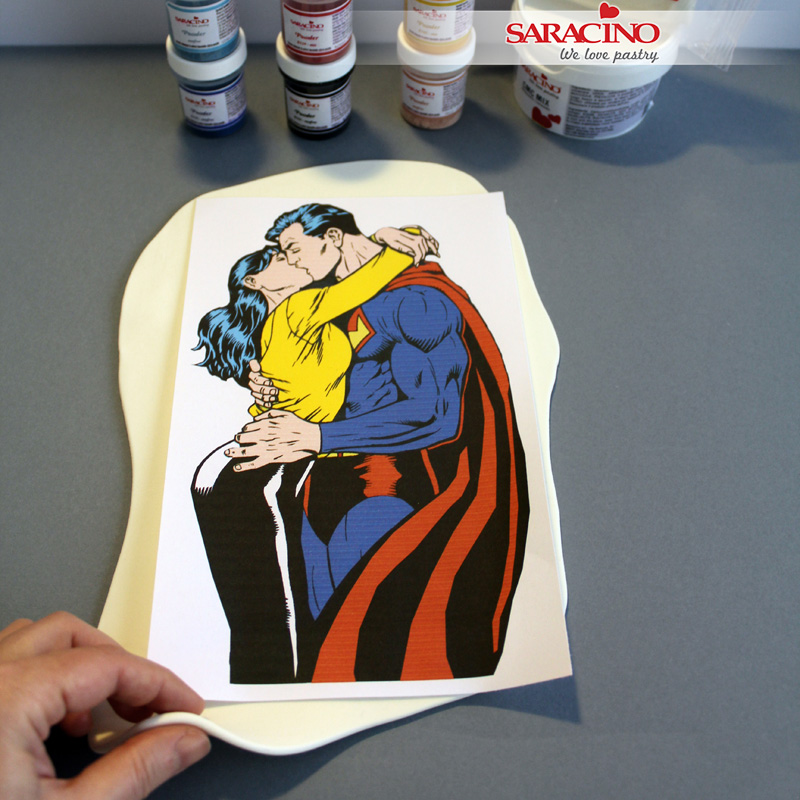
Step 15
Roll out Pasta Model to about 3 mm thick, it must be larger than the printed image
Step 16
Place the printed image over the paste and using a small ball tool, trace outlines on the paste
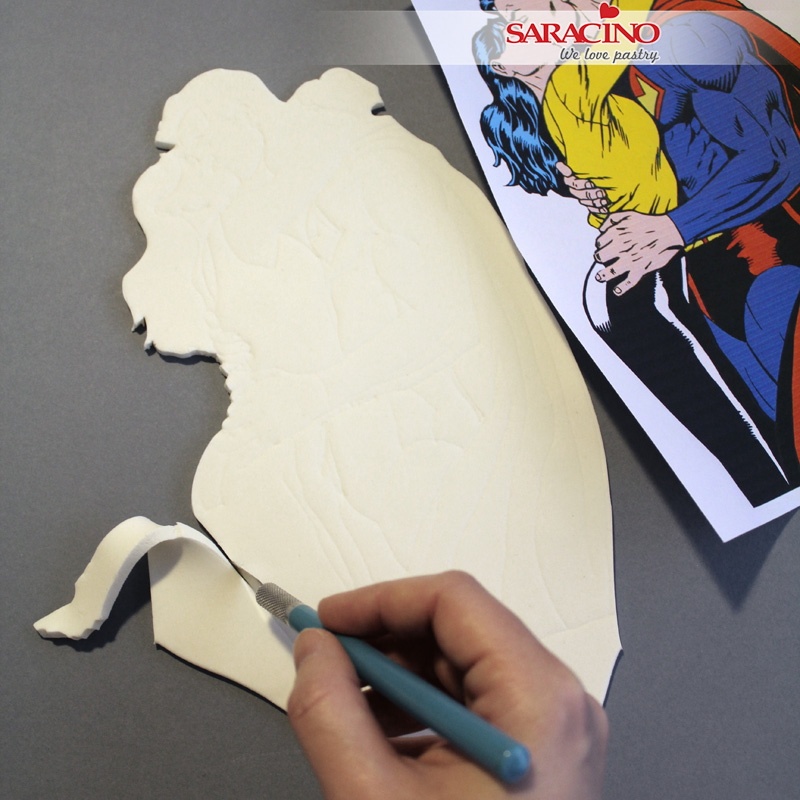
Step 17
Use craft knife to cut out the shape
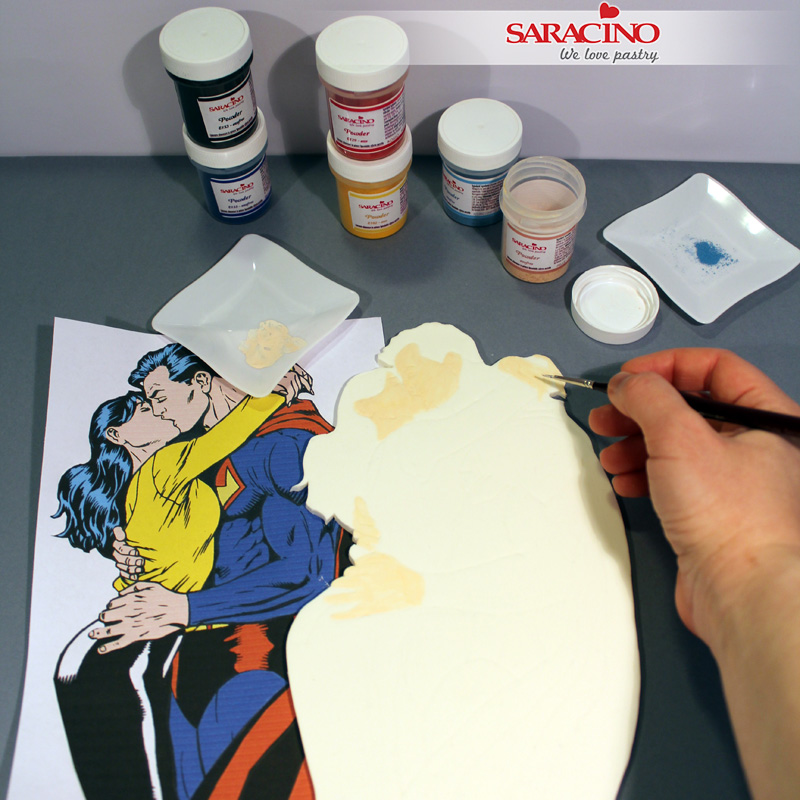
Step 18
Begin by painting light colours, mix skin tone and white powder colours with alcohol and paint faces and hands

Step 19
Continue painting with light colours, for yellow mix yellow and white powder colours and dilute with alcohol
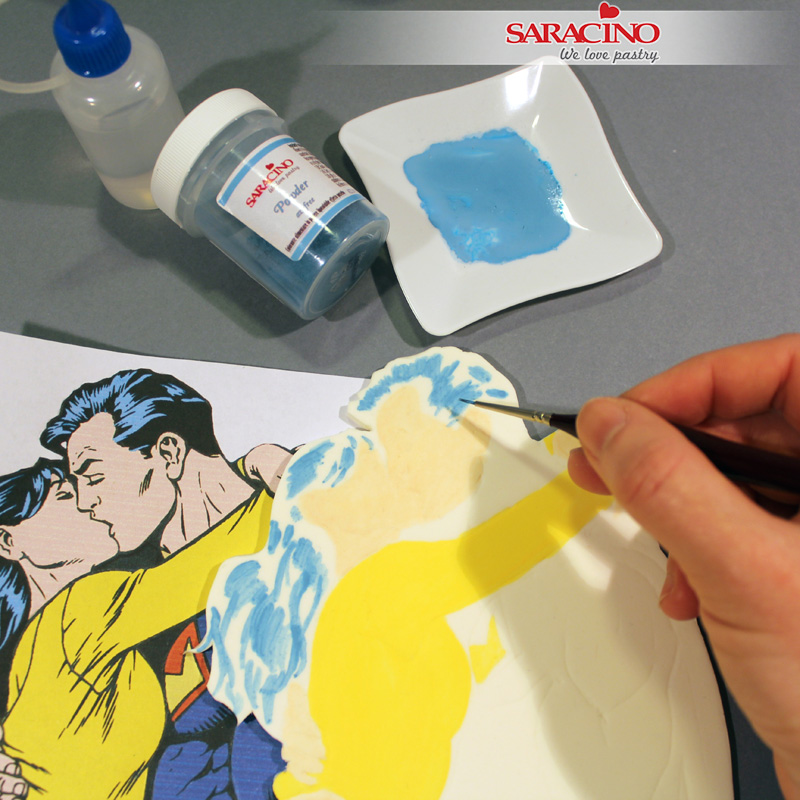
Step 20
Mix sky blue and white powder colours with alcohol and paint the bright reflections of the hair, you don’t need to be precise because we will define the design later with black
Step 21
Complete by painting the red and blue areas using the red and blue powder colors diluted with alcohol

Step 22
Mix black powder colour with alcohol and paint using a fine brush
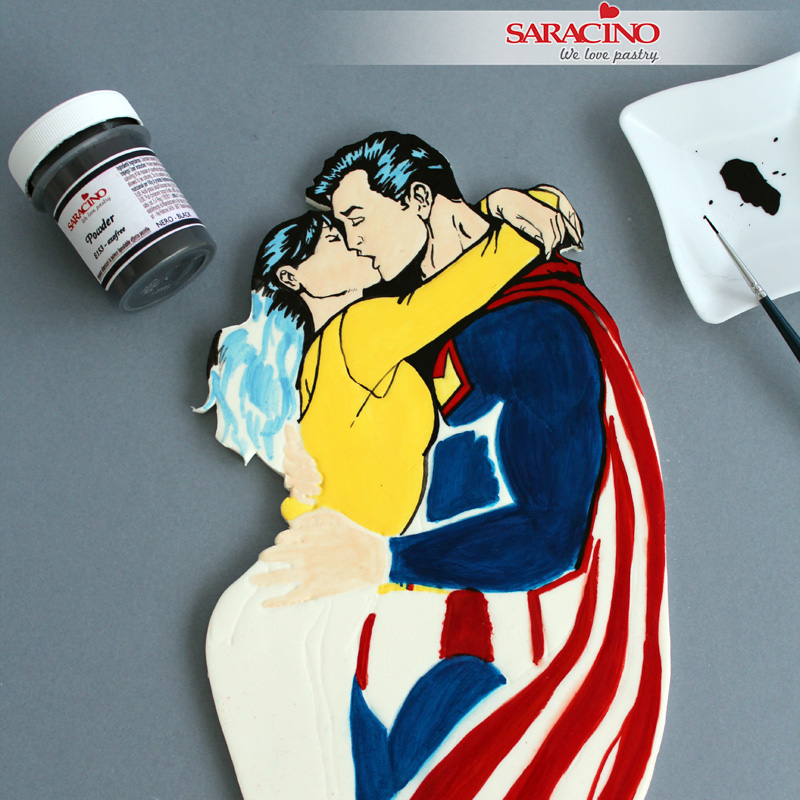
Step 23
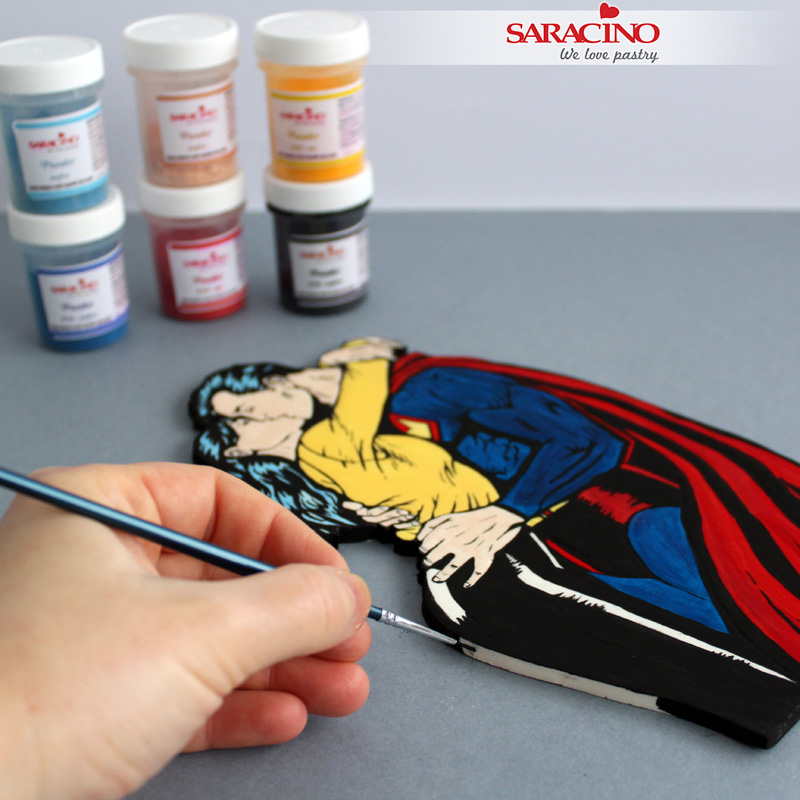
Using the picture as reference paint the design on the paste using the black powder colour mixed with alcohol
Step 24
Once the painting is complete, paint the sides with black powder colour diluted with alcohol
Step 25
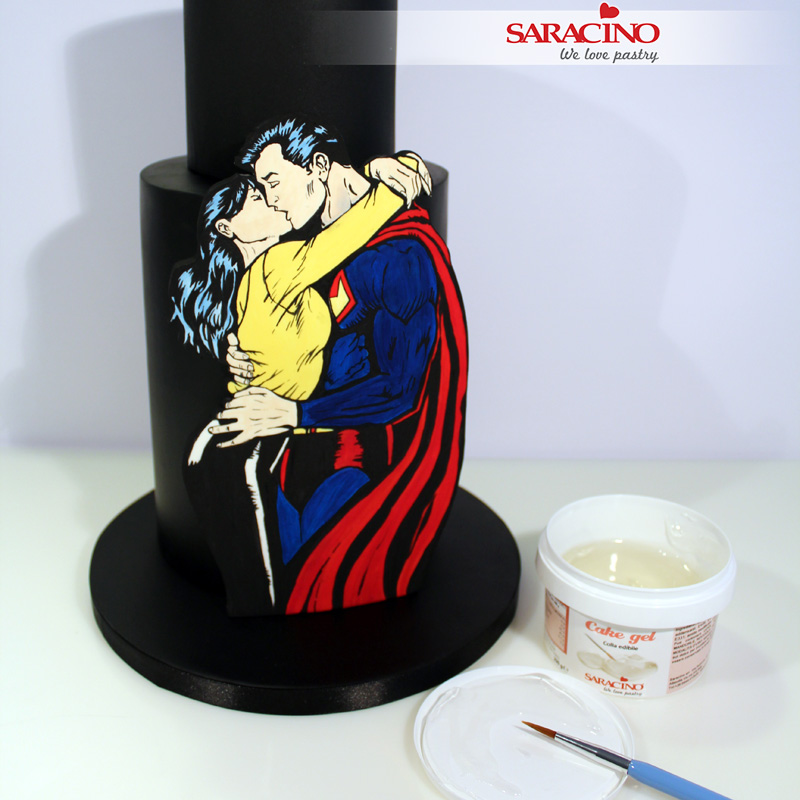
Step 26
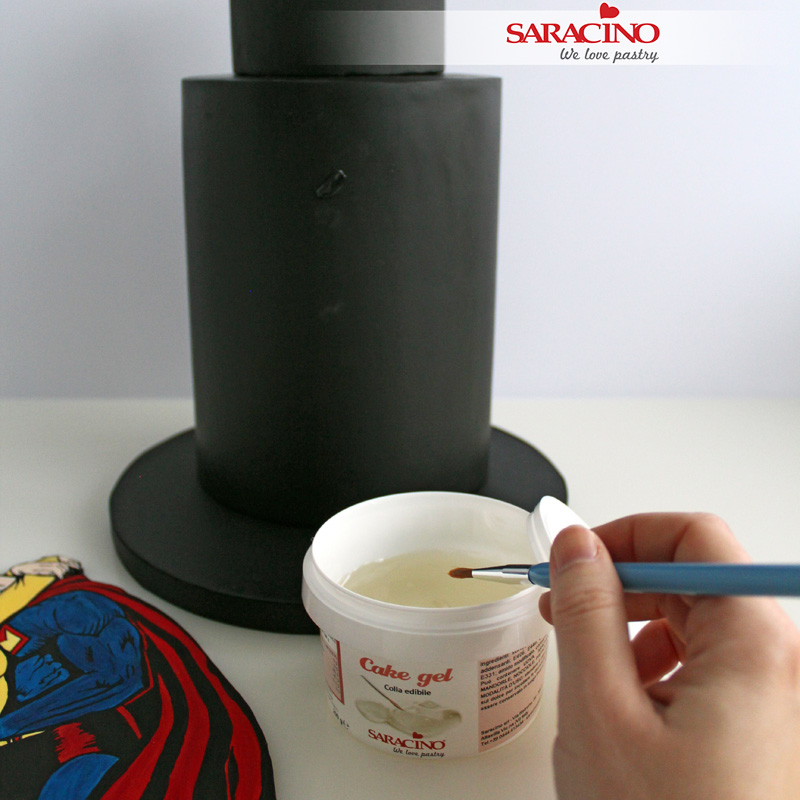
Glue the piece on the bottom tier being careful not to touch it too much with your hands as this may damage or smudge the painting
Step 27
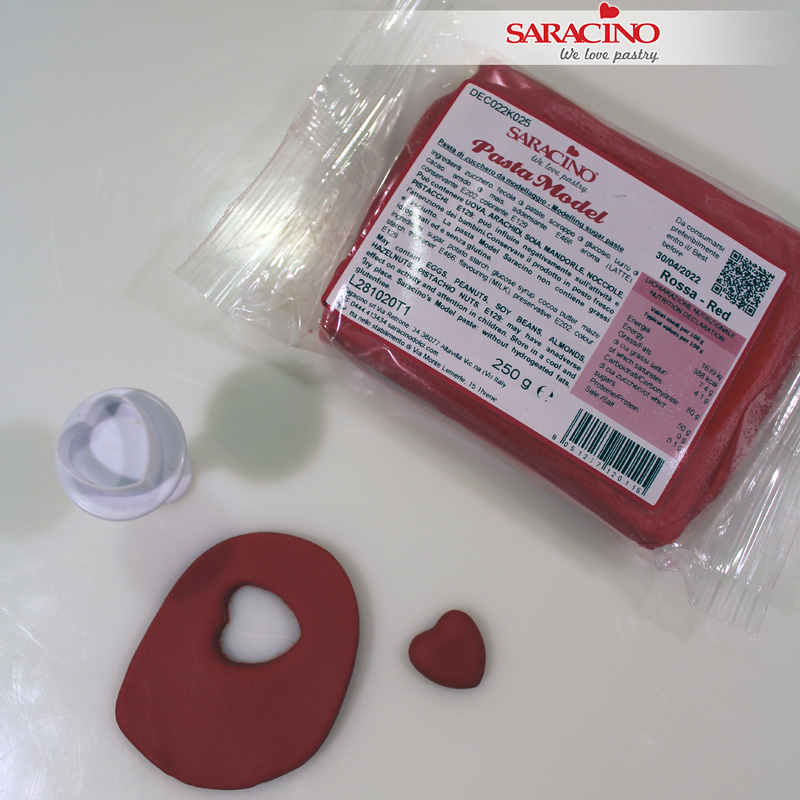
Roll out red Pasta Model and cut out a heart using the heart plunger cutter. Set aside.
Step 28
Mix red Pasta Model with a little bit of CMC

Step 29
Roll out red Pasta Model to about 3 mm thick
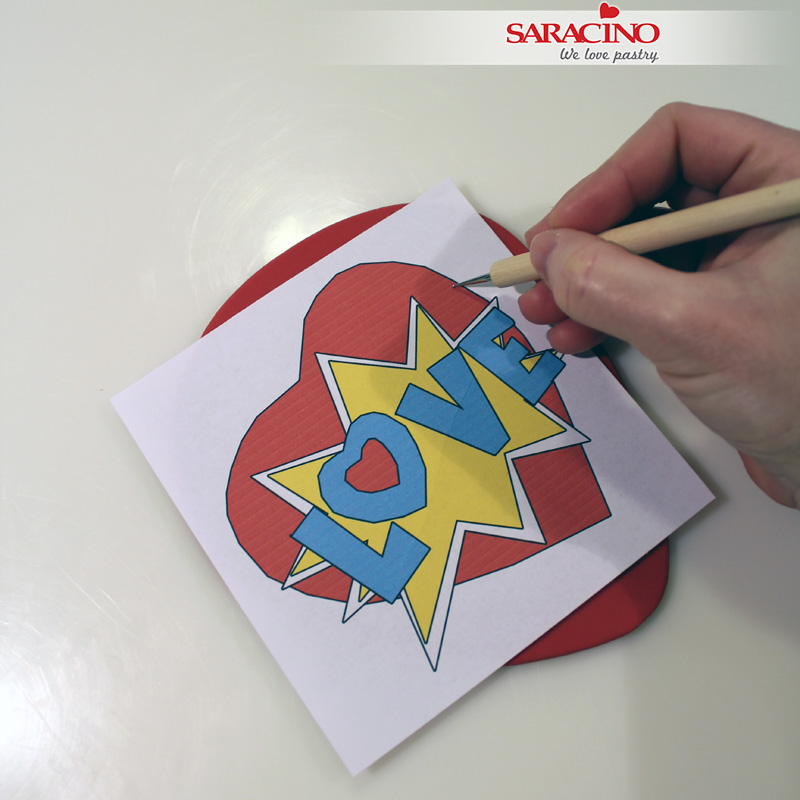
Step 30
Place the printed image on the paste and, using a small ball tool, trace the outlines of the red heart on the paste
Step 31
Do the same using the white and yellow paste
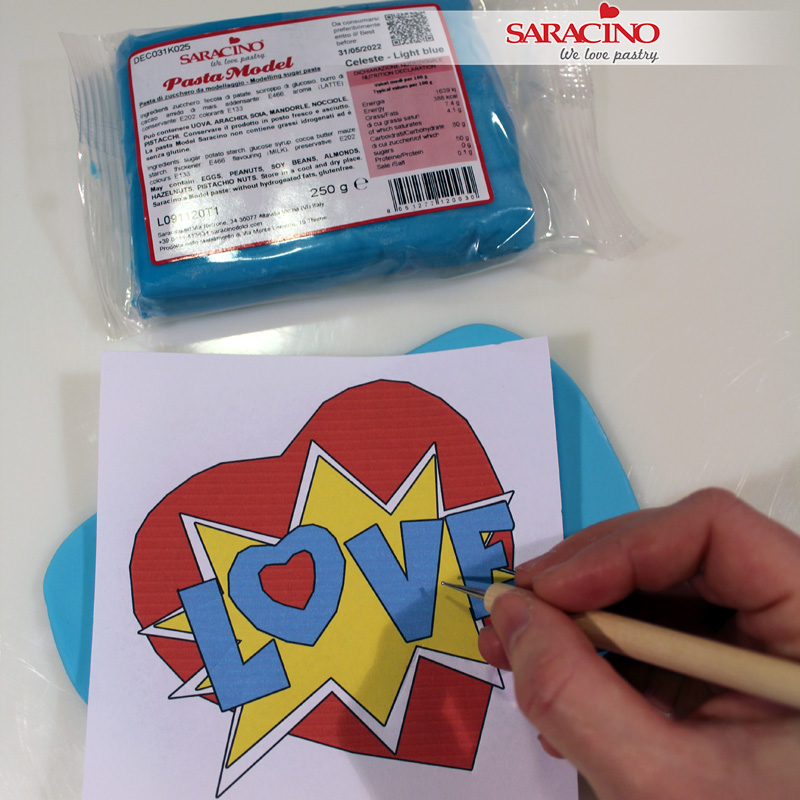
Step 32
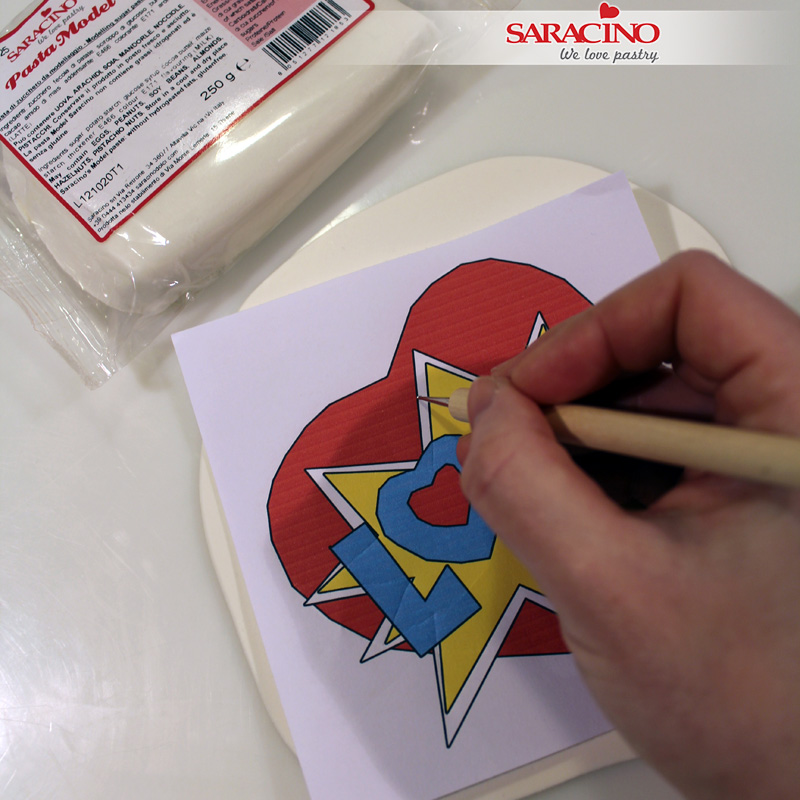
Roll out light blue Pasta Model to about 2 or 3 mm thick and using a small ball tool, trace the outlines of the word LOVE
Step 33
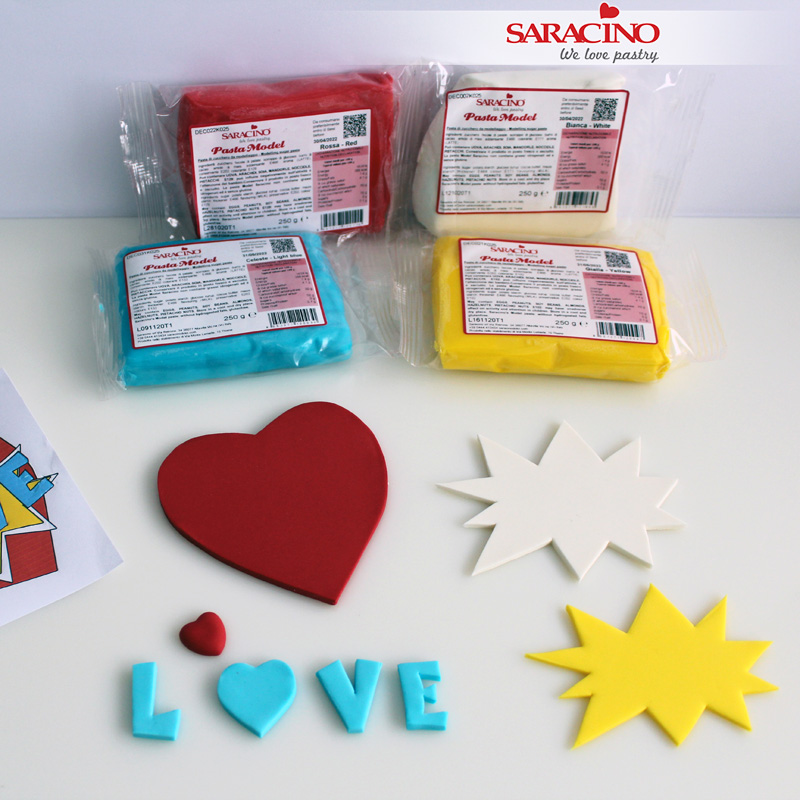
Once all the shapes are traced use a craft knife to cut them out, these are all the pieces needed to make the comic heart
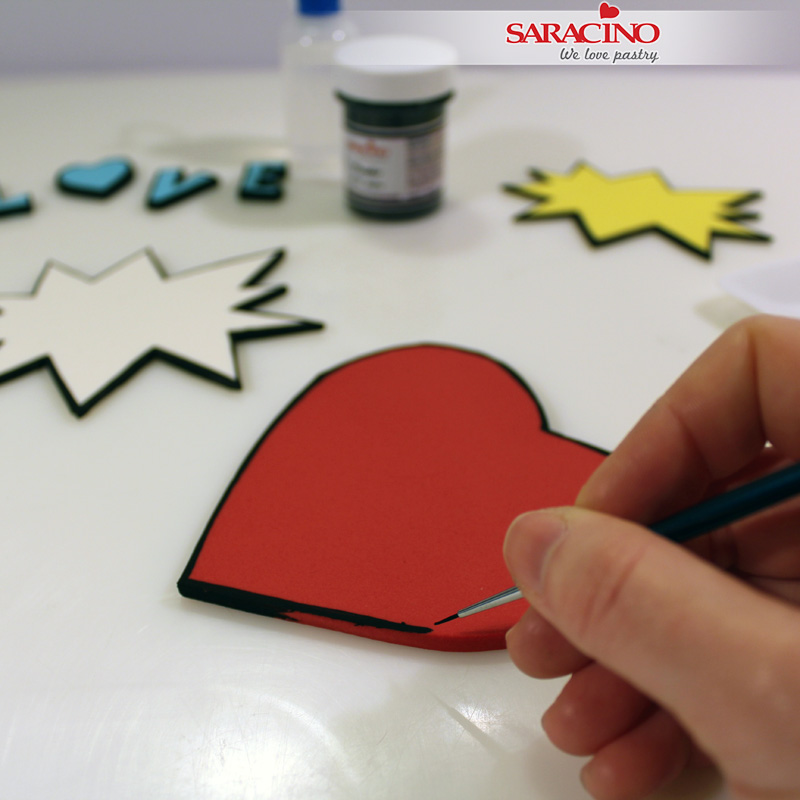
Step 34
Using a thin brush paint a black line on the outline and sides of the heart shape
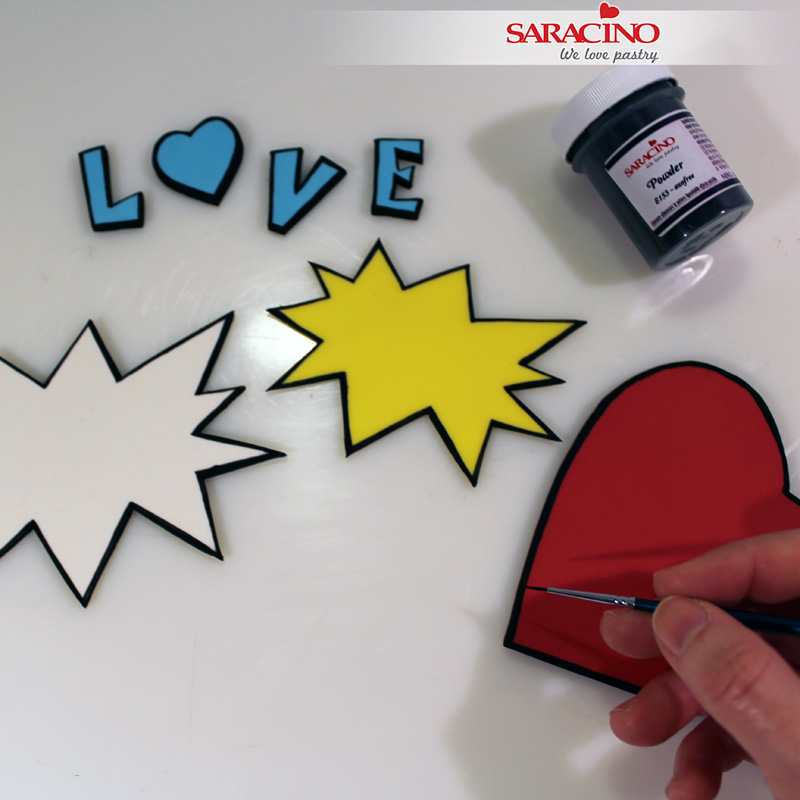
Step 35
Do the same for all shapes
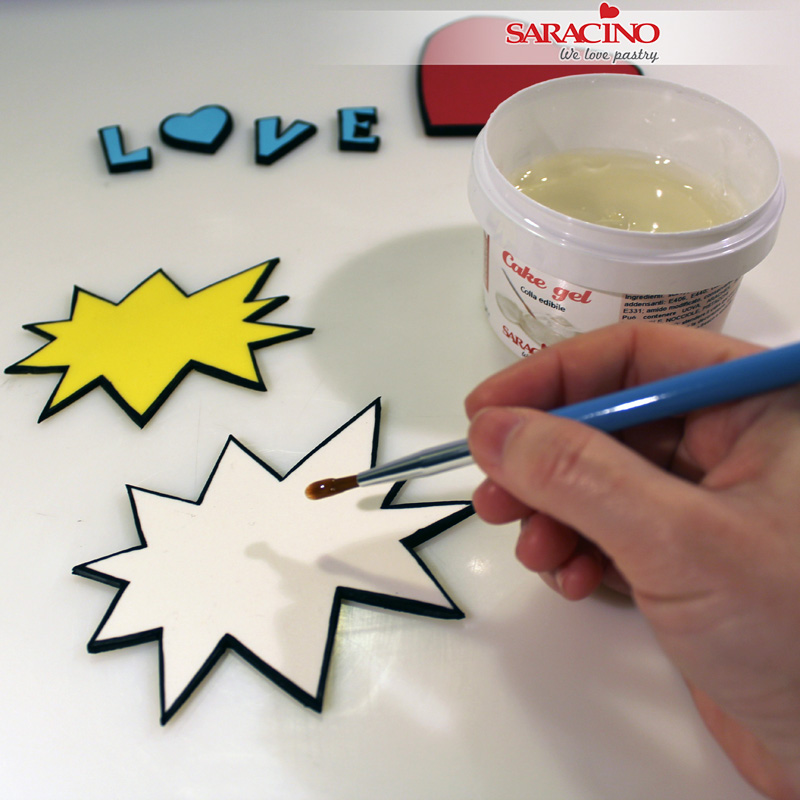
Step 36
Glue all the pieces of the comic using Cake gel glue
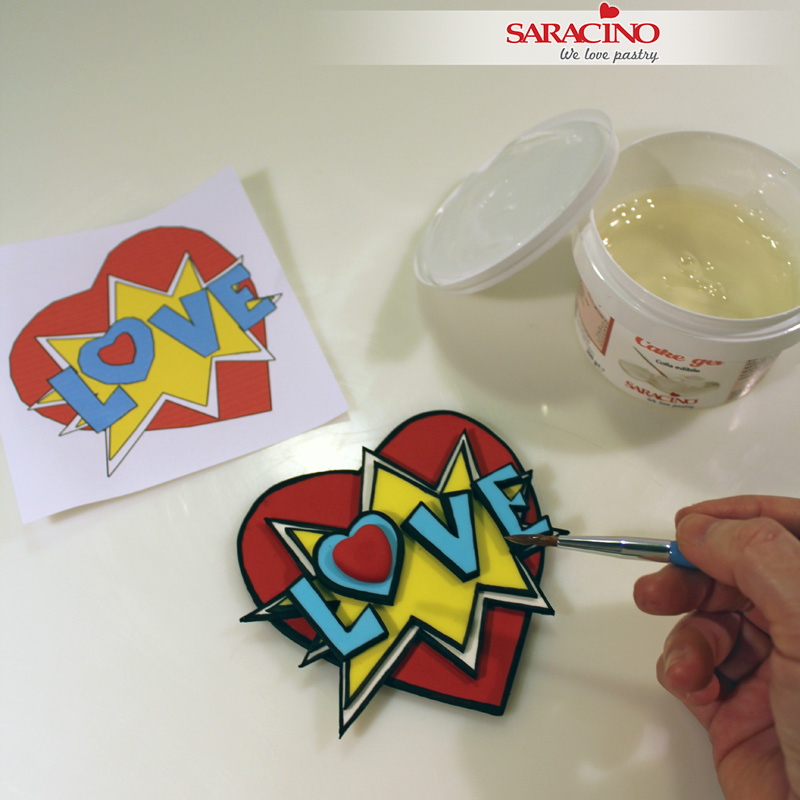
Step 37
Glue the word LOVE using the printed image as a reference
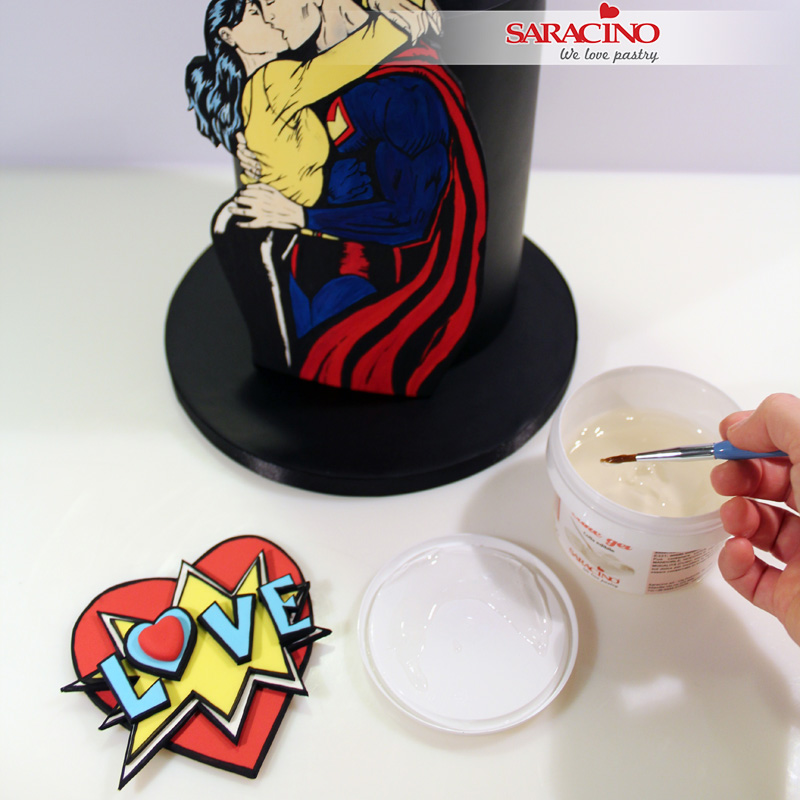
Step 38
Add a layer of Cake gel glue to the back of the big red heart
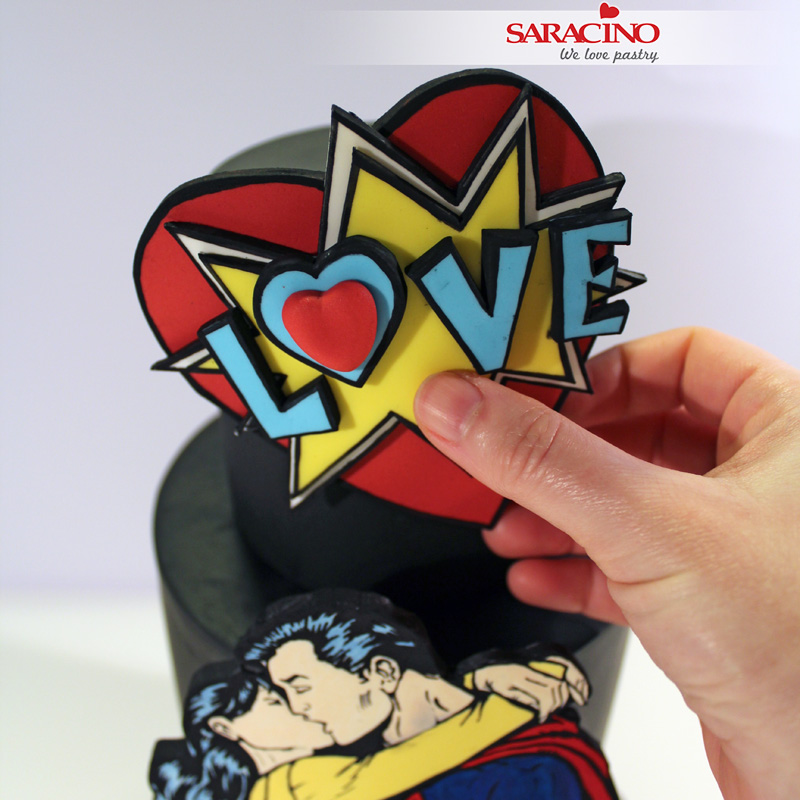
Step 39
Stick the comic onto the top tier, support with toothpicks if necessary until dry and then they can be removed.
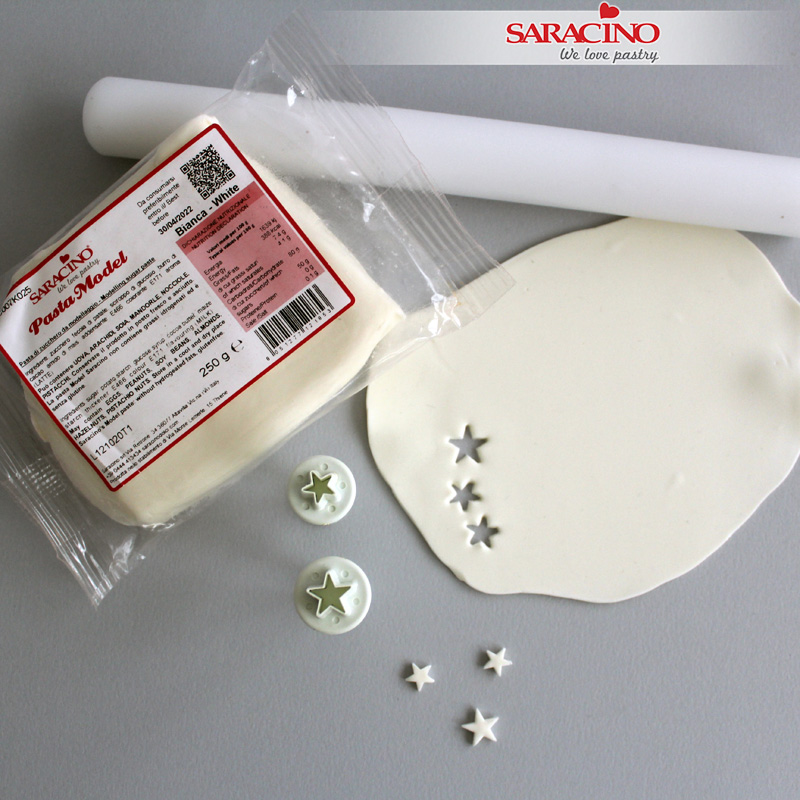
Step 40
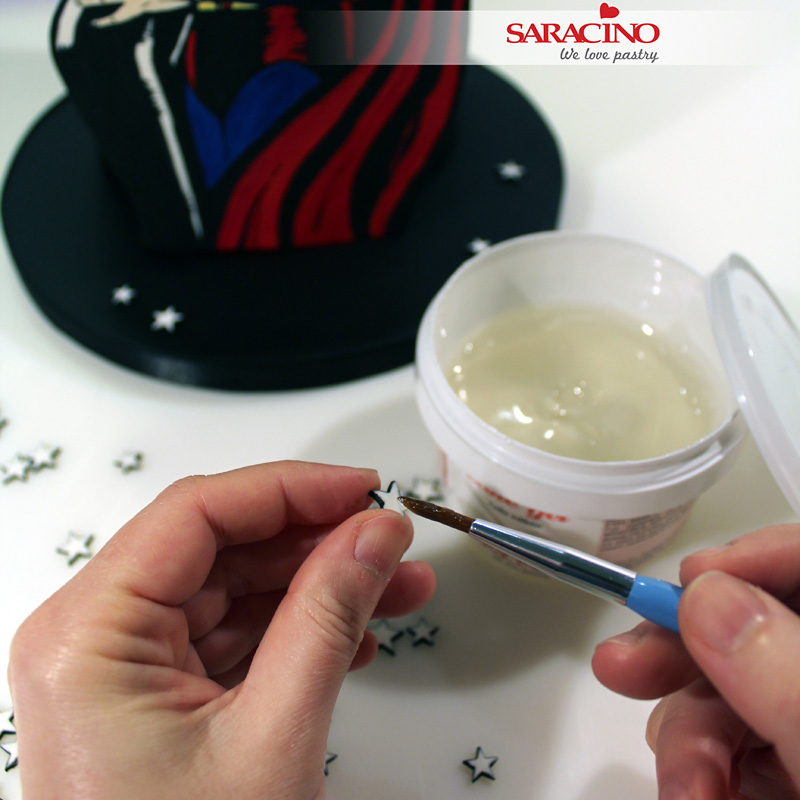
Roll out the white Pasta Model and cut out some stars with 2 sizes of stars plunger cutters
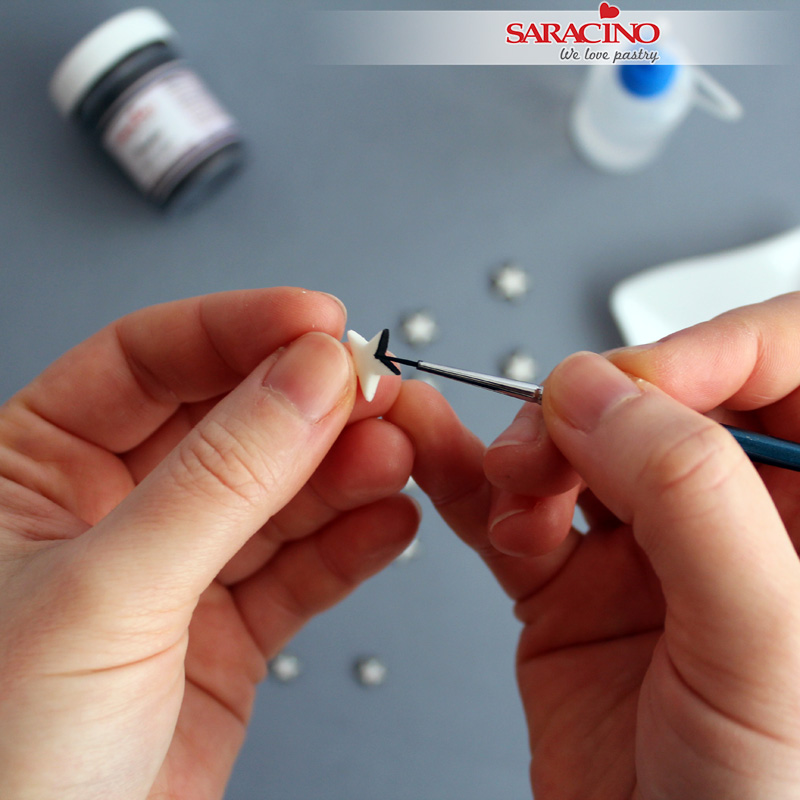
Step 41
Using the black powder colour diluted with alcohol paint the sides of the stars
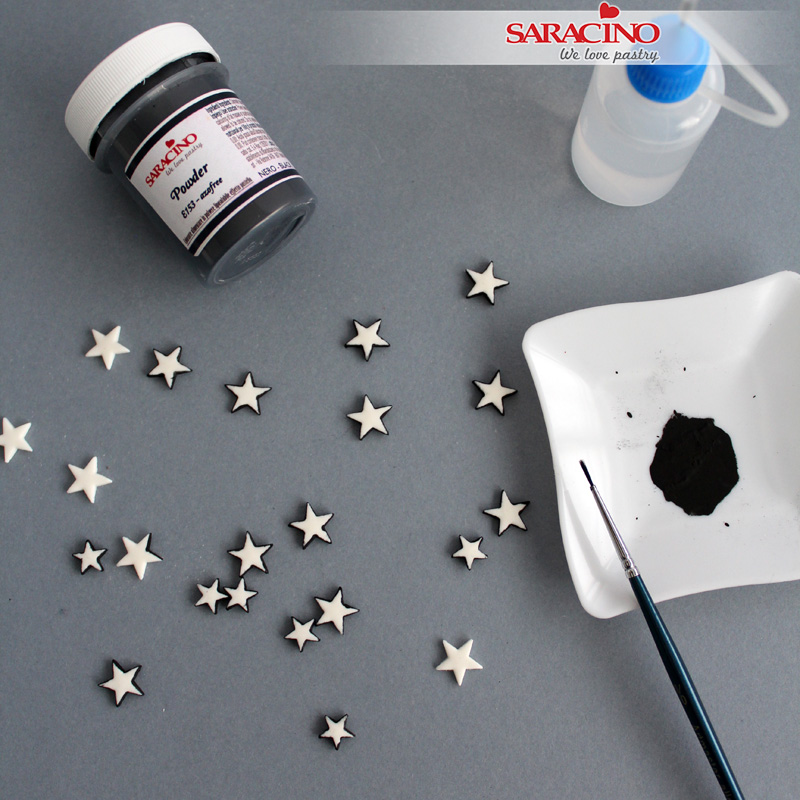
Step 42
Make about 35 stars of different sizes
Step 43
Using a brush add a little bit of Cake gel glue to the back of each star
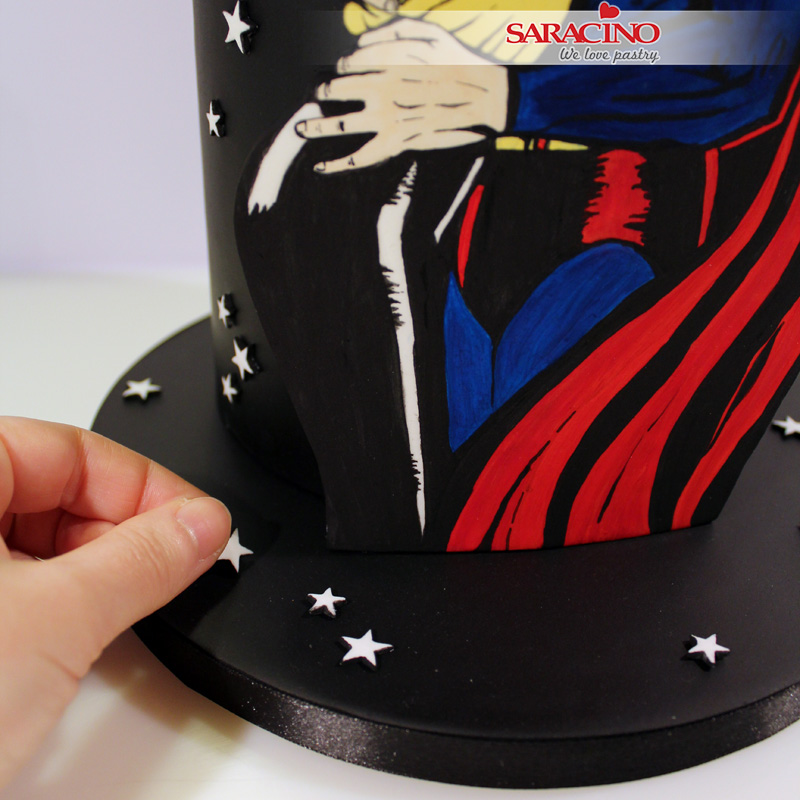
Step 44
Glue the stars to the cake and cake board randomly
Step 45
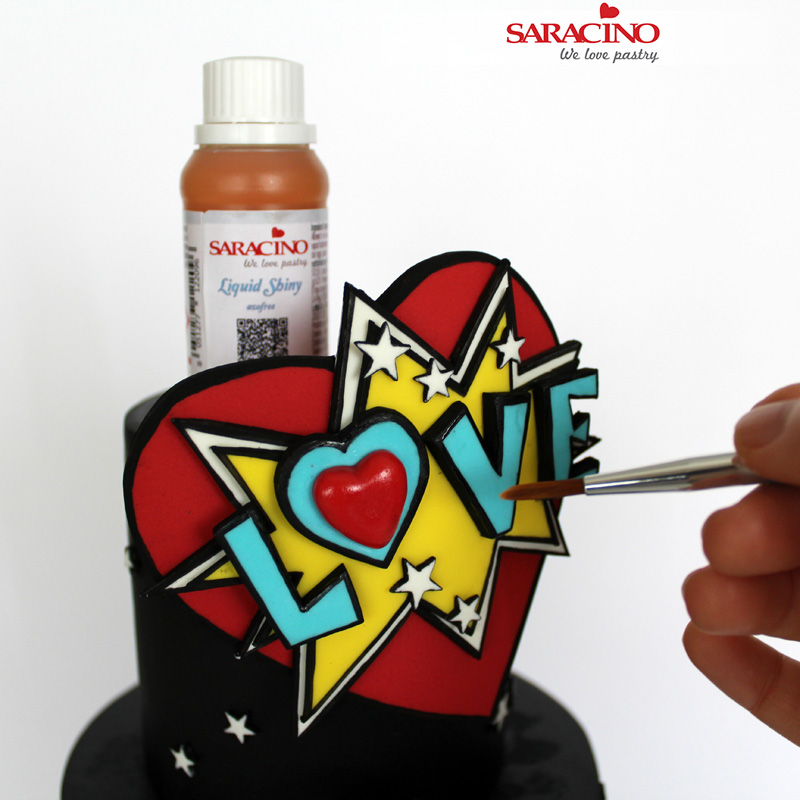
Add a shine to the word LOVE with the Shiny Effect Confectioners Glaze
Step 46
Your cake is ready <3
