


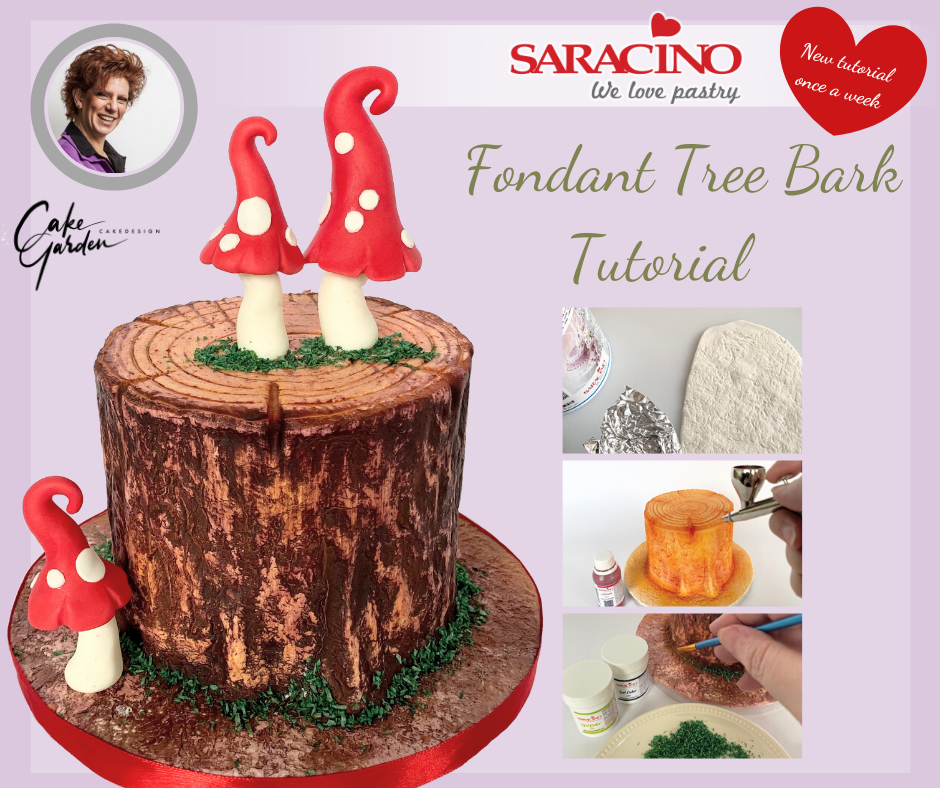

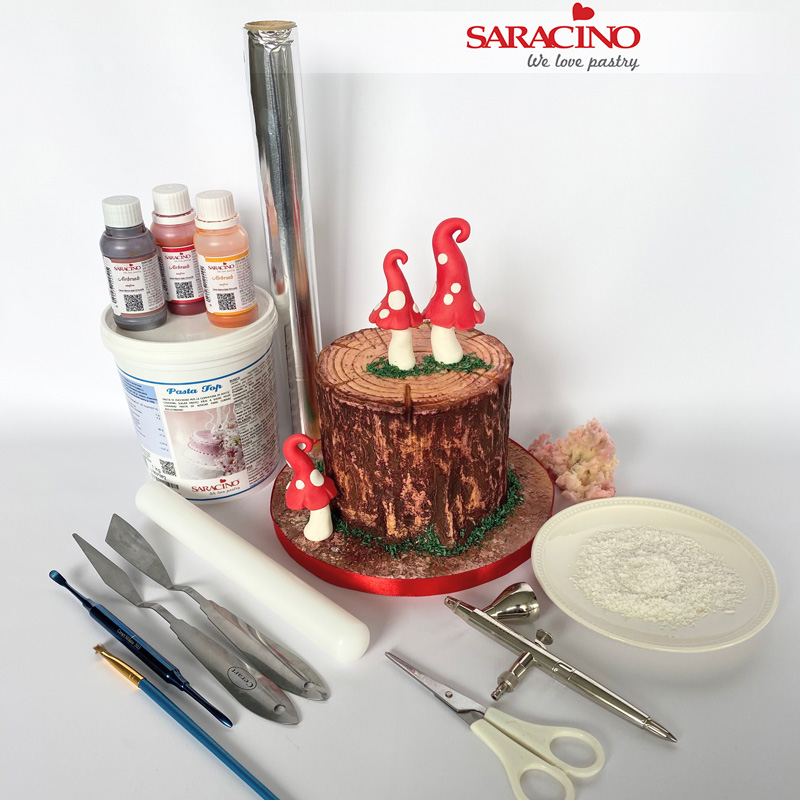
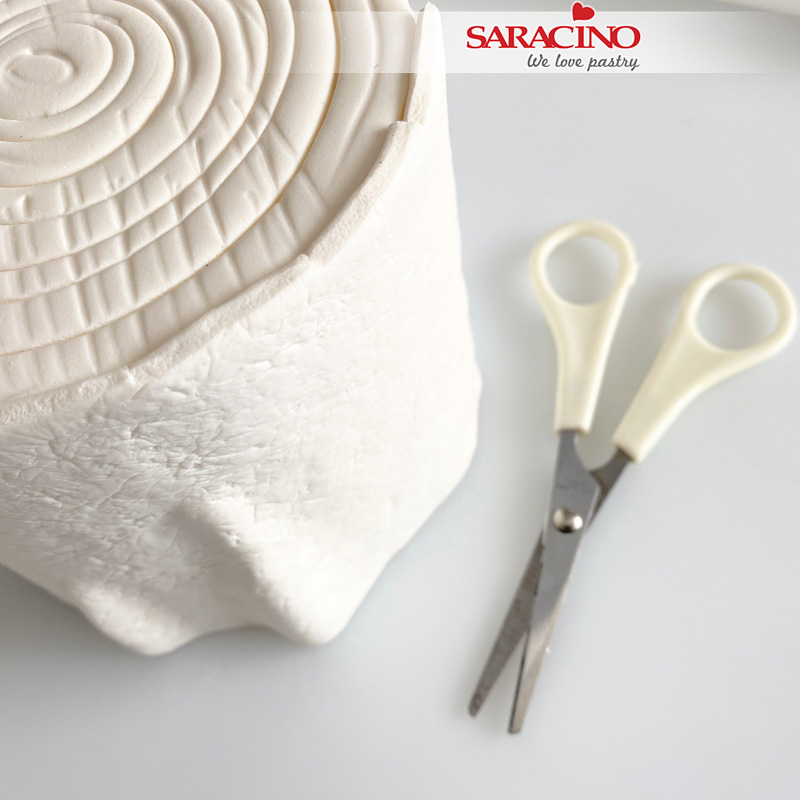
You will need:
-
Saracino Pasta Top
-
Saracino Liquid airbrush food colour brown
-
Saracino Liquid airbrush food colour orange
-
Saracino Liquid airbrush food colour red
-
Saracino concentrated gel food colour green
-
Saracino concentrated gel food colour black
-
Aluminum foil
-
Rolling pin
-
Airbrush
-
Grated coconut
-
Steel spatula
-
Modelling tools
-
Set of round cutters
-
Small brush
-
Edible glue
-
Cake drum
-
Scissors

Step 1
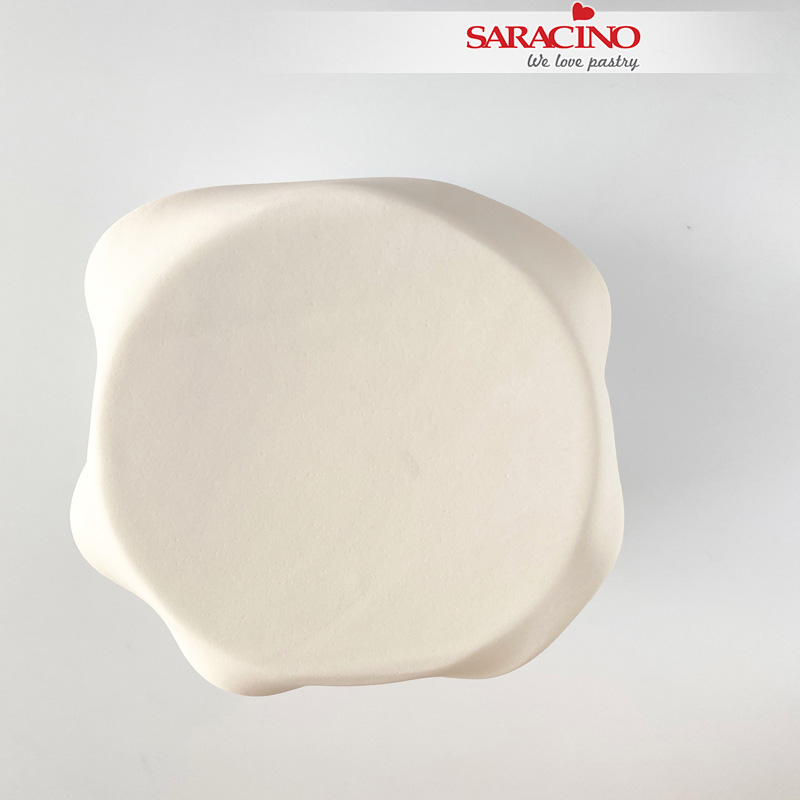
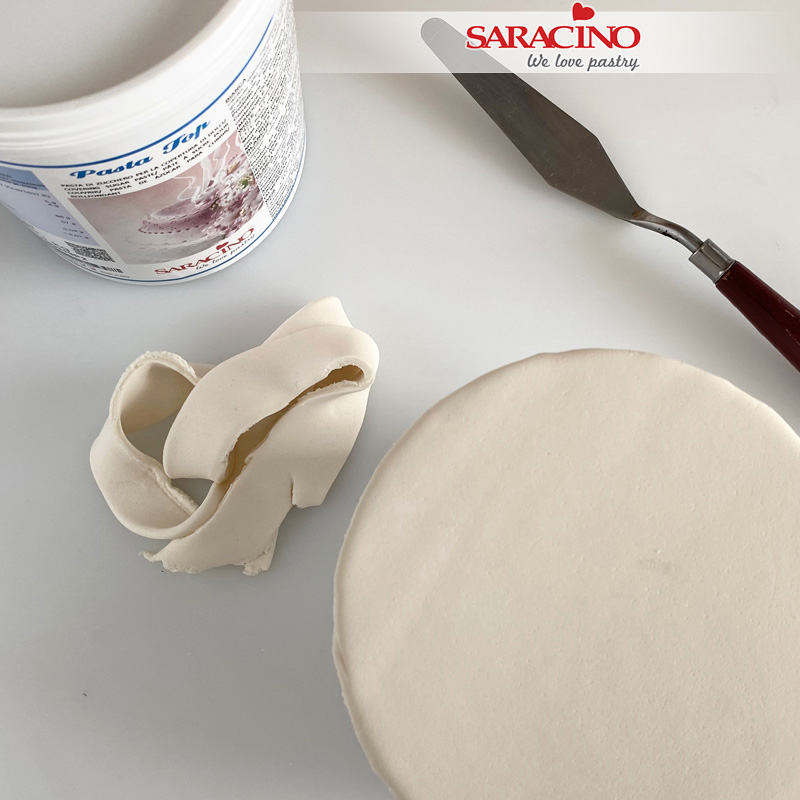
Place the white Pasta Top on your work surface and roll the fondant out evenly.
TIP: Pasta Top is VEGAN friendly, GLUTEN FREE and has NO HYDROGENATED FATS.
Step 2
For the top of the tree place the fondant gently over the top of your cake (or dummy)
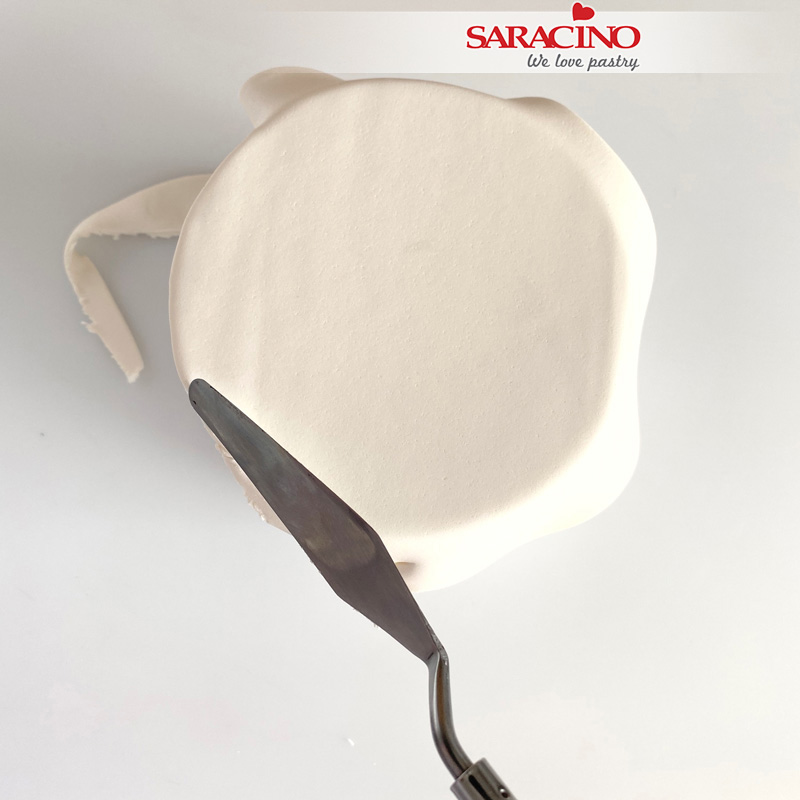
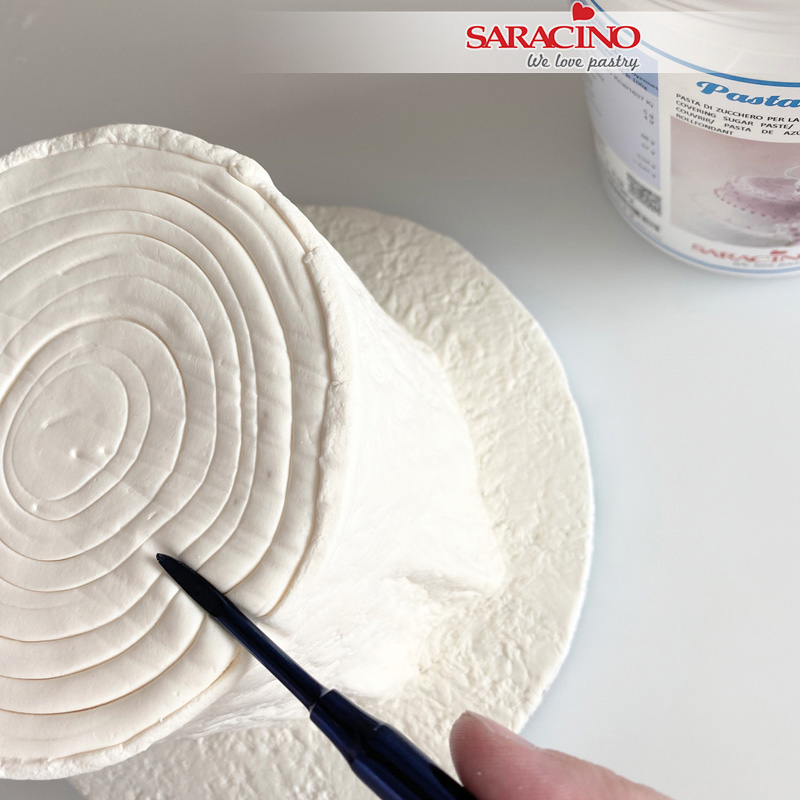
Step 3
Remove the excess paste with a knife around the edge of the cake.
Step 4
Save the removed paste for later.
Step 5
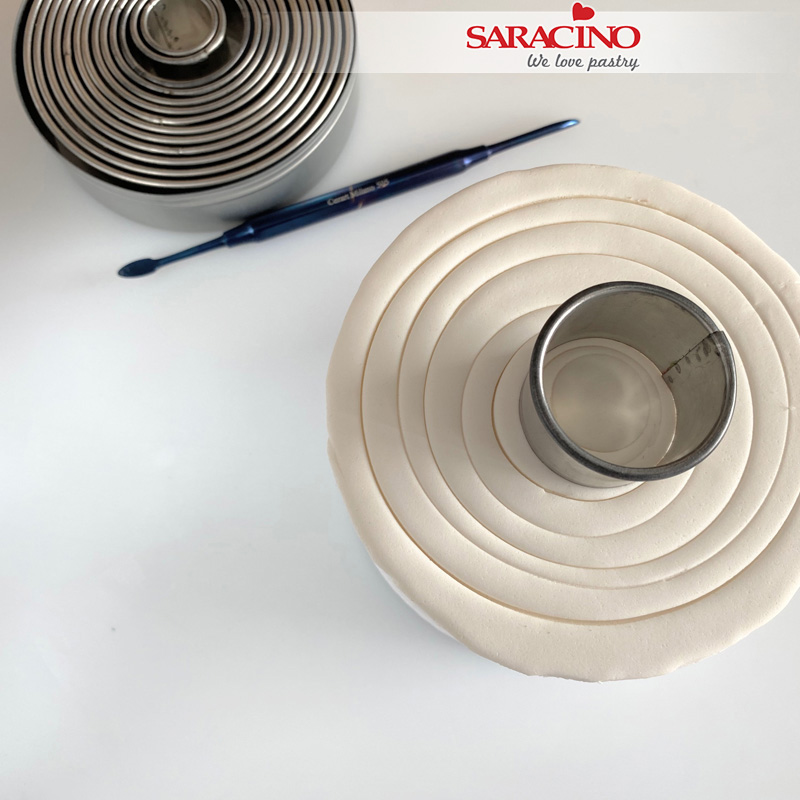
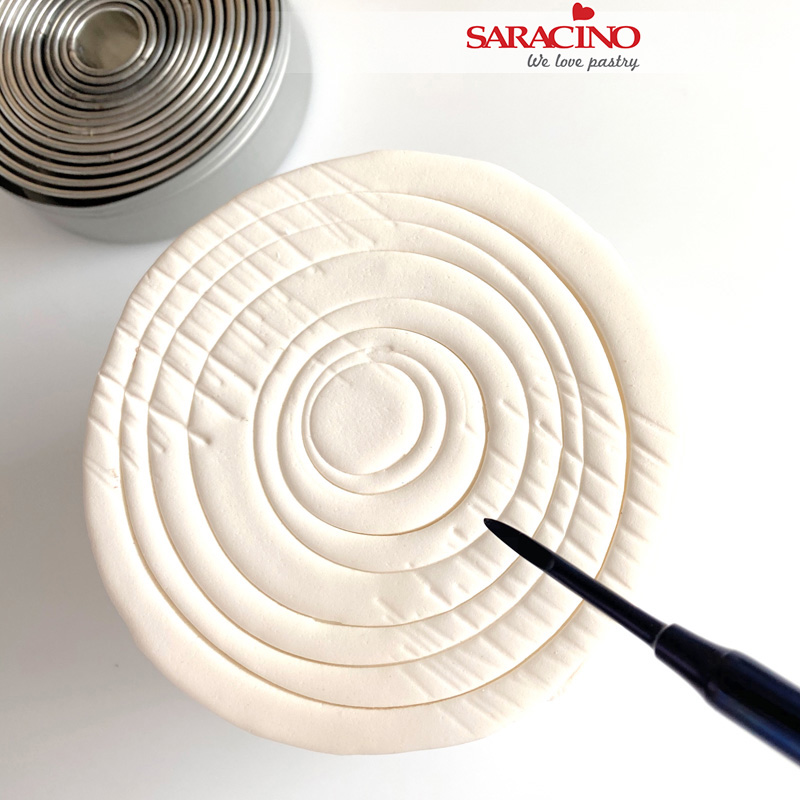
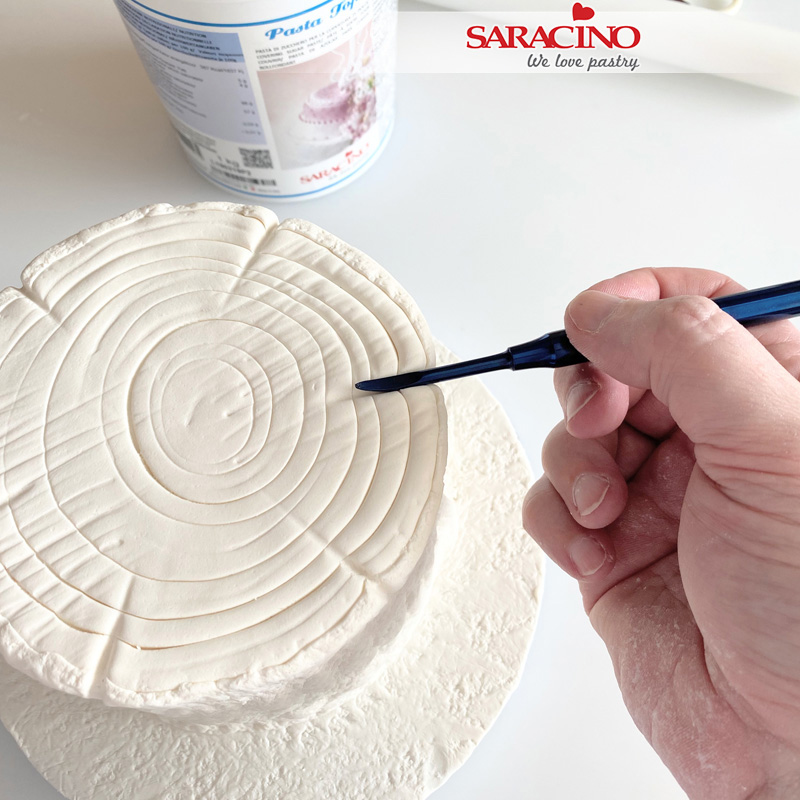
Use different sizes of round cutters to press into the paste on top of the cake. You can use a modelling tool also to create circles on top of the cake.
Step 6
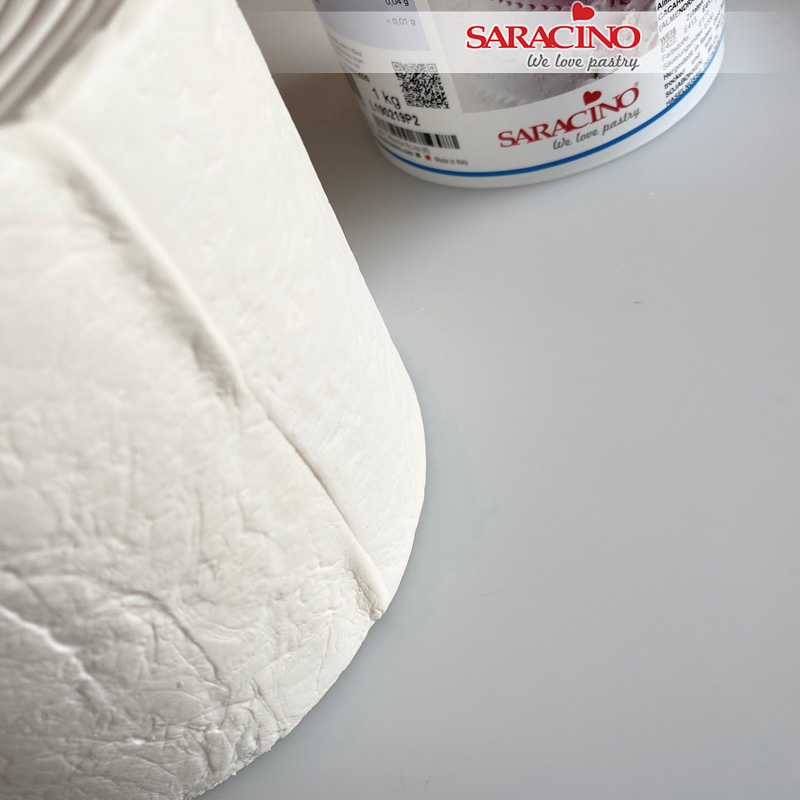
Create strips with your modelling tool at two opposite sides of the cake, so it looks like the tree has been cut.
Step 7
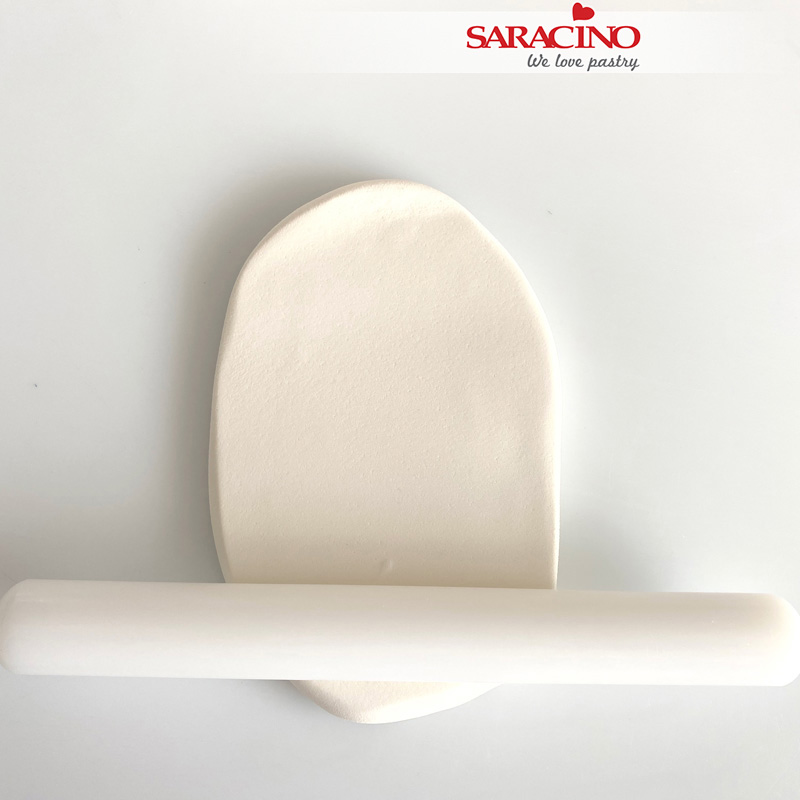
To cover the side of your cake roll out a piece of fondant evenly into a rectangular shape. We are going to cover the side of the cake with Pasta Top. This can be done in panels if needed.
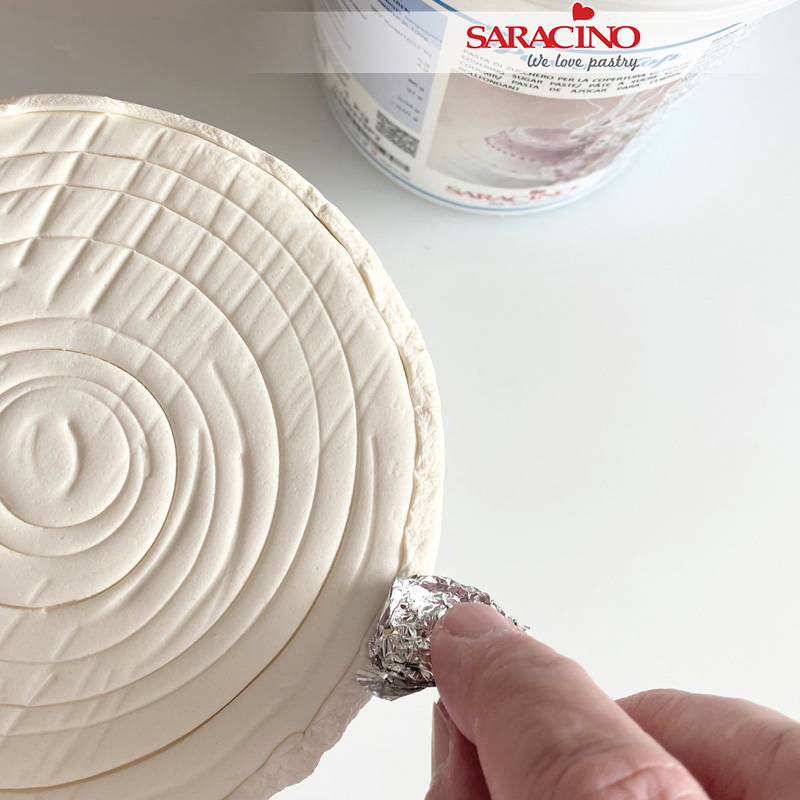
Step 8
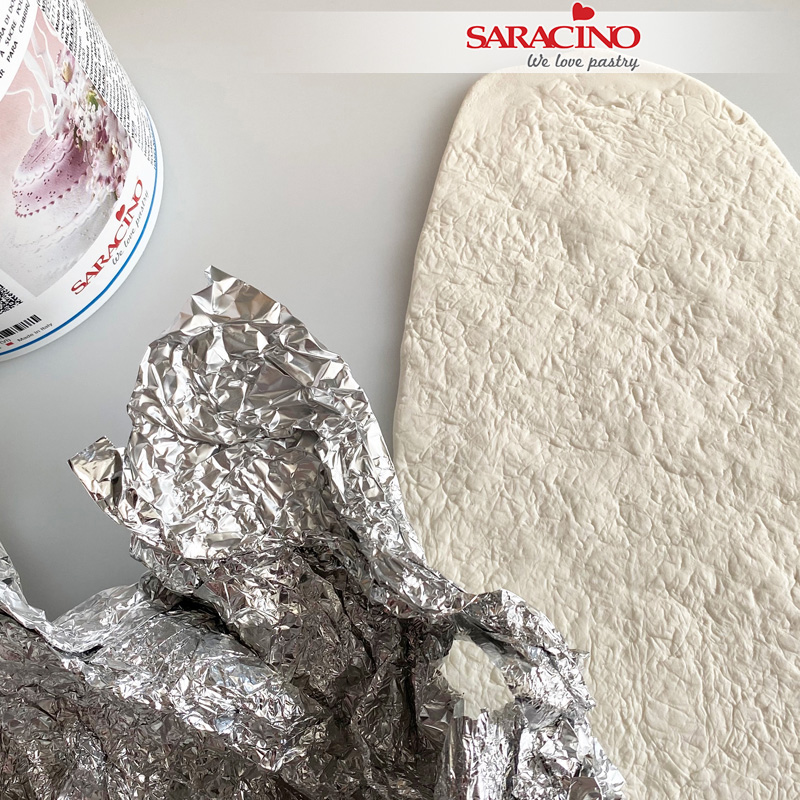
Take a piece of aluminum foil and scrunch into a ball. Then un-fold so you create a textured pattern in the foil. Place the foil on top of your paste and use your rolling pin to roll the foil into the paste.
Step 9
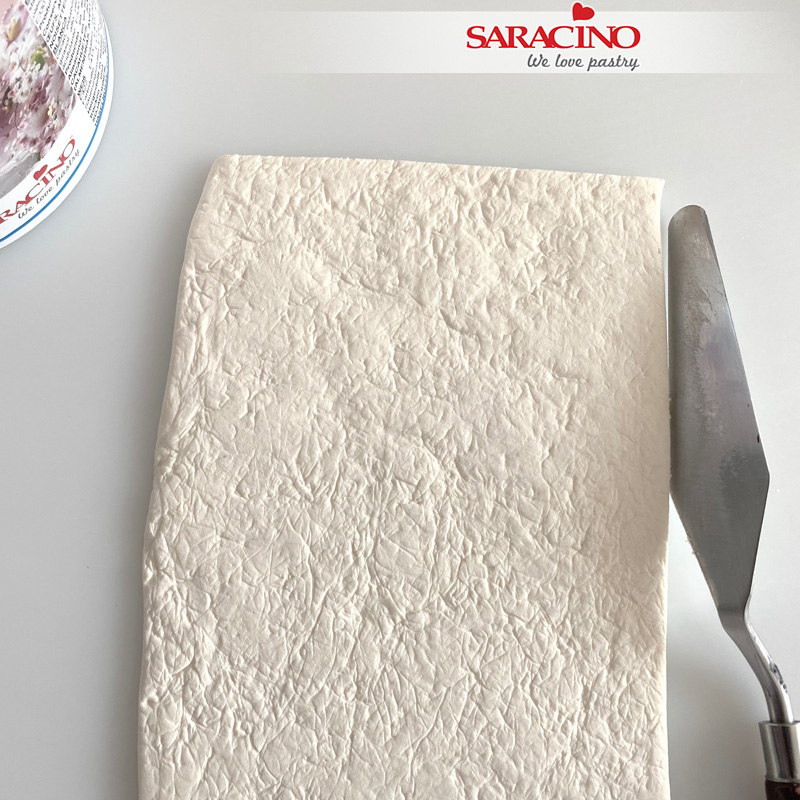
Repeat step 8 to make sure the texture is all over your paste. Remove the foil and cut a rectangle. Take the height of your cake into account.
Step 10
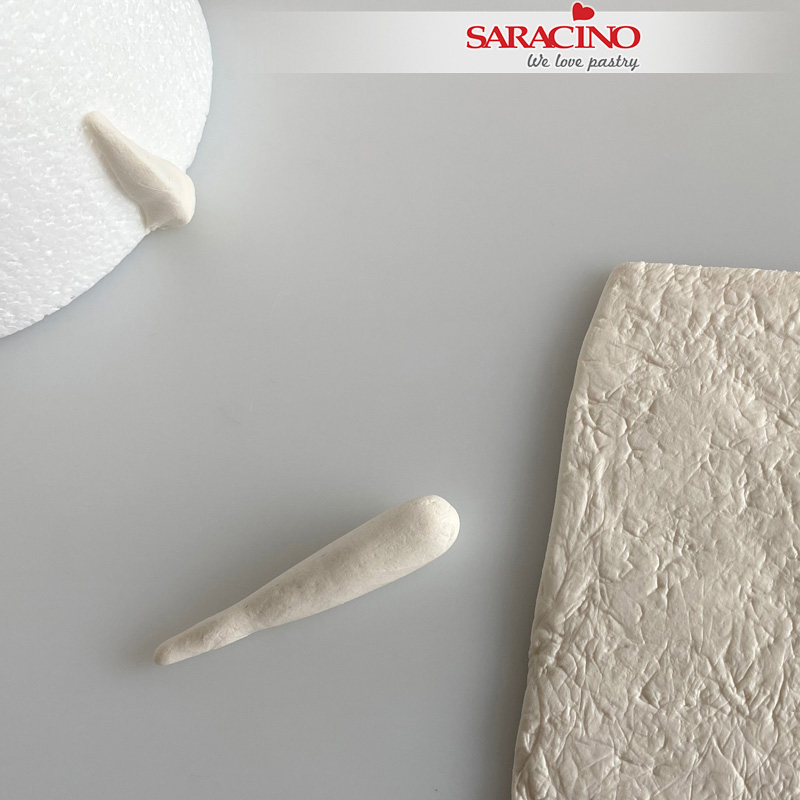
Create long teardrop-shaped pieces of fondant to create tree roots. Create different lengths and thicknesses. Use a little edible glue and push the teardrop-shaped pieces against your cake at different places. Decide for yourself how many roots you are going to make.
Step 11
Take the rectangle fondant and place it against the side of your cake, use Saracino gel or water to stick the fondant to your cake.
Step 12
Use scissors to remove the excess fondant that rises above the edge of your cake. You don’t have to cut it neatly.

Step 13
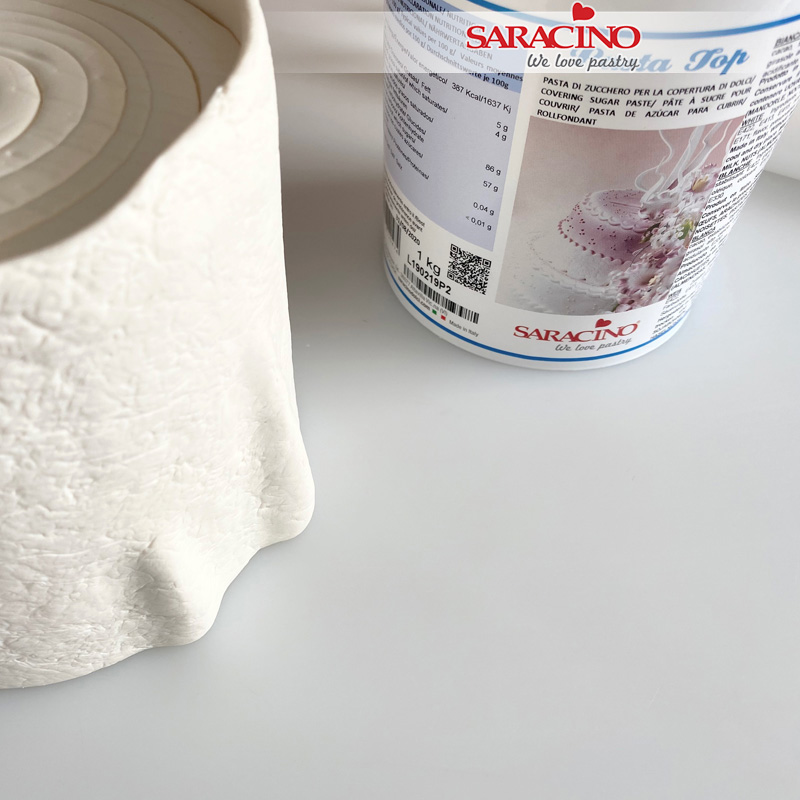
Repeat steps 8 up to 11 for covering the side of the cake if you cannot achieve it in one piece.
Step 14
Where the side panels meet press them together to join. It does not have to be too neat as a real tree is never smooth and perfect
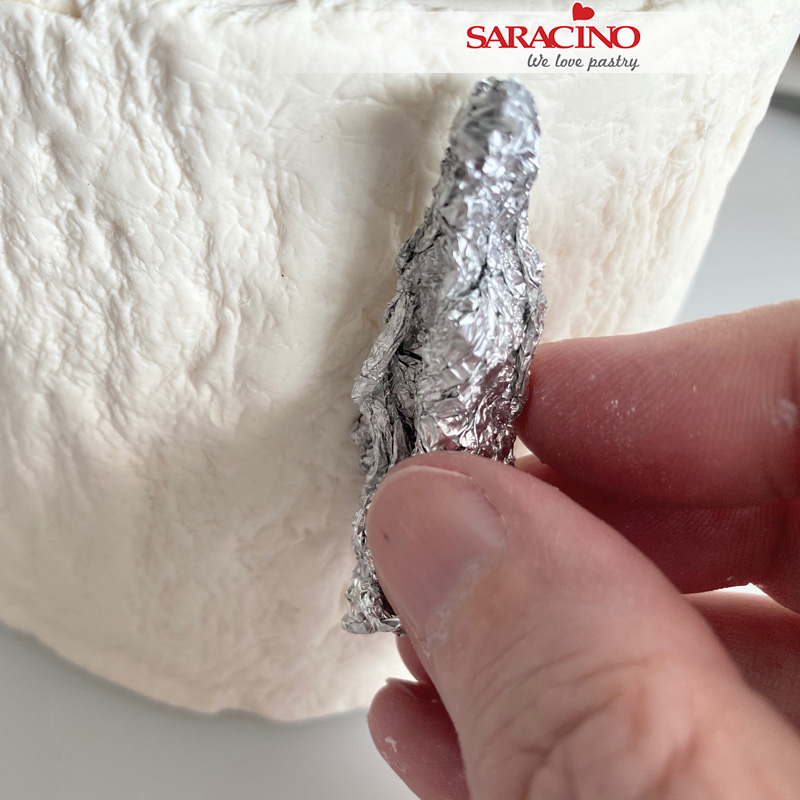
Step 15
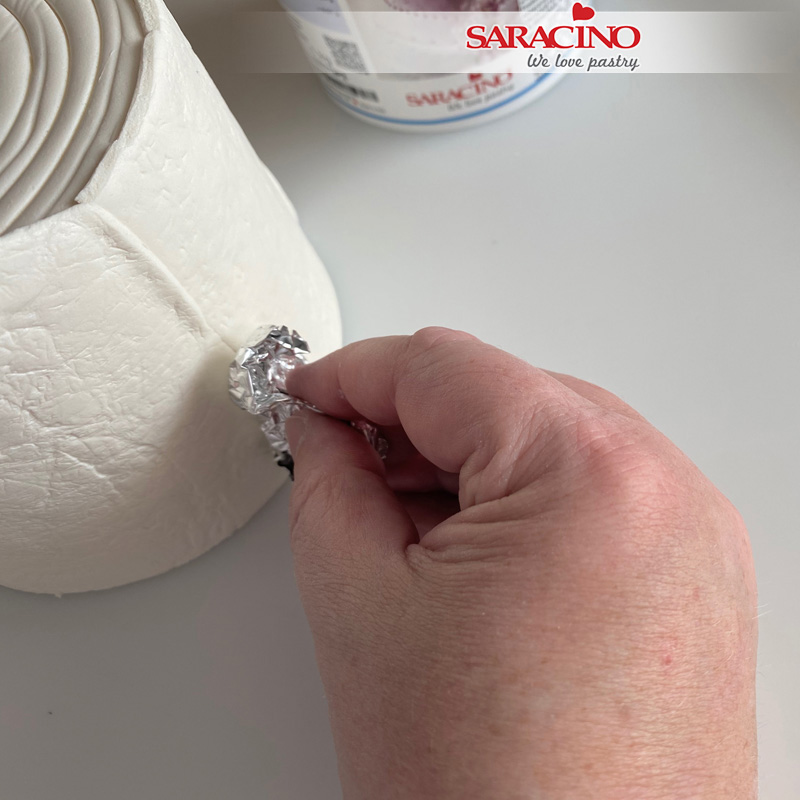
You can work the seams of fondant with a piece of aluminum foil.
Step 16
Just press the foil onto the paste so you don’t see the seams anymore.
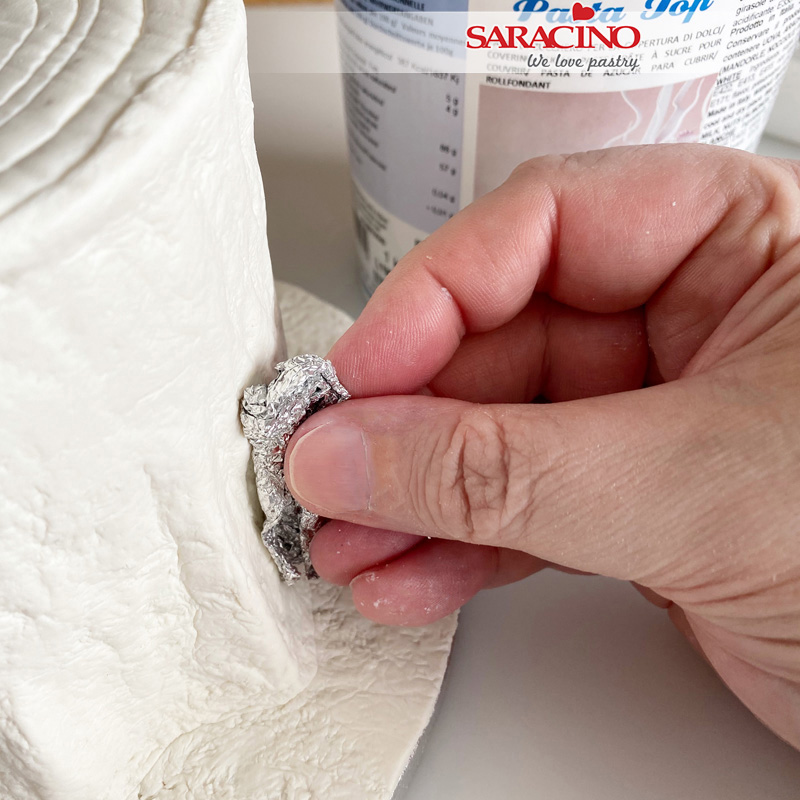
Step 17
Press the foil at the top of the cake so you won’t see the cuts you made removing the excess fondant at the top.
Step 18
Press gently from top to the bottom of the seam. Repeat this step for each seam of fondant
Step 19
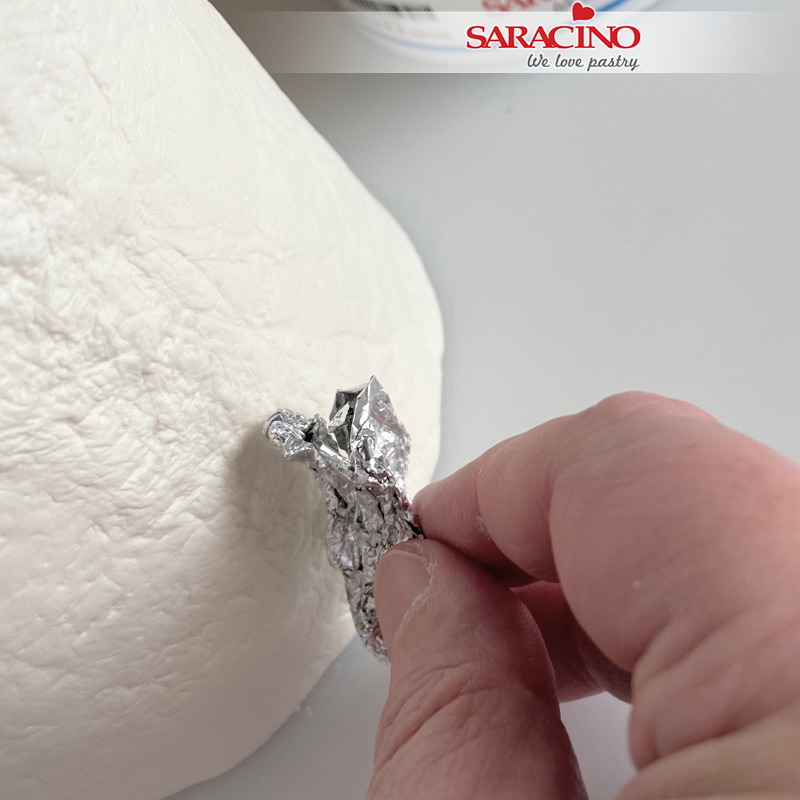
If you want to give your bark more dept, push a piece of foil deeper into the fondant. Repeat this for your whole cake.
Step 20
Use a modelling tool to create a dent in your fondant tree.
Step 22
Repeat step 20 as many times as you like
Step 23
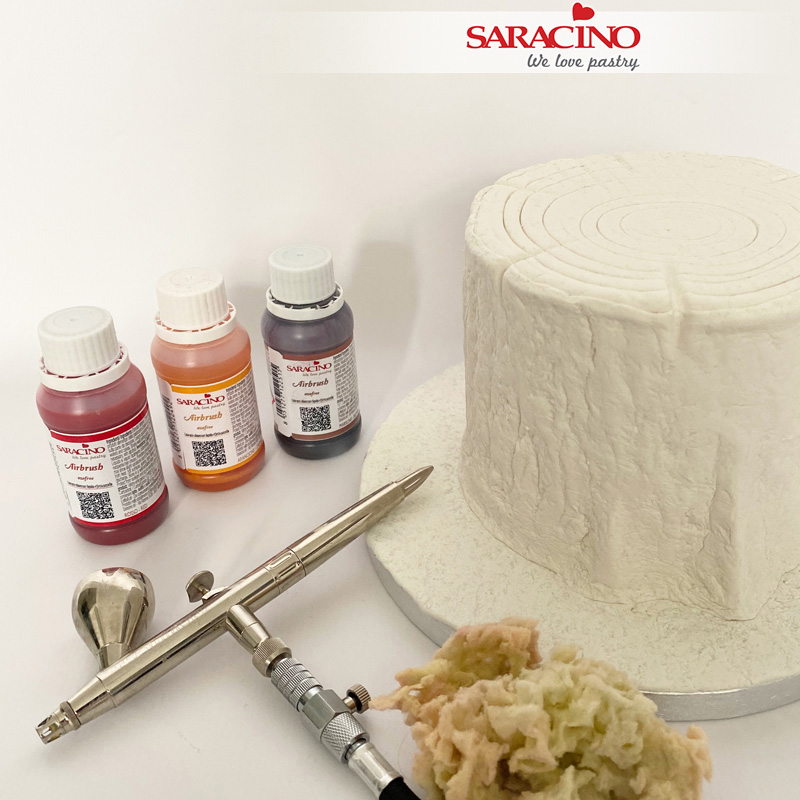
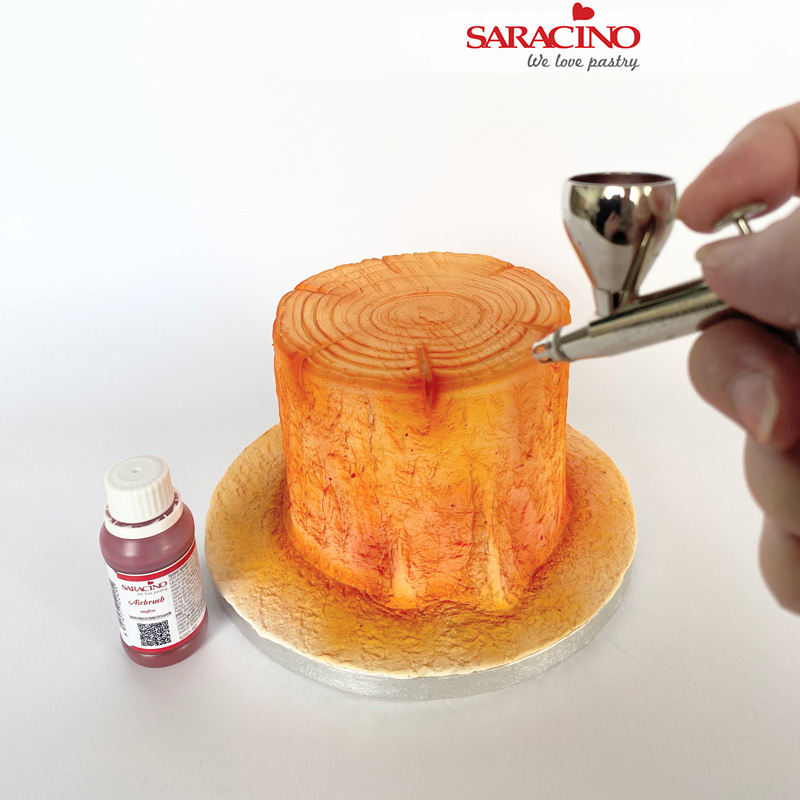
Get your airbursh ready to use.
Step 24
Always start with the lightest airbrush colour orange.
Step 25
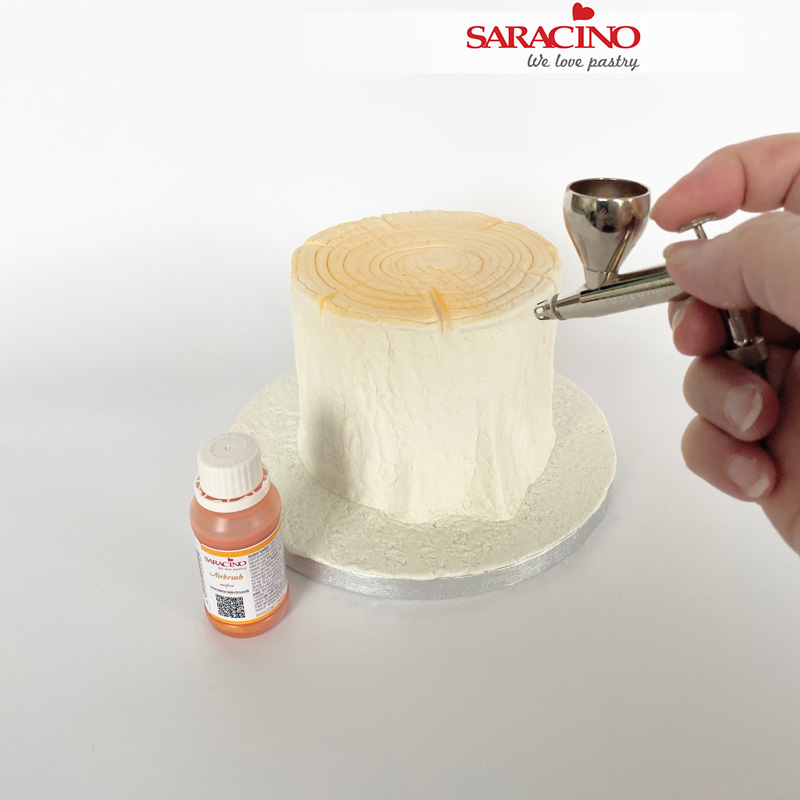
Cover the whole cake with a light orange airbrush colour. Turn you cake while brushing. Use a turntable if you want to.
Step 26
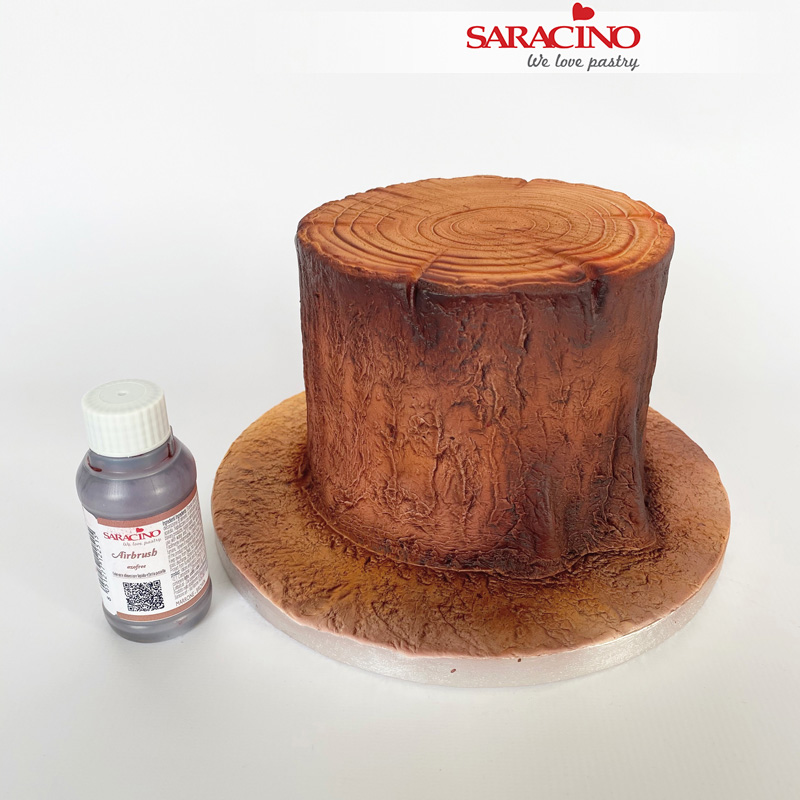
The next airbrush colour is red. Airbrush the rifts and dents in the cake. Don’t airbrush the whole cake, just the dents, sides of the roots and some dents in the cake.
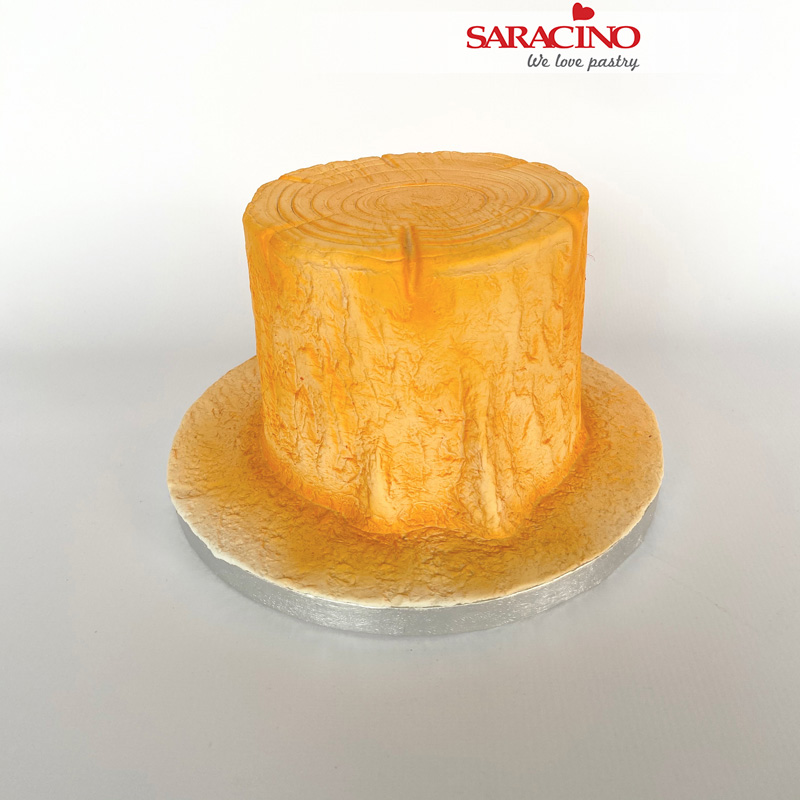
Step 27
The next airbursh colour is brown. Airbrush the whole cake with the brown airbrush colour. Make sure you airbrush some parts darker than other parts.
Step 28
Place a clean natural sponge in water. Squeeze the sponge well until there is no more water in the sponge (very important!)
Step 29
Run the sponge along the cake very gently, don’t press too much. Remove just a little airbrush colour

Step 30
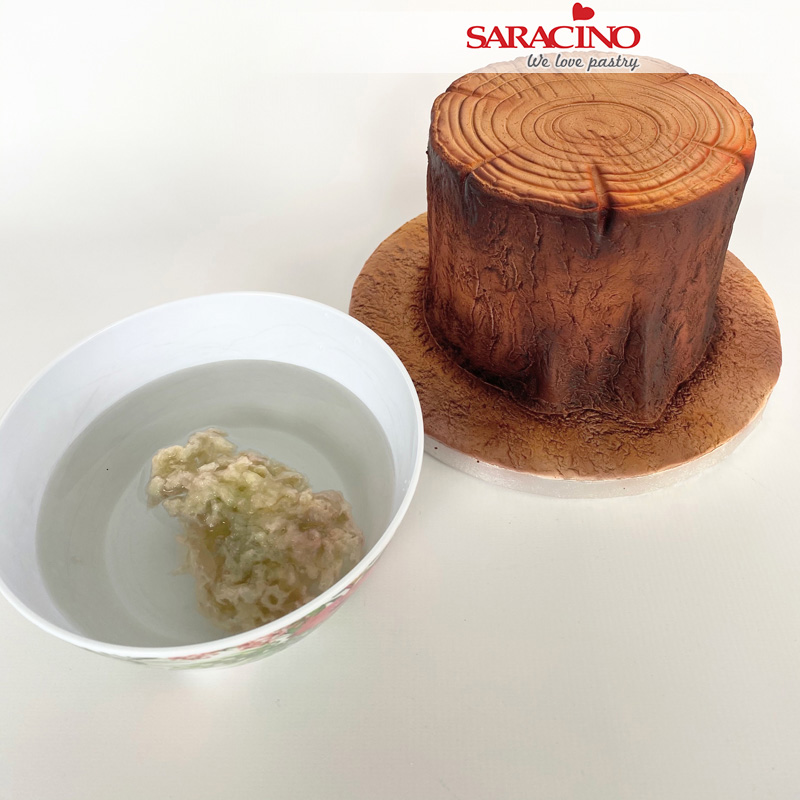
Put some grated coconut on a dish and use little bit of the green gel colour. You can use a drop of water to spread the gel colour (it’s better to colour the grated coconut one day before you make your cake!) if you want a darker green, you can add a drop of black gel colour
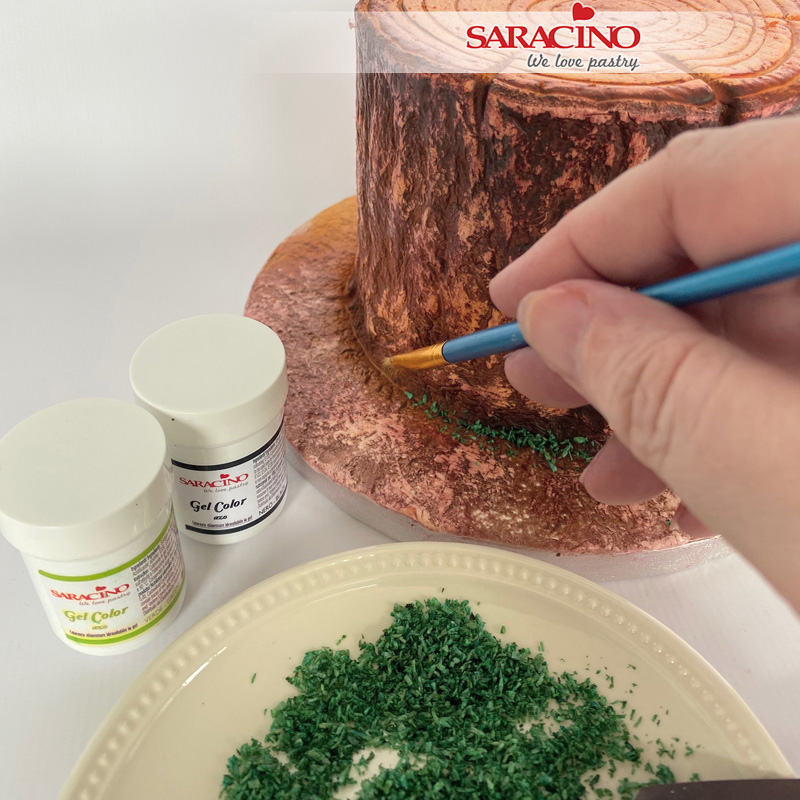
Step 31
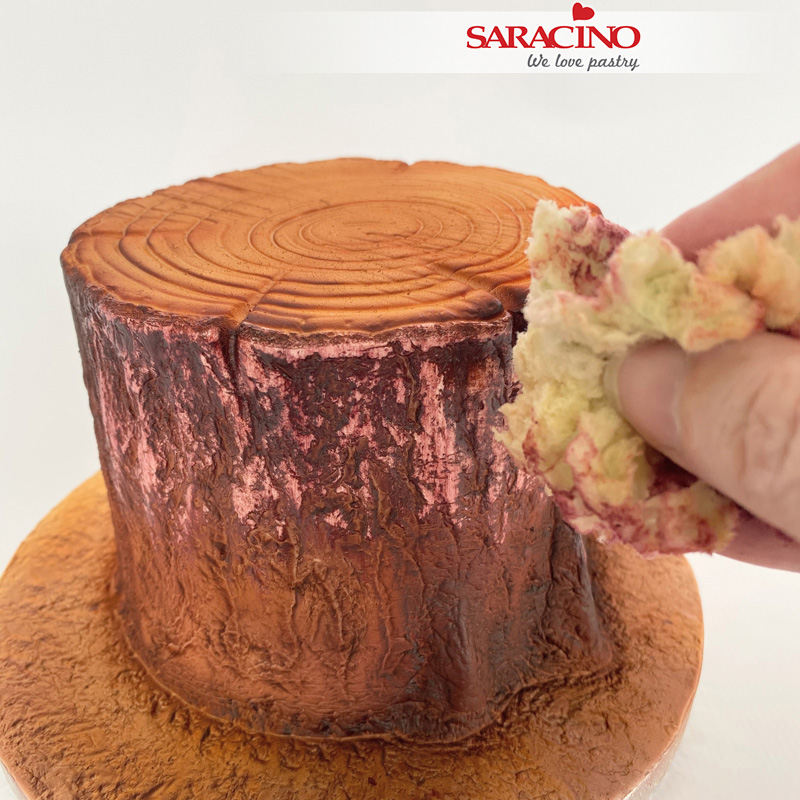
Use a brush and a little edible glue to fix the grated coconut to your cake, place anywhere you would like.
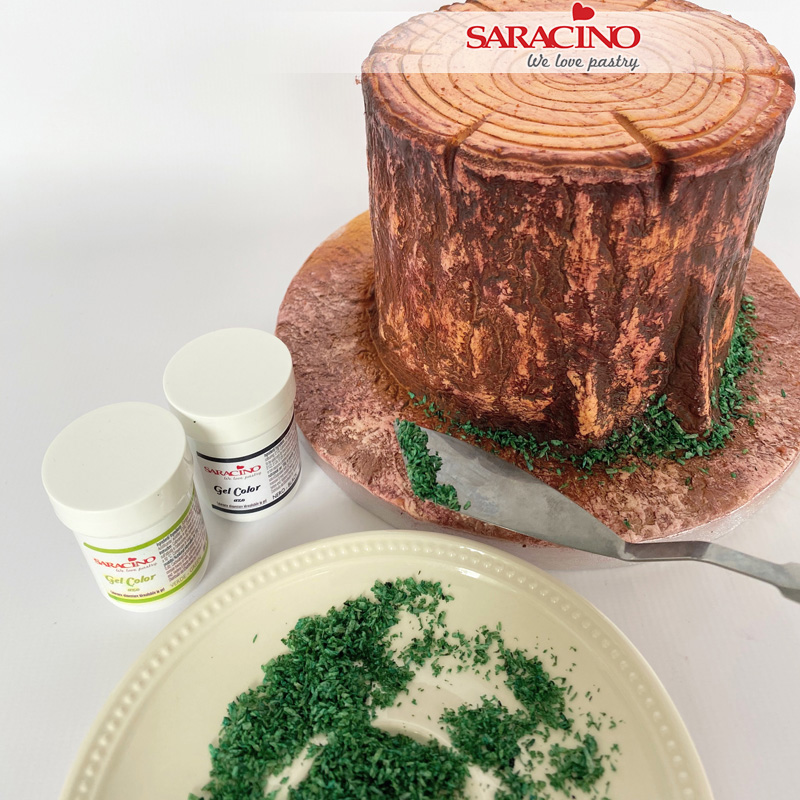
Step 32
Use a spatula to place the coconut on top of the glue.
Step 33
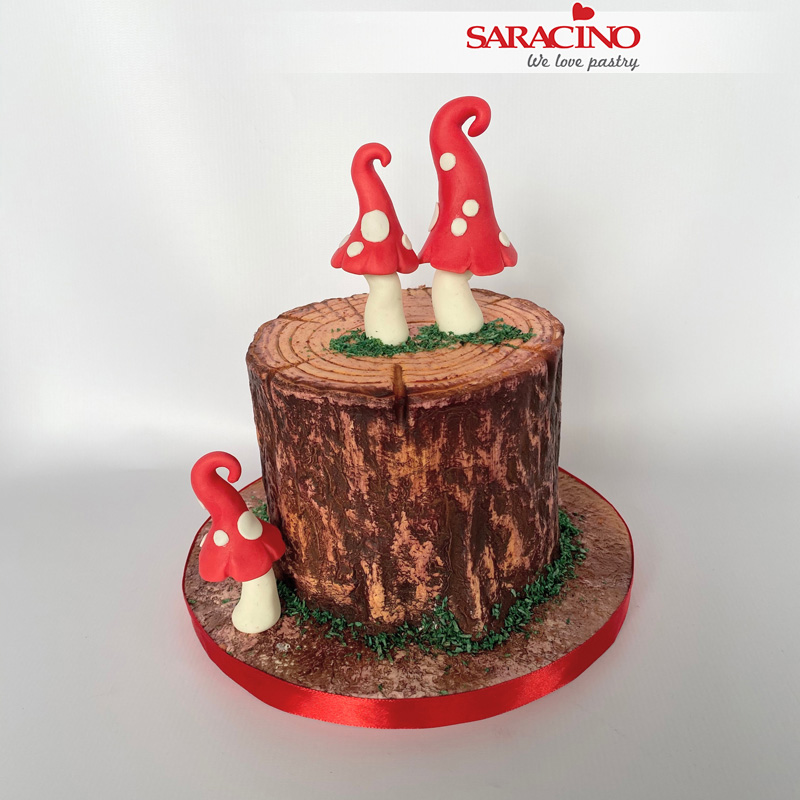
Your tree cake is ready. Decorate your tree cake anyway you want to! Have fun! I made some mushrooms for my cake.
