


You will need:
- Saracino white Pasta Top
- Saracino white Pasta Model: white, black and red
- Green Gel Colour
- Water brush
- Rolling Pin
- Modelling tools: Dresden, small and large ball tools, silicone tool, scriber, pointed silicone tool
- Knife and scalpel
- Cornflour
- Small scissors
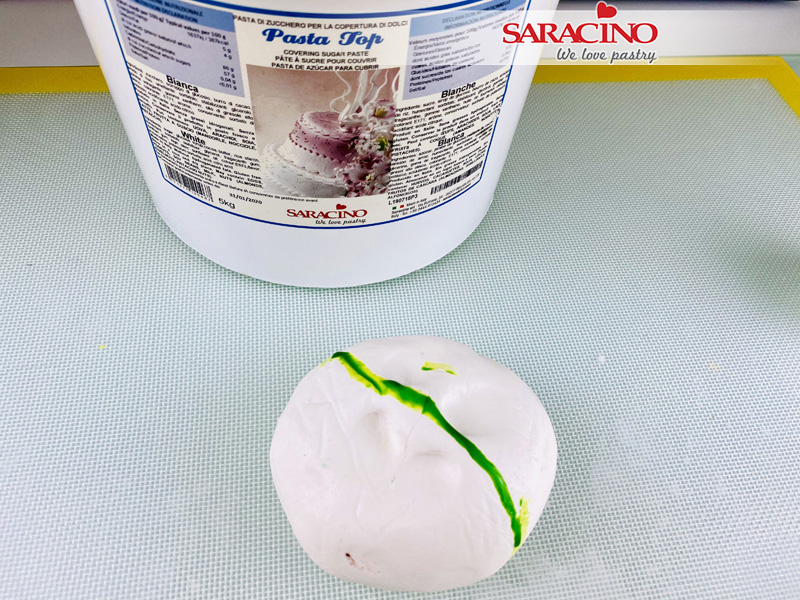
Step 1
Add some drops of green gel colour of your choice to white Pasta Top and knead it well. As your colour base is white, you will need to add more green colour to get a dark green.
Tip 1: You can add different kinds of green to get the green you like (garden green, lime, leaf green, etc).
Tip 2: You can add a few drops of yellow if you want a brighter green.
Tip 3: If you don’t have any green colour, just use yellow and blue.
Tip 4: You may want to use gloves so your hands don’t stay coloured.
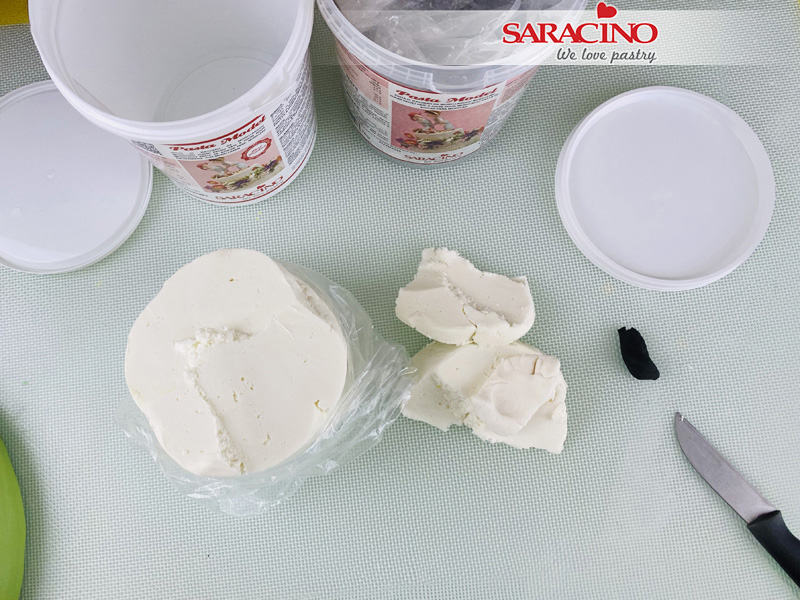
Step 2
Add a small quantity of black Pasta Model to a good amount of white Pasta Model. Knead it well until you get an even grey colour.
Tip: You can add black or grey gel colour instead of mixing the pastes.
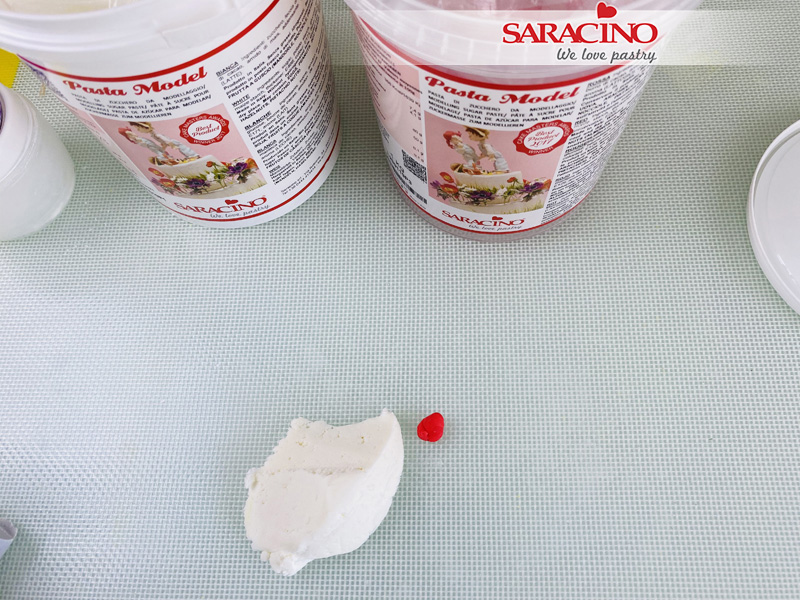
Step 3
Add a small quantity of red Pasta Model to a good amount of white Pasta Model. Knead it well until you get an even pink colour.
Tip: You can add red or pink gel colour instead of mixing the pastes.
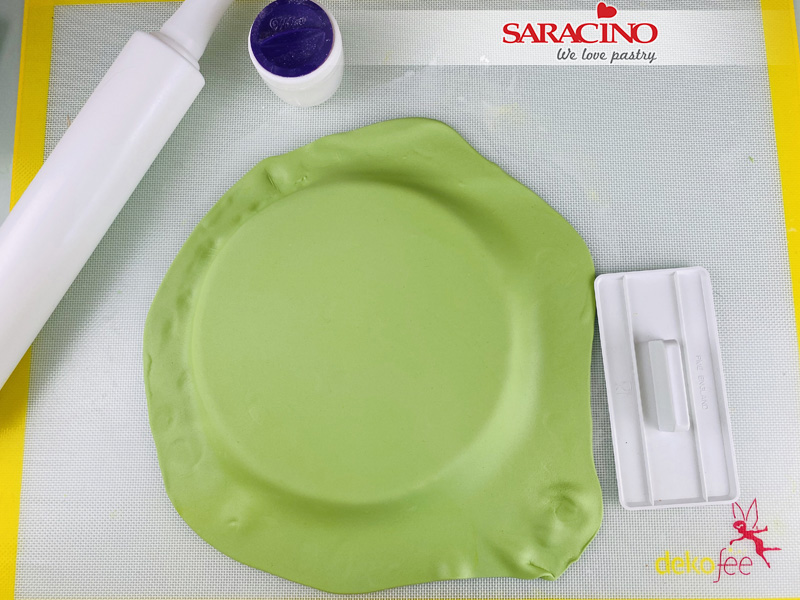
Step 4
Cover a cake board or a cake with the green Pasta Top and leave it aside. Smooth the top and sides and trim the excess paste.
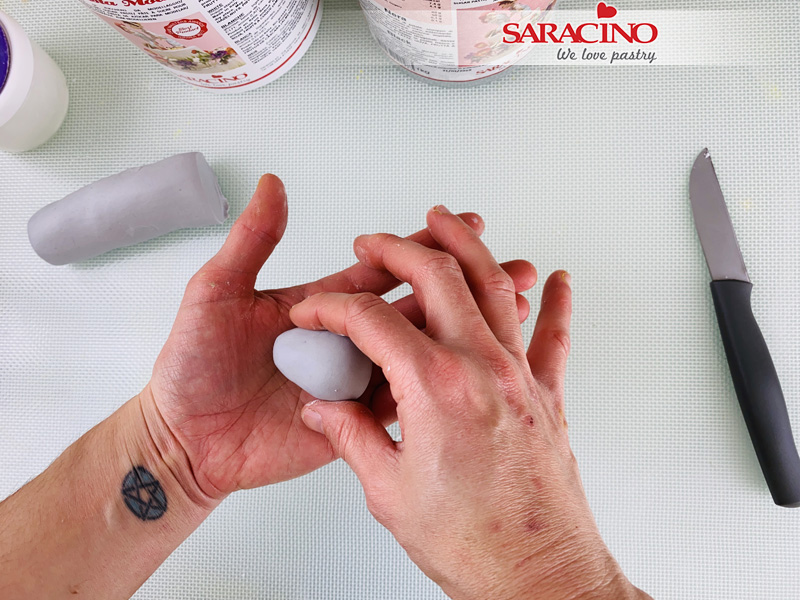
Step 5
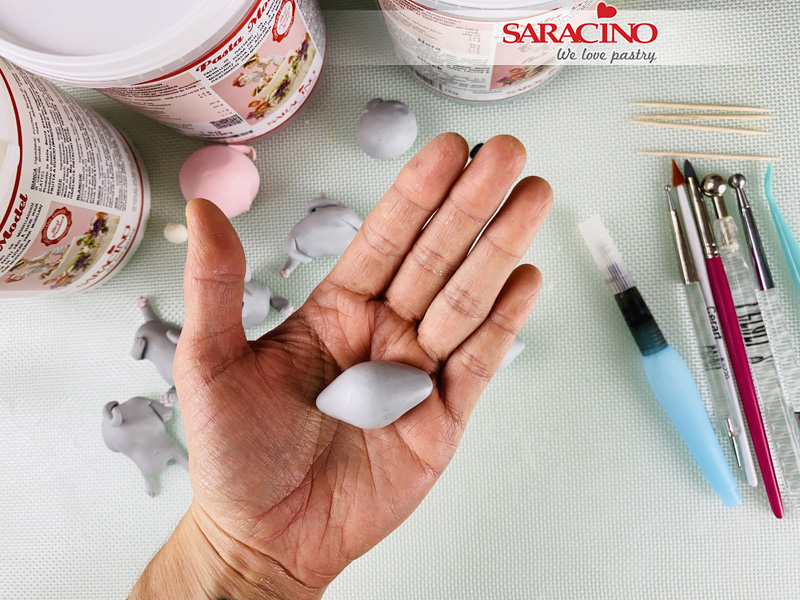
Take 4 small amounts of the same size grey pasta Model and roll into 4 egg shapes.
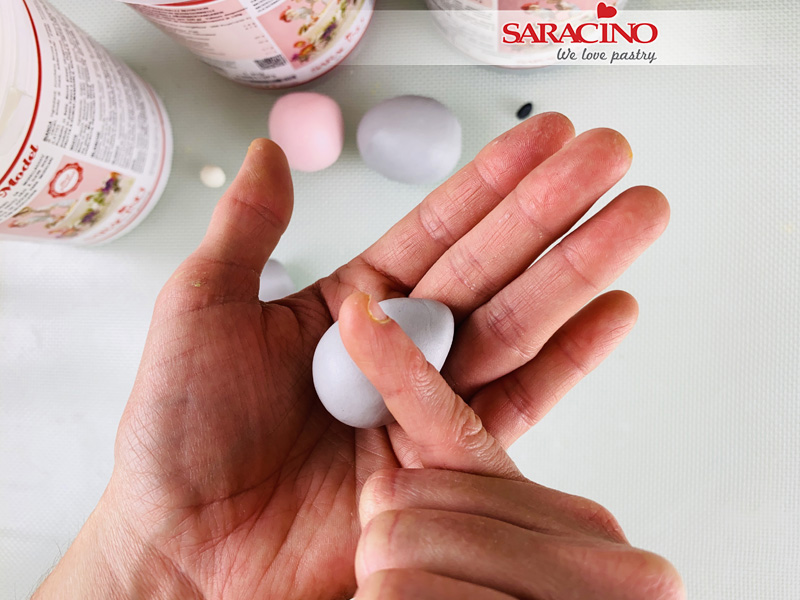
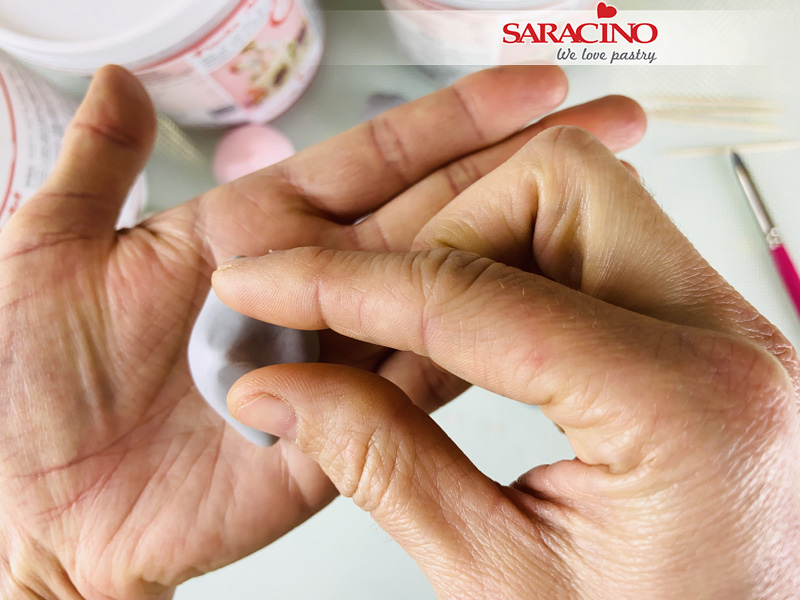
Step 6
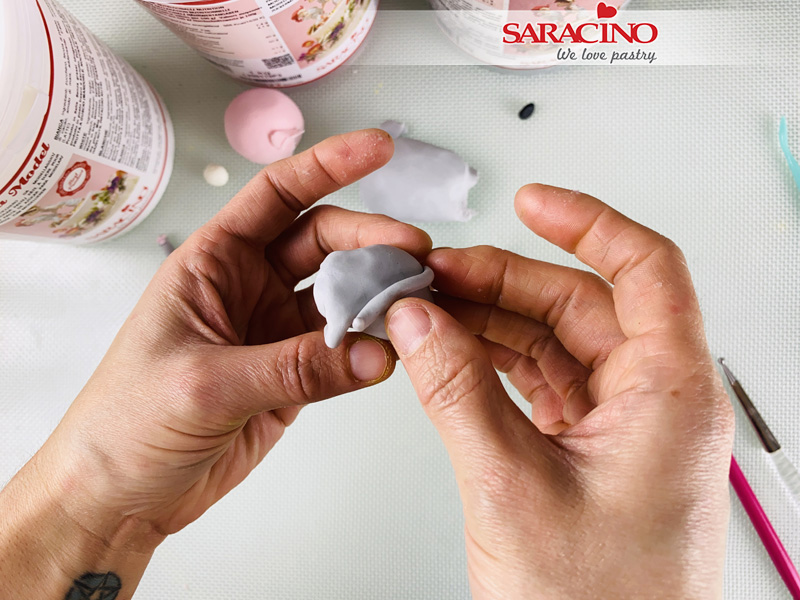
One at a time, lay the eggs on its side and gently press and rock the side of your finger just past the halfway point and smooth out a dent.
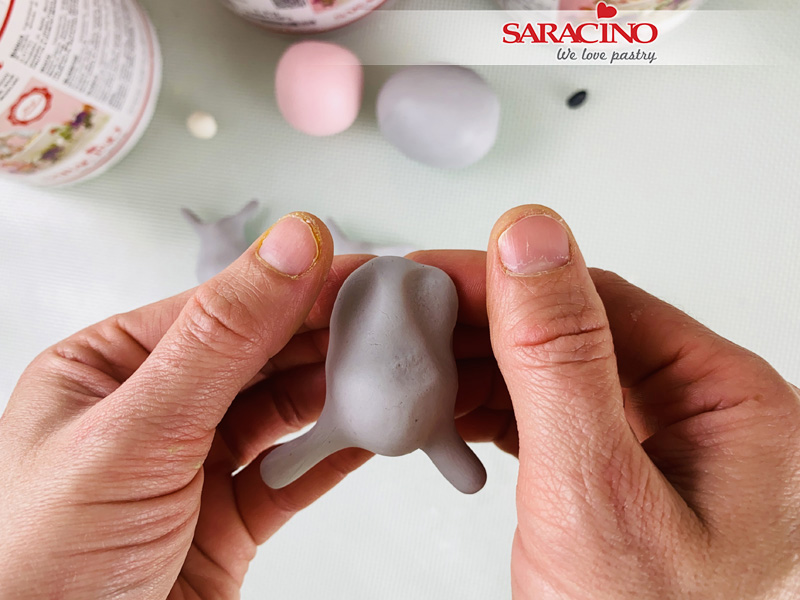
Step 7
Lightly pinch out the lower legs from the wider end of the eggs. Gently roll the paste between your fingers and stretch away from the body. Repeat on the other end of the eggs to form the arms.
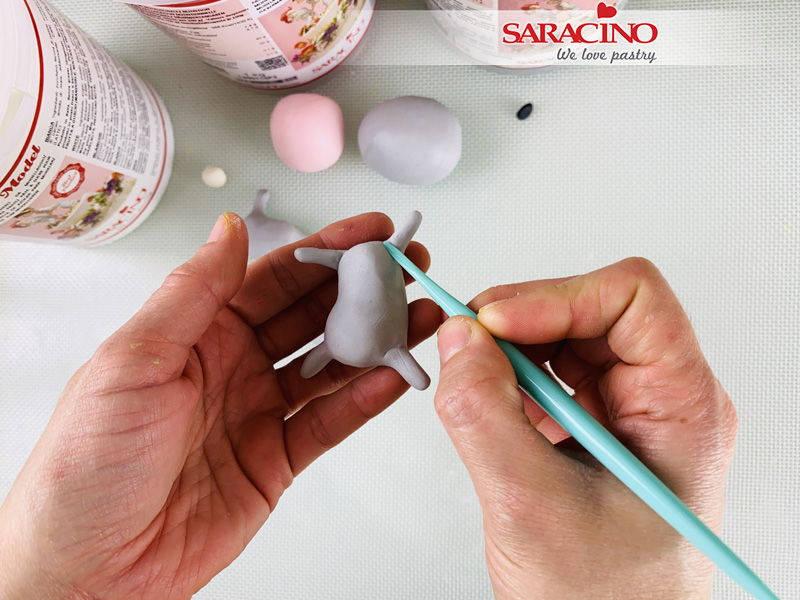
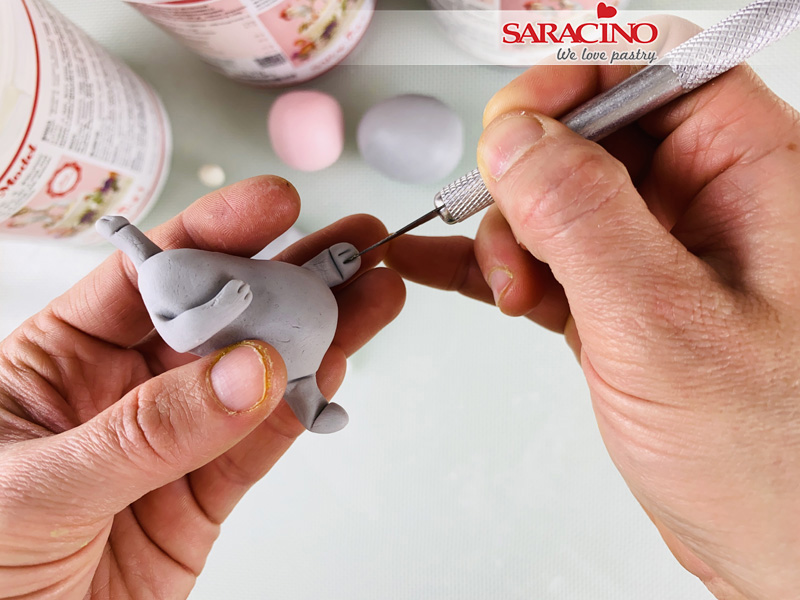
Step 8
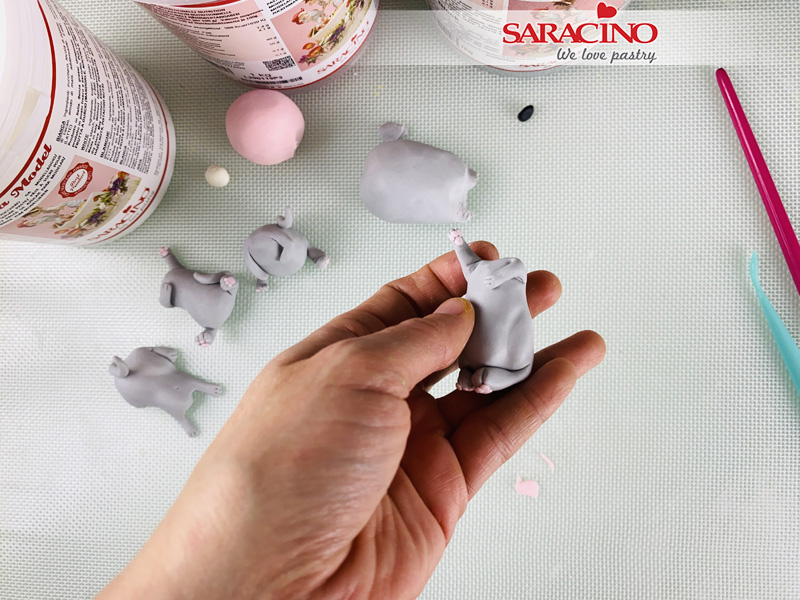
Use the Dresden tool to mark in creases where the legs and arms join each body.
Step 9
Pick one of the bodies, use the scalpel to mark the paws and the fingers. Bend the left arm to lay down on his belly and bend the feet flatten gently with your fingers.

Step 10
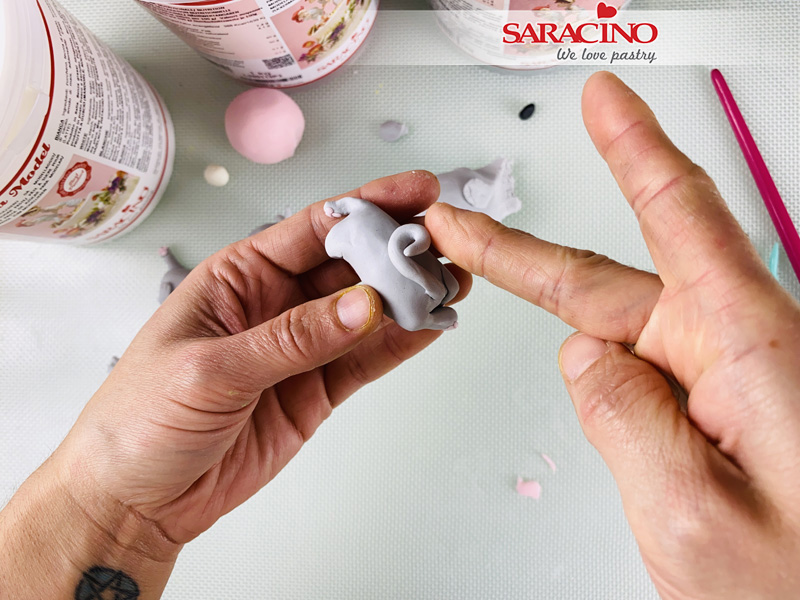
For the tail, roll a small sausage and attach it on the back of the body leaving it wrapped around the side.
Step 11
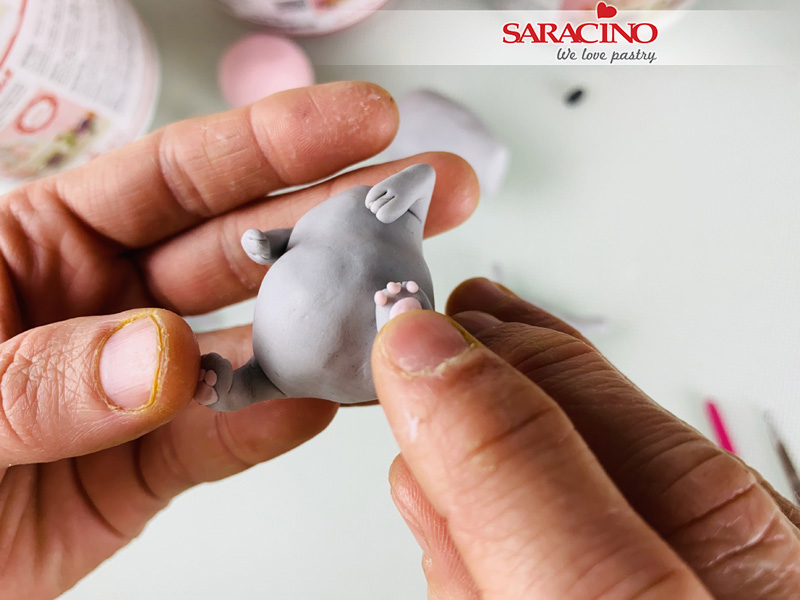
Add the details to the underside of the paws with small balls of pink Pasta Model. Gently flatten with your fingers.
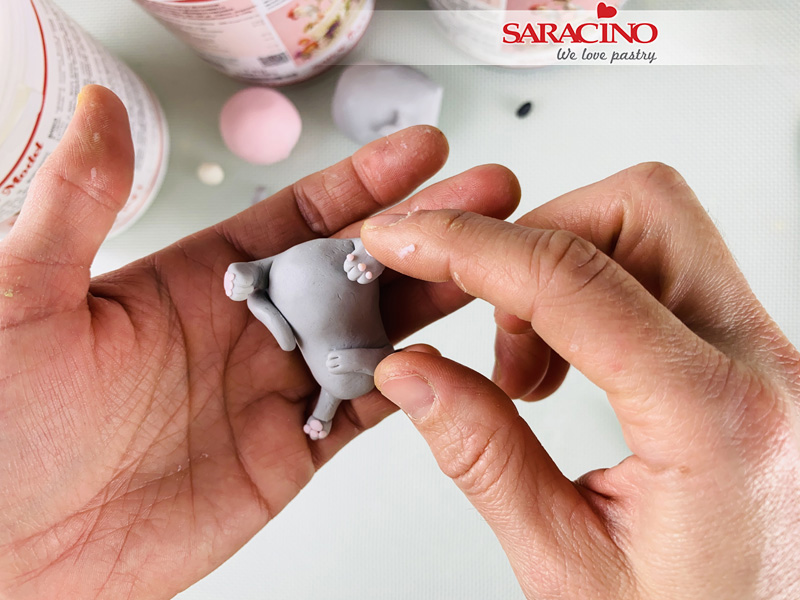
Step 12
Pick one of the bodies, lay the body leaving the rounder part facing up. Bend both legs to the front until they are leaning against the body and leave the arms out straight.
Shape the thighs with the silicone tool and use the scalpel to mark the fingers.
Step 13
For the tail, roll a small sausage. Push a small ball tool into the back of the body and insert the tail on, leaving it facing up and slightly bent.
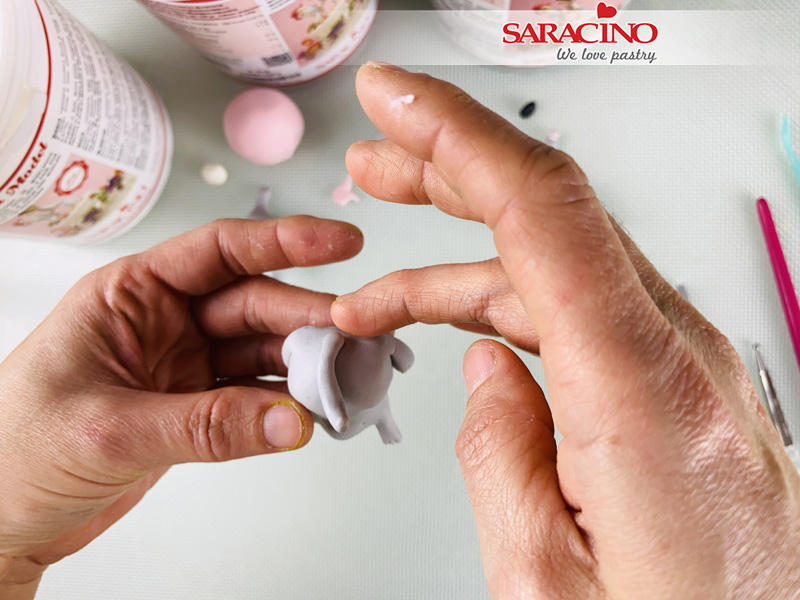
Step 14
Pick another body, bend the legs into a sitting position. Use the scalpel to mark the feet and bend them as shown. Flatten gently with your fingers. Bend the right arm across the chest and bend the left arm to point forwards. Use the scalpel to mark the fingers and add the details to the underside of the paws with small balls of pink Pasta Model. Gently flatten with your fingers.
Step 15
Roll a small sausage for the tail. Push a small ball tool into the bottom of the body and insert the tail on, leaving it facing up and slightly bent.
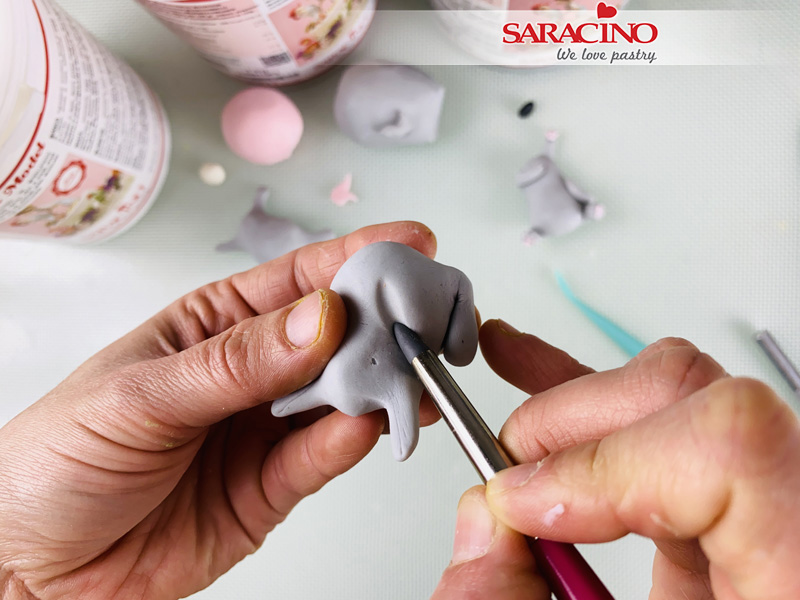
Step 16
Pick the last body, lay it on its side and bend all the paws forward. Shape the thighs with a silicone tool. Use the scalpel to mark the fingers. Add the details to the underside of the paws with small balls of pink Pasta Model. Gently flatten with your fingers.
Step 17
Roll a small sausage for the tail. Push a small ball tool into the bottom of the body and insert the tail on, leaving it along the back and curled.
Step 18
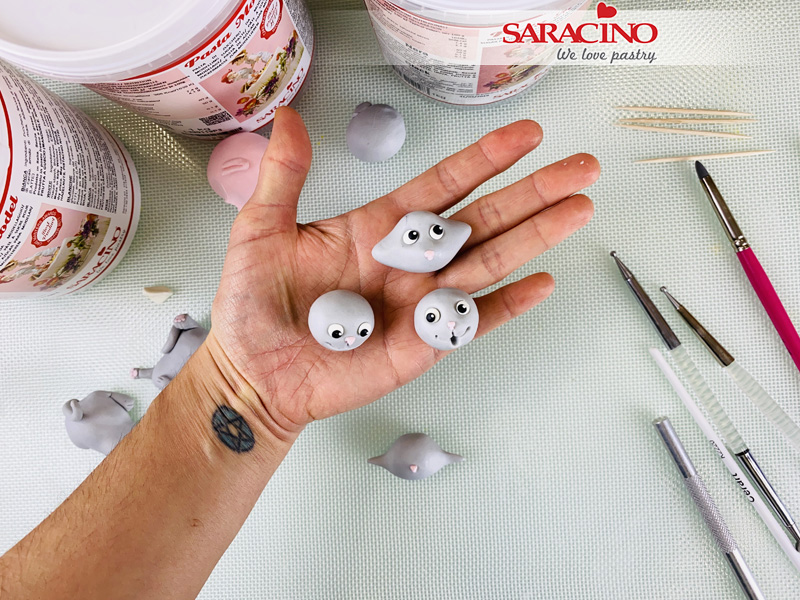
Take 4 small equal pieces of the grey pasta Model and roll into 4 balls. Keep 2 of the balls in a round shape and shape the other 2 in a doubly tapered shape as shown.
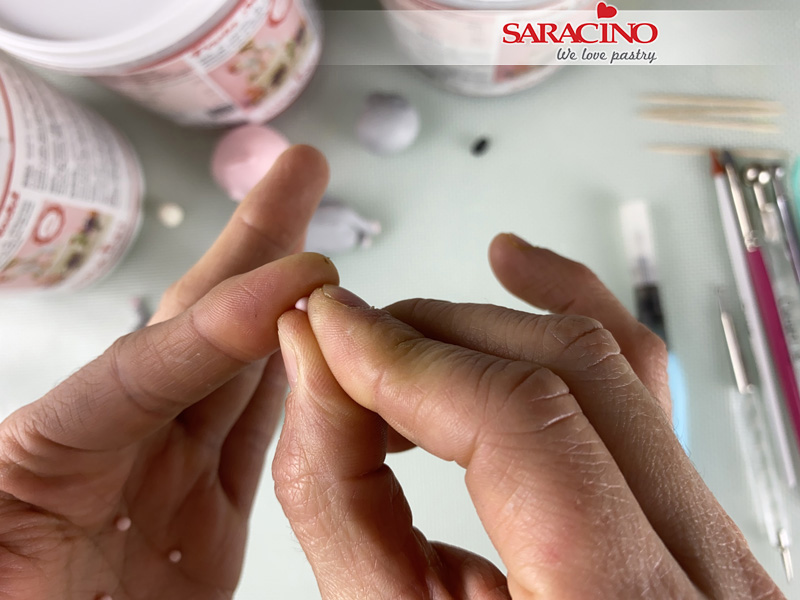
Step 19
Shape triangular shapes to form the noses by pinching small balls of pink Pasta Model with your fingers.
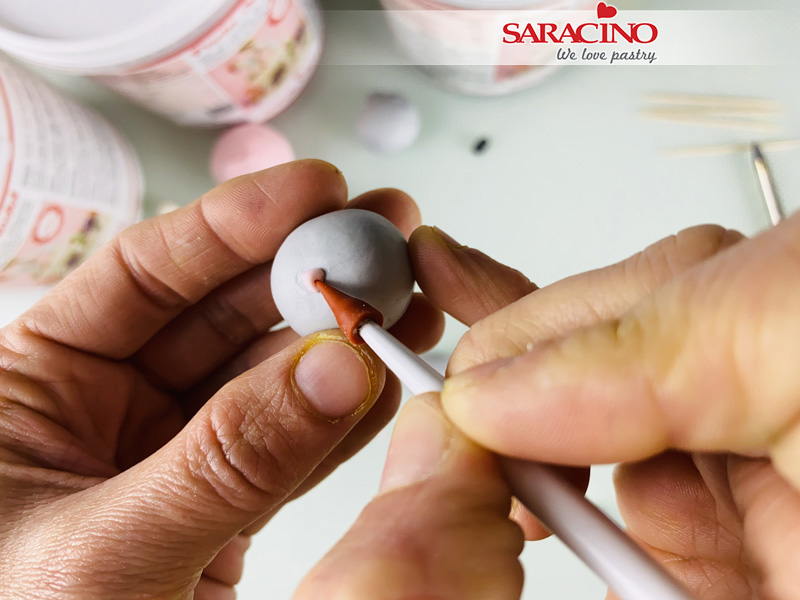
Step 20
Pick the 2 round heads, attach the noses in the centre of each face and mark the nostrils with the pointed end of a silicone tool.
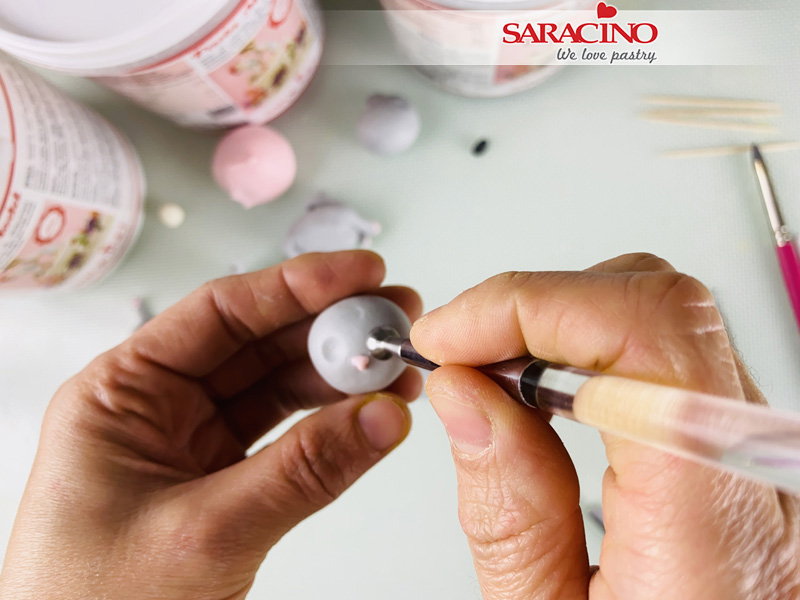
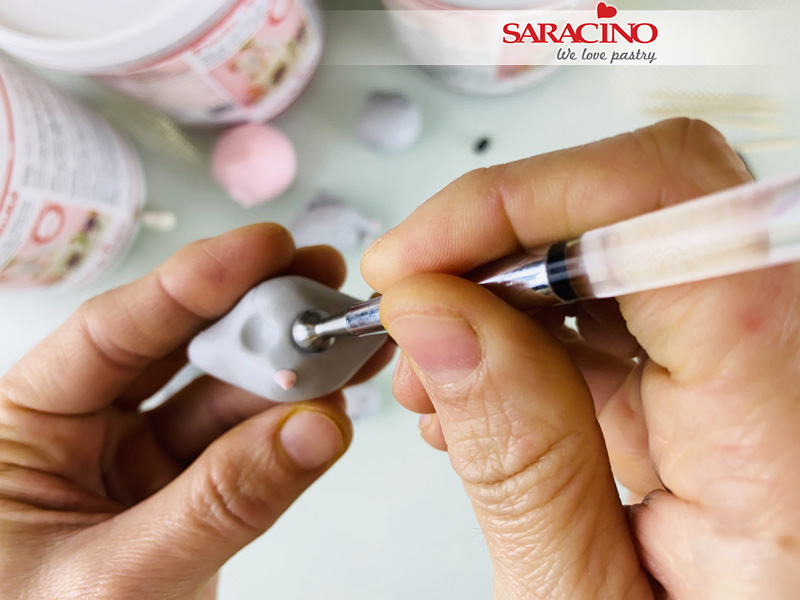
Step 21
Using your large ball tool press to form an eye socket either side of the nose.
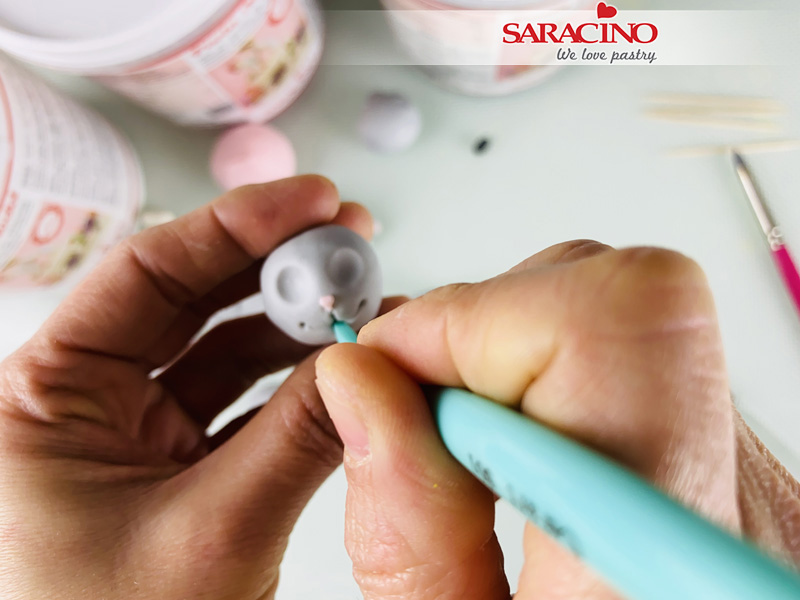
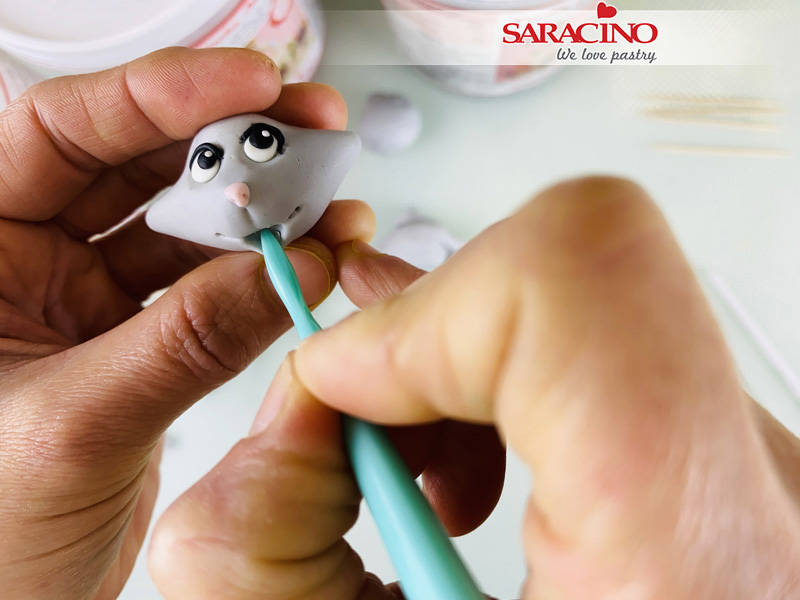
Step 22
Use the pointed silicone tool to mark a wide smile on each face. Choose one face to have an open mouth by pushing the wide end of the Dresden tool into the centre of the smile and lightly push down and towards the chin. Finish both mouths by lightly pushing a small ball tool into either end of the smile.
Step 23
Pick one of the tapered heads, make a pointy snout by pinching the centre of the face with your fingers.
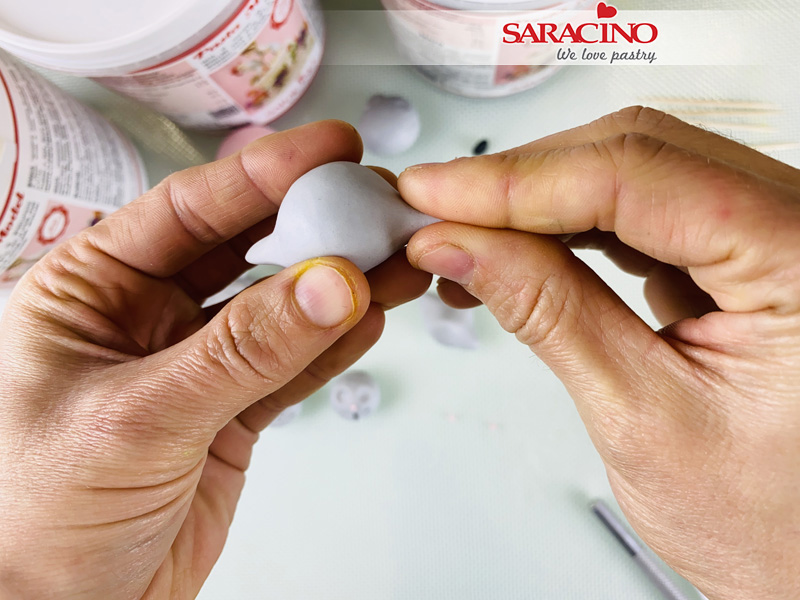
Step 24
Using the last head, make each side thinner by pinching the paste slightly with your fingers.
Step 25
Attach the noses in the centre of each face and form the nostrils with a pointed silicone tool. Using the head with the pointy snout, form eye sockets either side of the nose with your large ball tool.
Step 26
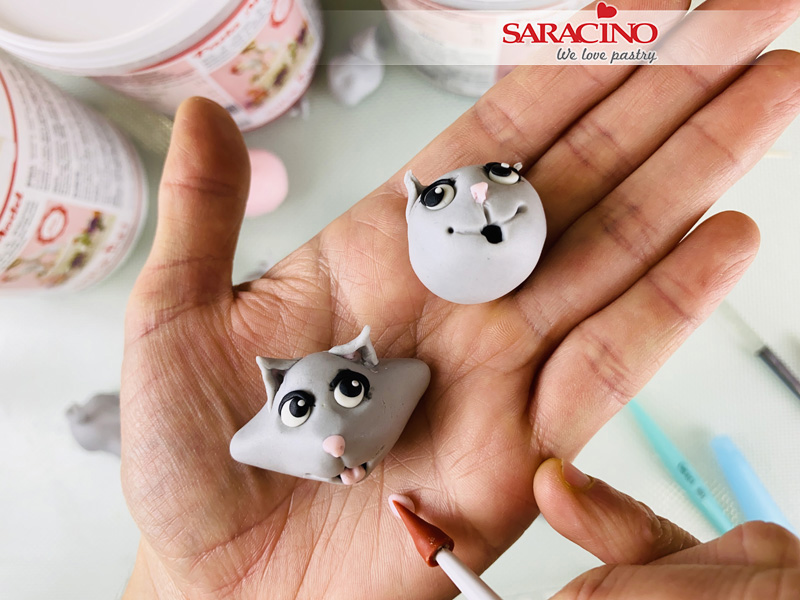
Using the three heads you have formed eye sockets. Fill the eye sockets of all three faces with a small ball of white Pasta Model and flatten all the eye balls with your finger. Add a small ball of black Pasta Model on to each eye, press down lightly and finish them with a smaller ball of white.
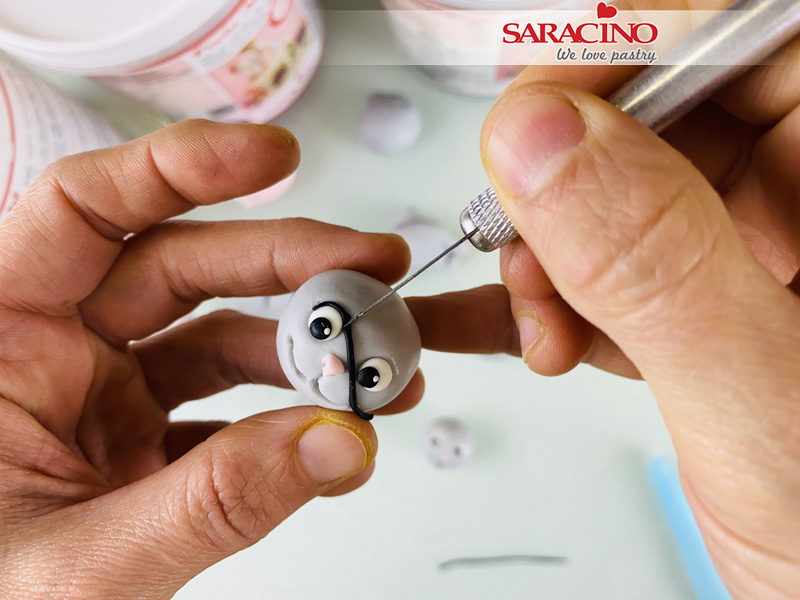
Step 27
Roll 3 small tapered sausages of black Pasta Model and glue over the eyes. Use the scalpel to cut to size.
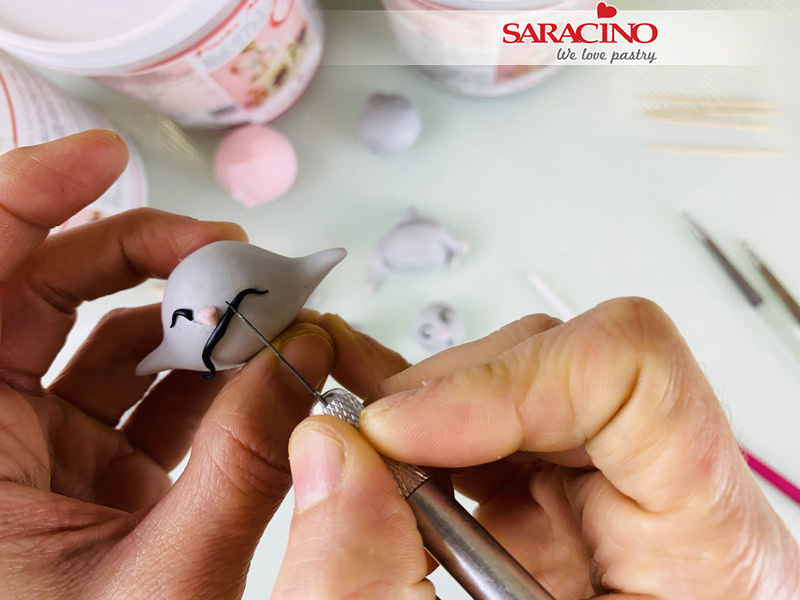
Step 28
Our fourth head will have it’s eye’s shut. Roll a small tapered sausage of black Pasta Model and fix as shown to form two eye brows.
Step 29
Use the pointed silicone tool to mark a wide smile on the final two faces. Using the face with open eyes, open the mouth by pushing the wide end of the Dresden tool into the centre of the smile and lightly push down and towards the chin. Finish both mouths by lightly pushing a small ball tool into either end of the smile.
Step 30
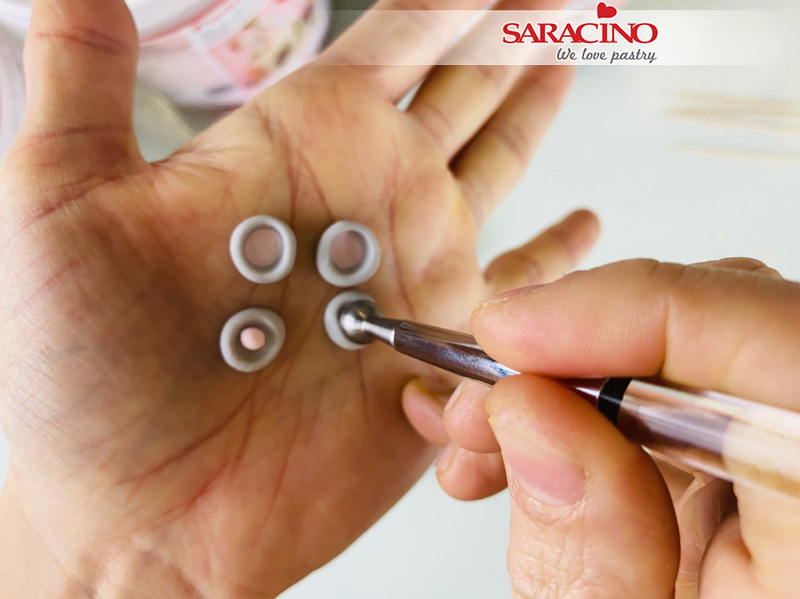
To make the ears, take 4 small balls of grey Pasta model and push a large ball tool into the centre of each ball. Add a smaller ball of pink Pasta Model in the centre of each “squashed” ball and push in with the ball tool to create the inner ear.
Step 31
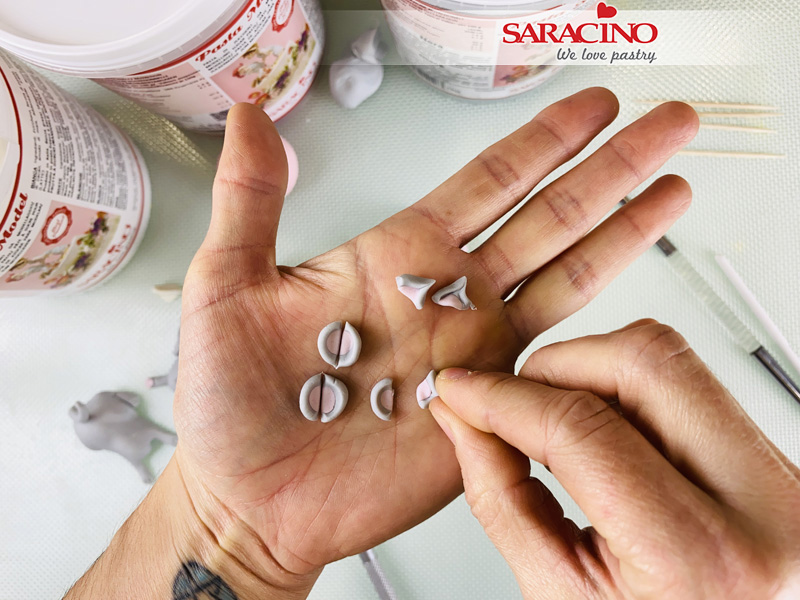
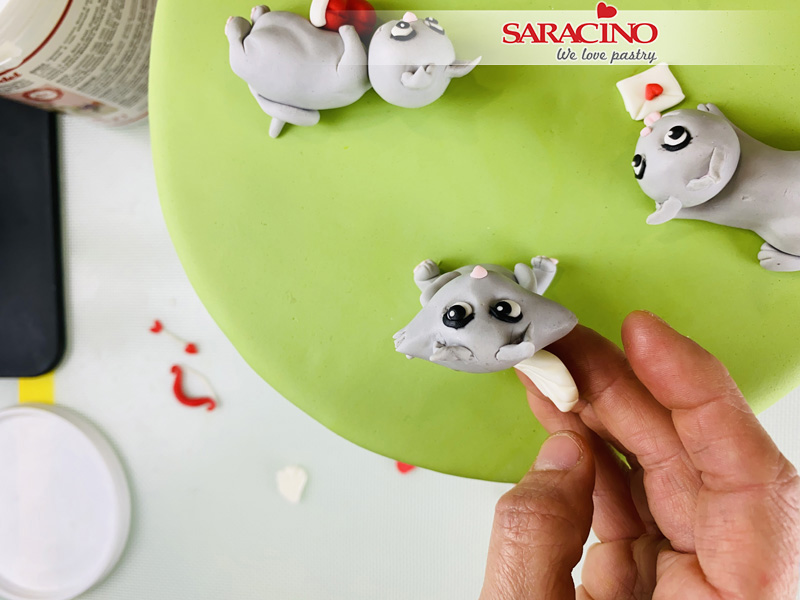
Use the scalpel to cut each ball in half. You now have eight ears. Pinch the tip of each ear into a point.

Step 32
Glue the ears to the heads and use the Dresden tool to push and form the inside of the ear to give the required shape.
Step 33
Give the appearance of depth to the open mouths by inserting a small amount of black Pasta Model. Finish by adding small pieces of pink Pasta Model. Use the pointed silicone tool to mark a central line into the tongue

Step 34
Attach the heads to each of the bodies using wooden toothpicks:
- Kitten lying down: face with closed eyes
- Kitten facing down: round head with open mouth
- Sitting Kitten: face with pointy snout
- Kitten lying on its side: round head with closed mouth
They are now ready to be placed on the board or on your cake.
Step 35
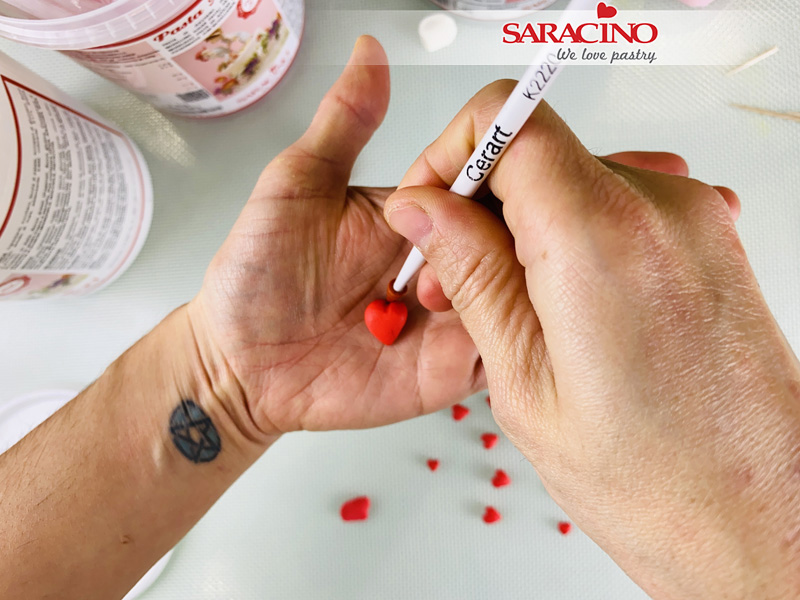
Make different sizes of hearts from red Pasta Model. Make different sizes and as many as you would like. Use the pointed silicone tool to shape the upper groove in the hearts.
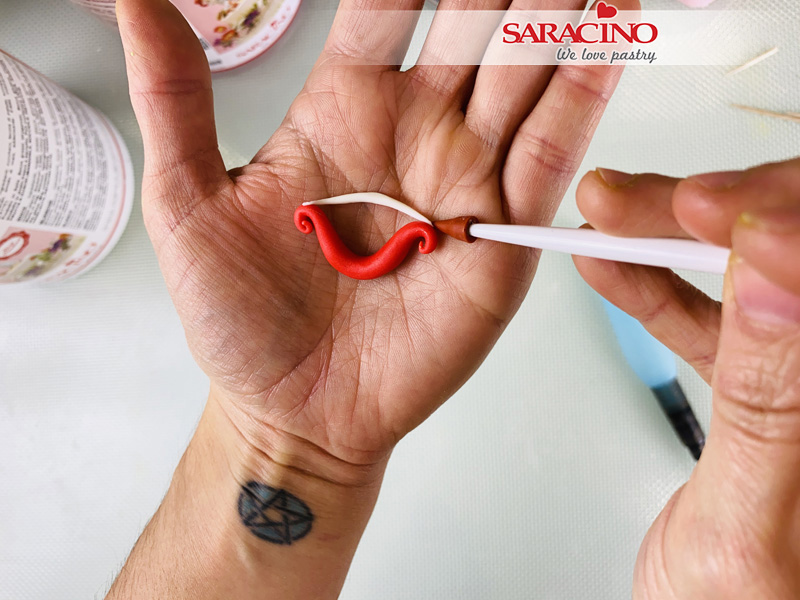
Step 36
For Cupid’s bow roll a red 2cm long tapered sausage and curl both tips in towards the centre. Bend the piece into a curve and glue a thin sausage of white end to end.
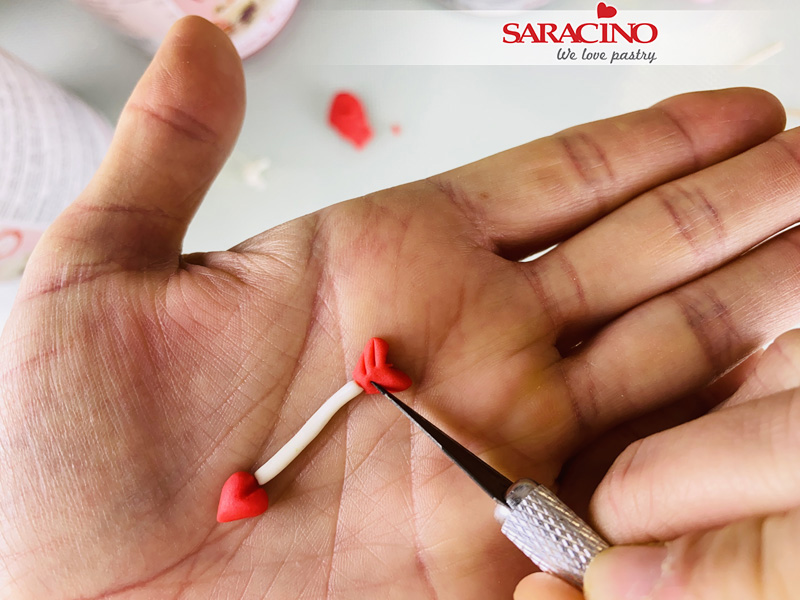
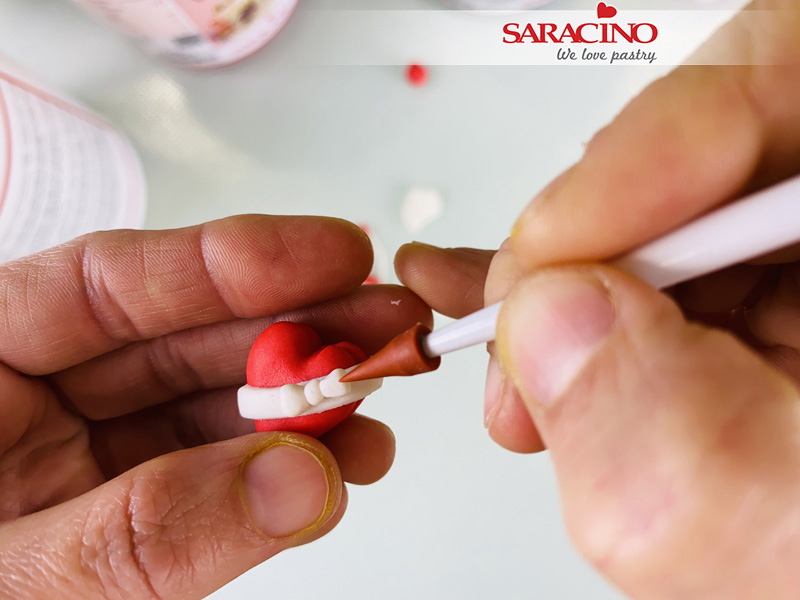
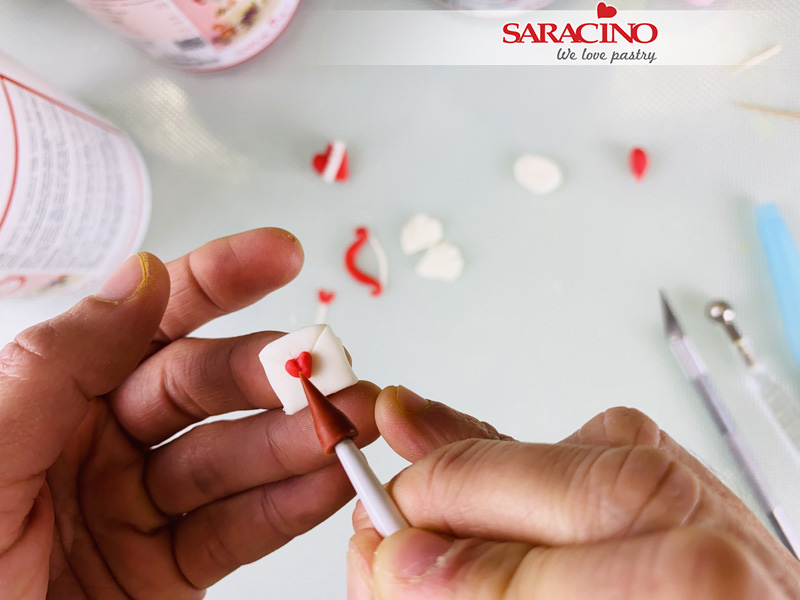
Step 37
For the arrow, use a small heart from the previous ones made. Roll a thin sausage of white and trim it to the same width as the hole of Cupid’s bow. Cut out a small rectangle of red paste and cut a V shape from each end as shown. Use the scalpel to mark two diagonal lines on each side. Apply glue to this shape on one side and to the little heart on the other side of the white sausage shape.
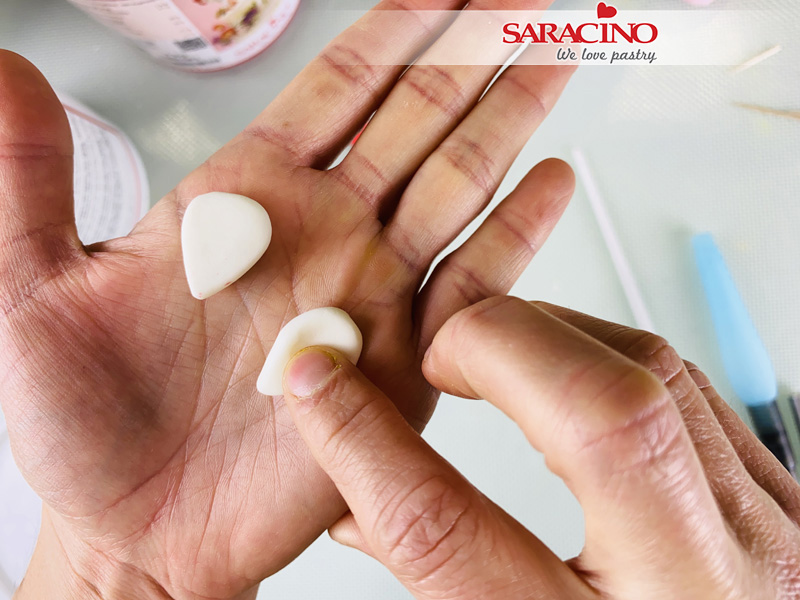
Step 38
For Cupid’s wings roll two pea sized balls of white into teardrop shapes. Gently flatten with your fingers.
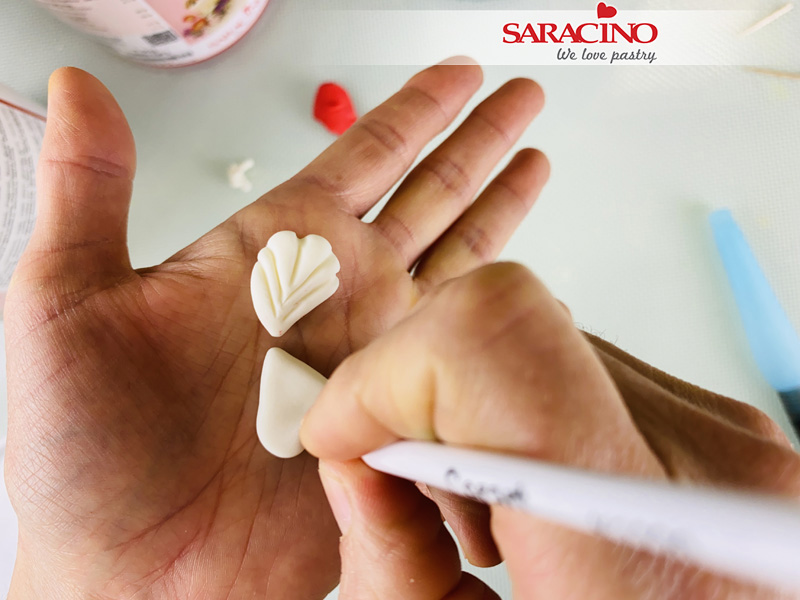
Step 39
Use the pointed silicone tool to mark a scalloped edge and the lines onto the wings.
Step 40
Shape a heart from a hazelnut sized ball and gently flatten it with your fingers. Run the Dresden tool around the sides to create the effect of a lid. Roll out a thin strip of white paste and glue around the heart, trimming away any excess length. Create a small bow with two tiny triangle shapes of paste and a tiny ball of white. Use your pointed silicone tool to help shape and detail it.
Step 41
For the letter cut a small rectangle of white paste. Use the scalpel to mark lines starting from two corners from the widest part to the centre. Use a little heart to make the closer.
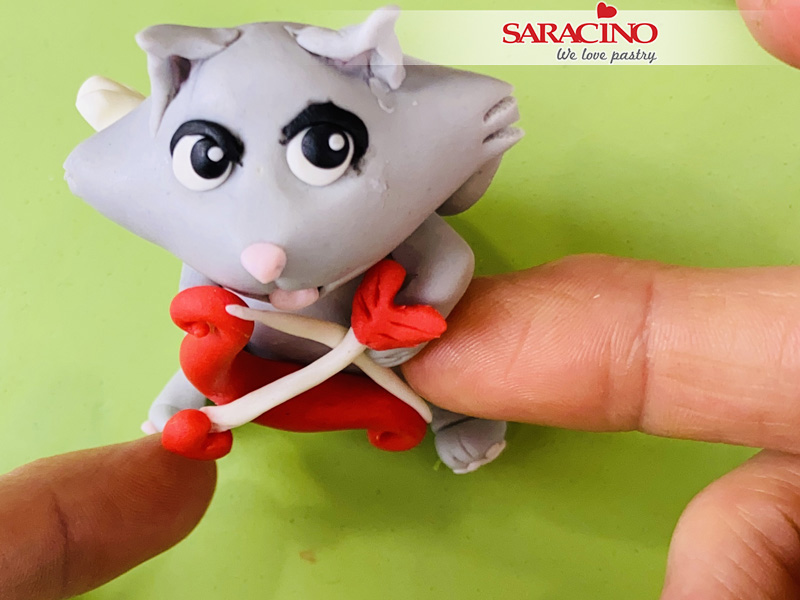
Step 42
Using the sitting kitten, make two cuts on either side of the head using small scissors to give detail to the hair. Gentle glue the bow and arrow to him.
Tip: You may need to support it for a little while until it dries, a piece of foam is excellent for this job.

Step 43
Attach the accessories to the other kittens:
- Kitten lying down: hearts
- Kitten facing down: love letter
- Kitten lying on its side: chocolate box
Step 44
Glue the cupid wings onto the sitting kitten’s back.
Step 45
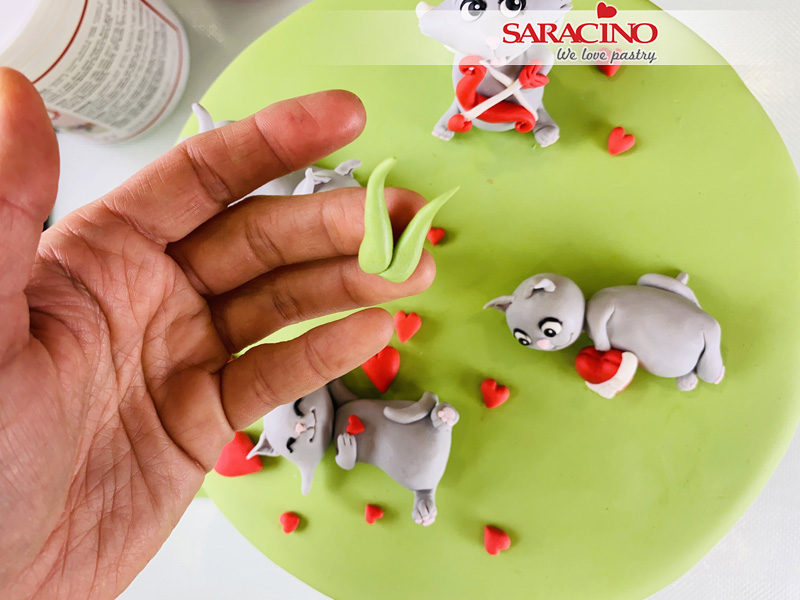
Roll a few tapered sausages of green Pasta Top and glue them together in groups of two or three, to form small patches of grass.
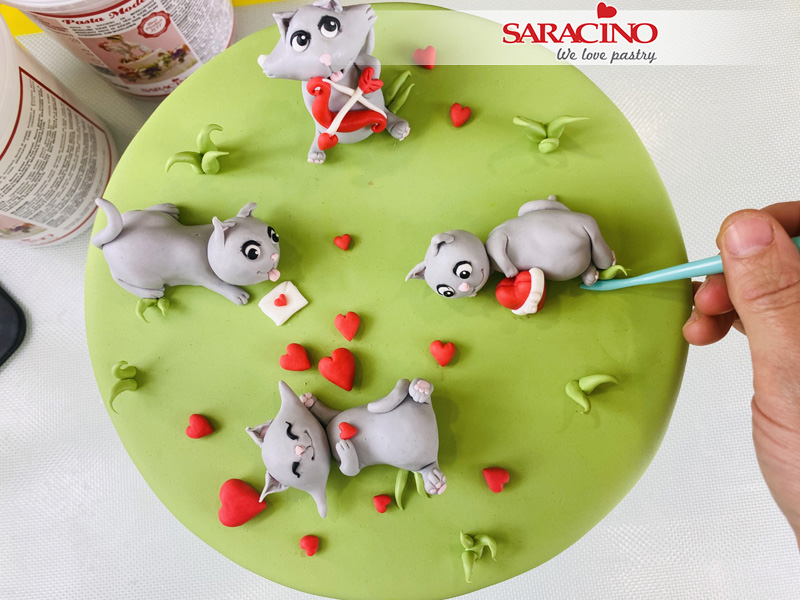
Step 46
Distribute the grass through the free space and some to come out under the kittens to compose the scenery.
