


Author: BEN FULLARD

Skill level:
INTERMEDIATE
Tips
Ben’s top tip: the sugar will dissolve on itself if there is moisture in the air, so always do this as close to the last minute as possible. In normal weather conditions, this should last for about 6 – 8 hours, less than this if it is humid weather, or you have condensation in your work space.
.
You will need:
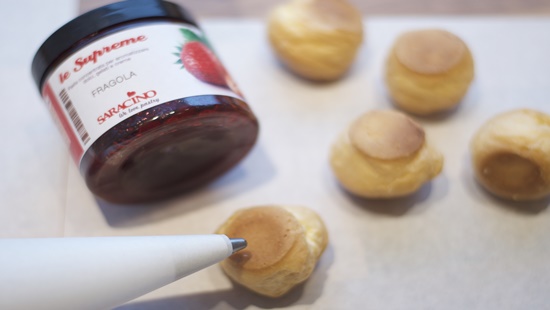
- Saracino strawberry food flavouring. Raspberry also works really well but you will need to add a little icing sugar to your cream to take away the tartness if you do this!
- 200 Profrittarolls
- Melted white chocolate
- Saracino Concentrated Dust – Colour that will be suitable for you
- Pre-made ganache
- Cake 8″, 10″, 12″, 14″, 16″,18″,20!
- Marzipan
- Brush
- Sharp knife
- Cake drum 14″
- Saracino Isomalt
- Saracino Sugar Paste – Top Paste
- Pan
- Sugar thermometer
- Spoon
- Whisk or fork
- Long plastic piping
- Scissors
- Nozzle
Step 1
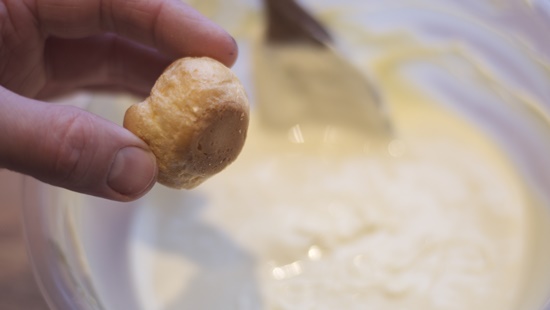
Lightly whip your cream to a soft peak consistency, add puree to the cream and gently fold until completely mixed; add enough to suit your taste. I used 200g of puree to 1000g of double cream. Fill your profrittarolls with the cream by inserting your nozzle (metal is sharper and cuts into the roll easier) into the bottom of each roll – never the top, as this will show when the rolls are stacked, and will spoil the end, visual, result.
Step 2
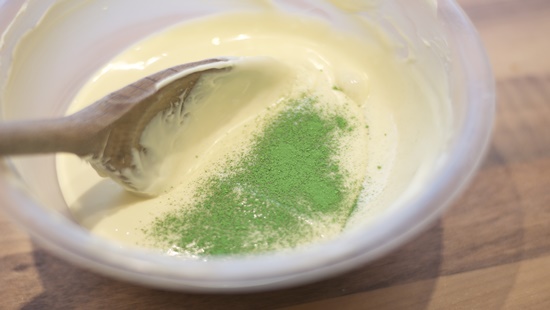
Melt some white chocolate and colour it with some Green Saracino powdered colour. Add little at a time to ensure your perfect colour, and stir well.
Step 3
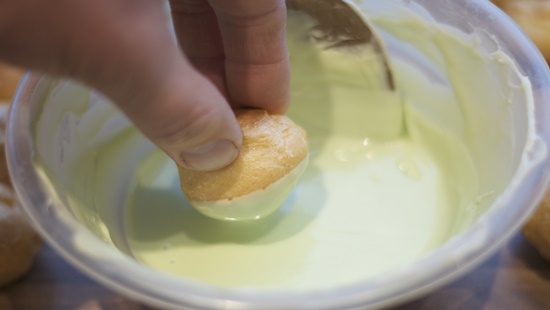
Dip the top of 15 rolls into the chocolate and set aside to dry
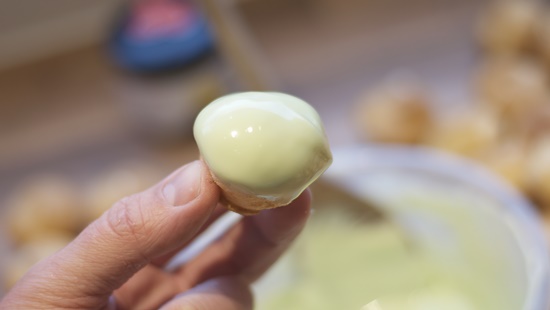
Step 4
It should look like this.
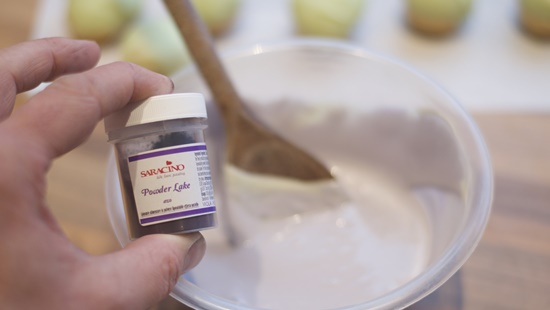
Step 5
Do the same with purple colour and a new 15 rolls; and repeat the process with some white chocolate.
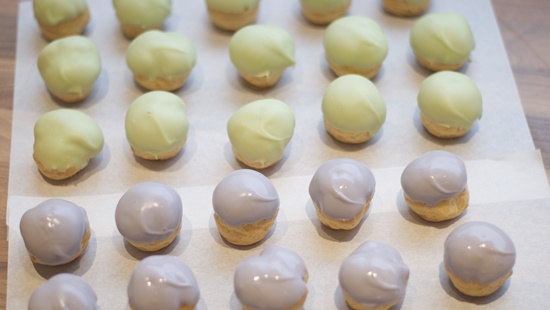
Step 6
I made 15 green, 15 lilac, and 15 white, 200 rolls in total for this size cone.
.
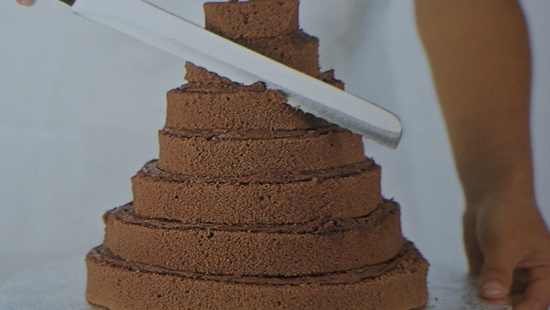
Step 7
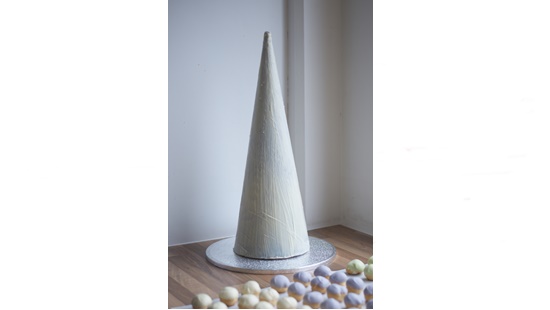
I carved chocolate sponge cake, layered with chocolate ganache, to form the cone. It was 8” at the base and 20” tall.Then chill until firm.
Step 8
Once firm, cover in a very thin layer of marzipan. I then painted this with white chocolate and allowed it to set to form a hard shell.
.
Step 9
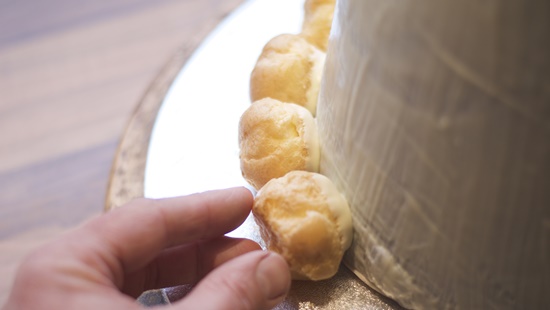
You can now dip your rolls into white chocolate (flat side down) and stick them to the cone, starting at the bottom and working upwards.
Step 10
Work your way around the cone, taking time to step back and ensure any gaps are filled with the rolls.
.
Step 11
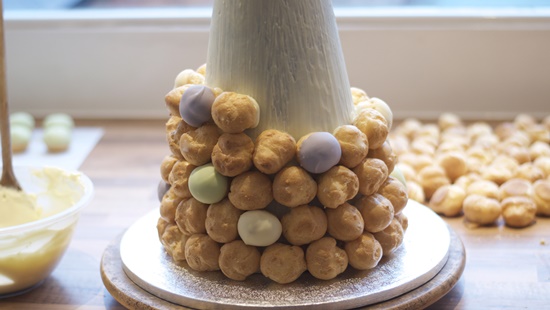
Gradually build up the layers adding random coloured rolls for effect.
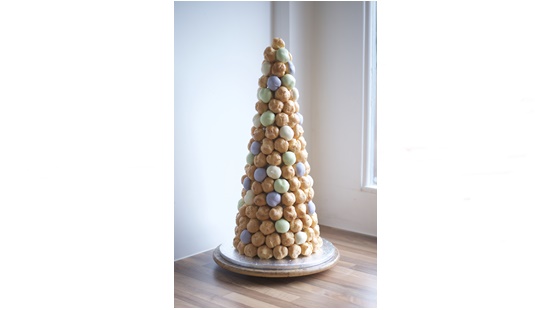
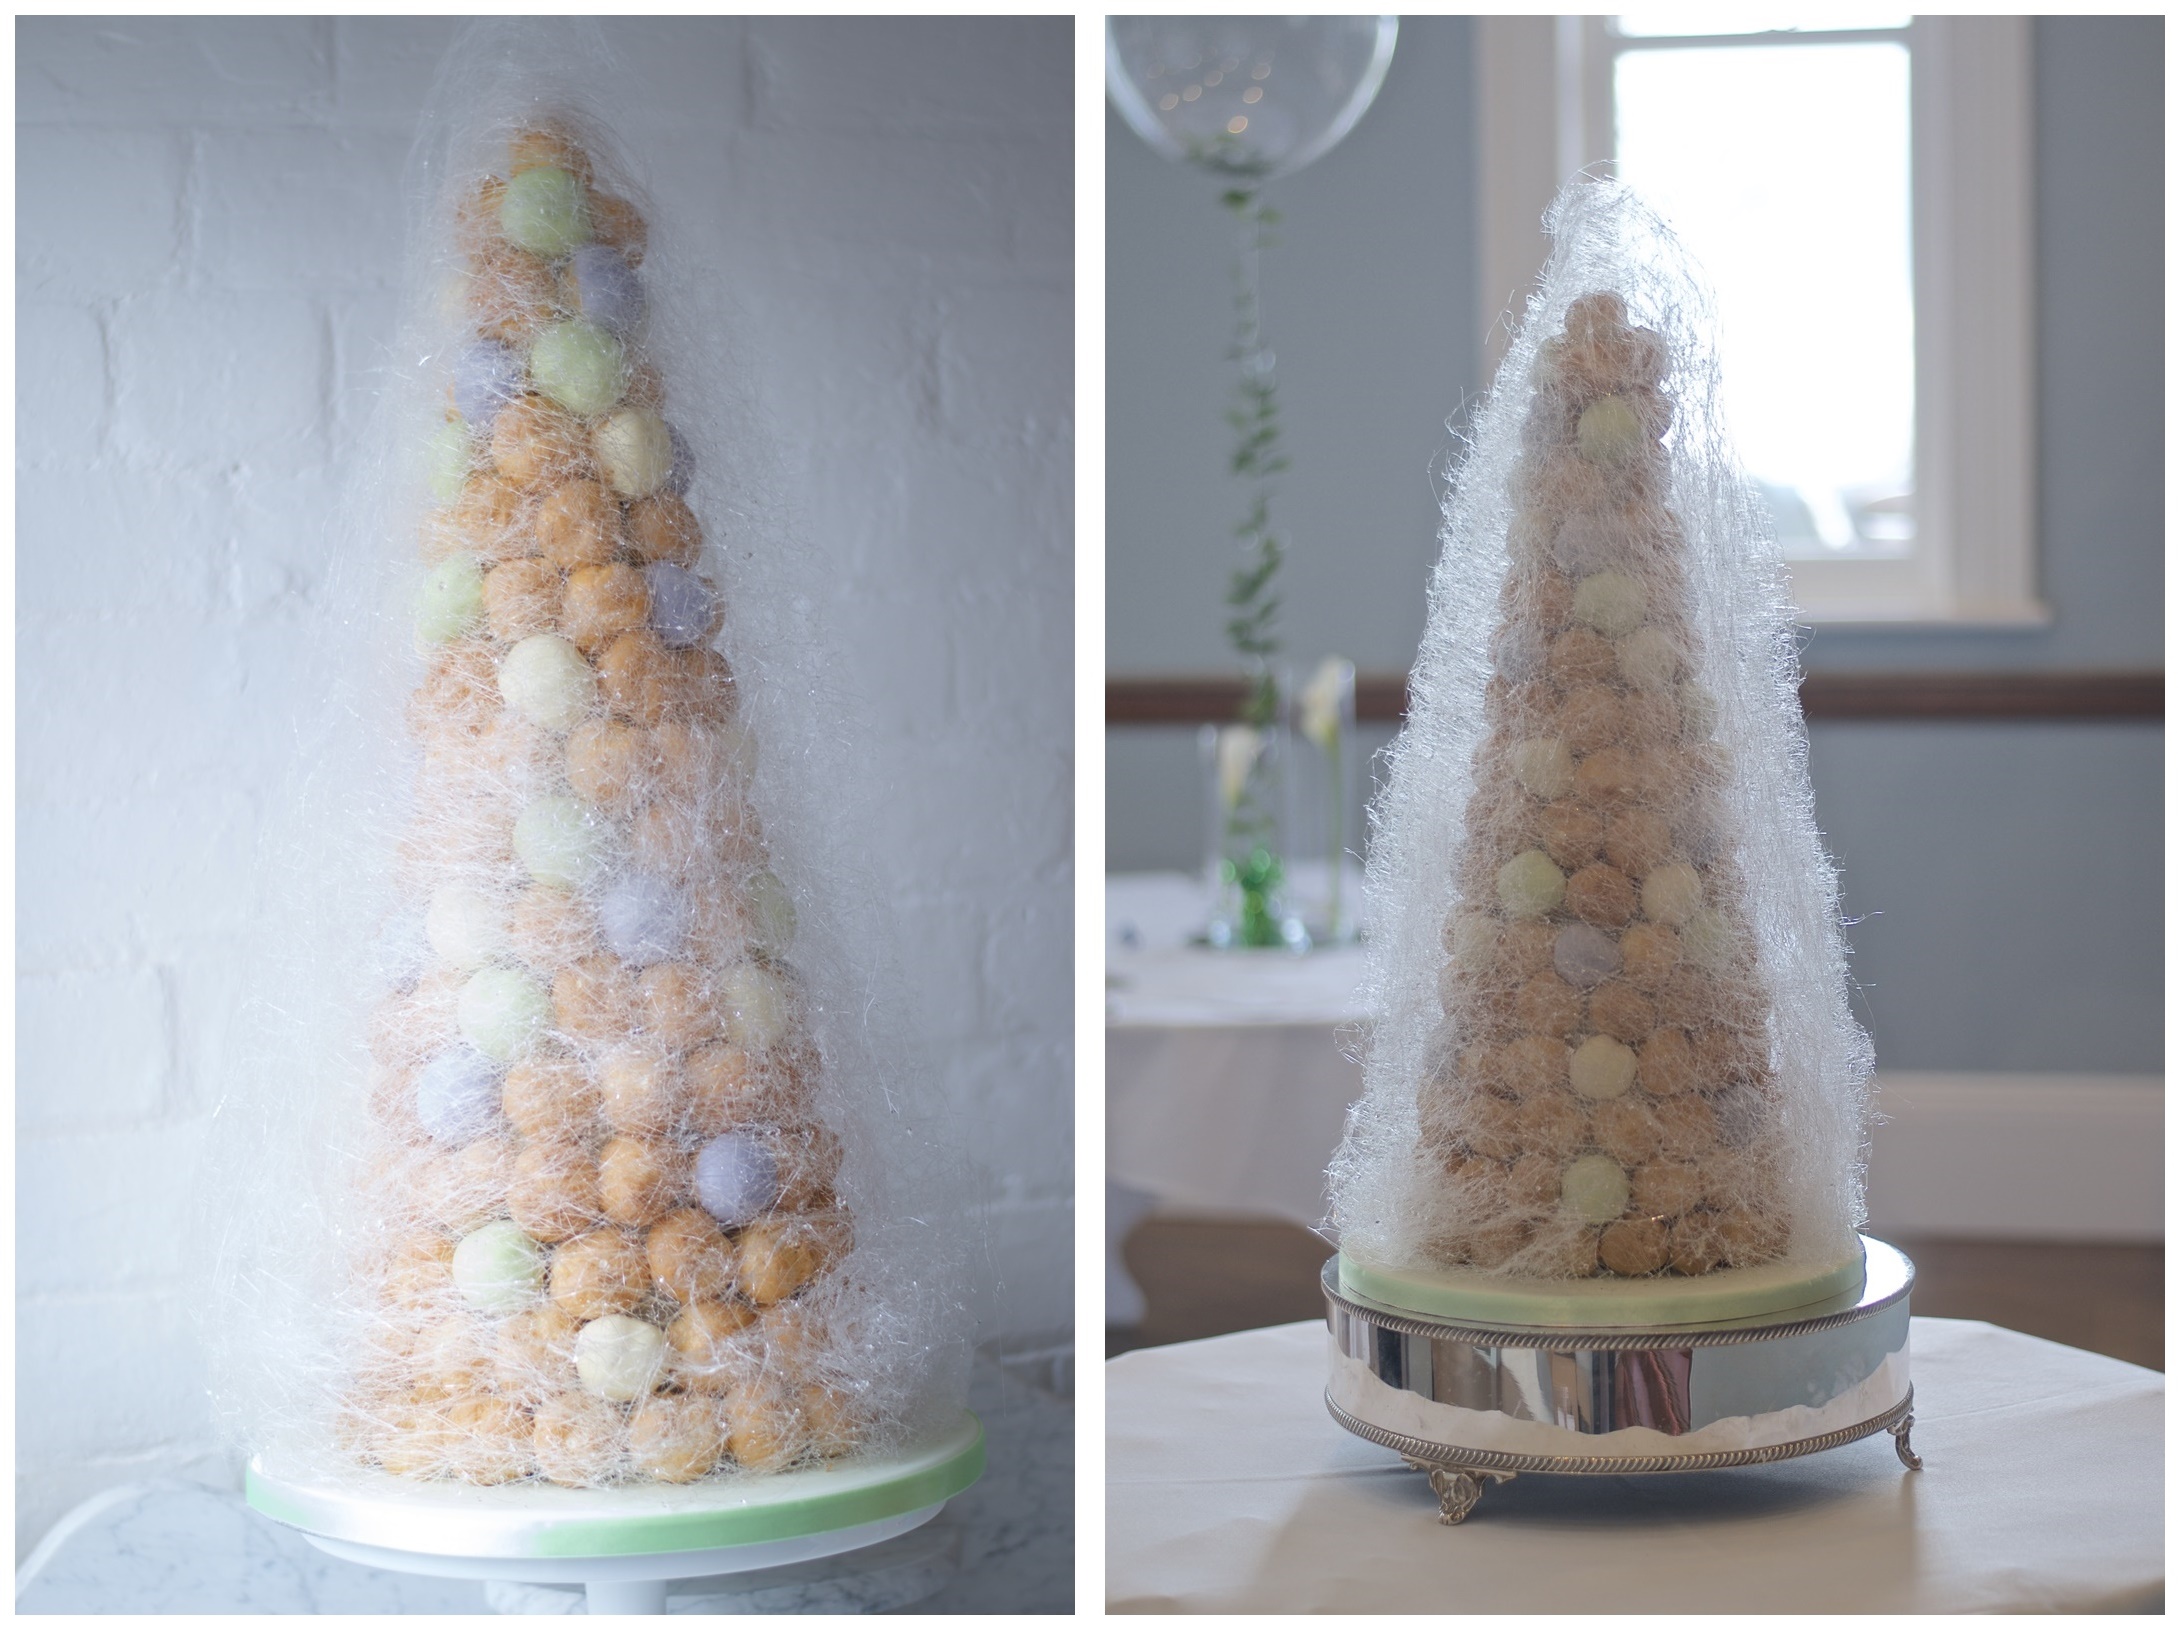
Step 12
Your cone should look like this when it is finished. Keep refrigerated.
.
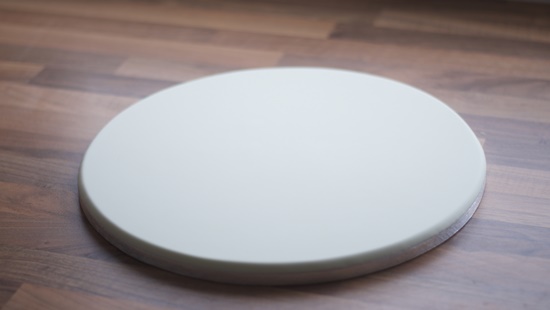
Step 13
Cover a 14” cake drum with Saracino Pasta Top; I used green paste to match some of the rolls. Allow to dry 12-24 hours.
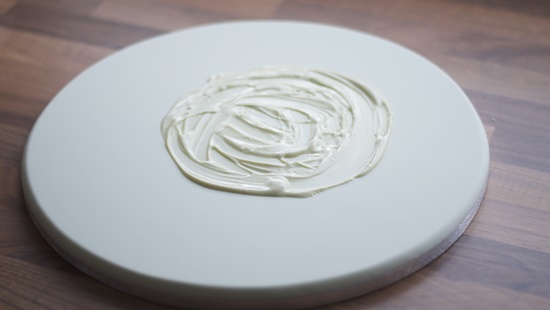
Step 14
On the day of presenting the croquembouche, spread a little melted chocolate on the covered cake board, take your chilled Croquembouche from the fridge, and place in the centre of the board.
.
Step 15
Now for the Magic part! Use Saracino Isomalt.
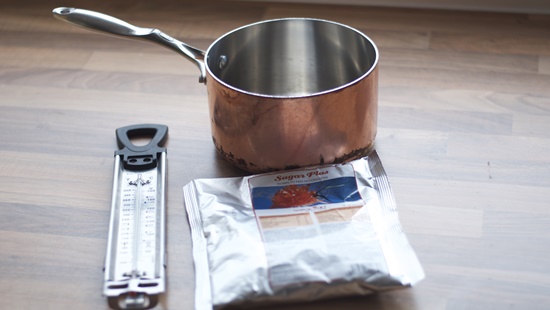
Step 16
Add 500g of Saracino Sugar Plus to a clean pan. Add a little distilled water (boiled water allowed to cool) to wet the mixture: 2-3 tablespoons should be plenty. It should resemble wet sand.
.
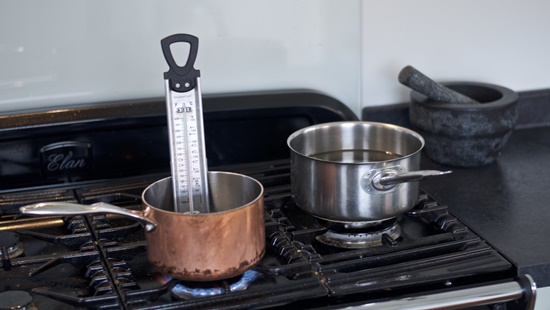
Step 17
Put on the gas and warm on a medium heat. Once all of the sugar is dissolved turn up the heat, until the sugar solution is as close to 340F as possible. Immediately dip the pan gently into a bowl of cold water to stop the sugar from cooking further: be very careful to let any water spill inside and also be very, very careful now: the sugar is very dangerous and molten hot.
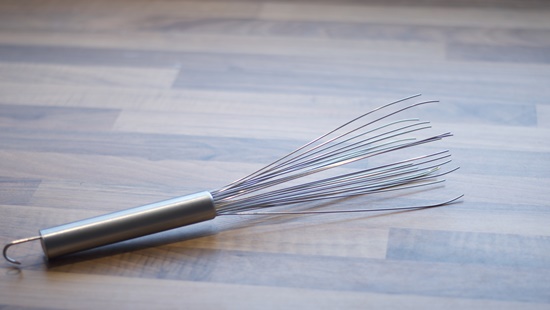
Step 18
Allow the sugar mixture to cool a little until it slowly runs off a fork or cut-off whisk as I have used, rather than quickly drips off (about 5 – 10 minutes). The more you work with sugar the more you will know the correct consistency, so practice makes perfect! Imagine double cream consistency rather than water.
.
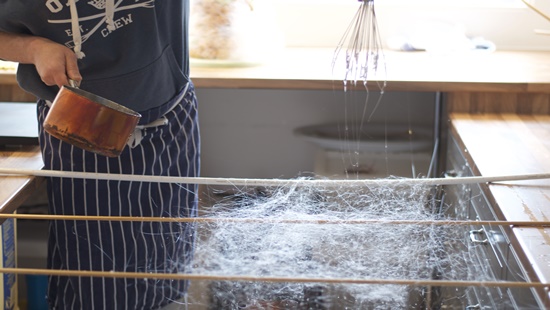
Step 19
Now the fun part: dip your whisk or fork into the mixture and flick it quickly backwards and forwards over two lightly greased parallel bars (I use two lengths of food-grade plastic piping) supported across two surfaces. This is very messy and hard to clean – it can be done outside or over a tiled floor. Never do this in your carpeted living room! Build up lots of layers
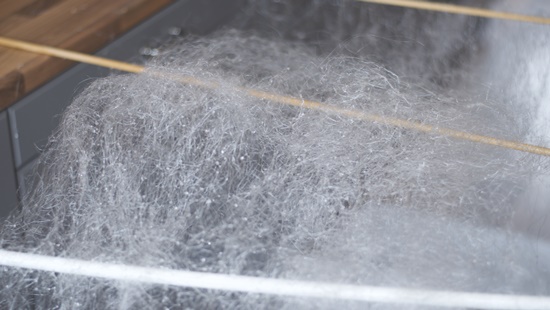
Step 20
It should look something like this.
.
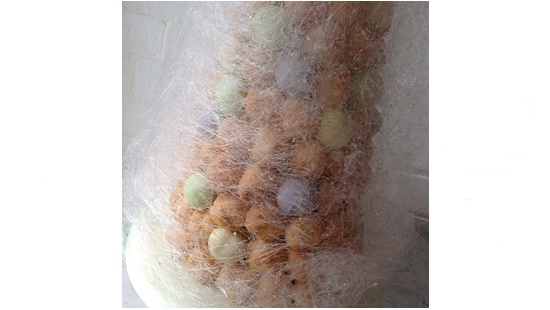
Step 22
Cut the edges with scissors to create a long oblong shape, then lift the whole thing like a sheet and wrap it around your croquembouche, it will be cold enough to handle almost instantly but if you leave it too long, it will set and shatter: it will stick to itself and you can gently pat it into shape with your hands.
