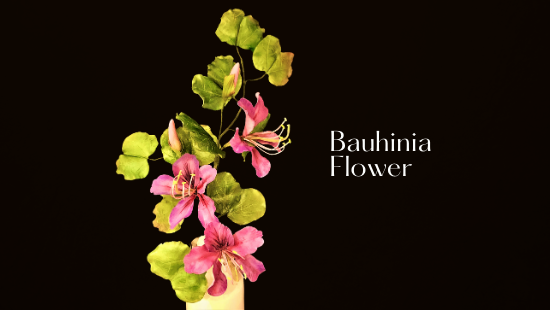
BAUHINIA FLOWER TUTORIAL

BAUHINIA FLOWER TUTORIAL
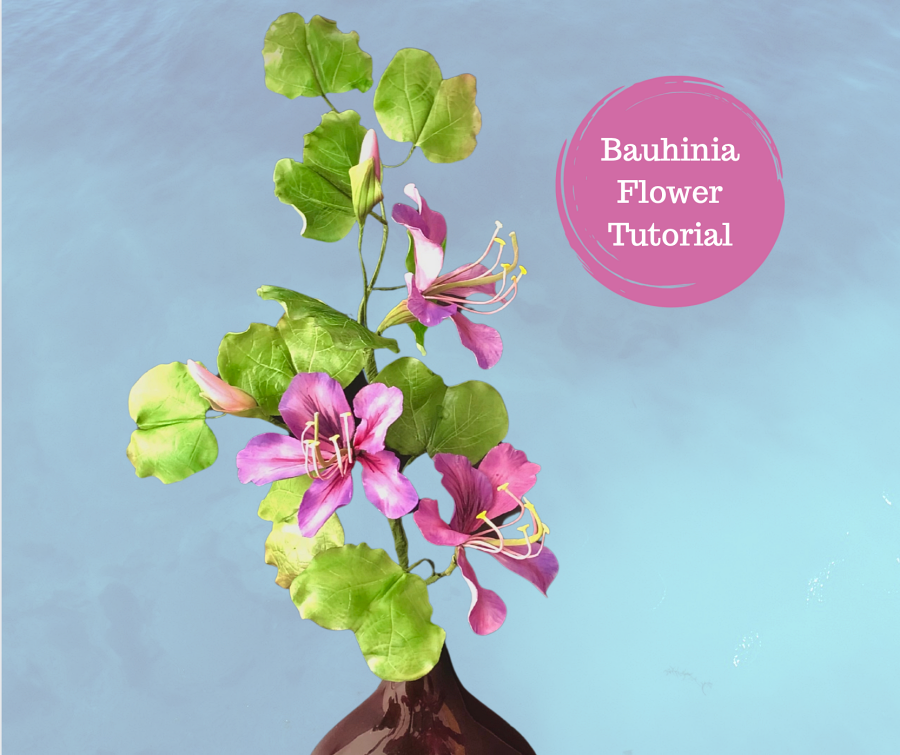
Skill level: BEGINNERS

FROM ZLATINA

Note: There are many different varieties of Bauhinia and the plant can vary in shape, size, colour and form. 

I’ve made the flower as near to nature as possible, although it is not 100% botanically accurate.

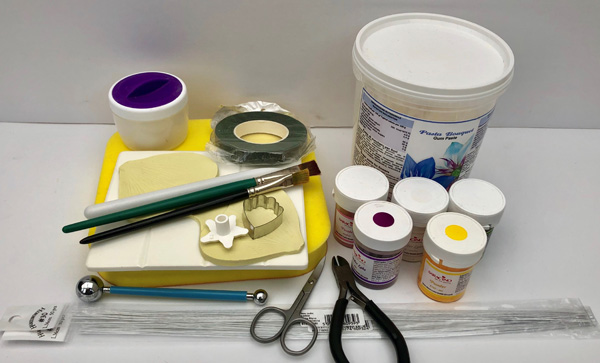
You will need:
  • Saracino Pasta Bouquet (coloured in pale green & pink colour)
  • Florist wires white (20,24,26,28 gauge)
  • Florist tape – mid-green
  • Edible colour gel (green & pink)
  • Edible colour dusts (yellow, pink, plum, violet, white, burgundy, Light green, deep green, dark green)
  • Edible glue
  • Edible glaze
  • Alcohol or lemon extract for mixing with dust colour
  • Mimosa or yellow coloured semolina
  • Cornflour for dusting
  • Balling tool
  • Dresden tool
  • Veining tool
  • Cutting wheel
  • Scalpel
  • Non-stick rolling pin
  • Grooved Board
  • Foam Pad
  • Bauhinia cutter (Tinkertech Two)
  • Amaryllis or Lily veiner
  • Bauhinia leaf veiner (Aldaval)
  • Paint brushes (Flat for dusting, thin brush for making the markings )
  • Wire cutter
  • Scissors
  • Drying shapers or sponge

Step 1

Making the Pistil – you will need 1/3 length of 26 gauge wire and a small pea size of pale green Pasta Bouquet.

Step 2

Hold the paste between your fingers and work it down the wire to cover half of its length (between 5-6cm).

Step 3

Flatten the sides gently and bend to form an ‘S’ shape curve.

Step 4

Slightly flatten the tip of the pistil and leave it to dry.

Step 5

Dust the pistil with light green powder colour.

Step 6

To make the stamens, you will need 1/3 length of 28 gauge wire and a small ball of white Pasta Bouquet.

Step 7

Wrap the paste around the wire leaving the very end exposed. For the ‘T’ anther bend the end of the wire and attach a tiny sausage shape piece of white paste.

Step 8

Moisten the end with edible glue and dip into mimosa or yellow coloured semolina to look like the pollen.

Step 9

Make 5 stamens. Bend the stamens gently into an S shape to create a curve.

Step 10

Dust the stamens with a pale mix of violet and white colour.

Step 11

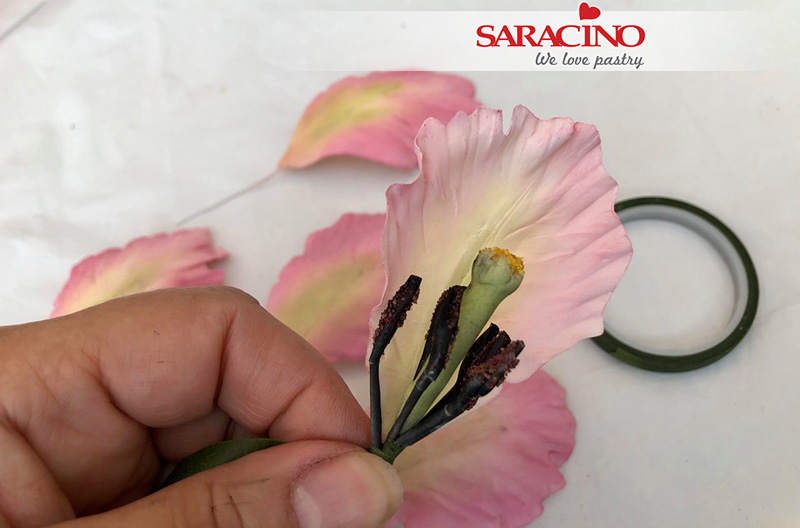
Tape the pistil and stamens together with ¼ width of Nile green florist tape. Position the pistil slightly above the stamens to resemble the form of open palm.

Step 12

To make the petals – Colour a small amount of Pasta Bouquet with pink gel colour to achieve a pale pink. Roll out some of the paste using a thin none stick rolling pin and a grooved board.

Step 13

For the Bauhinia you need five petals – Cut out one petal using the main middle cutter (the widest of the set). Cut out two petals of each of the other cutter shapes (left and right for each petal shape).

Step 14

Insert a ¼ length of 26 gauge florist wire into the grove of the petal inserting at least half way. 

Step 15

Pinch the narrow end and roll gently between your fingers to make sure that the paste is securely connected to the florist wire.

Step 16

Vein the petals using the Lily/Amaryllis veiner.

Step 17

Place the petals on the foam pad and thin the edges using a ball tool.

Step 18

Frill the edges of the Bauhinia petals with the veining tool.

Step 19

Gently pinch the back of the petals to create a central vein, shape them and leave them to dry 20-30 minutes.

Step 20

Using your flat headed brush dust each petal, working from the edges towards the base of the petal with a mix of pink, violet and white dust colours.

Step 21

At the base of the petals dust with plum colour to accentuate it and give it depth.

Step 22

Mix a few drops of clear alcohol or lemon extract with violet/plum dust colour. Using a thin brush paint lines resembling a fan formation on the central petal and leave a few minutes to dry.

Step 23

Assemble the petals around the pistil and stamens using ½ width Nile green florist tape.

Step 24

Start with the middle (central) petal, attach the left and right petals of the top (frilly) set slightly behind the middle petal. 

Step 25

To the base of the flower attach the left and right petals of the bottom set cutter.

Step 26

Gently form your petals to the position you want them to take whilst they are workable and not dry.

Step 27

To make a bud You need a small ball of pale pink paste and ½ length 20 gauge wire. Make a small hook at the end of the wire.

Step 28

Roll the paste into a cone shape and insert the wires turning the paste gently. When we twist the paste the hook will attach itself well.

Step 29

Pinch the end of the cone shape to attach it well to the wire.

Step 30

Make three grooves along the length of the bud to line with the outer petals. Dust the bud gently with a mix of pink and violet dust colours.

Step 31

To make the bractRoll out pale green coloured Pasta Bouquet and cut out a leaf shape using a cutting wheel, scalpel or with the central Bauhinia cutter.

Step 32

Mark veins using a Dresden tool and attach the bract at the base of the flower.

Step 33

Dust colour it with a mix of light and deep green dust colours.

Step 34

Attach the bract around the bud and dust it with the mix of green colours.

Step 35

Wrap the wire of the bud with ½ width Nile green florist tape

Step 36

To make the leaves – Roll pale green coloured Pasta Bouquet using a none stick rolling pin and a grooved board.

Step 37

Using the shape of the Bauhinia leaf veiner cut a leaf shape using a cutting wheel or a scalpel.

Step 38

Insert ¼ length 24 gauge florist wire into the grove of the petal to at least half way. 

Step 39

Pinch the end to ensure that the paste is securely connected to the florist wire.

Step 40

Vein the leaf using the Bauhinia leaf veiner.

Step 41

Place each leaf on the foam pad and thin the edges using a ball tool.

Step 42

Make 4-5 leaves. Form them to add shape and leave them to dry on a drying shaper or sponge.

Step 43

Dust each leaf with a deep green dust colour and over-dust the edges with dark green dust colour.

Step 44

Glaze the leaves with edible spray glaze and leave to dry.

Step 45

Wrap the wire of the leaves with ½ width Nile green florist tape.

Step 46

Assemble the leaves into a small branch using ½ width Nile green tape and a 20 gauge florist wire.
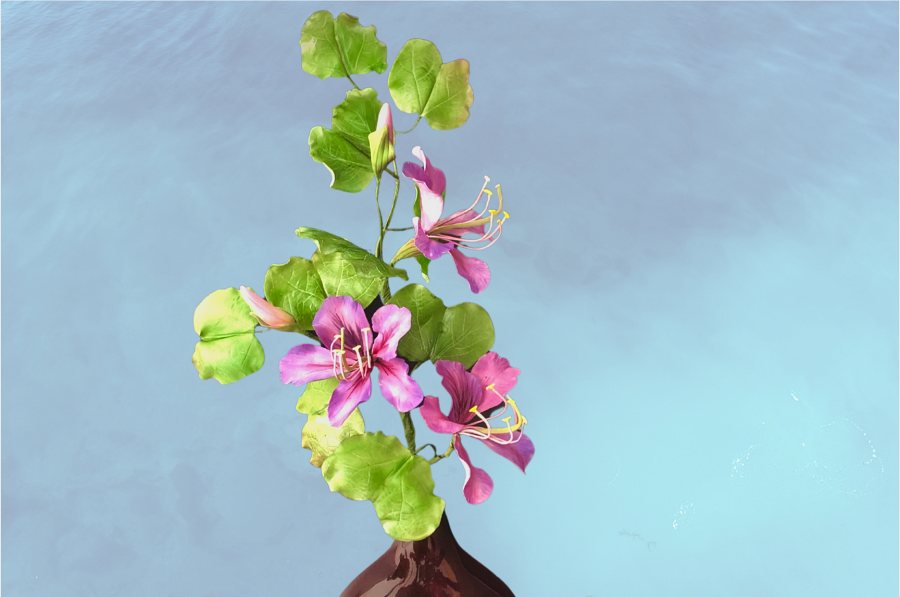
Step 47

Attach a few leaf branches and blossoms together to make a beautiful arrangement.

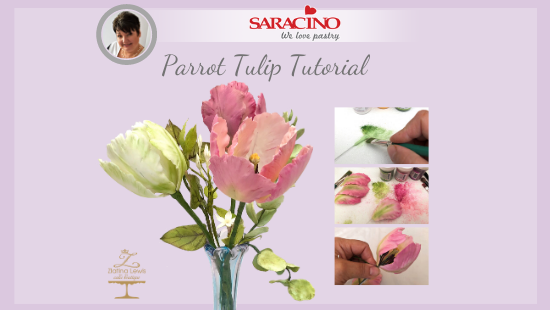
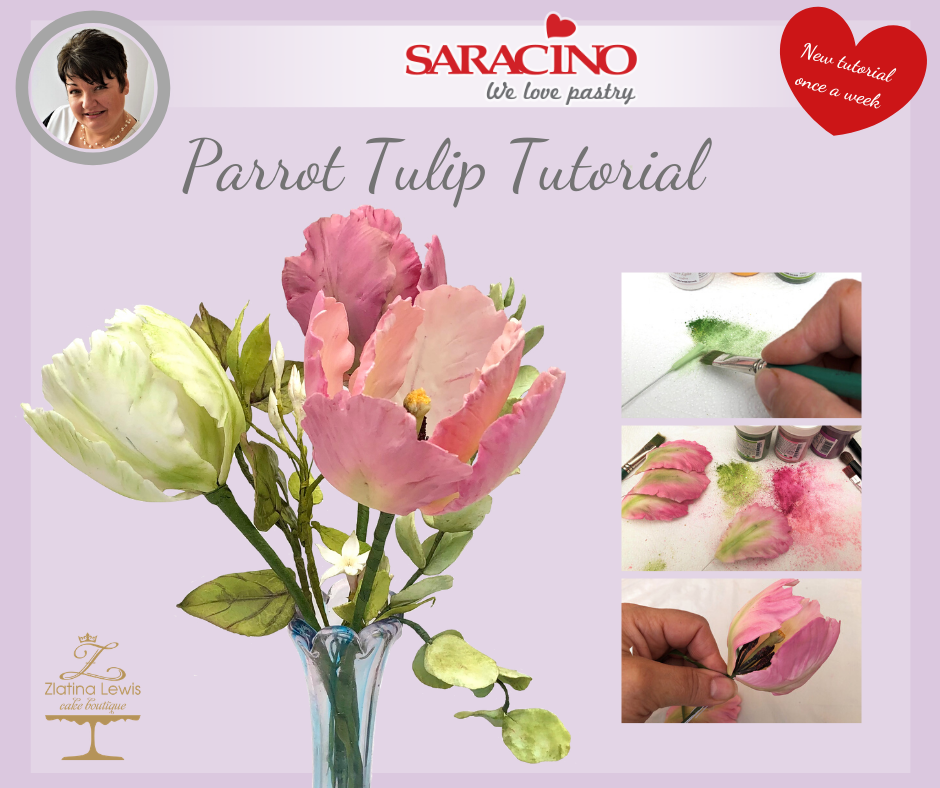
PARROT TULIP TUTORIAL

PARROT TULIP TUTORIAL

Skill level: INTERMEDIATE 

FROM ZLATINA

The tulips have three petals and three sepals, but for ease I have referred to petals here.

I’ve made the flower as near to nature as possible, although it is not 100% botanically accurate.

You will need:
  • Saracino flower paste – Pasta Bouquet – 70g
  • Florist wires white (30, 26 and 20 gauge)
  • Florist tape – mid-green
  • Edible Saracino colour dusts (yellow, pink, red, violet, white, black)
  • Edible glue
  • Semolina – coloured in yellow and violet colours
  • Cornflour for dusting
  • Ball tool
  • Dresden tool
  • Cutting wheel
  • Non-stick rolling pin
  • Cel Board
  • Foam Pad
  • Parrot tulip cutter & veiner
  • Paint brushes (Flat for dusting)
  • Wire cutter
  • Scissors
  • 2 Pipe cleaners
  • Drying shapers or sponge


  •  

Step 1

For the stamens of the flower you will need a lentil size of gumpaste and a length of florist wire gauge 30 cut into 6.

Step 2

Roll out the small piece of gumpaste into a sausage, insert the wire into it and give it a teardrop shape

Step 3

Squeeze and shape the paste as to give it slightly more bulbous tip.

Step 4

Make six stamens. Using your Dresden tool shape a groove down the length of the each stamen. Dust them with black dust colour.

Step 5

Dip each stamen into a little dish with violet coloured semolina and set aside.

Step 6

To make the pistil of the tulip, you will need a pea size of pasta bouquet and 20 gauge wire cut in ½ with a hook formed at the end of it.
Step 7

Form the pasta bouquet into a teardrop shape with a length approximately 3cm and insert the hook to the middle of it. With a ball tool push the end side of the paste to flatten the pointy shape of the teardrop.

Step 8

With the tips of a pair of tweezers, squeeze three evenly spaced ridges into the very top of the paste.

Step 9

With the tweezers, form small ridges at the side of the pistil. With the help of a small cutting wheel, cut a tiny grove into each of the three ridges, made at step 8. 

Step 10

Colour the pistil with pale green colour.

Step 11

Dust the top of the pistil with little amount of yellow colour.

Step 12

Dip the top of the pistil into yellow coloured semolina

Step 13

Now this resembles the pollen on top of the pistil

Step 14

Tape the stamens to the pistil with ½ thickness florist tape

Step 15

Tape all of the stamens to the pistil and set aside.

Step 16

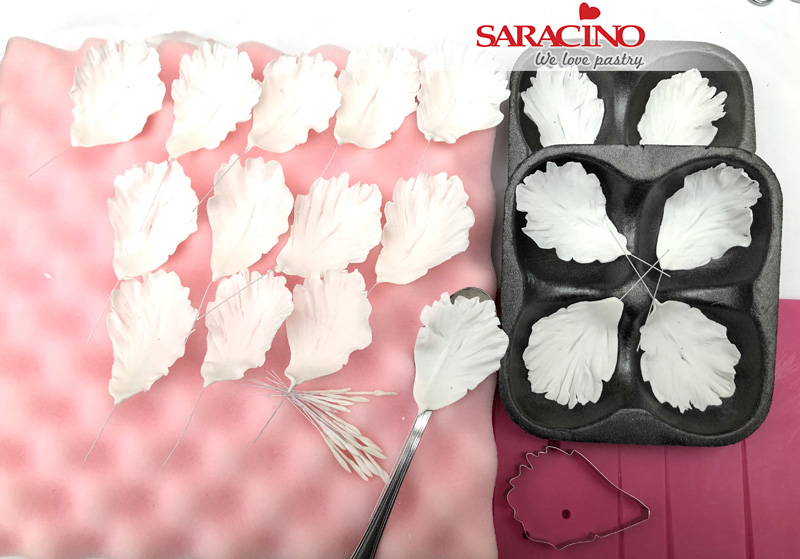
For the petals of the flower you need gumpaste and a ¼ length of a 26 gauge wire

Step 17

Roll out a piece of flower paste on the grove board and cut your petal shape. Make sure the centre of the petal is over one of the grooves in your board

Step 18

Your petal should look like this

Step 19

Insert the wire half way into the petal. A slow twisting motion helps to insert the wire

Step 20

Pinch gently the end of the petal to secure it to the wire

Step 21

Lay the petal on the parrot tulip veiner and press carefully to imprint the veins, but not to break the petal.

Step 22

Carefully remove the petal from the veiner and place it on the foam mat.

Step 23

Gently roll the ball tool over the edge of the petal – half on the foam mat half on the petal, thin the edges and slightly frill them as you are pressing on top of the petal.

Step 24

Make gentle strokes on the inner side of the petal with the Dresden tool. As you pull inwards this will make the petal edges curl in slightly.

Step 25

Make six petals for each flower you make. Leave them to dry on a foam shaper sponge or a clean foam fruit tray. Make sure you position the petals correctly during the drying process.  You can reposition them now and again, to help them fit nicely when assembling them later.

Step 26

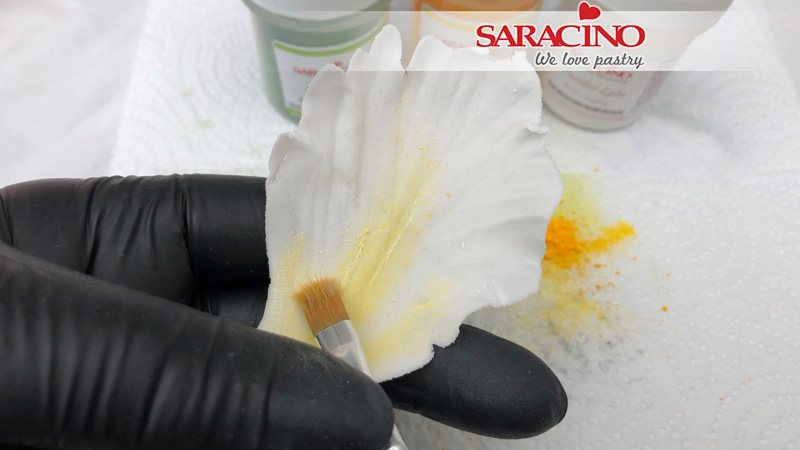
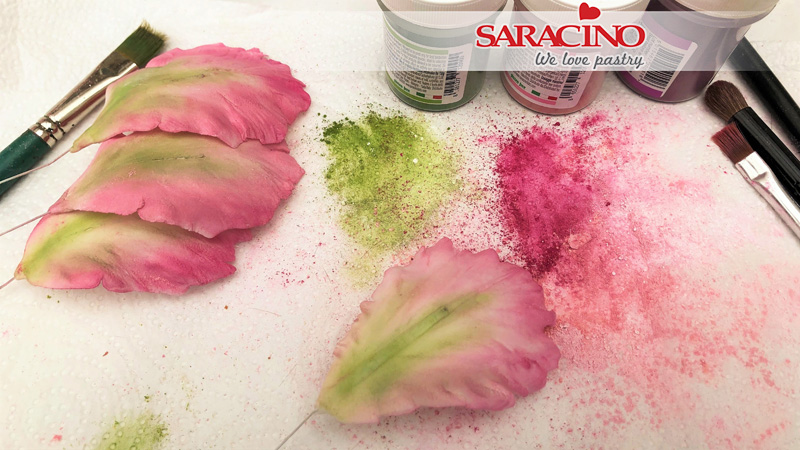
Take yellow colour and mix it with little bit of white dust colour.  Use the pale yellow colour to dust the centre of the inner side of the petals.

Step 27

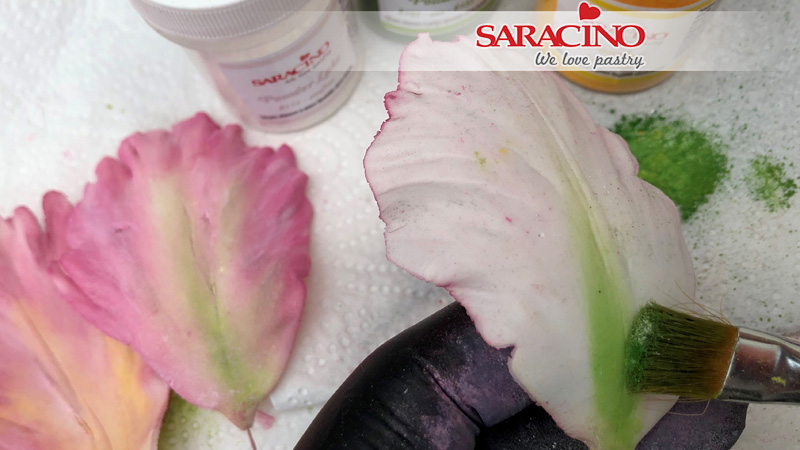
With green colour gently dust the centre of the outer side of the petals

Step 28

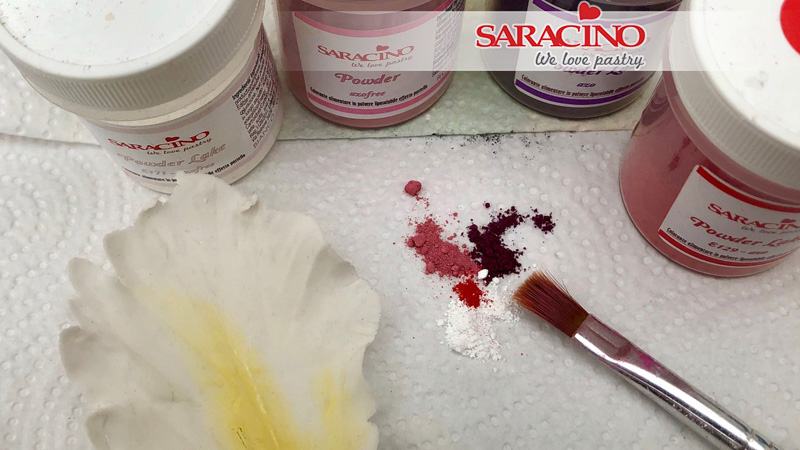
Mix together pink, violet, white and little bit of red dust colours to make a brighter pink colour, or you can also use a ready mix colour of your preference.

Step 29

Dust with bright pink food colour around the edges of each petal

Step 30

Attach each petal closely to the base of the stamens and pistil and tape tightly with half width mid-green florist tape

Step 31

Place the three petals close together around the base of the stamens and tape them down the stem.

Step 32

Add the next three petals. Using half width florist tape, attach the petals, alternating with the first three, to complete the flower

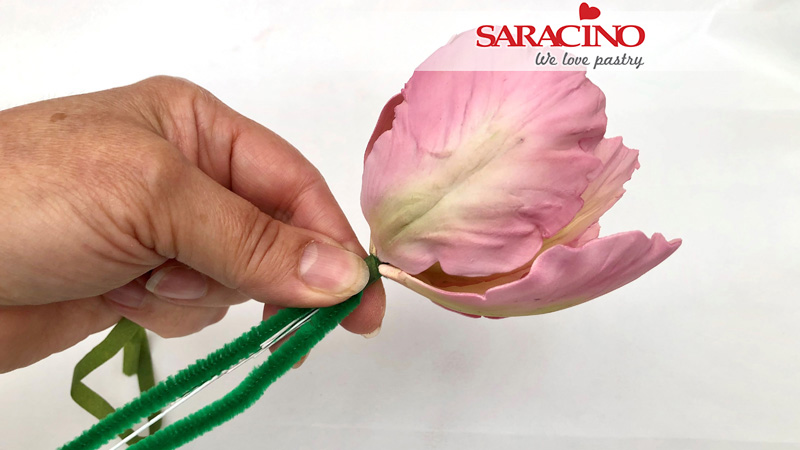
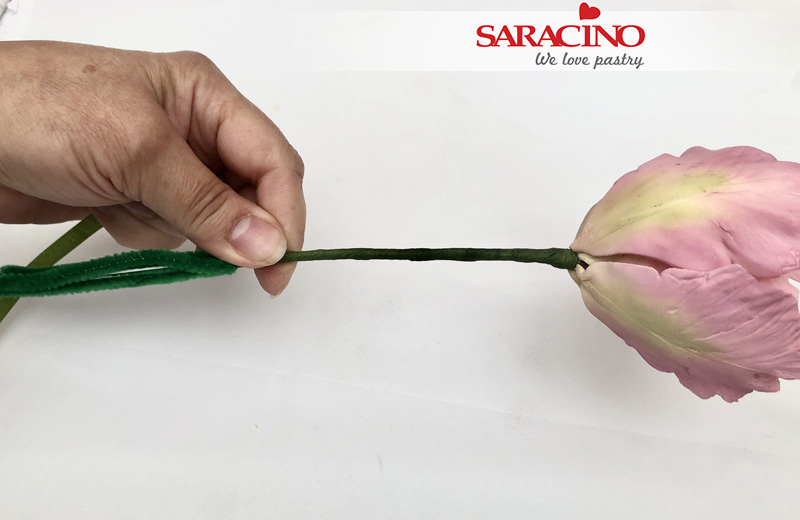
Step 33

Use pipe cleaners to add to the main stem wire and tape them together using mid green florist tape.

Step 34

Tape down the pipe cleaners and wire. As this will add to the thickness of the stem and will make it look more natural.

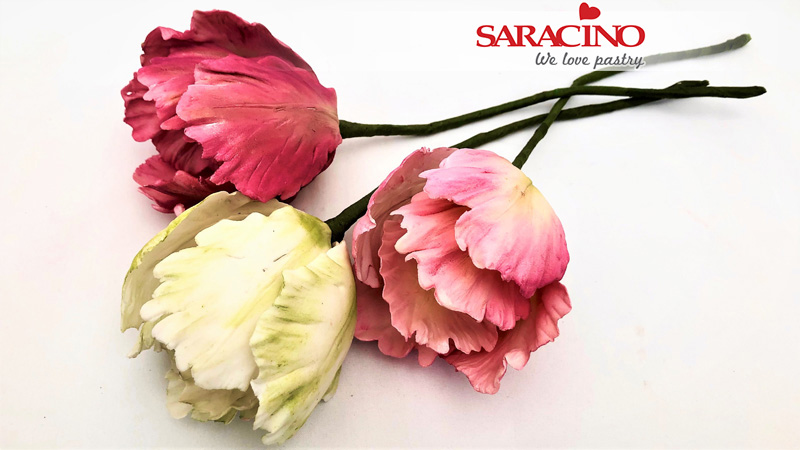
Step 35

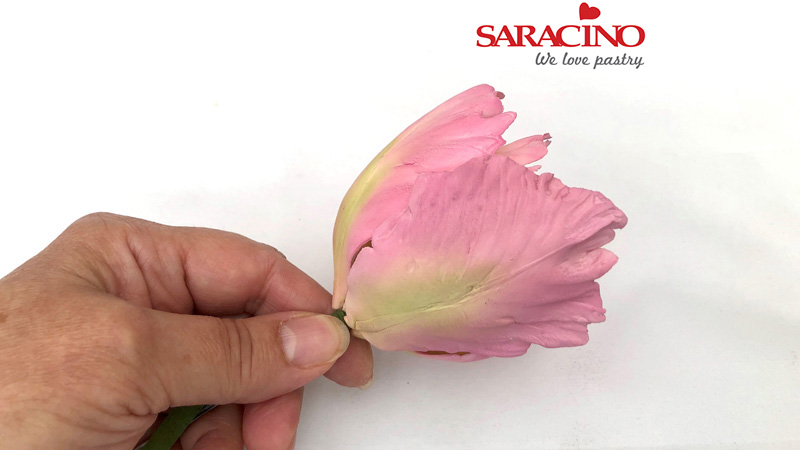
By using different dust colours, you can create different colour blossoms. Let Nature be your inspiration.


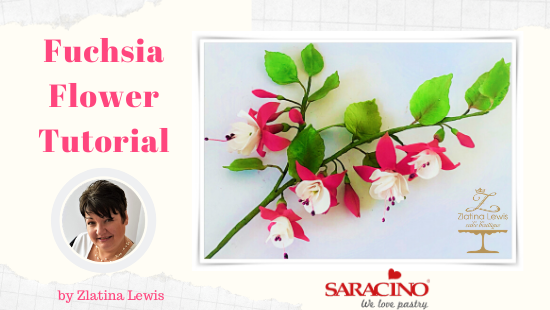
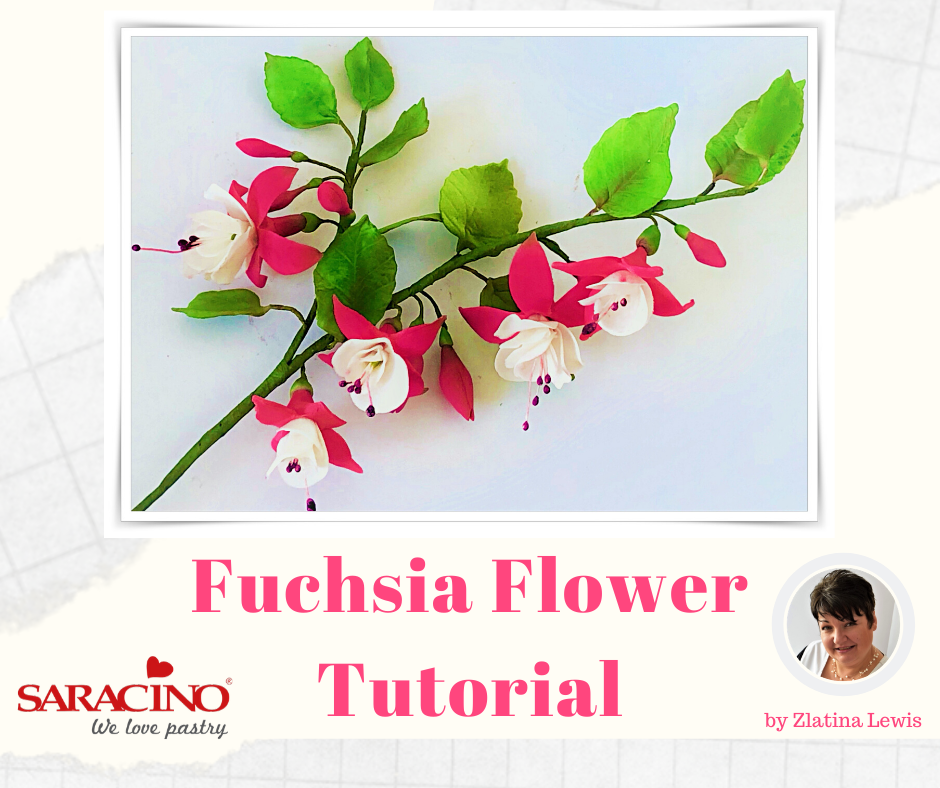
Fuchsia Flower Tutorial

Fuchsia Flower Tutorial

Skill level: BEGINNERS

FROM ZLATINA

Fuchsia comes in different varieties and colours.  I’ve made a type which is one of my favourite and grows in my garden.

I’ve made the flower as near to nature as possible, although it is not 100% botanically accurate.

You will need:
  • Saracino pasta bouquet
  • Saracino Food gel colours – Pink,Green
  • Saracino Dusting colours – Pink, Green, White, Purple
  • Fuchsia cutter
  • Rose leaf cutter
  • Rose leaf veiner
  • Medium head stamens – 1 longer; 4 cut into ½
  • ¼ width white flower tape
  • Green flower tape
  • Ball tool
  • 24, 26, 28 gauge wire
  • Rolling pin
  • Board
  • Groove board
  • Dusting brushes
  • Fine scissors

Step 1

To make one blossom, you will need 4 head stamens cut in half and 1 longer one. Add a tiny amount of flower paste to the head of the long stamen.

Step 2

Cut a quarter length of 26 gauge wire and form a hook on the end. You will need the pieces shown in the picture to make each flower.

Step 3

Tape the stamens together first then hook the wire over the tape to secure the stamens and tape together with a ½ width green floristry tape. Paint the stamen heads with purple dust colour, mixed with 1-2 drops of clear alcohol. Set aside and repeat the process making 4-5 blossoms

Step 4

Thinly roll white flower paste and cut a rosette with the fuchsia rosette cutter.

Step 5

Soften the edges of each petal with a ball tool on your foam mat. Press in the middle gently, so the petals curve a little. Put a small amount of edible glue in the middle and fold over in half.

Step 6

Put a spot of glue in the middle, add the taped stamens and wire.

Step 7

Roll the rosette around the wire, as to form a ‘skirt’ around.  Repeat the process as many times as number of blossoms you are making and leave to dry for few hours.

Step 8

Colour a small amount of paste with pink gel colour.

Step 9

Take a small amount of pink paste and form a Mexican hat.

Step 10

Roll out the edges thinner and cut out the fuchsia.

Step 11

Soften each side of the petals with ball tool.

Step 12

With the ball tool roll gently backwards each petal, so it curves and turns upwards.

Step 13

Add small amount of glue to the dry centres and thread the pink petal on top of the white rosette. Tidy up the back of the flower and take off any excess of paste.

Step 14

Take a small ball of green paste and form the calix with a cone tool.

Step 15

Glue the calix back to the blossom and leave to dry.

Step 16

To make the buds of the fuchsia, you need a quarter length of 26 gauge wire with a hook at one end. Take a small ball of pink paste and form a cone, to represent the bud. Dip the hook end of the wire into edible glue, and push into the bud. Turn gently around and twist, to form a strong connection.

Step 17

Mark 3 lines on the bud, where the leaves will be. Add a small calix and leave the buds to dry. You will need to make 5-6 buds.

Step 18

To make the leaves, you will need to colour a small amount of paste with foliage green gel paste.

Step 19

Roll small amount of green paste over the grove board and cut a leaf shape with the rose leaf cutter.

Step 20

Dip the end of a quarter length of 28 gauge wire into edible glue and thread the end into the grove. Pinch the leaf end gently to secure it to the wire.

Step 21

Vein the leaf with the rose leaf veiner and thin the edges with a ball tool. Form a very slightly curve to the wire with your fingers, to add ‘movement’ to the leaf.

Step 22

Repeat the process, to make 6-10 leaves.  Leave to dry.

Step 23

Cover the wires with Nile green tape.

Step 24

Dust the outer side of the blossoms with pink dust. Be careful not to get any dust colour on the white rosette part.

Step 25

Dust the buds with same dust colour, as you add a small amount of green colour at the base of the buds.

Step 26

Dust the leaves with green at the centre and over dust at the base towards the edges with mix of green and very small amount of purple.

Step 27

Now we assemble our fuchsia. Start with a small bud and a few small leaves, taping them on to a 24 gauge wire with ½ width green florist tape.

Step 28

Using a few of the small branches, tape them on to the main wire.

Step 29

As you go along the branch, add on bigger leaves and buds and leave them to droop down, taping them together. Add blossoms in groups of 2-3 and tape them half way down the wire, so they droop down and have a natural look.

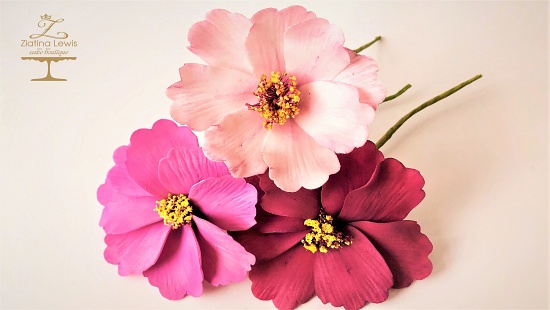
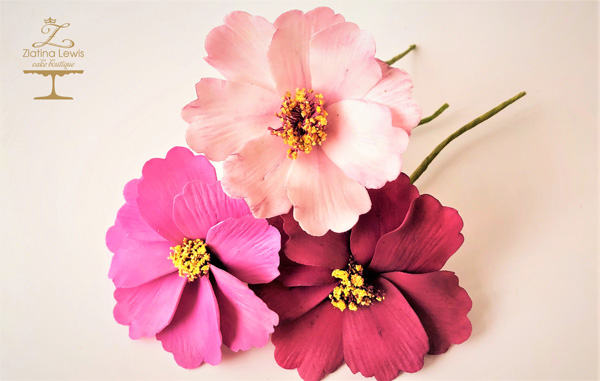
COSMOS FLOWER

COSMOS FLOWER

Skill level: BEGINNERS

FROM ZLATINA

By using different dust colours, you can create different colour cosmos blossoms. Let the nature be your inspiration.

You will need:
  • Saracino flower paste – Pasta Bouquet – 50g
  • Florist wires white (24 and 30)
  • Florist tape – green
  • White cotton thread
  • Saracino colour gel  – green, pink
  • Saracino colour dusts – yellow, pink, red, violet, white, green
  • Saracino edible glue
  • Semolina
  • Cornflour for dusting
  • Balling tool
  • Non-stick rolling pin
  • Cel Board
  • Foam Pad
  • Cosmos cutter & veiner
  • Paint brushes (Flat for dusting)
  • Wire cutter
  • Scissors
  • Kitchen roll

Step 1

To make the centre of the flower, wrap cotton thread around your two fingers about 20-30 times, until you have a thick loop.

Step 2

Fold the cotton loop into a figure eight.

Step 3

Fold the figure eight loop again, to form a thick coil and feed through a half length 24 gauge wire. Fold the wire and twist the two ends at the base tight together to secure the thread.

Step 4

Secure the cotton loop with half length green florist tape and cover the wire.

Step 5

Cut into the loop with scissors and shorten the ends of the cotton if it is too long, to form a shape of a short tassel.

Step 6

Mix together small amount of red and purple Saracino dust colours and dust the threads.

Step 7

Colour a small amount of semolina with yellow Saracino dust colour to make a pollen like mixture.

Step 8

With a paint brush dab gently the ends of your coloured thread tassel with edible glue.

Step 9

Dip the ends of it into the yellow semolina. This will resemble a flower pollen.

Step 10

Add a bit of pink gel colour to a small amount of Saracino flower paste and mix well to achieve a smooth pale pink coloured paste.

Step 11

Roll the paste thinly over the grove on the grove board.  Cut out a petal with the cosmos cutter and insert the 30 gauge florist wire into the ridge.  Dust the veiner with small amount of cornflour and press the veiner firmly to form a veining pattern.

Step 12

Move the petal onto a foam pad and thin the edges of the petal with a balling tool.  Pinch gently the bottom of the petal to secure the paste on the wire and to give it more movement and shape.  Make eight petals and leave them to dry on a sponge.

Step 13

Mix together little bit of white, violet and red Saracino dust colours and dust the petals, at the base you should make the colour a bit darker.  Dust gently the reverse of the petals as well.

Step 14

Wrap florist tape around the base of the flower centre.

Step 15

Bend the wire of each petal and attach it at the base of the flower centre with florist tape.

Step 16

Make sure you attach the petals tightly to the base of the flower centre.

Step 17

There is no correct way in which to arrange the cosmos petals.

Step 18

Assemble the flower as you see it. Different blossoms can be arranged in a different way.

Step 19

Colour a small amount of flower paste with green gel colour.

Step 20

Roll out the green paste and using a star shaped cutter cut out a calyx.

Step 21

With the ball tool roll over the calyx and thin the ends of it.

Step 22

Dampen gently the centre of the calyx with water.

Step 23

Push the calyx up the wire towards the flower head.

Step 24

Attach the calyx to the base of the cosmos flower.

Step 25

Use green dust colour and dust the calyx gently.

Step 26

Your flower is ready to go on your cake