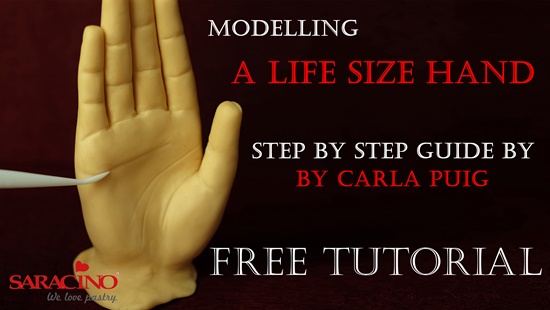
MODELLING A LIFE SIZE HAND

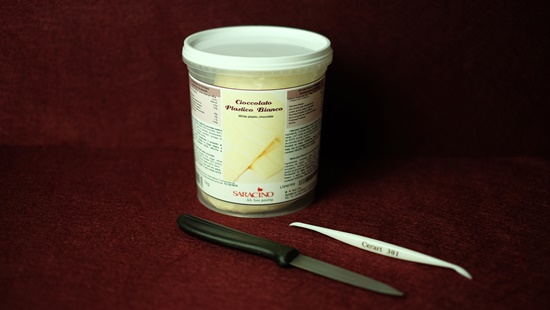
You will need:
- Saracino White Modelling Chocolate
- Saracino Skin Tone Food Gel Colour
- Dresden Cerart 301 Tool
- Knife
Step 1
Colour the chocolate in flesh tone.
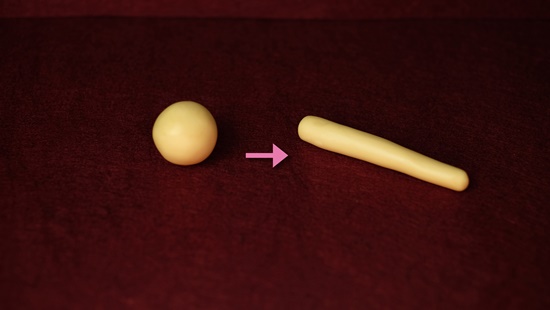
Step 2
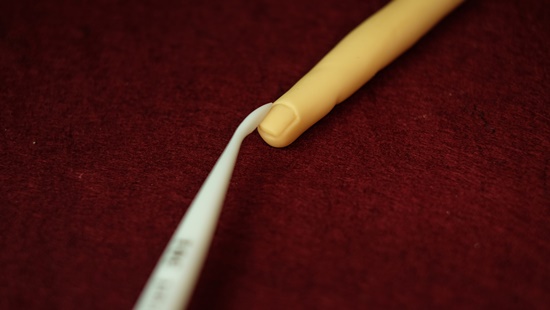
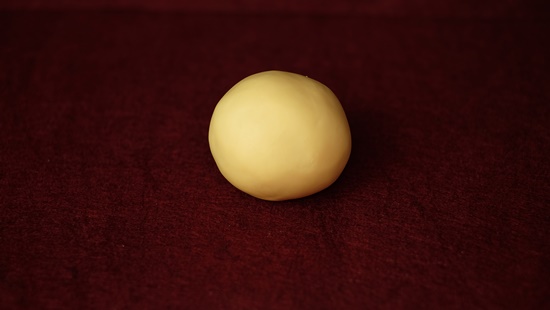
We are going to start with the fingers: make a ball, then, roll it and make a sausage.
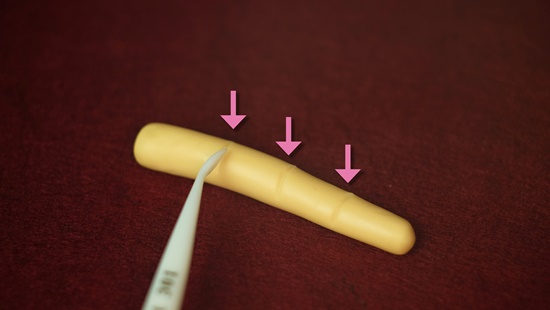
Step 3
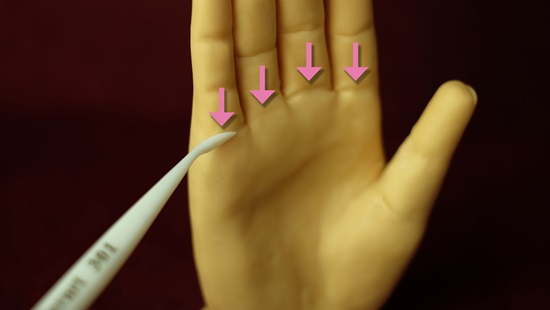
With the edge of the Dresden tool, mark three lines which are the finger’s creases.
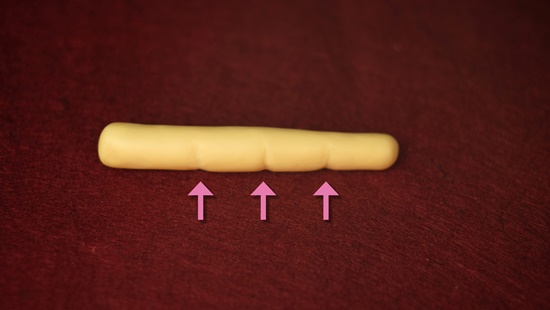
Step 4
With the tips of your thumbs, smooth the marks.
Step 5
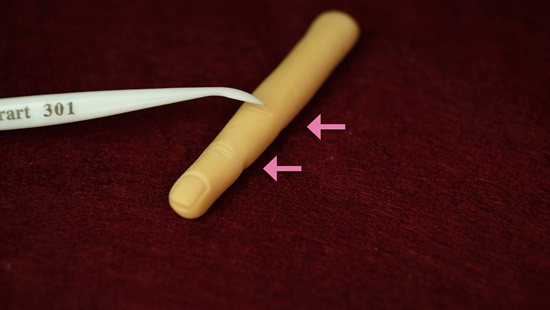
Turn the finger and, in the tip of the opposite side, mark a rectangle with the edge of the tool.
Step 6
Just above of the first three marks, make thin lines to recreate the creases of the knuckles
.
Step 7
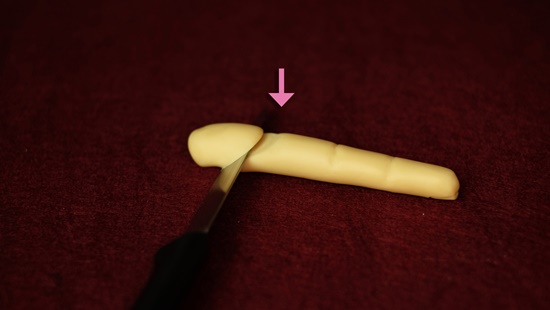
Turn again the finger and, in the third line, make a diagonal cut.

Step 8
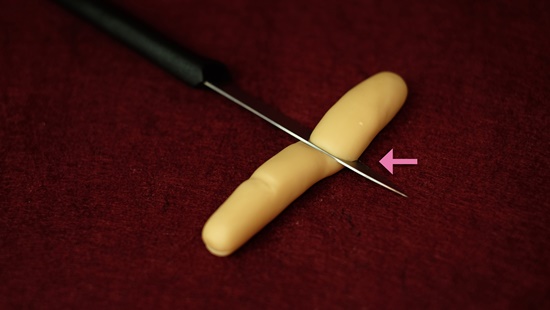
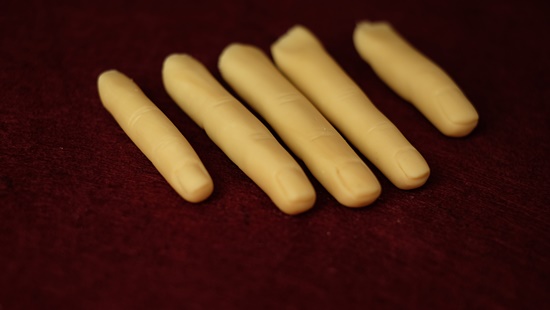
Repeat the same process four times changing the size depending on the finger you are making. For the thumbs, we only must make two marks in the lower side.
.
Step 9
For the thumb, make a diagonal cut in the second mark.
Step 10
We have to put the fingers in order and do not mistake with it.
.
Step 11
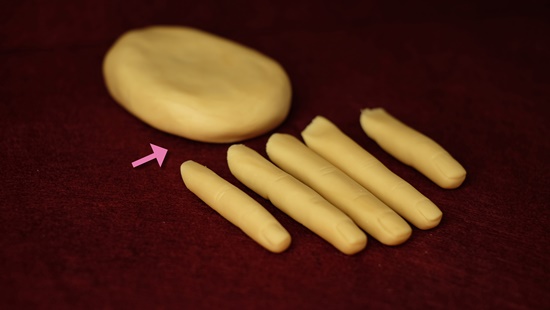
For the palm, make a bigger ball.
Step 12
Press it and give it a kind of rectangle shape. Place it near the fingers to see if the dimension is correct.
.
Step 13
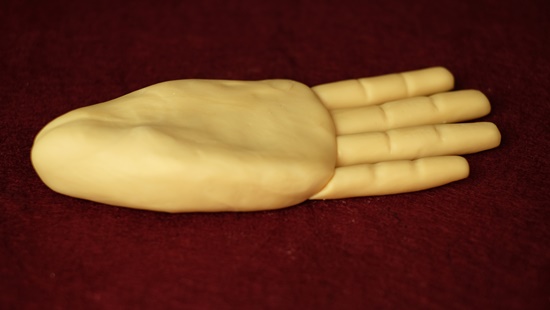
Place it all together.

Step 14
With the tool, smooth the joint between the palm and the fingers.
.
.
Step 15
Do the same with all the fingers.
Step 16
Repeat the process on the other side.
.
.
Step 17
If you need to add small pieces of chocolate in the joint you can do it and smooth everything.
Step 18
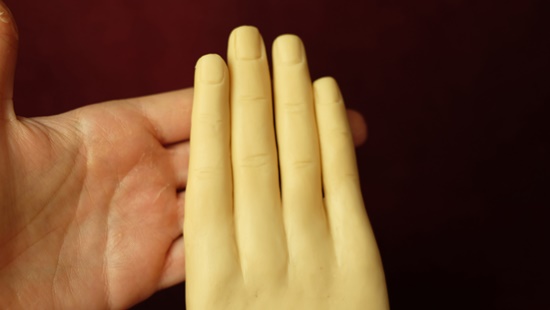
Place the thumb on the side of the palm. Be careful do not place it too high or too low. You can use your own hand as a template.
.
Step 19
Add chocolate on top of the joint to recreate the volume of the thumb.
Step 20
With the tool, smooth the joint.
.
Step 21
Try to not over touch too much the piece to prevent to add too warm of your own hand. Smooth the piece as much as you can using the tool or your fingers.
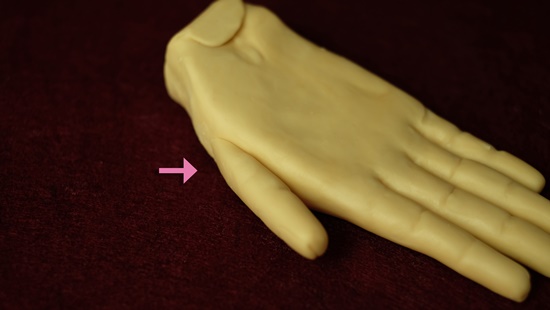
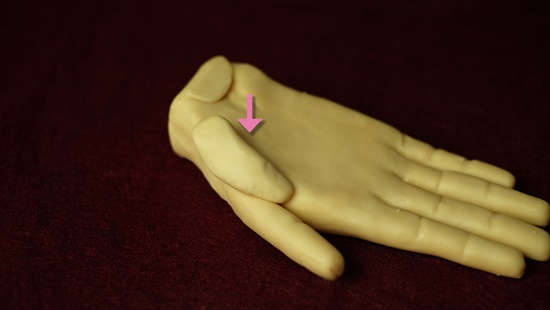
Step 22
Press in this point to recreate the volume we have in our hands.
.
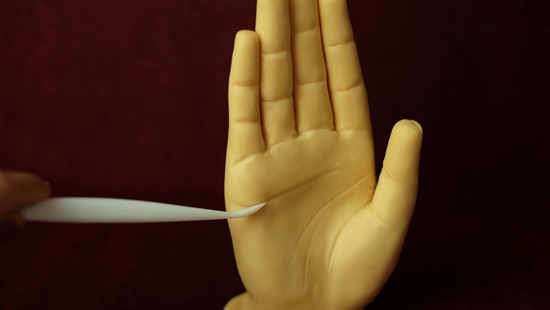
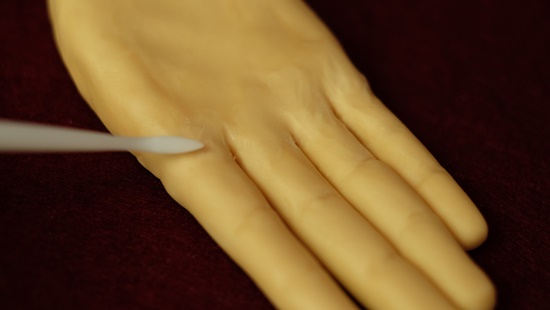
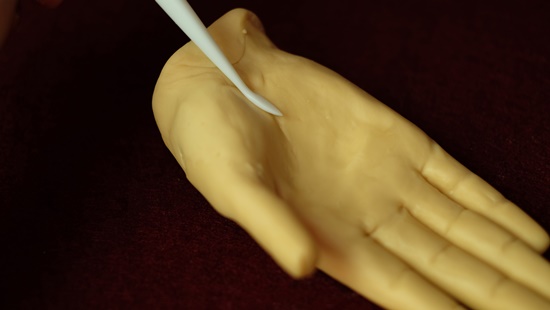
Step 23
With the edge of the tool, mark the hand lines soft.
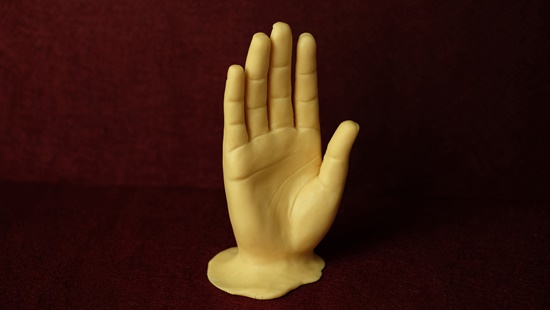
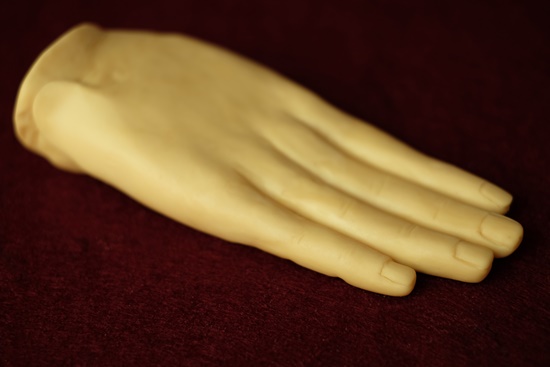
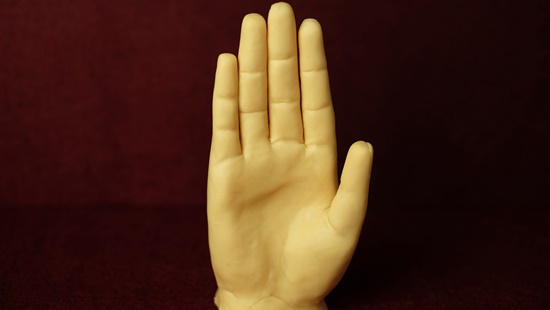
Step 24
Smooth the chocolate after all the process.
.
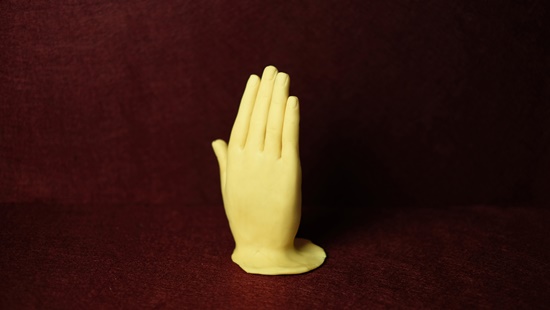
Step 25
Repeat the same in the other side.