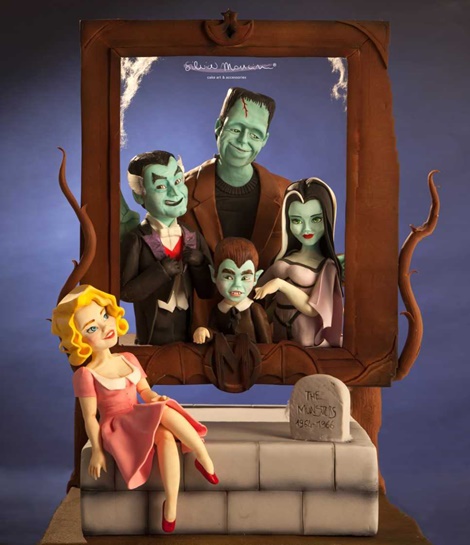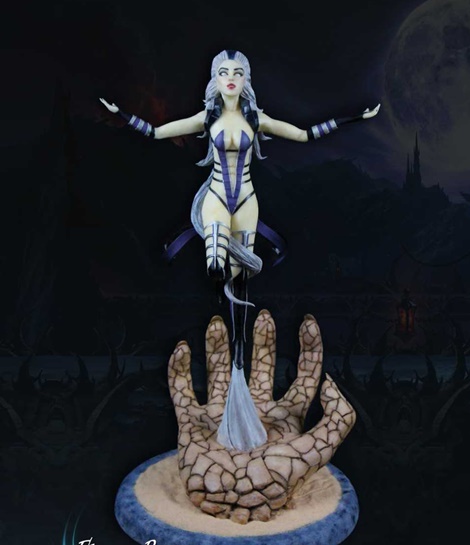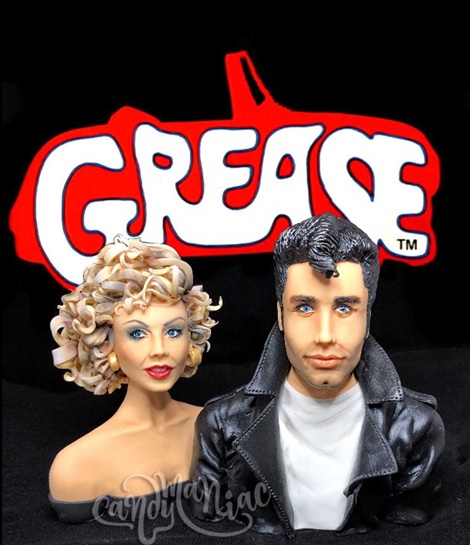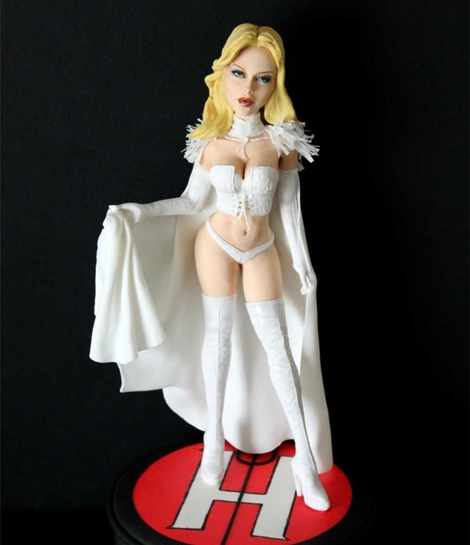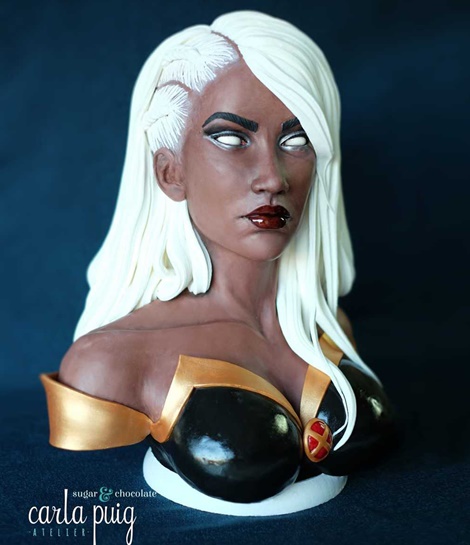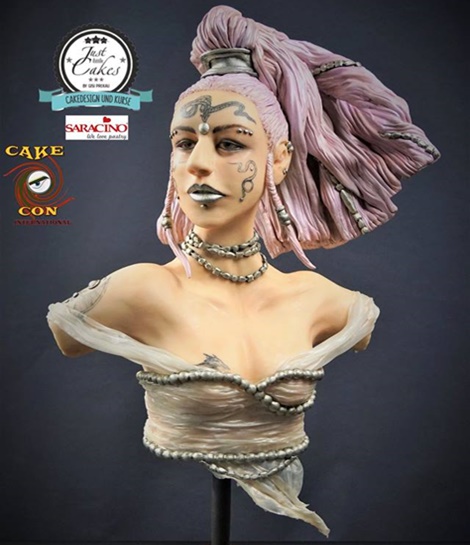
COUTURE CAKERS INTERNATIONAL
Hosted by ‘Sweet Dreams by Heba‘, the Couture Cakers are back for the second year!
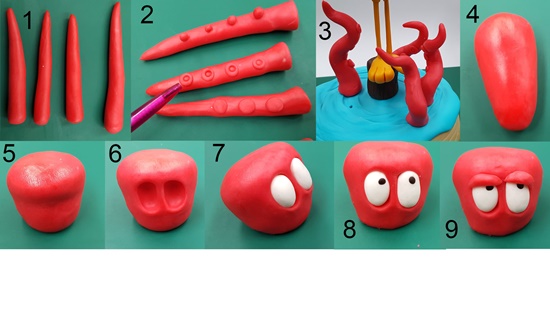
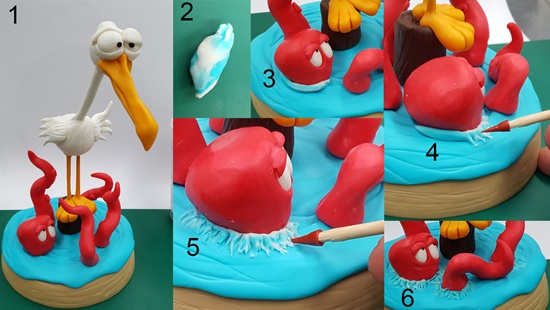
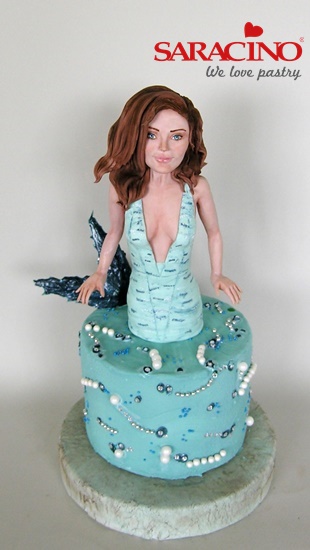
This annual collaboration has not only grown in number of members, but in the diversity of edible fashion-inspired cakes, cookies and figurines! Take a tour and enjoy the show!
Adela Calvo aka ARTYM
Angela Penta aka ANGELA PENTA CAKES
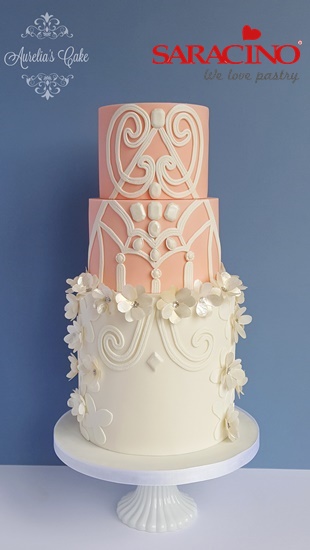
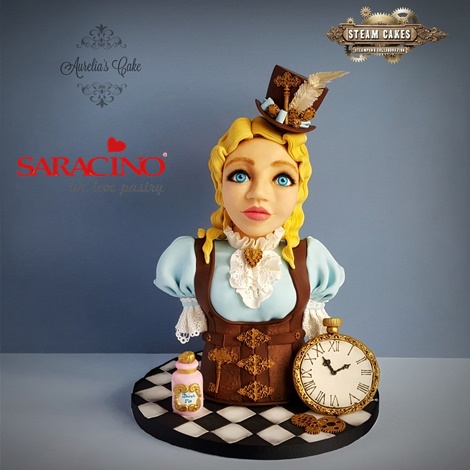
Aurelia Czarnecka aka AURELIA’S CAKE
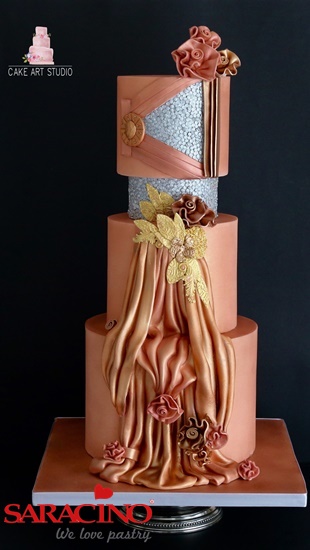
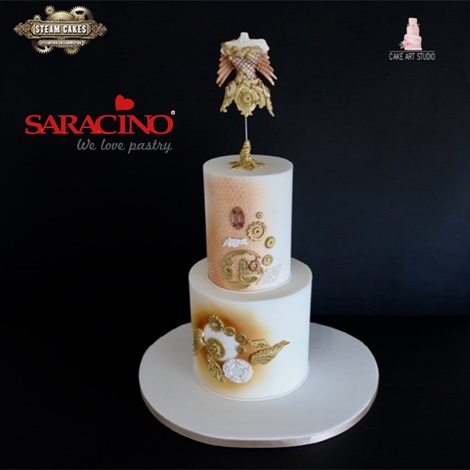
Beata Mielcarek aka CAKE ARTSTUDIO
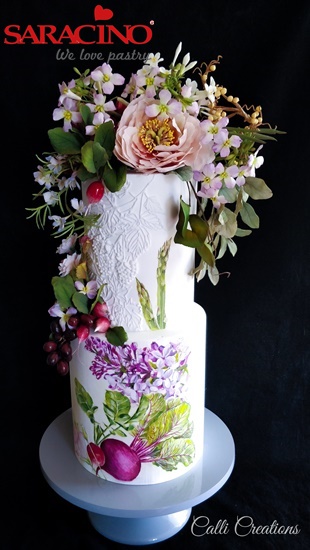
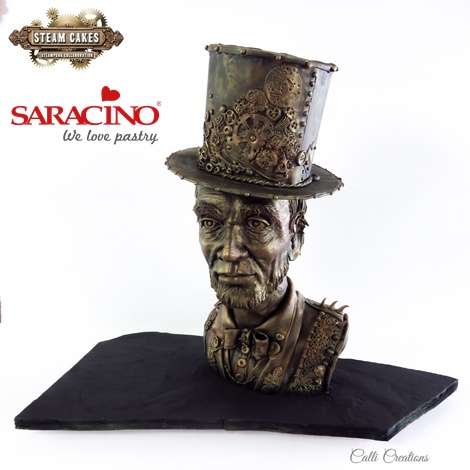
Calli Hopper aka CALLI CREATIONS
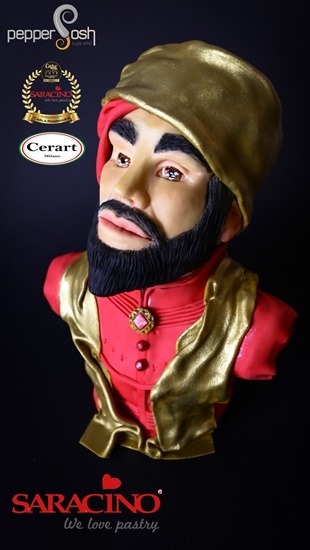
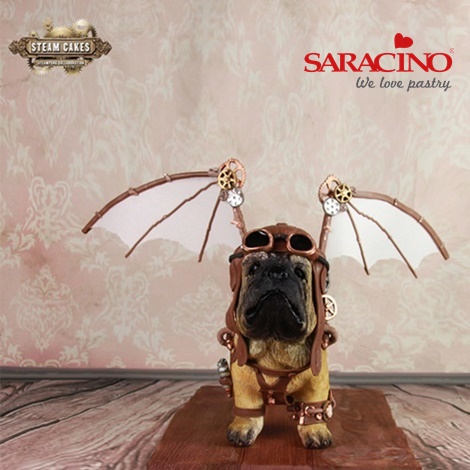
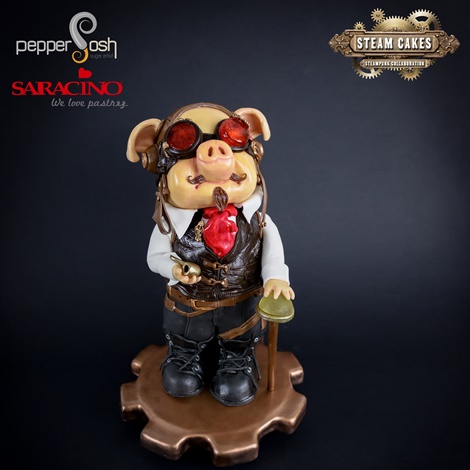
Carla Rodrigues aka PEPPER POSH-SUGAR ARTIST
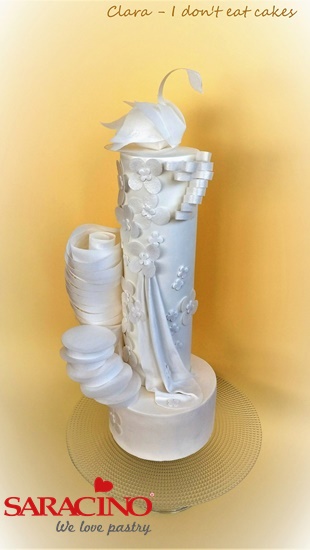
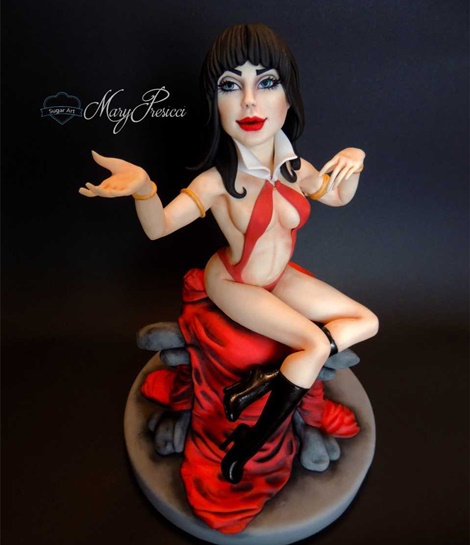
Clara Presazzi aka CLARA-I DON’T EAT CAKES
Elaine Minett aka GINGER CAT CAKERY
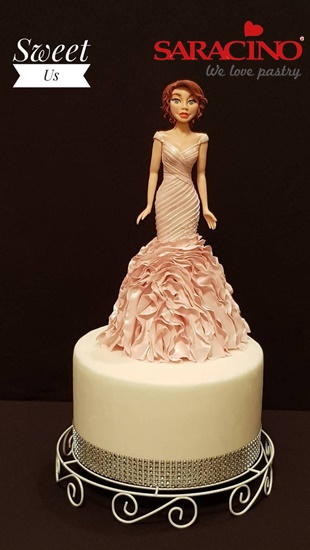
Georgia Ampelakiotou aka GEORGIA’S CAKES
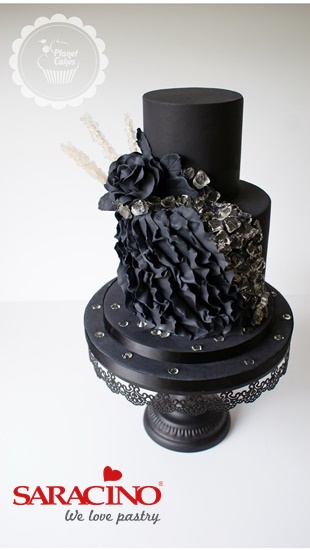
Katarzyna Janiszewska aka PLANET CAKES KASIA
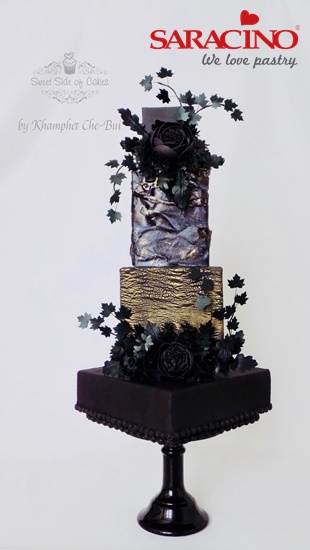
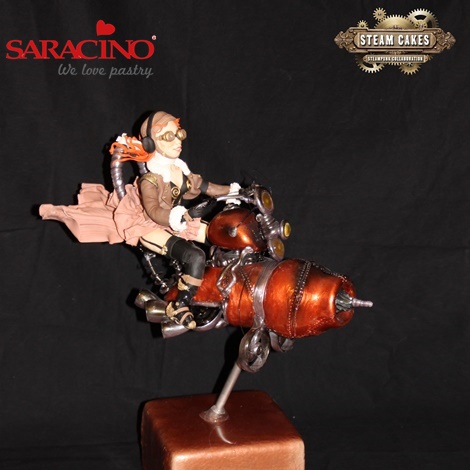
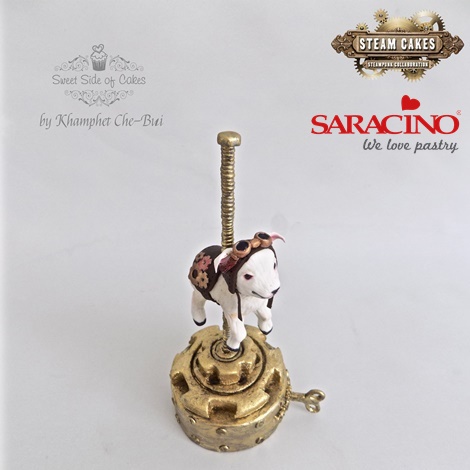
Khamphet Che-Bui aka SWEET SIDES OF CAKES
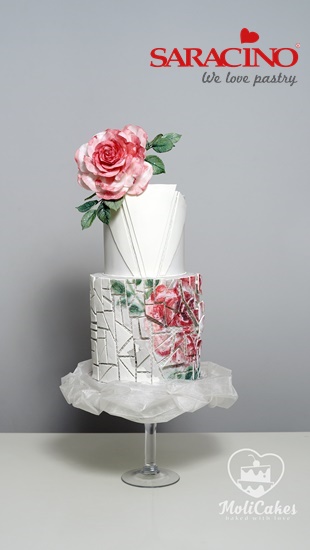
Monika Liptáková aka MOLI CAKES
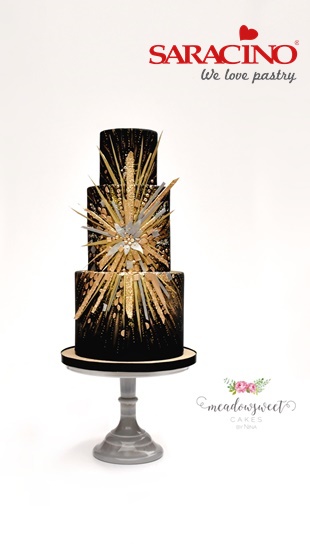
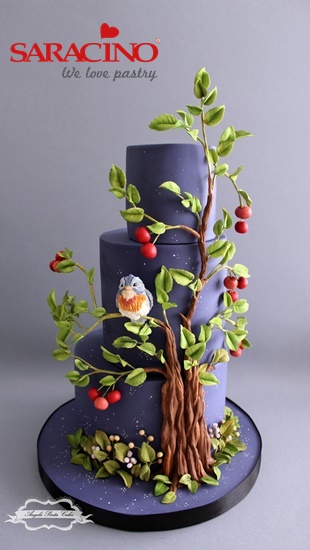
Nina YK aka MEADOWSWEET CAKES
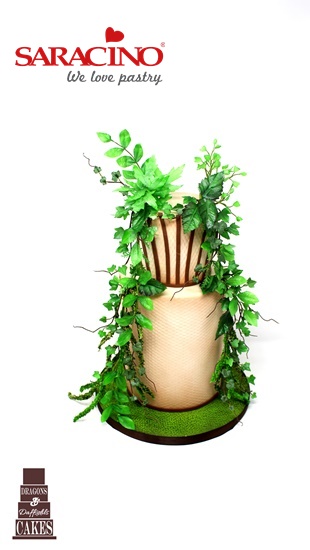
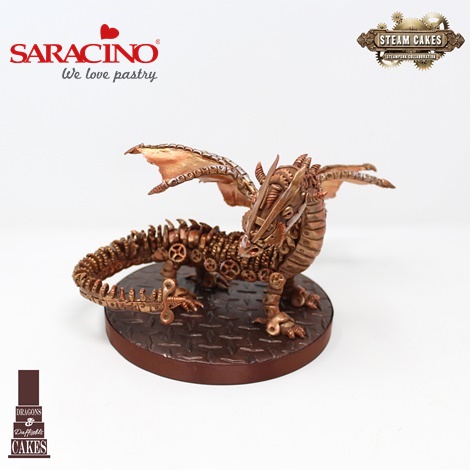
Rhianydd Webb aka DRAGONS & DAFFODILLS CAKES
BY RHIANYDD WEBB

Sarah Lou Smith aka SENSATIONAL SUGARART BY
SARAH LOU SMITH
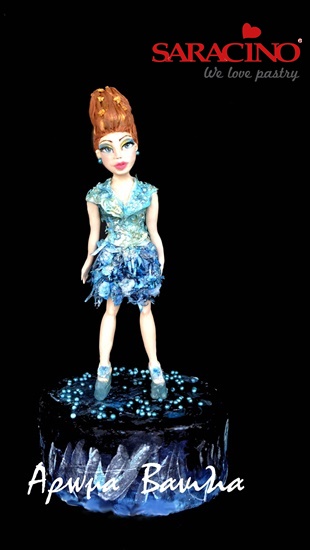
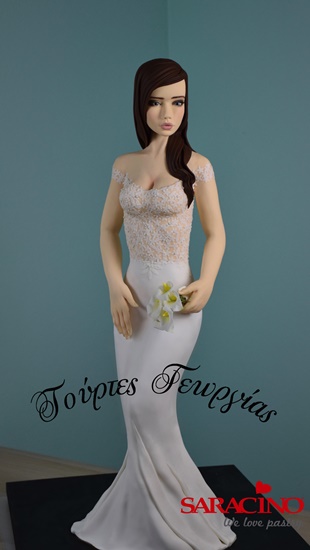
Sophia Voulme aka Αρωμα Βανιλια
Stefania Sanna aka TORTE DECORATE DI STEFY
Congratulations On Your Amazing Creations!
Take Your Time And Visit Couture Cakers Facebook Page COUTURE CAKERS INTERNATIONAL To View All The Amazing Creations!
Join Our Newsletter
We’d love to send you the latest news, discounts & exclusive offers via email! By signing up below you are confirming you are happy for Saracino to send you marketing emails. We will always treat your personal details with the upmost respect & will never sell your details to other companies for marketing purposes.