WAFER PAPER ROSE

WAFER PAPER ROSE

Skill level: BEGINNERS

You will need:

  • Saracino white modelling paste
  • Saracino wafer paper thickness 0.27mm
  • Saracino wafer glue
  • small rolling pin
  • mixing palette
  • clear alcohol
  • pink powder or gel colour
  • green powder or gel colur
  • rose petal cutter
  • rose veiner
  • rose leaf veiner
  • 20 gauge wire
  • 3 x 30 gauge wires
  • florist tape
  • 2 makeup sponges
  • small scisors
  • pair of gloves

Step 1

Knead the paste and form a centre cone for your rose.


Step 2

Insert the 20 gauge wire into cone and let it dry.

Step 3

Cover the wire with florist tape.

Step 4

Using the rose petal cutter cut out 18-20 petals.

Step 5

Place your ready cut out rose petal on the veiner.

Step 6

Using a makeup sponge soaked in the diluted pink colouring wet the petal and take care not to drag or tear. Simply press lightly without moving. Allow to dry but not completely.

.

Step 7

Fix the first petal to the centre cone using wafer paper glue. Texture the remainder of the petals.

.

Step 8

Place the next petal in front of the previous one.

.

Step 9

Start adding the next layer of petals by adding one in the gap of the previous two.

Step 10

Continue adding petals, making sure the beginning of each one is placed slightly under the previous.

.

Step 11

Add another layer of 3 petals using technique described in step 10.

.

Step 12

You can make the rose as large as you require by adding more petals. If you are going to add more than 4 layers of petals, make sure you cut them larger than previous ones.

.

Step 13

Whilst the petals are not completely dry they can be formed into shape using any circular tool, such as a small rolling pin.

Step 14

Cut out 3 rose leaves.

.

Step 15

Place the 30 gauge wire on the leaf veiner.

Step 16

Place the wafer paper leaf over the wire on the veiner. Press with a makeup sponge that has been soaked in the green dilution. Make sure you do not move and tear the wafer paper. Allow to dry completely.

.

.

Step 17

Once the leaves are dry, they can be dusted to add a more natural look.

Step 18

Fix 3 leaves together using florist tape.

.

Step 19

Assemble the leaves and rose together using florist tape.

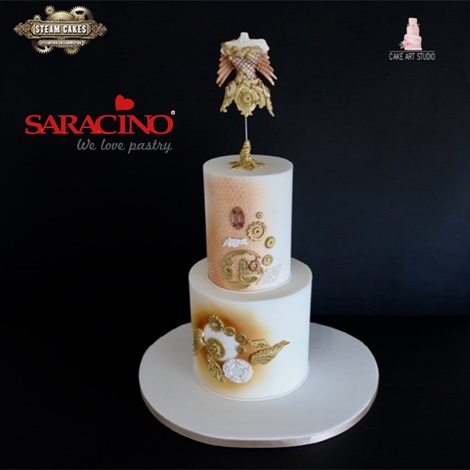
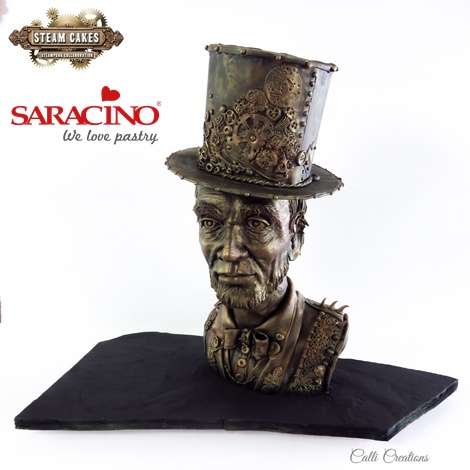
STEAM CAKES – STEAMPUNK COLLABORATION

STEAM CAKES – STEAMPUNK COLLABORATION


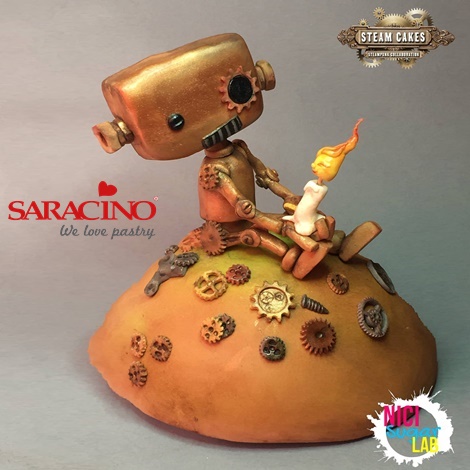
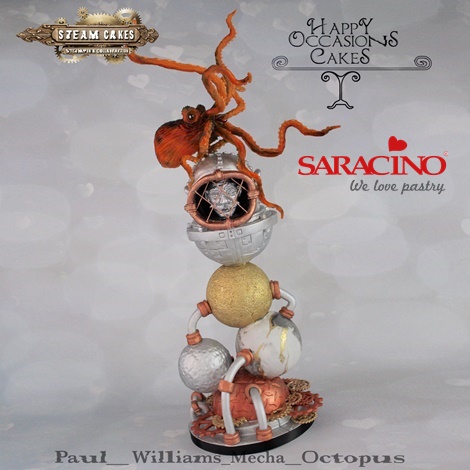
We are so proud to be a sponsor of this amazing collaboration! It’s a honour to see how many amazing artists are using Saracino products!

Here are a few words from the founder of this stunning Collaboration, Carla Rodriguez: 
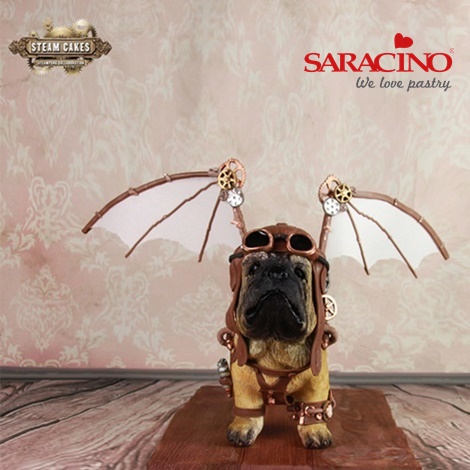
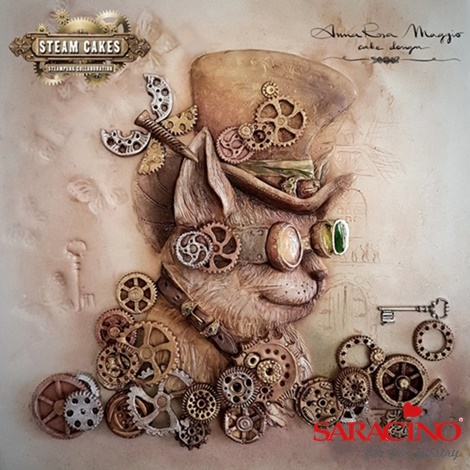
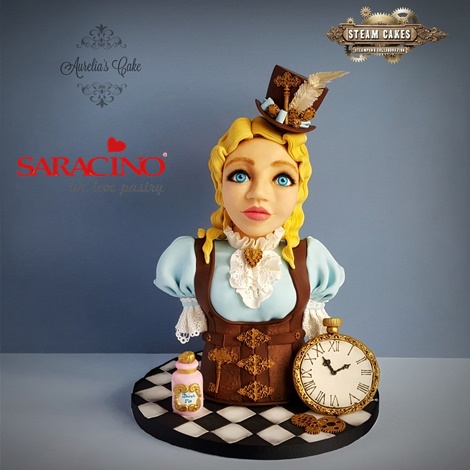
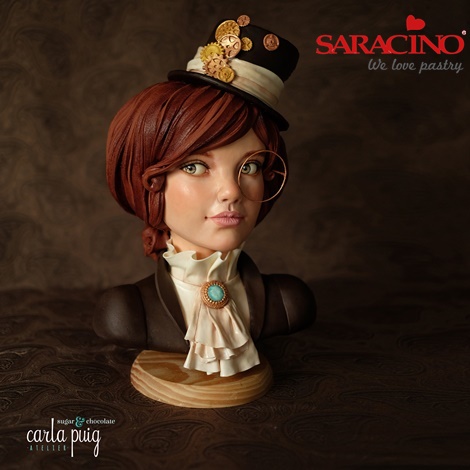
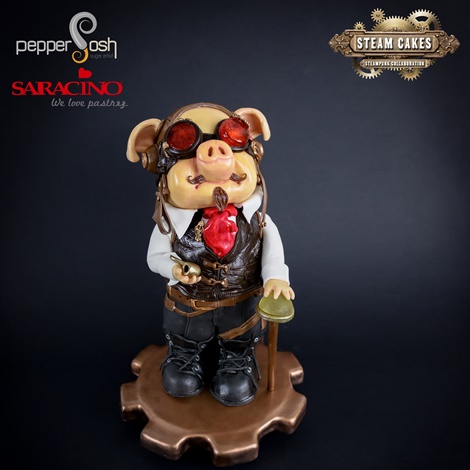
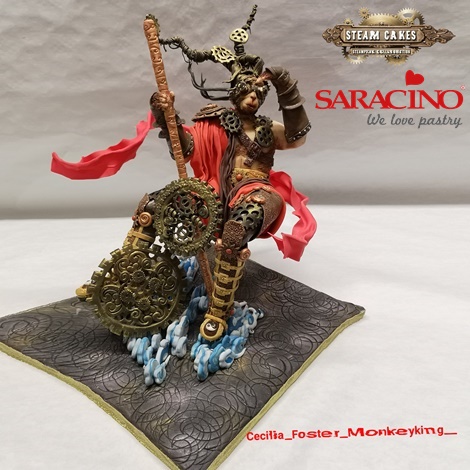
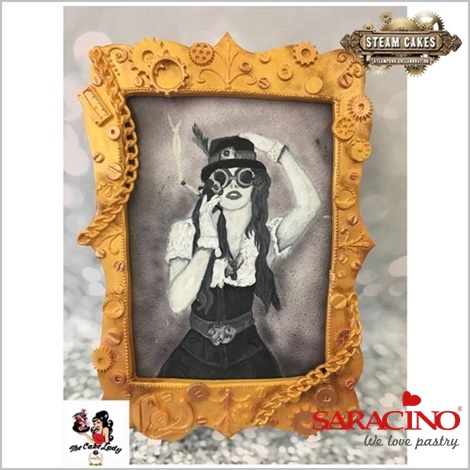
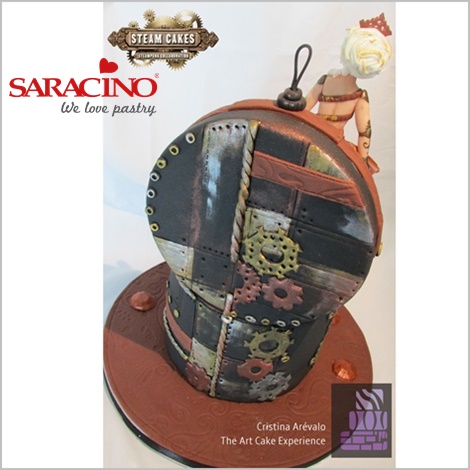
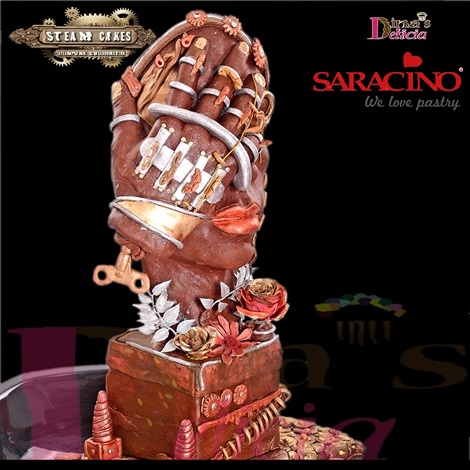
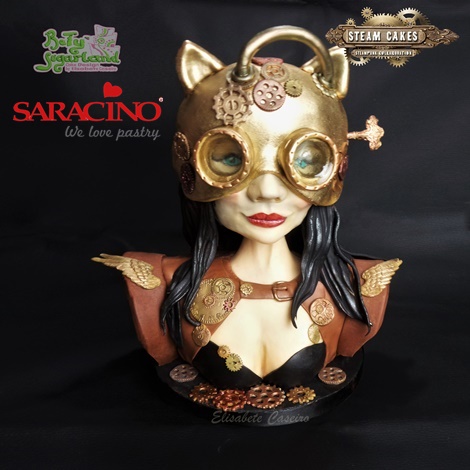
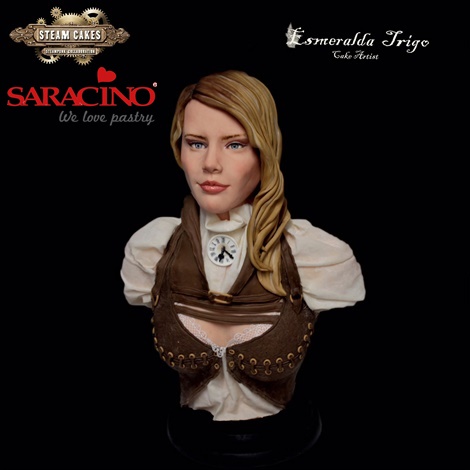
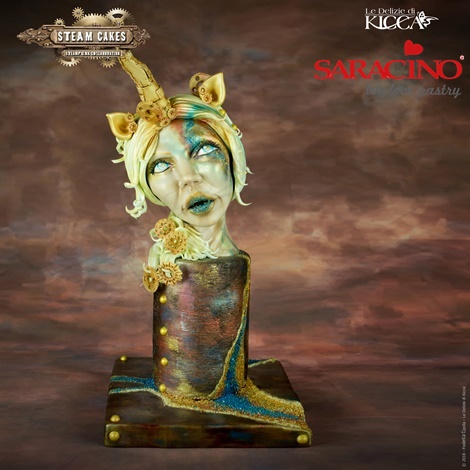
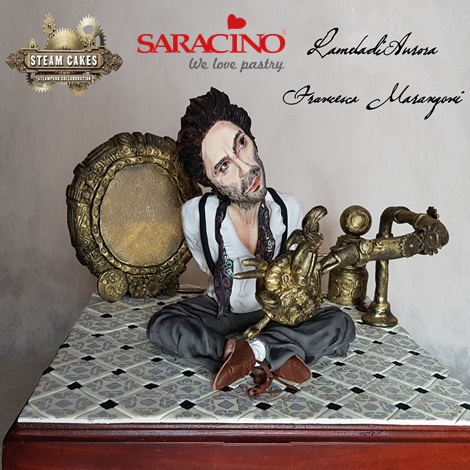
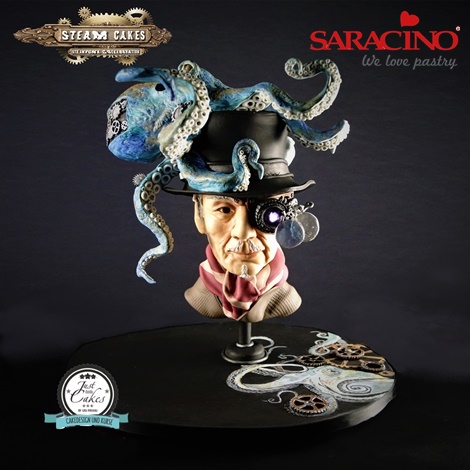
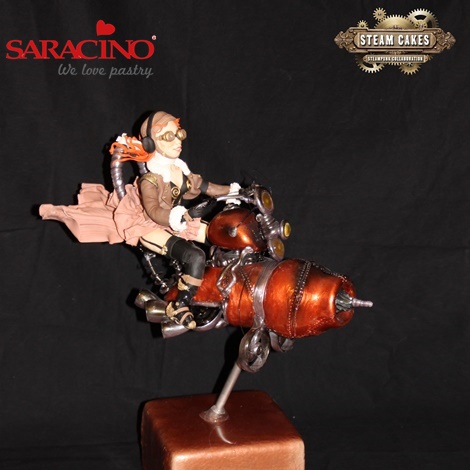
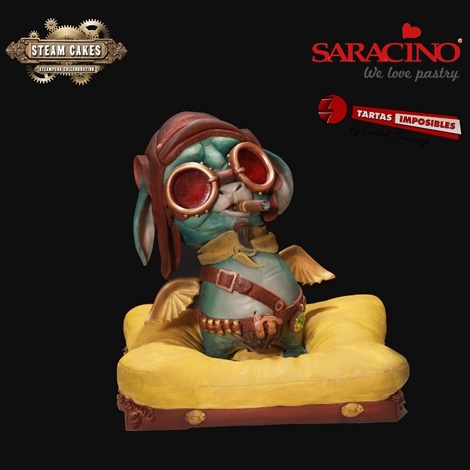
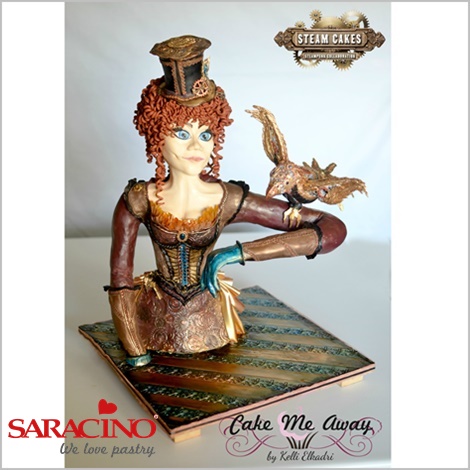
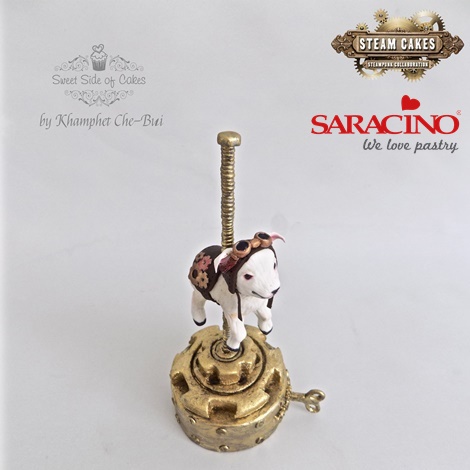
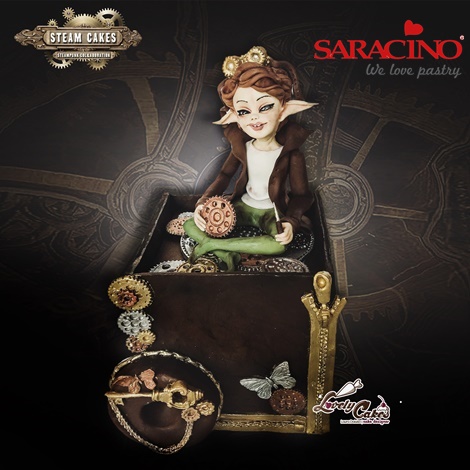
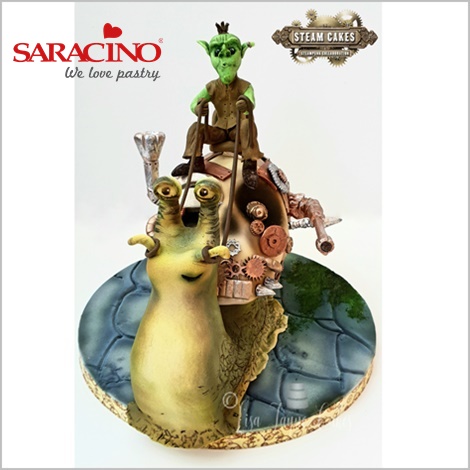
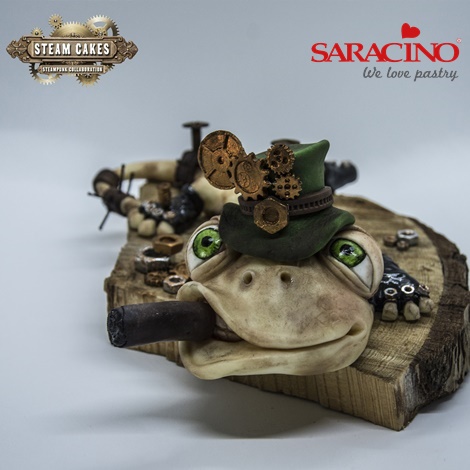
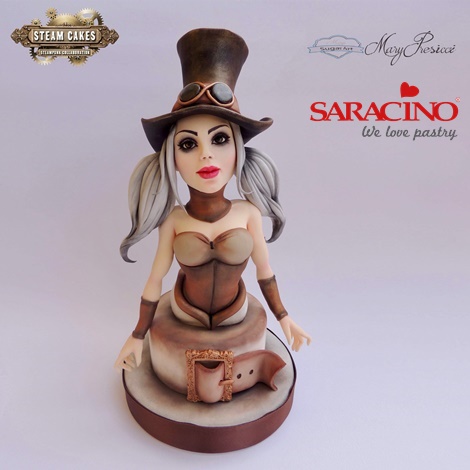
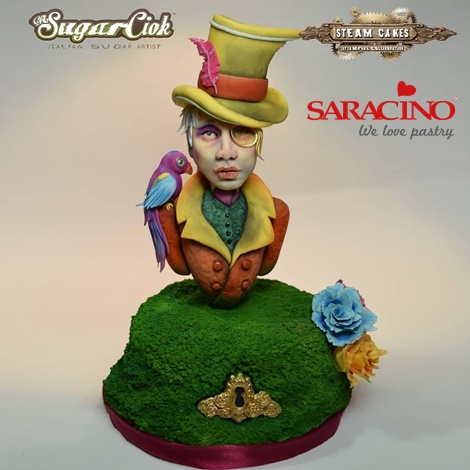
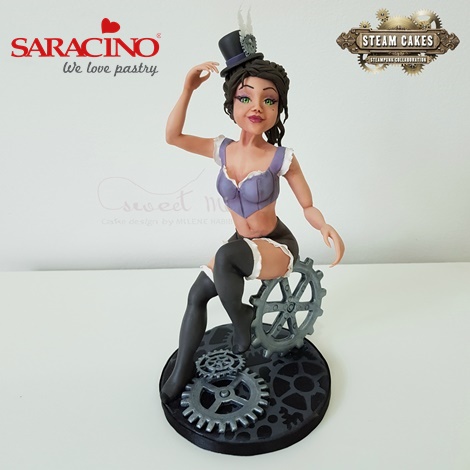
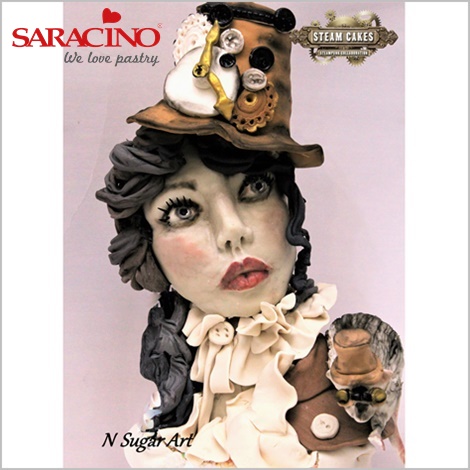
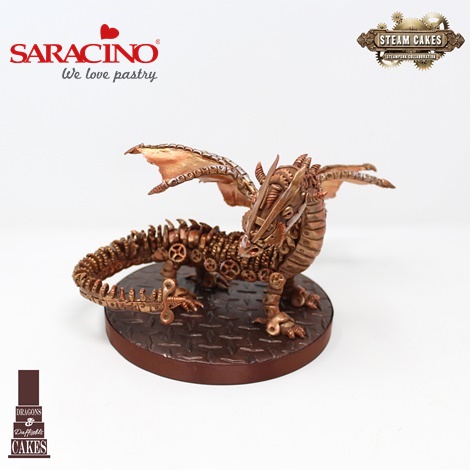
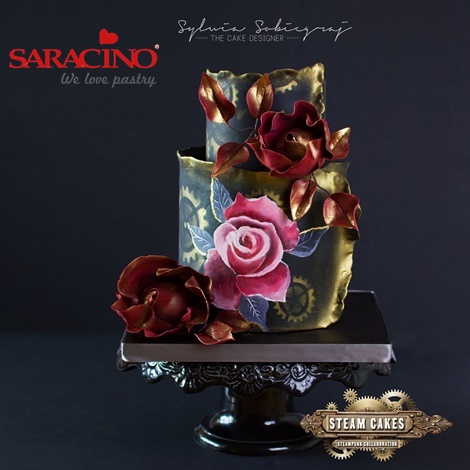
Steam Cakes is an international collaboration bringing together 92 talented cake artists from all around the world to amaze you with their edible art and celebrate Steampunk’s International Day, 14th June.

Steampunk is my signature style and last year I decided to run a collaboration under this theme just for fun. It was very successful, we had fantastic feedback from the audience and there were a lot of people asking if they could integrate a new edition of the collaboration, so I decided to move on to the 2018 edition.

We can see all kinds of pieces: structure, modeling, busts, animals, wedding cakes, bags and shoes and even cookies allusive to the theme. All the creations can be viewed
HERE

Hope you like it! Thank you! Obrigada!

Carla Rodrigues
Pepper Posh – Sugar Artist

Ade Cal aka Delicut Cakes

Anna Rosa Maggio aka Ana Rosa Maggio Cake Design

Aurelia Czarnecka aka Aurelia’s Cake

Beata Mielcarek aka Cake Artstudio

Carla Rodrigues aka Pepper Posh – Sugar Artist

Cecilia Lim-Foster

Charlotte Crews aka The Cake Lady

Cristina Arévalo aka Cristina Arévalo. Bolos Decorados

Daniel Diéguez aka Daniel Diéguez Cake Artist

Dina Diab aka Dina’s Delicia

Elisabete Caseiro aka Bety Sugarland

Esmeralda Trigo

Federica Cipolla aka Le Delizie di Kicca

Francesca Marangoni aka LaMeladiAurora

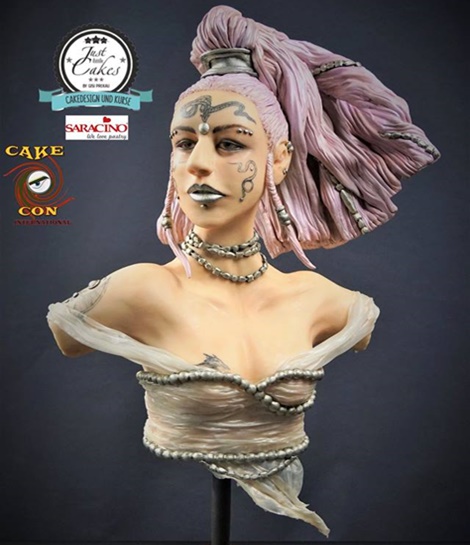
Gisi Prekau aka Just Little Cakes

Grégoire Goel aka Gregoire Goel Canneasucre

Isabel Tamargo aka Tartas Imposibles

Kelli Elkadri aka Cake Me Away Designs

Khamphet Che-Bui aka Sweet Side of Cakes

Laura Daluiso aka Lovely Cakes di Daluiso Laura

Maria Cristina Schiazza aka Illusion Cakes

Mary Presicci aka Mary Torte

Massimiliano Colla aka Mr Sugar Ciok

Nade Jankovska aka N SUGAR ART

Nathalie Müller-Künzig aka Designer-Cakes & Sugarart by Nathalie

Nicoletta Gobbo aka NiciSugarLab

Paul Williams aka Happy Occasions Cakes Ltd

Raquel Garcia Martinez aka Raquel García-El País Del Fondant

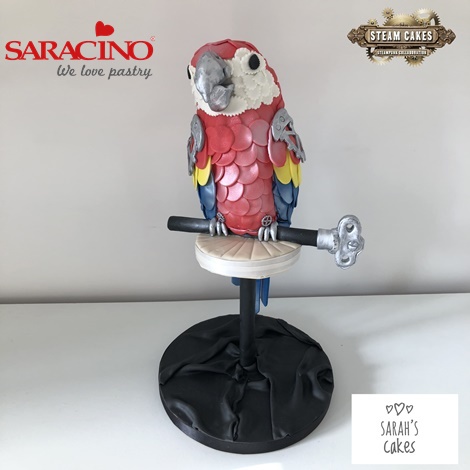
Sarah Leftley aka Sarah’s Cakes

Sofia Silva aka Doces Tentações

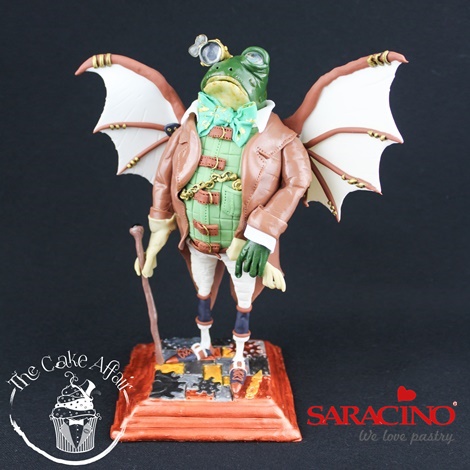
Timi Timilehin Grant aka The Cake Affair

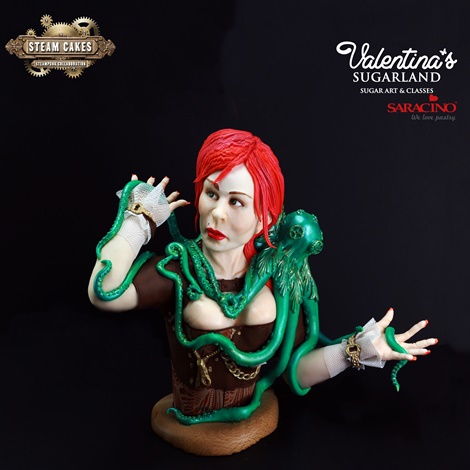
Valentina Terzieva aka Valentina’s Sugarland

Calli Hopper aka Calli Creations

Congratulations On Your Amazing Creations!

Take Your Time And Visit Steam Cakes Facebook Page STEAMPUNK CAKES To View All The Amazing Creations!

Join Our Newsletter

We’d love to send you the latest news, discounts & exclusive offers via email! By signing up below you are confirming you are happy for Saracino to send you marketing emails. We will always treat your personal details with the upmost respect & will never sell your details to other companies for marketing purposes.

• All the latest industry news   • FREE video tutorials   • Exclusive product offers

Products         Tutorials          Ambassadors           Events           Blog           Showcase         Contact

CAKE CON INTERNATIONAL COLLABORATION

CAKE CON INTERNATIONAL COLLABORATION


Cake Con Collaboration was formed by Mayra Prado Estrada & Cassandra Rice in 2015.
Our theme was inspired by San Diego Comic Con which is the World’s largest held comic conventions yearly in California. Our pieces are inspired by the multi genre characters known at SDCC, which are comics, gaming characters and popular TV series. In 2017 & 2018, Jennifer Holst, our Foreign Regional Manager organised a wonderful Exhibit booth at the Cake & Bake Germany in Dortmund displaying some of the amazing pieces by the talented cake / sugar artists.
In 2017 Cake Con International was nominated as a finalist for Cake Masters Collaboration Awards. We didn’t win but thank all those who voted for us and look forward to 2018!
Cake Con International made its first debut in 2018 with a display booth at Wonder Con which is the sister convention to SDCC, in Anaheim, CA. It was amazing to be able to display our edible art at an actual comic convention and look forward to branching out to participate in other comic conventions as well.
Our collaboration consists of approximately 60 – 65 talented cake / sugar artist from around the world. It is by invitation only and we select new talent yearly. We have formed some amazing friendships worldwide and are thankful for all the talented artists for their amazing contributions. Without them, Cake Con International would not be possible.
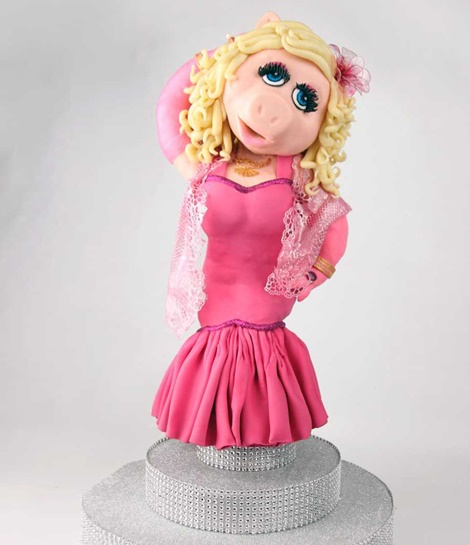
Emilia Calvo aka EMILY CAKES
MISS PIGGY
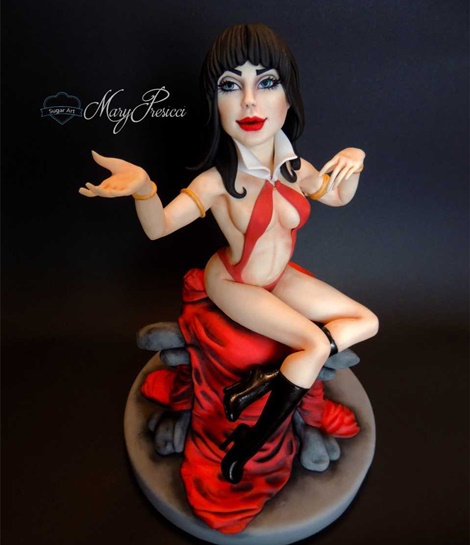
Mary Presicci aka MARY PRESICCI SUGAR ART
VAMPIRELLA
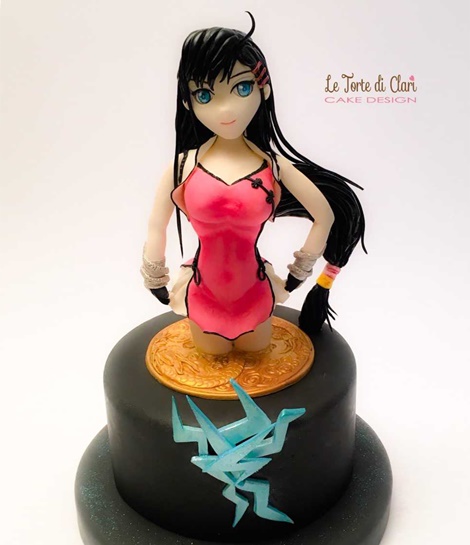
Rita Cannova aka LE TORTE DO CLARI
PAIRON
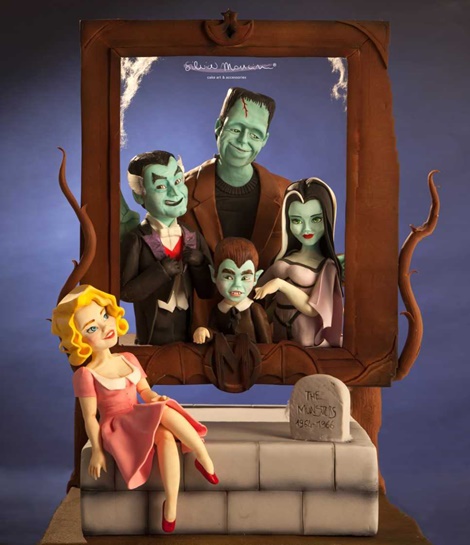
Silvia Mancini aka SILVIA MANCINI CAKE ART & CO
THE MUNSTERS
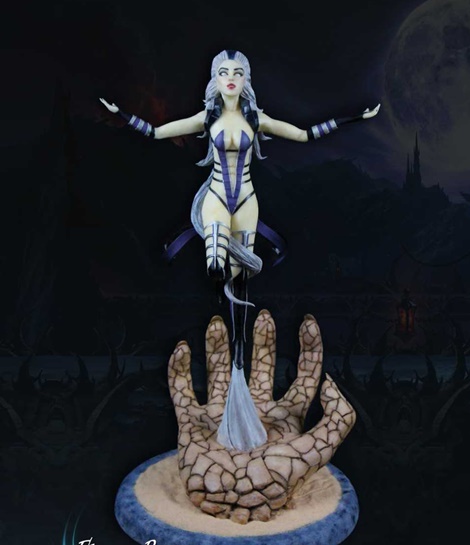
Floren Bastante aka DULCES EL INFLON
QUEEN SINDEL
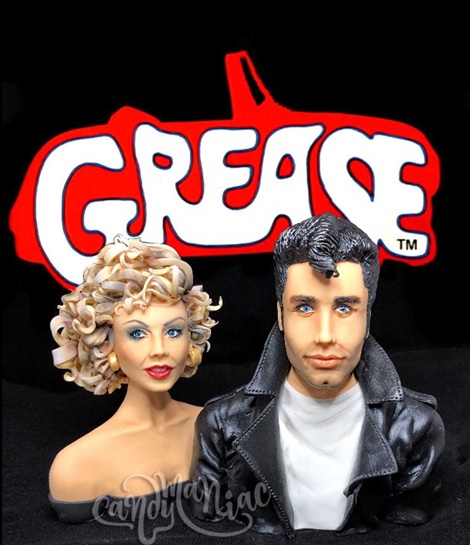
Mania Mistiloglou aka CANDYMANIAC
GREASE
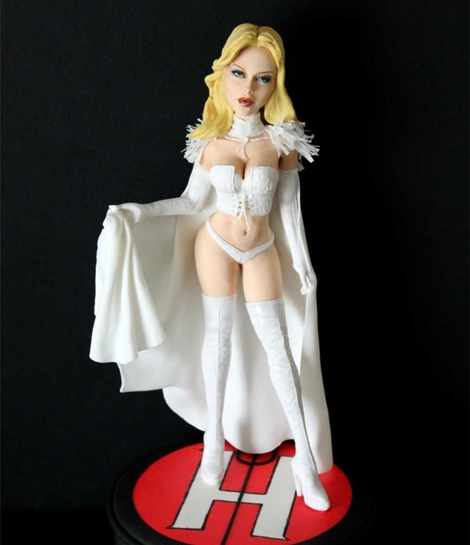
Rosalinda Mangiapane aka GOLOSAMENTE BY LINDA
EMMA FROST
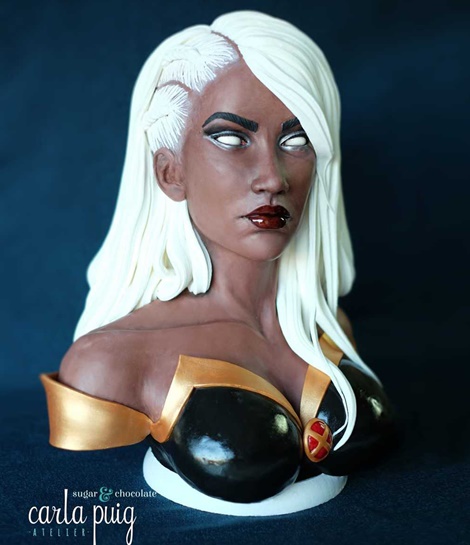
Carla Puig aka CARLA PUIG SUGAR ATELIER
STORM
Gisi Prekau aka JUST LITTLE CAKES
YELENA
Congratulations On Your Amazing Creations!

Take Your Time And Visit Cake Con International Facebook Page CAKE CON INTERNATIONAL To View All The Amazing Creations!

Join Our Newsletter

We’d love to send you the latest news, discounts & exclusive offers via email! By signing up below you are confirming you are happy for Saracino to send you marketing emails. We will always treat your personal details with the upmost respect & will never sell your details to other companies for marketing purposes.

• All the latest industry news   • FREE video tutorials   • Exclusive product offers

Products         Tutorials          Ambassadors           Events           Blog           Showcase         Contact

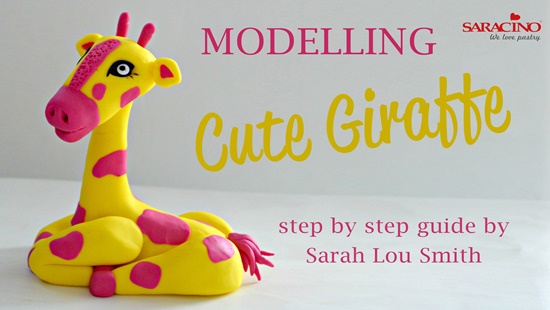
MODELLING GIRAFFE

MODELLING GIRAFFE

Skill level: BEGINNERS

You will need:

  • Body – 60g yellow Saracino modelling paste
  • Back legs – 40 g (10 g per leg) of yellow Saracino modelling paste
  • Front legs – 32g (8 g per leg) of yellow Saracino modelling paste
  • Head – 18g of yellow Saracino modelling paste
  • Ears – 2g (1g per ear) of yellow modelling paste
  • Nose – 4 g fuchsia modelling paste
  • Horns – 1g (1/2 each) fuchsia modelling paste
  • Hooves – 2g (1/2 g each) fuschia modelling paste
  • Spots – 4g fuschia modelling paste
  • Eyes – 1g black modelling paste
  • Eyes – ½ white modelling paste
  • Water or edible glue
  • Dresden tool
  • Craft knife
  • Spaghetti or a skewer for an internal support
  • Paint brush
  • Ruler

Step 1

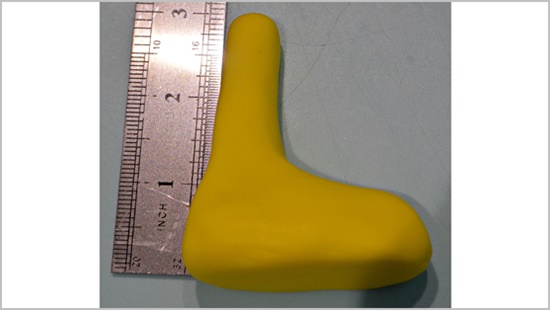
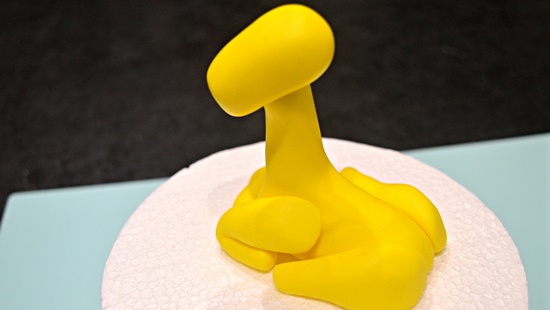
Roll 60g of yellow modelling paste into a ball, until the paste if smooth and pliable, then shape it into the body shape, using you forefinger and thumb, start to pull up the neck shape, I made the neck 3 inches tall.

Step 2

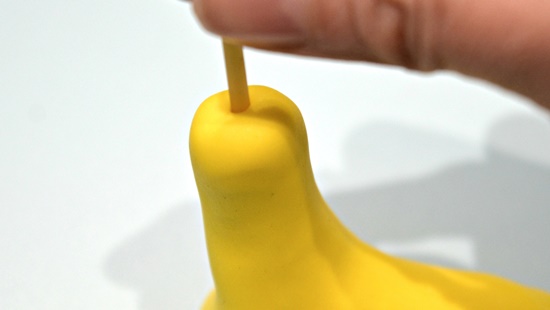
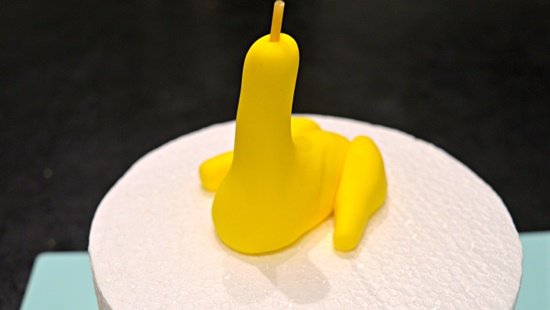
Once it is made, twist in a piece of spaghetti or your skewer, by using a twisting motion, this will stop the neck (and all of your hard work) from loosing it’s shape.

Step 3

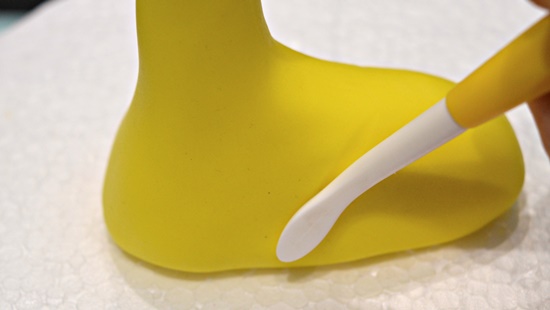
Using the spoon end of the dresdon tool, mark in and indent part way across the body to add shaping.

Step 4

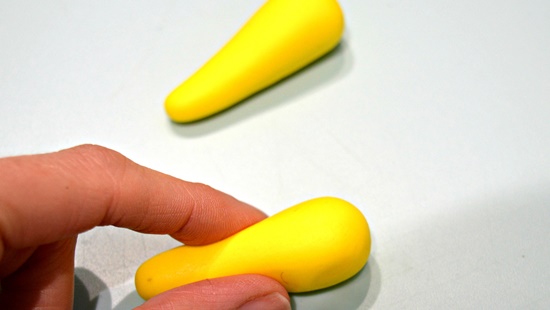
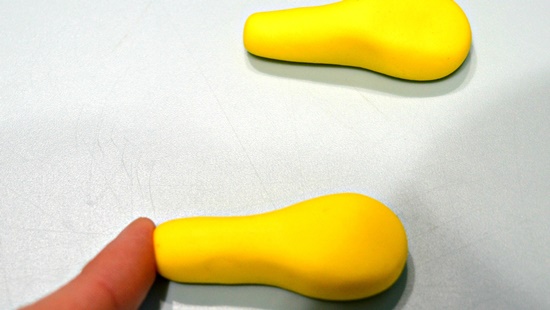
Shape two 10g yellow balls of paste, then shape them into a basic leg shape, making sure that both are the same size and shape, using you finger an thumb, pinch the top of the leg below the hip to create more of the leg shape.
Step 5

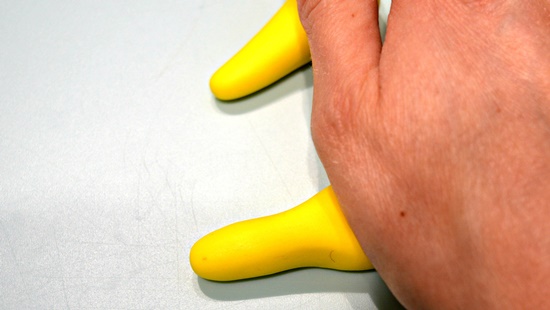
Using the side of your hand press down gently to flatten the hip.

Step 6

Using the tip of your finger, gently tap the thin end of each leg ready for the hooves to be attached

.

Step 7

Attach the back legs to the body, they may adhere without any water or glue, but if it doesn’t feel secure add a tiny amount of water or glue and hold the leg in place for a few seconds.

.

Step 8

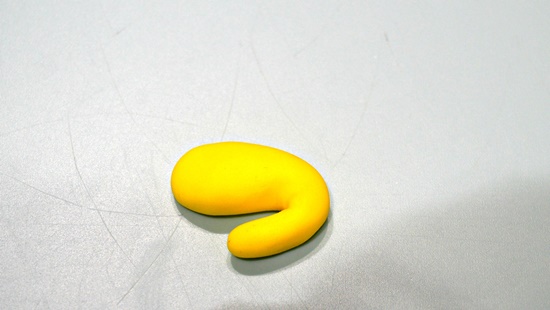
Roll two 8g balls and shape the front legs in the same way as you did for the back legs, once they are shaped, using your finger and thumb, bend the front legs to create a knee joint.

.

Step 9

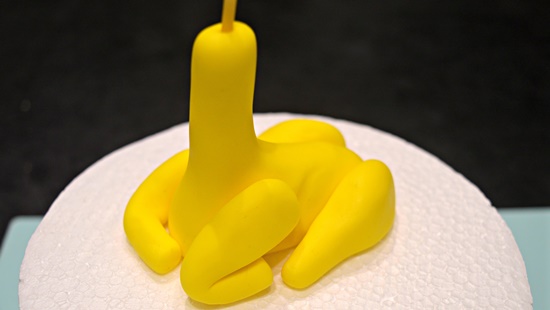
Tap the thinner end of the leg to flatten ready to attach the hooves.  Attach the front legs to the body.

Step 10

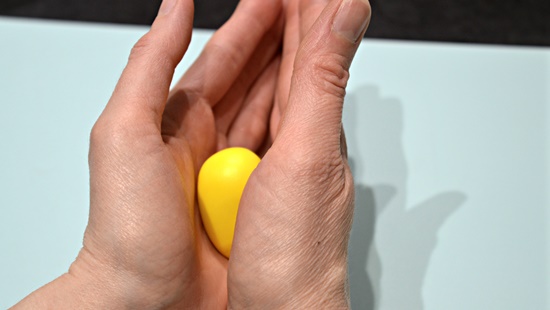
Roll out an 18g ball of yellow modelling paste and shape the ball into the head shape, by rolling it gently between your hands.

.

Step 11

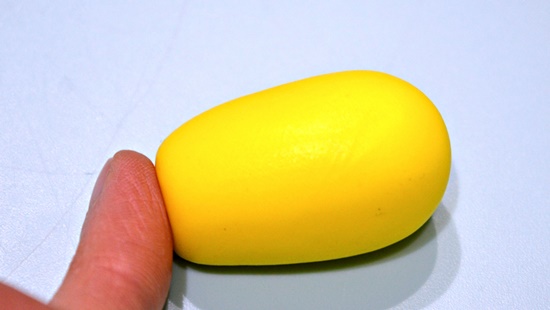
Using your fingers, flatten the thinner end of the head ready for the nose to be attached.

.

Step 12

Carefully attach the head to the body, by twisting it onto the body.  Using your finger and thumb, add shape to the face.
.

Step 13

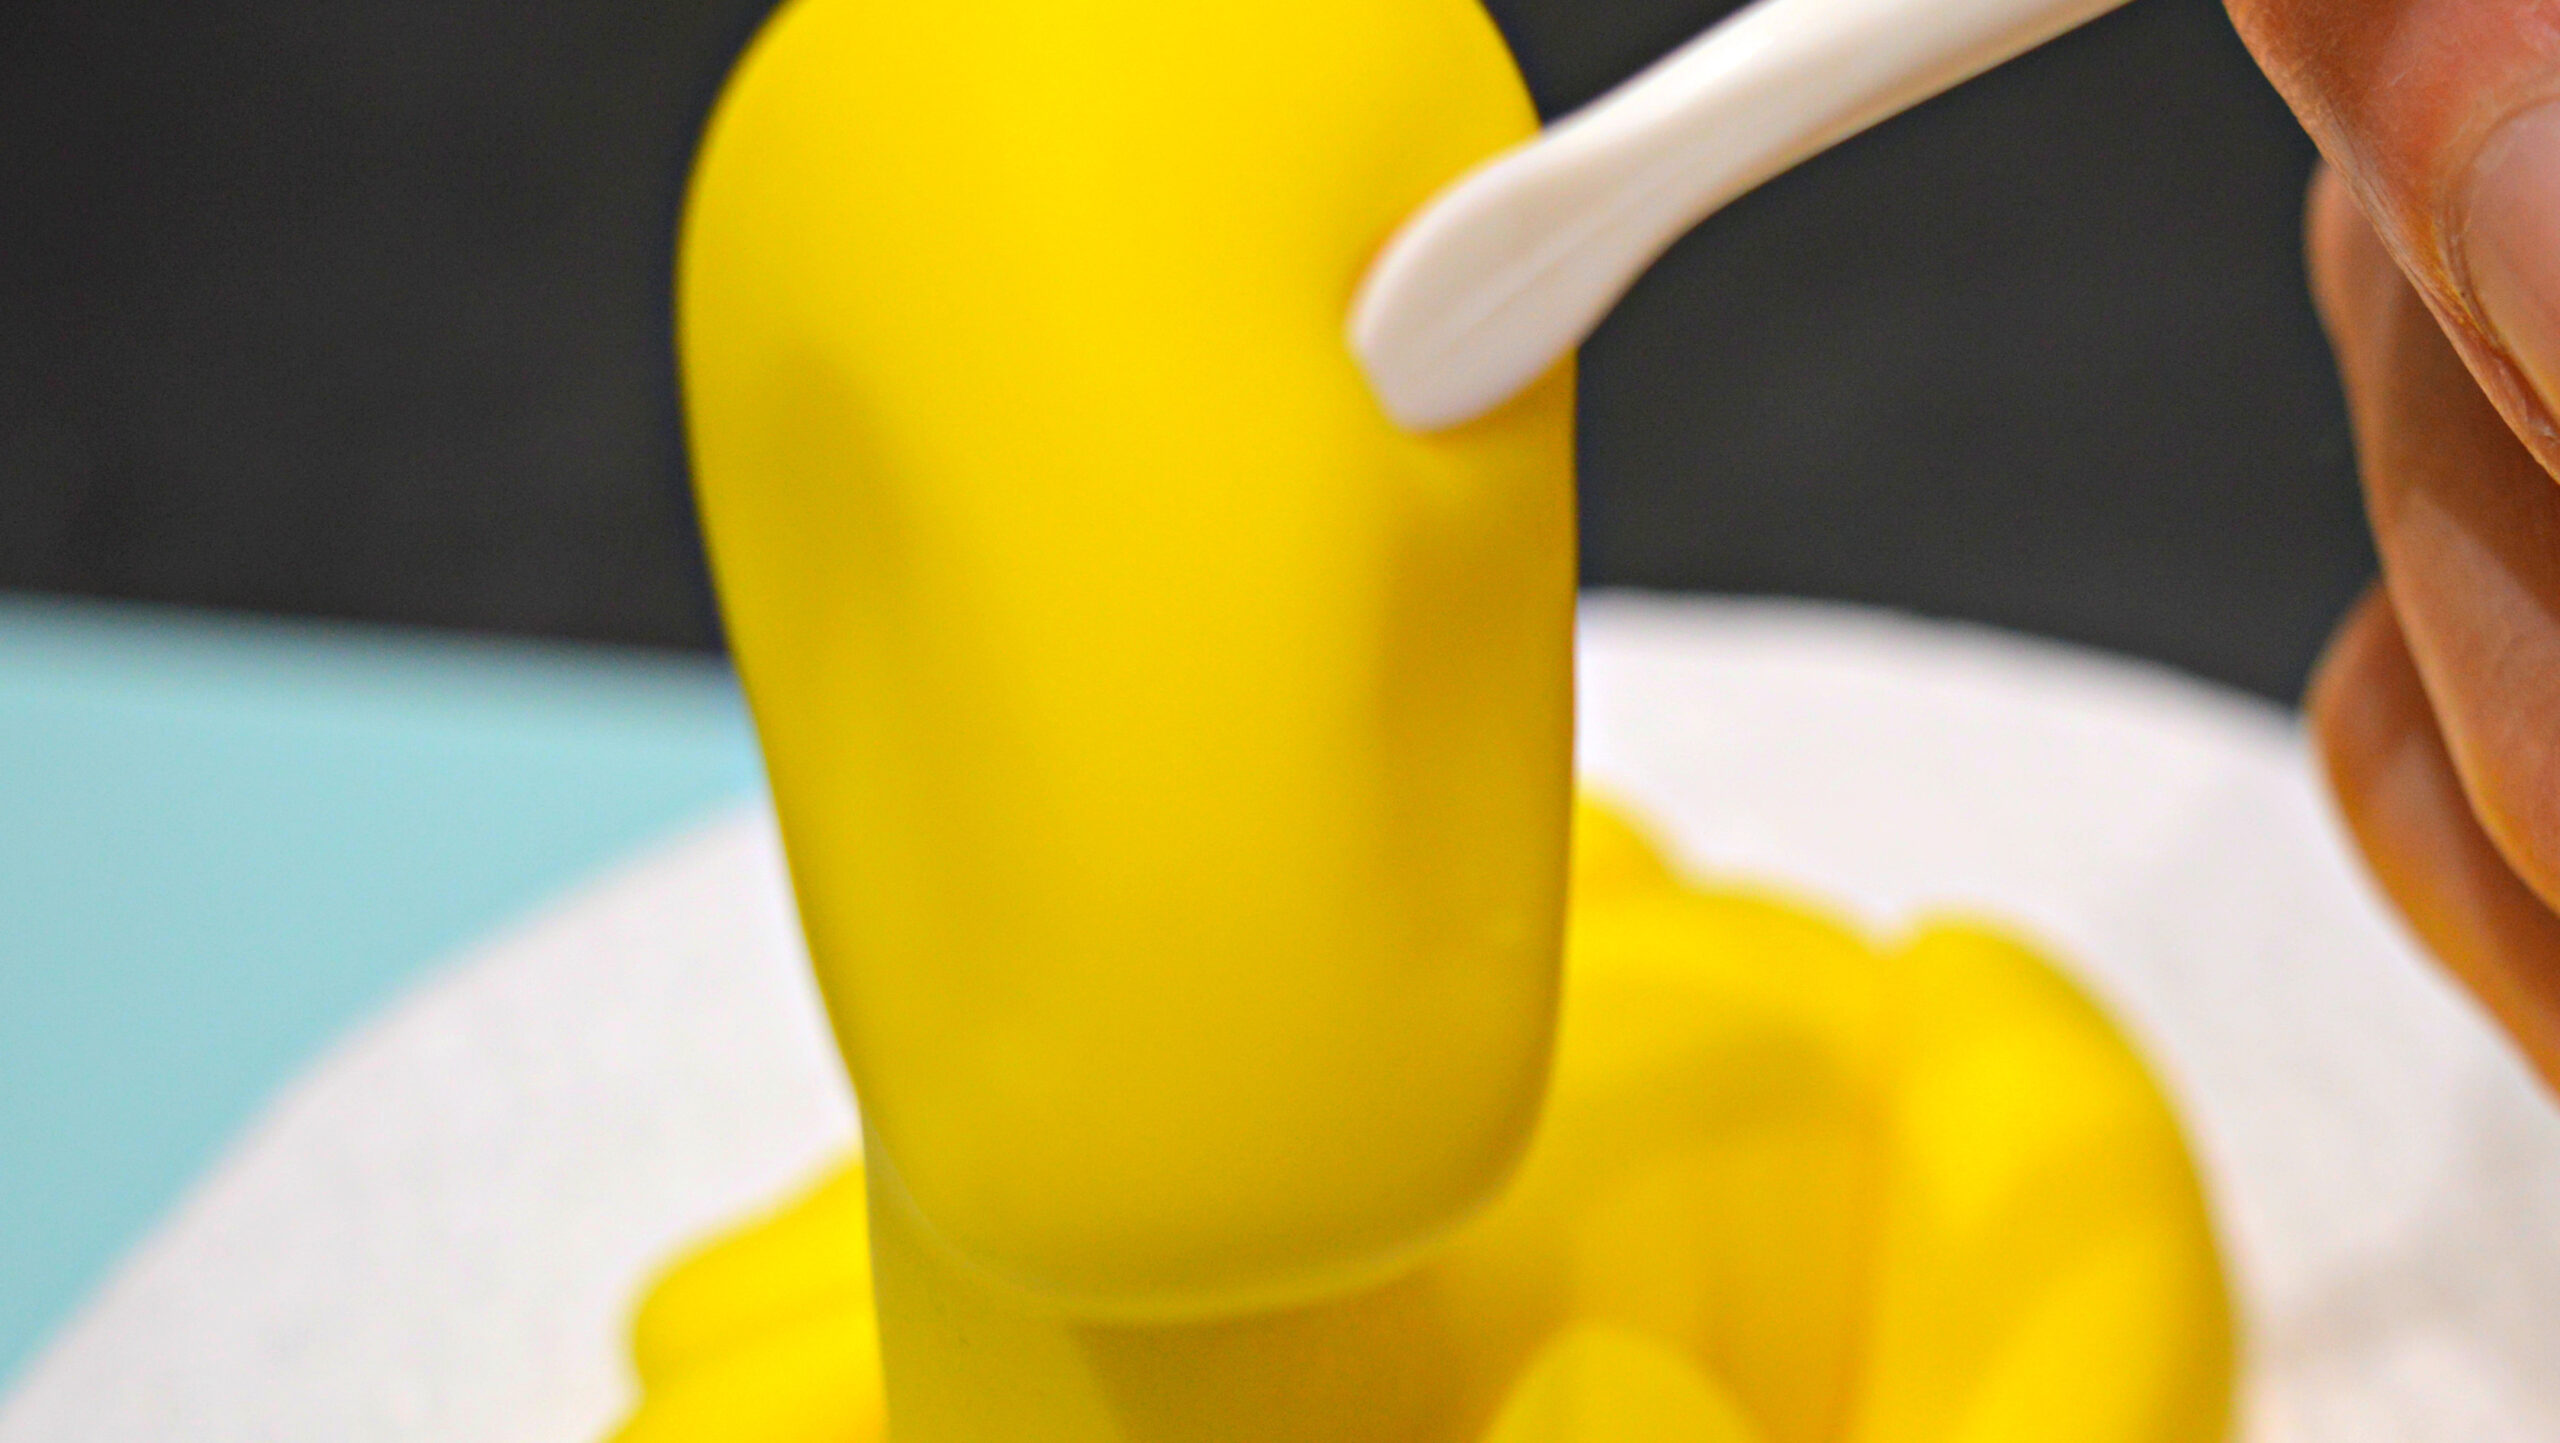
Using the spoon end of your dresden tool, press into create the eye sockets.

.

Step 14

Roll two 1g balls of yellow paste, then shape them into tear drop shape by rolling them between your fingers, place them in front of your with the pointed side pointing away from you and using the spoon end of the dresden tool, press this gently into the paste to create the shape of the ear. Attach the ears to the sides of the head.

Step 15

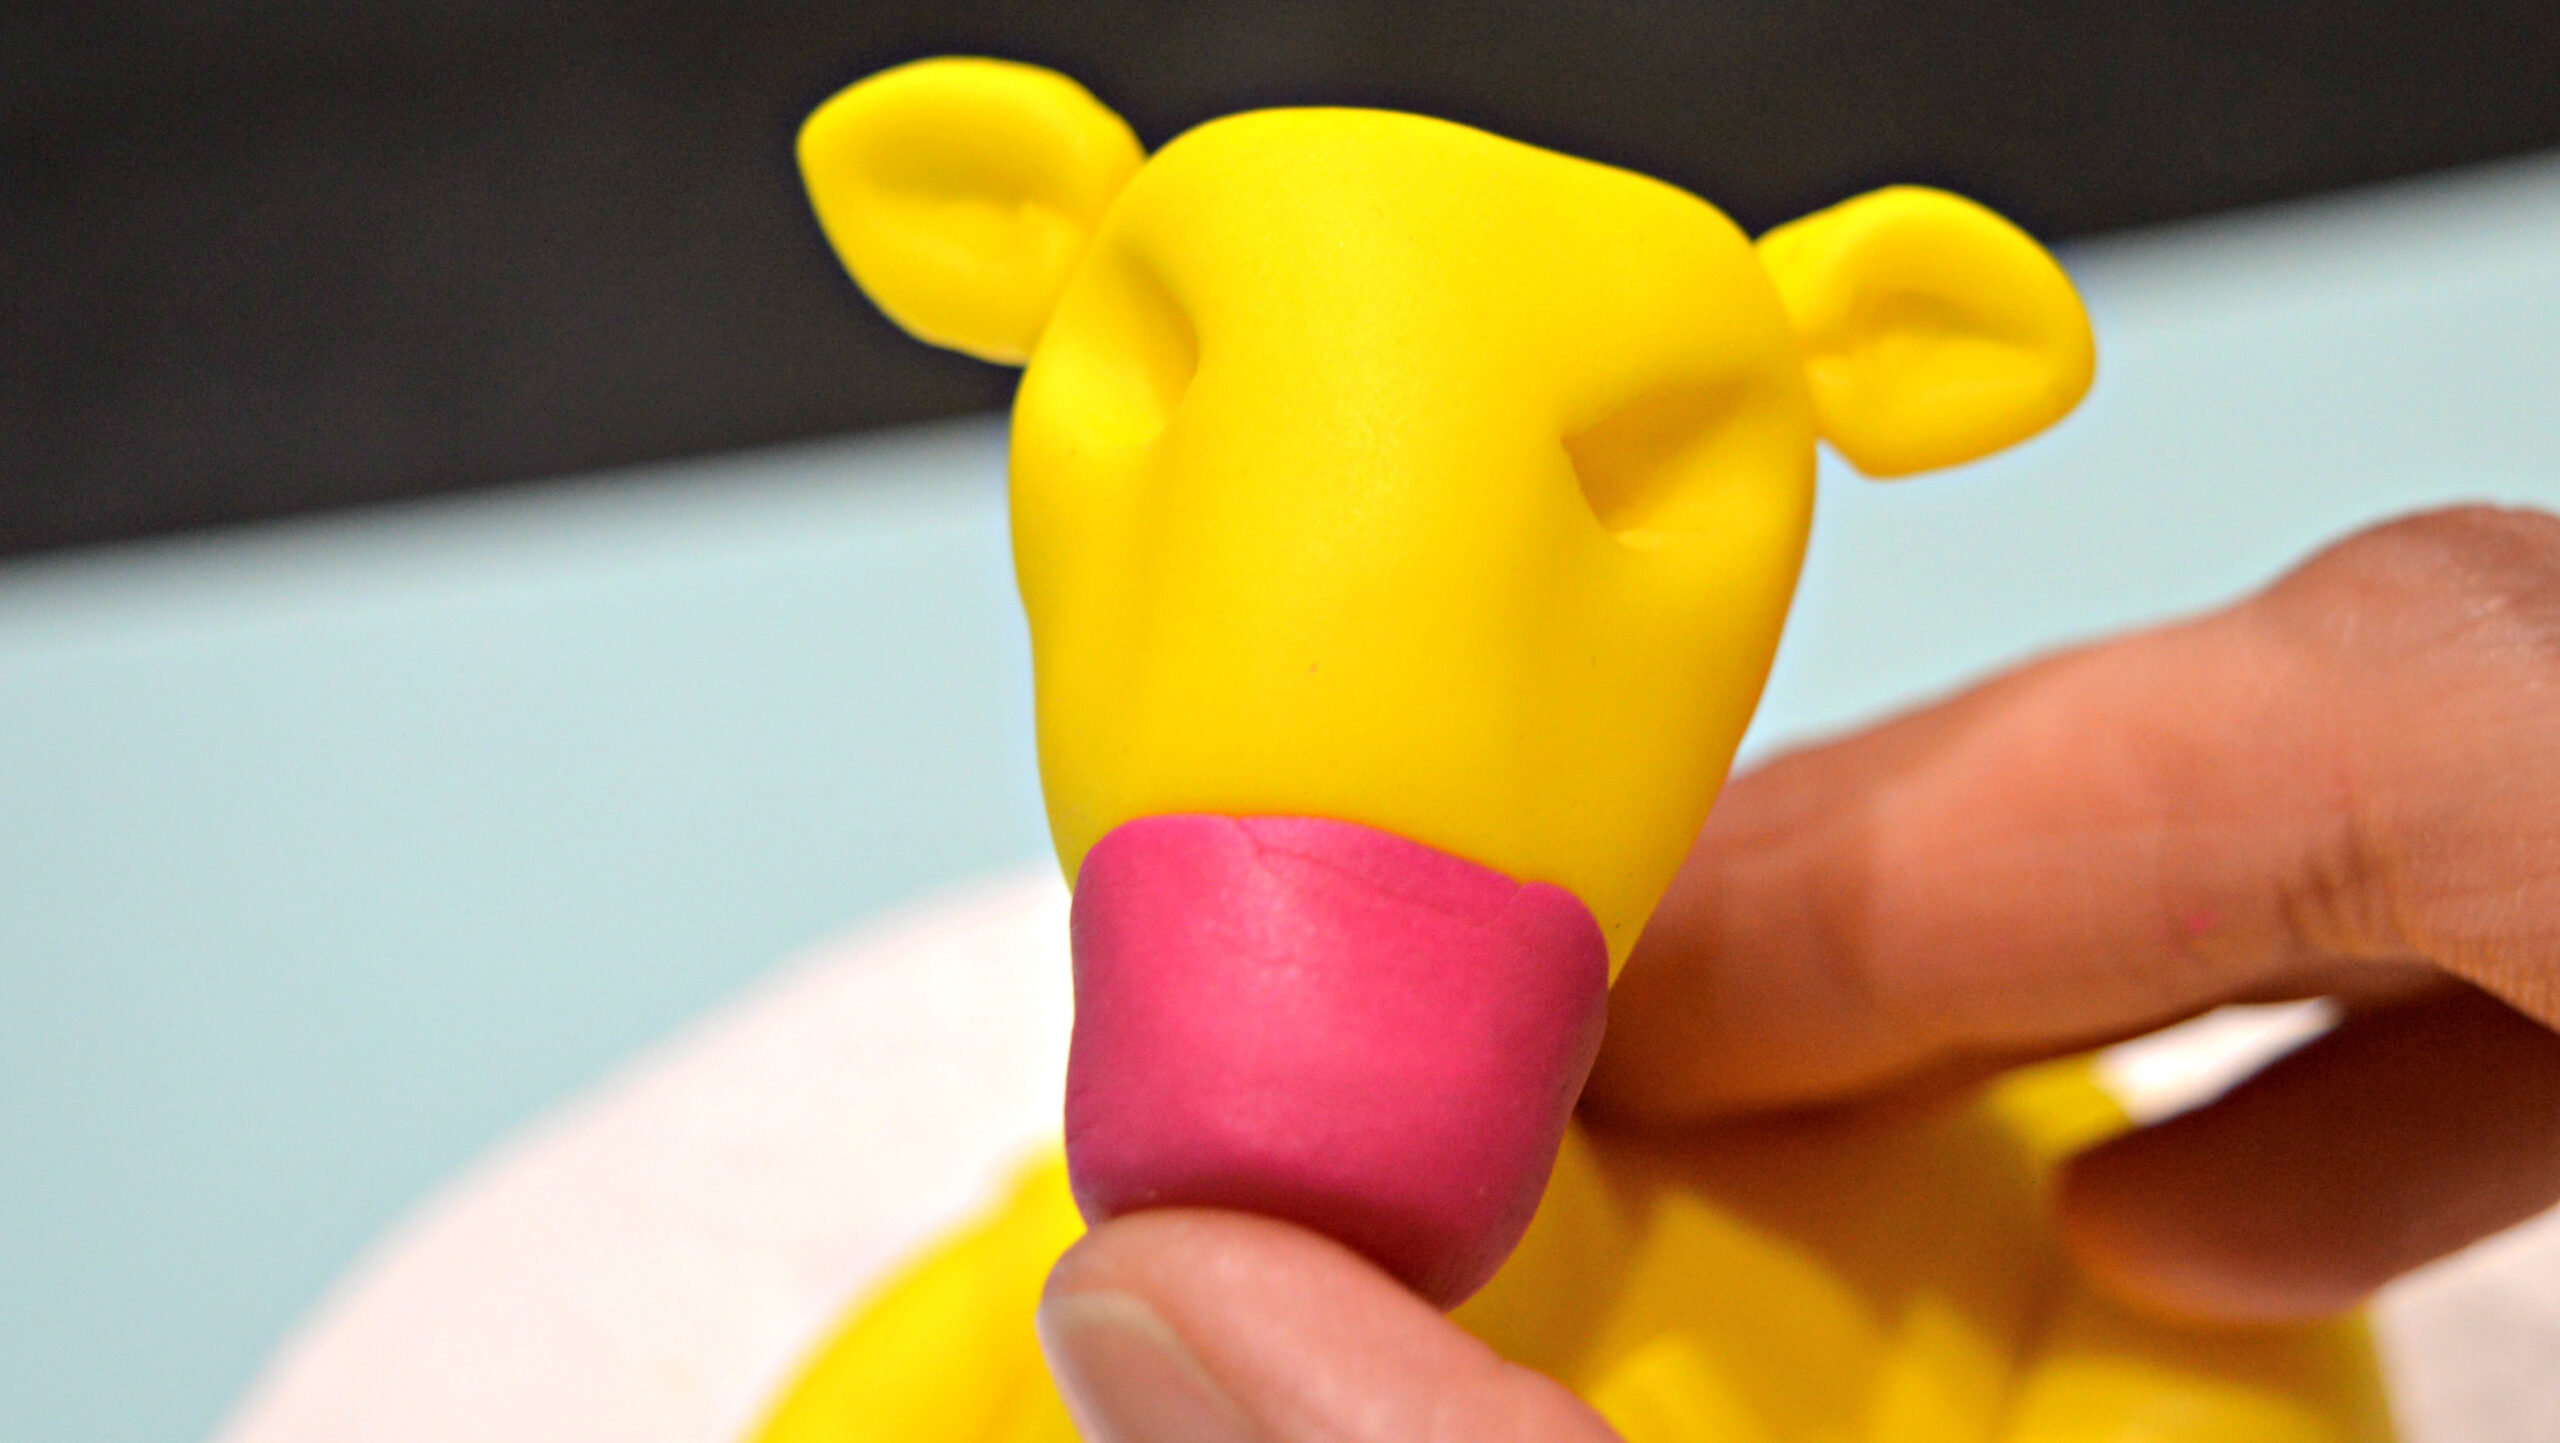
Roll out a 4g ball of fuchsia modelling paste, then roll it into a sausage shape and using your thumb and finger gently press the ends to flatten them.  Attach the nose to the face and gently smooth the nose onto the face to blend it in.

.

.

Step 16

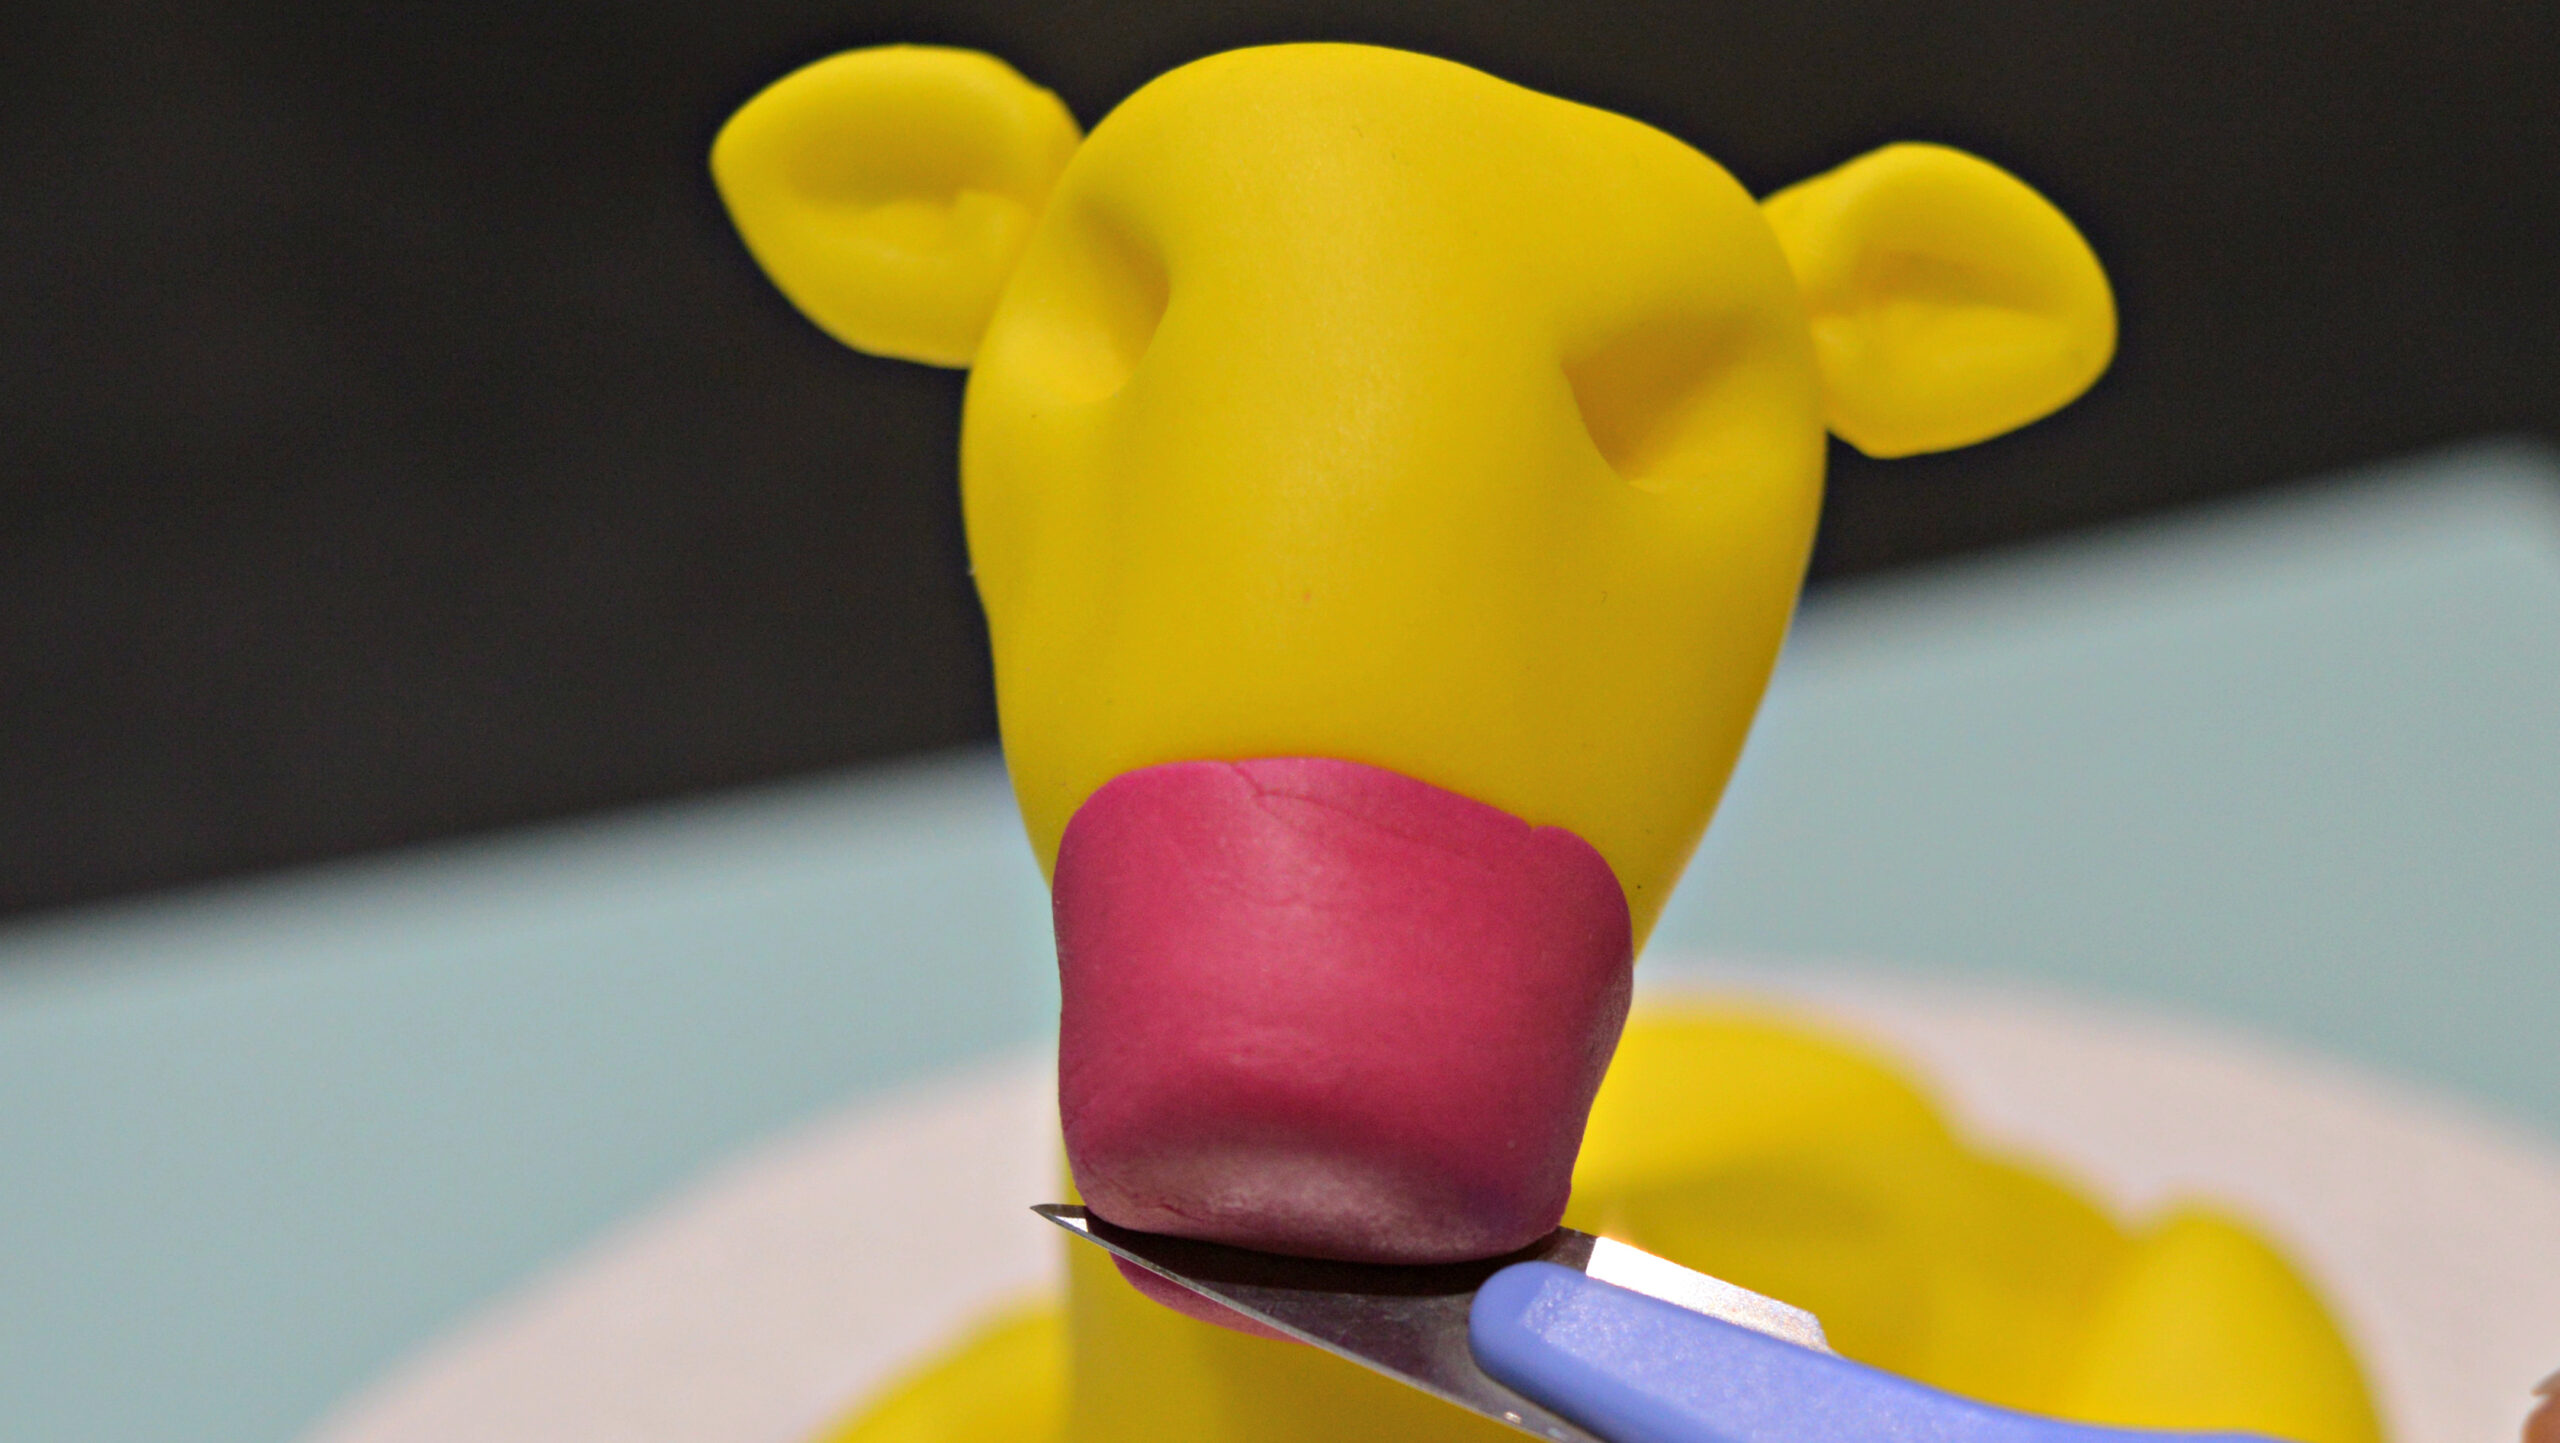
Using your knife, gently cut in a mouth and using the pointed end of your dresden tool, add in two nostrils.

Step 17

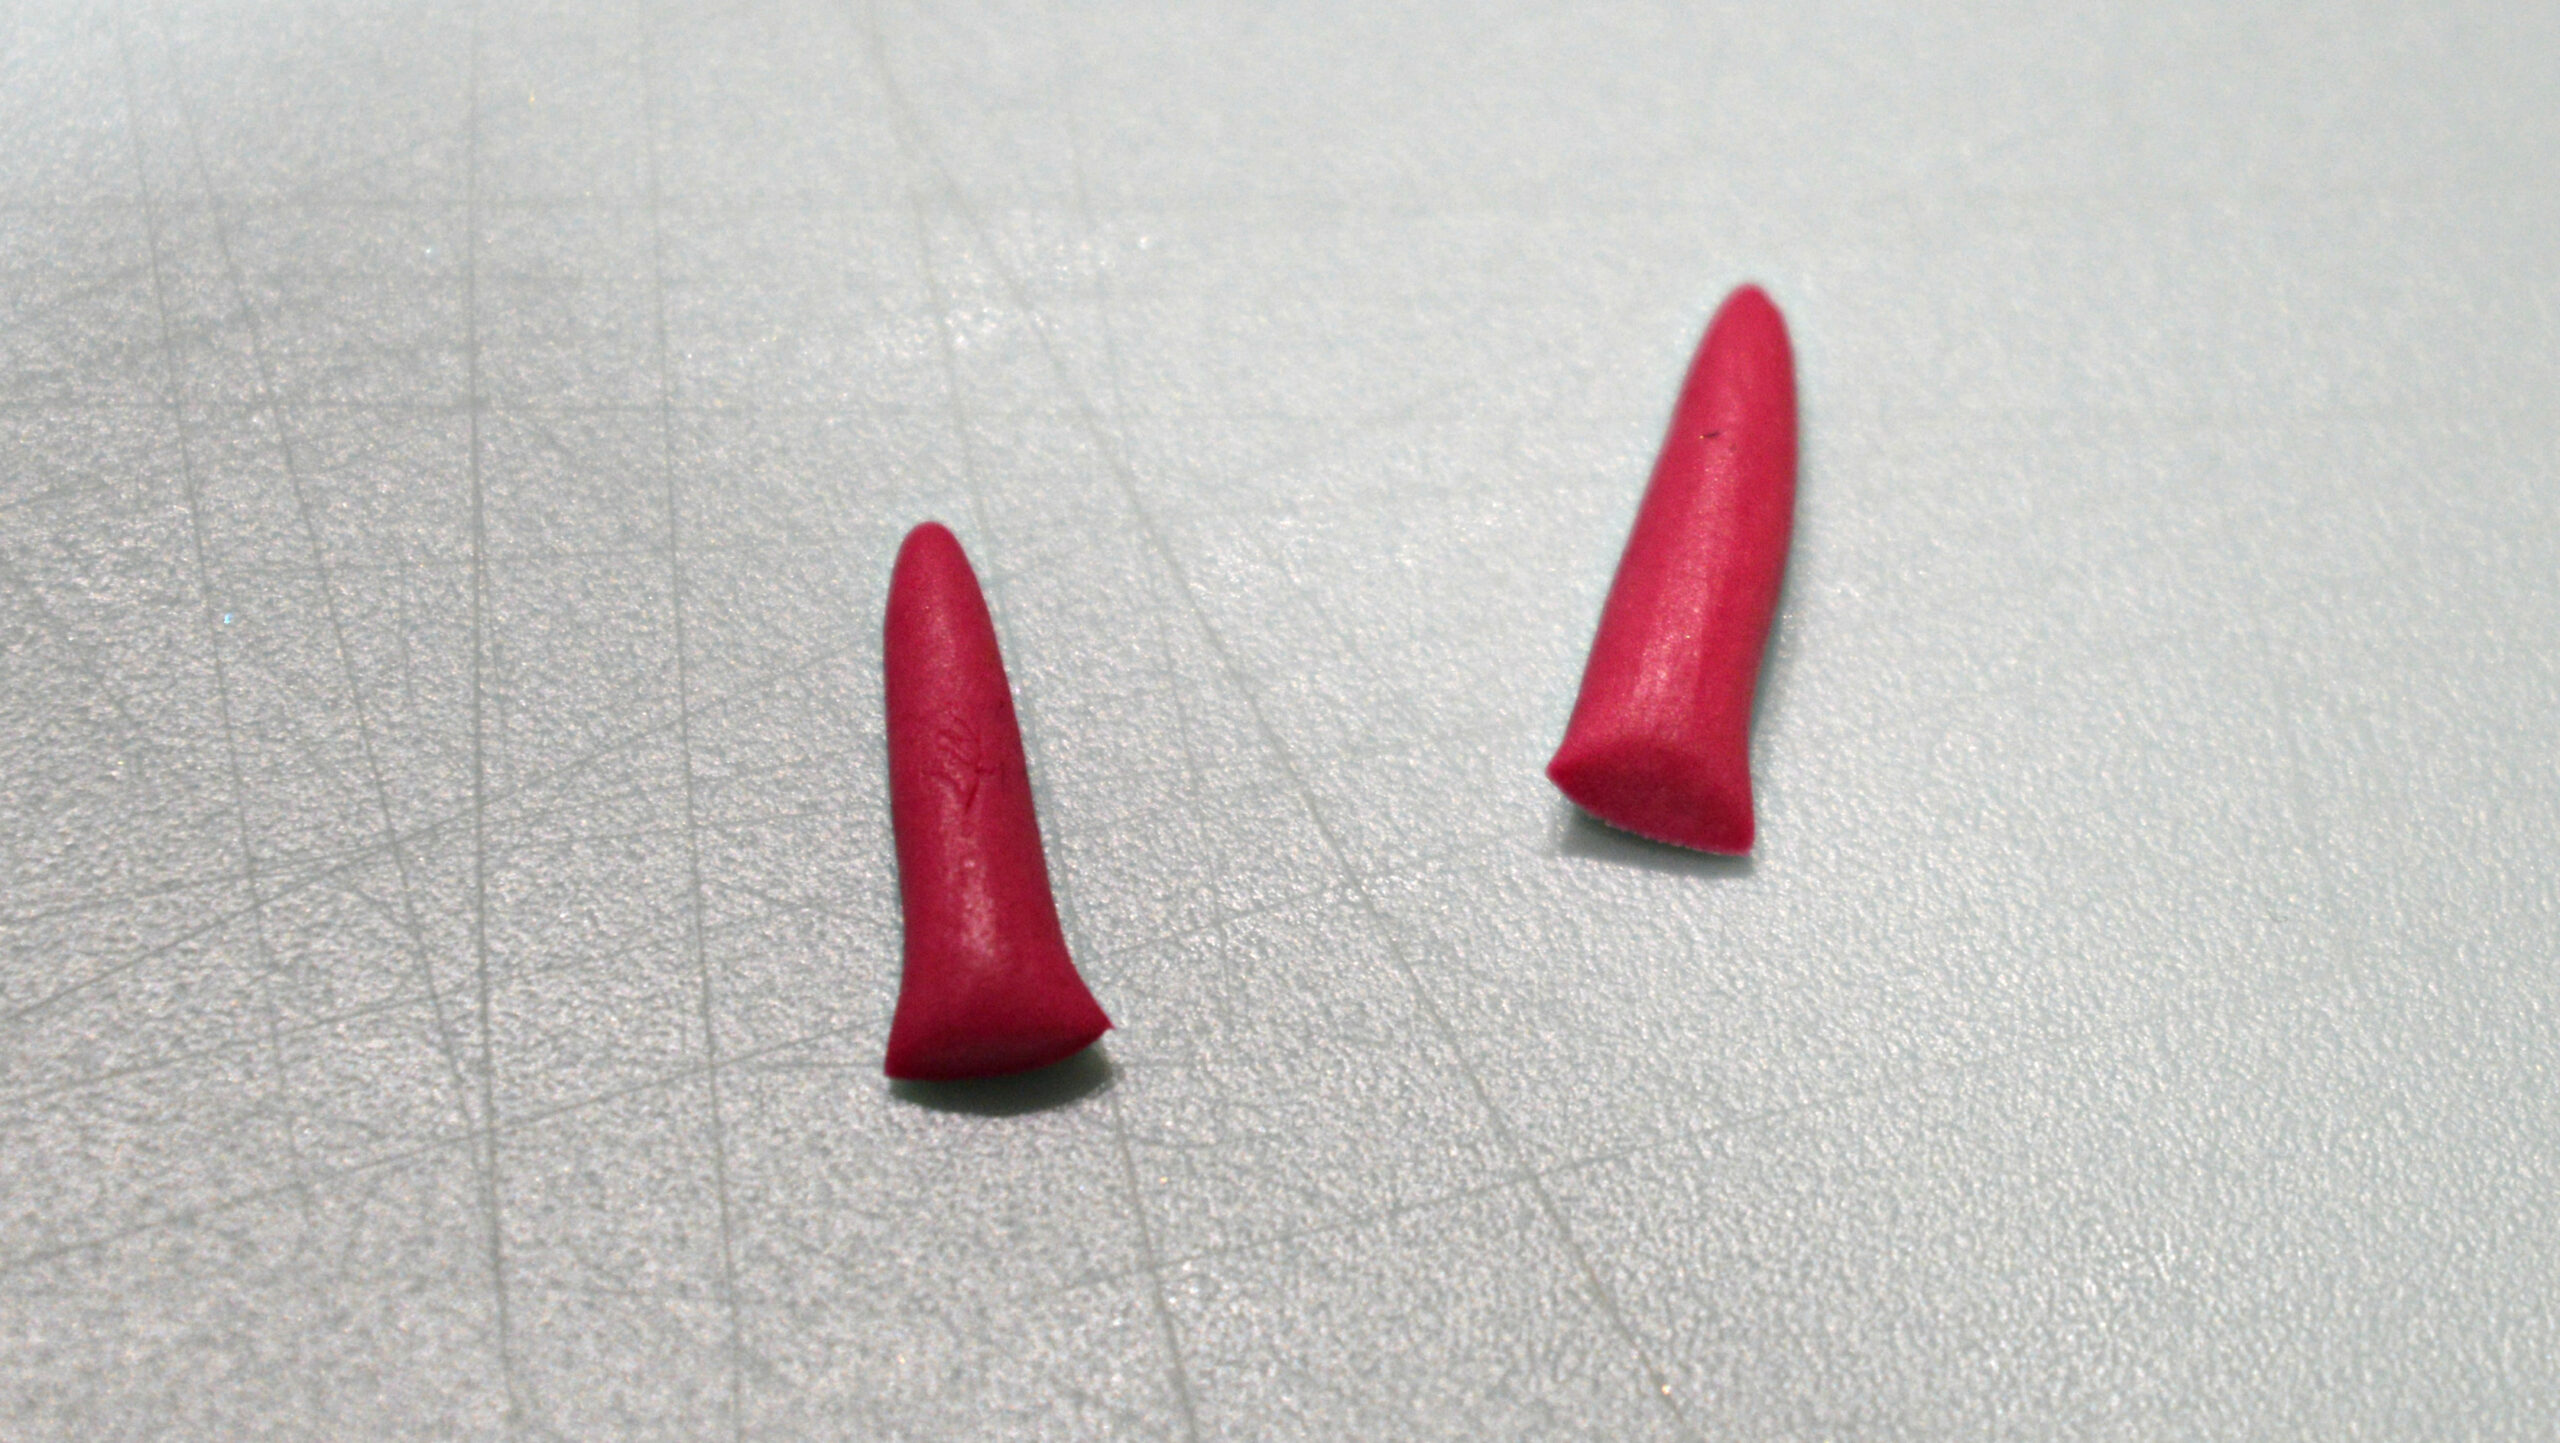
Roll out 1g of fuchsia paste into a sausage shape and cut it in half, shape this into the horns and leave them aside to dry a little before attaching them.  Using the pointed end of the dresden tool, make two holes on the top of the head for the horns to sit into.

.

Step 18

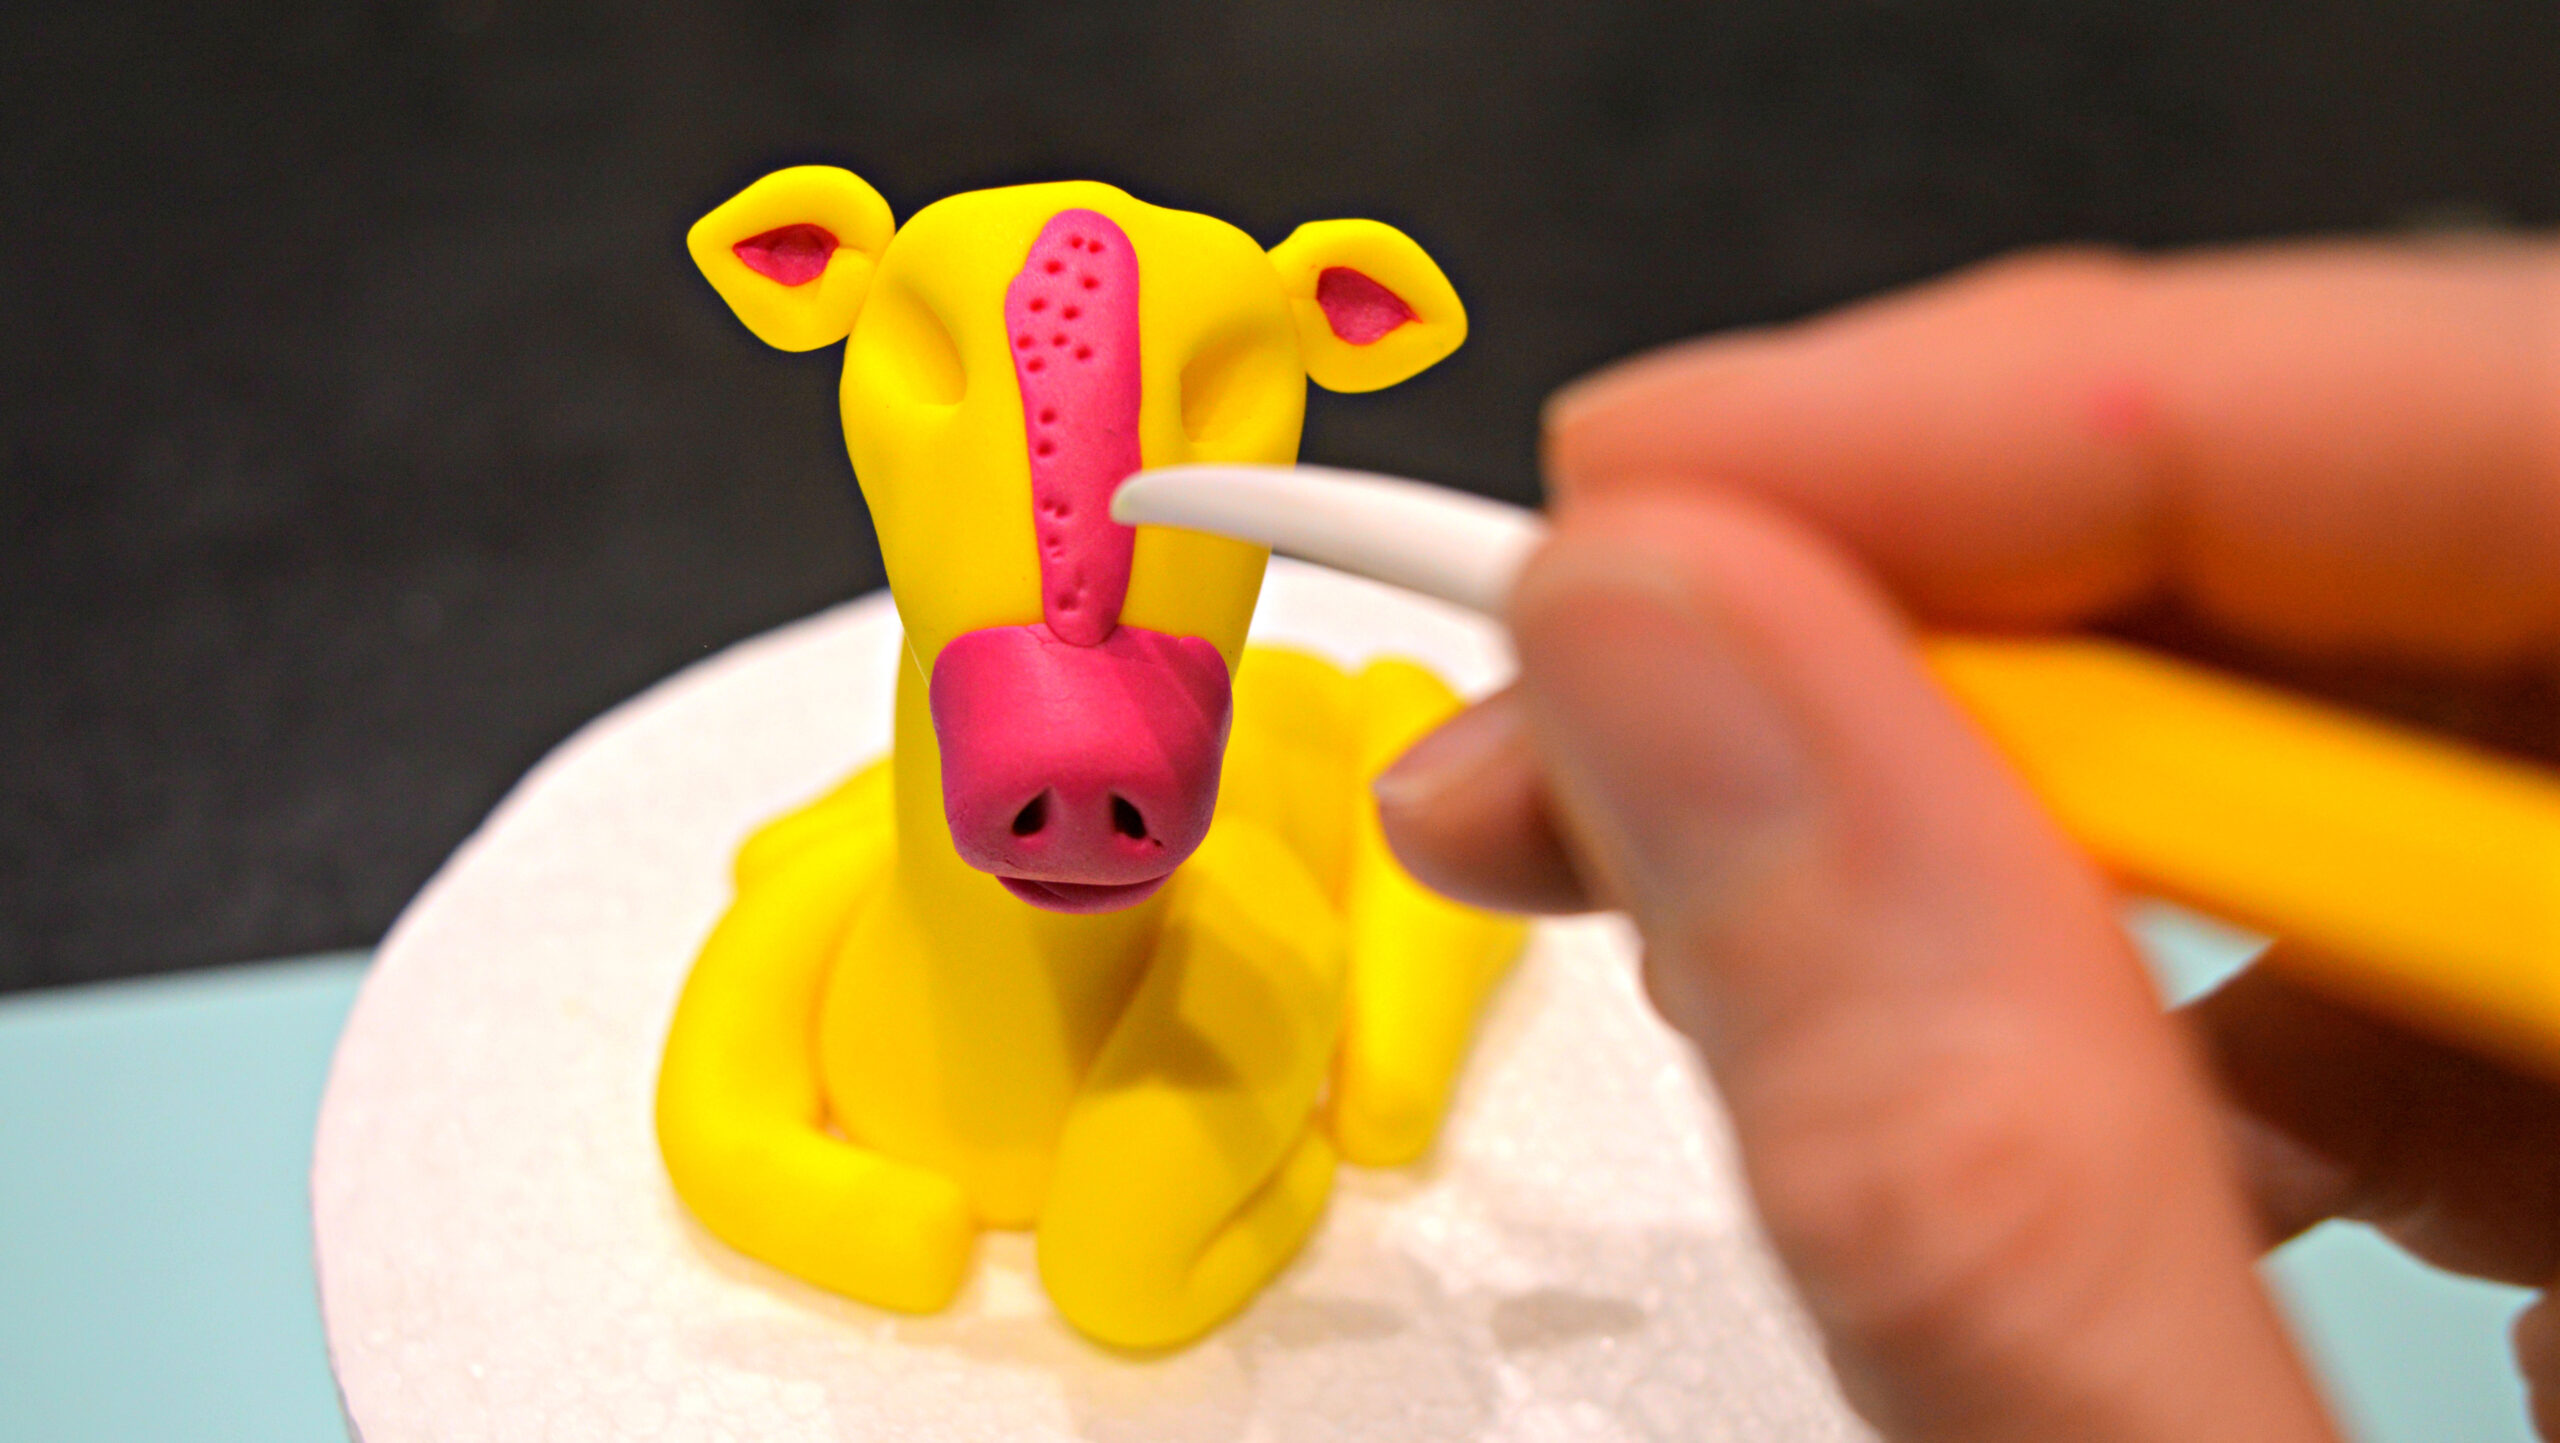
Roll out and flatten a small sausage shape of fuchsia paste and attach it to the face above the nose, add texture to this using the pointed end of your dresdon tool and your knife.

Step 19

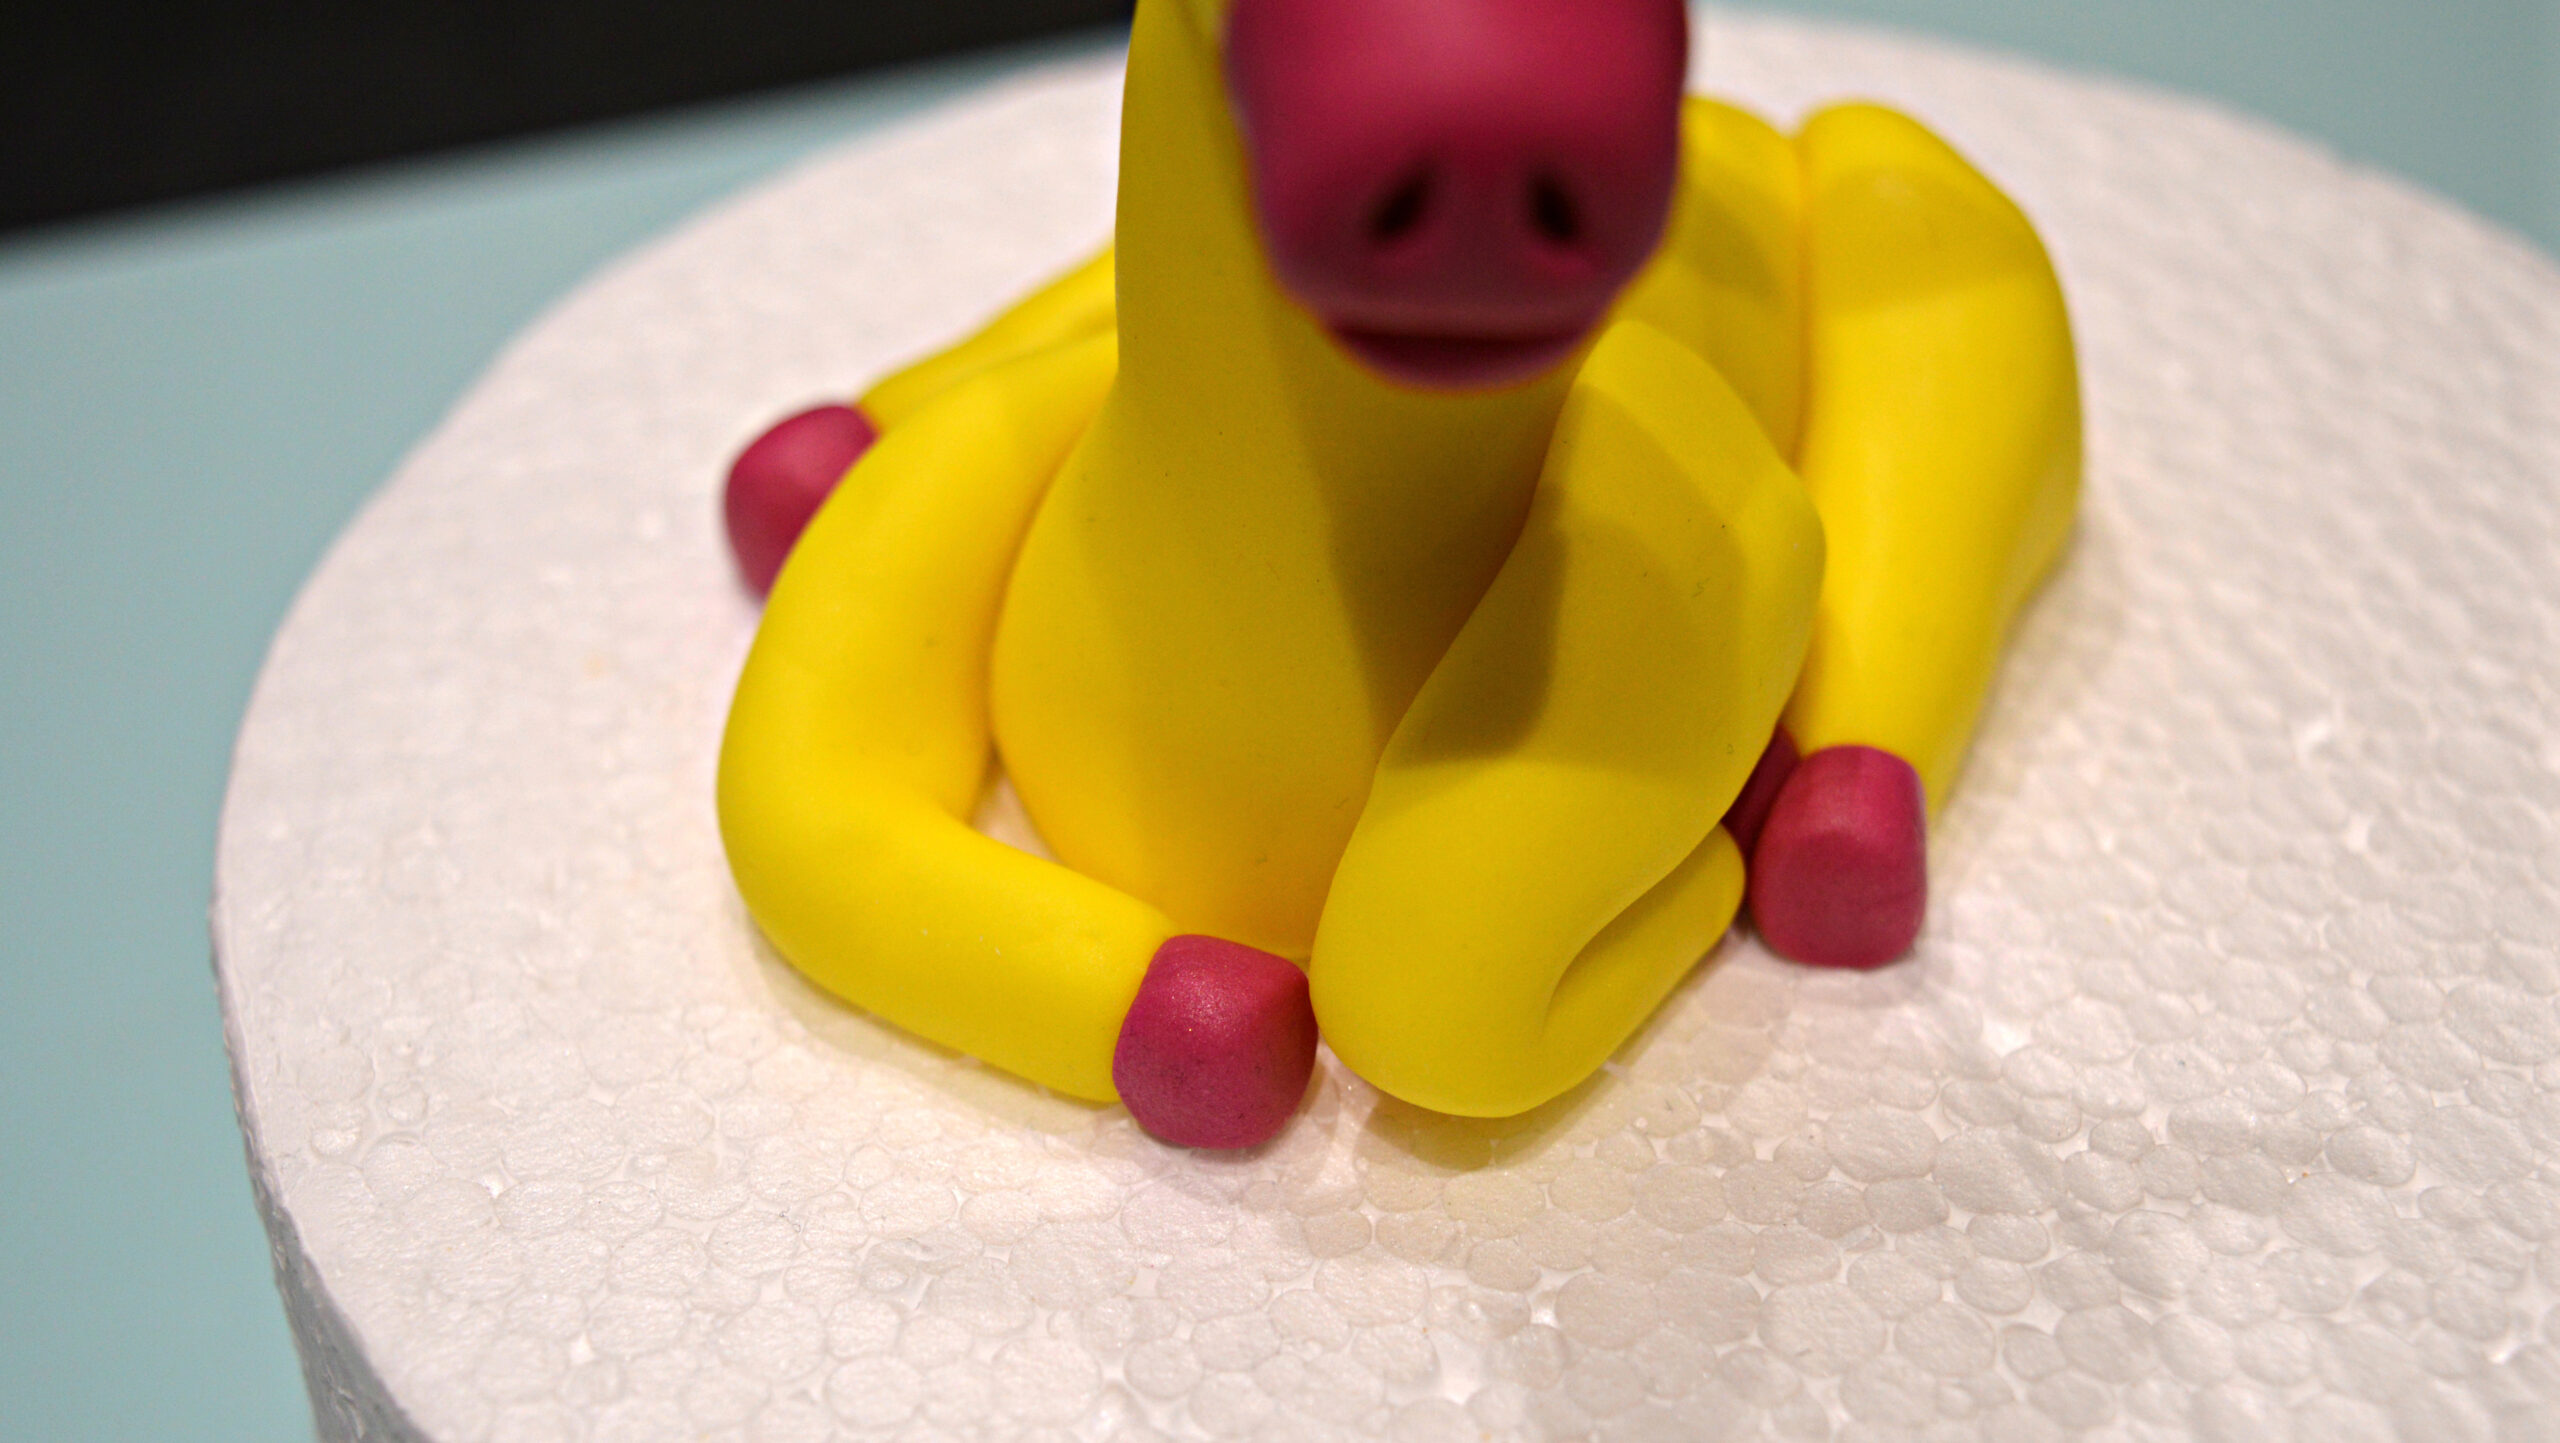
Roll out four ½ balls of fuchsia paste and attach it to the bottom of each leg to create the hoof shape, flatten down the bottom of the ball once it is attached.

.

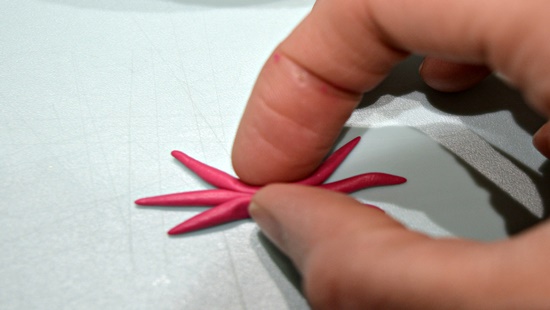
Step 20

Roll out three or four thin sausages of fuchsia paste, to around 1 inch in length, then pinch them in the centre and twist and flatten the top to attach to the giraffe.

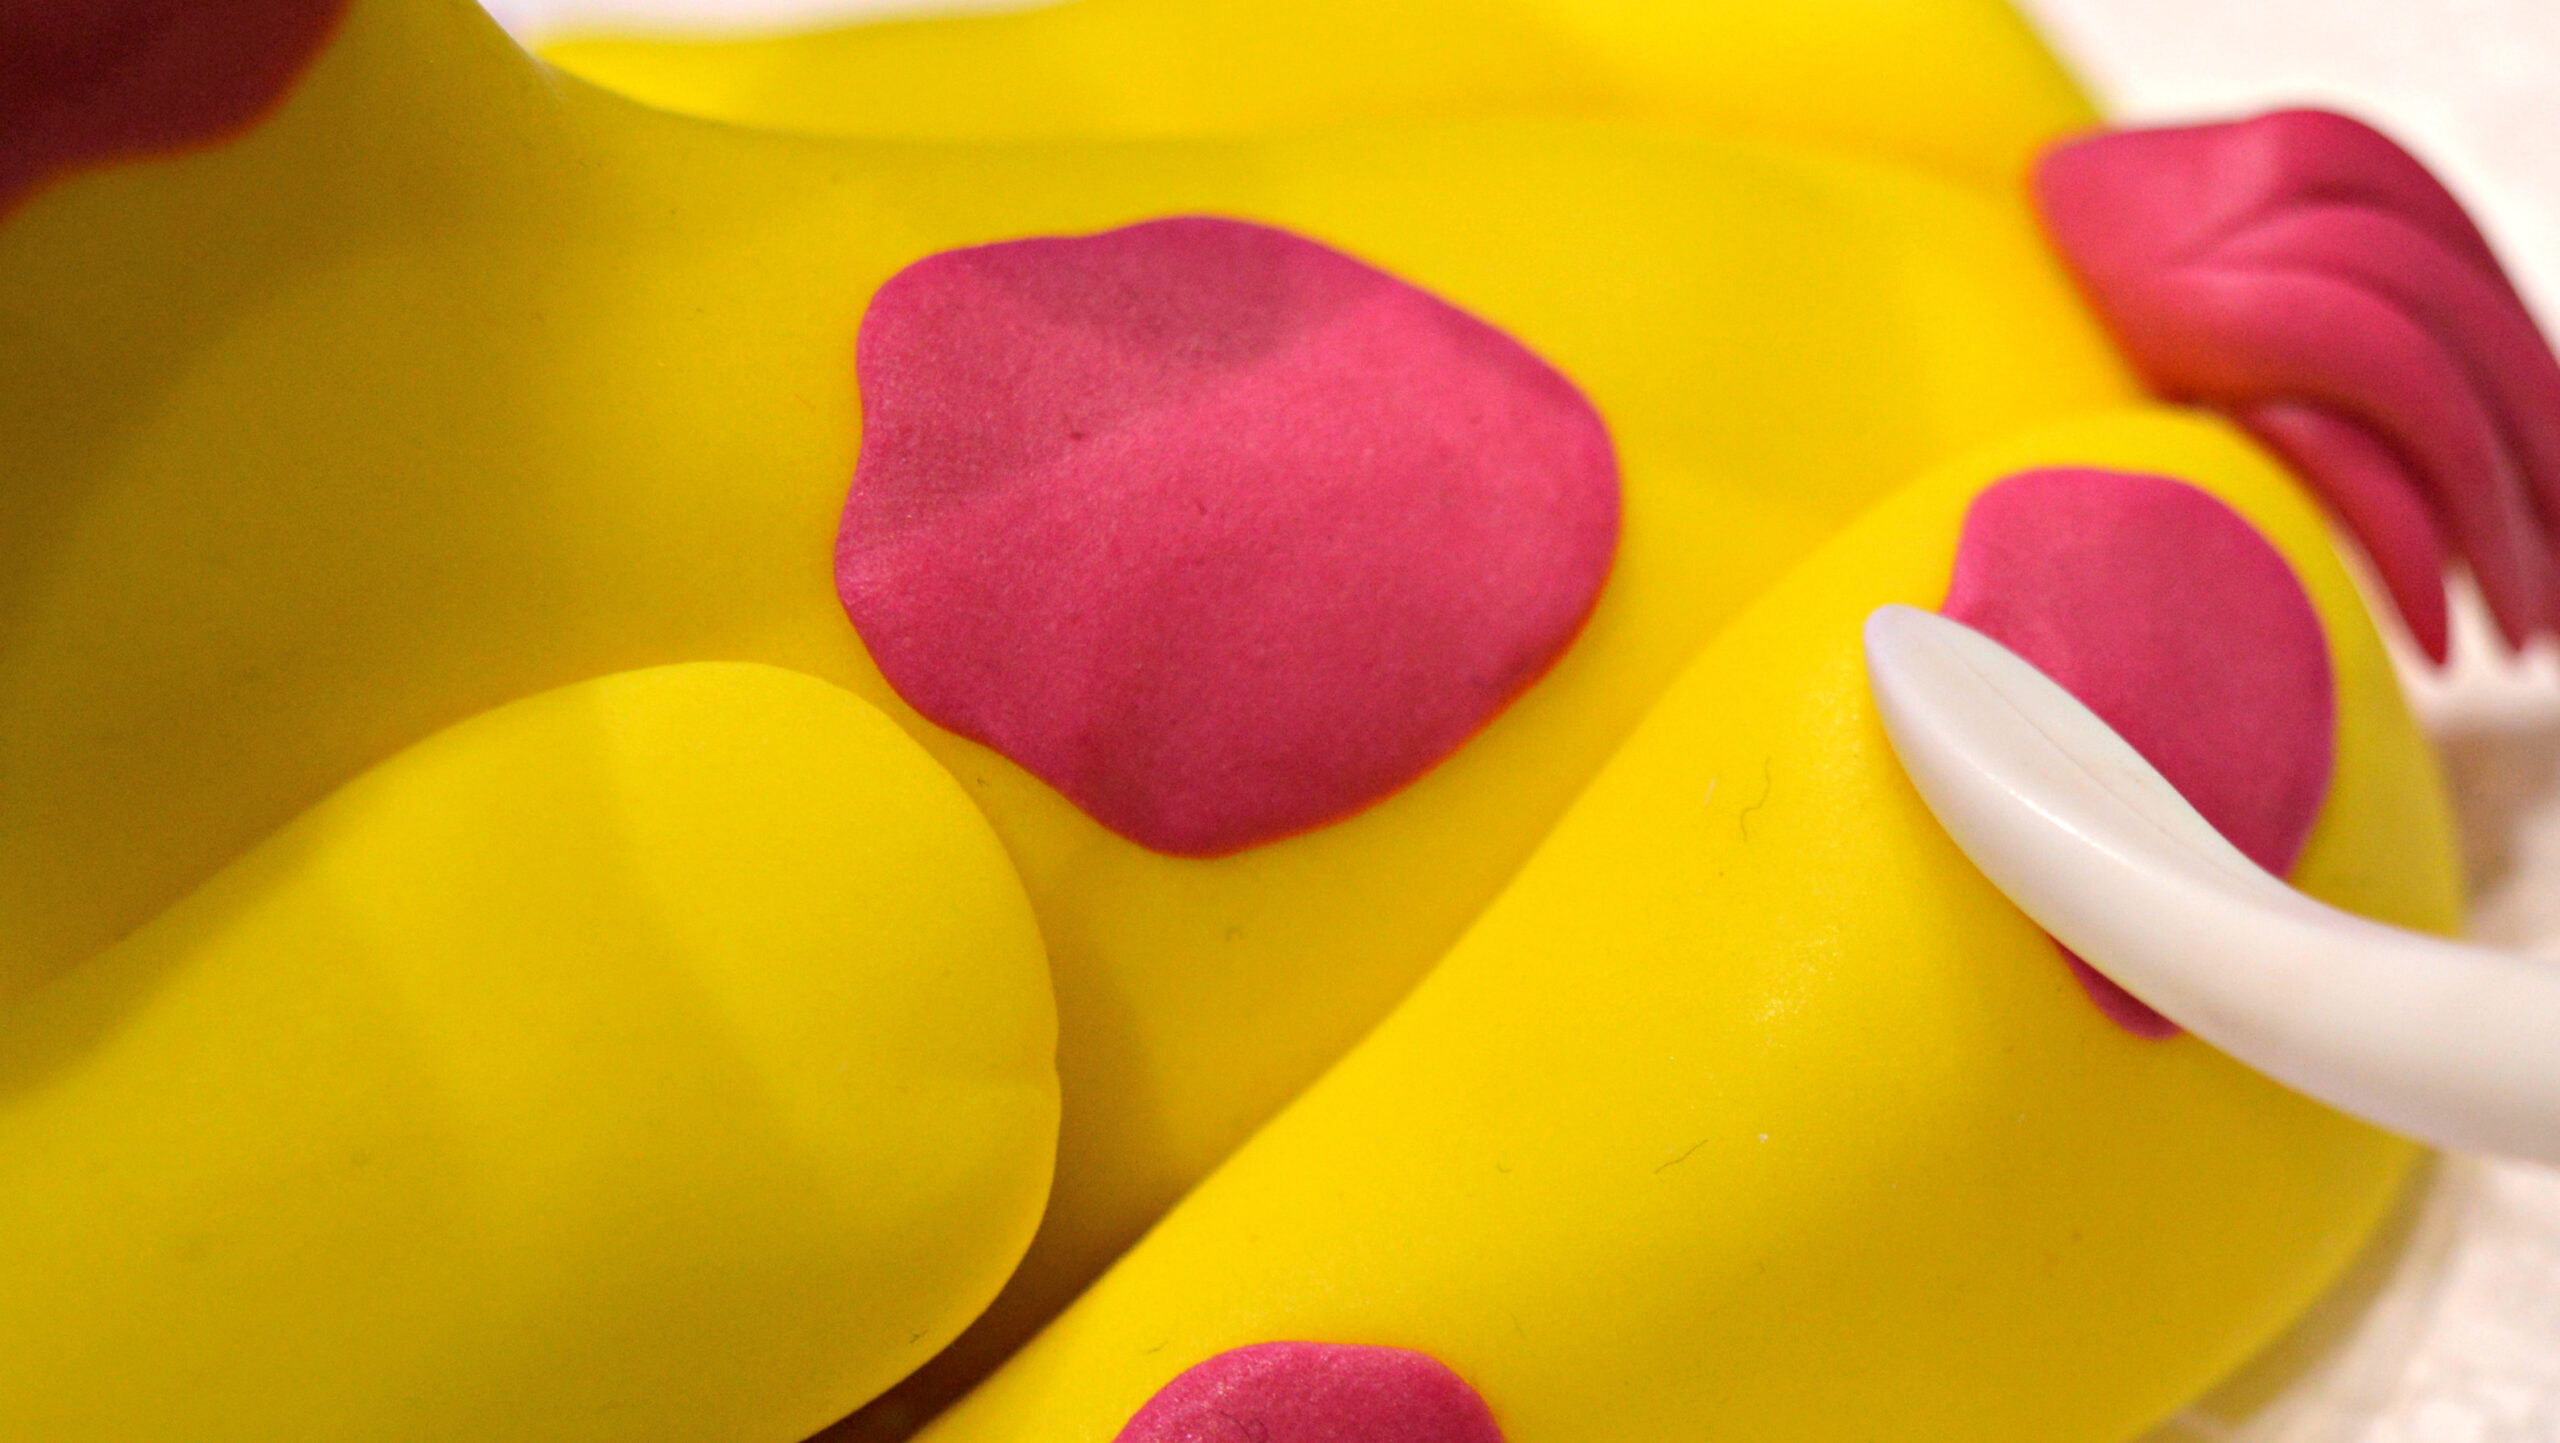
Step 21

Roll out lots of tiny and small balls of fuchsia modelling paste and flatten them as you attach them to the body, use your dresden tool to press out the dots into slightly different shapes over the body.

Step 22

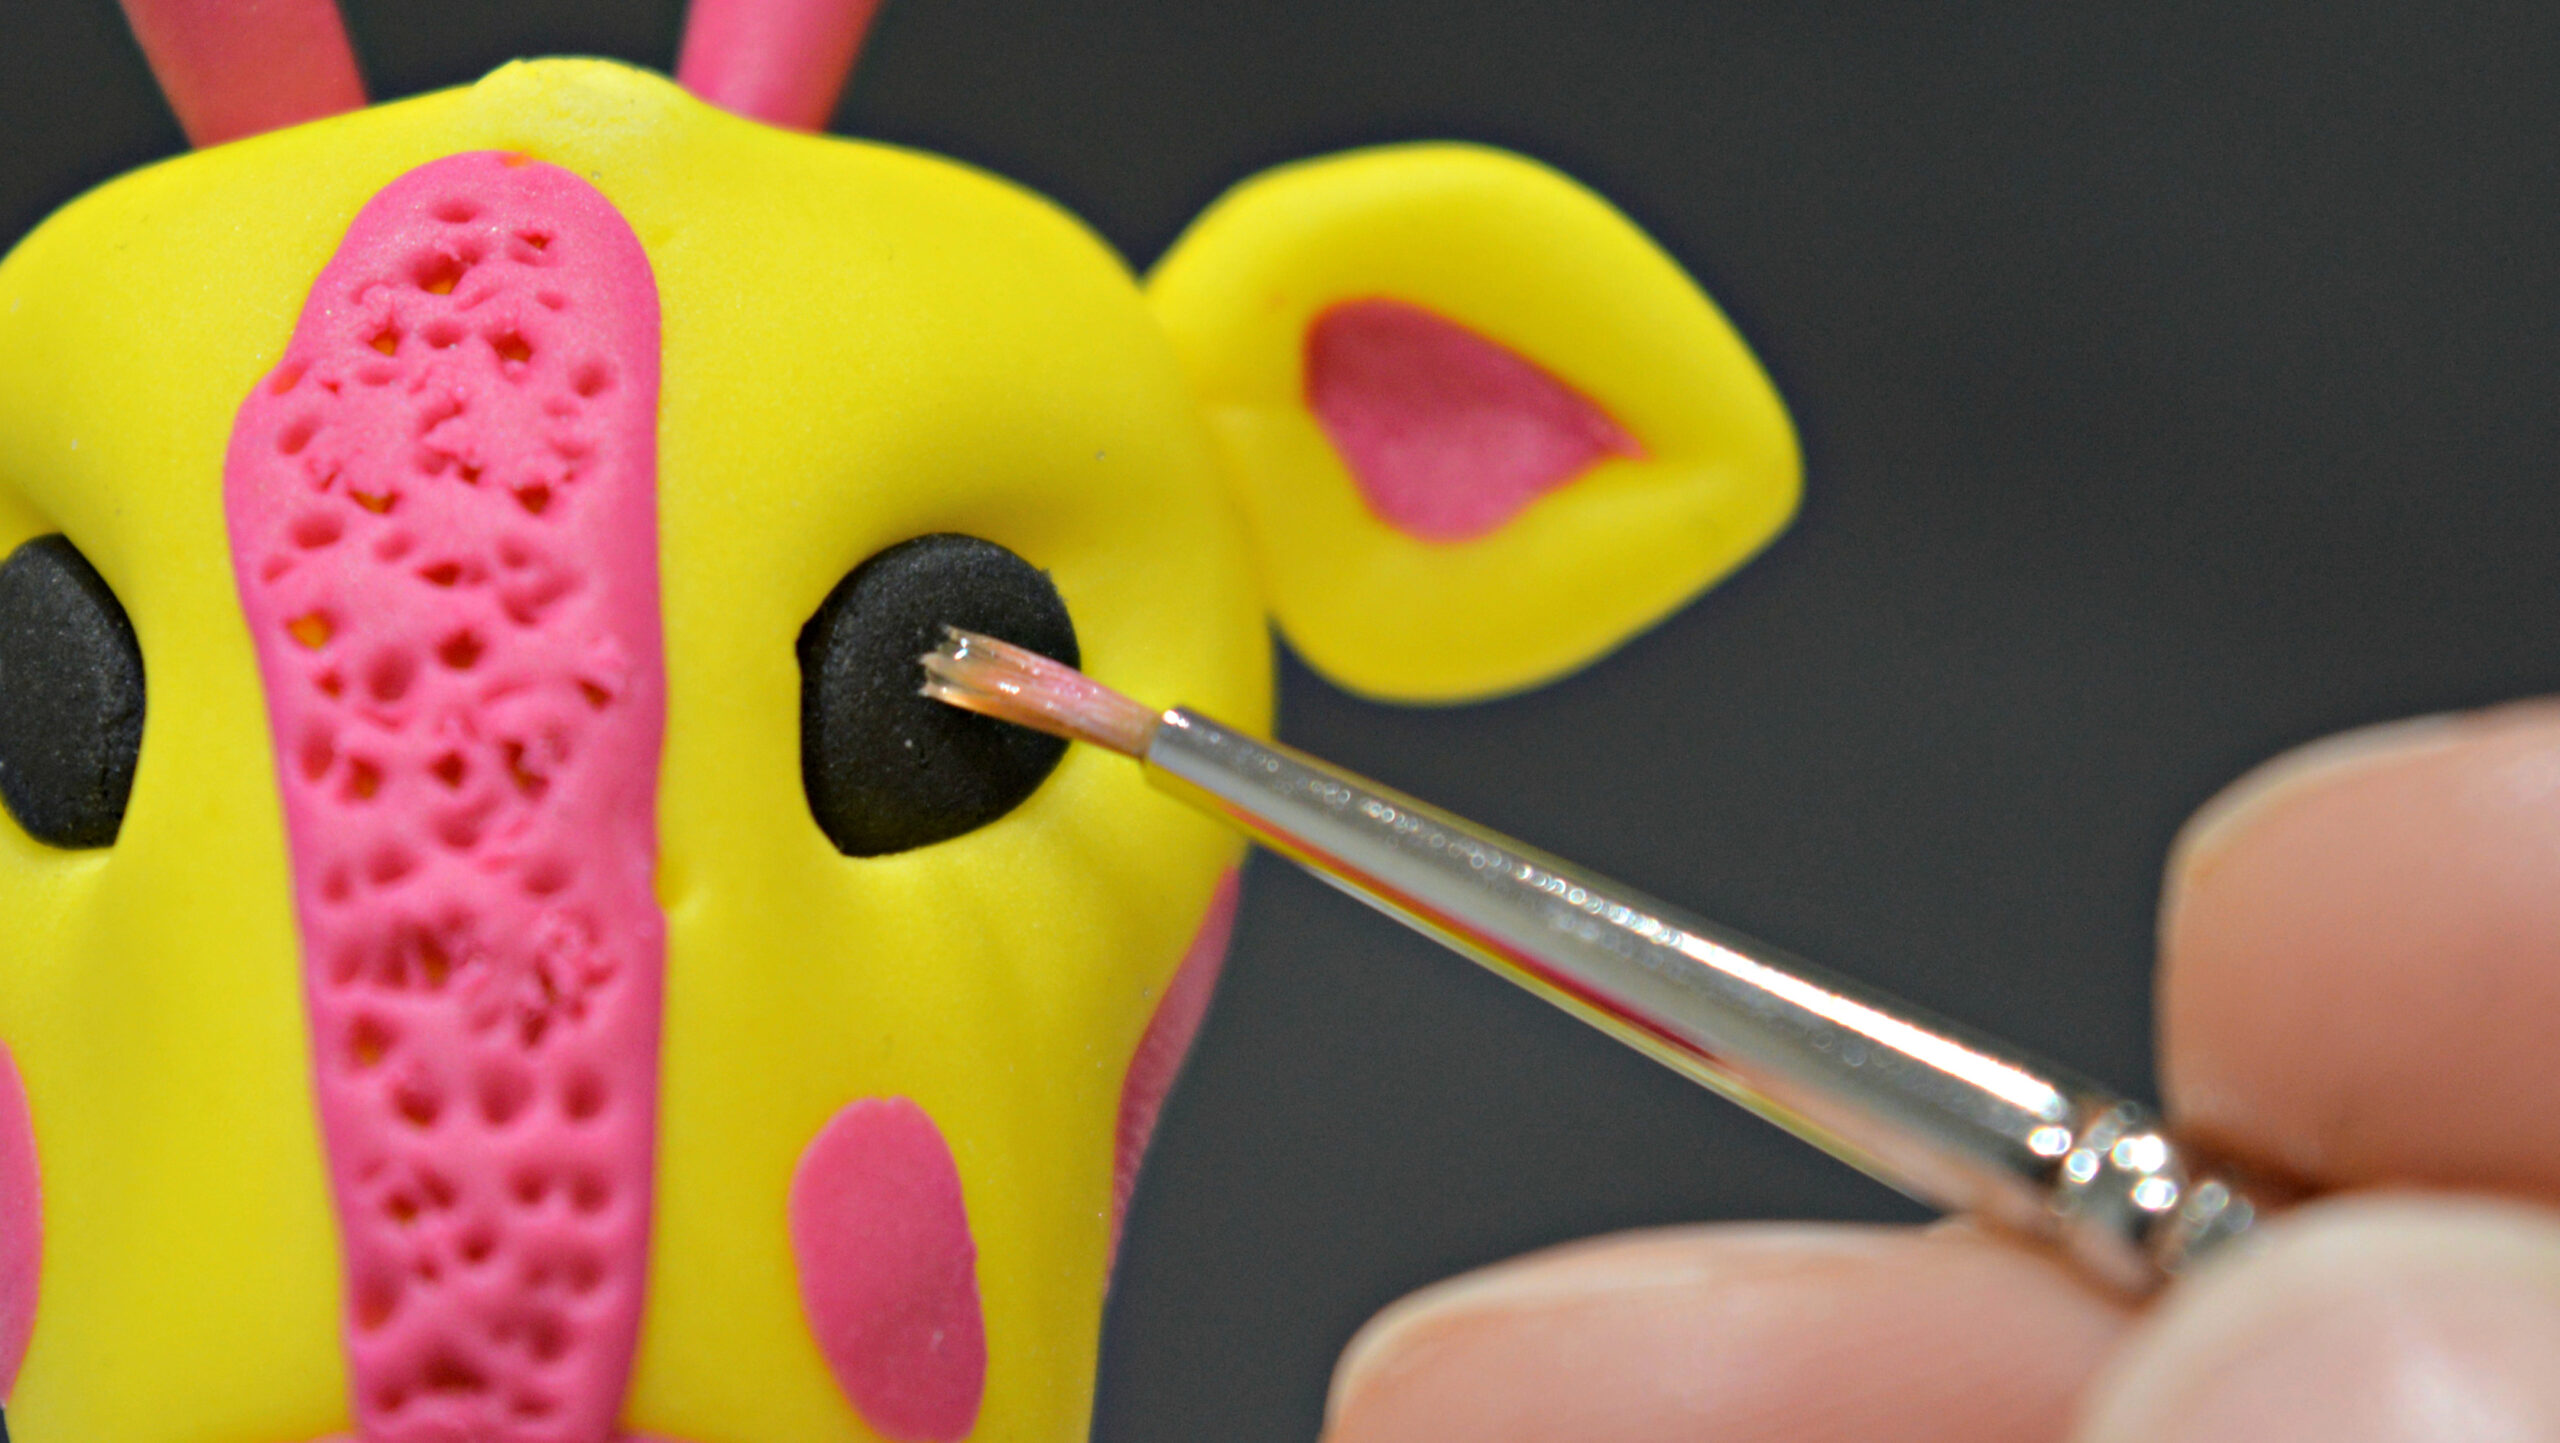
Roll out two small balls of black paste, big enough to fit into the eye sockets without protruding.  Roll out two tiny dots of white and add a little water to the eye and attach, make sure that the white is in the same position in both eyes. Using a very small amount of black paste, roll out a very thin sausage and attach above the eyes. You can also add eyelashes if you like.

.

.

BABY ELEPHANT

BABY ELEPHANT

Skill level: BEGINNERS

TIPS FROM KASIA

Remember not to over kneed the paste. When it is too soft and warm it’s hard to model. To avoid dust and hairs in the paste always work in low temperature and bright clothes. You can also use silicone or nitryl hand gloves.

.

You will need:

  • 140g Sarcino Pasta Model Light Green
  • 20g Saracino Pasta Model Pink
  • 5g Saracino Pasta Model Blue
  • 5g Saracino Pasta Model Lilac
  • 1g Saracino Pasta Model black
  • Skewer
  • Cerart Dresden Tool
  • Cerart Silicone Tool
  • Ball tool (medium and small)
  • Heart, star and big petal cutter
  • Scratch tool
  • Rolling pin
  • Lime, Pink and brown dust colours
  • Paintbrushes
  • Clear alcohol
  • Glue or water
  • 15 cm drum and 10 cm cake or dummy covered in light pink Saracino Pasta Top.

Step 1

Prepare the light green paste. Divide the paste : 50g for the head, 2x20g for the hands and legs, 25g for the torso,  25g for the ears and 5g for the trunk. Keep in a plastic bag until required.


Step 2

Prepare the pink, blue and lilac paste for the details. Keep in a plastic bag.

Step 3

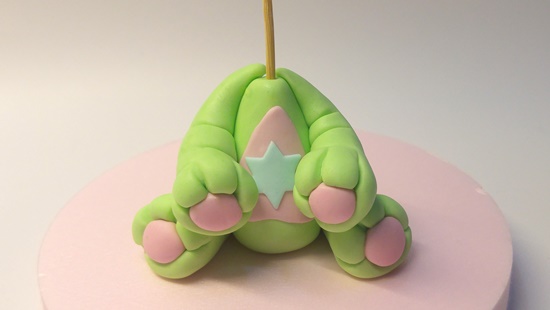
Take the green torso part and shape it into a cone.

Step 4

Attach the shaped torso to the drum using skewer.

Step 5

Take the green paste for the legs and separate it into two equal parts. Shape each one into a cone.

Step 6

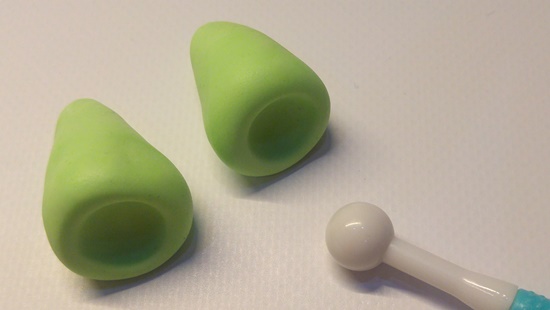
Press a medium ball tool into the wider end of the cone.

.

Step 7

Use a Cerart Dresden Tool to make thick toes.


.

Step 8

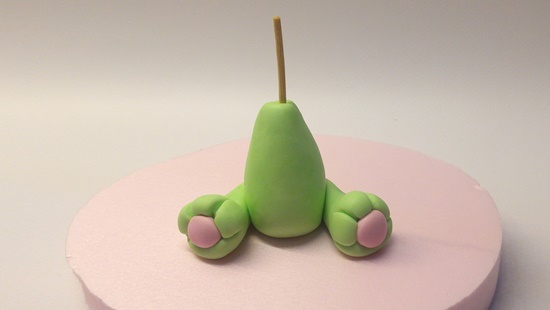
Make small pink balls and put them into the holes in the legs. Attach the legs to the torso using edible glue or water.

.


.

Step 9

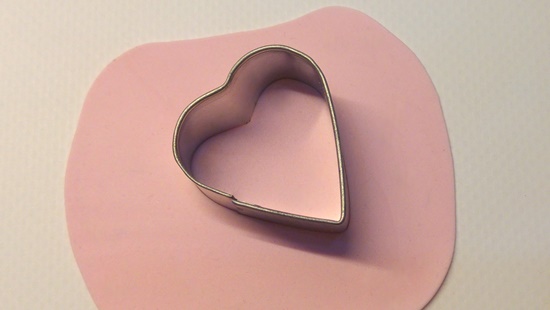
Roll pink paste and cut heart shape.

Step 10

Roll blue paste and cut star shape

.

Step 11

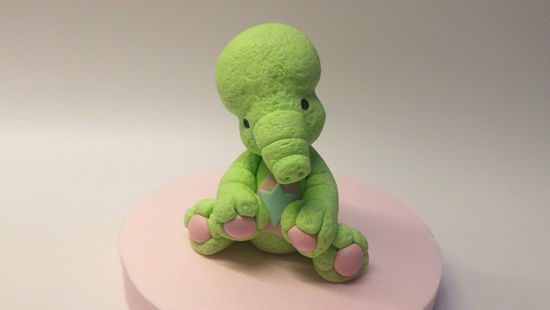
Glue the heart and star to the tummy.

.

Step 12

Repeat step 5-8 to make hands. Attach them to the torso using edible glue or water.

.

Step 13

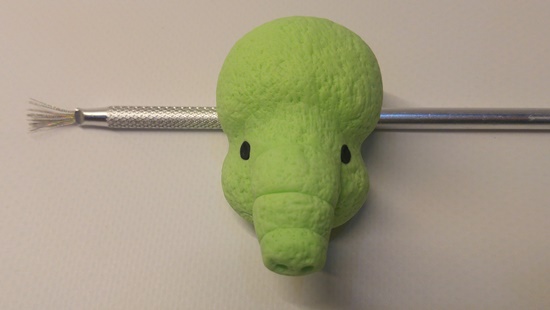
Take the green paste for the head and make a plain ball. Form a line using the round end of the Cerart Silicone Tool.

Step 14

Smooth the lines to make plain eye sockets.

.

Step 15

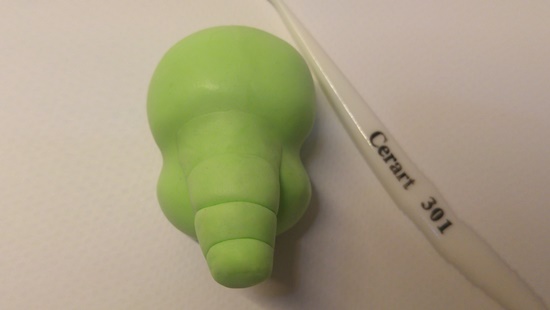
Take 5g of the light green paste and shape it into a cone shape. Using the Cerart Dresden Tool mark lines on the trunk.
Step 16

Glue the trunk to the middle of the head. Use a small amount of water and silicone tool to blend the seams.

.

.

Step 17

Use a small ball tool to make the nose and eye holes. Put tiny black balls into the eyes holes.

Step 18

Texture using a scratch tool to make the head appear fluffy.

.

Step 19

Attach the head to the torso. Glue the head and scratch the rest of the body to make it look textured.

Step 20

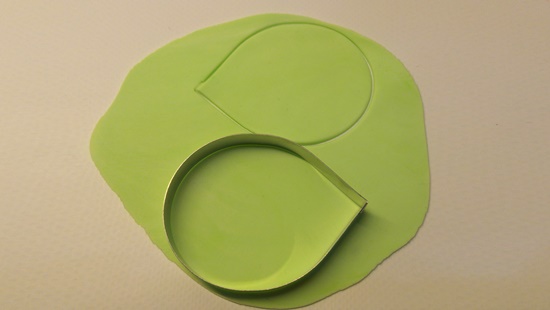
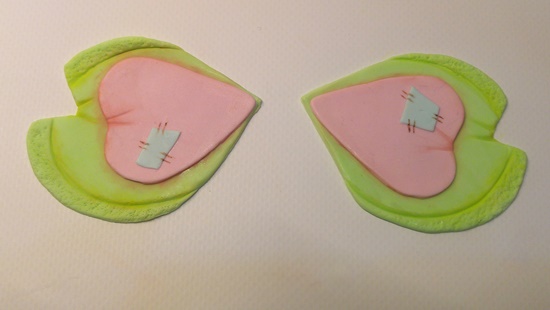
Roll light green paste and cut large petal shaped ears.

.

Step 21

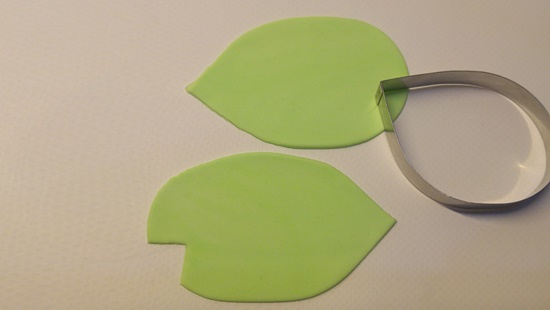
Use thin tip of the cutter to cut shape in the middle of the ears.

.

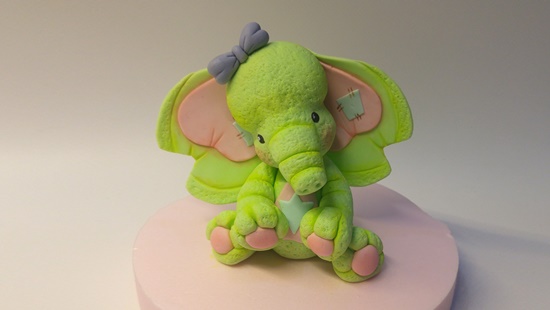
Step 23

Roll pink and blue paste to make details – cut pink and blue shapes. Scratch edges to make them more fluffy. Dust with pink and lime colours. Paint brown stitches using dust colour that has been diluted with clear alcohol.

Step 24

Make the lilac bow and glue it to the head. Dust the creases with a lime colour and pink on the cheeks.

.

.