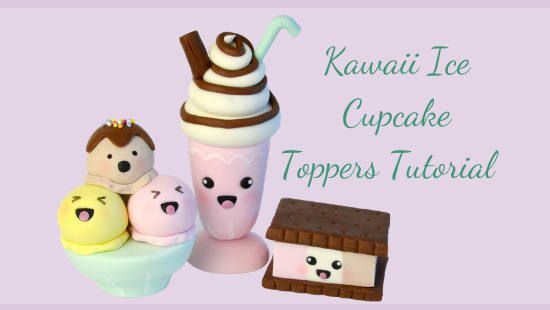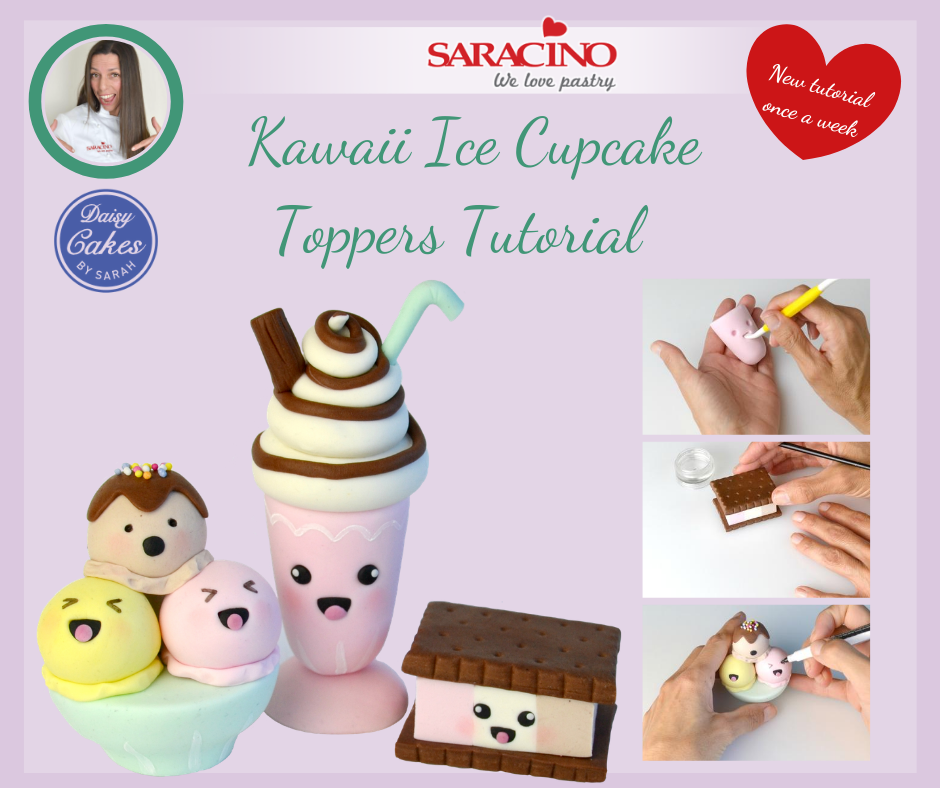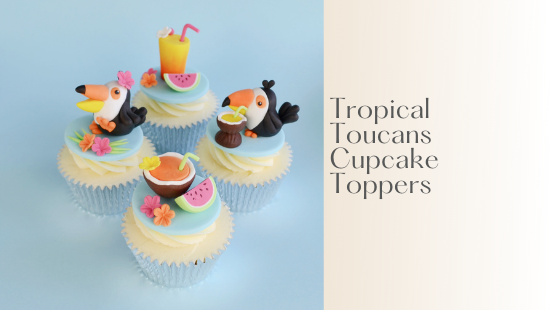
TROPICAL TOUCANS CUPCAKE TOPPERS


You will need:
-
White Pasta Top Sugarpaste coloured with blue gel colour and treated with CMC
-
Saracino Pasta Model: black, yellow, orange (half yellow and half orange mixed), fuchsia, white, brown, green
-
Saracino edible dusts: orange, red, black, white
-
Saracino cocoa butter
-
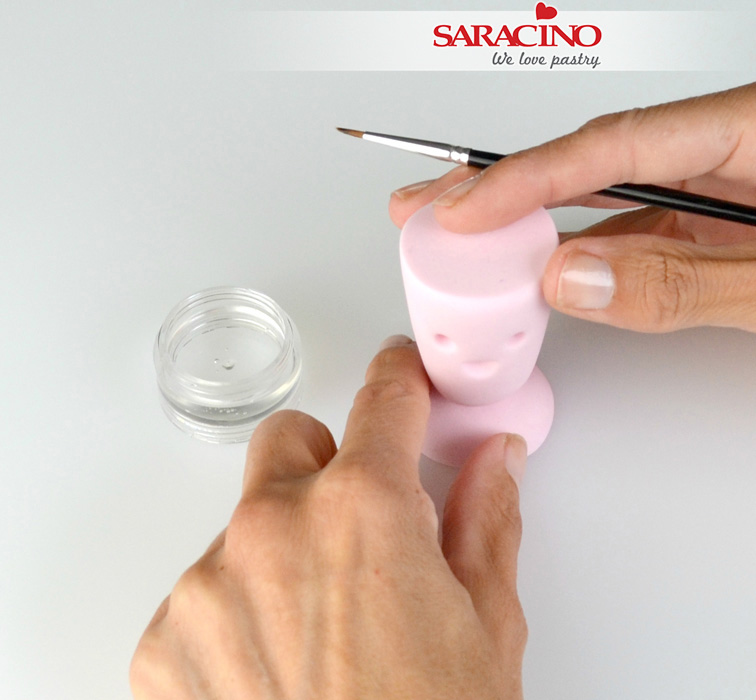
Edible glue
-
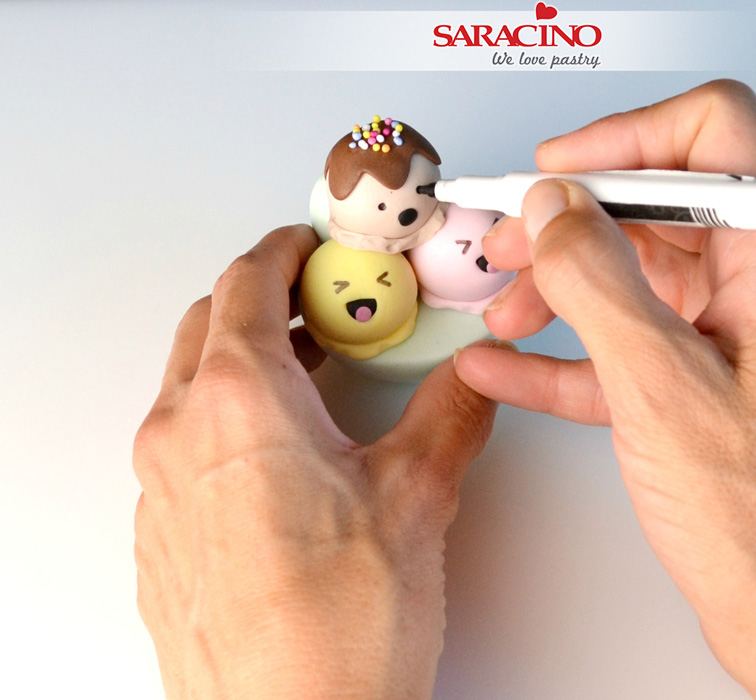
Black edible pen
-
58mm circle cutter
-
30-32mm circle cutter
-
Small ball tool
-
Paintbrush
-
Sharp knife
-
Dresden tool
-
Small daisy plunger cutter
-
Petunia veiner (Blossom Sugar Art)
-
Smoother
- Soft brush

Step 1
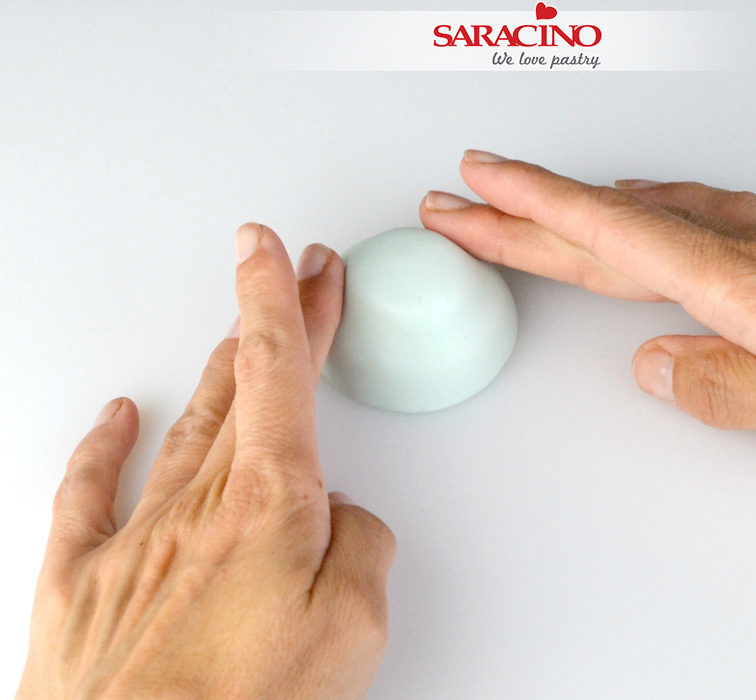
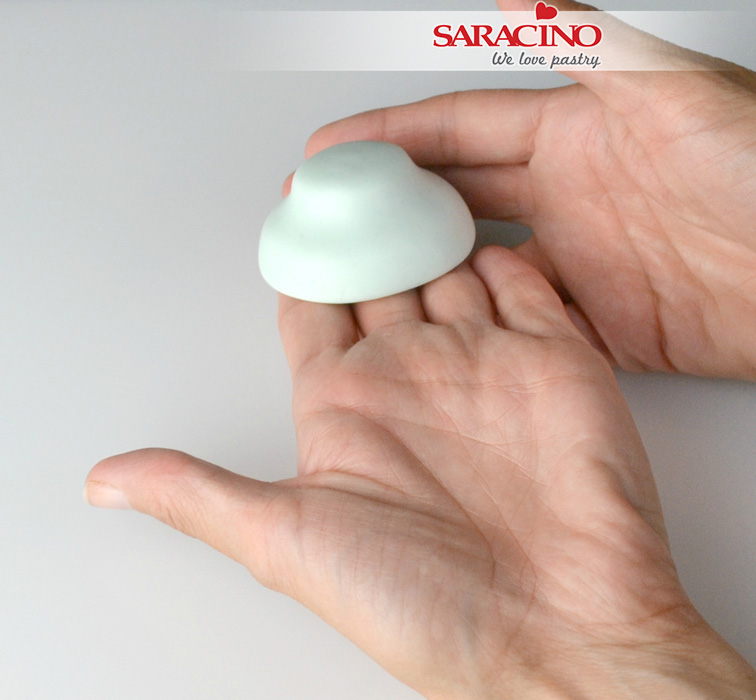
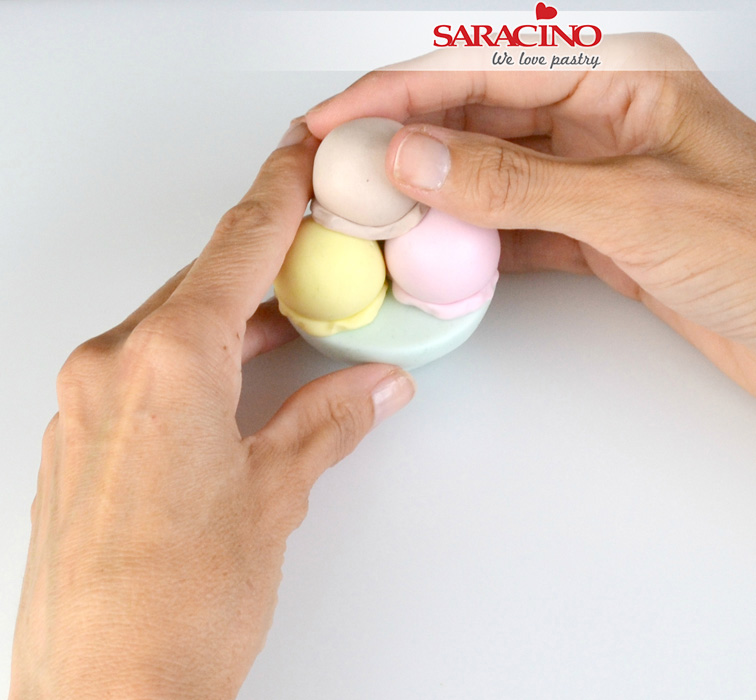
Roll out the blue Pasta Top and cut out four 58mm circles and set aside to dry completely.

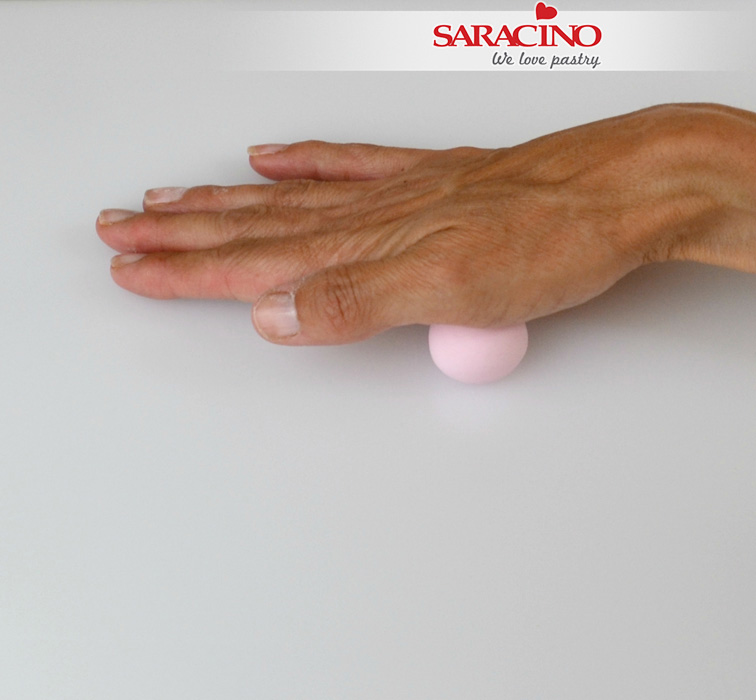
Step 2
Roll a large cherry tomato sized piece of black modelling paste into a ball.

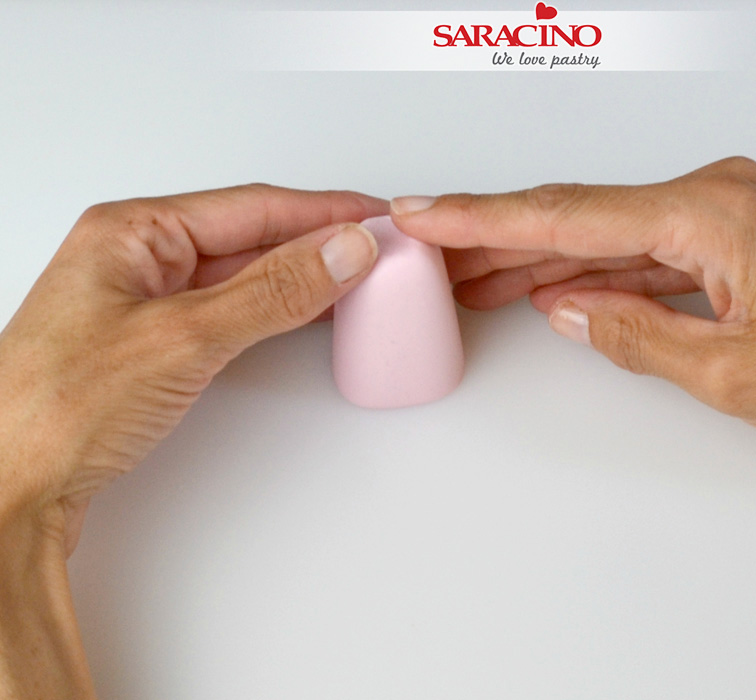
Step 3
Holding the piece in your hand use your finger to roll the paste back and forth in the middle to create the body of the toucan.

Step 4
Use your fingers to smooth off the top for his head.

Step 5
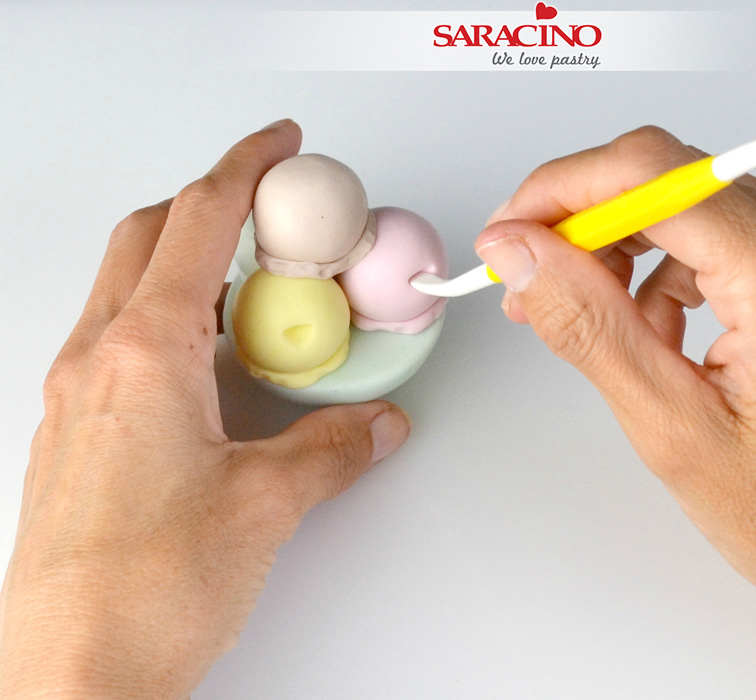
Cut a circle of white paste (approx. 30-32mm) and press onto the tummy and face of the toucan.

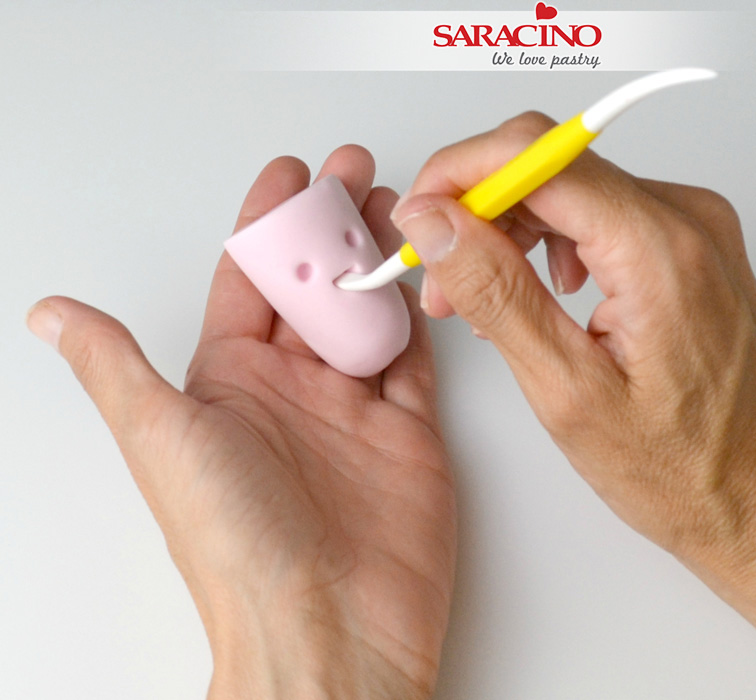
Step 6
Use a small ball tool to make a small egg-shaped dent for the colour of his eye (repeat on the other side for the other eye).

Step 7
Fill the dent with a small piece of orange paste.

Step 8
Make a little hole using the end of a paintbrush and fill with a tiny ball of black paste. Repeat for the second eye.

Step 9
To make his beak roll a teardrop shape of orange paste and a smaller yellow teardrop.

Step 10
Use your fingers to press both pieces onto the board to flatten the base.

Step 11
Push the two flat sides together to form the beak making sure that the larger orange piece is slightly overhanging the yellow piece.

Step 12
Cut the excess off with a sharp knife and stick onto the toucan’s face. Bend the tip of the top beak over the bottom slightly. At this point you may find that it won’t stand properly due to the weight of the beak, just put it aside on a piece of sponge until he’s attached to the topper.

Step 13
To make the feet roll three small teardrops of orange paste and push together at the pointed end. Repeat to make second foot.

Step 14
Using the toucan as a guide, stick the two feet onto the topper and glue his body on the top.

Step 15
To make the feathers on his head roll two small teardrops and push together, for his tail roll three slightly larger teardrops and push together and his wings a further two for each side. Stick all on to the toucan’s body.

Step 16
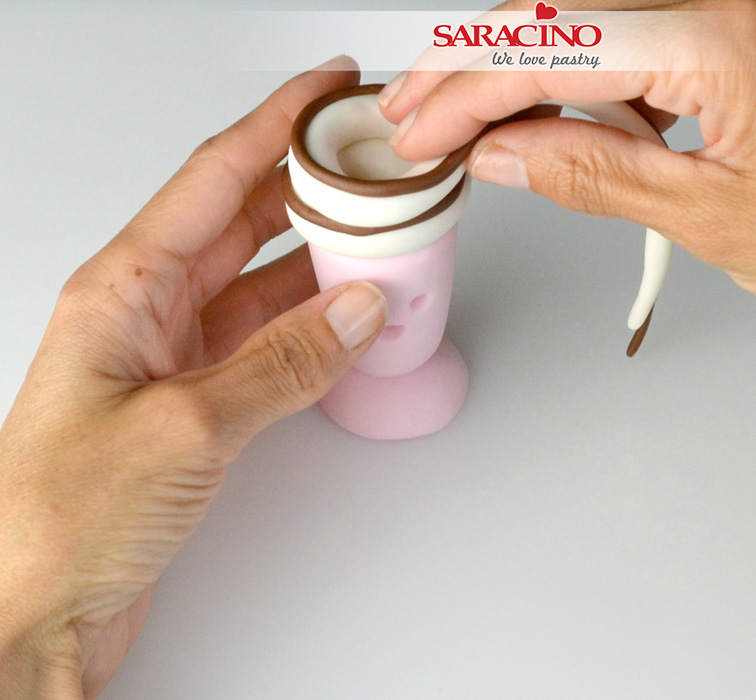
For his cocktail drink roll a small ball of yellow paste and flatten the base on the board.

Step 17
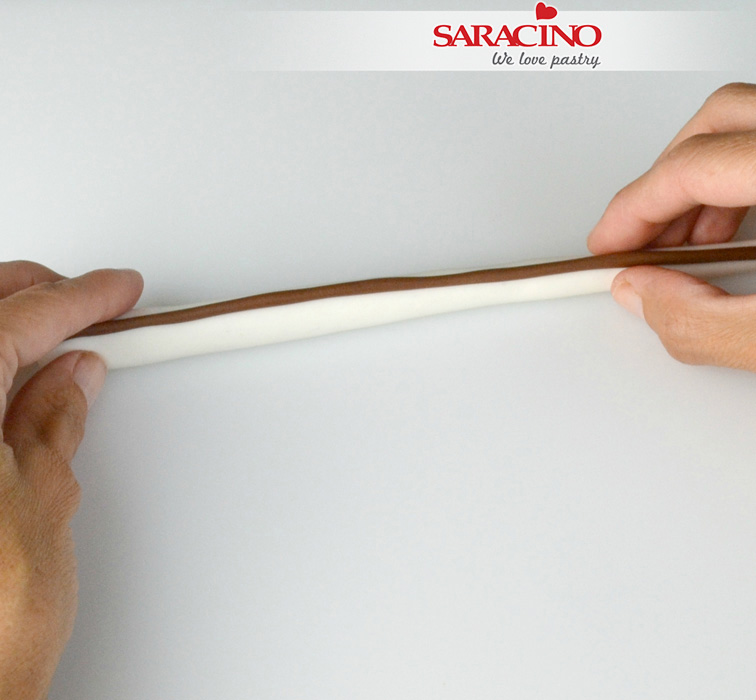
Cover this with a thin piece of white paste.

Step 18
Cover this with a thin piece of brown paste and use a Dresden tool to add lines for the coconut shell.

Step 19
Cut the excess paste away using a sharp knife.

Step 20
For the cocktail base roll another small ball of brown paste and flatten the base on the board. Add texture using a Dresden tool as before.

Step 21
Indent a hole in the yellow drink with the end of a paintbrush.

Step 22
Roll a thin piece of green paste for a straw, bend and set aside to dry.

Step 23
Stack the two coconuts on top of each other and glue to the topper. When the straw is dry enough to handle, cut to size and glue into cocktail. That is your Toucan Topper finished and ready to use.

Step 24
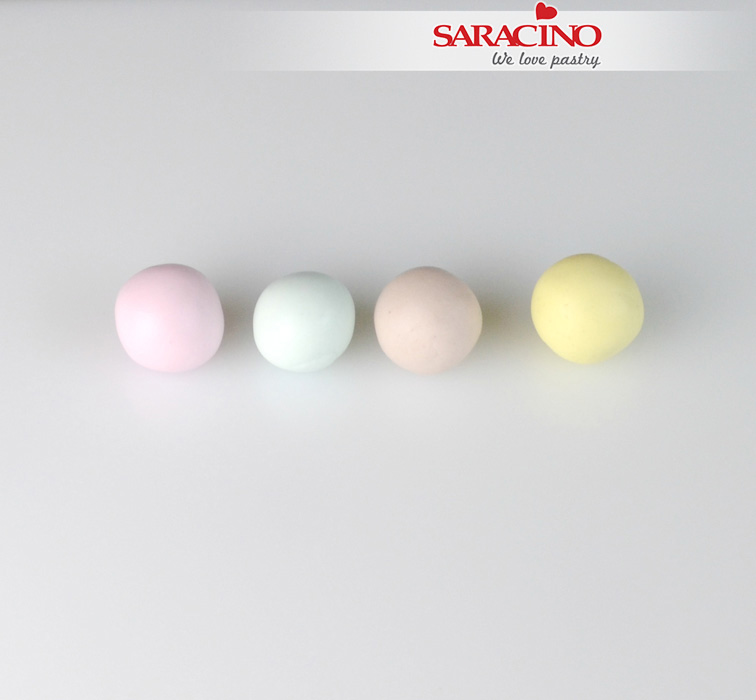
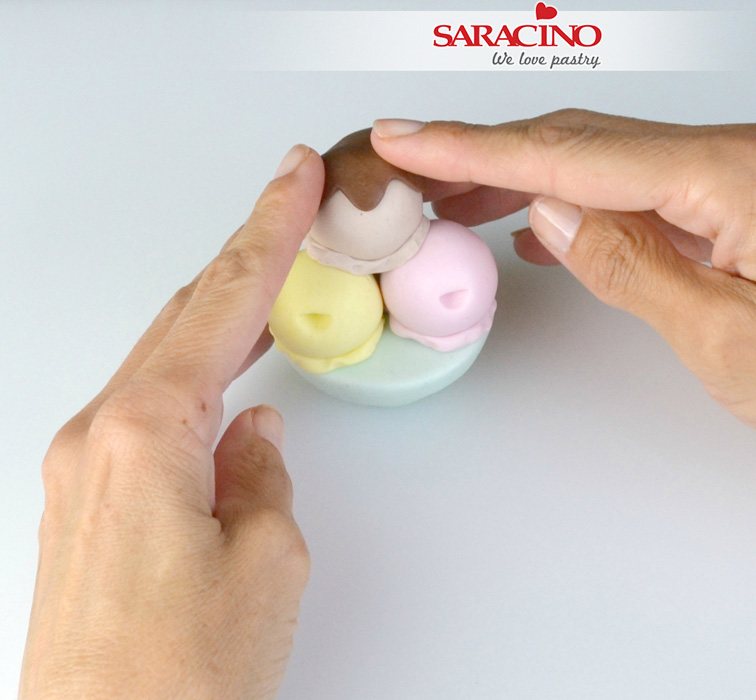
For the next topper roll a large marble size piece of orange paste into a ball and flatten the base on your board.

Step 25
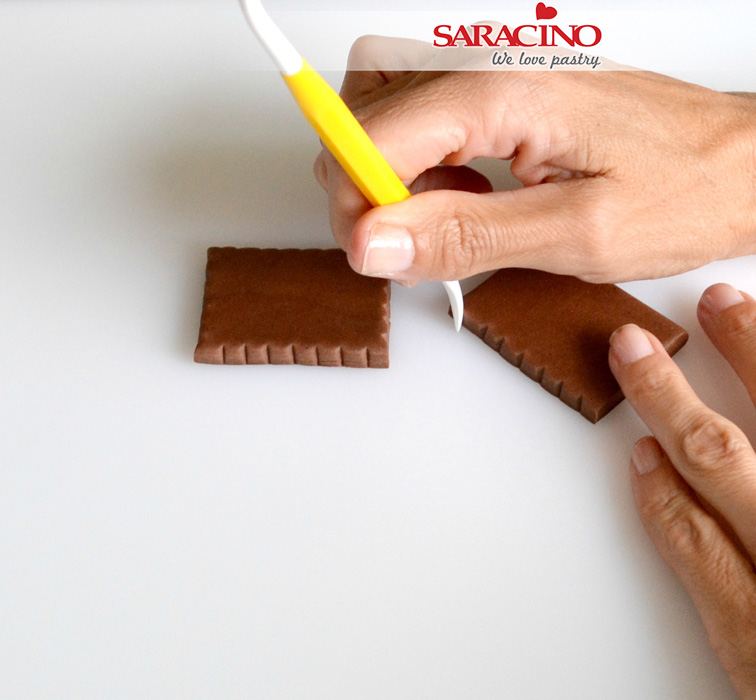
To form the coconut look cover in a thin piece of white paste and then brown paste as before. Use a Dresden tool to mark lines of the coconut shell. Cut away the excess paste with a sharp knife as before. When cutting edges don’t do it in one smooth line as it looks less realistic. Lots of little cuts look much better.

Step 26
Use the end of your paintbrush to form a small hole ready for the straw.

Step 27
Roll a thin piece of green paste into a straw and set aside to dry.

Step 28
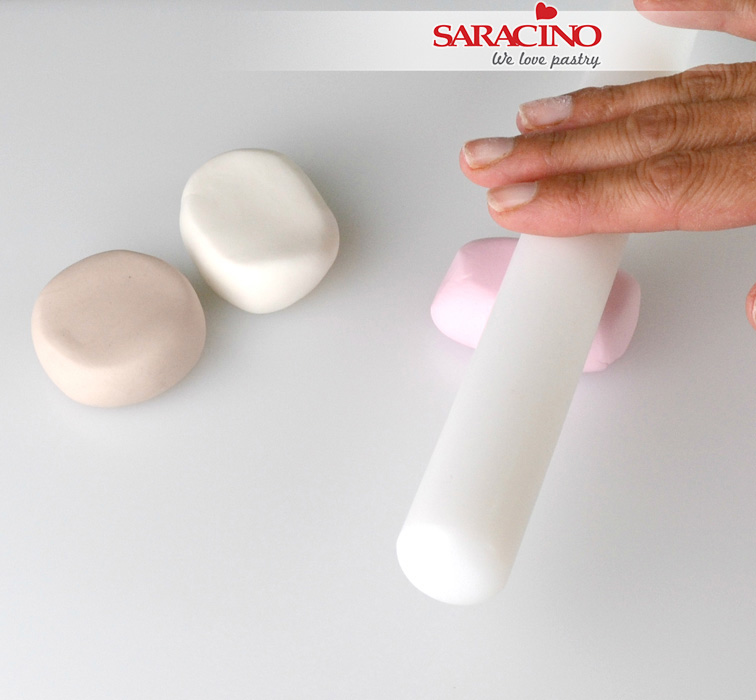
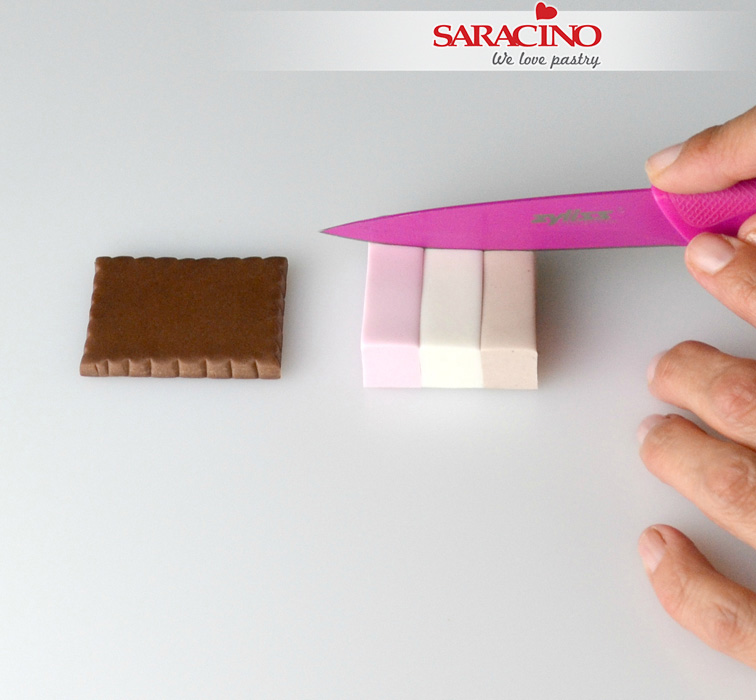
To make the watermelon roll a large marble sized piece of fuchsia paste and flatten the base on the board.

Step 29
Cover with a thin layer of white paste and then a thin layer of green paste. Cut around the edge as smoothly as possible using a sharp knife.

Step 30
With the flat side of the melon on the board, use a sharp knife to cut the melon in half and set aside to dry (keep the other part for later).

Step 31
Fix the coconut cocktail on to one of the toppers using edible glue.

Step 32
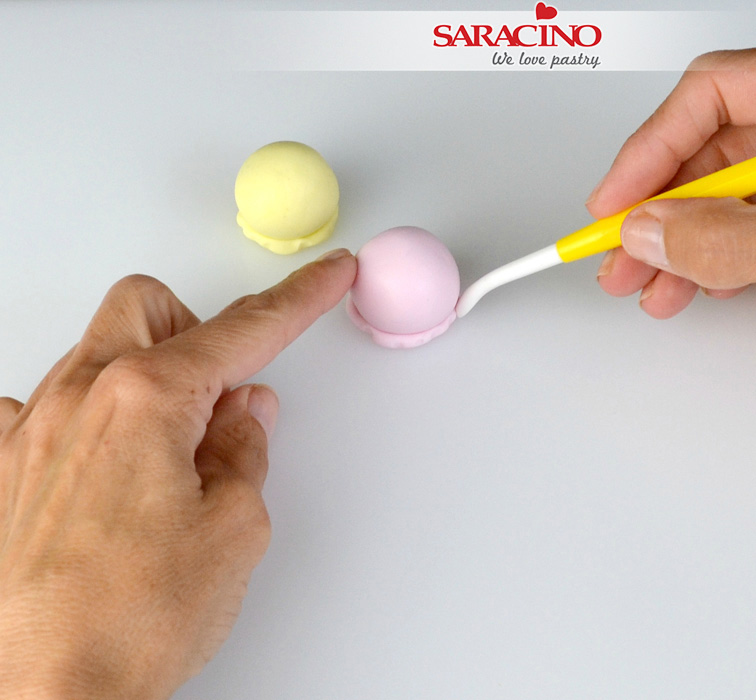
Cut out a variety of little flowers using a small blossom cutter and vein them.

Step 33
Stick two smaller flowers onto the topper and one onto the rim of the coconut.

Step 34
When it is dry enough to handle cut the straw to size and glue into the hole.

Step 35
Using an edible black pen mark seeds on the watermelon and glue this onto the topper.

Step 36
Create another toucan following the previous steps. Stick one foot onto the topper and attach the toucan’s body on top at a slight angle.
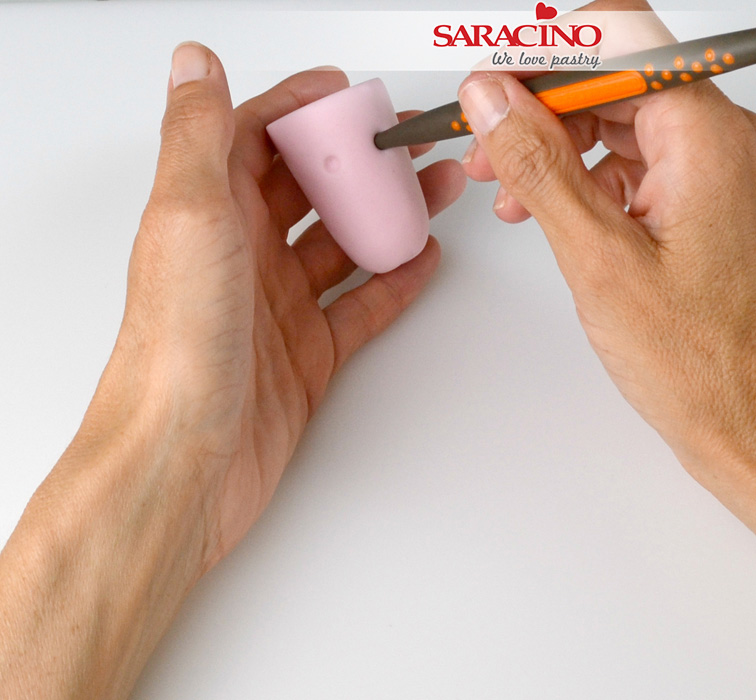
Tip: If you flatten the base of the body on the board slightly it makes attaching it at an angle easier.

Step 37
Attach the second foot onto the body and push on using a paintbrush handle.

Step 38
To make the feathers on the head roll two small teardrops of black paste and push onto the top of the toucan’s head.

Step 39
To make the wings roll two small teardrop shapes for each and push onto the side bending them up slightly.

Step 40
Roll out several pieces of green paste and push them together at the thicker end. Repeat to make a second leaf.

Step 41
Stick these to the topper and decorate with a couple of small flowers made earlier.

Step 42
Add one little flower to the toucan’s head

Step 43
For the second cocktail roll a piece of yellow paste using a smoother so one end is narrower than the other. Using a sharp knife cut a piece approx. 3cm in length with a sharp knife. Use a smoother to reshape it if necessary.

Step 44
Using the end of a paintbrush make a small hole for the straw. Set aside to dry.

Step 45
With a soft brush gradually dust the bottom of the cocktail glass with orange dust upto about half way. Then apply a small amount of red dust to the very bottom.

Step 46
To make the straw roll a thin piece of fuchsia paste and bend over the top. Set aside to dry.

Step 47
Mark the seeds on the watermelon with a black edible pen as before. Attach the glass and melon to the topper with edible glue.

Step 48
Cut the straw to size and use a small amount of edible glue to attach it in the hole.

Step 49
Roll a small ball of fuchsia paste for a cherry and attach to the rim of the glass with a flower made earlier. Add another couple of flowers to the topper.

Step 50
Melt a small amount of cocoa butter. With black dust added paint the tip of the toucan’s beaks. Add a small amount of white dust to the cocoa butter and add highlights to the toucan’s eyes with a fine paintbrush.