1st BIRTHDAY CUTE PARTY CAKE

1st BIRTHDAY CUTE PARTY CAKE
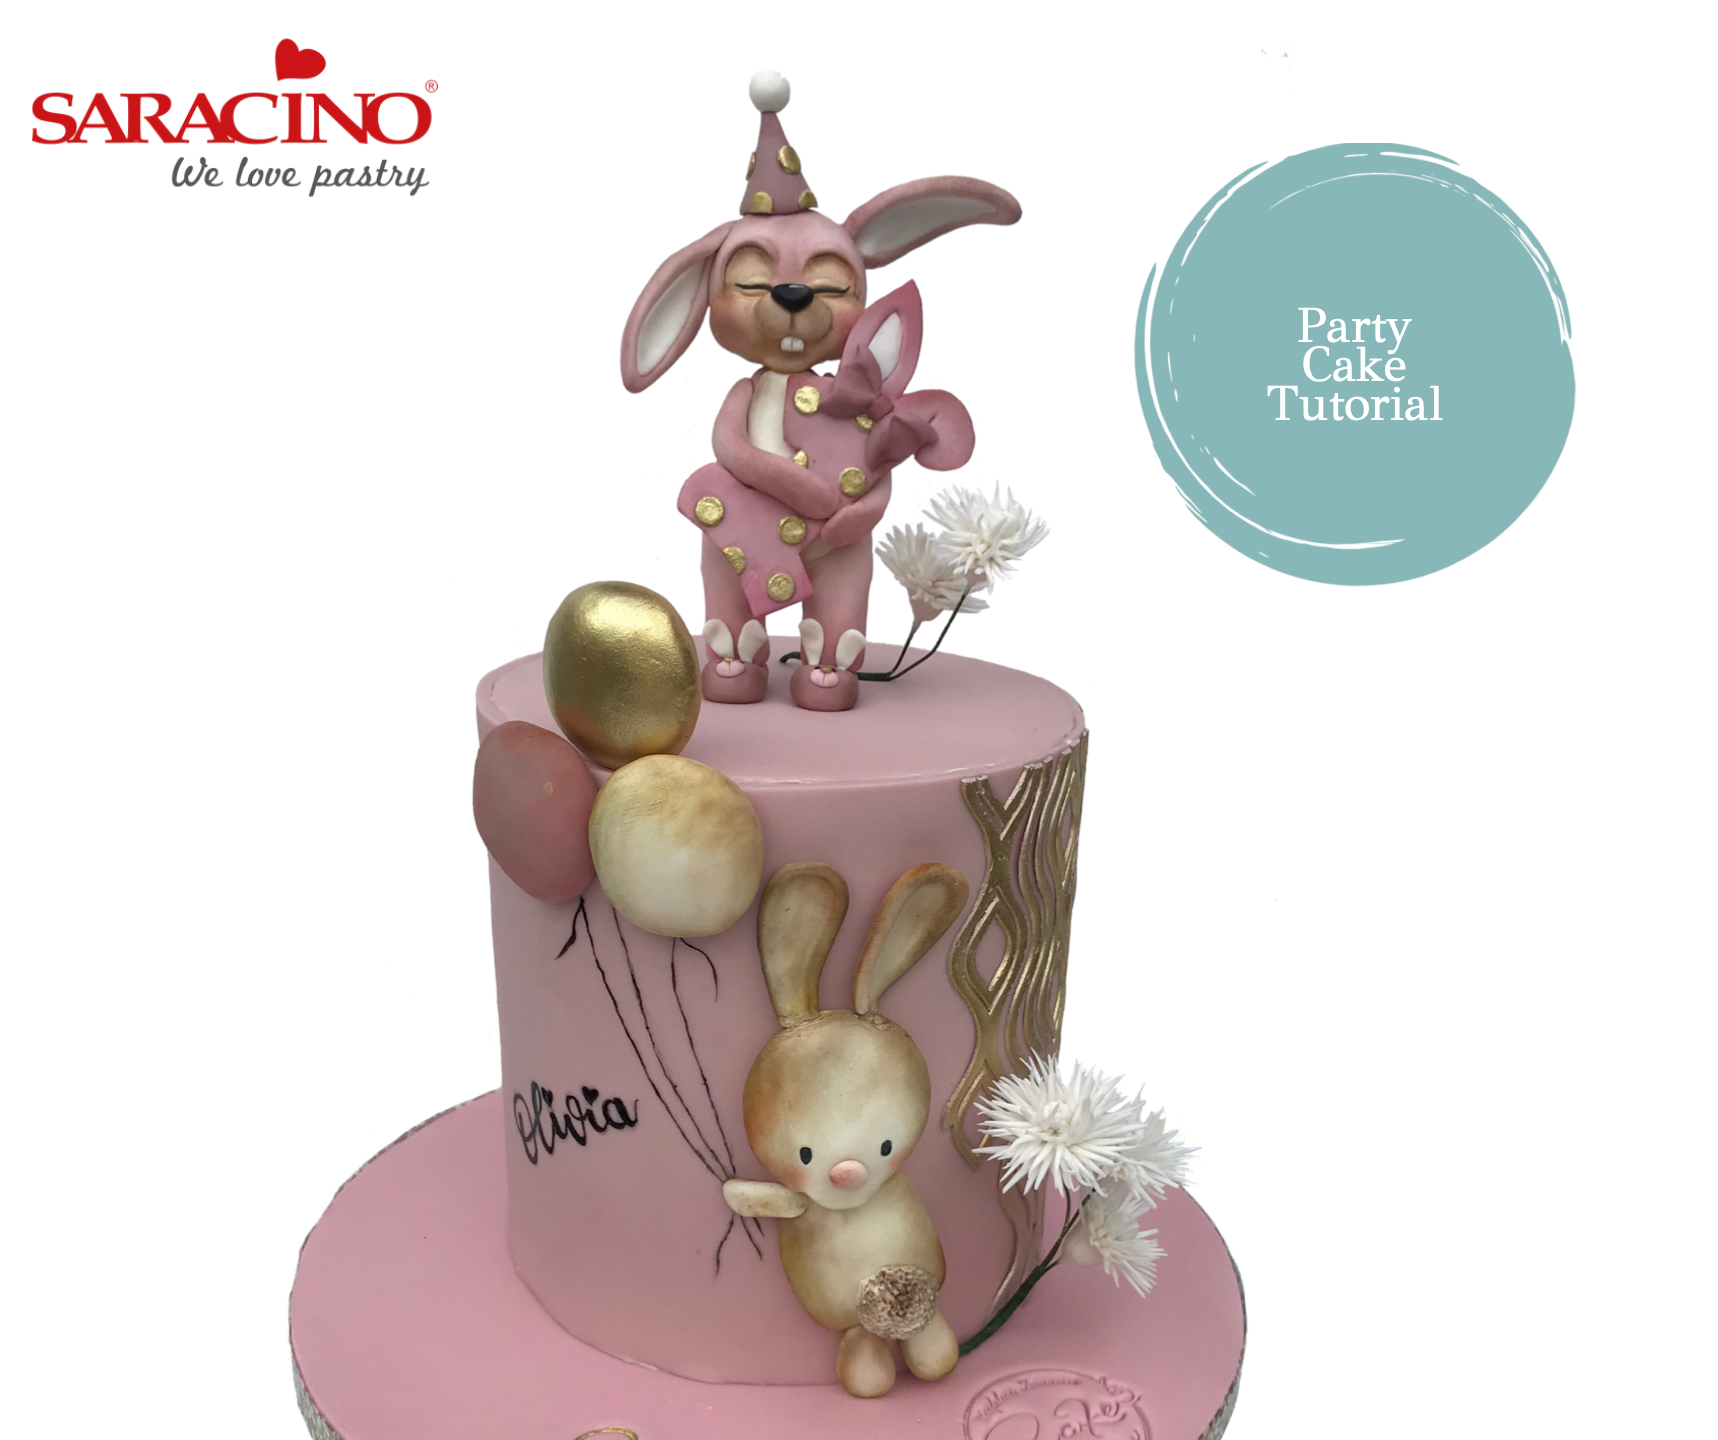
Skill level: BEGINNERS 

Covering cake board and cake:

Add 3 drops of Pink Gel Color and one drop of Brown to Saracino Pasta Top. The colour can be deepened and modified by adding more colour. Cover the Cake Dummy and Cake Board. Add a name if you wish. Attach the Washi Tape around the Cake Drum. Set aside to dry

You will need:

  • Rolling pin
  • Sharp knife
  • Dresden tool
  • Small, medium and large ball tool
  • Number 12 Piping Tip
  • Skewers and wooden toothpick
  • Green Floral Wire – 22 gauge
  • Green Floral Tape
  • Soft brushes
  • Small paint brush
  • Cake lace mould (I used Marvelous mould)
  • Mini bows silicone mould
  • Number 1 Cookie Cutter
  • Edible glue
  • 6 inch Cake Dummy
  • 10 inch Cake Drum
  • Gold Washi Tape
  • White, black and skin tone Saracino Modelling Paste
  • Saracino Pasta Bouquet
  • Saracino White Pasta Top
  • Saracino Sweet Lace Pearl
  • Saracino Powder Colour (white, skin tone, rose pink, brown and light gold)
  • Saracino Gel Colour – Black, Brown and Pink
 

Step 1

Prepare the paste: To the white Modelling Paste, add a small amount of the pink gel colour and a little brown colour (this way you will get Dusty pink). You will also need Skin tone, black and white paste.

For the head knead a ball and roll it with your hand.

For the eyes:

  • Using the tool with a small ball, form a half-circle for the eye sockets.
  • Using the cutter, cut out small circles from the skin tone and cut off the bottom with a knife to give a flat edge.
  • Place into the sockets of the eyes
  • Using your fingers roll two thin sausage shapes with one pointed end and fix them over the eyes, then shape and blend them with the Dresden tool to form the eye lids.

Step 2

To create the face:

  • Using skin tone paste roll a long flat sausage shape for the cheeks and mouth area.
  • Using a tool with a large ball, make a dent for the mouth
  • Fix to the face and shape / blend it
  • Shape the nose pieces and teeth, fix them to the mouth and make a line below the nose
  • Prepare the details for the eyes and eyelashes. Fix oval eyes where shown, make a line on them with the Dresden tool and fix the black line eyelashes into the line.

Step 3

To create the ears, arms, tail and body:

  • Use dusty pink to form the ears of the rabbit. For the arms roll the dusty pink colour into a long sausage shape. Cut diagonally into two equal parts. Roll a ball for the tail.
  • Using a medium ball tool, shape the ears. Fill them with white paste.
  • For the body form a large ball, roll it into a cone shape and flatten at the end. At the large bottom of the cone, make a dent in the centre with your finger and form the legs.
  • Using white paste cut out a circle for the tummy
  • Using the cocktail sticks as a tool, add texture to the tail.

Step 4

Connect the head to the body using a cocktail stick, fix the ears to the required position, fix the white part of the tummy and the tail.

Step 5

To create details:

  • Prepare the slippers and a hat using the shapes shown in the pictures.
  • Using Saracino Pasta Bouquet, cut a one shape (you can use a cutter for this) and decorate it. Your bow can be formed in a bow mould ti the required size.
  • Attach the bunny slippers and hat. Using a soft brush and powder colours add shade (I used brown and pink)
  • Fix the rabbit’s arms and fix the number one in them. Put on the cake!

Step 6

FOR THE SIDE BUNNY DECORATION:  Prepare the paste: Add a small amount of Skin tone to the white Modelling Paste. You will also need Black paste and a small amount of pink for the nose

For the head: 

  • Form a ball and shape it with your hands.
  • Using the Dresden Tool, make an incision in the centre of the lower part of the head for the mouth, then on the sides to shape the rabbit’s face.
  • Gently pull out the mouth and shape / blend the sides

Step 7

Eyes and nose:

  • Using a small metal ball tool, form oblong indentations for the eye sockets
  • Prepare black eyes and a pink nose from paste
  • Fix the eyes and nose to the bunny’s face

Step 8

For the body:

  • Form a cone shape and round it at the top, then smooth it with your hand.

  • For the tail roll a ball. Add texture using the cocktail sticks.

  • Attach the head to the body and fix the tail

  • Prepare the rabbit’s ears, hands and feet as shown

  • Make a dent in the ears using a medium-sized ball tool

Step 9

Fix the hands and feet. Using a soft brush and powder colours, shade the rabbit (I used brown, skin tone and pink). Use edible glue to attach the rabbit to the cake.

Step 10

Sugar Flowers: 

  • Using Pasta Bouquet roll out thinly.
  • Using Pasta Bouquet fix a small ball to the end of a flower wire. Using your Dresden tool make lines on the ball and set aside to dry.
  • Cut two strips 13cm long
  • Use a knife to cut out narrow triangles in each strip
  • Cut strips and fix around the flower centre.
  • Allow to dry completely, then wrap the wire with floral tape and place on the cake. If inserting into the cake you will need a flower pick.

Step 11

Balloons:

  • Roll a Dusty pink ball and two Skin tone balls
  • Flatten using your hand
  • For two balloons – Dusty pink and Skin tone, dust with Saracino Powder Colour (Pink and Brown)
  • Paint the final balloon gold with Saracino Light Gold Powder mixed with alcohol. Using edible glue, fix the balloons to the cake.

Pattern:

  • Add drops of pink and brown colours to the Saracino Sweet Lace Pearl. Mix. 
  • Place in the mould. You can use any Cake Lace mould (I used Marvelous mould)
  • Let it dry completely. Due to the deep pattern my lace took 36 hours to dry completely.
  • When the lace is dry, paint some parts gold and leave the rest in the Dusty pink colour
  • Using edible glue, fix the lace on the cake

Painting the name and the balloon string:

  • Use a pencil to make an inscription and add a string of balloons on the cake
  • Using the Small paint brush, black gel dye mixed with clear alcohol, paint over the pencil details.

Voila your cake is ready!

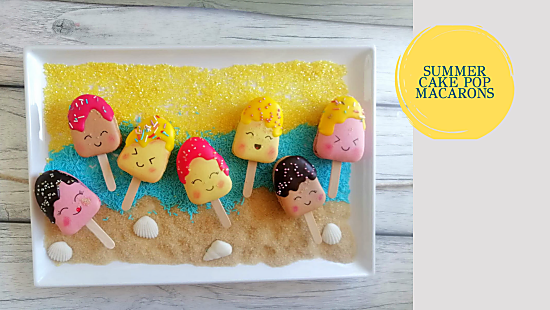
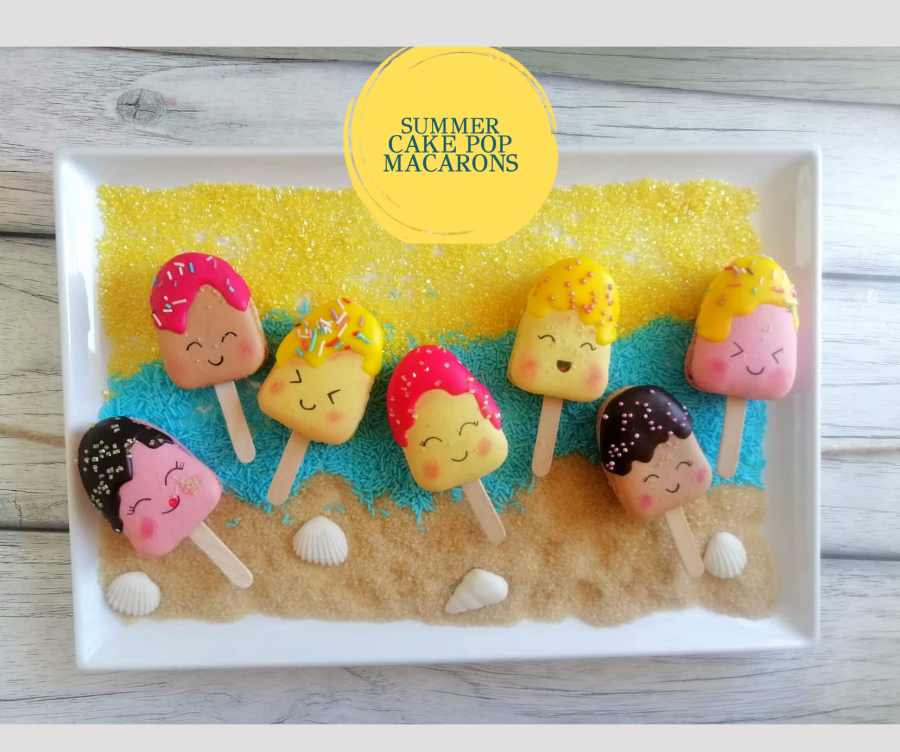
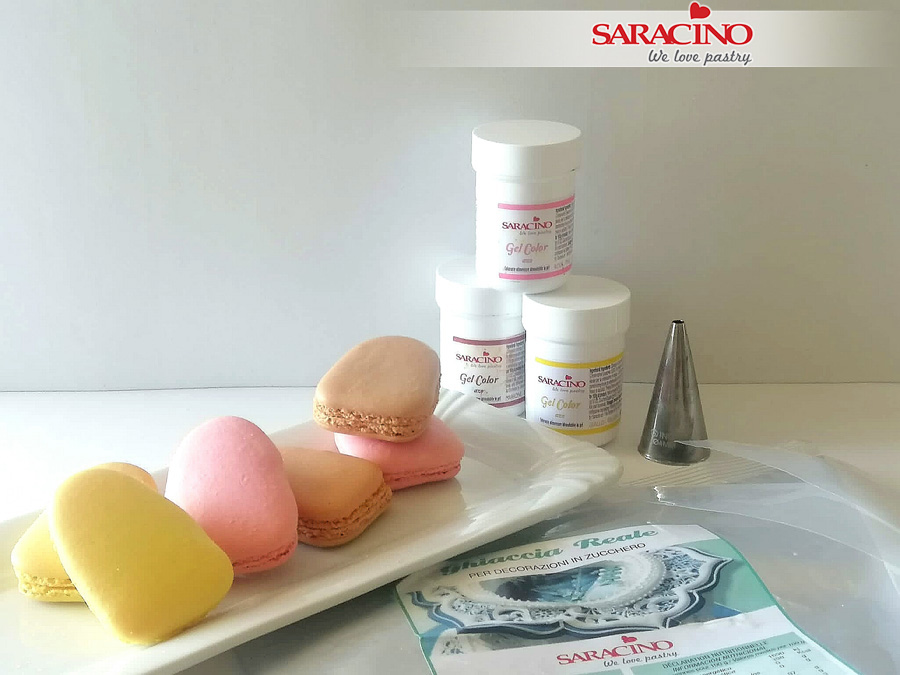
SUMMER CAKE POPS MACARONS

SUMMER CAKE POPS MACARONS

Skill level: BEGINNERS 

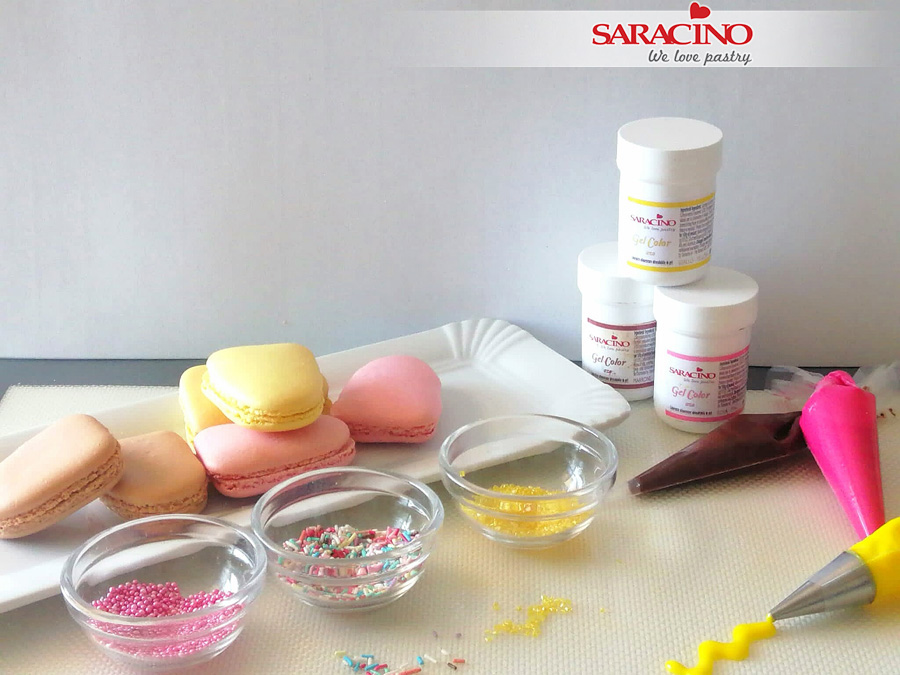
You will need:

  • Saracino pink powder colour
  • Saracino Supreme food flavourings: strawberry and vanilla 
  • Saracino gel colours: yellow, pink, brown
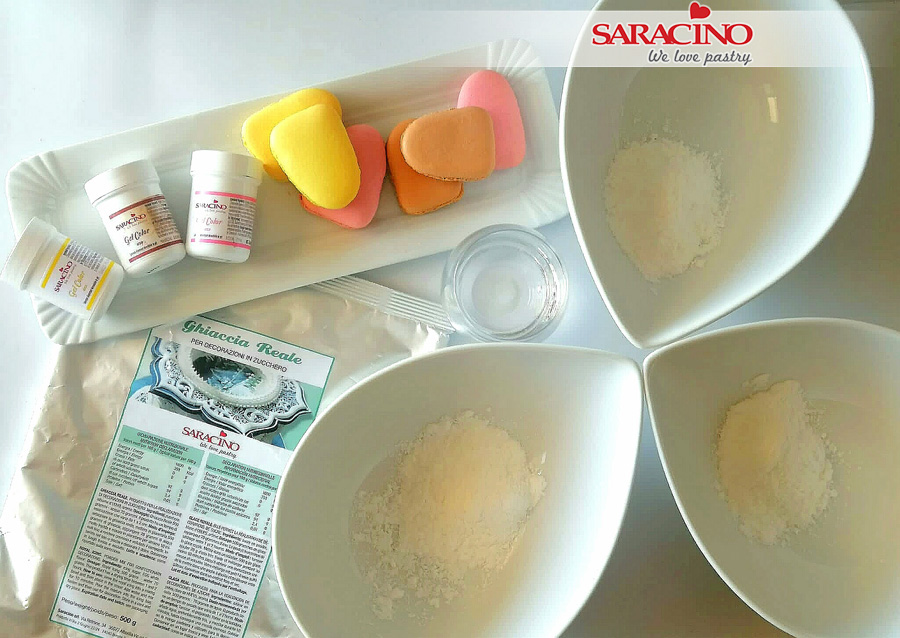
  • Saracino Royal icing
  • Guide sheet or template
  • Piping bags and round nozzles number 4 and 6
  • Sprinkles
  • Brush for blending
  • Black edible food pencil 
  • Lollipop sticks
  • Macaron mixture

TIP: Saracino Almond flour is ideal for perfect macarons.
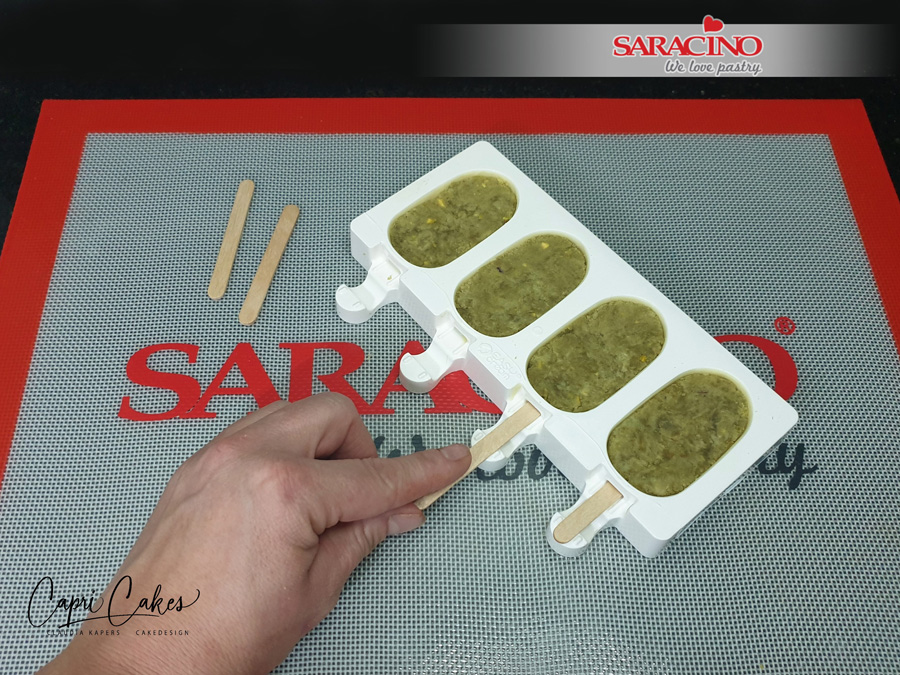
 

Step 1

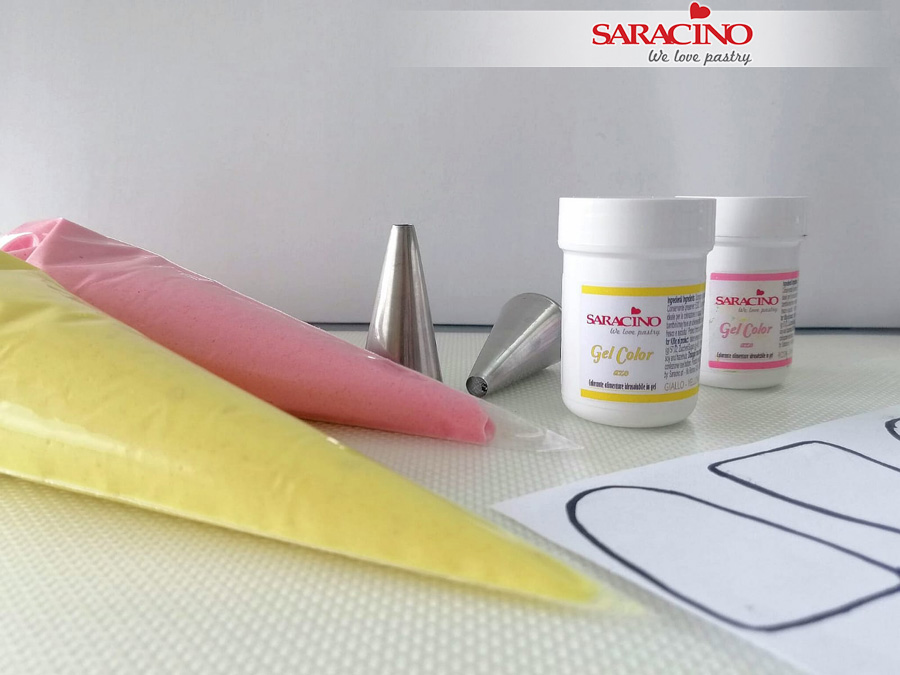
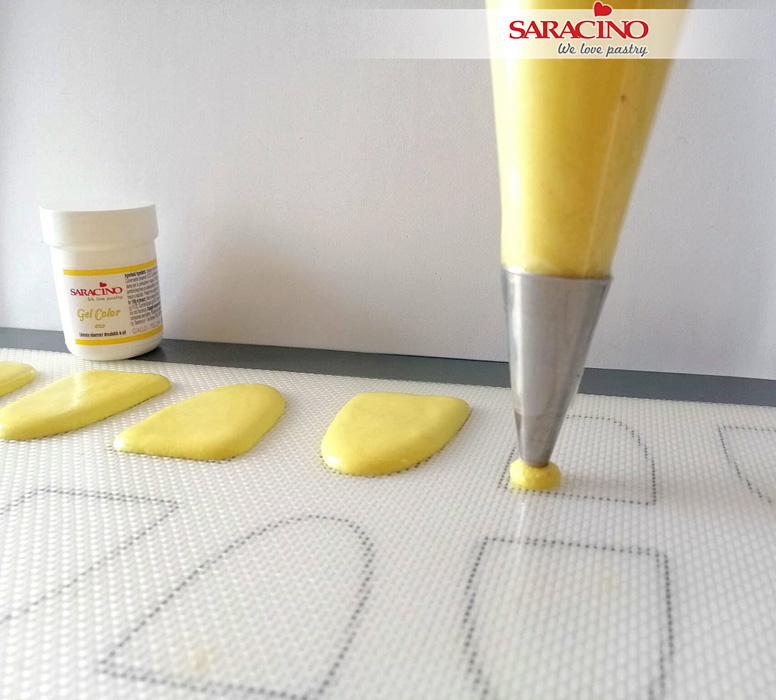
Colour your macaron dough using yellow, brown and pink gel colour. Add to piping bags. Make sure your piping nozzles are in the bags before adding the mixture (I forgot for this picture!) 
Step 2

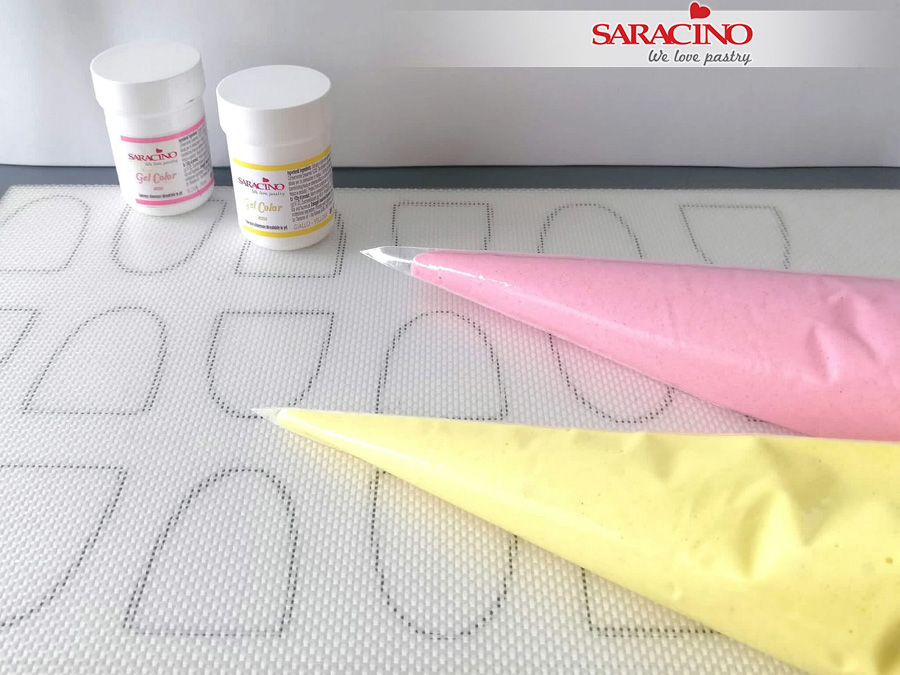
Place the guide sheet under the mat or parchment paper.

Step 3

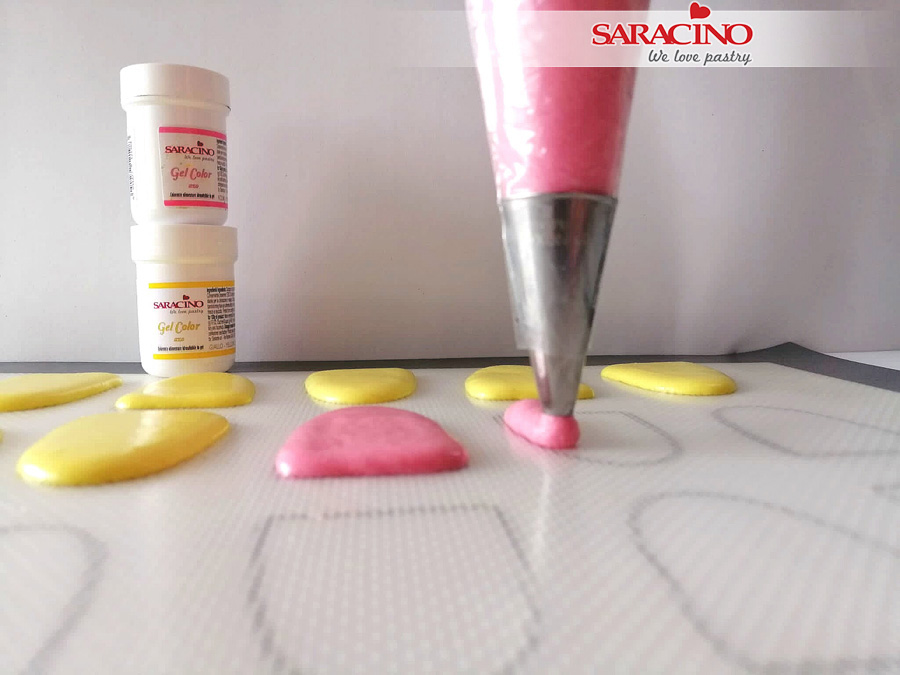
Using a number 6 nozzle pipe mixture to the lines of the template.

Step 4

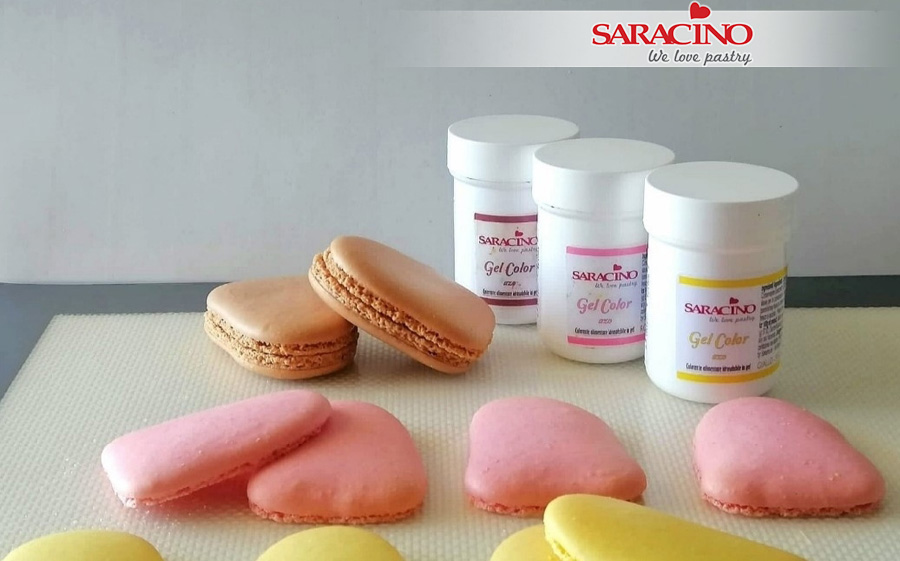
Pipe the remaining colours and bake the macarons.

Step 5

Remove from oven and allow to cool.

Step 6

Prepare piping bags, round nozzle number 4 and Saracino Royal icing.

Step 7

Sift the royal icing into three bowls then add cold water a little at a time  until you get a soft piping consistency (when you stir the icing with a spatula the mixture should fold on itself within ten seconds).

Step 8

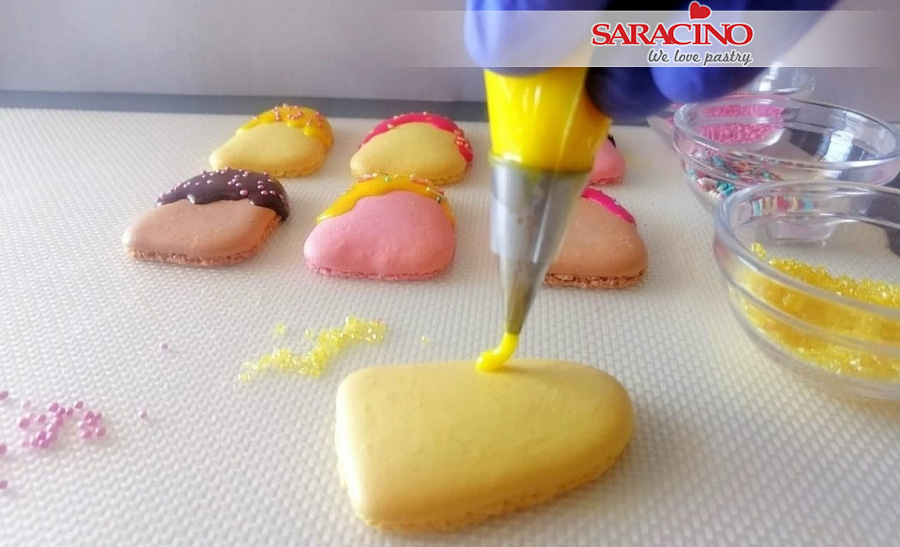
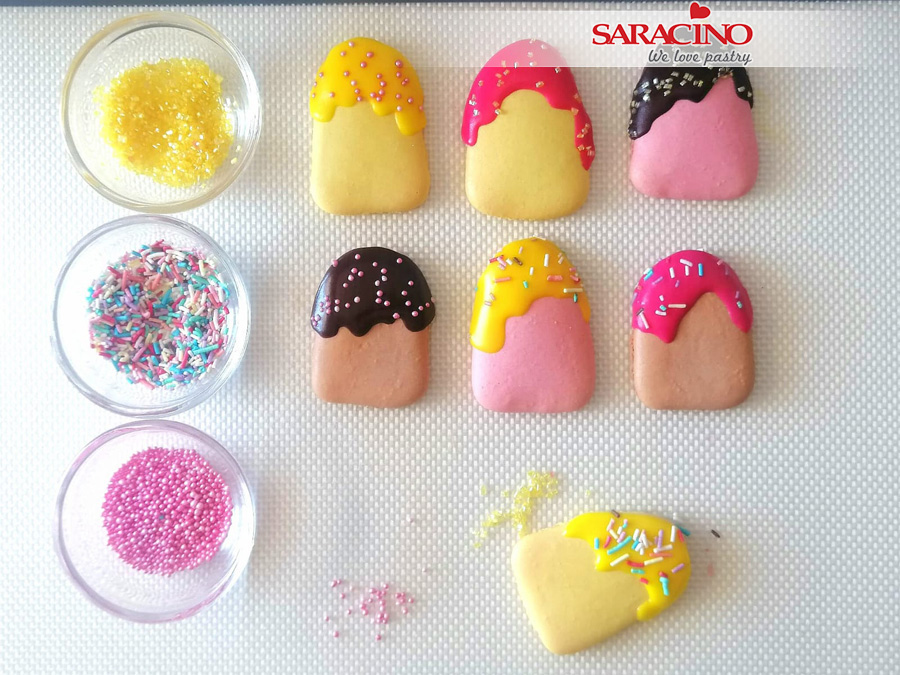
Colour the icing by adding Saracino gel dyes and pour each colour into piping bags with a number 4 nozzle. Prepare three bowls of different sprinkles.

Step 9

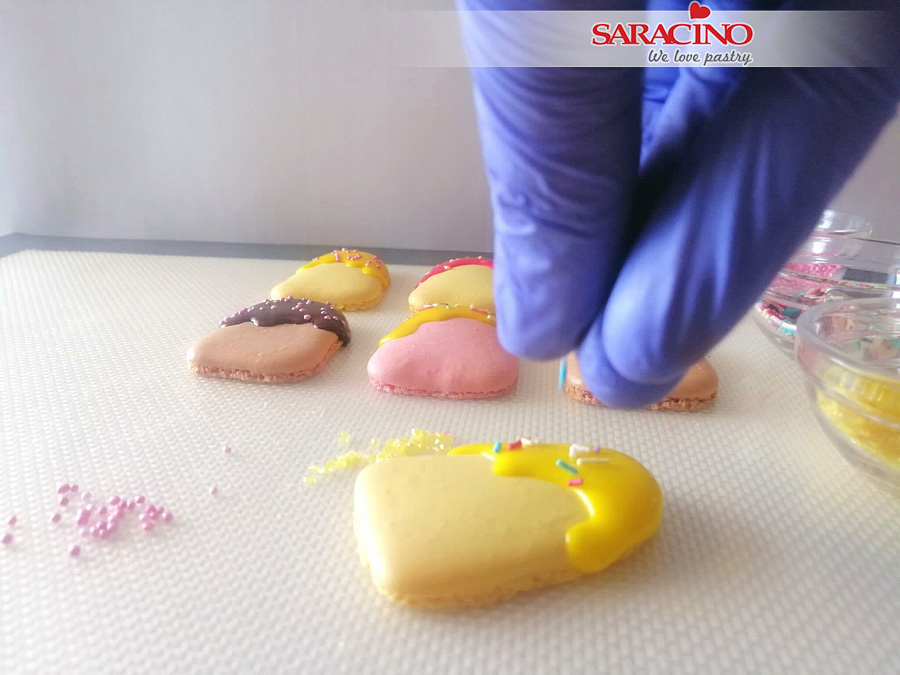
Decorate the front shell of the macarons with icing.

Step 10

Before the icing dries, decorate with sprinkles.

Step 11

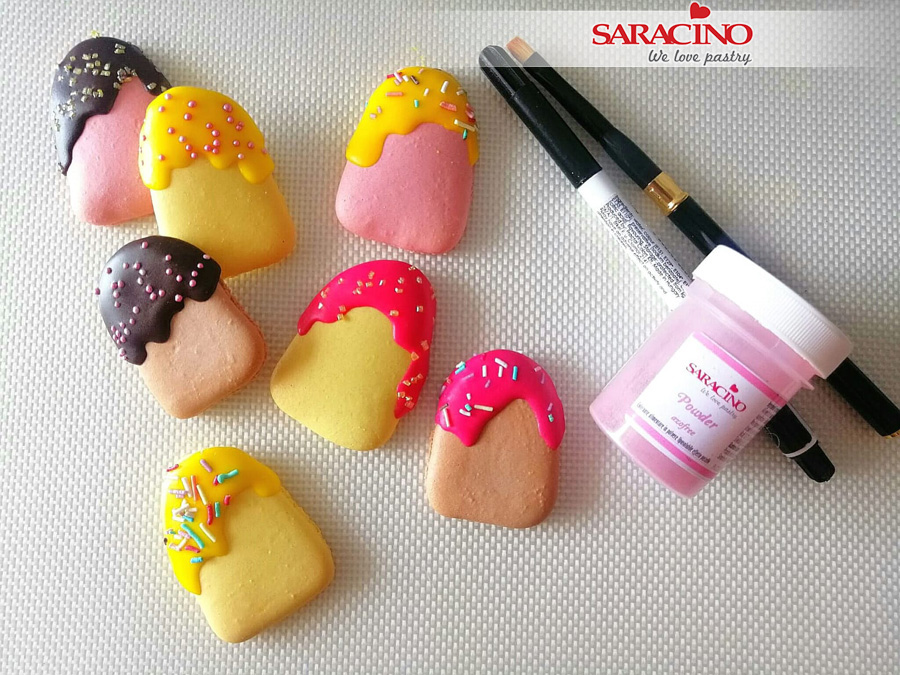
Allow to dry.

Step 12

Prepare your edible black marker pen, brush and pink dust powder.

Step 13

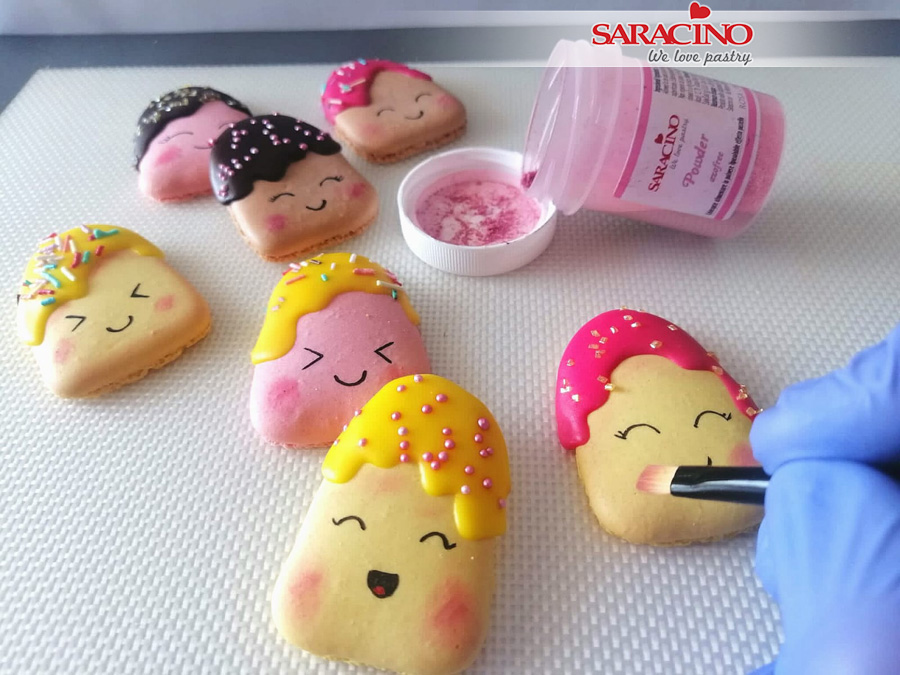
Draw eyes and mouths to give different expressions.

Step 14

Dust the cheeks lightly to give a blush look.

Step 15

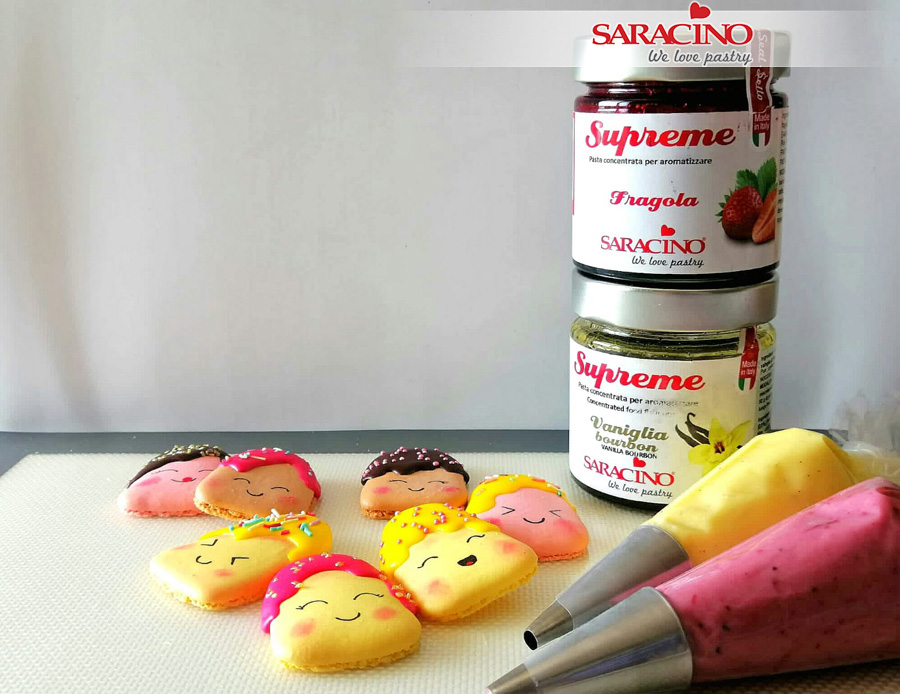
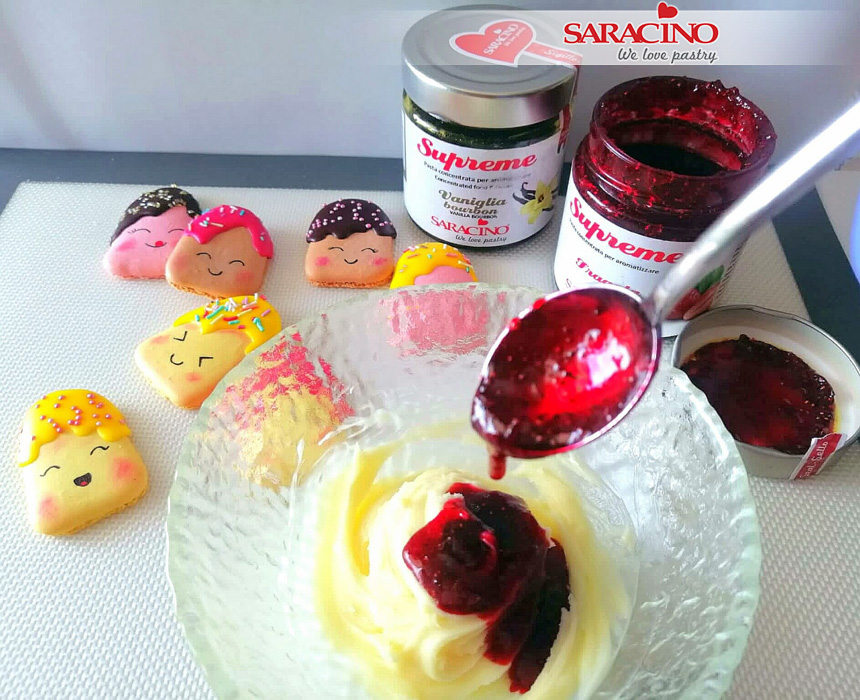
Make a white chocolate ganache and flavour half with Strawberry Supreme and the other half with Vanilla Supreme. 

Step 16

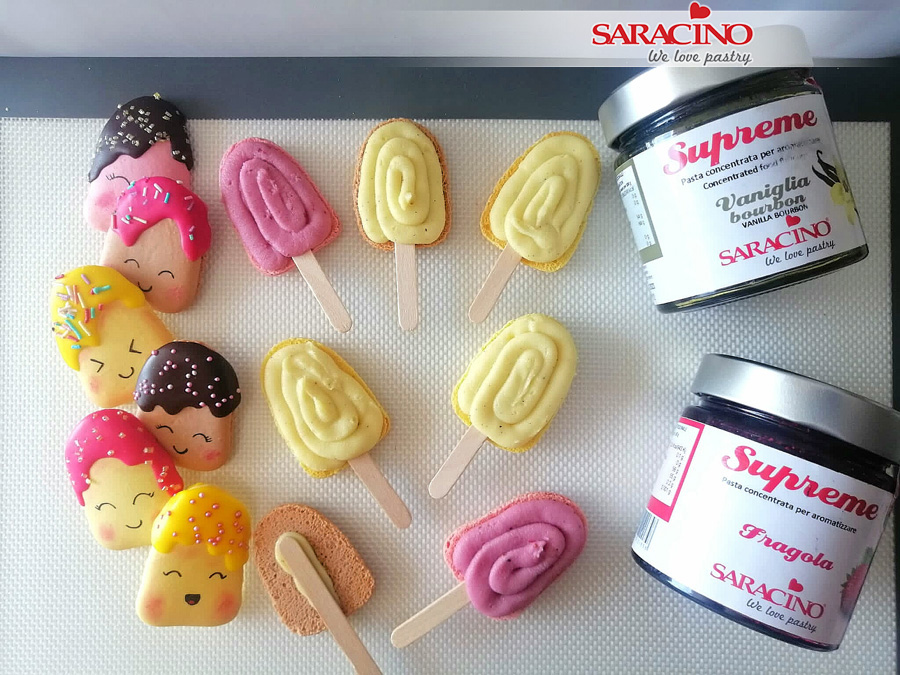
Put your flavoured ganaches into piping bags with a number 6 nozzle. Fix lollipop sticks to the back of the undecorated macarons with a little ganache. Pipe over with a thin layer of ganache for the centre.

Step 17

Place the decorated ‘faces’ onto the layer of ganache to finish each macaron.

Step 18

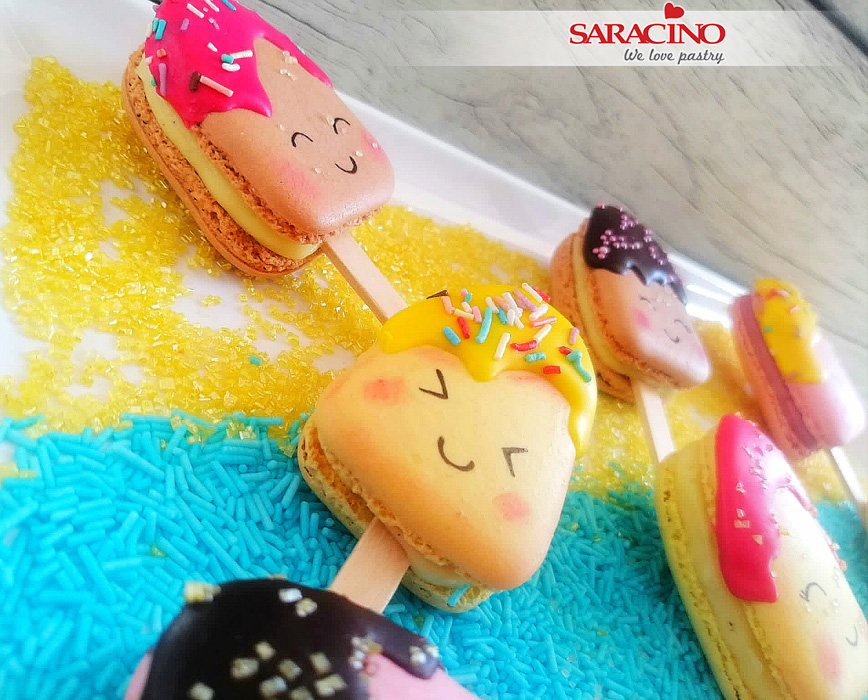
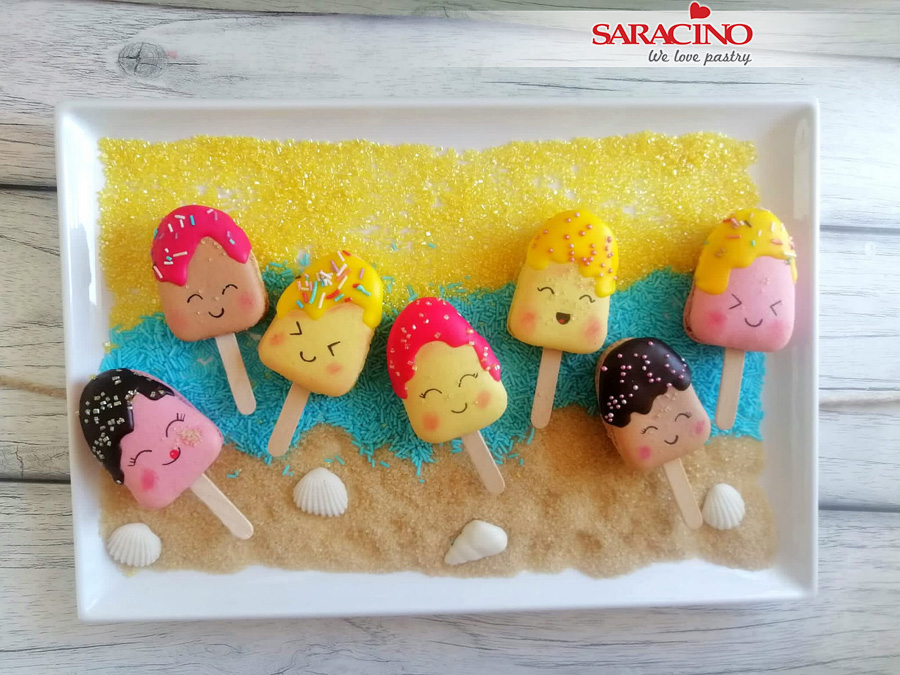
Ready for a sweet summer but delicious any time of the year!

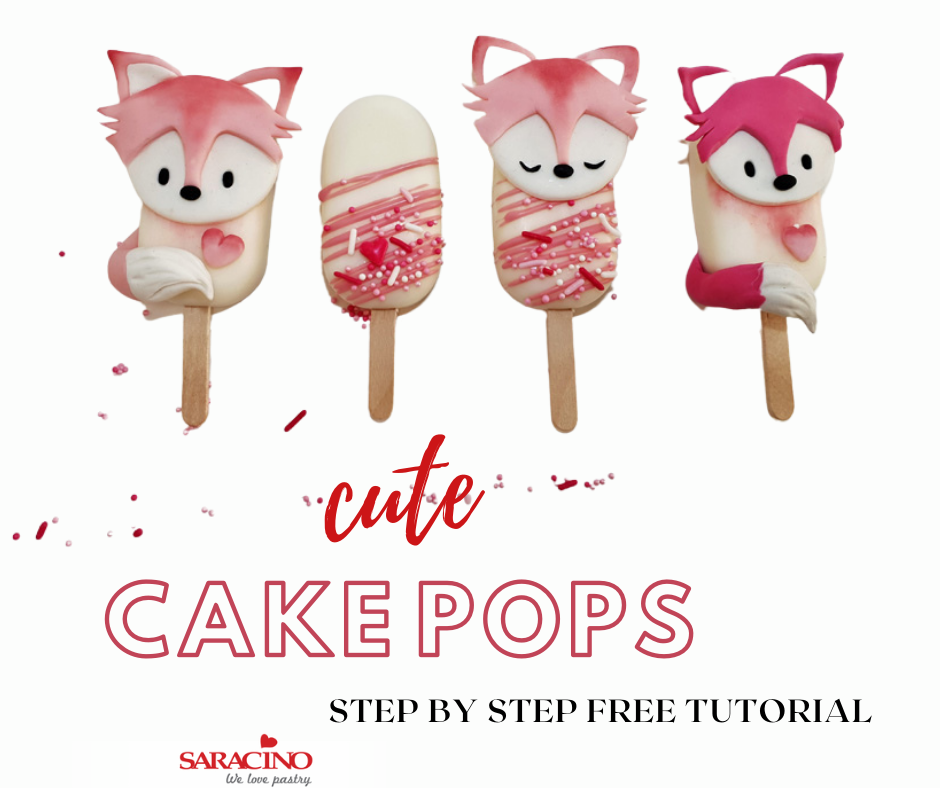
VALENTINE’S CAKE POPS TUTORIAL

VALENTINE’S CAKE POPS TUTORIAL

Skill level: INTERMEDIATE

Chocolate tempering:

White Chocolate:

Heating to 40-45 degrees, cooling to 24-25 degrees, final temperature 27-28 degrees.

Milk chocolate:

Heating to: 40-45 degrees, cooling to 27-28 degrees, final temperature 30-31 degrees.

Dark chocolate:

Heating to: 45-50 degrees, cooling to 28-29 degrees, final temperature 31-32 degrees.

You will need:

INGREDIENTS:

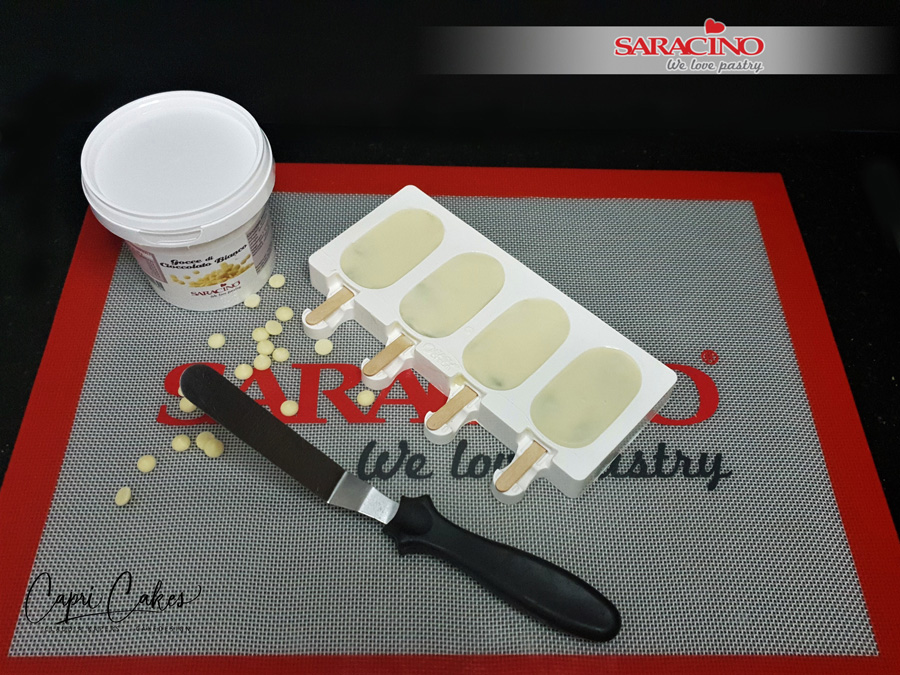
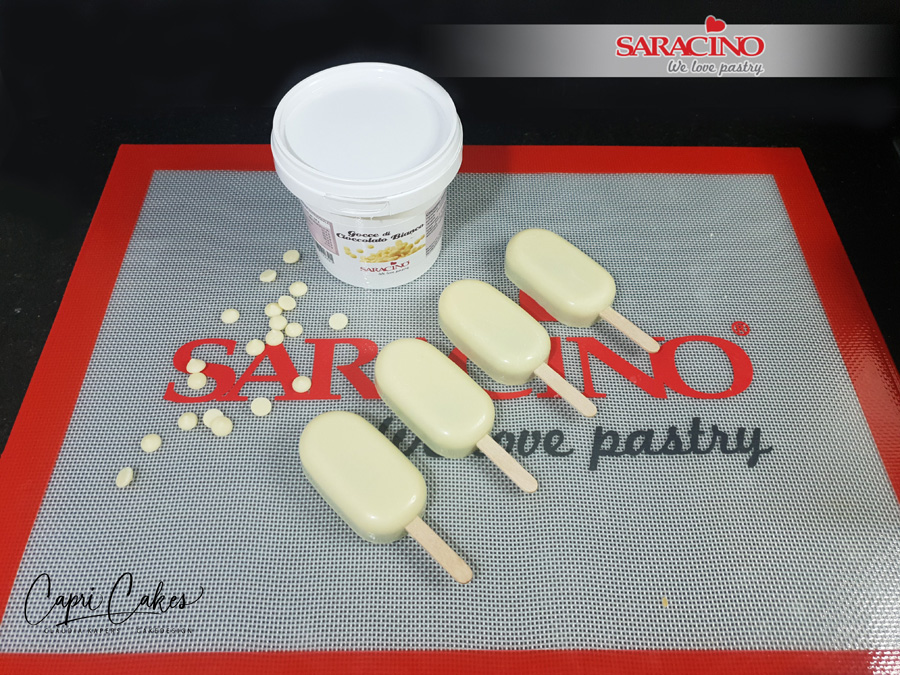
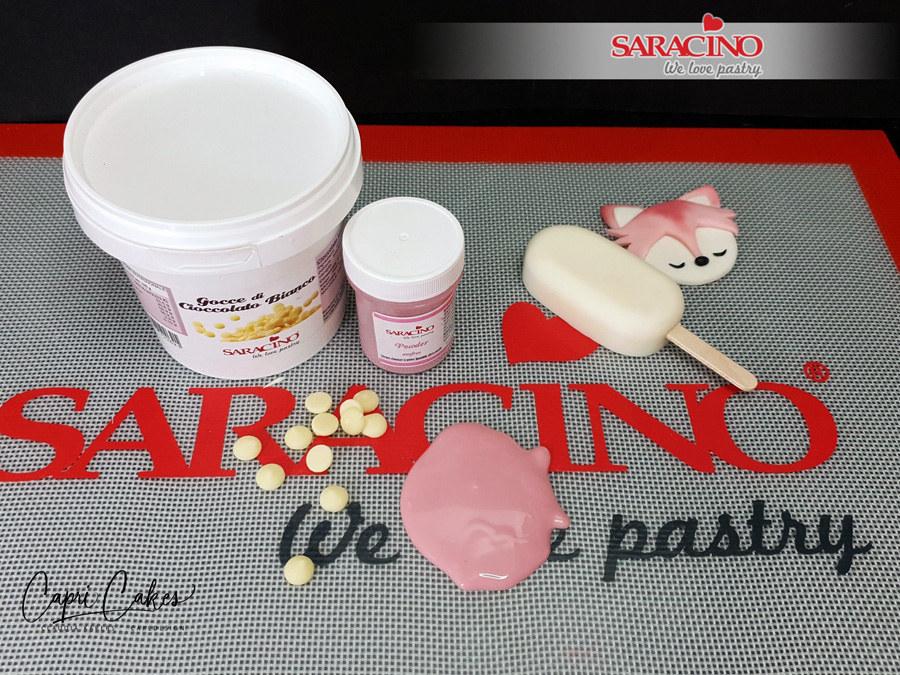
  • Saracino Chocolate drops white 250g
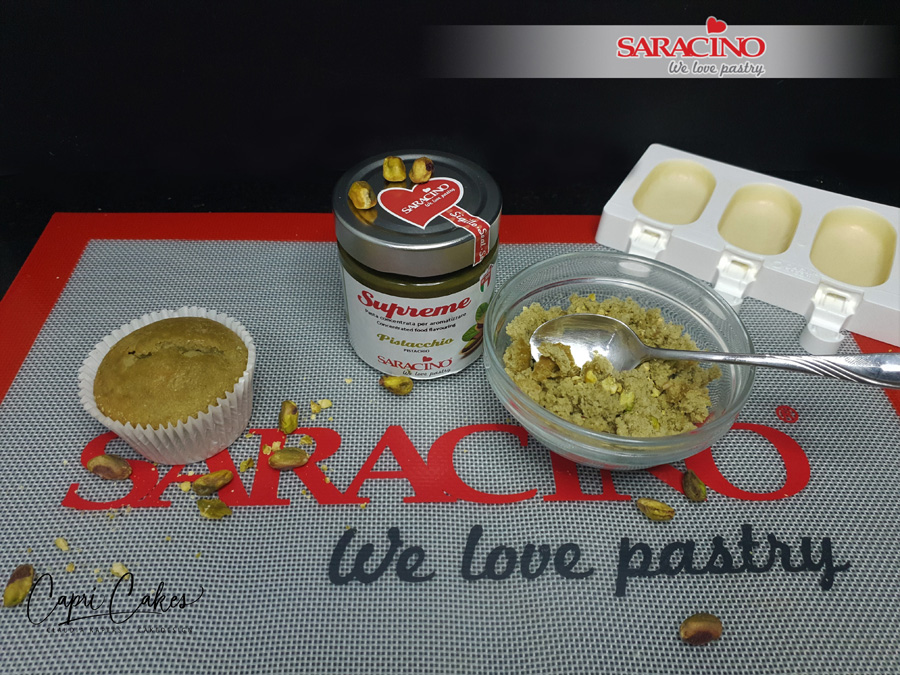
  • Saracino Food Flavouring Pistachio
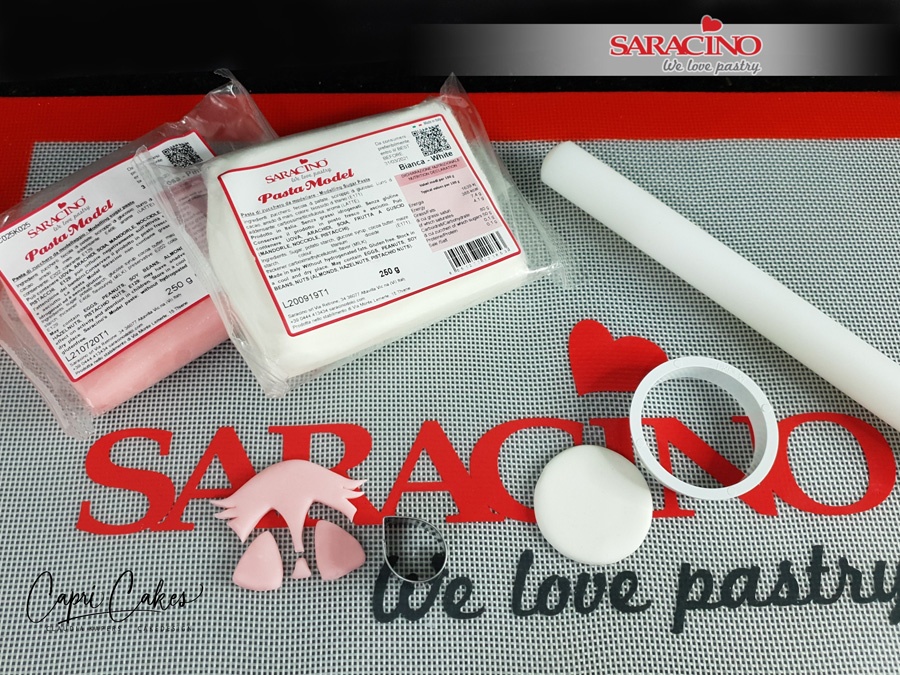
  • Saracino Pasta Model Pink
  • Saracino Pasta Model White
  • Saracino Dust powder Pink
  • Saracino Gel color Pink
  • Saracino Gel color Black
  • Saracino Cakegel
  • Plain cupcake mix, butter and eggs
  • Sprinkles

EQUIPMENT:

  • Silicone popsicle mini ice cream mould (Silikomart)
  • Popsicle sticks
  • Food thermometer
  • Pan with a thick base
  • Heatproof glass bowl
  • Marble or natural stone slab for chocolate tempering 
  • Spoon
  • Pallet knife
  • Brush
  • Pastry bag
  • Rolling pin
  • Dresden tool
  • Knife
  • Ball tool
  • Round cutter diameter 45mm
  • Leaf cutter 20 x 25mm
    •  

Step 1

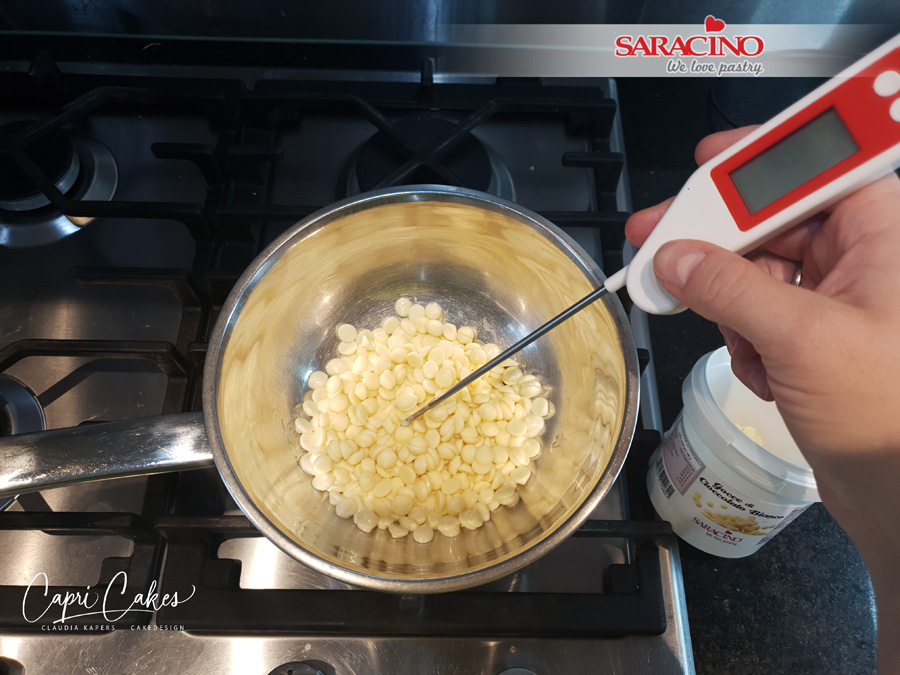
Using the Bain Marie technique melt the Saracino chocolate drops. Make sure everything is melted and has a temperature between 40 and 45 degrees. Check the temperature of the chocolate with a food thermometer. Pay attention! The temperature rises quickly. The bottom of the bowl should not touch the hot water. Make sure that no water gets into the chocolate.

Step 2

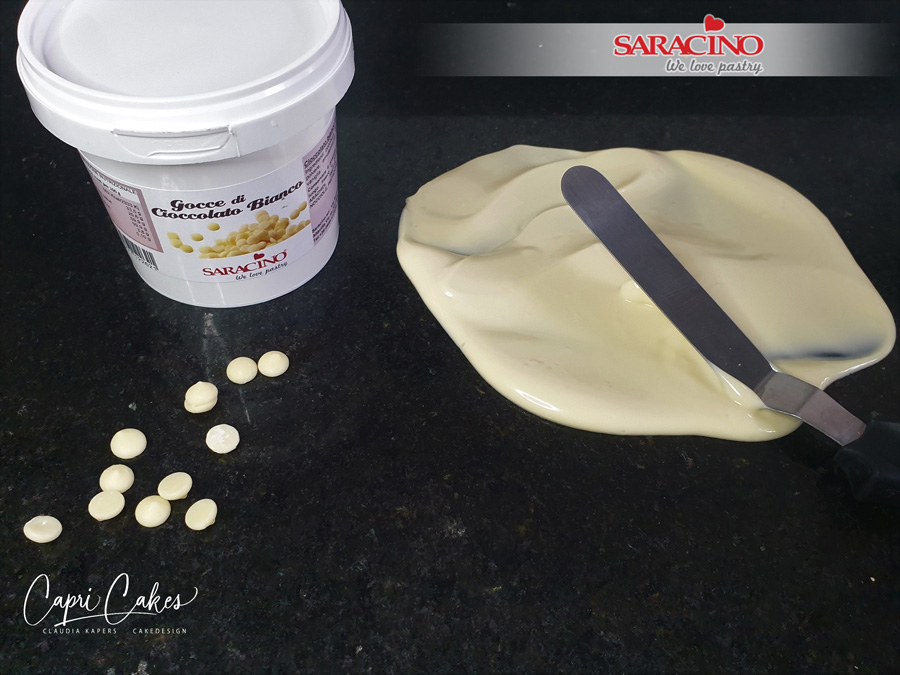
Now temper the melted chocolate. In this case, you are going to reduce the temperature of the melted white chocolate to 24 to 25 degrees. Do this by working with a pallet knife on a marble or natural stone surface. Use a food thermometer to check the temperature. When you have reached the temperature of 24 to 25 degrees, you heat the chocolate again to 27 to 28 degrees back in the bowl over the water. Pay attention! Tablating or tempering is a cooking technique in which melted chocolate is cooled back, so that crystals are formed in a certain way, which gives the chocolate a structure. This structure is obtained by heating the chocolate above 30°C, causing three of the four crystals to melt. Work meticulously with the temperatures for the best end result. This tutorial includes an overview of the temperatures for tempering white, milk and dark chocolate.

Step 3

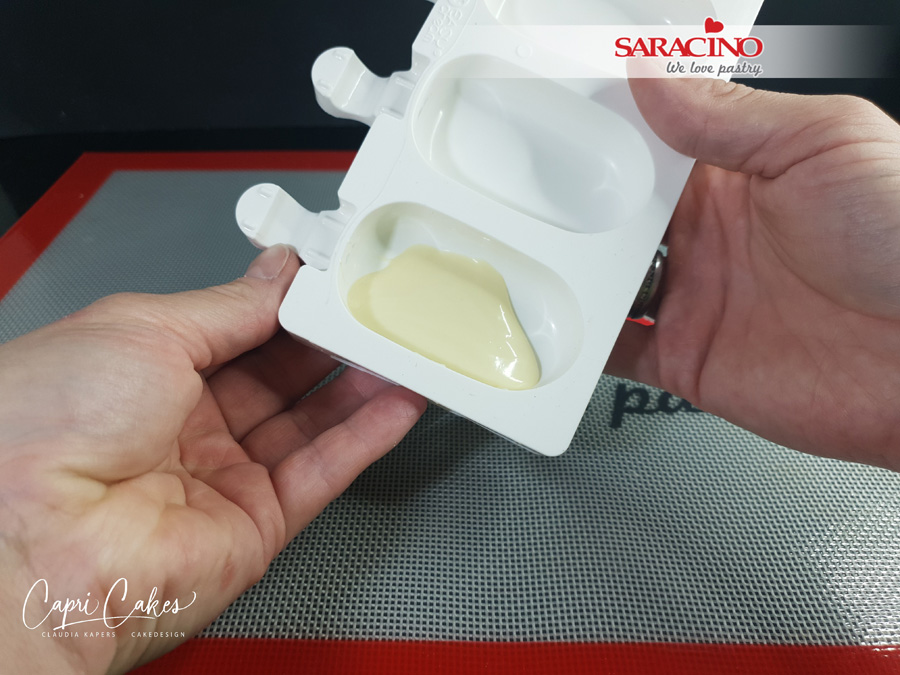
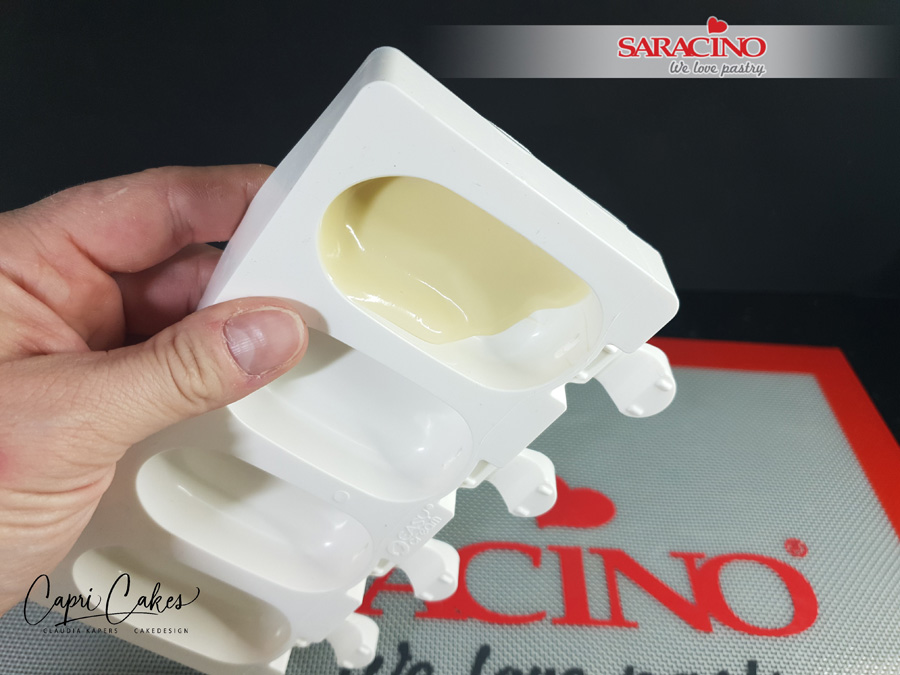
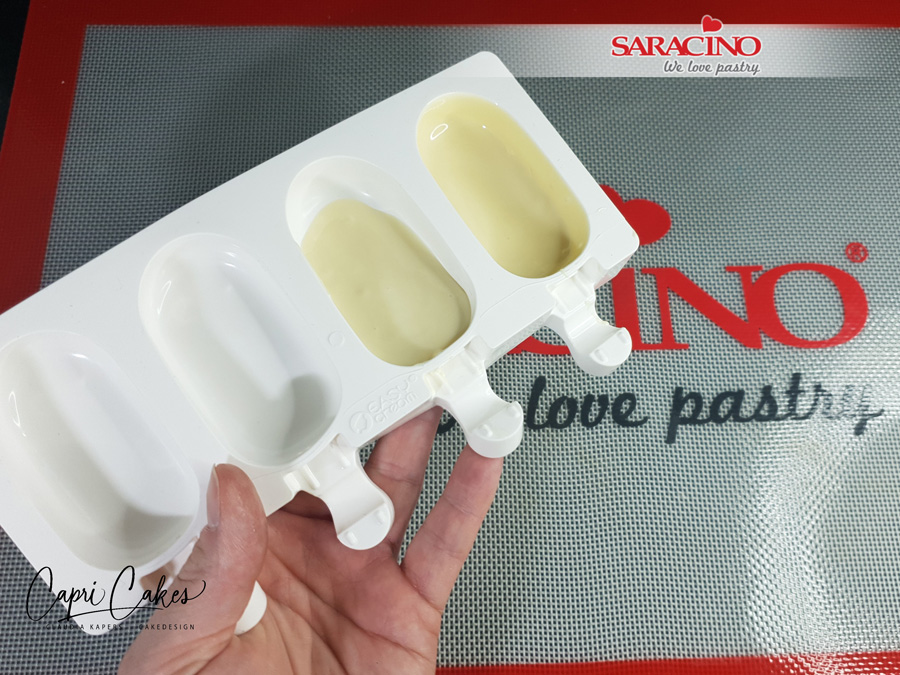
Take your silicone ice pop mould and pour a heaped tablespoon of melted chocolate into it. Turn the mould around in a controlled manner so that the chocolate runs along the edges of the mould.

Step 4

Make sure all sides of the mould are covered with chocolate to the edges.

Step 5

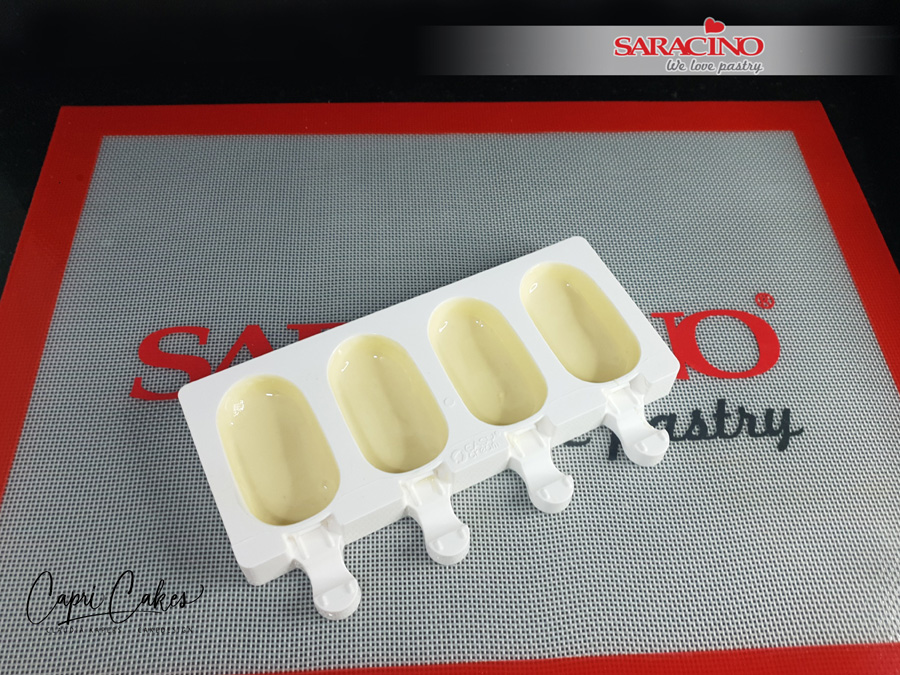
Repeat steps 3 and 4 for each section of the mould. For a nicer end result it is better to fill each part separately with chocolate. If you want the chocolate base to be a bit thicker, repeat steps 3 and 4 again for all 4 ice pop shapes.

Step 6

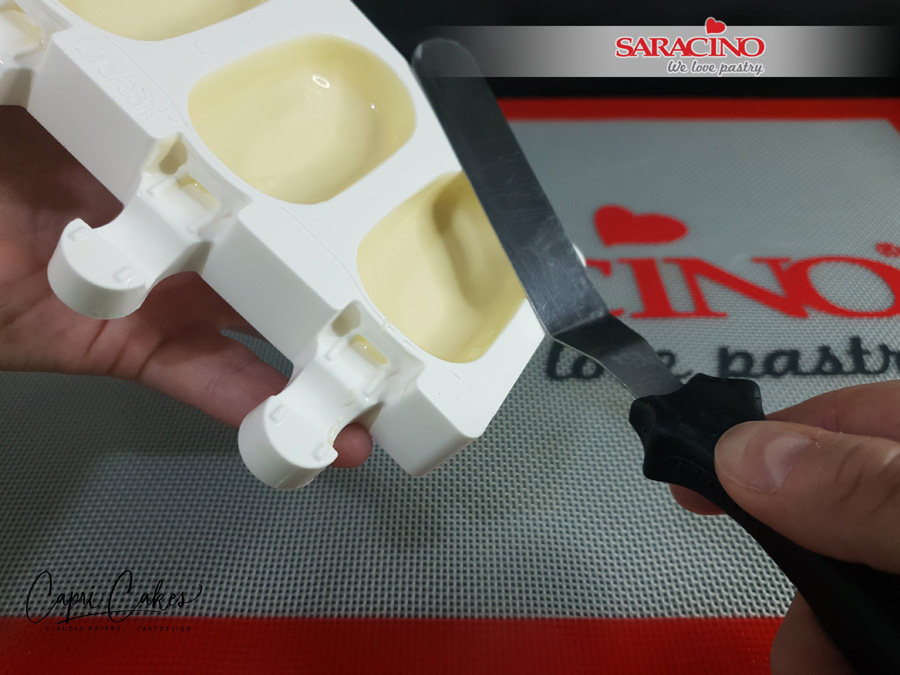
Remove excess chocolate with a pallet knife. Make sure the top edge is nice and smooth.

Step 7

Let the chocolate set in the mould at room temperature.

Step 8

Bake pistachio cupcakes. Make cupcake batter according to the recipe. Add the Saracino pistachio flavouring in proportion to the batter. Bake the cupcakes. Let them cool and crumble 3 cupcakes into a bowl. For 4 cake pop ice creams, take 3 cupcakes made of 35g batter each.

Finely chop pistachio nuts as desired and mix with the crumbs.

Tip: You can play with the flavours. Saracino have 15 to choose from!

Step 9

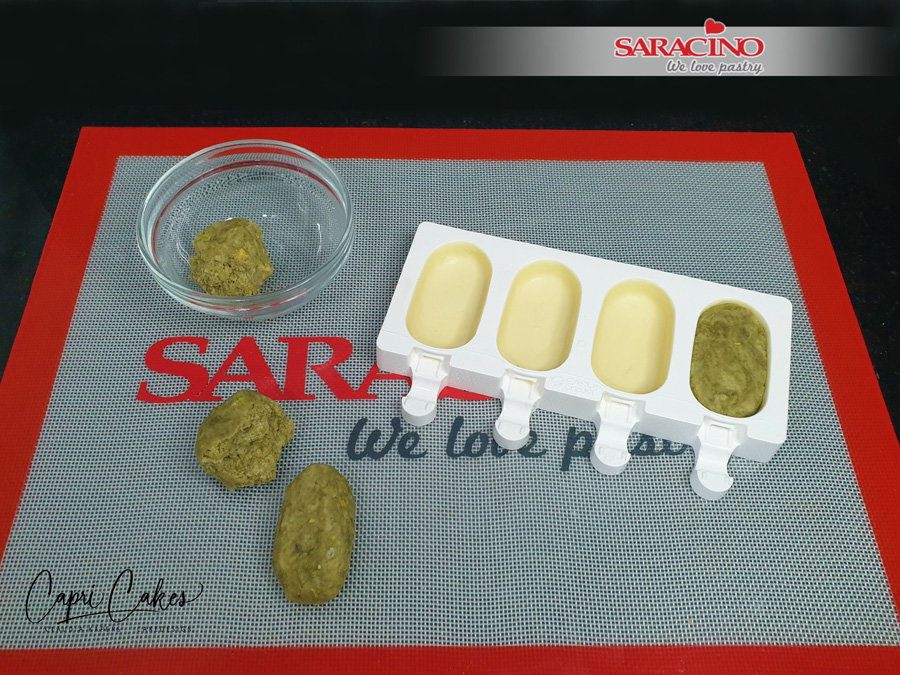
To achieve a nice workable filling, add 1 tablespoon of Italian Meringue Buttercream or white ganache to the pistachio crumbs. Knead everything well together and divide into 4 equal portions.

Step 10

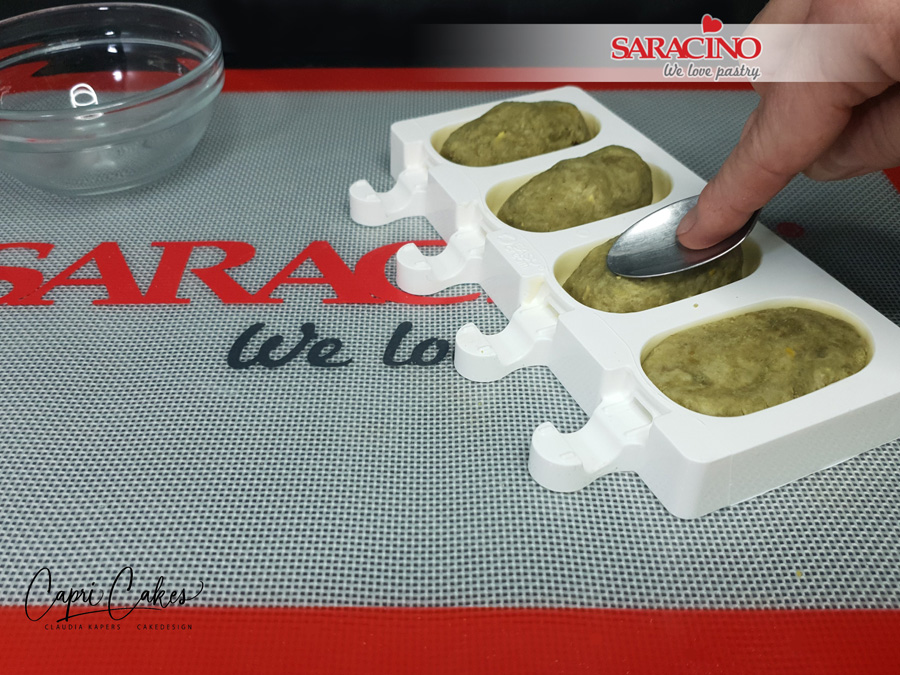
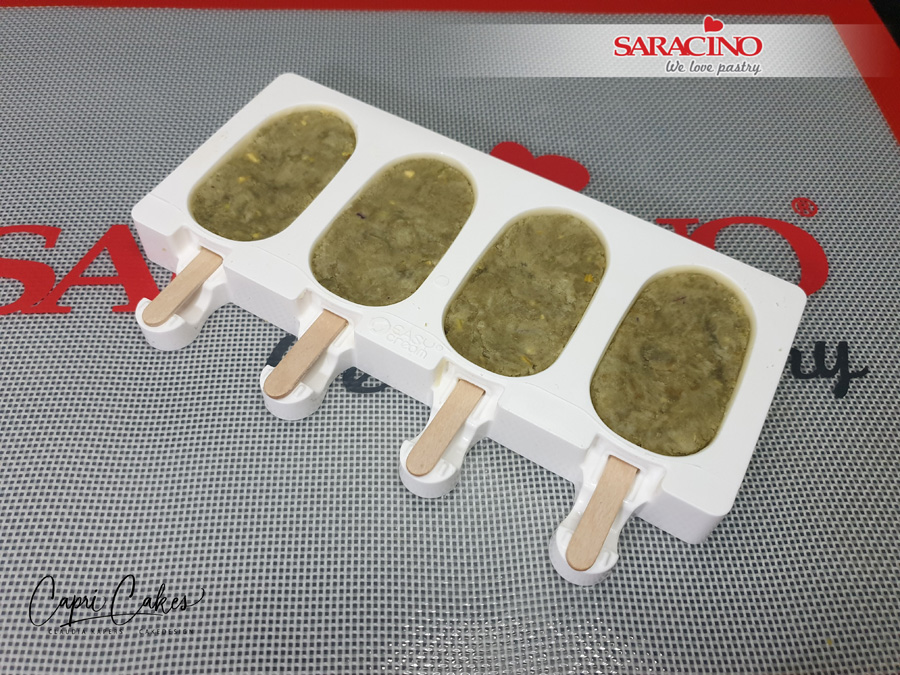
Using a spoon, gently press the cake mixture into the mould.

Step 11

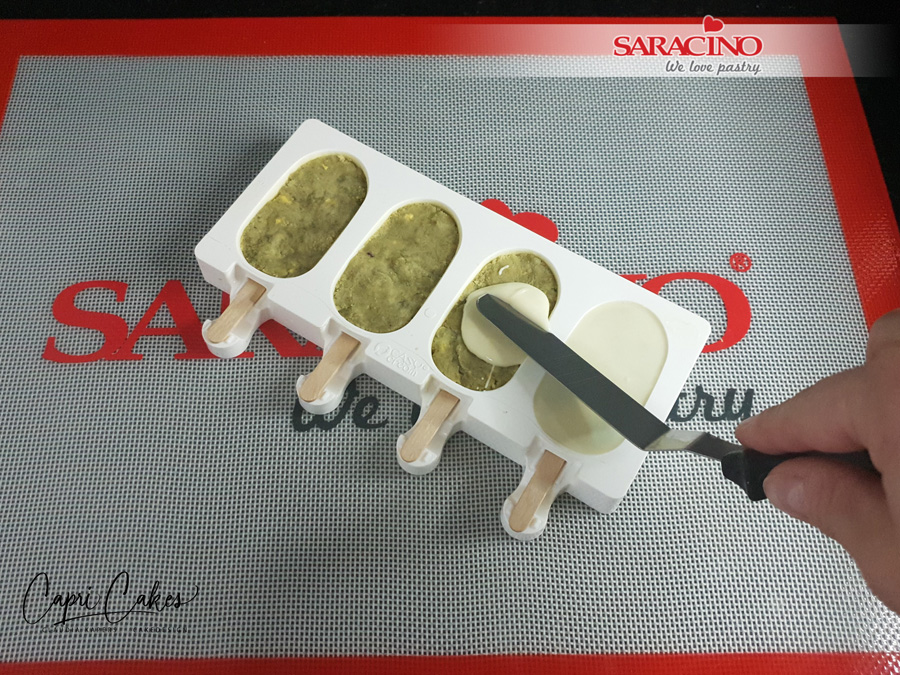
Carefully slide the sticks into the cake pop through the hole in the mould.

Step 12

Make sure the cake is not above the top surface of the mould and that the top of the cake pop is as smooth as possible.

Step 13

Temper a small amount of white chocolate and cover the top. Smooth with a palette knife and remove any excess chocolate.

Step 14

Let the chocolate set at room temperature.

Step 15

When everything is set, remove the cake pop ice creams from the silicone mould.

TIP: You can put the mould in the freezer for 5 minutes before removing the cake pops.

Step 16

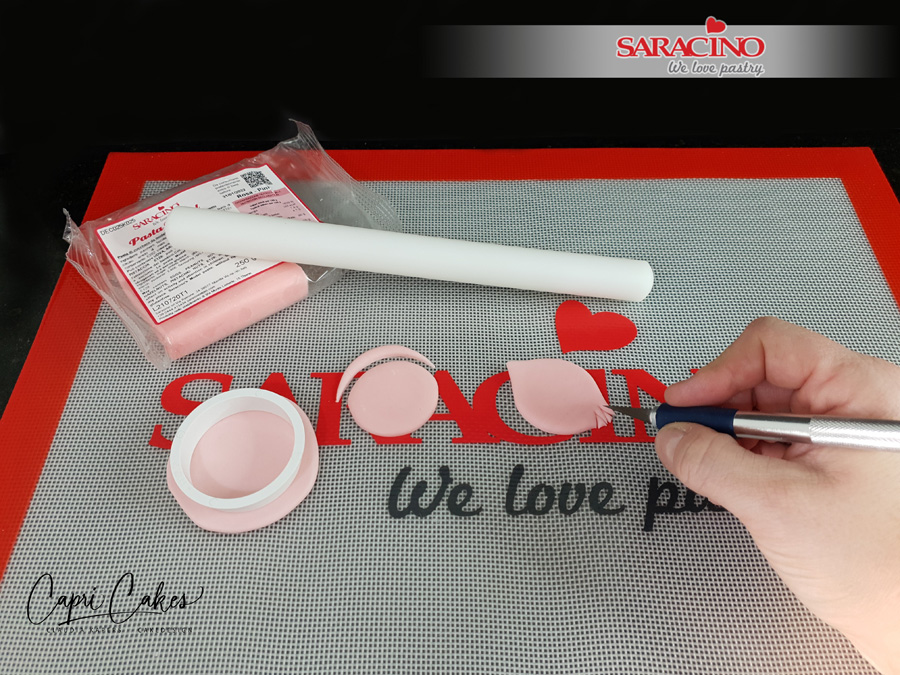
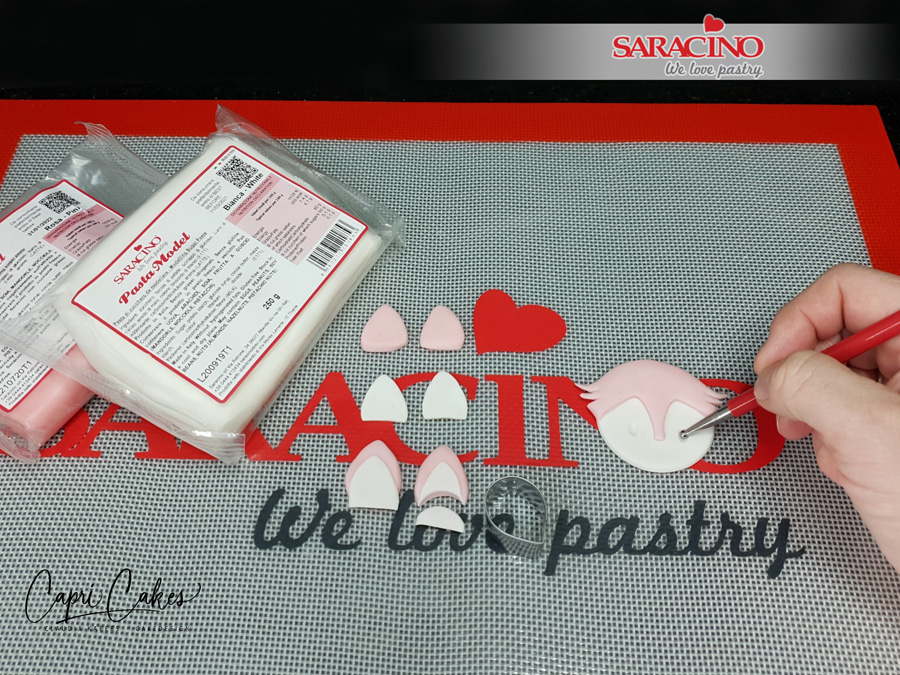
Take a 20 x 25 mm leaf cutter and cut out the shape for the forehead. Use a sharp knife to form the side hair. Keep these cut-out parts. 

Step 17

Shorten the area for the nose by a few millimetres. Take 30g of white Pasta Model. Roll out to 2mm thick and cut out a circle with the cutter and stick the pink part on top with cake gel.

Step 18

Use the pink drop shapes previously cut out to make ears. Roll out a small amount of white Pasta Model thinly and cut out two drop shapes with the leaf cutter. Stick them on the pink part and round off the bottom. Also use the leaf cutter for this. Using your ball tool make two indents in the head where the eyes will be

Step 19

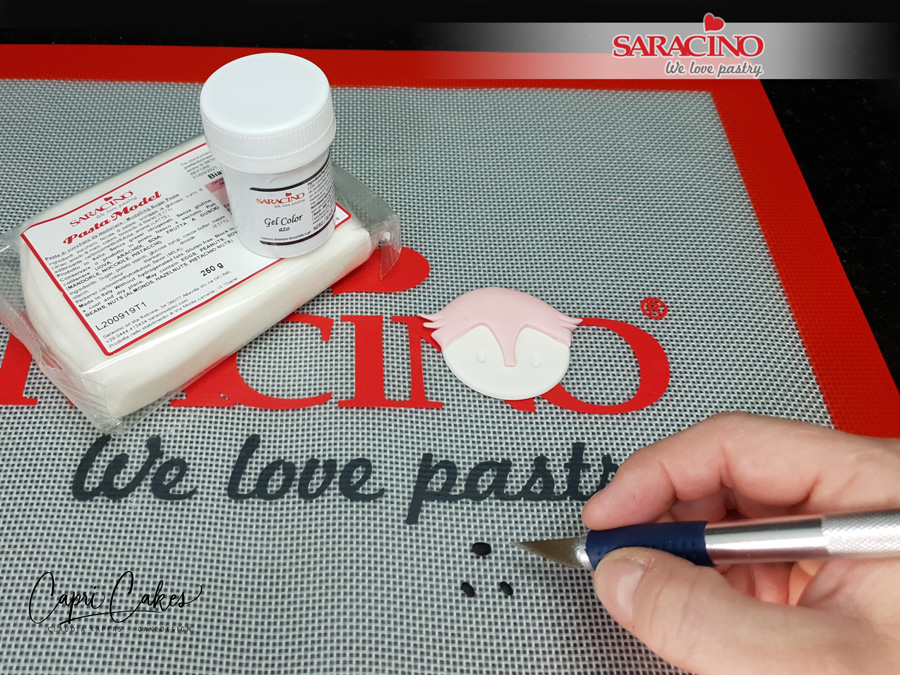
Colour a small amount of white Pasta Model with the black gel colour. Roll two oval balls of 3mm in size for the eyes and one oval ball of 5mm for the nose. Place on the face. Use cake gel to fix.

TIP: You can also use the pre-coloured Pasta Model Black.

Step 20

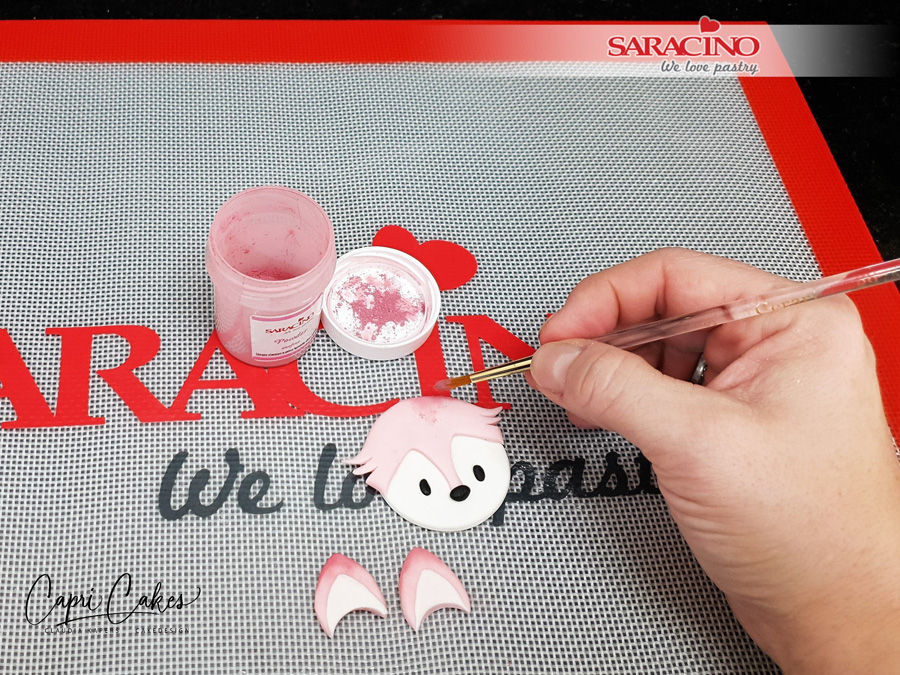
Dust the tips of the ears and the top of the head with the pink dust powder.

Step 21

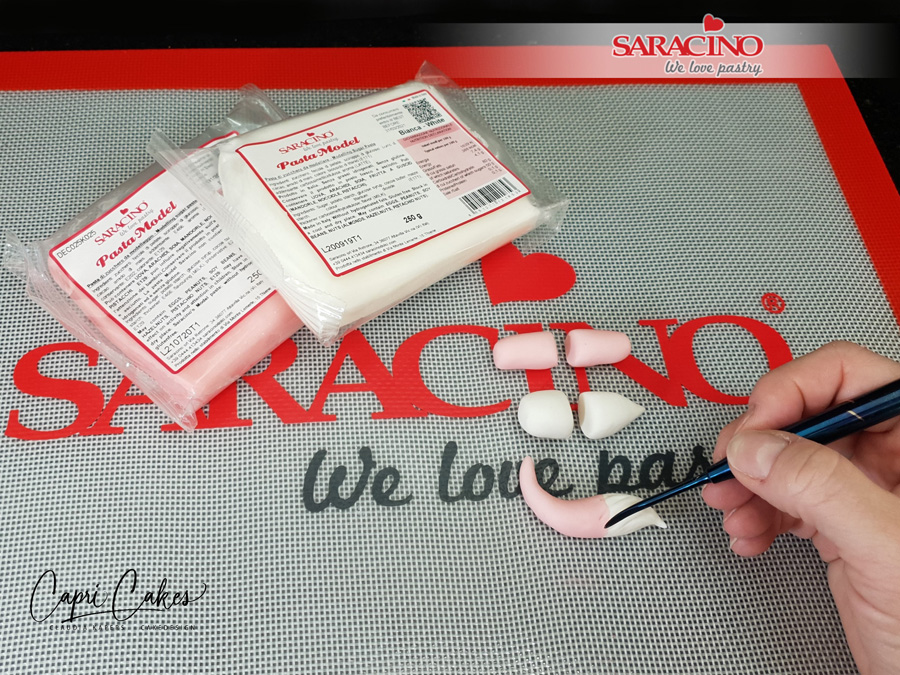
For the tail take 10g of pink Pasta Model and roll into a sausage shape. Cut into 2 equal parts. Repeat this step with 10g of white Pasta Model. Stick a pink and white part together with cake gel to form a tail. Leave the white end part a little bit thicker. Use the Dresden tool to add texture to the tail.

Step 22

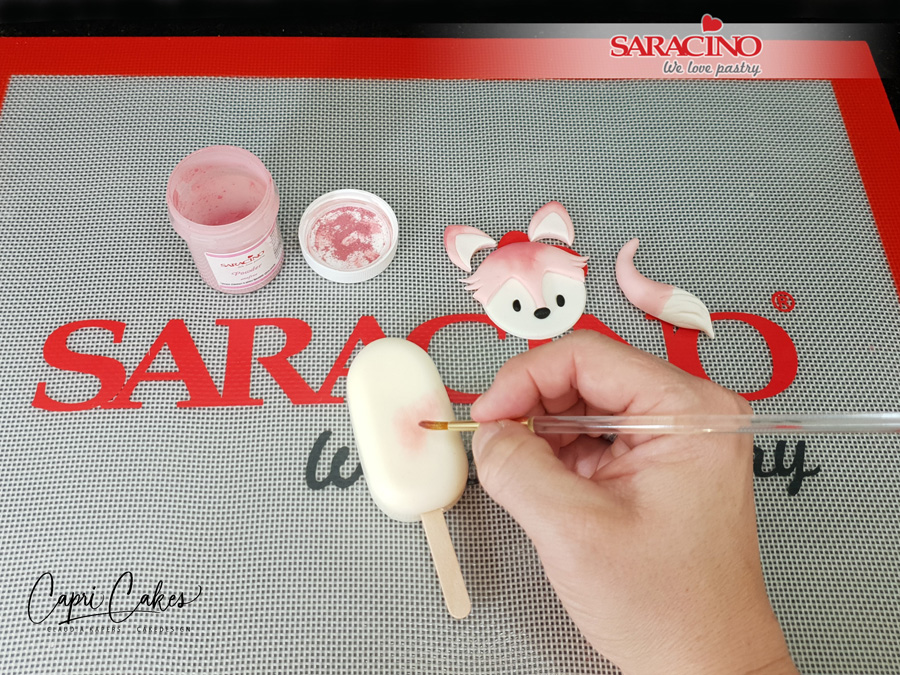
Dust the middle part of the cake pop ice cream with pink dust powder. Dust so darker in the middle getting lighter outwards.

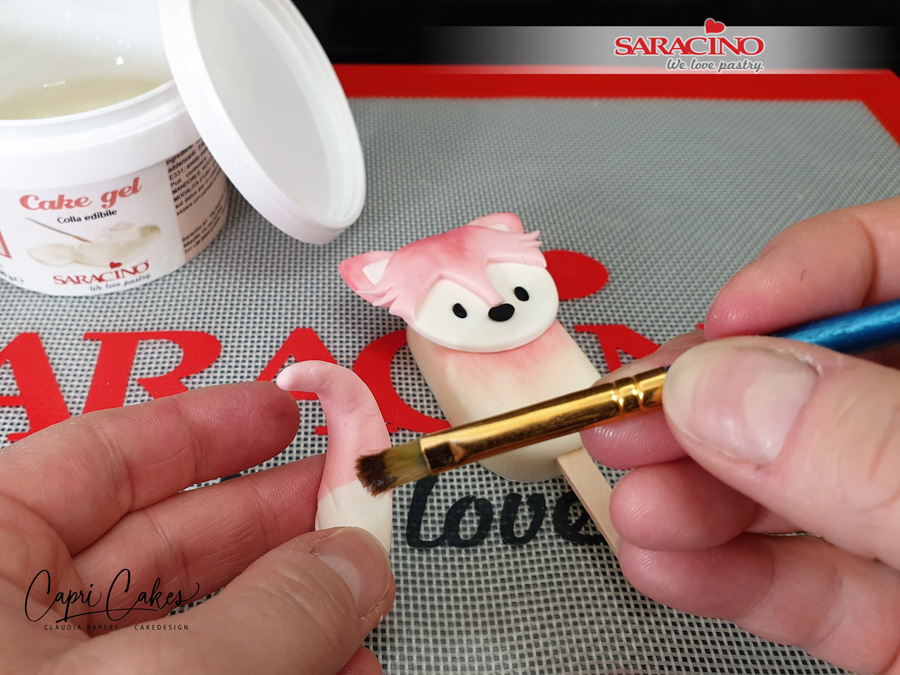
Step 23

Attach the head and tail to the cake pop ice cream with cake gel. Do not use too much cake gel! You can also attach the parts with melted chocolate.

Step 24

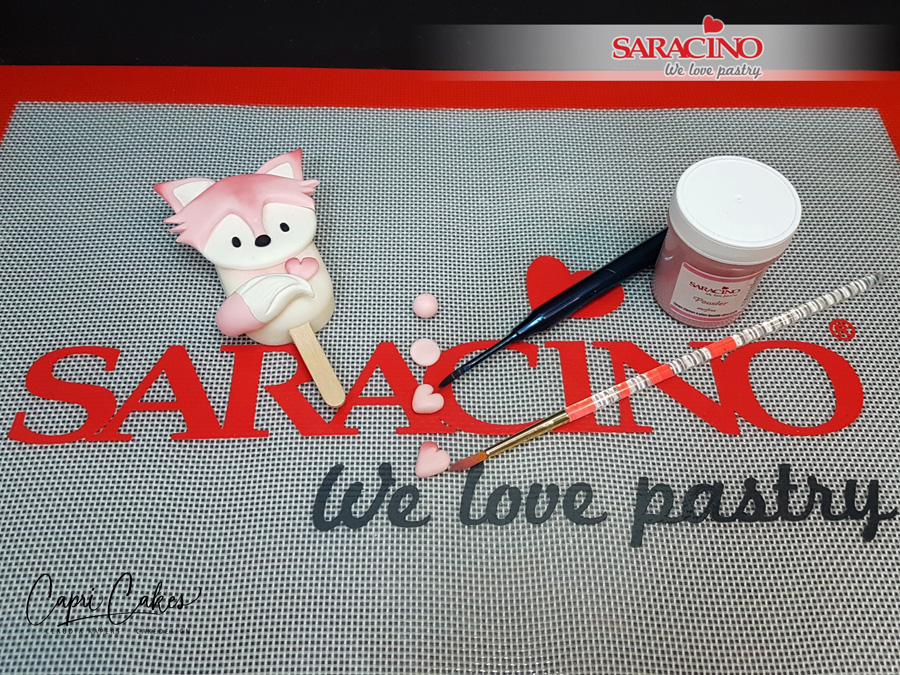
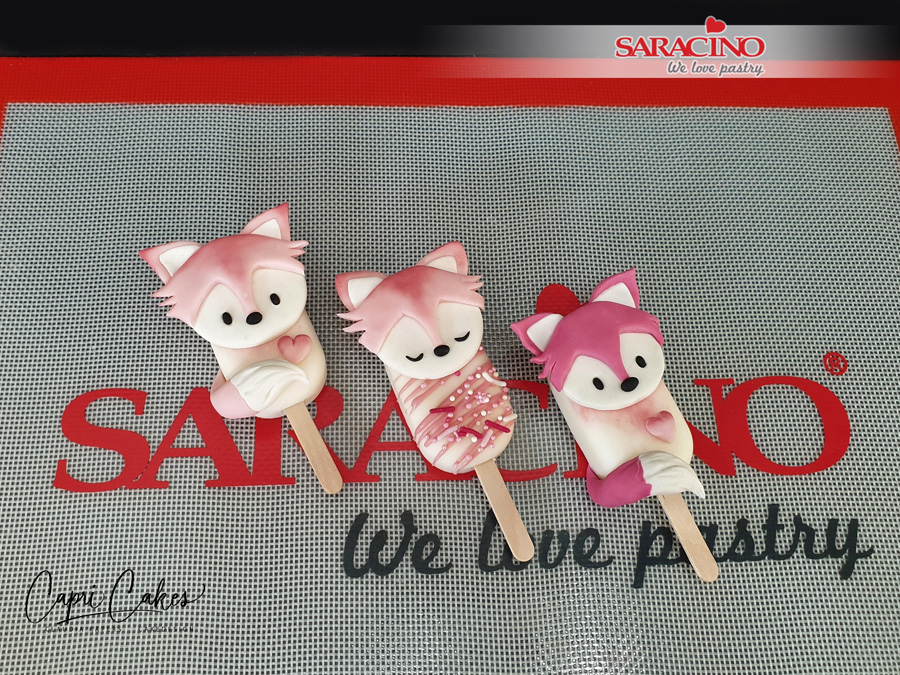
For the heart you will need a small ball of pink Pasta Model. Flatten with your finger and form a notch on one side with a Dresden tool. With your fingers make a point on the other side. Dust the top with pink dust powder.

Step 25

To decorate your cake pop ice cream with chocolate, melt a small amount of white chocolate. While heating, add pink dust powder until you reach the desired colour. Temper the chocolate as shown previously.

Put the chocolate into a piping bag with a small piping nozzle. Pipe lines over the bottom part of the cake pops. Decorate immediately with sprinkles.

Step 26

Vary with different looks. Use your imagination!

Use colours you want to achieve the look you love.

CHOCOLATE MOUSSE AND BISCUIT DESSERT

CHOCOLATE MOUSSE AND BISCUIT DESSERT

Author: Justyna Kowal

Skill level: BEGINNERS 

You will need:

  • Saracino raspberry food flavouring La Supreme
  • Saracino vanilla food flavouring La Supreme
  • Saracino milk chocolate drops
  • Saracino dark chocolate mirror glaze
  • Saracino gold push pump powder
  • Saracino gold glitter
  • butter
  • icing sugar
  • sugar
  • cinnamon
  • egg
  • plain flour
  • double cream
  • gelatine
  • Rice Krispies
  • plums
  • pectin (jam sugar)
 

Step 1

Prepare all your ingredients. Make sure they are all at room temperature. For the equipment you will need a small pan, spoons, 2 silicone moulds (one for the centre and one for the heart mousse), baking paper, food mixer, blender, circular cookie cutter, silicone spatula, piping bag, rolling pin, cup, sugar thermometer, wood skewers, sieve and a kitchen scale.  

Step 2

Add 250g plums to the pan.

Step 3

Cook and blend plums until a smooth consistency is achieved. 

Step 4

Add a table spoon of sugar, a tea spoon of pectin and a tea spoon of La Supreme vanilla flavouring. Bring to the boil for a few minutes stirring the mixture so it does not burn.  

Step 5

Pass the cooked mixture through the sieve to remove any lumps and plum skin.

Step 6

We will be using this mixture for the centre part. Fill the small mould and freeze. 

Step 7

For the cookies (base) prepare 170g plain flour, 20g icing sugar, tea spoon of cinnamon, 1 egg, 100g soft butter. Put the oven on to 190C

Step 8

Place all the ingredients in the bowl

Step 9

It is important not to over knead mix. The ingredients just need to be combined.

Step 10

Roll the dough and cut the circles using your cookie cutter

Step 11

Bake at 190C for about 10-12 minutes until a gold colour is achieved. Cool them on a rack.

Step 12

Now to get the ingredients ready to make the mousse. You will need 150g milk chocolate drops, 2 tea spoons of gelatine, 700g double cream, half a tea spoon of cinnamon, Vanilla food flavouring La Supreme. 

Step 13

Pour 200g of cream into a pan, add chocolate drops, cinnamon, and a tea spoon of vanilla food flavouring. Heat and stir until the chocolate is fully melted. 

Step 14

Add 2 tea spoons of gelatine to a bowl and add 2 table spoons of cold water. 

Step 15

Add the melted gelatine to the pan with the chocolate. Stir and let it cool down. 

Step 16

For the base of our mousse prepare 150g of milk chocolate drops and 20g of cornflakes 

Step 17

Melt the chocolate in the microwave or over a water bath and allow to cool down. 

Step 18

Add cornflakes and stir quickly. 

Step 19

Pour the mixture on to a sheet of baking paper, flatten and put into the fridge. 

Step 20

Allow to set and then remove from the fridge to cut circle bases. You want the base to be slightly smaller than plum mixture circle. 

Step 21

For the mousse pour 500g of double cream into a bowl and mix until it has thickened.

Step 22

Get the chocolate and spatula ready 

Step 23

Add half of the cream into your chocolate and using your spatula stir. 

Step 24

Add the other half of the mixture and stir

Step 25

Pour the mixture into the piping bag

Step 26

Add to the heart shaped moulds up to two thirds height in the mould. 

Step 27

Remove your frozen plum mixture and get the crunchy bases ready. 

Step 28

Add the frozen plum mixture to the mousse. 

Step 29

Add the crunchy base over the plum mixture and gently press. 

Step 30

Pipe more mousse mixture to fill each mould. Place in the freezer.

Step 31

Place your cookies on the mini cake boards. You can add a bit of jam at the bottom to stop them moving. 

Step 32

Prepare your mirror glaze, gold pump spray and glitter.

Step 33

Place a sheet of foil on your table and position your cooling rack over. Place the frozen hearts on the rack. 

Step 34

Heat the mirror glaze to a temperature of 40C. Heating slowly. Pour heated mirror glaze over each heart making sure they are fully covered. 

Step 35

Using your wood skewer keep moving the hearts over the rack to remove any excess mirror glaze. Then place each heart on a cookie. 

Step 36

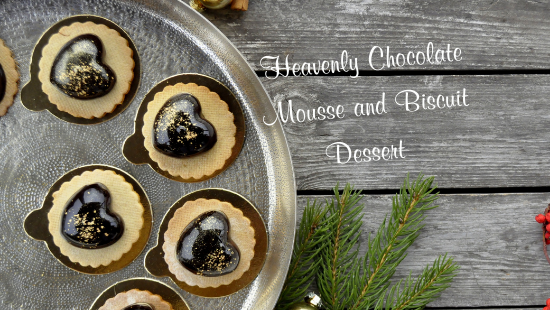
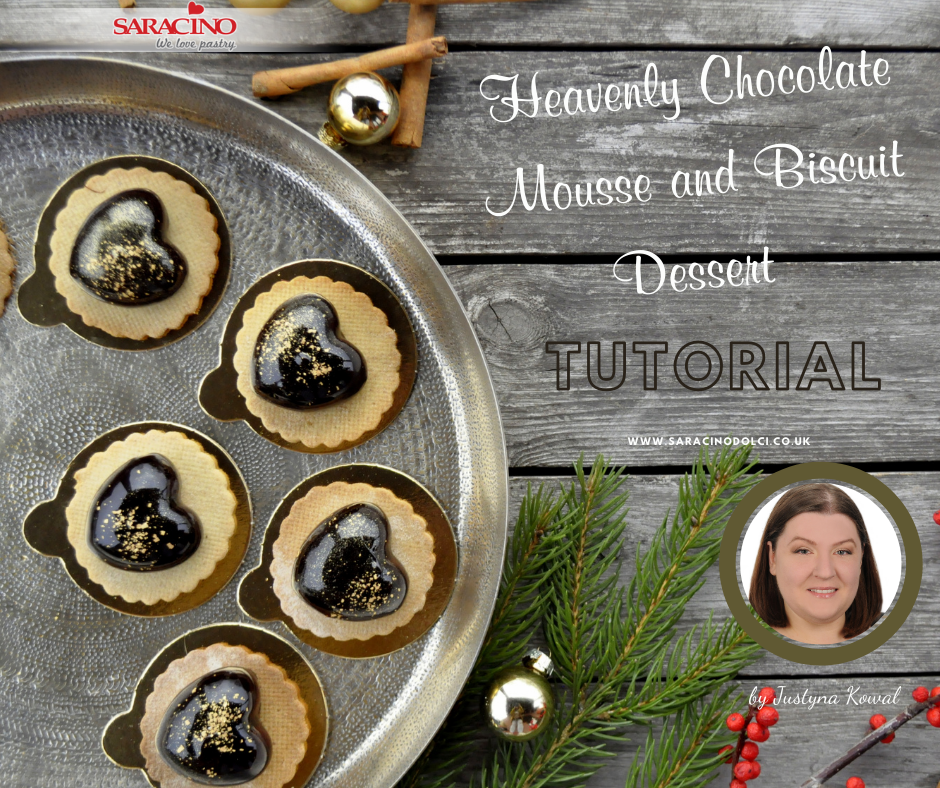
Decorate using Saracino gold pump spray and gold glitter  

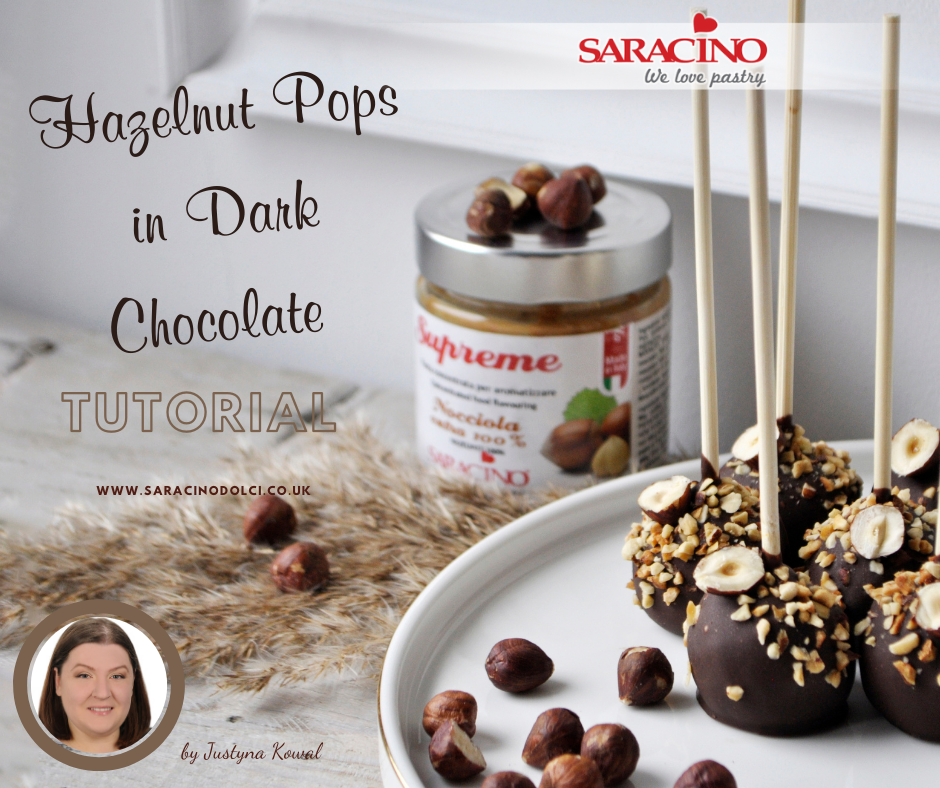
HAZELNUT POPS IN DARK CHOCOLATE

HAZELNUT POPS IN DARK CHOCOLATE

Author: Justyna Kowal

Skill level: BEGINNERS 

You will need:

  • 100g natural yoghurt
  • 1 egg
  • 50g vegetable oil
  • 100g sugar
  • 80g wheat flour
  • 40g roasted hazelnut flour
  • 20g cocoa powder
  • ¾ teaspoon of baking powder
  • pinch of salt
  • 3 teaspoons Saracino Supreme hazelnut paste
  • 100g mascarpone cheese
  • Saracino dark chocolate drops
  • Chopped hazelnuts for decoration
 

Step 1

Bring all the ingredients to room temperature.

Step 2

Put the egg and the sugar into a small bowl

Step 3

Mix until a smooth consistency is achieved. 

Step 4

Add the yogurt and the oil.

Step 5

Mix until smooth

Step 6

Add flour and baking powder to the next bowl.

Step 7

Add cocoa powder and roasted hazelnut flour

Step 8

Mix all ingredients together

Step 9

The two bowls are ready to be combined

Step 10

Add the dry ingredients to the liquid mixture and gently mix

Step 11

Line your baking tin with the baking paper 

Step 12

Add the mixture

Step 13

Bake for 30 minutes at 170C

Step 14

Remove the cake from the tin and allow to cool down

Step 15

Break up the cake into small pieces

Step 16

Prepare the mascarpone cheese and Saracino hazelnut food flavouring

Step 17

Add the mascarpone and the Saracino hazelnut paste to the cake

Step 18

Using your hands mix all together 

Step 19

Roll small balls and place them on baking paper. Use the same amount of mixture for each ball so they are the same size. When ready place in the fridge for 30 minutes.

TIP – Use a digital scale to achieve the correct amount of mixture for each ball.

Step 20

Get the lollipop sticks and Saracino chocolate drops ready. 

Step 21

Melt the chocolate over water or microwave and add to a tall jug or glass. You can add cocoa butter or sunflower oil to achieve a more liquid consistency. Prepare nuts for decorating 

Step 22

Dip the end of the stick into the melted chocolate and insert into the ball. Let it set

Step 23

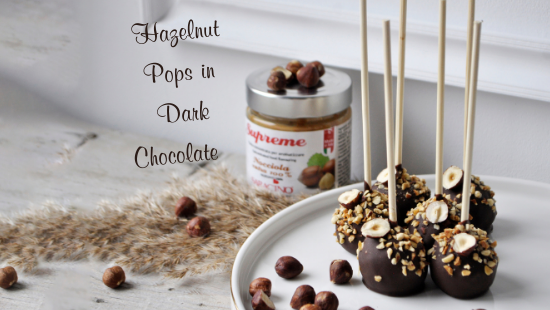
Holding the stick, dip the ball in the chocolate, allow the excess to drain into the glass, and before it sets firm, sprinkle with the crushed nuts. Place the half hazelnut on top, next to the stick.

Step 24

You can now serve and try your hazelnut cake pops! 🙂