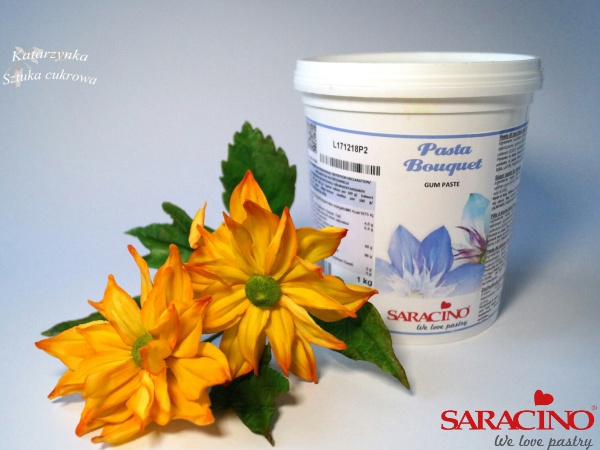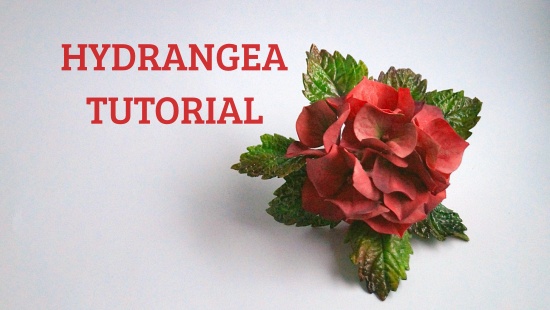
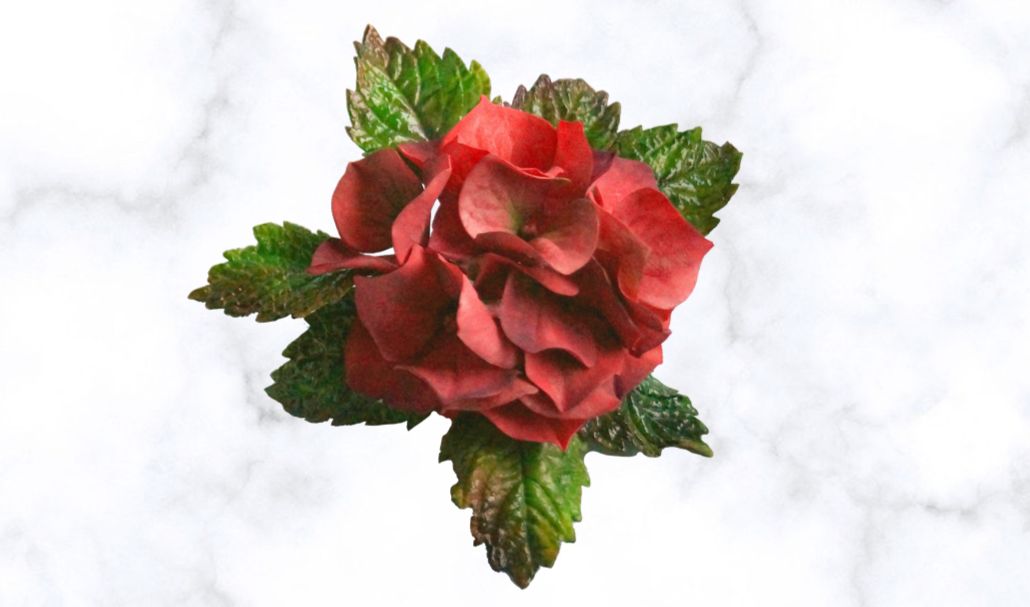
HYDRANGEA FLOWER TUTORIAL
Author: Katarzyna Koczorowska

Skill level: BEGINNERS
TIP:
You may find the flower paste a bit sticky. Use corn flour to prevent this.
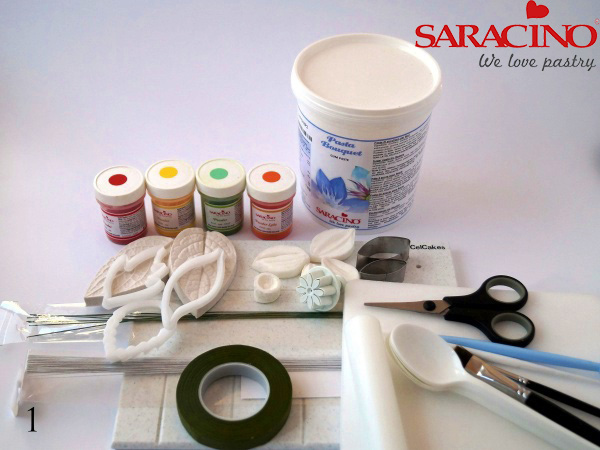
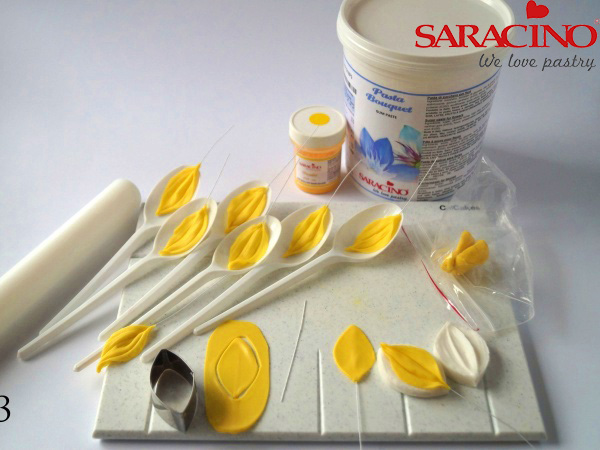
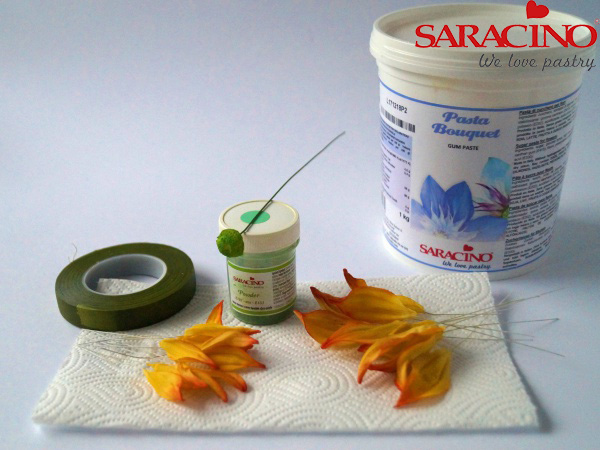
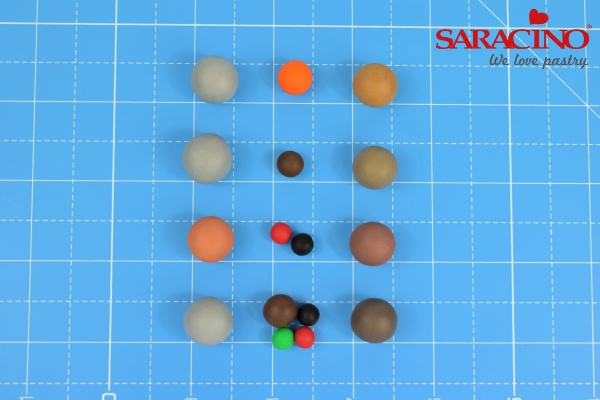
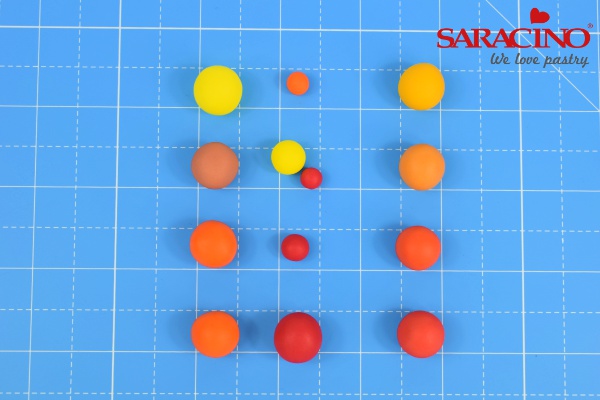
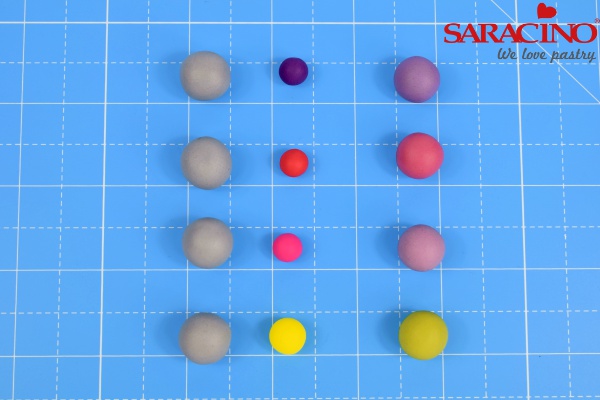
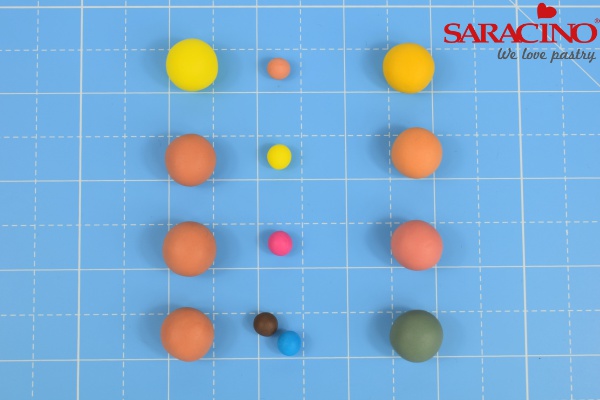
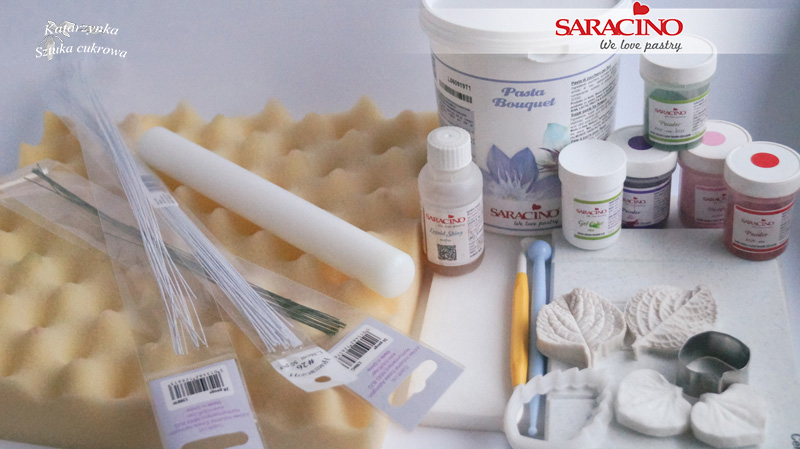
You will need:
-
Flower paste Saracino – Pasta Bouquet
-
Non stick board with grooves for petals / leaves
-
Florist wires white #28 or #26 and #26 green
-
Florist tape – green
-
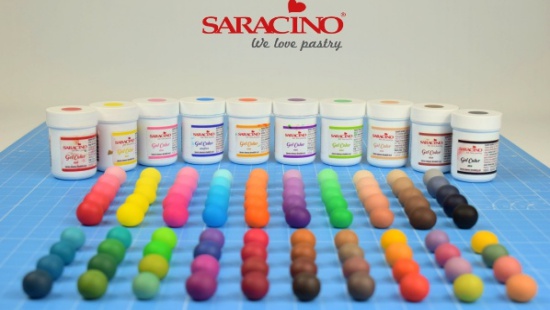
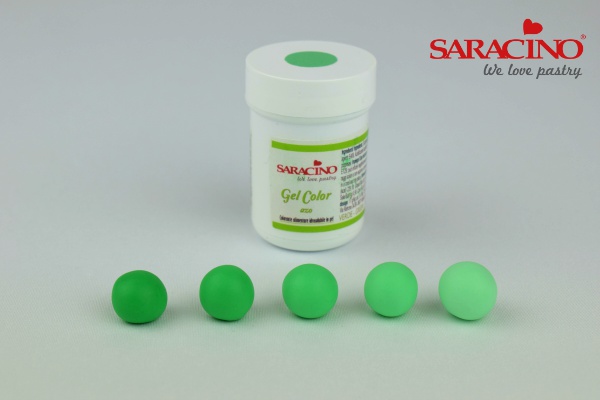
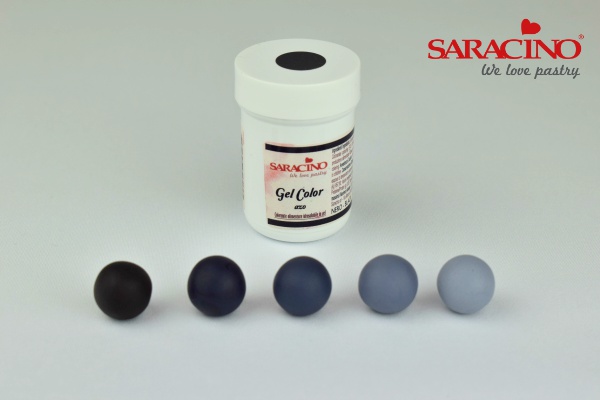
Saracino colour gel – green
-
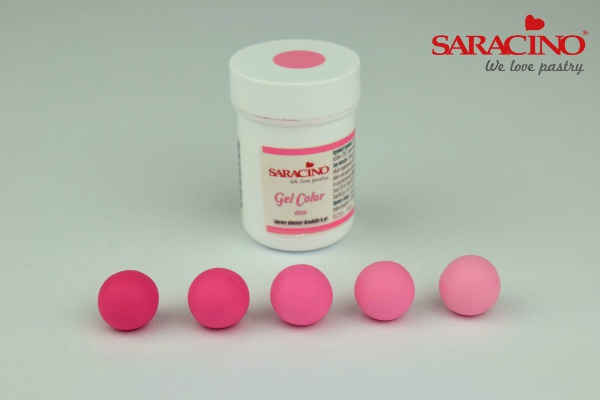
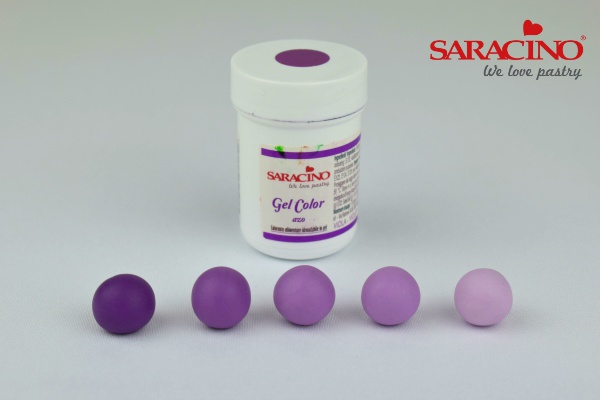
Saracino colour dust – green, pink, red, violet
-
Saracino Liquid Shiny
-
Balling tool
-
Non- stick rolling pin
-
Cutter & veiner hydrangea flower and leaves
-
Foam pad
-
Paint brushes
-
Kitchen paper
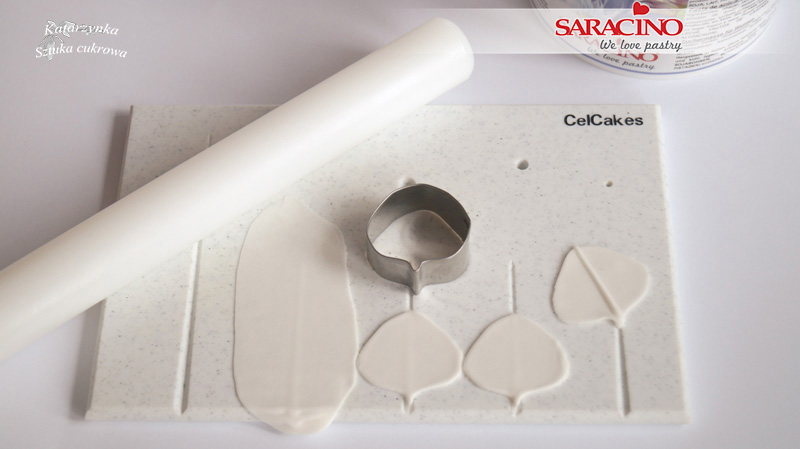
Step 1
Thinly roll out white paste – Pasta Bouquet Saracino over the grooves on your rolling board. Cut out petals with the cutter.
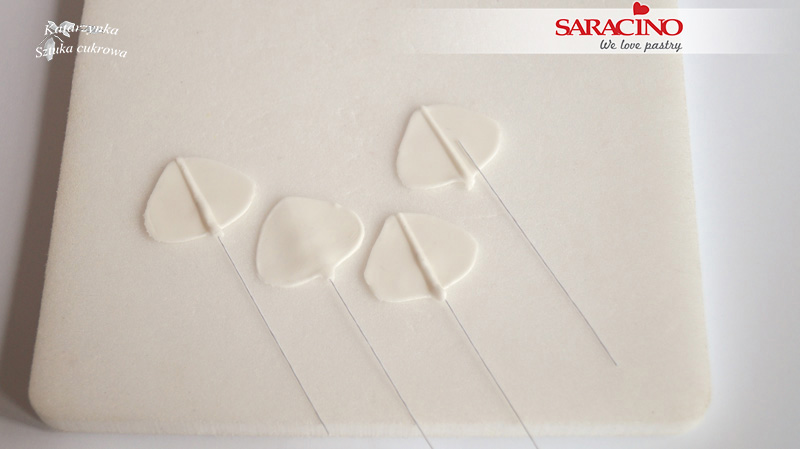
Step 2
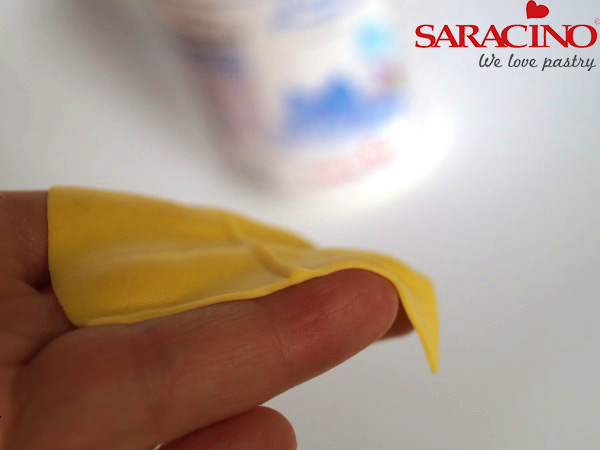
Move the petal onto a foam pad. Insert a white wire #28 half way.
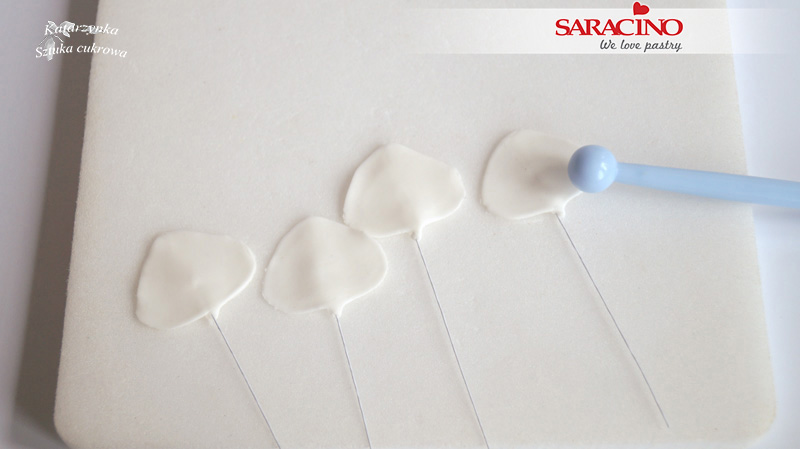
Step 3
Thin the edges of the petal with your balling tool.
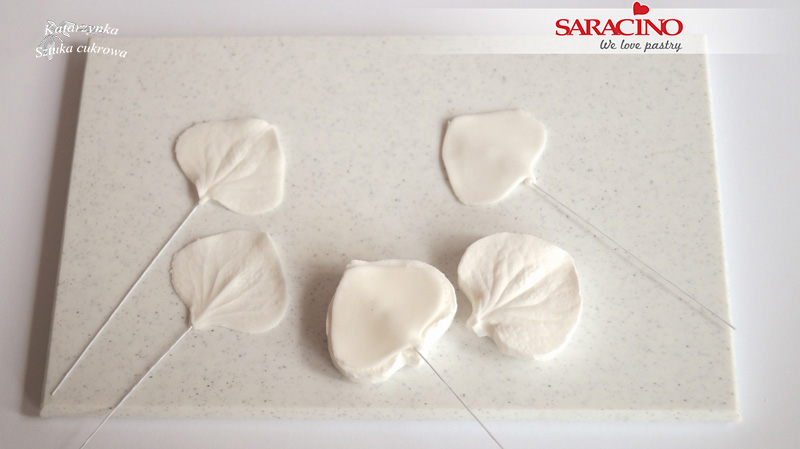
Step 4
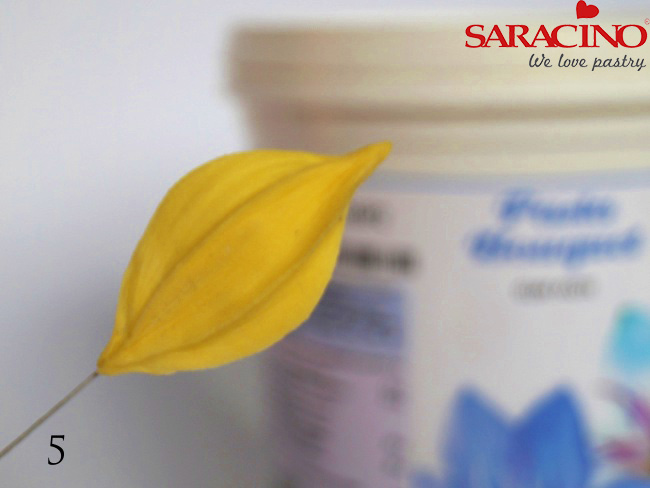
Make hydrangea imprint with a veiner.
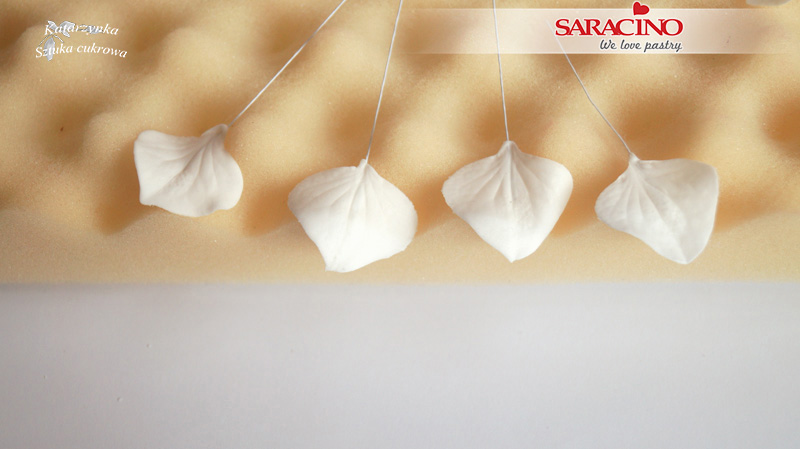
Step 5
Let them dry ideally on a foam mat.
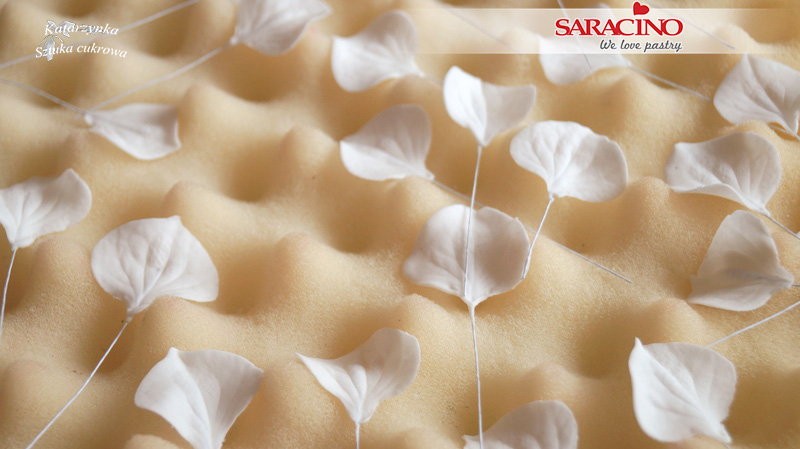
Step 6
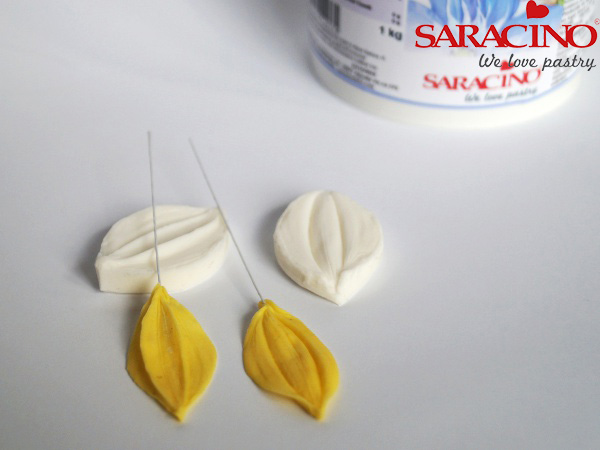
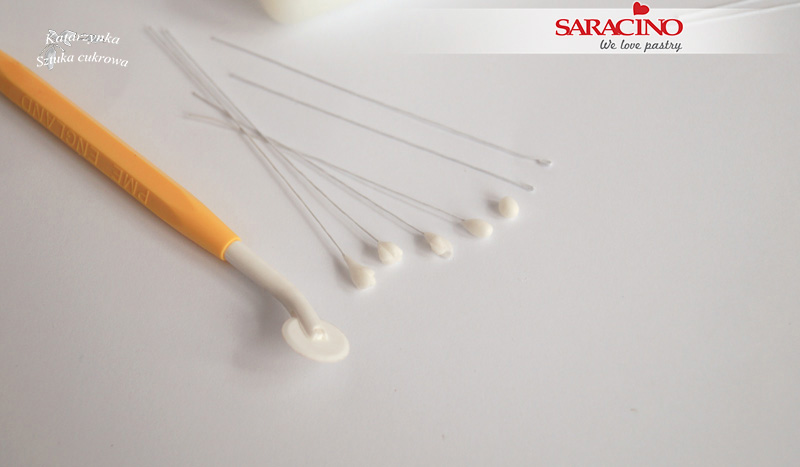
Hydrangea has a lot of petals (this one had 32) so make yourself plenty.
Step 7
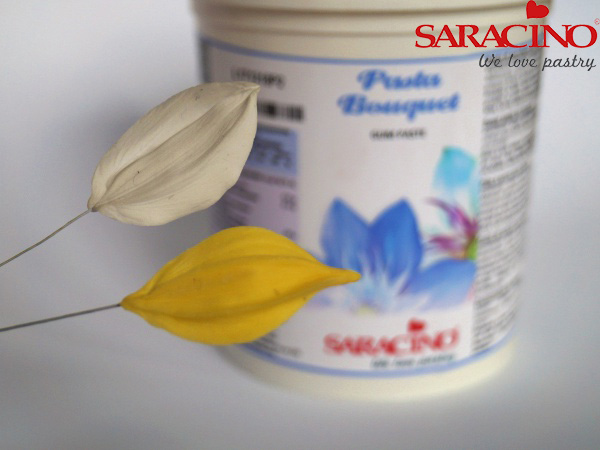
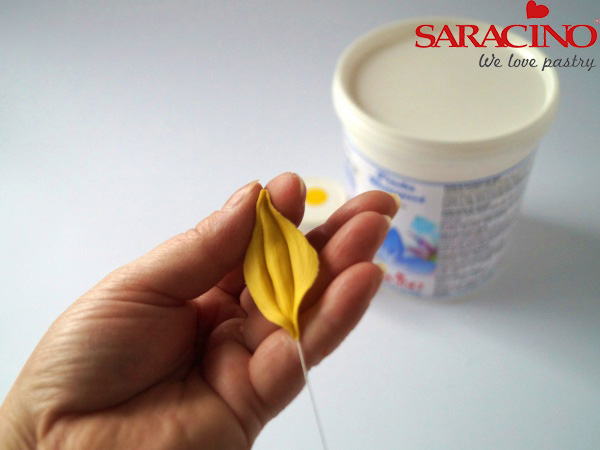
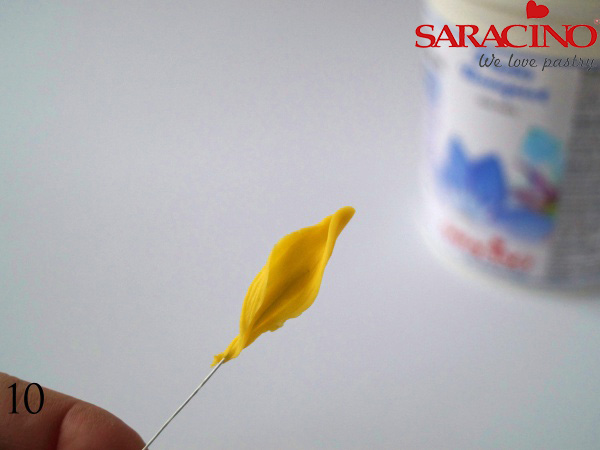
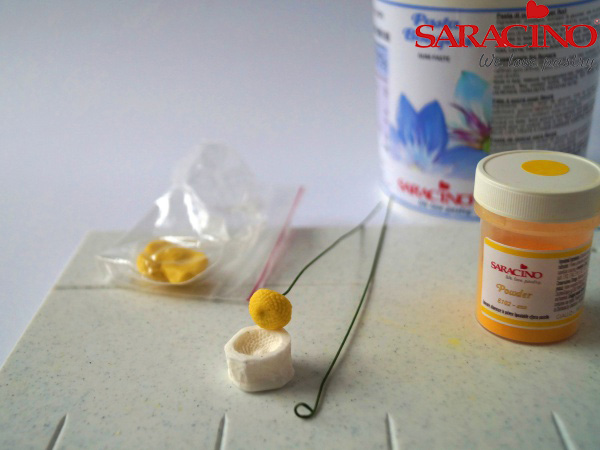
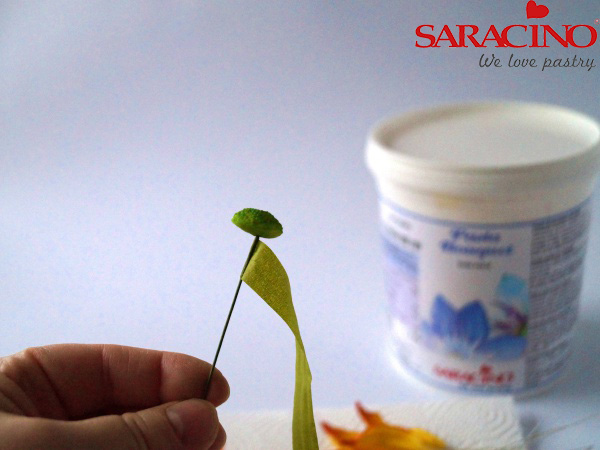
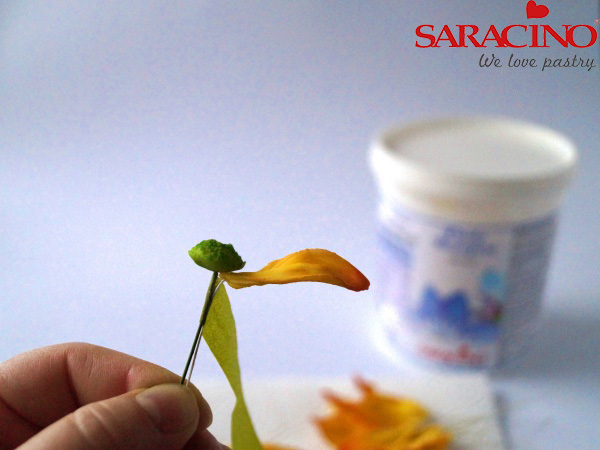
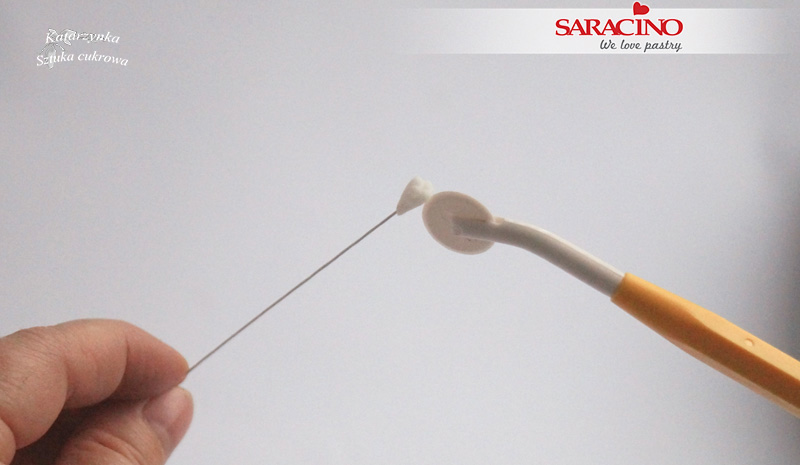
To make the flower centre bend the end of the flower wire and insert into a teardrop shape piece of paste.
Step 8
Step 9
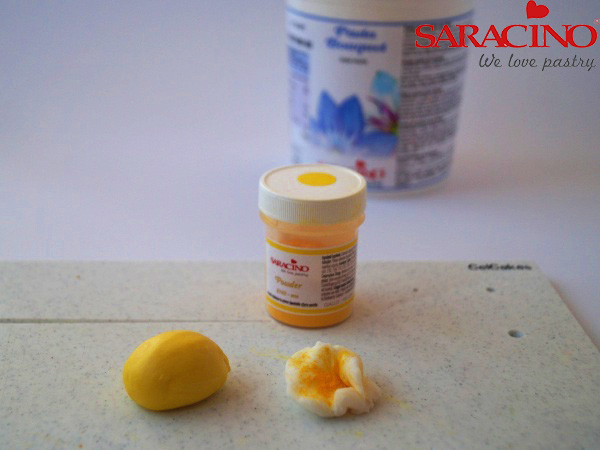
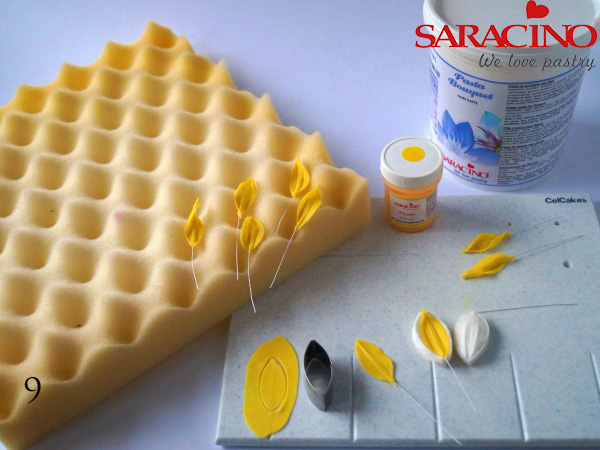
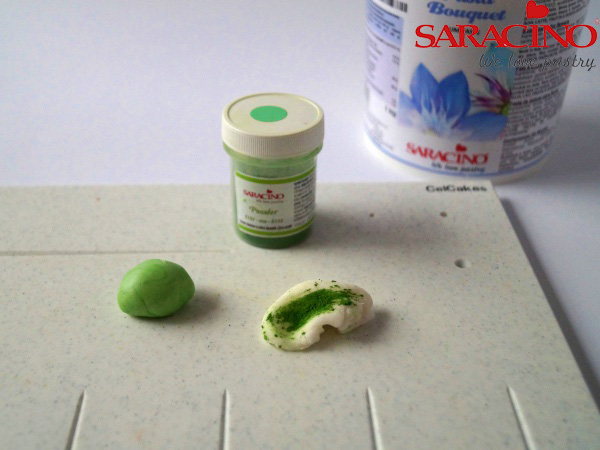
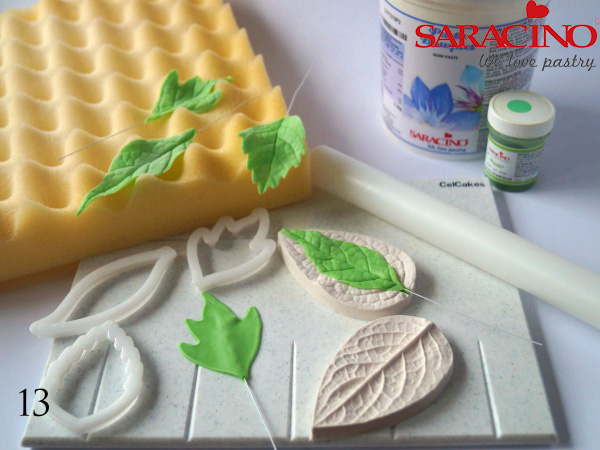
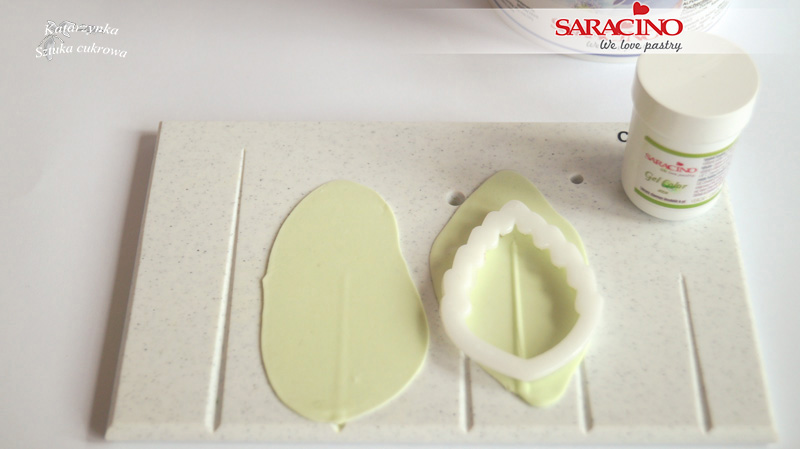
Add a bit of green Gel Colour to white paste. Roll it out over the groove on your rolling board and cut out the leaves.
Step 10
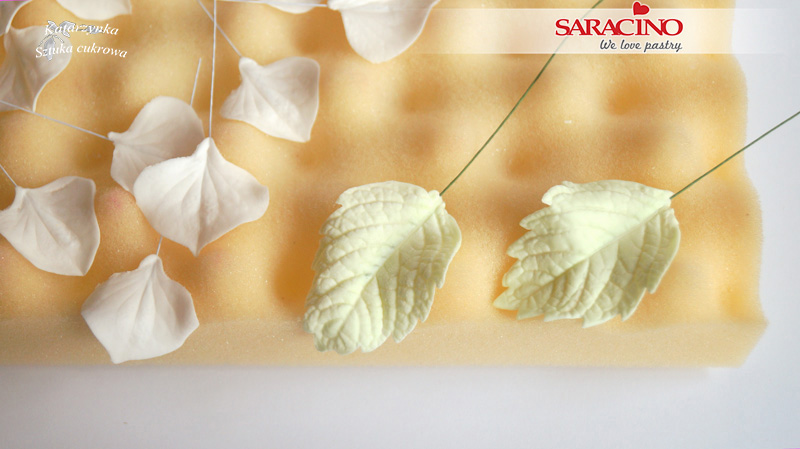
Step 11
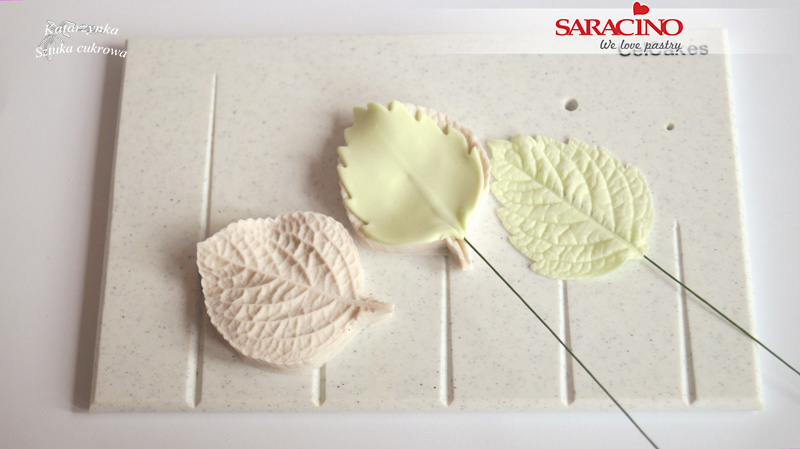
Put them on a foam pad to dry.
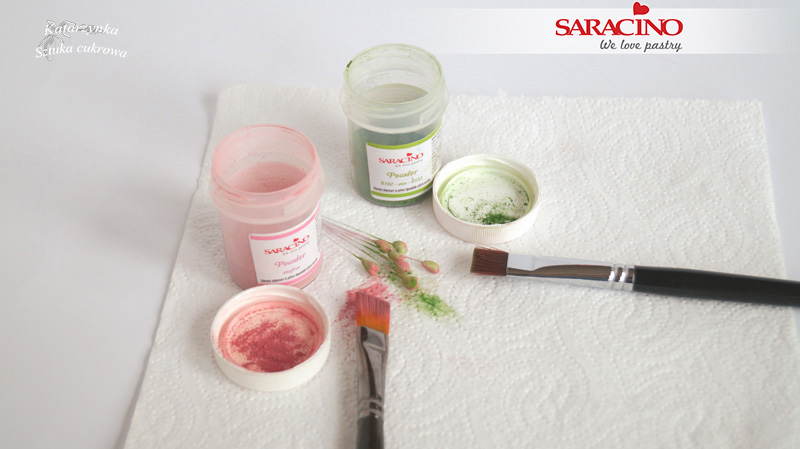
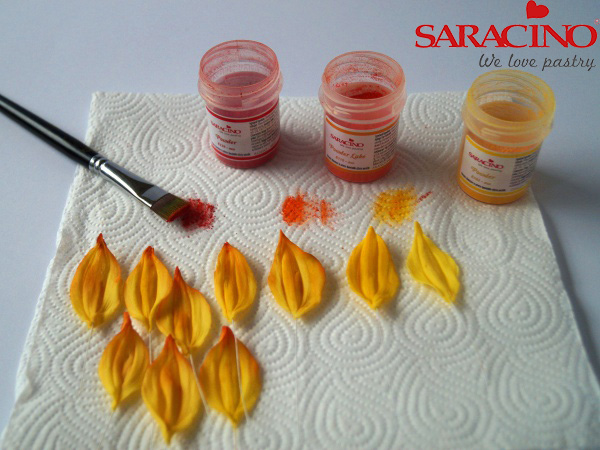
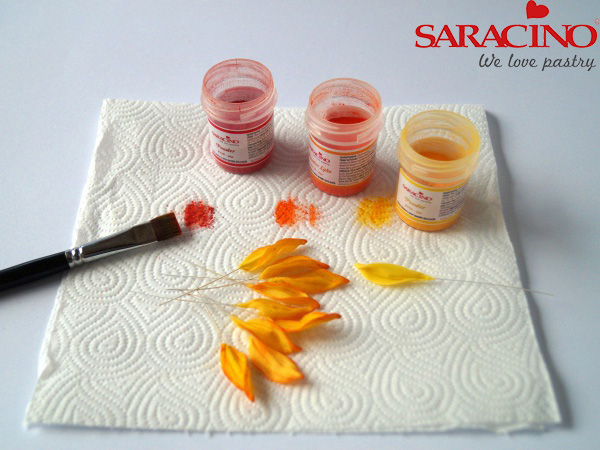
Step 12
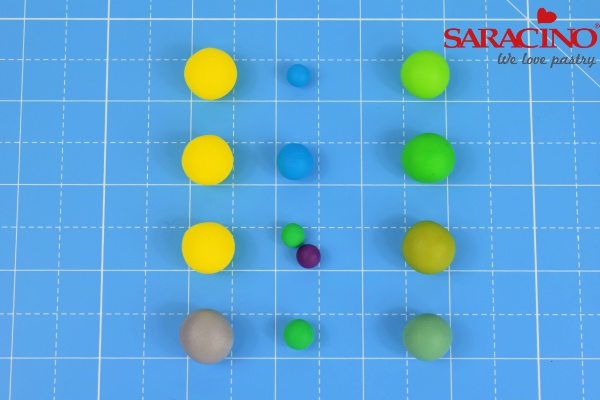
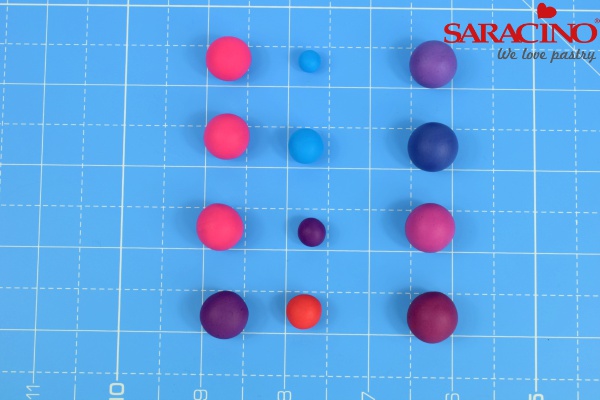
Now for the colouring. Dust the buds with green and pink Saracino powder.
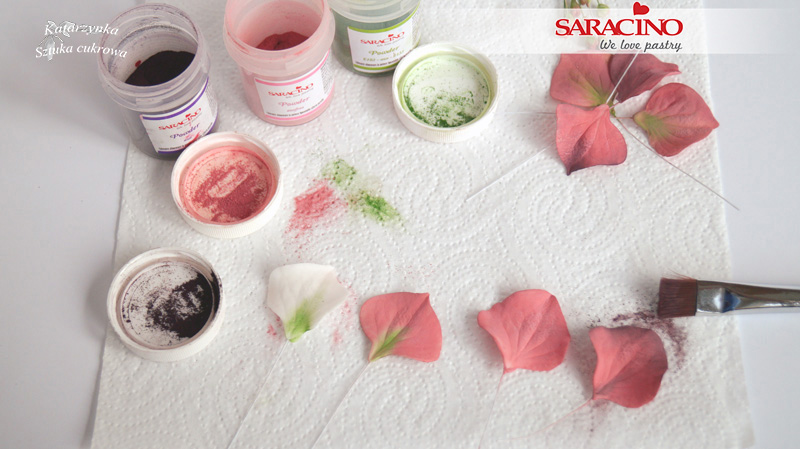
Step 13
Dust the petals with pink powder, add a bit of green. Dust a little violet powder on the edges.
Step 14
Colours combine seamlessly.
Step 15
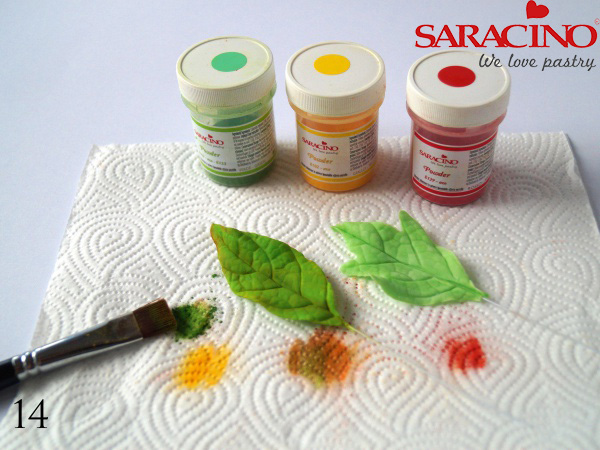
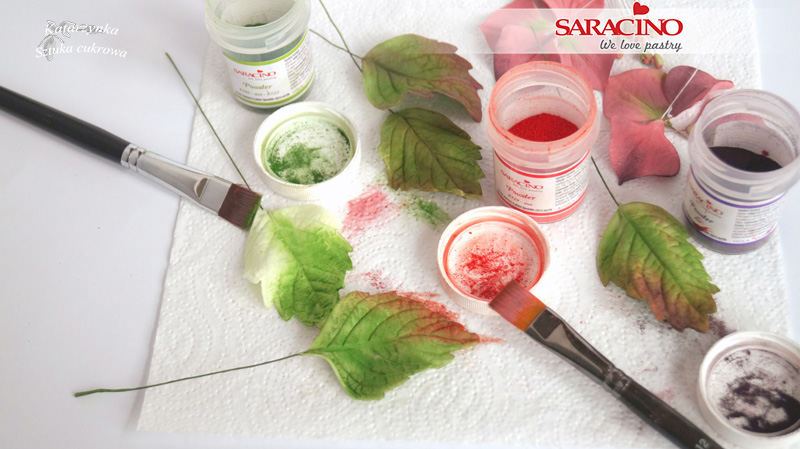
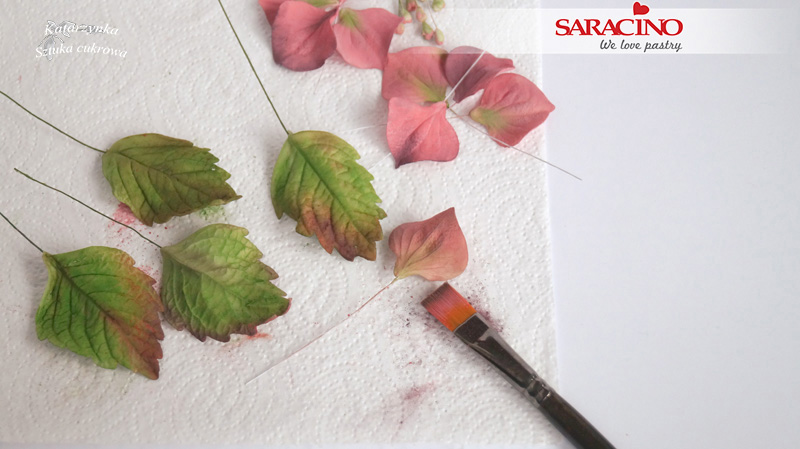
This hydrangea is autumnal so try to match the leaves to the flower. I added a bit of red and violet to the green dust.
Step 16
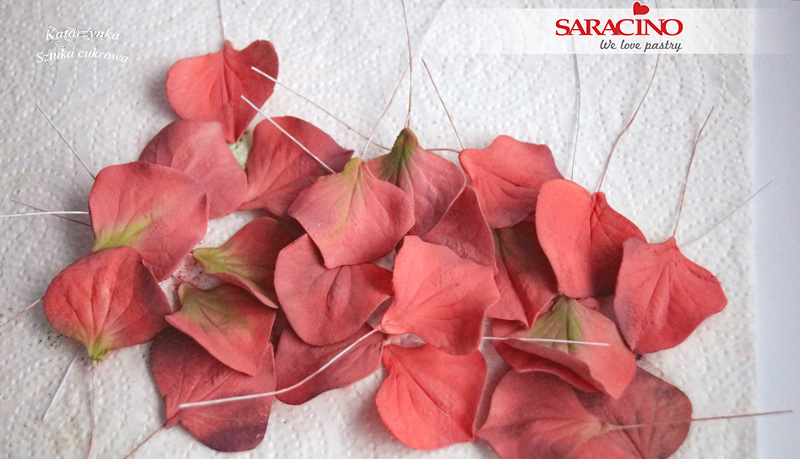
Dust the petals and leaves on both sides.
Step 17
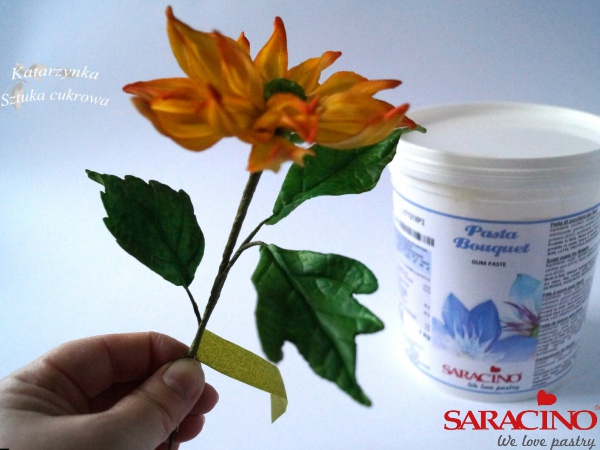
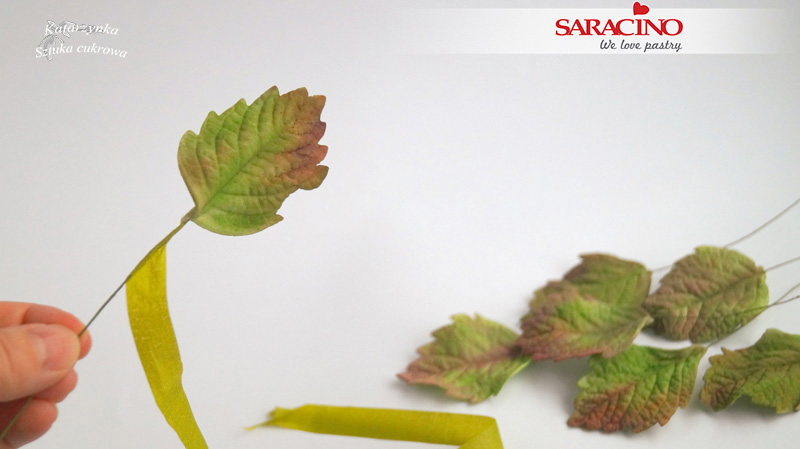
Wrap the wire to the leaves with green florist tape.
Step 18
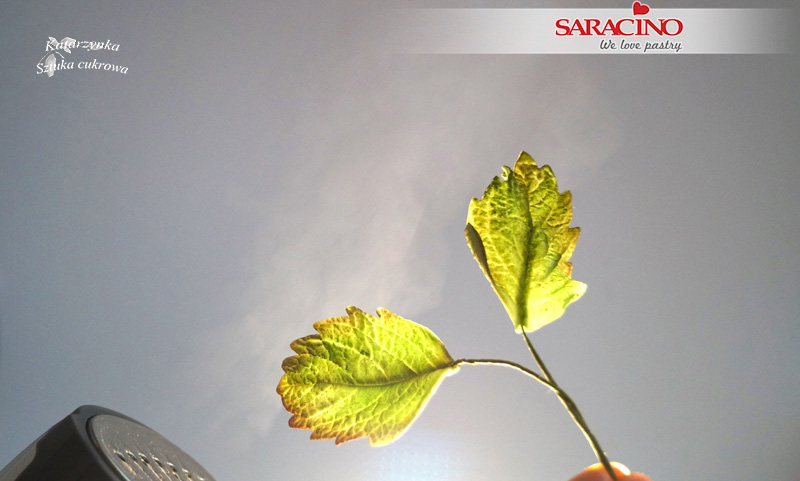
Steam the leaves to make the colour more natural and permanent.
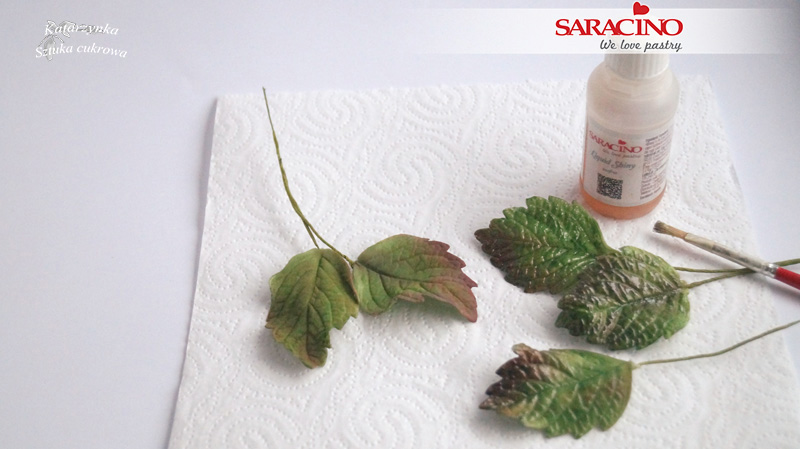
Step 19
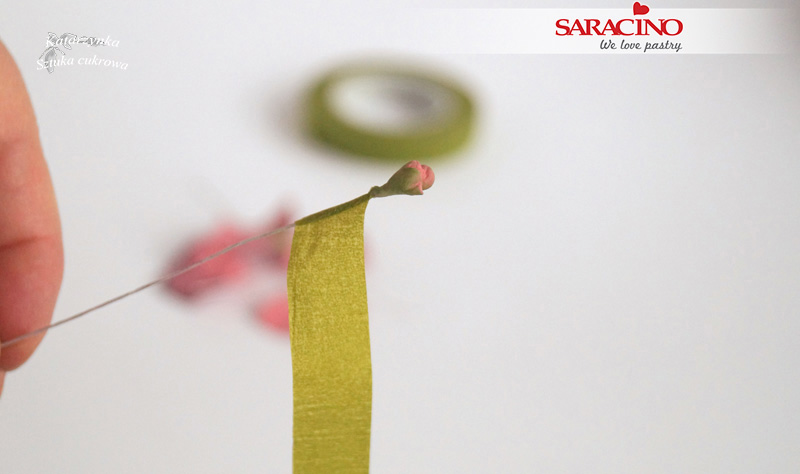
Step 20
Wrap the wire to the bud with green florist tape.
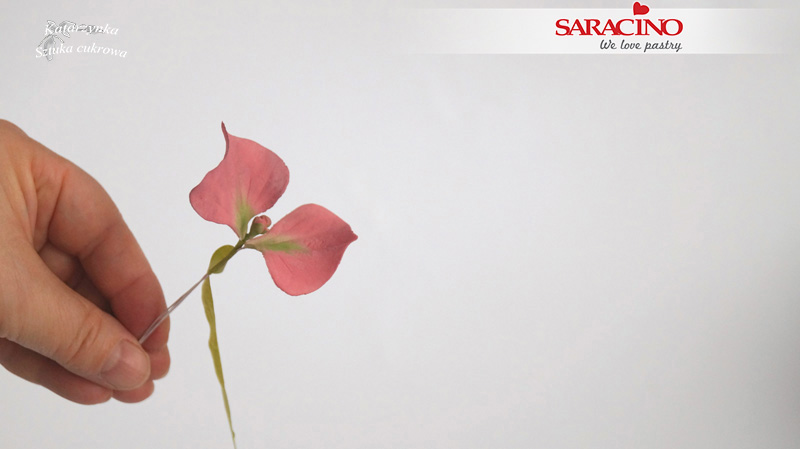
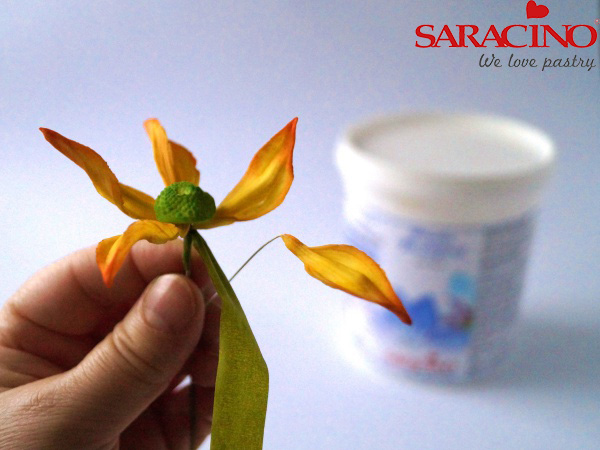
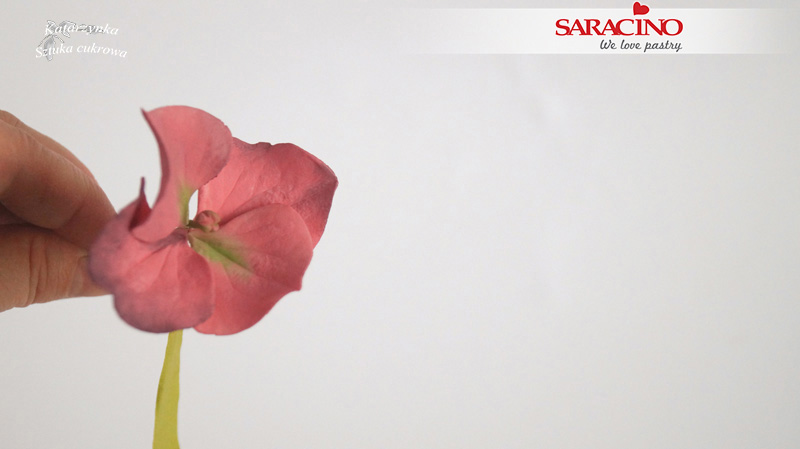
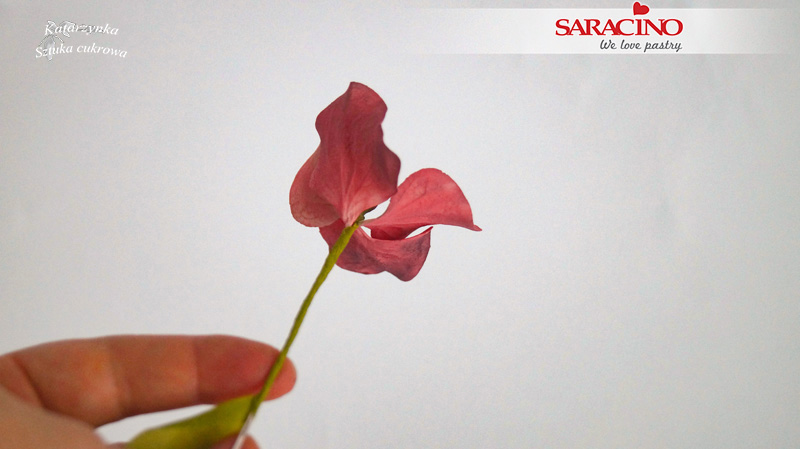
Step 21
Add two petals to the bud with green florist tape.
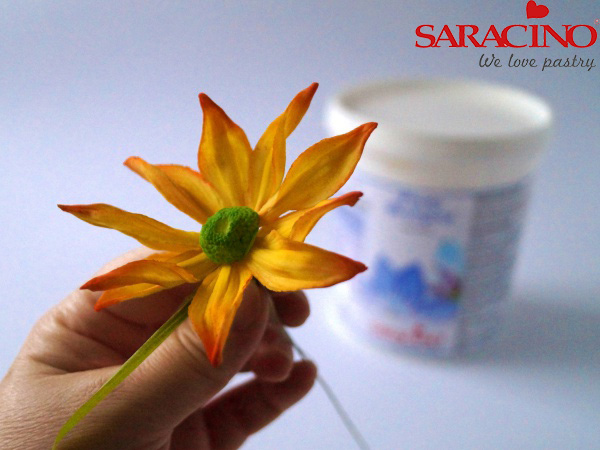
Step 22
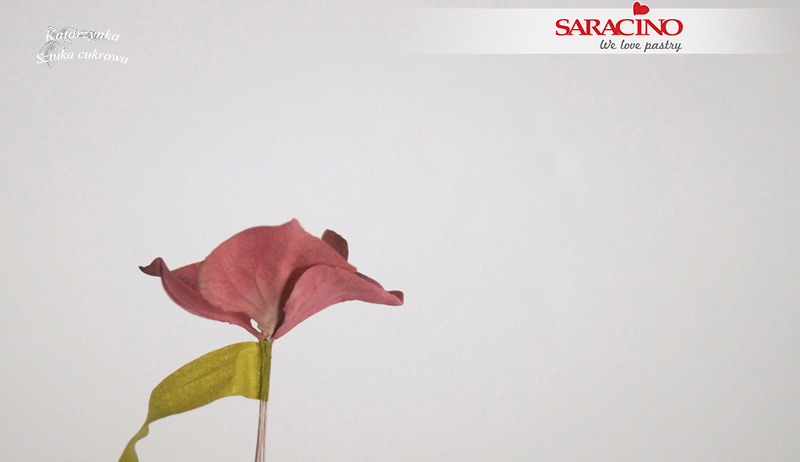
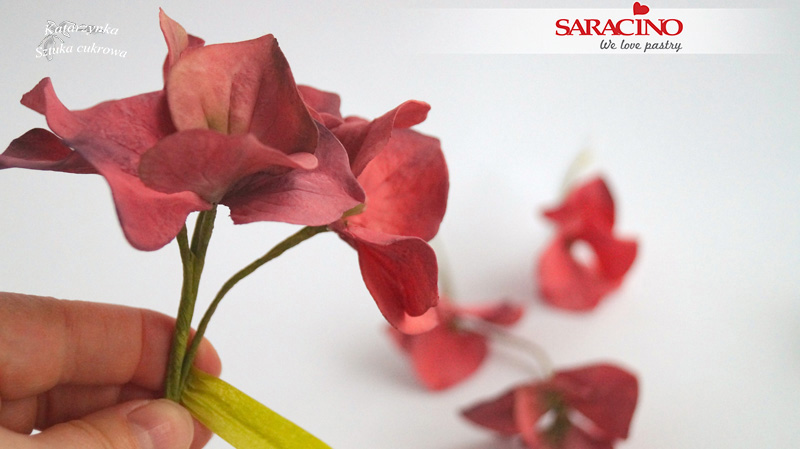
Step 23
All four need to be at the same height.
Step 24
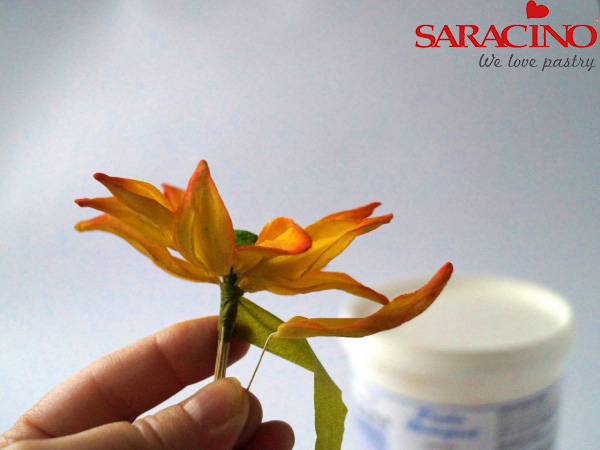
Wrap the wire to the end.
Step 25
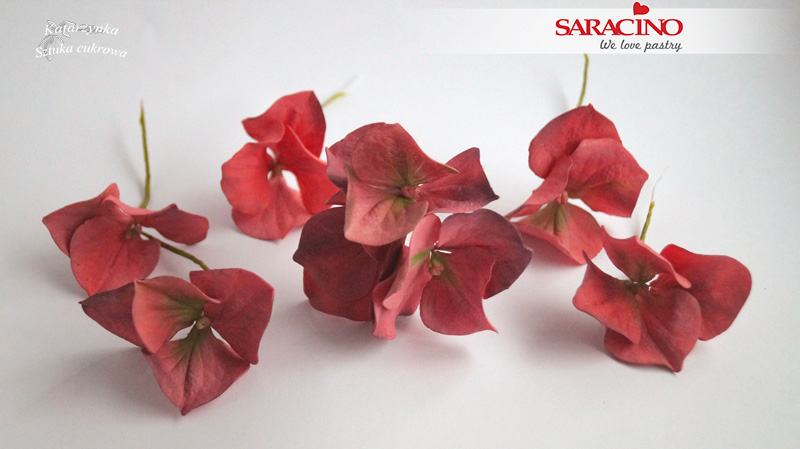
Make 8 like shown. Each should have 4 petals on each stem.
Step 26
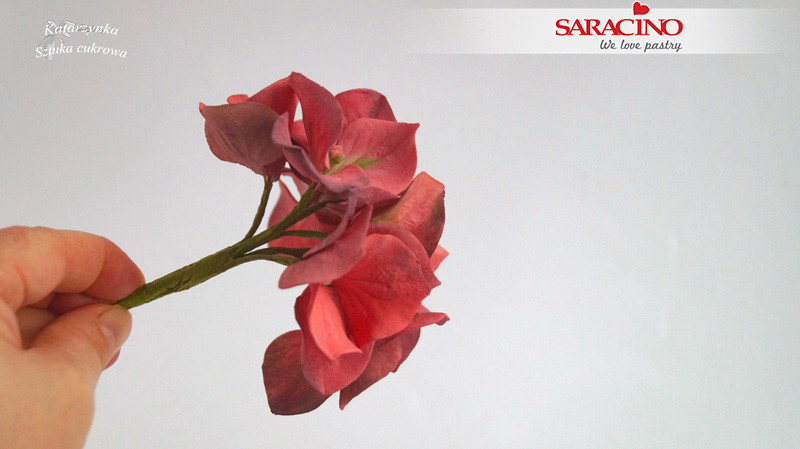
Step 27
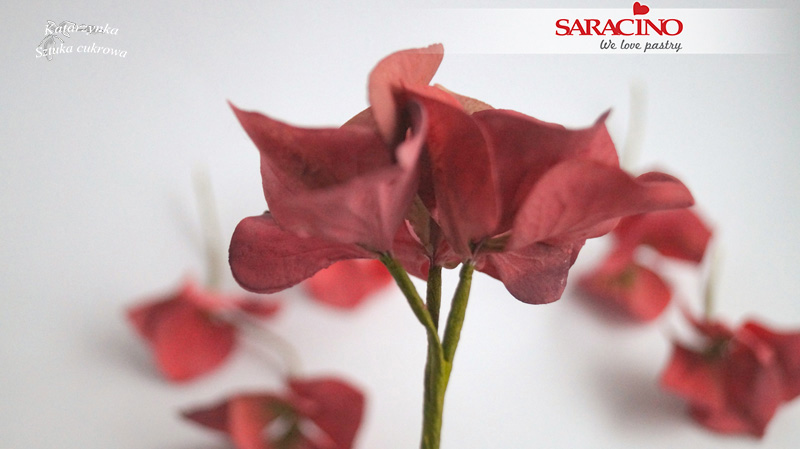
Add the remaining stems on the sides. Tape all together.
Step 28
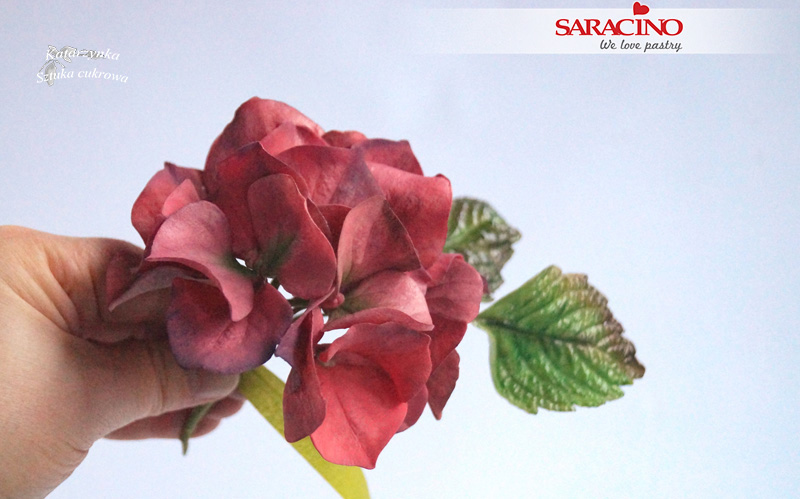
Step 29
Add the leaves where required with florist tape.