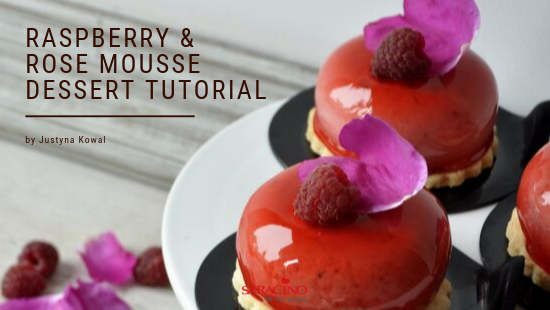
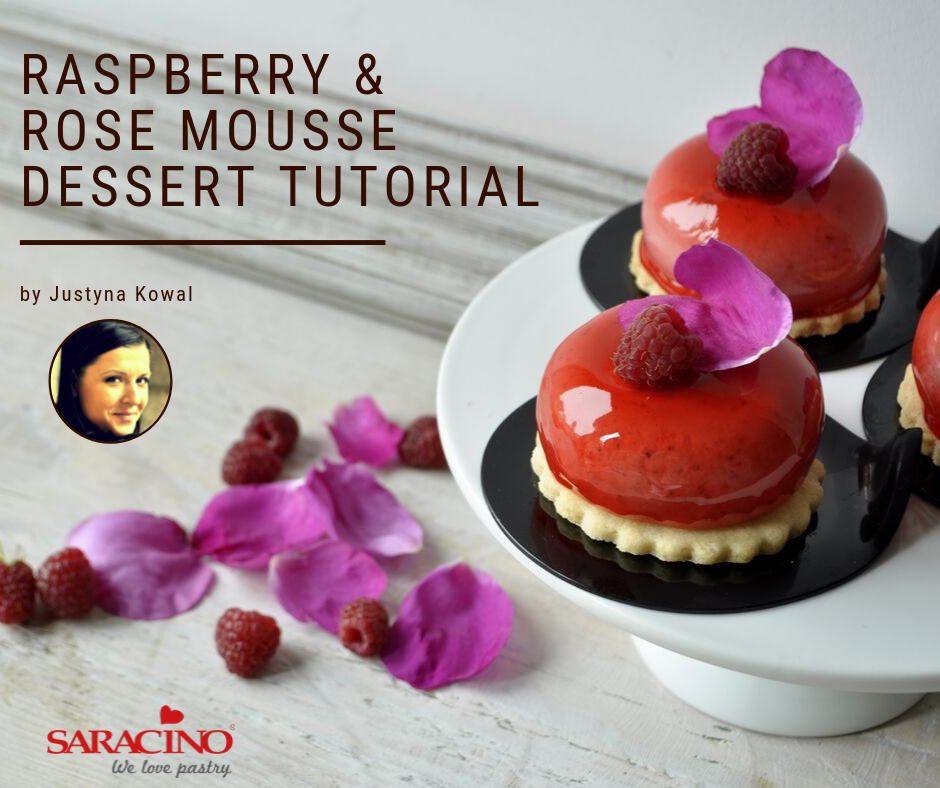
RASPBERRY & ROSE MOUSSE DESSERT

You will need:
To prepare the jelly centre you need:
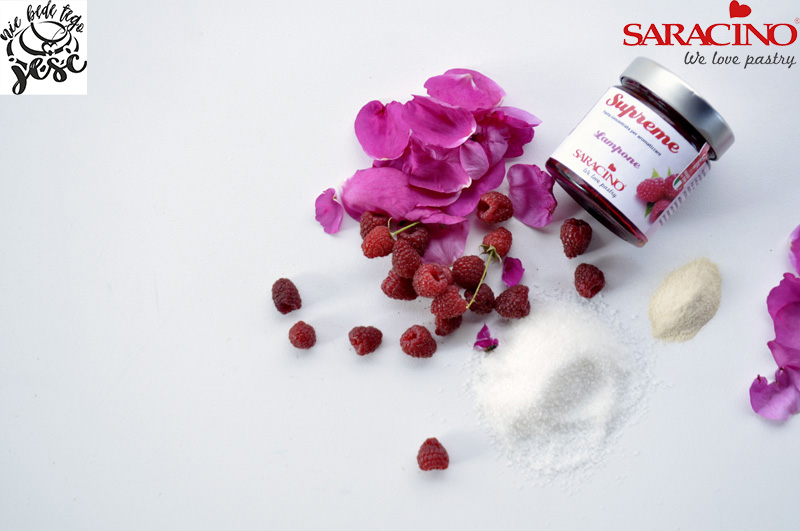
- 250g fresh raspberries
- 2g pectin NH powder
- 60g sugar
- small semi circle silicone mould approx 3cm
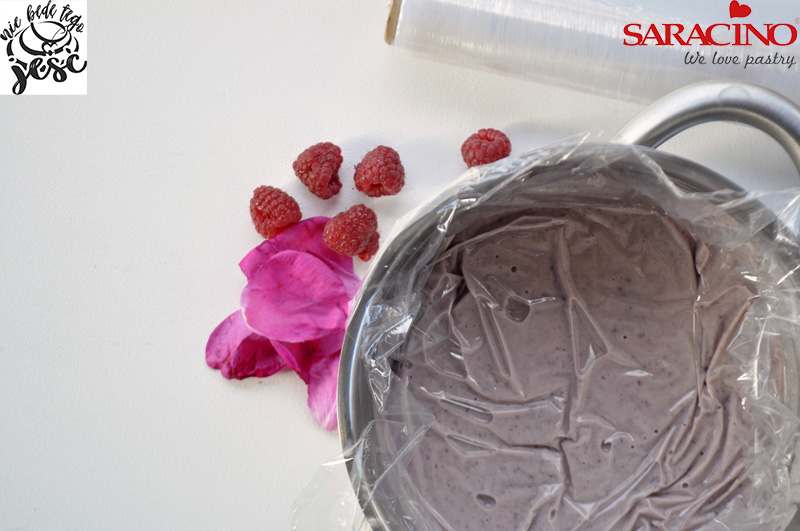
- bunch of edible fresh rose petals
To prepare raspberry mousse you need :
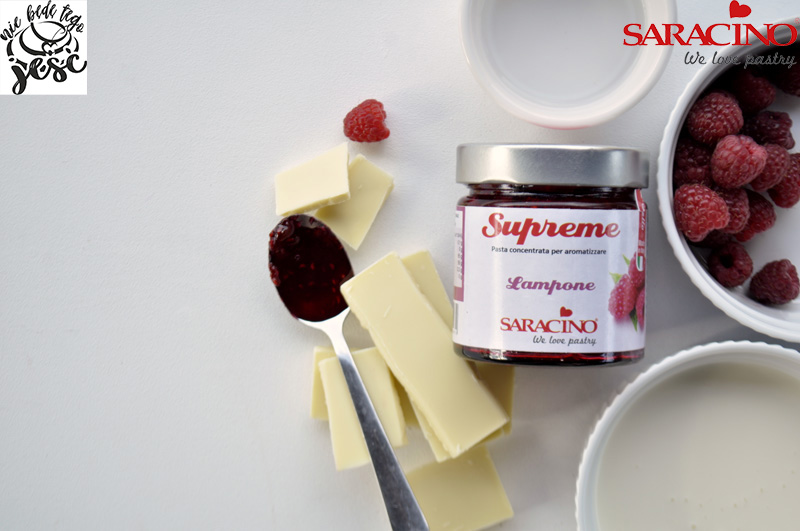
- 500ml of cream 30-36% fat
- 100g raspberry puree (prepared with approx. 300 g raspberries)
- 100g of white chocolate
- 1 teaspoon of rose water
- 1 teaspoon of Saracino natural raspberry flavouring
- 10g of gelatine soaked in a minimum quantity of cold water
- large semi circle silicone mould approx 7cm
To finish the dessert you need:
- butter biscuits from your favourite recipe with a diameter slightly larger than the diameter of the mousse
- Saracino raspberry mirror glaze
- small cake tabs larger than the biscuit
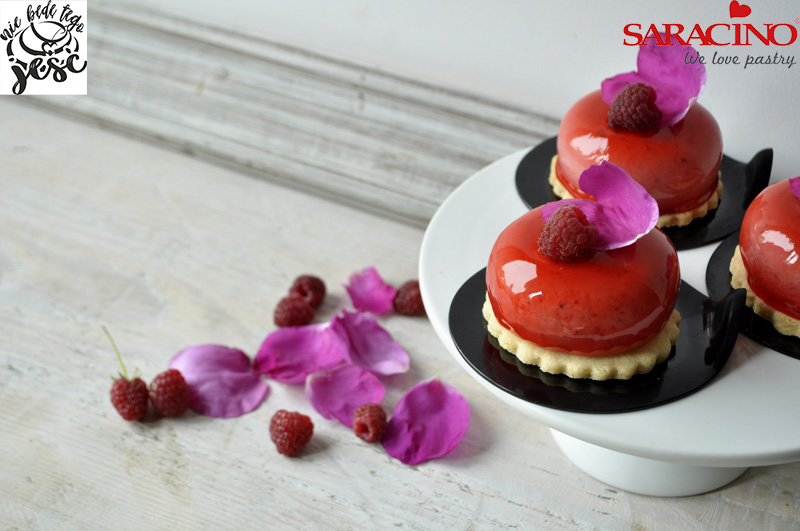
- raspberries and rose petals for decoration
Step 1
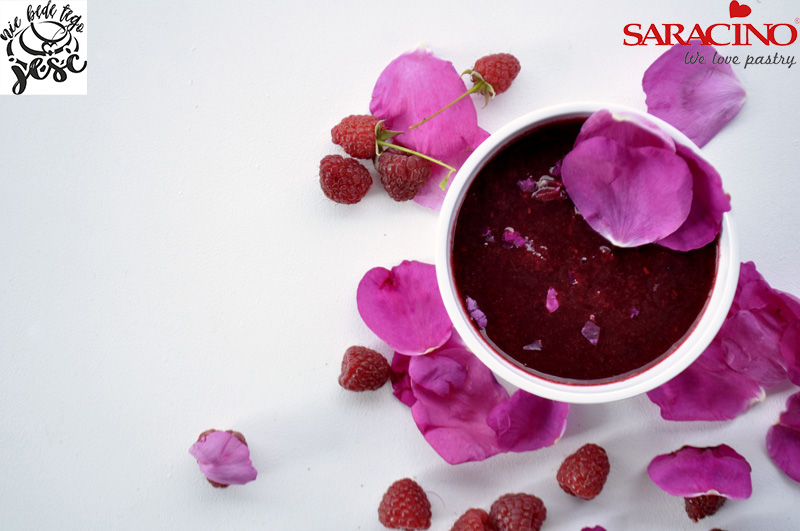
Add the raspberries and rose petals to a heavy based pan and bring to the boil with half of the sugar, add the rest of the sugar mixed with the pectin and cook until thickened.
Step 2
Pass the raspberry jam through a sieve to remove bits (you may need to press with the back of a spoon), pour into a bowl and set aside to cool

Step 3
Pour the jam into a smaller sized moulds, put it in a fridge or freezer to set.
Step 4
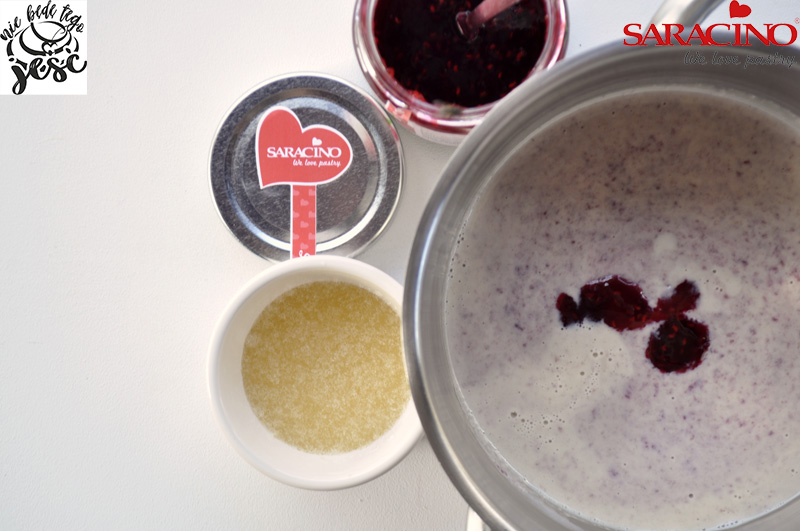
Pour 250 ml of the cream, white chocolate, Saracino raspberry food flavouring and rose water into a small heavy based pan and heat over a low heat until the chocolate is melted.
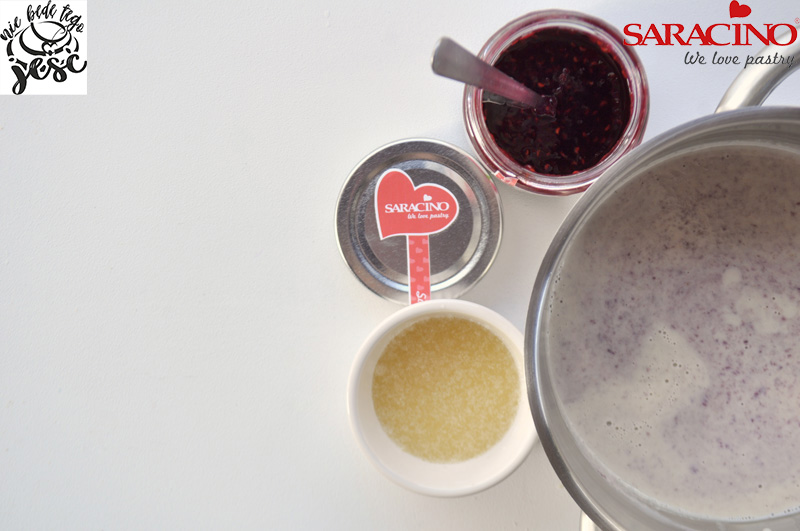
Step 5
Mix until smooth
Step 6
Add Saracino raspberry flavouring.
Step 7
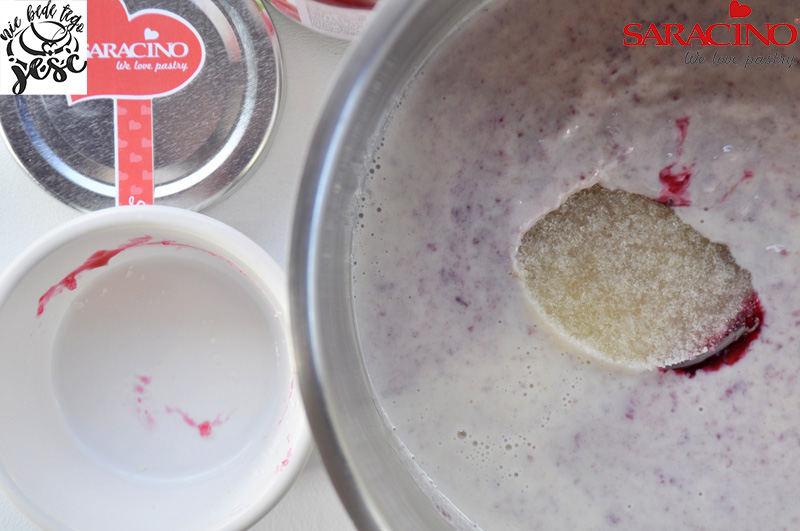
Add soaked gelatin.

Step 8
Mix thoroughly to combine.
Step 9
Cover the surface with cling film, let it cool down on the table top and then chill in the fridge taking care not to let the sauce set.
Step 10
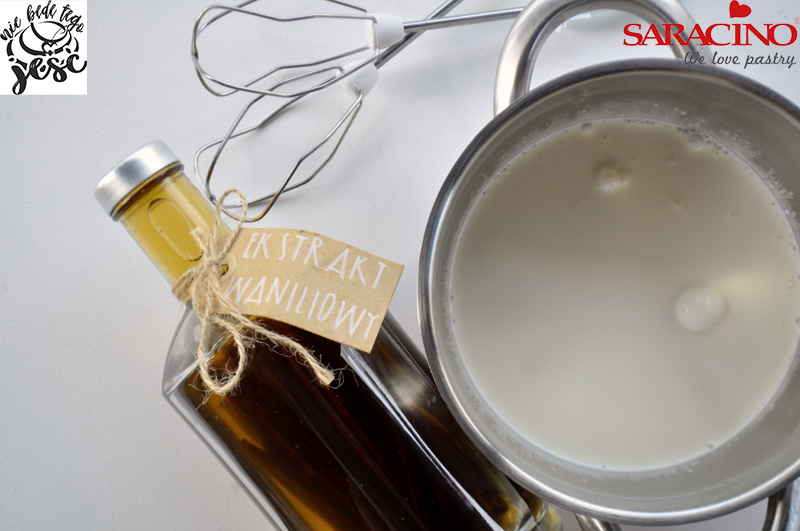
Add the rest of the cream (250ml) to a pan and mix in 1 teaspoon of vanilla essence.
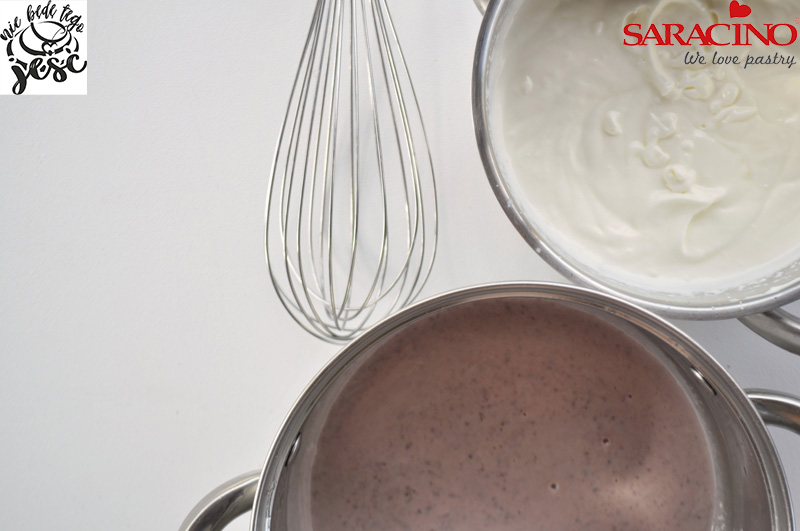
Step 11
Whip the cream to a stiff consistency.
Step 12
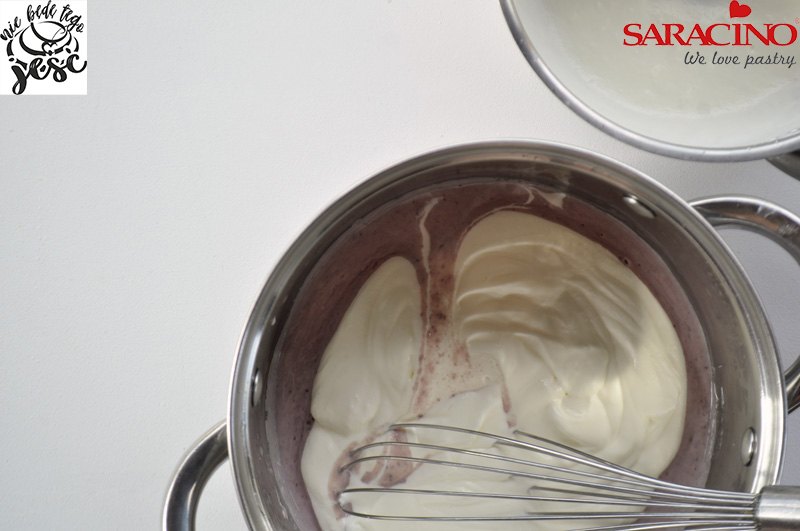
Whisk the cream with the thickening raspberry-rose sauce and chocolate.
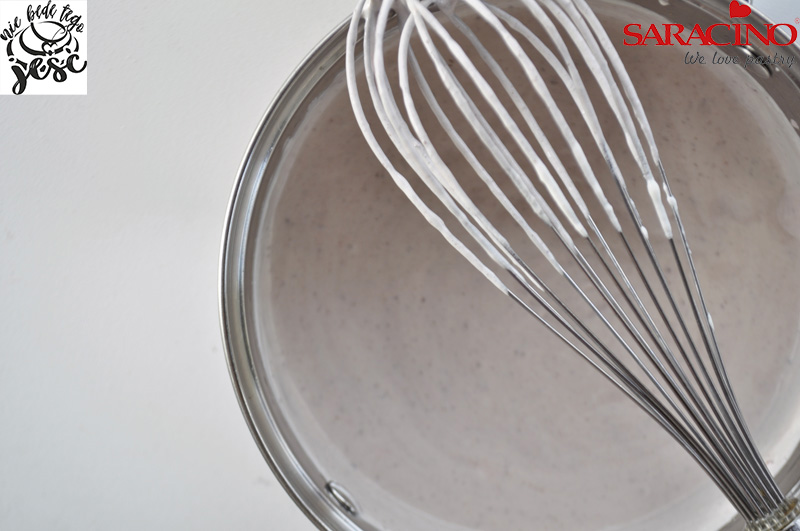
Step 13
Mix gently but make sure all the ingredients are fully blended.
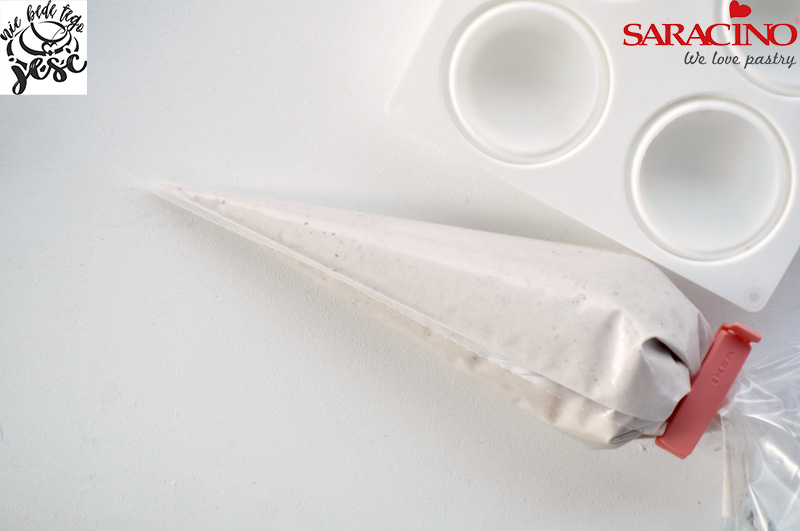
Step 14
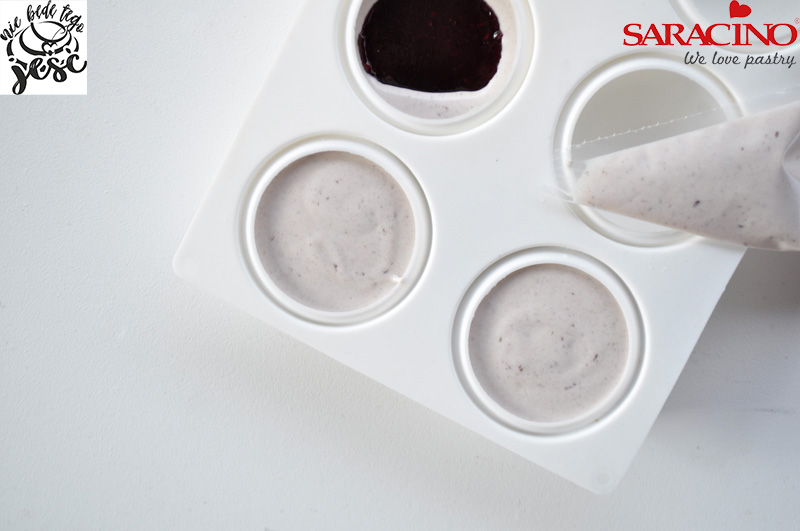
Put the mousse into the piping bag and have the larger silicone mould ready.
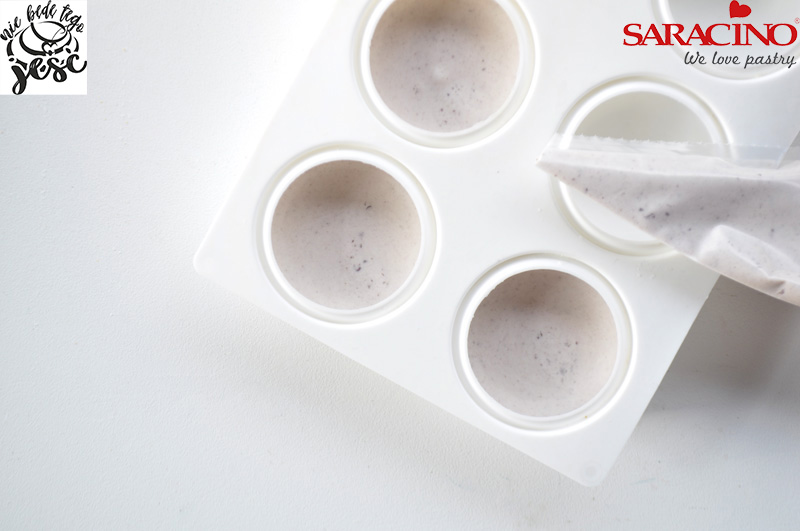
Step 15
Fill the larger silicon moulds with mousse up to half the height of each circle.
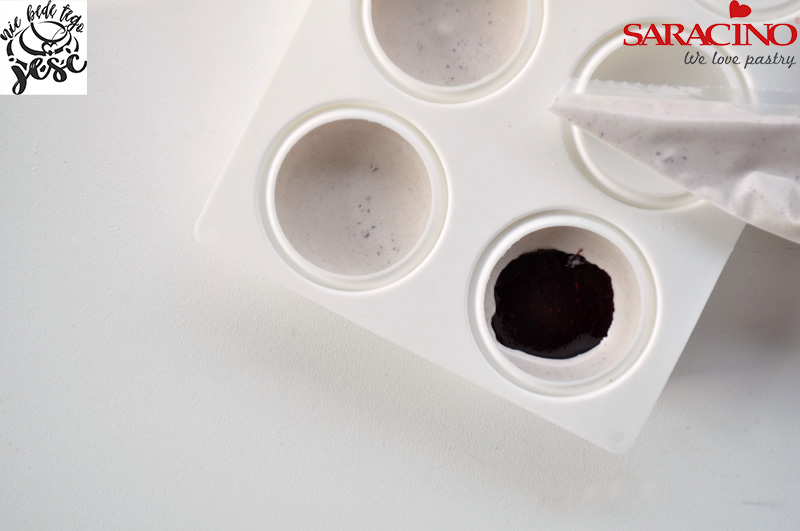
Step 16
Remove the previously made jelly from the fridge / freezer (make sure they are set). Place one jelly into each of the larger silicone mould circles.
Step 17
Fill the mousse to the brim by covering the jelly, level the surface, place in the freezer until set.
Step 18
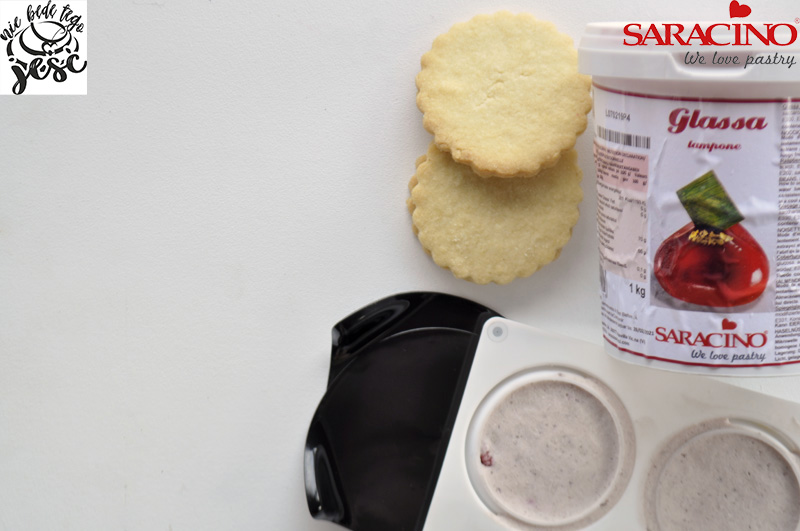
Prepare the mini cake boards and the butter biscuits. Check that the mousse is completely frozen.
Step 19
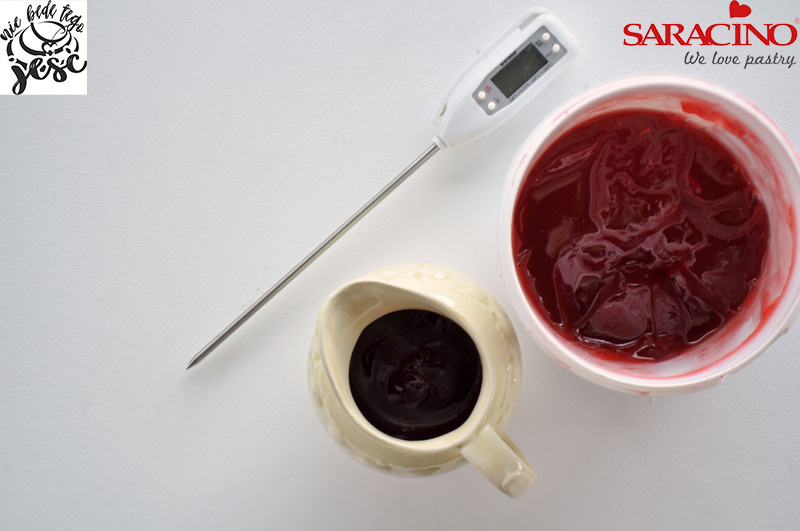
Heat the mirror glaze in a microwave oven or over a Bain-marie to 40 degrees Celsius. When reached the correct temperature pour it into a jug that will make it easy to pour precisely.
Step 20
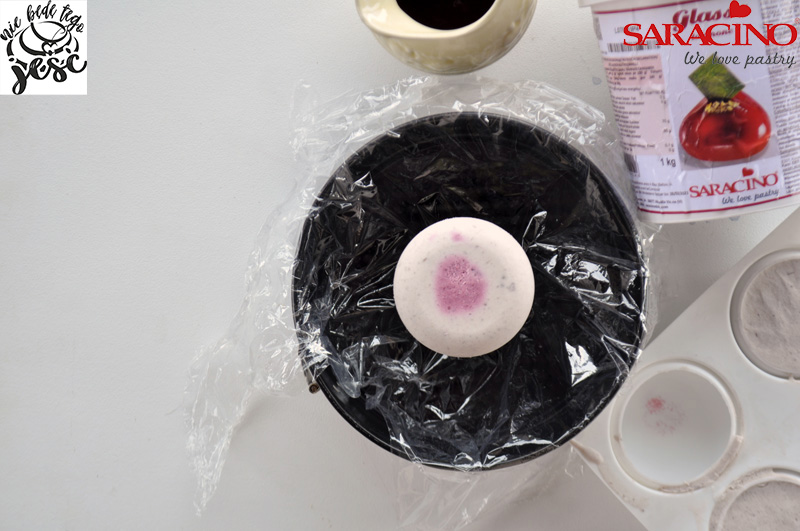
Prepare a flat tray with a rim (cake pan, tart pan) and line it with cling film. Place a glass or similar with a diameter smaller than that of the dessert in the middle and sit the frozen mousse on top of the glass. Alternatively you can place the mousses on a wire rack over a large baking tray.
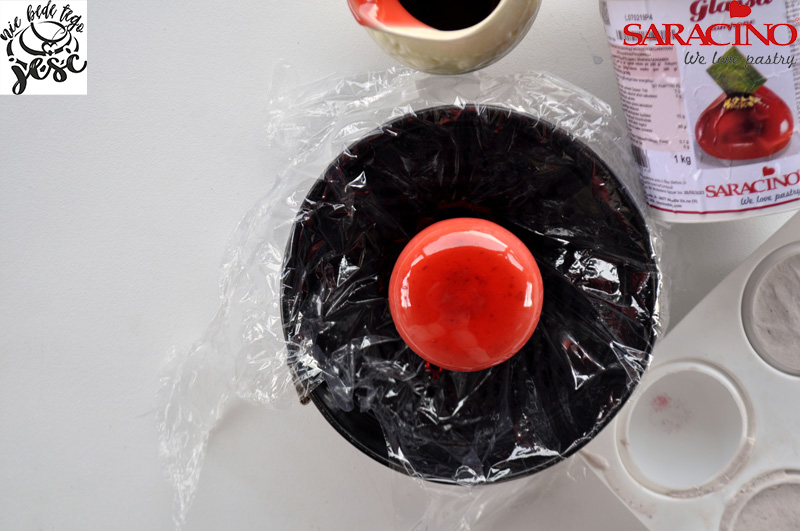
Step 21
Pour the mirror glaze in a circular motion, starting from the centre of the dessert out towards the edges. Wait until the excess of the mirror glaze flows off the mousse into the dish.
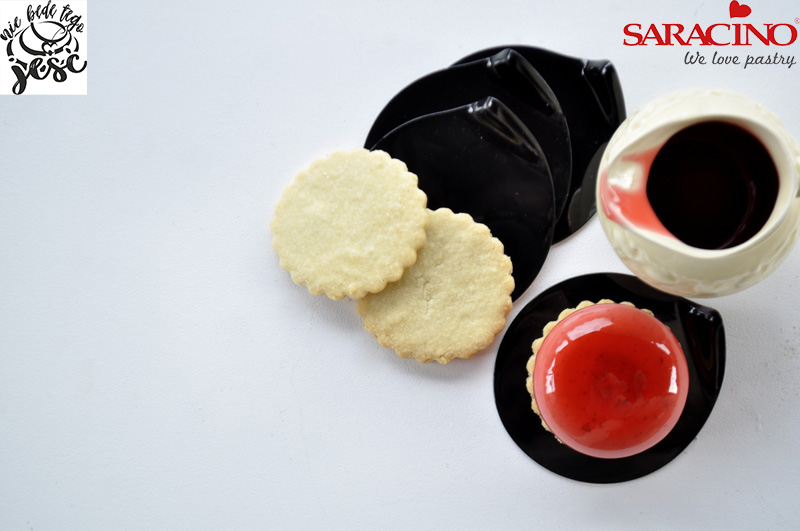
Step 22
Using a spatula or knife, carefully transfer the dessert on to the biscuit placed on the small cake board, place in the fridge to keep chilled but defrost. Take the remaining glaze mixture from the foil, keep in a sealed container in the fridge ready to use again.
Step 23
Before serving, decorate desserts with raspberries and fresh rose petals.