


You will need:
- Tiffany modelling paste
- White modelling paste
- Skin modelling paste
- Pink liquid colour
- Black liquid colour
- Craft knife
- Small rolling pin
- Flower tool
- Snowflake plunge cutter
- Edible glue
- Work mat
- Wooden skewer

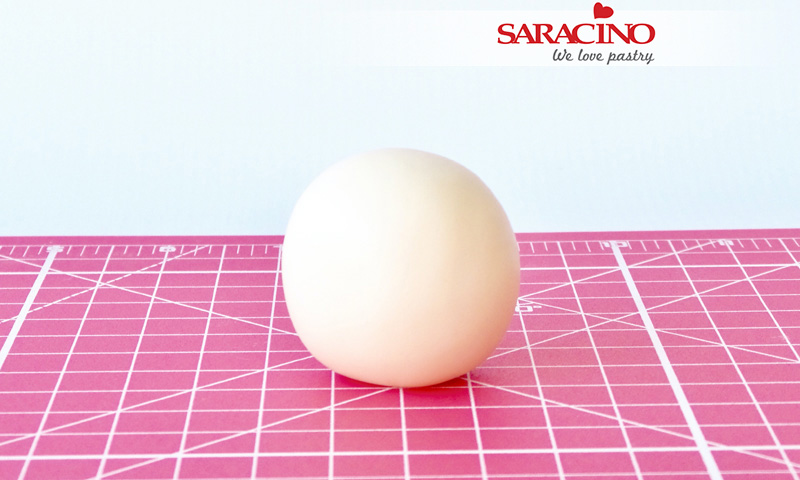
Step 1
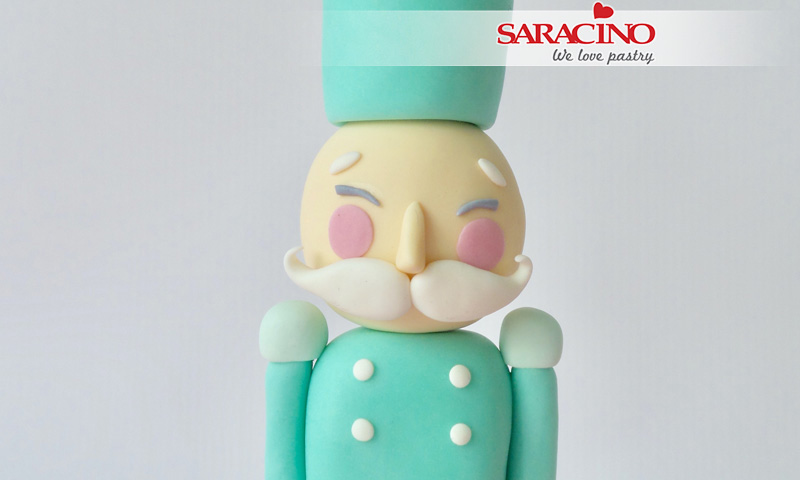
Roll 50g of skin modelling paste into a ball, flatten the base against your mat to make the head.
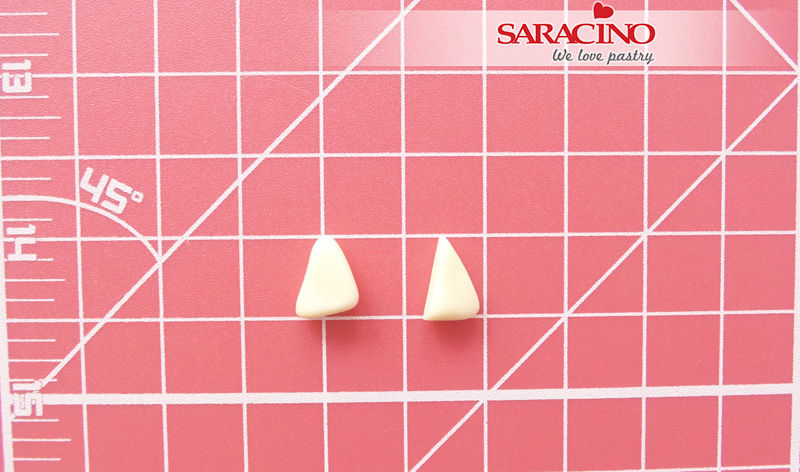
Step 2
Take a pea sized piece and pinch it into a triangle shape. Trim one side so it will sit flush against the head.
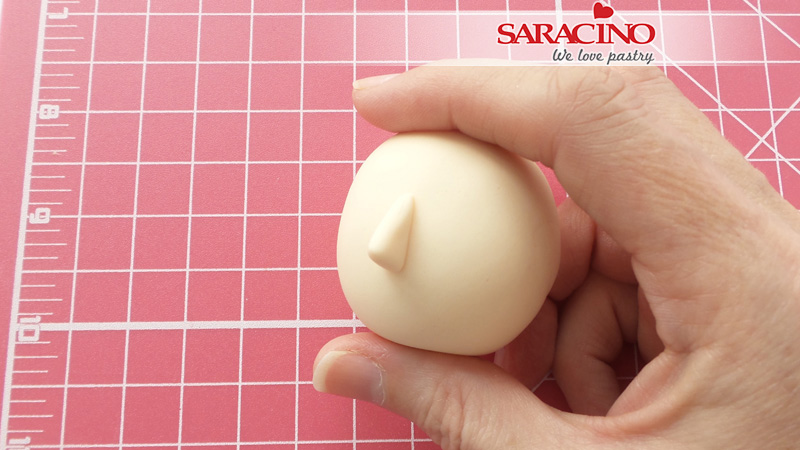
Step 3
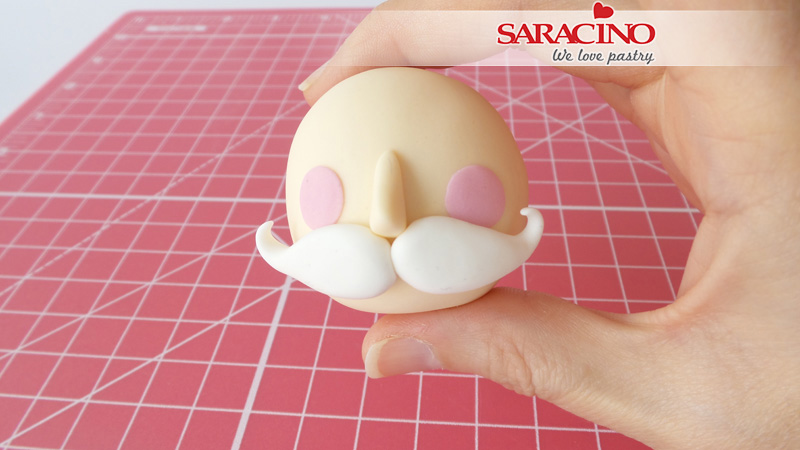
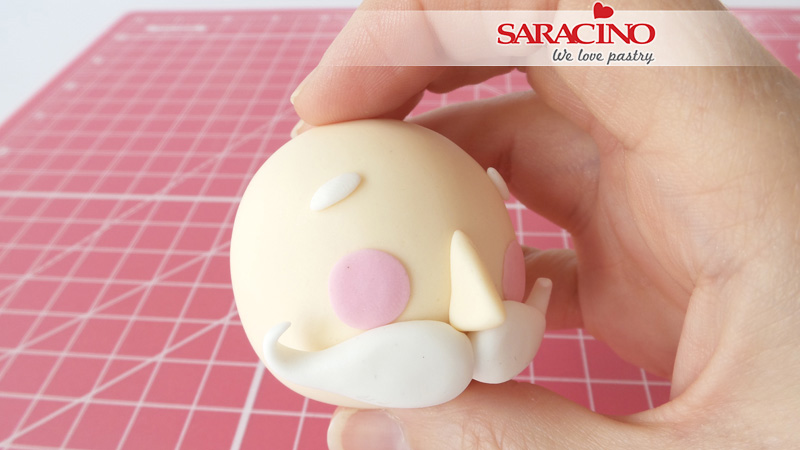
Stick the nose to the centre of the face.
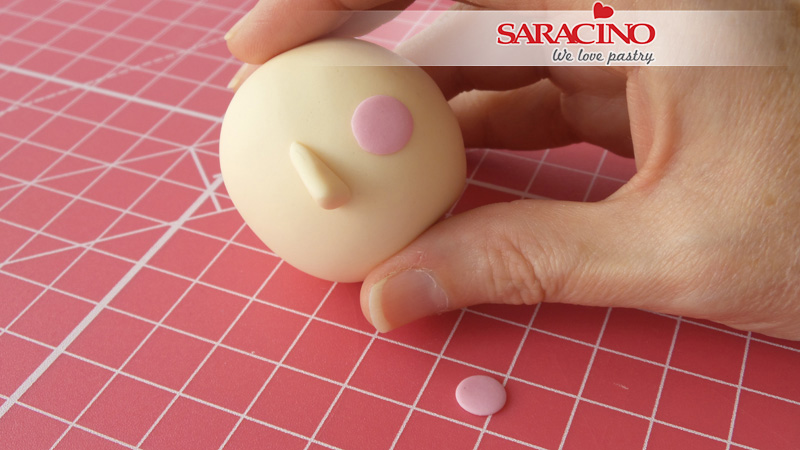
Step 4
Colour a tiny amount of paste pink and roll into to balls. Flatten and glue either side of the nose.
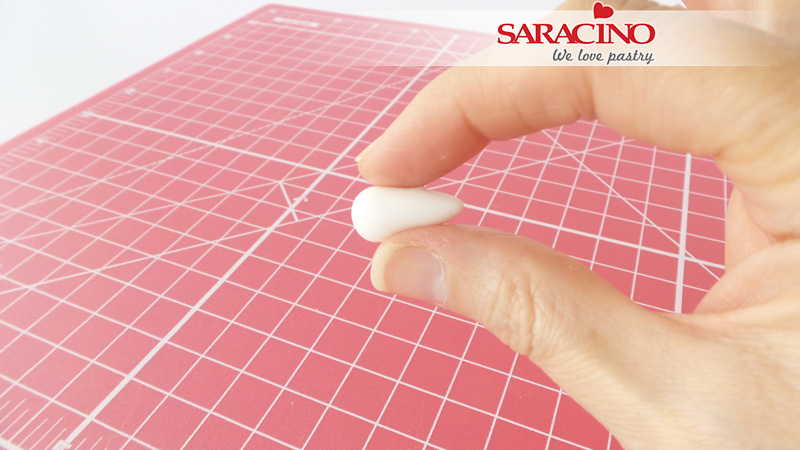
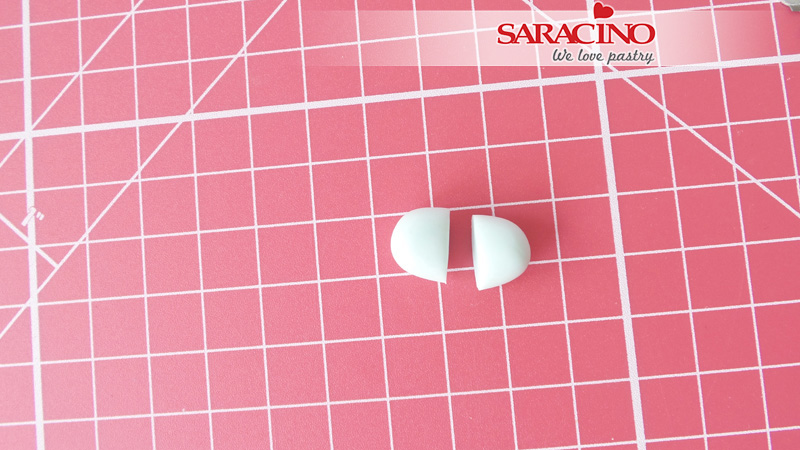
Step 5
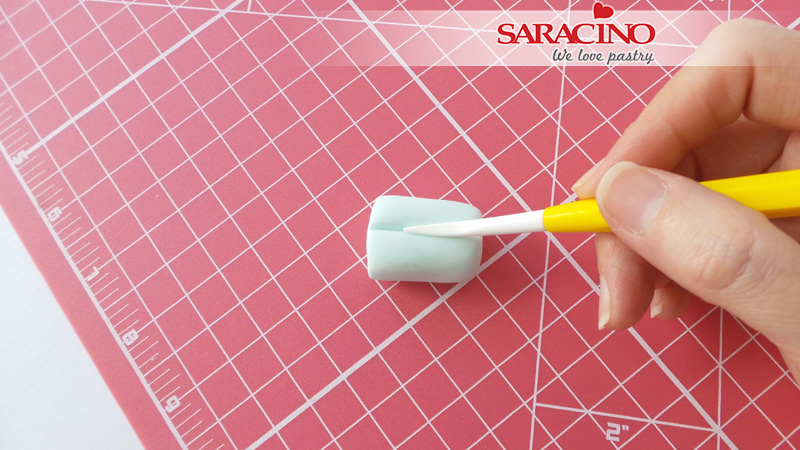
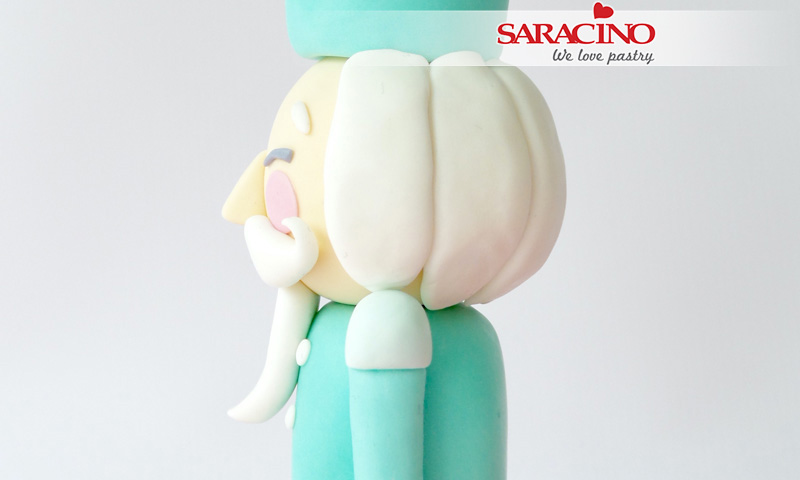
Roll a pea sized amount into a ball and pinch to create a cone shape.
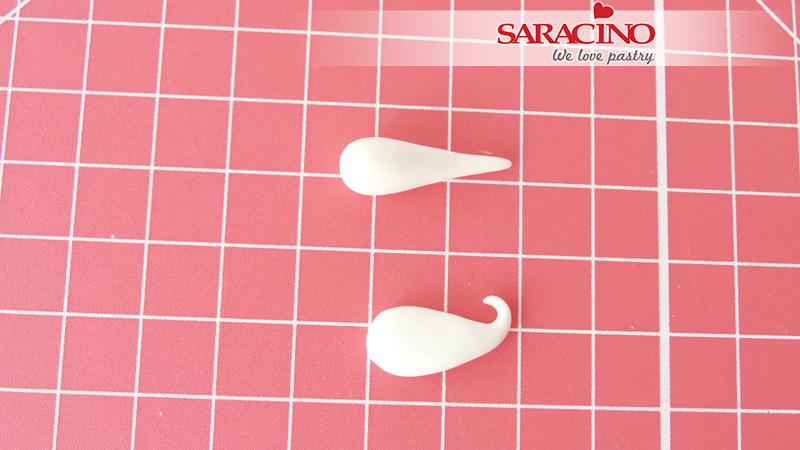
Step 6
Flatten and pull pointed end to make a finer tip. Curl around and wait a minute to firm.
Step 7
Glue under the nose and repeat on the other side.
Step 8
Take tiny bits of white modelling paste and roll into sausages and flatten slightly. Glue to the head as shown.
Step 9
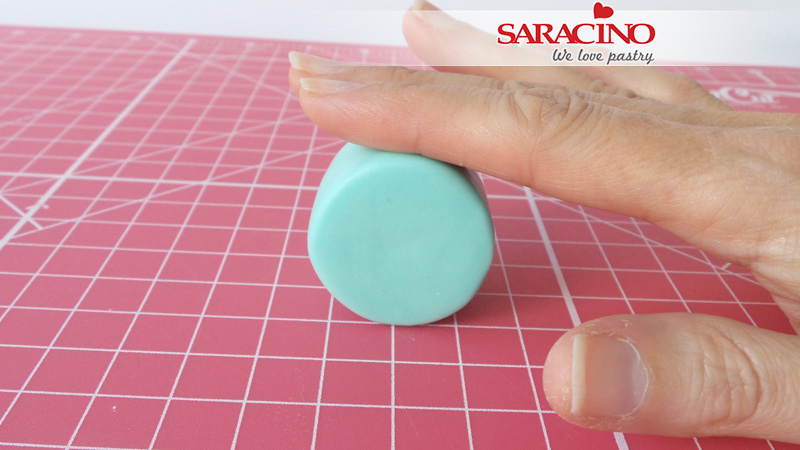
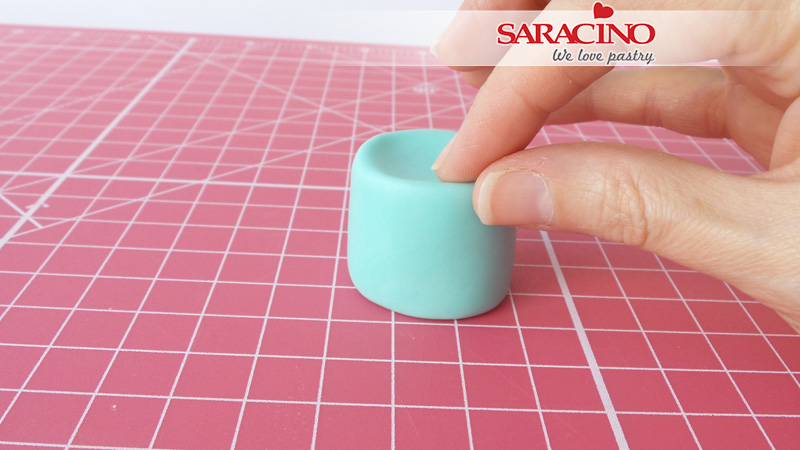
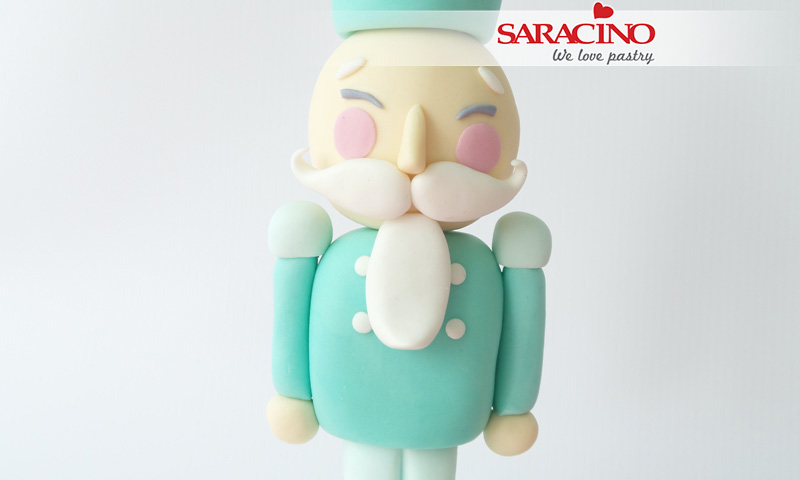
Take 60g of Tiffany modelling paste and shape into a rectangle for the torso and pinch slightly at the base. Set aside to firm.
Step 10
With 16g of a Tiffany/white modelling paste mix make a similar shape as you made for the torso to create the legs. But make sure the top surface is nice and flat.
Step 11
With your flower tool draw a line down the center, repeat on the other side.
Step 12
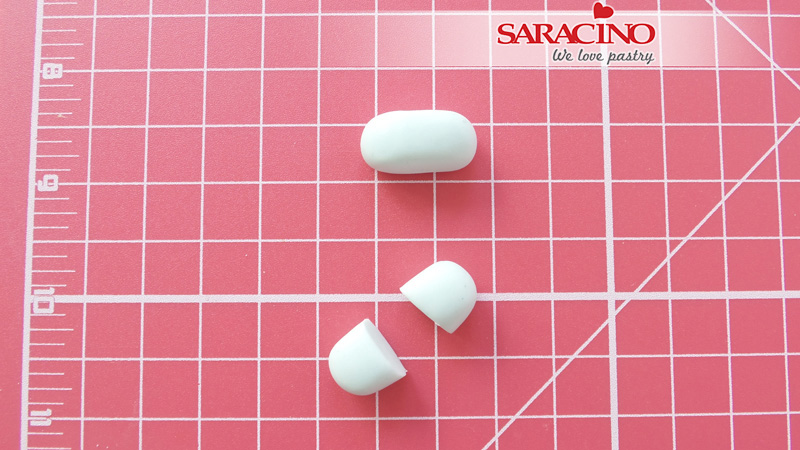
To make the feet take approx 1g of the same mix and roll into an oblong shape then cut into two.
Step 13
Glue the feet to the legs.
Step 14
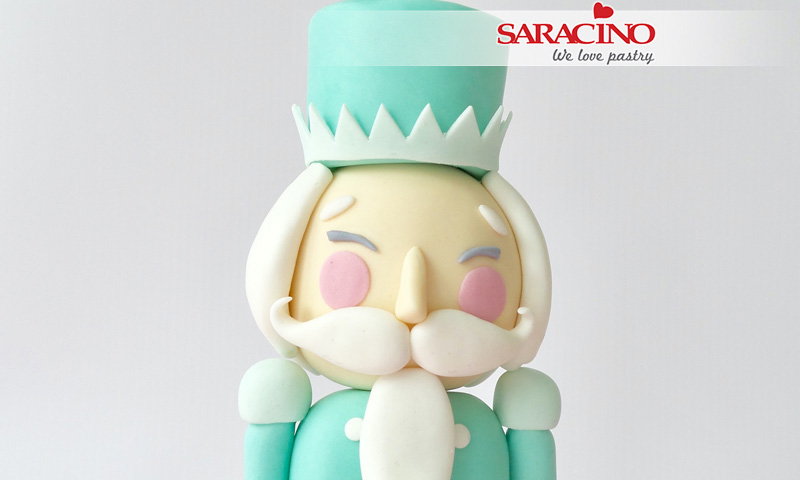
Roll 30g of Tiffany modelling paste to make the hat. Make one side flat.
Step 15
Pinch the other side as shown.
Step 16
Push a wooden skewer through the legs, torso, head and hat leaving enough at the base to stick into your cake or dummy.
Step 17
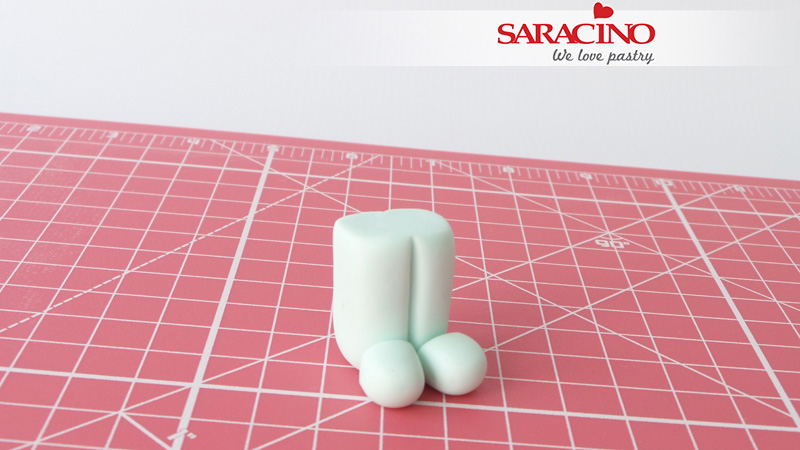
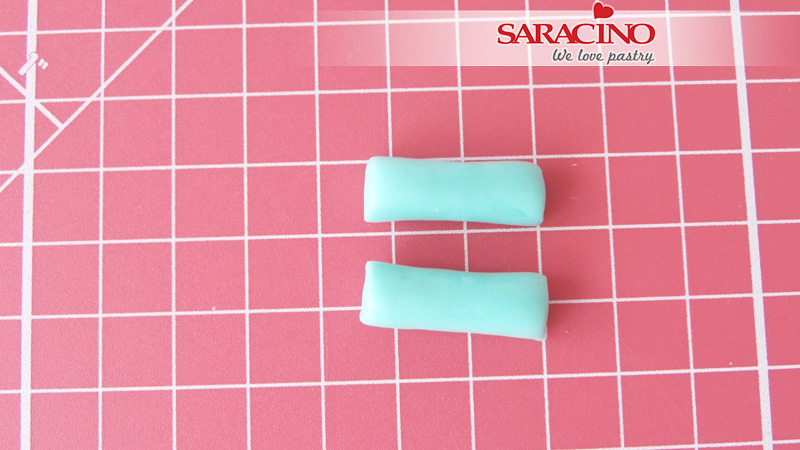
For the arms roll out 7g of Tiffany and trim either end and cut into two.
Step 18
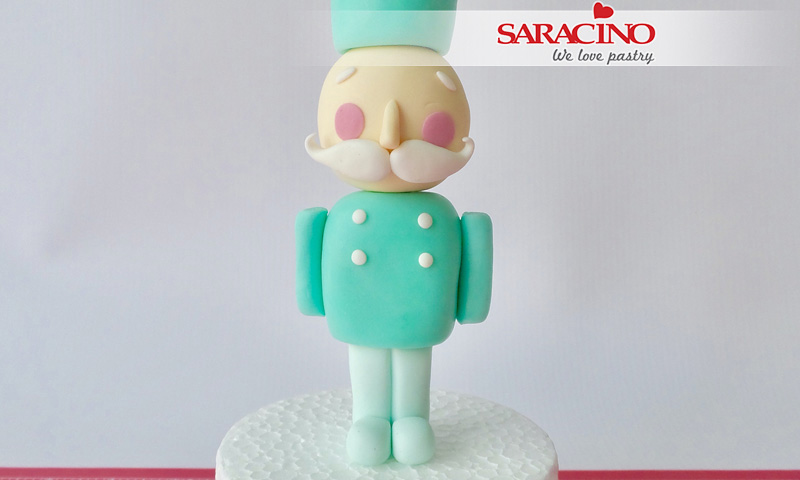
Glue to the sides of the torso as shown.
Step 19
Take small ball of Tiffany/white mix and cut into two.

Step 20
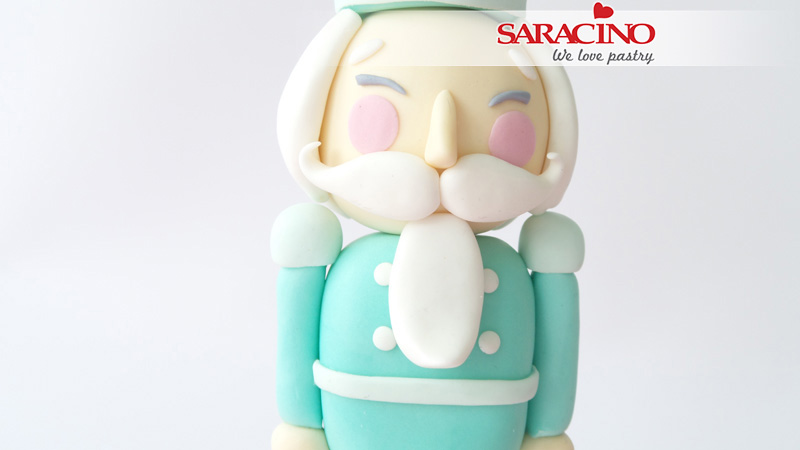
Glue to the tops of the arms. Add four tiny balls of white modelling paste flattened to create buttons.
Step 21
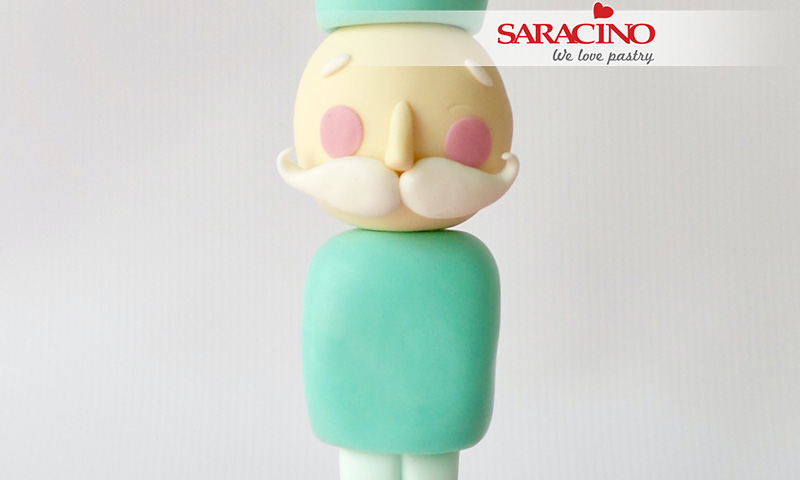
Colour a tiny bit of paste with a little Black to create a light grey. Roll into two shut eyes and glue above the cheeks.

Step 22
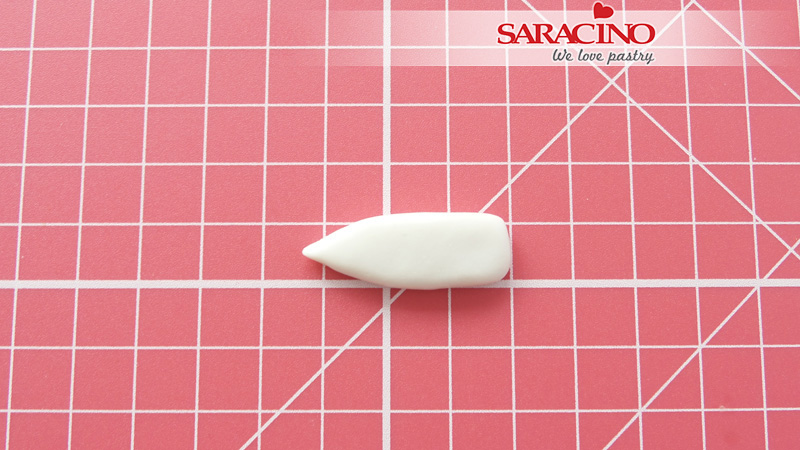
Take 1g of white modelling paste for the beard, make an oblong shape, flatten and pinch at one end.
Step 23
Glue to the torso and push up the pinched end slightly.
Step 24
Separate 20g of white modelling paste into 8 balls. Make each ball into a teardrop shape that is flat at on end.
Step 25
Glue each of these pieces to the head ,the flat end under the hat and the pinched end to the neck.
Step 26
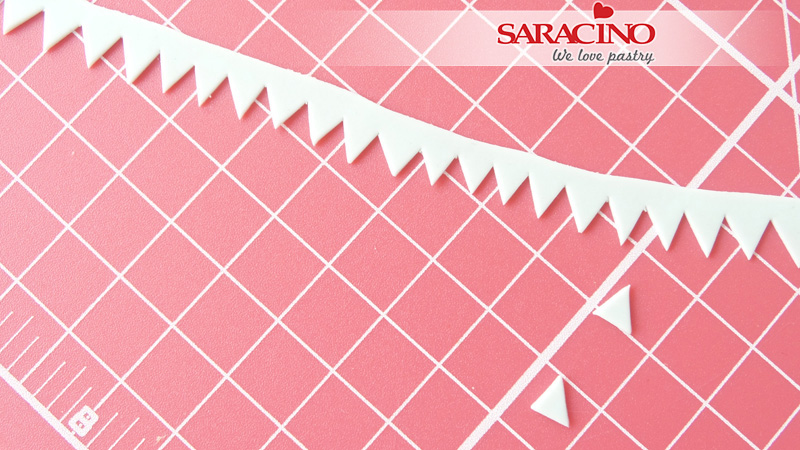
Roll out 2g of Tiffany /white mix into a strip long enough to wrap around the hat. With your craft knife cut out small triangles.
Step 27
Wrap around the hat and glue in place. Gently push the tips of the triangles away from the hat.
Step 28
Roll out a strip of Tiffany/white mix and glue around for a belt.
Step 29
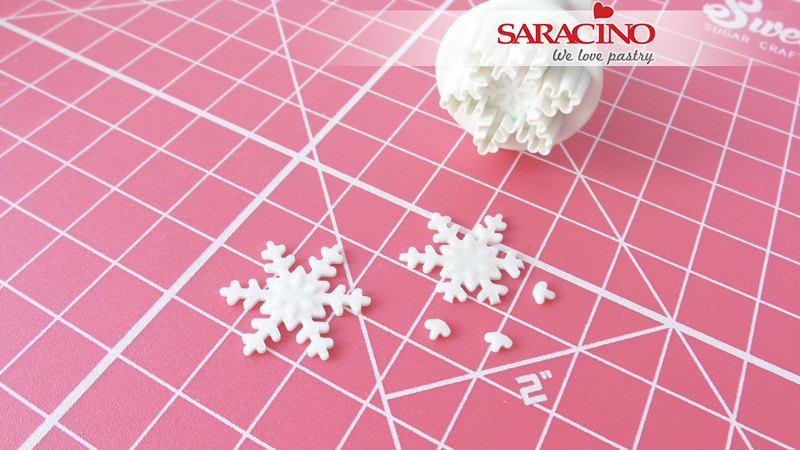
With a small snowflake plunger cutter make a snowflake from white modelling paste. Then trim off the tips on each section.
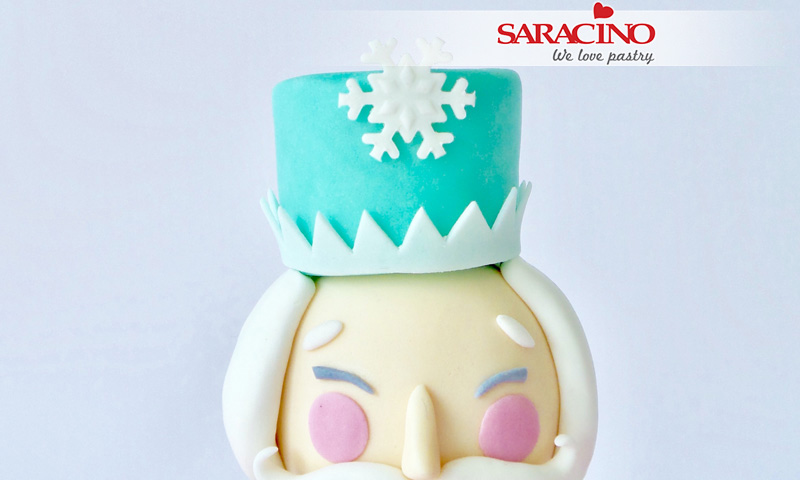
Step 30
Glue to the hat.
Step 31
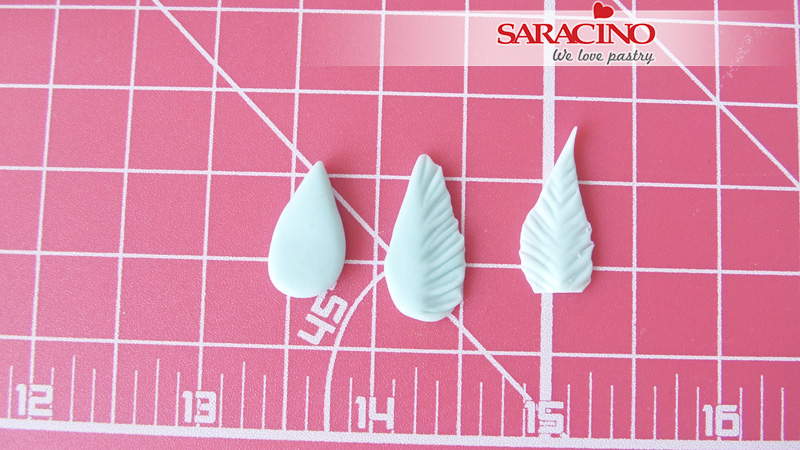
Make a teardrop from Tiffany/white mix and using the flower tool make a feather. Trim the rounded end.
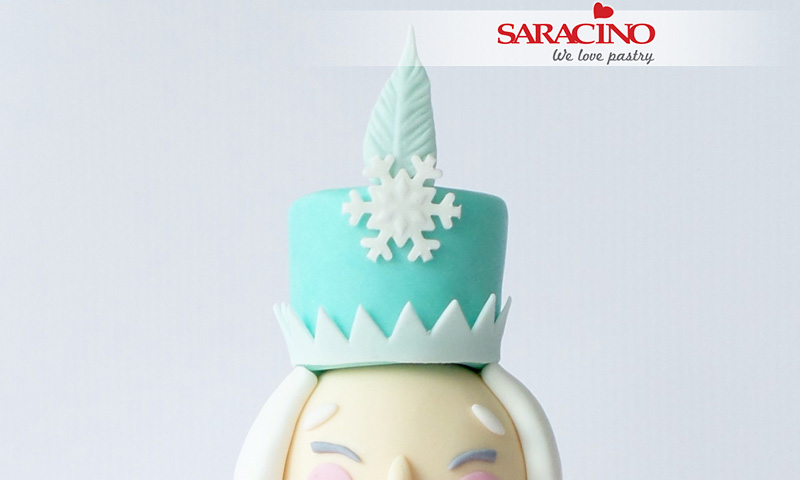
Step 32
Glue to the hat and back of the snowflake. Ta da !
