


You will need:
- Saracino Modelling Paste – 200g orange, 60g brown, 40g skin color, 10g green,
- 150g green Sugarpaste
- Saracino Dust Colours – pink, skin, yellow, red, brown, green, black and white
- Saracino Cake Gel
- Cake Board 12cmx12cm
- Styrofoam Ball 8cm
- Modelling Tools and brushes
- Knife
- Scissors
- Lemon extract/alcohol
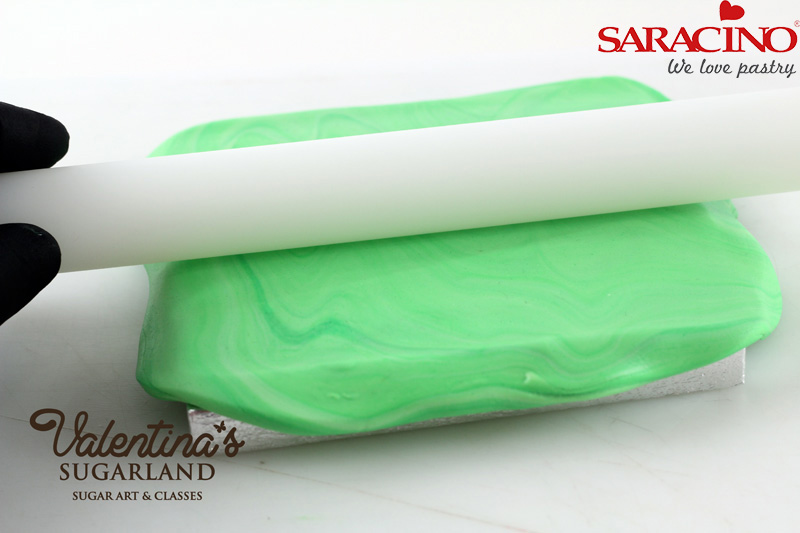
Step 1
Cover the cake board with green sugar paste. Roll out the paste to a reasonable thickness.
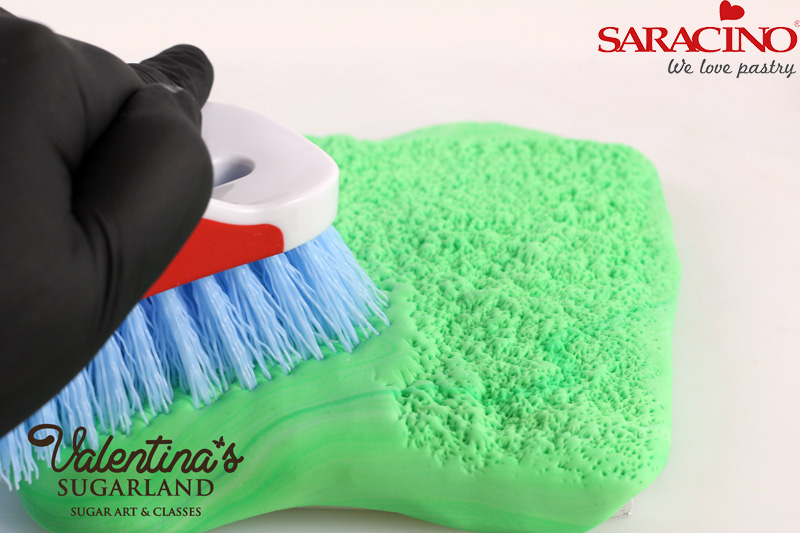
Step 2
Use a stiff-bristled brush to make texture on the fondant. Trim the excess.
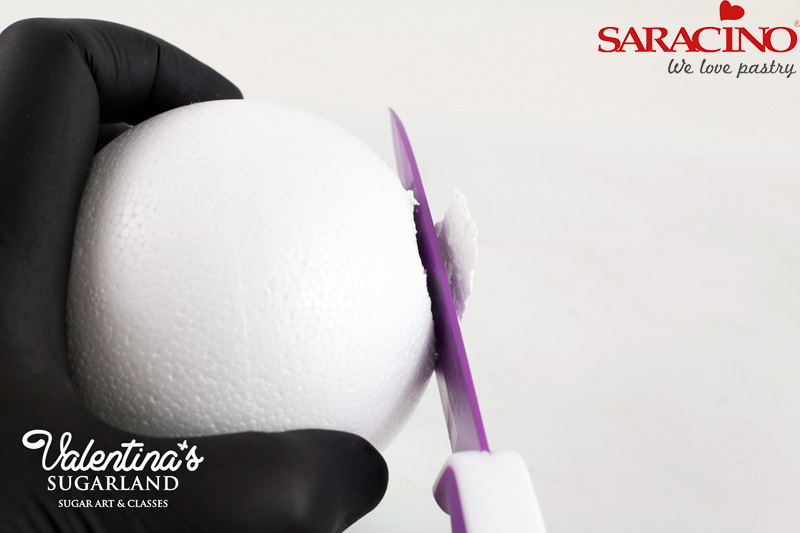
Step 3
You can use a 8cm stryrofoam ball to form the inside of the pumpkin or alternatively use a ball of rice krispie treat. Cut the top off two opposite sides of the ball with a sharp kitchen knife.
Tip: I will always use a styrofoam shape for inside support when I make a cake topper that is going to be kept as decoration for a long time. I use rice krispie treat only on cake decoration that is going to be eaten fast, so there will be no chance to deteriorate.
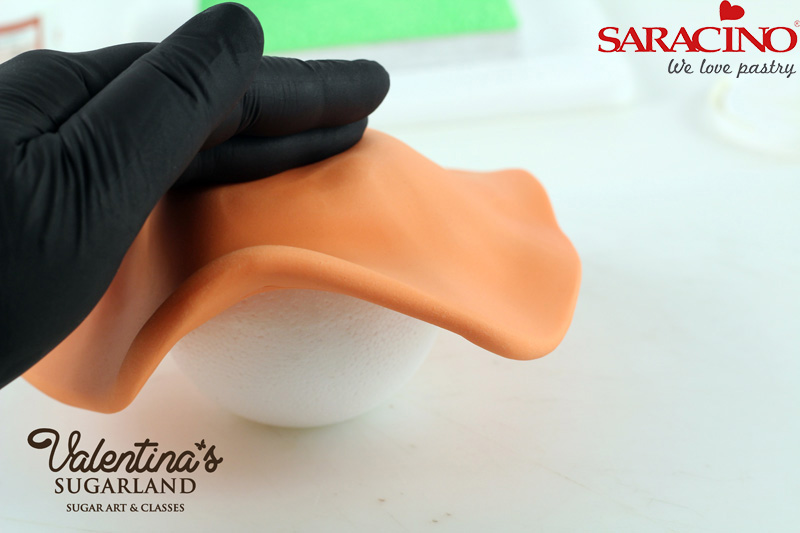
Step 4
Knead 200g orange Saracino modelling paste until soft and pliable and roll out to approximately 5mm thick. Apply cake gel or edible glue to the styrofoam ball and cover it with the modelling paste.
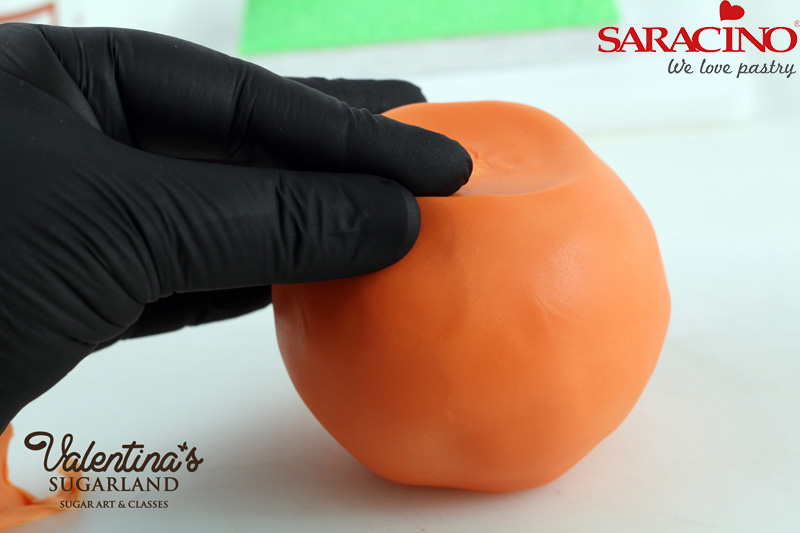
Step 5
Use your fingers to sharpen the upper edge.
Tip: I often use gloves when working on larger pieces, to be more hygienic. It also helps you when you have a hot hands and the paste may stick to them. When working on small faces or detail I prefer working without gloves to have more control and better feeling of my fingers.
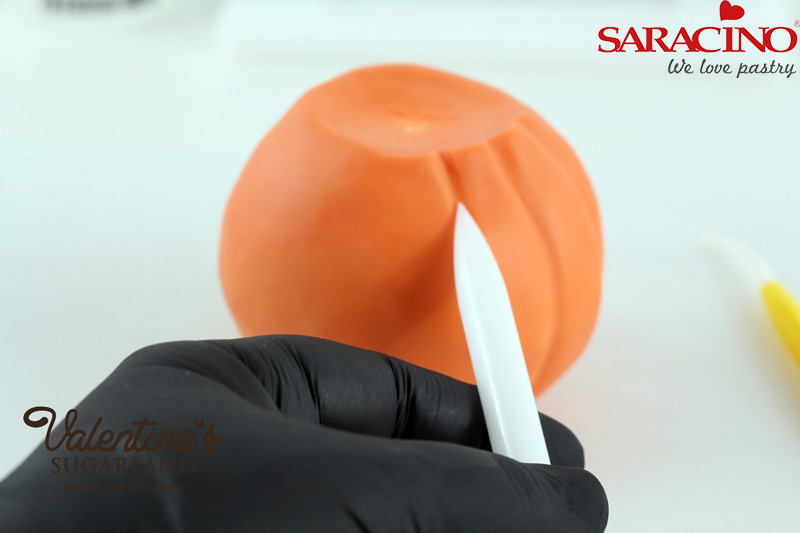
Step 6
Use a modelling tool such as a CelPin to make the pumpkin’s grooves. Smooth them by running your fingers over them.
Step 7
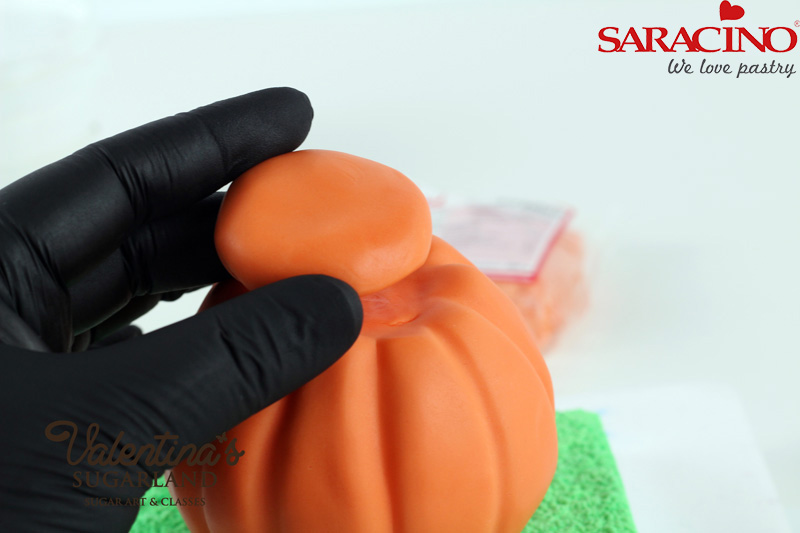
For the pumpkin lid take 20g of orange Saracino modelling paste and shape it to a disk as big as the pumpkin top.
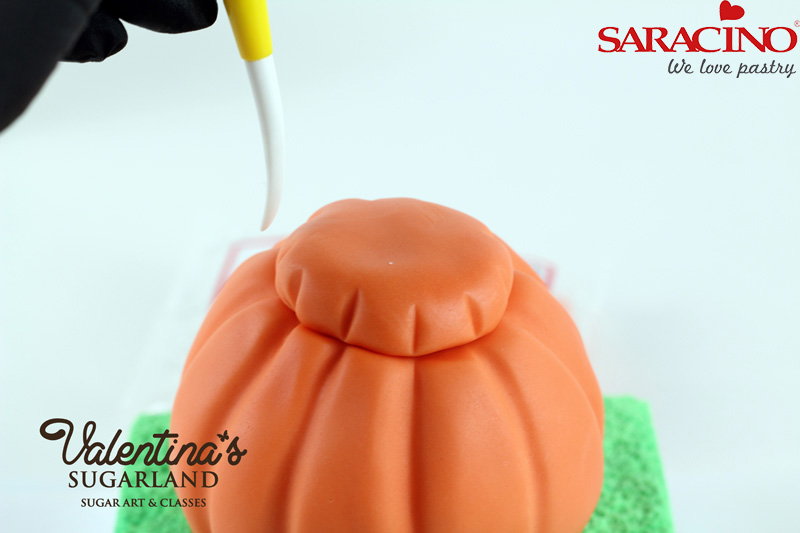
Step 8
Place the lid on the top of the pumpkin and mark where the grooves should be to match the main pumpkin. Remove the lid and form the dents as described in Step 6.
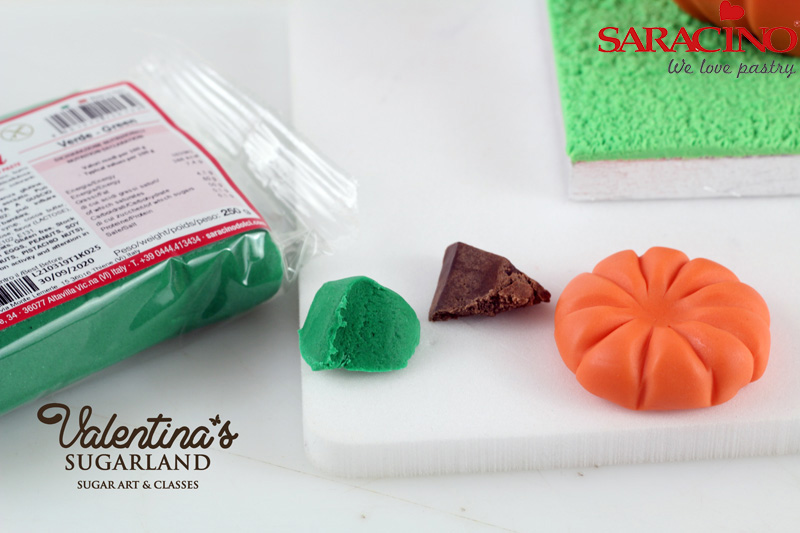
Step 9
Mix green and brown modelling paste and shape 3g of it to a twisted stem. Use a modelling tool and draw a line along the stem and place it in the middle of the lid. Fix using edible glue.
Step 10
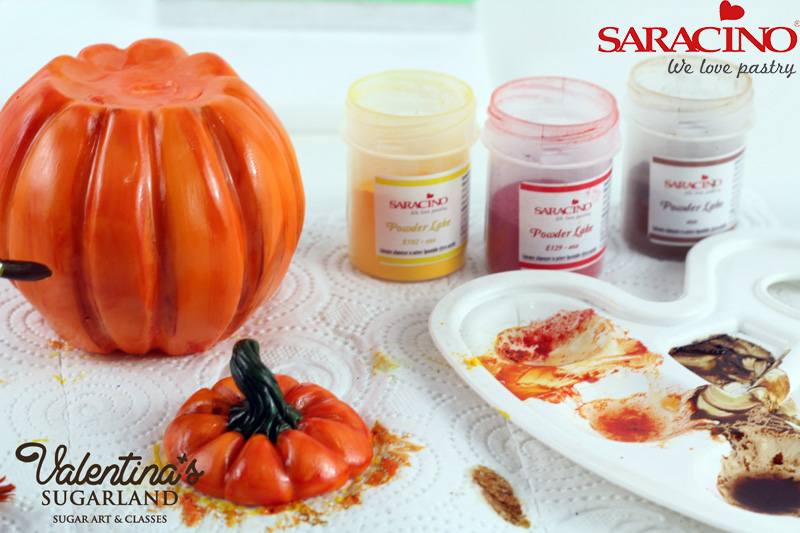
Mix Saracino dust colours with lemon extract or vodka and paint the pumpkin. Start with yellow and using a wide brush paint in strokes from the upper edge to the bottom. Mix some red to the yellow dust to achieve a different shade of orange. Apply with a smaller brush. Paint the red and brown mixture to the dents. Use brown and green to paint the stem.

Step 11
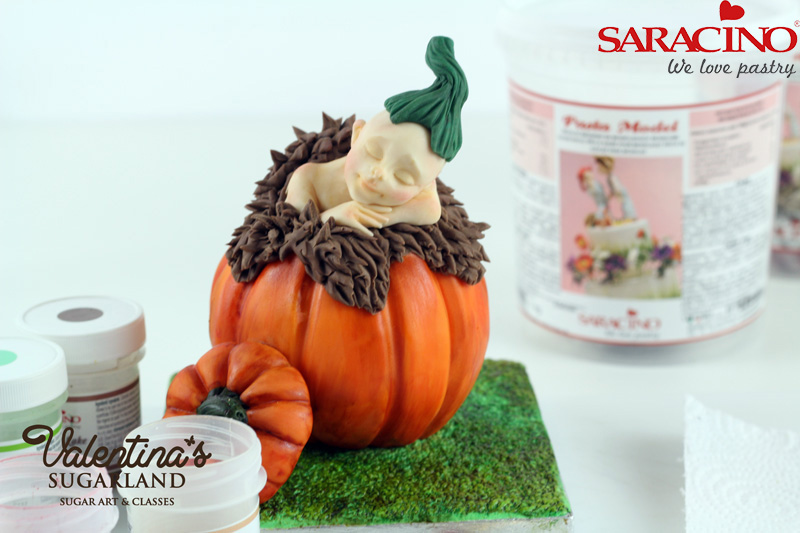
Place the pumpkin and the lid in the middle of the cake board. Use brown, green and yellow dust colours mixed with lemon extract to paint the grass.
Step 12
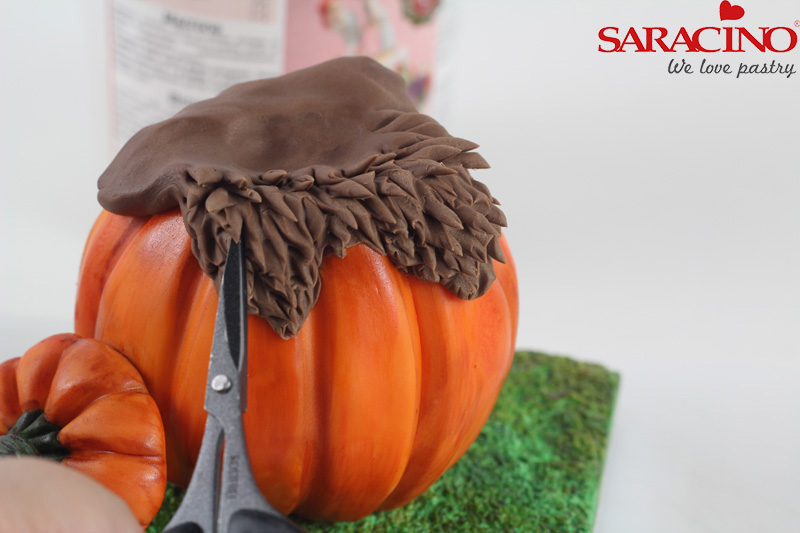
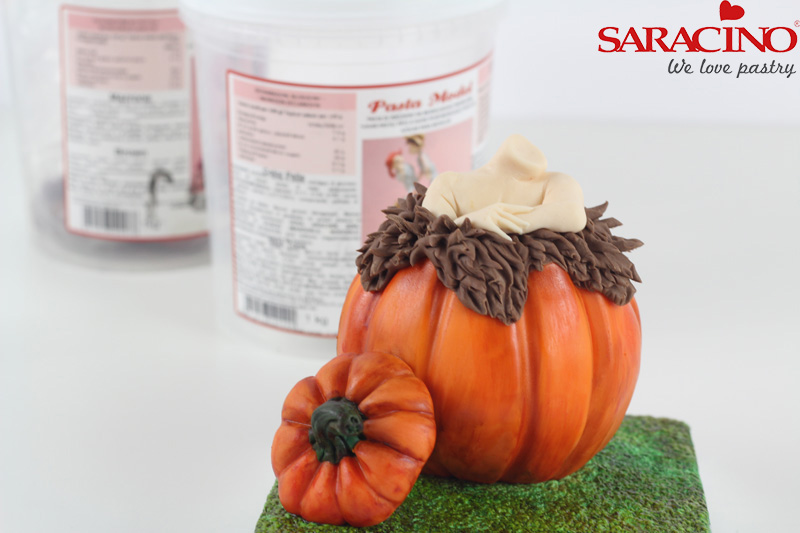
Knead 50g of the Saracino sugar paste and place about 30g of it on the top of the pumpkin. Shape it to look like a fur blanket. Use small pointed scissors to add texture to the blanket.
Step 13
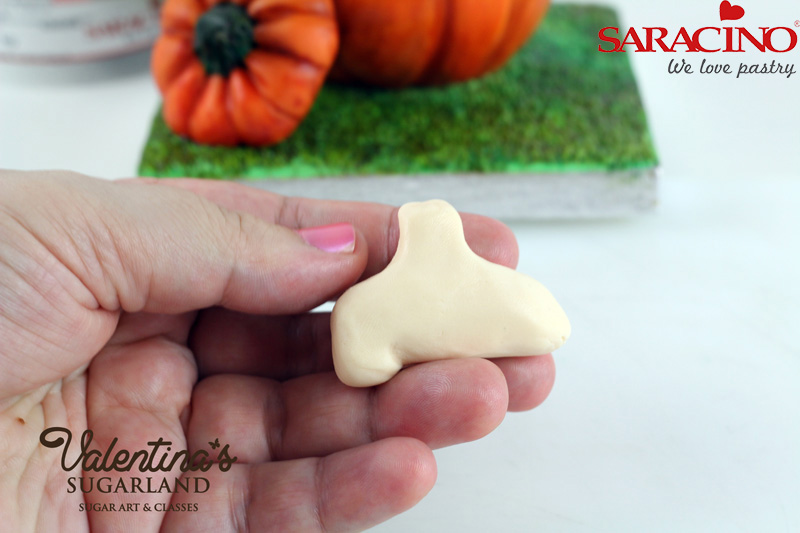
Knead 15g of the skin coloured Saracino Modelling Paste and roll to a sausage shape. Pull centrally on the upper side to form a small neck. Mark the arm pit on the left side.
Step 14
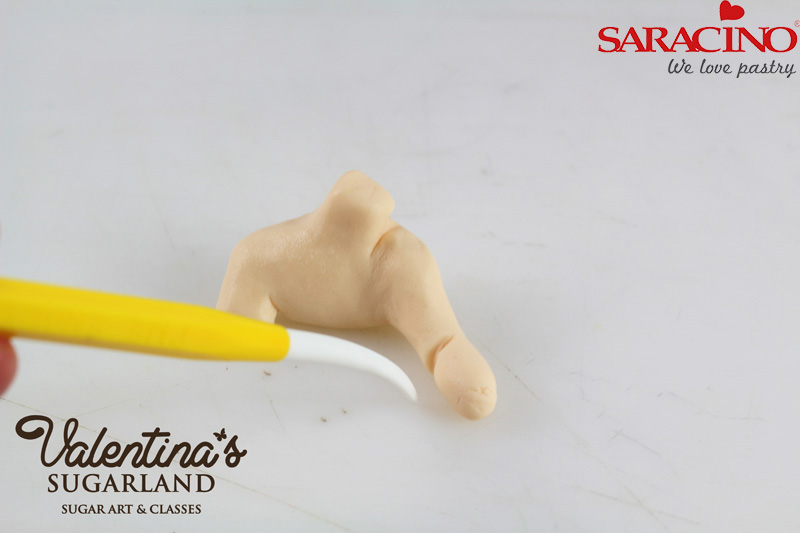
Pull and shape the right side to form a long thin sausage for the right arm. Mark in the middle for the elbow and bend it towards the direction of the body.
Step 15
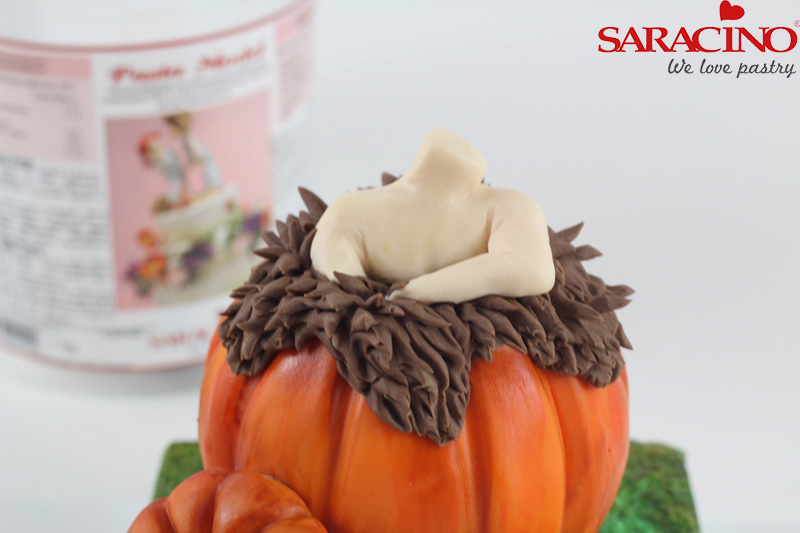
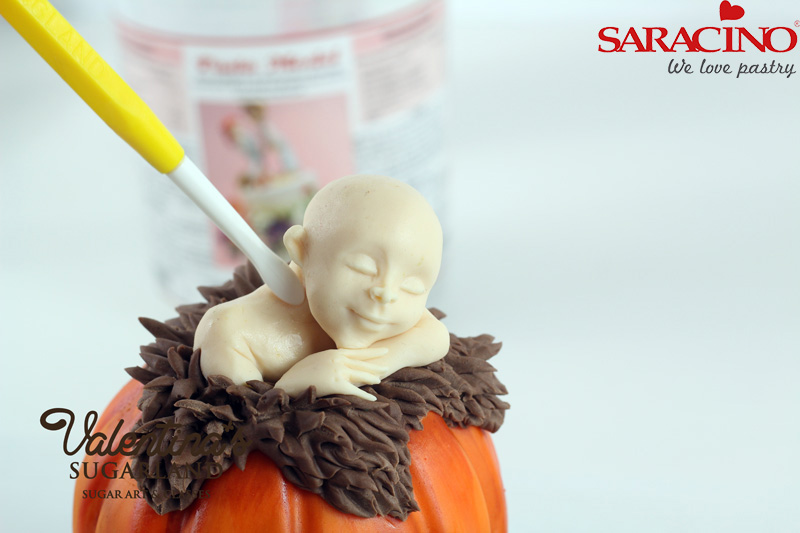
Place the body into the pumpkin and arrange the fur strands in a way that they cover the joint between the body and the blanket and to look like the baby boy is inside the pumpkin. If needed use more brown paste to add blanket behind the body and shape it like fur as described in Step 12.
Step 16
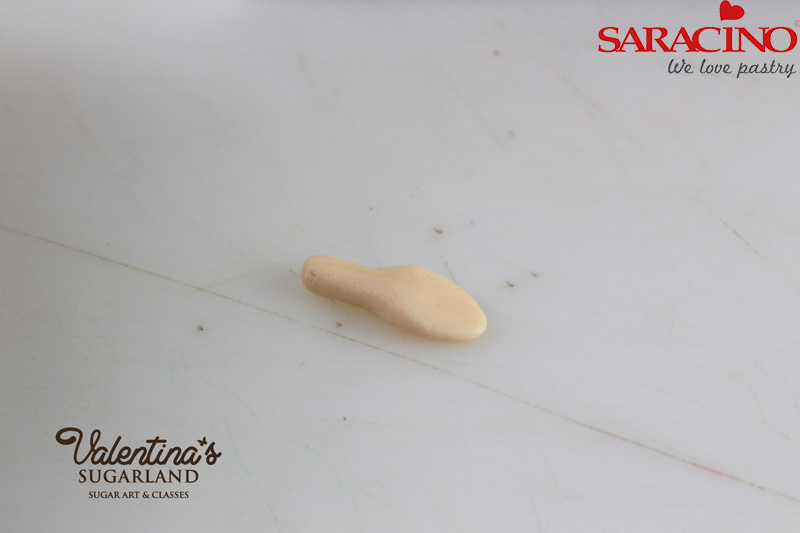
Use 1.5g of the skin coloured Saracino Modelling Paste to make the hand. Shape it like a teardrop, flatten the thicker side with your finger and place on the modelling board.
Step 17
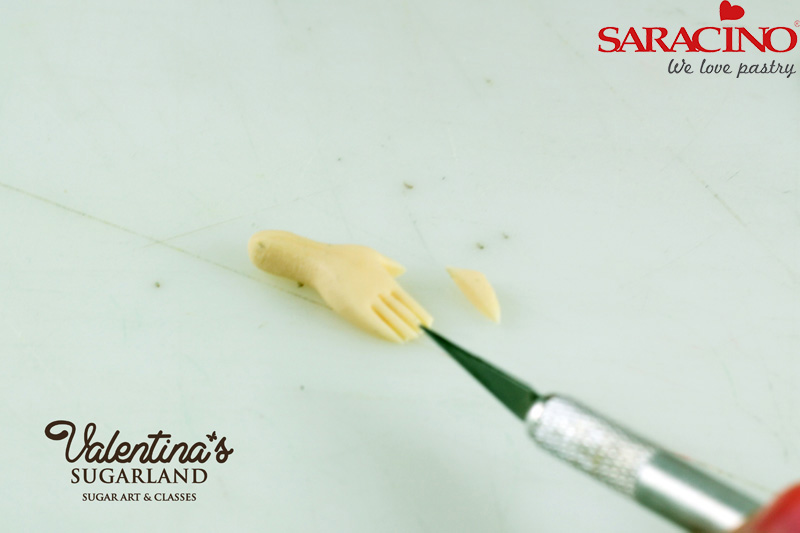
Using a knife cut out a small triangle to separate the thumb from the fingers and then make three cuts to form four fingers.
Step 18
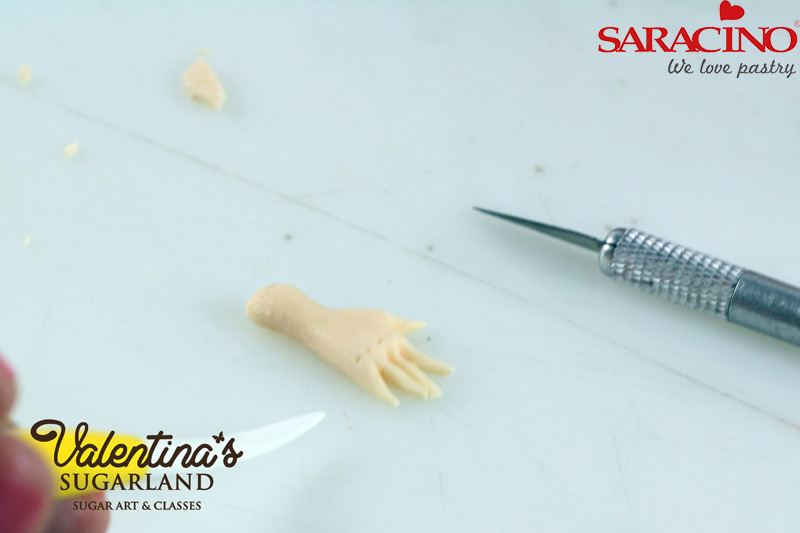
Roll each finger gently between your finger and thumb to shape them and cut to the required length.
Step 19
Place the hand near the body in the pumpkin and arrange the fur around to look natural.
Step 20
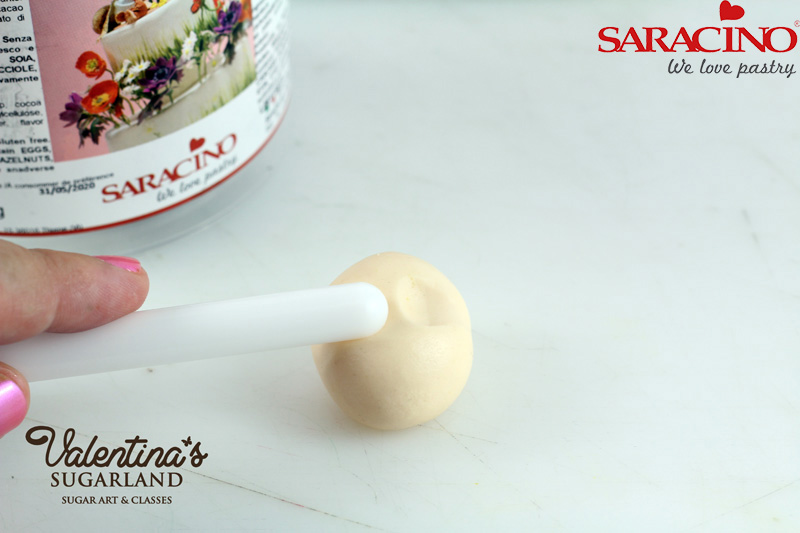
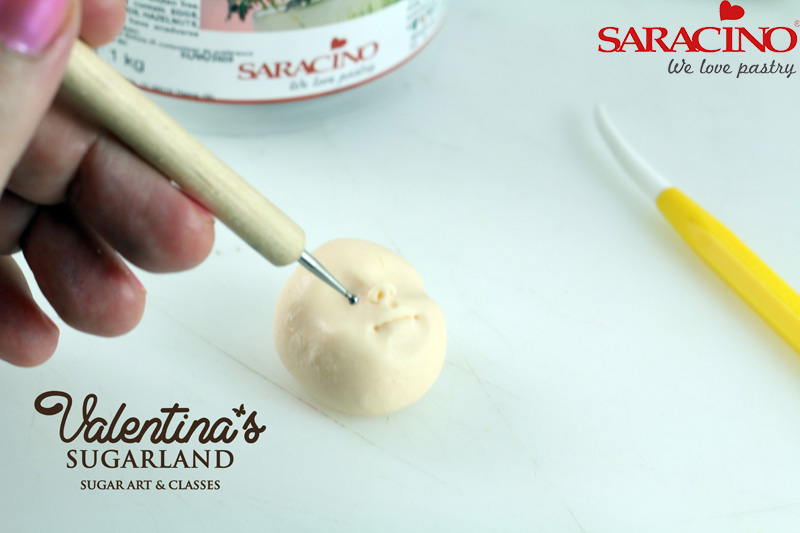
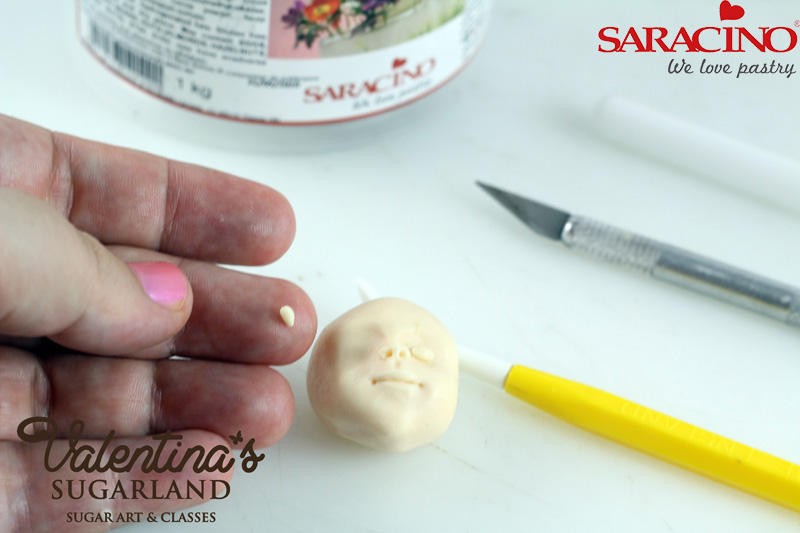
For the head knead 20g of Saracino skin coloured modelling paste and roll it to a smooth egg shape. Use the round side of the CelPin and form two dents for the eye area in the middle of the head. Leave a gap of 2mm between the dents for the bridge of the nose.
Step 21
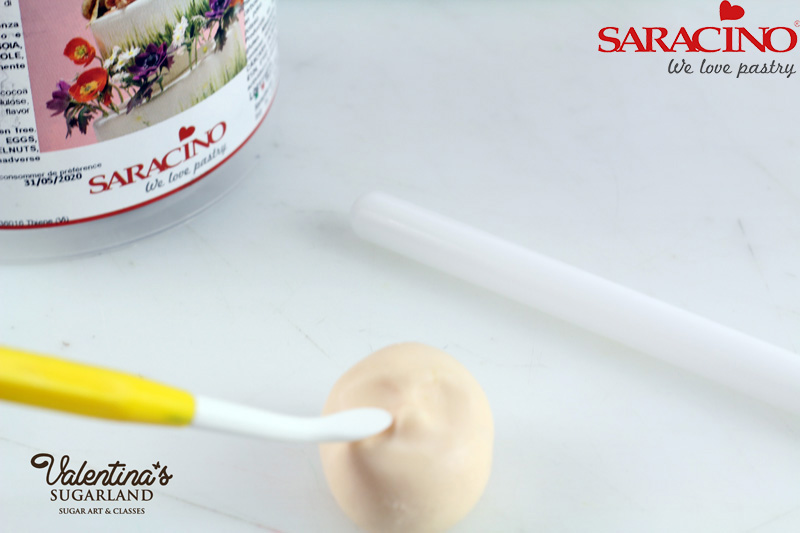
Using a modelling tool shape the bridge of the nose, with the lower end wider than the upper.
Step 22
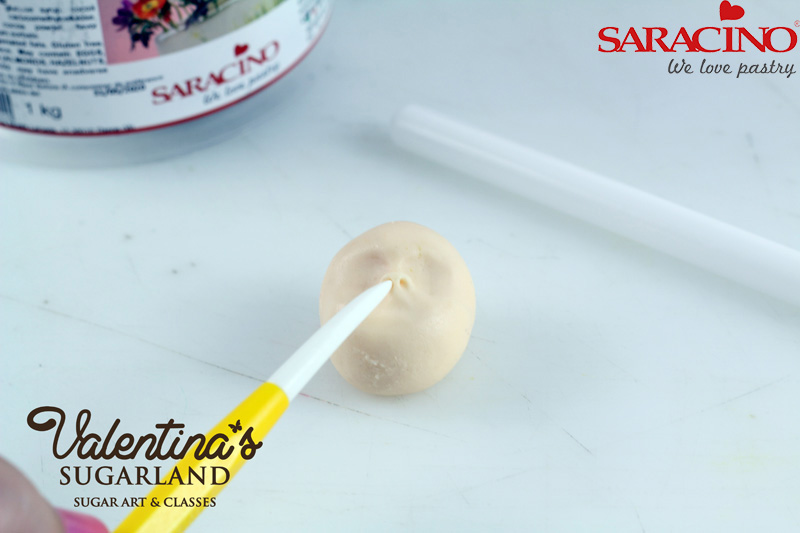
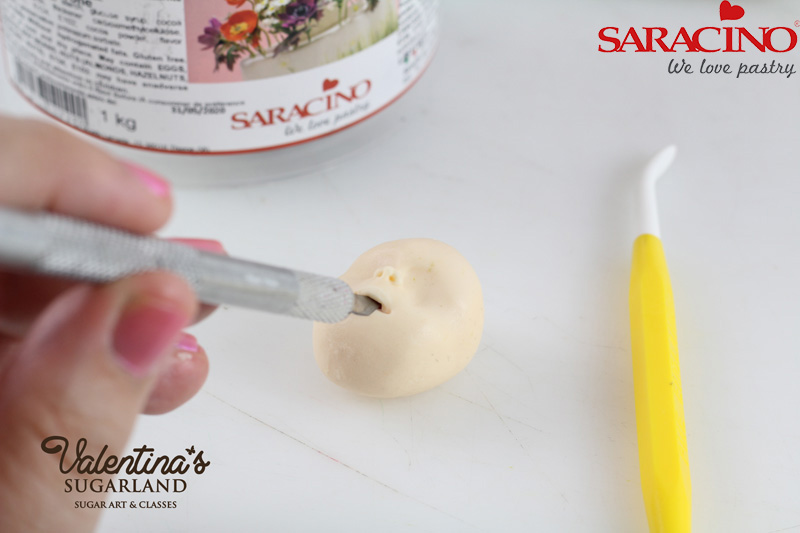
Make the holes for the nostrils using a pointed modelling tool or tooth pick. Shape the nostrils.
Step 23
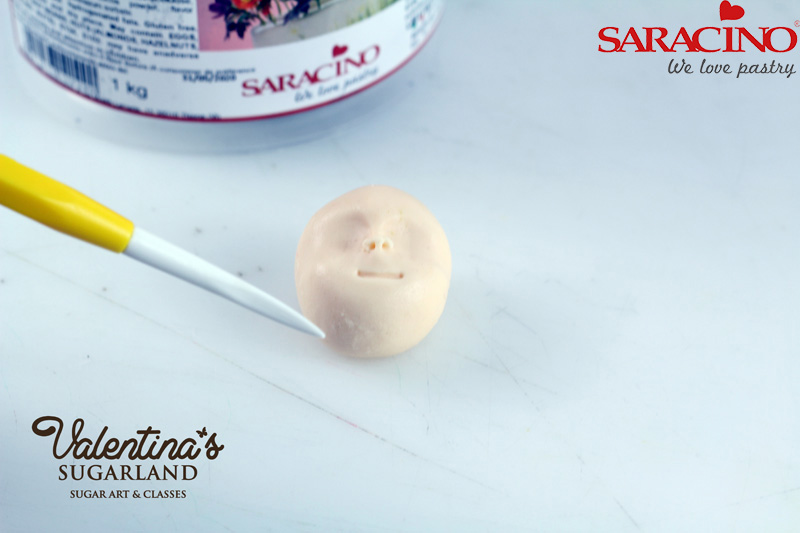
Draw a line for the mouth approximately 4mm below the nose.
Step 24
Using a knife cut the line deeper and then lift the upper lip from the inside
Step 25
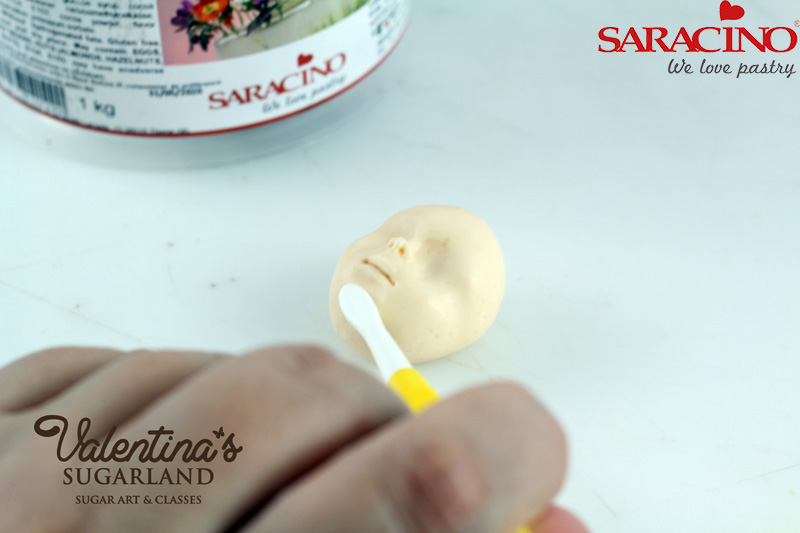
Shape the upper and lower lip using a Dresden tool or silicon brush.
Step 26
With a small ball tool indent the line between the nose and the mouth.
Step 27
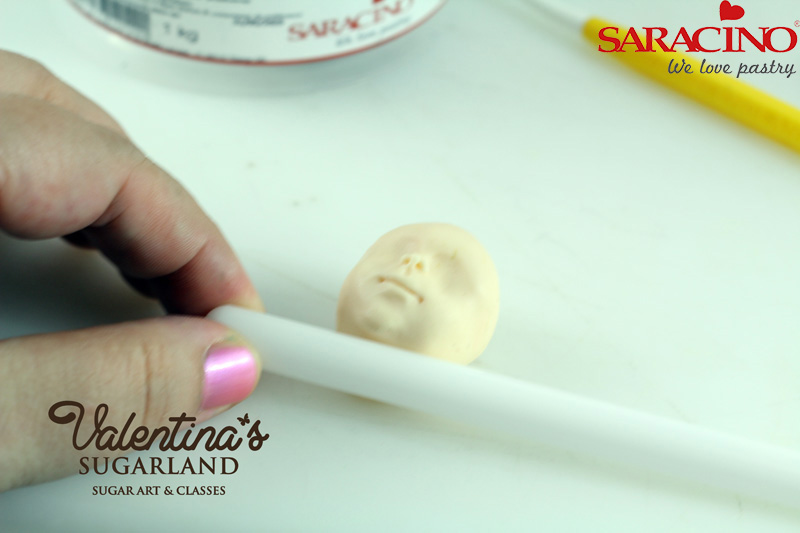
Shape the chin and the face using a CelPin and your fingers.
Step 28
Add two small flat teardrops into the eye sockets. Apply water on the edges and using a modelling tool smooth over to join them with the face.
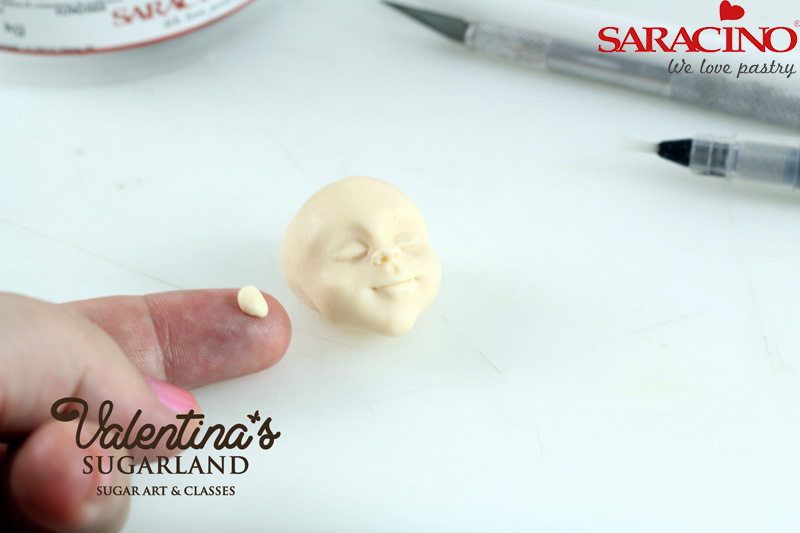
Step 29
Add two larger flat teardrops for ears on both sides of the head.
Step 30
Place the head on the neck and using a small amount of water and the same technique as above join the two pieces together and blend the joint.
Tip: I only use water to join and smooth two pieces of Saracino modelling paste together. You generally don’t need sugar glue or piping gel for that. Apply the small amount of water and smooth the joint with your tool.
Step 31
Use a modelling tool to shape the direction of the eyebrows so it looks like the baby is sleeping peacefully.
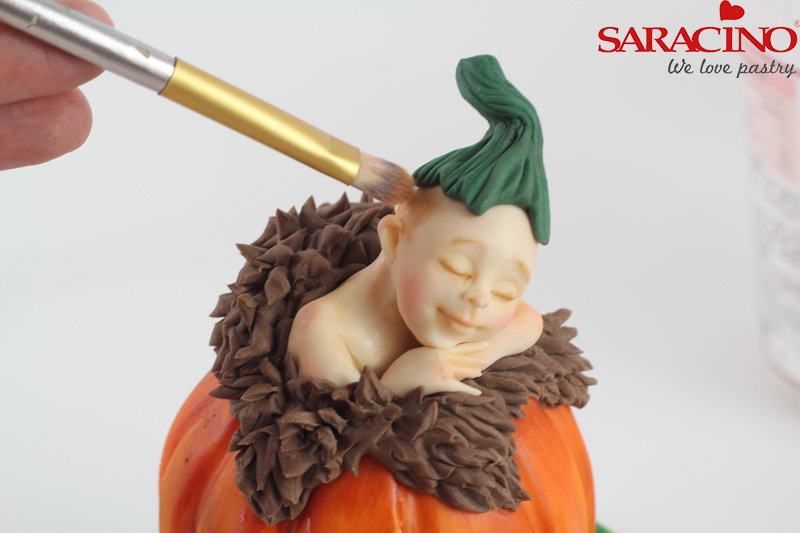
Step 32
Shape a hat from 3g brown-green paste and fix it on the head. Use dust colors to brush and give more depth and realistic look. For this project I used Saracino pink, brown, skin and green dusts.
Step 33
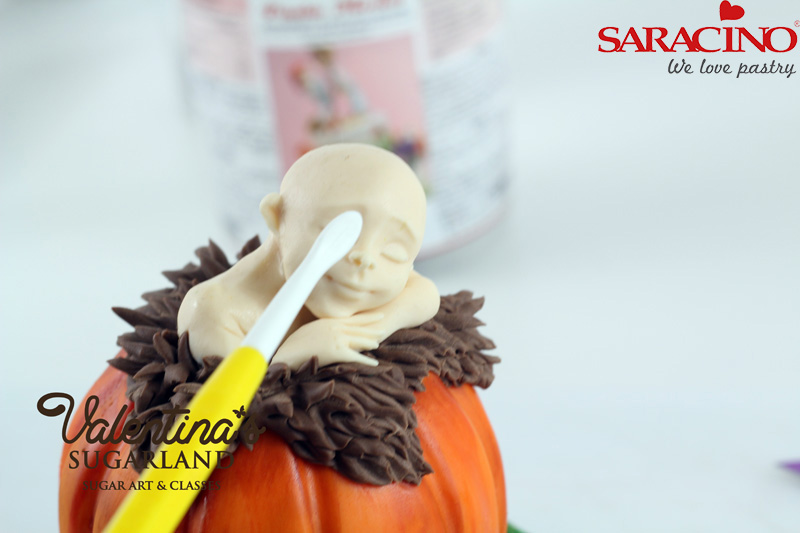
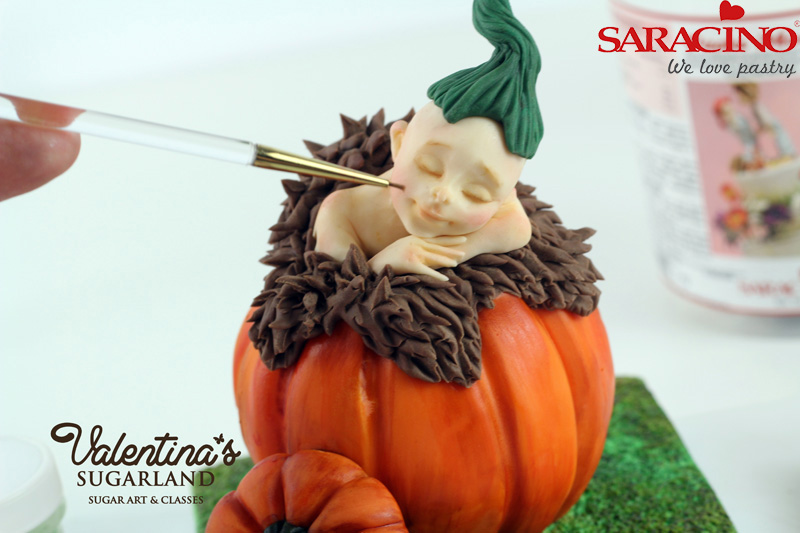
Use a small brush to apply brown dust on the eyelashes and eyebrows.
Step 34
With a wider brush apply brown dust to the hair and pink for the cheeks. You can add skin and pink color on the body. Dust the hat with green and brown. Dust the fur with brown dust color and go over it with an almost dry brush dipped in the mixture of white dust and lemon extract / vodka.
