


Cake Facts:
Level INTERMEDIATE
Tips
If the Saracino modelling paste becomes a little sticky during use apply a little Trex to your hands.
If you find the gelatine is setting during use, don’t panic. Return to the microwave for 8-10 seconds. This can be repeated.
You can make the gelatine mix beforehand and store in the fridge in an airtight container for up to a week
Quotes
Different sizes of square cutters can be used to suit your pattern requirements and the size of your cake. Also different colour schemes can be used.
Not every glycerine will make wafer paper soft and pliable
Bubble Quotes
Add extra glitter dust to colour mix to achieve more sparkly effect.
The PME line stripes come in different sizes.

You will need:
- Ready Make Cakes
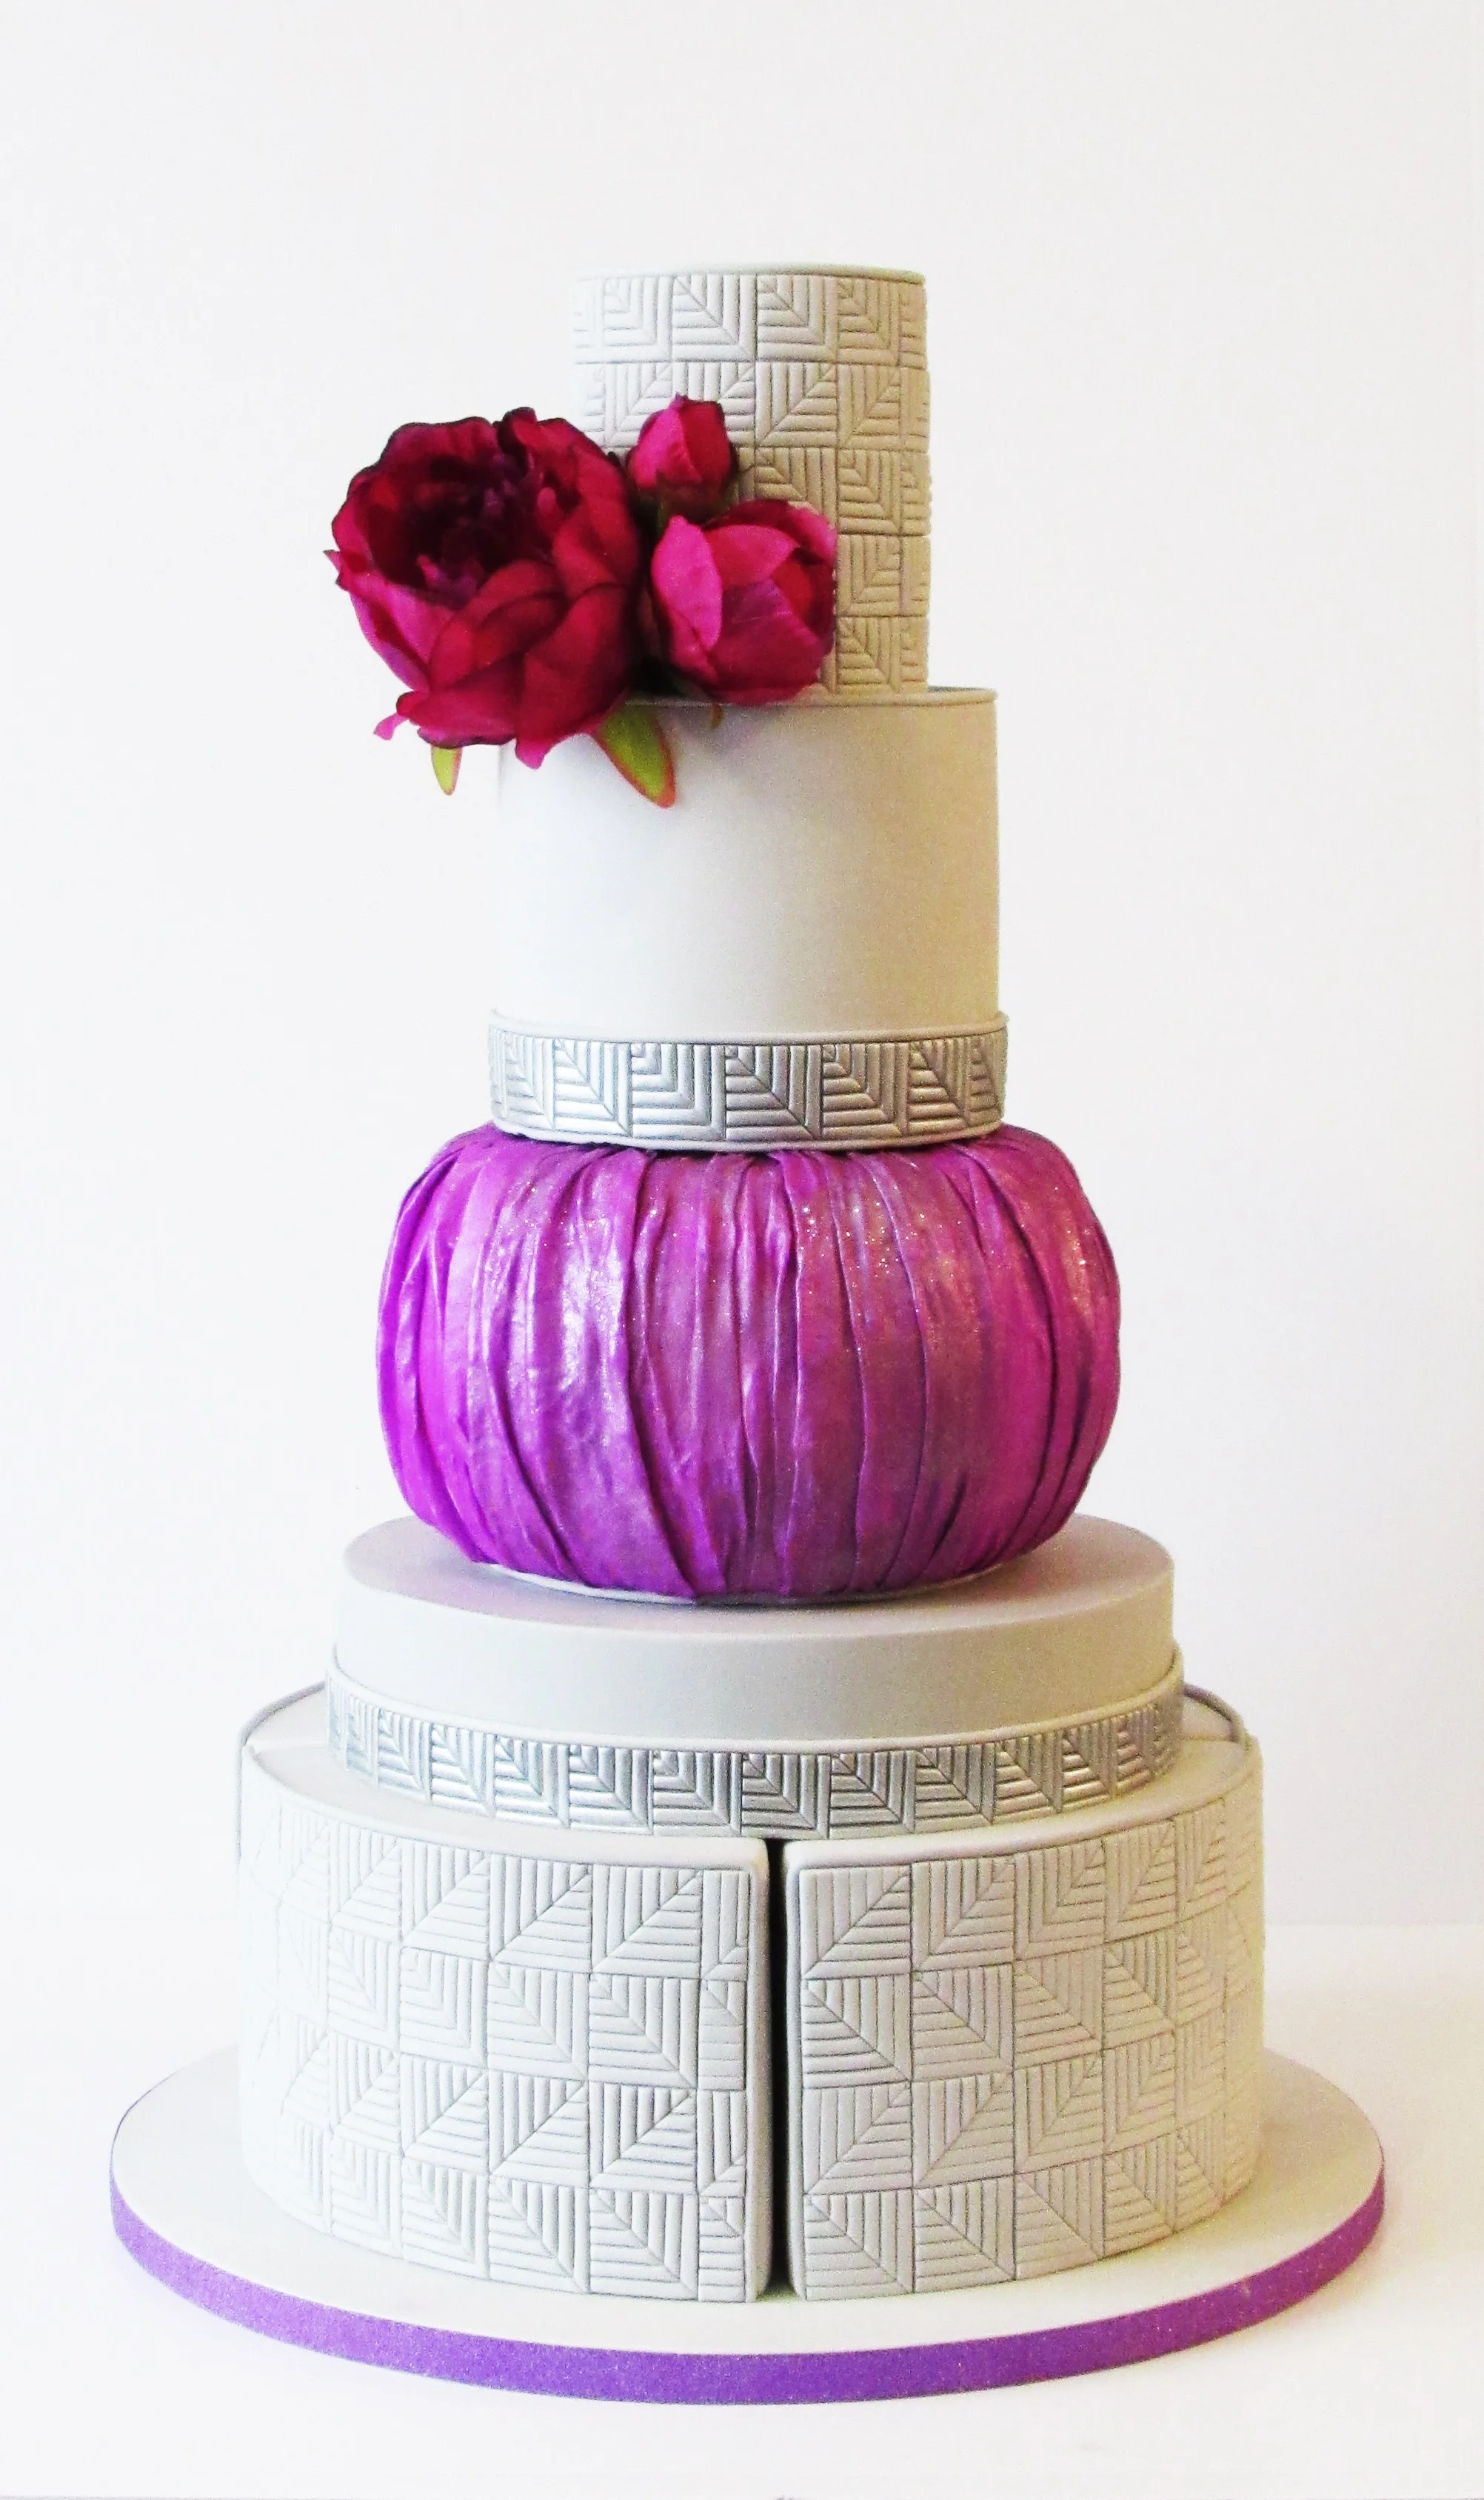
- Round cakes: Base 12” x 5” high cut into four segments, 10” x 2.5”, 4” x 5” high
- Barrel Cake 8” x 5” high
- All filled and coated with ganache covered with Saracino White Top Paste
- Pre-made roses
- Ingredients
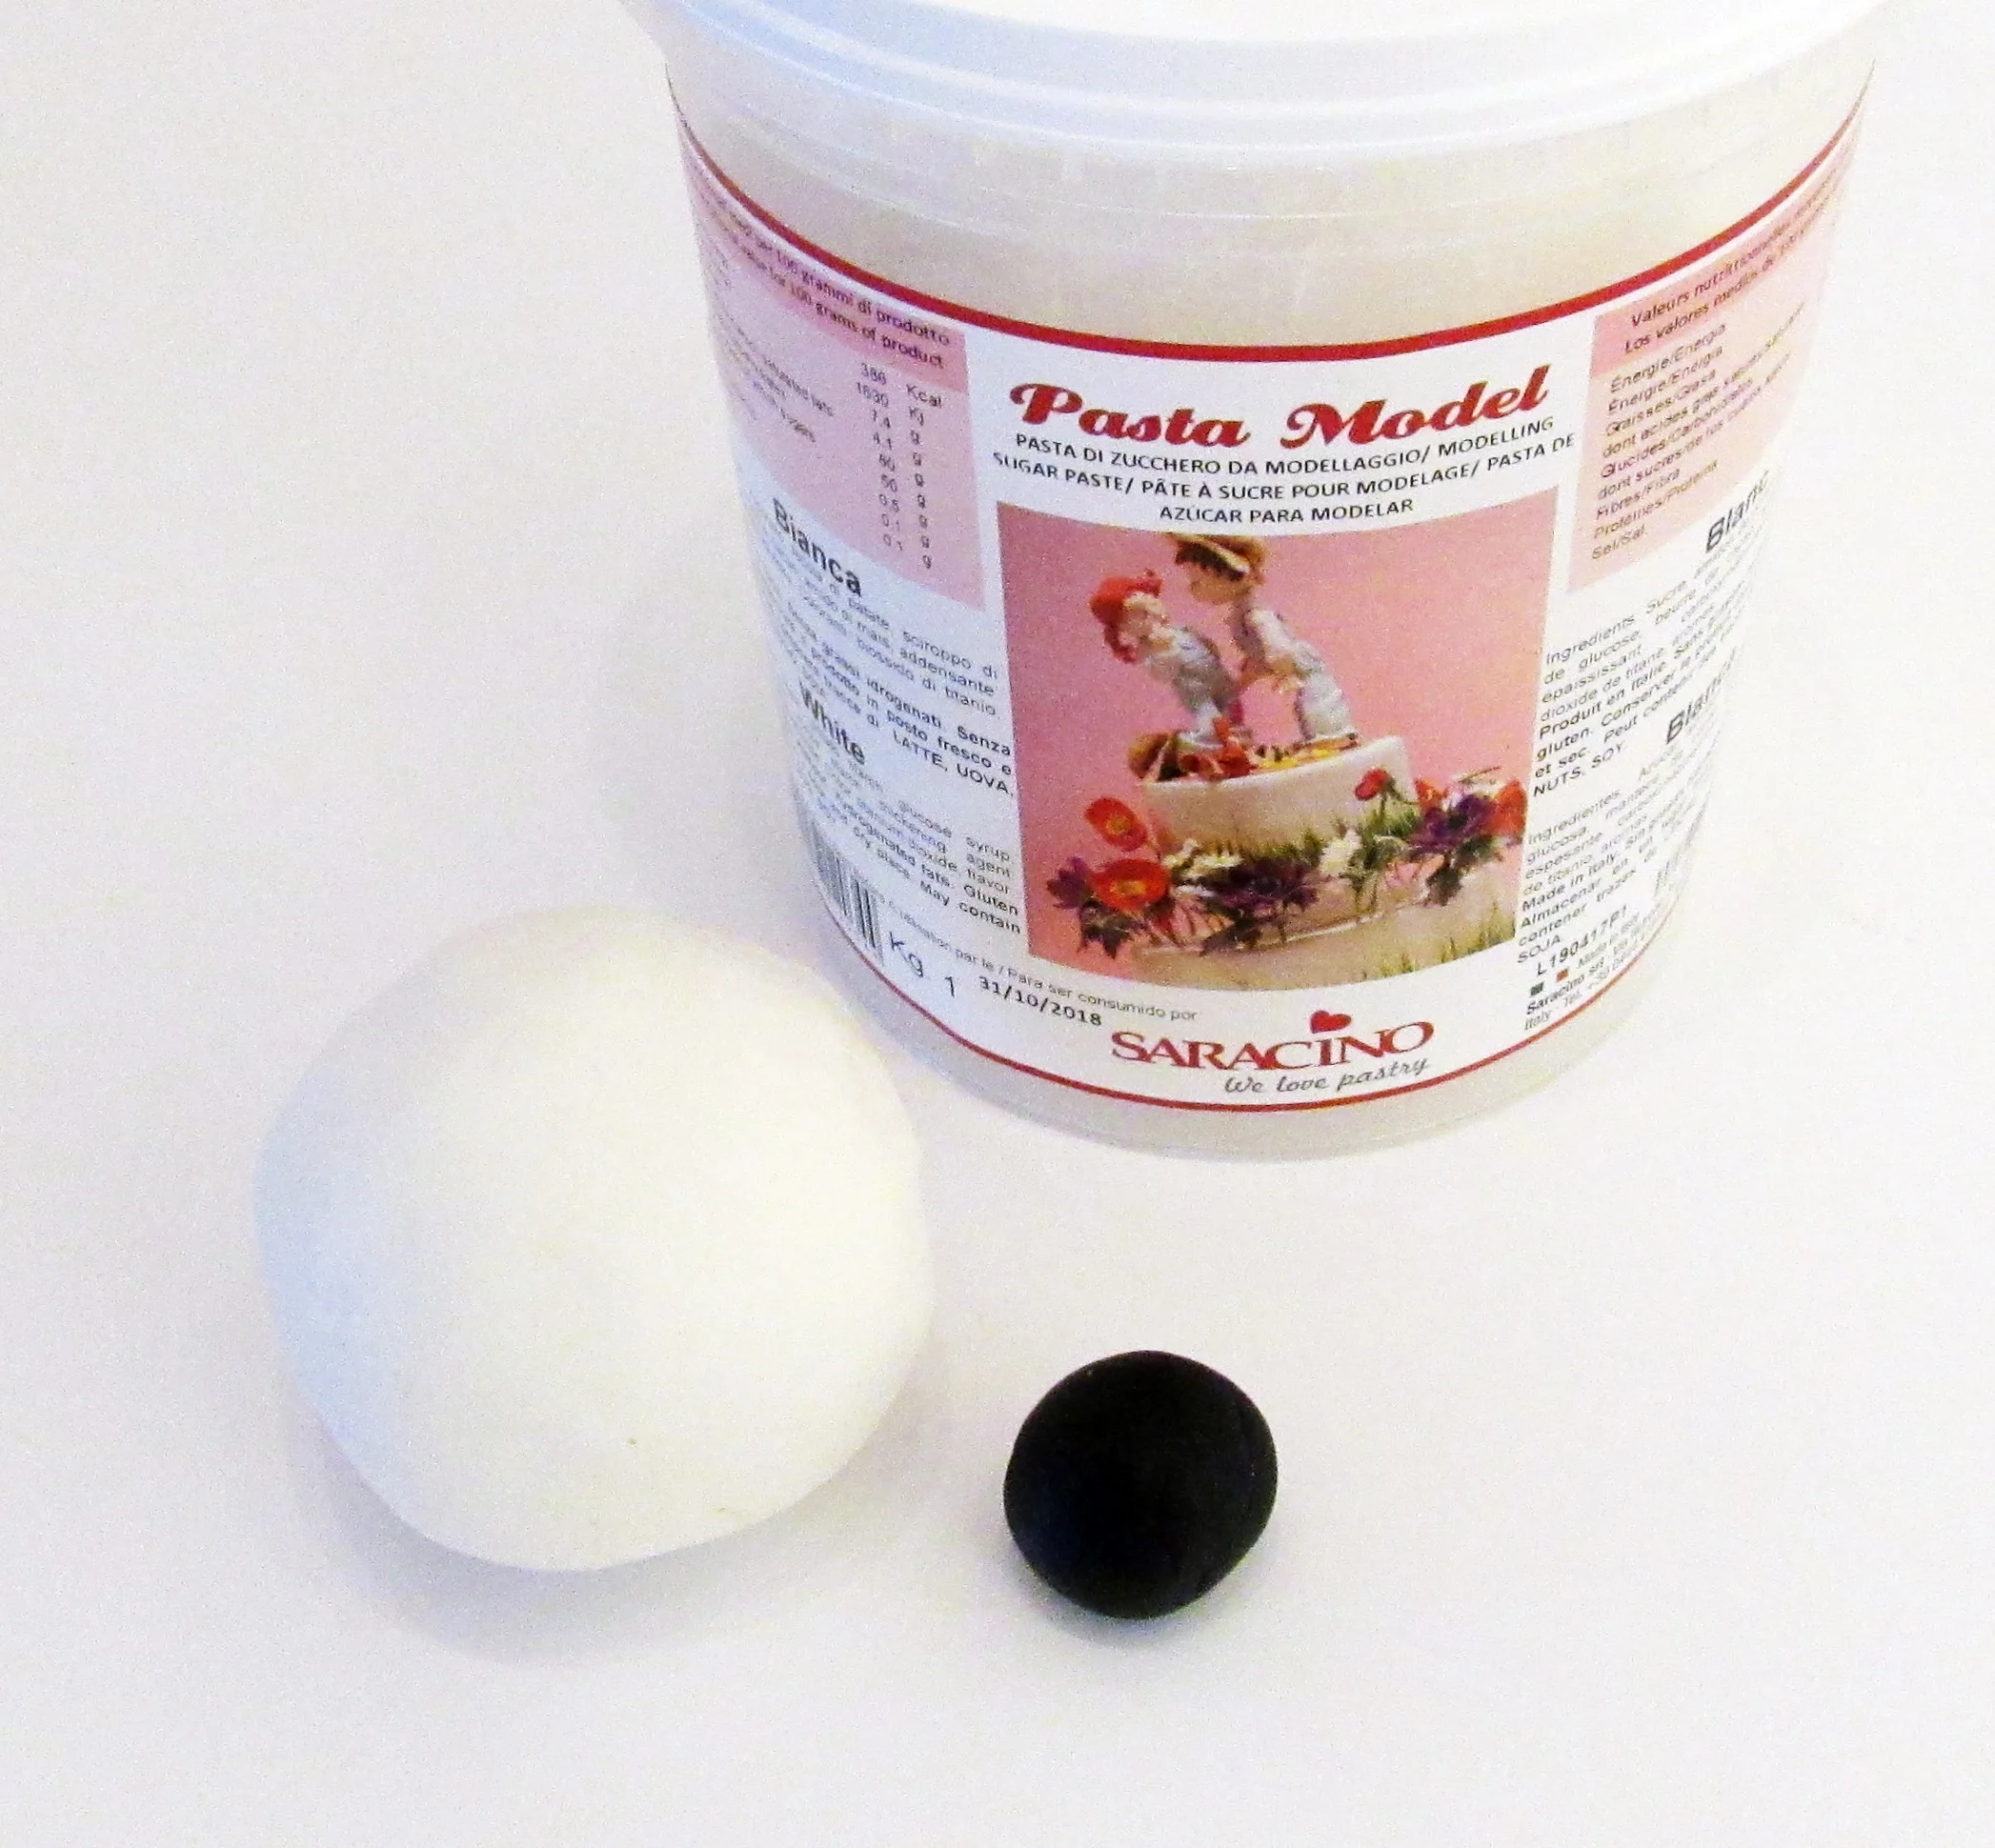
- 1 kg Saracino White Modelling Paste
- 100 – 150g Saracino Black Modelling Paste to achieve the Grey Colour
- Edible Glue
- Clear Alcohol
- Cornflour
- Saracino White Wafer Paper 10-15 Sheets
- 36g Dr Oetker Gelatine
- 80 ml Dr Oetker Glycerine
- 130 ml Cold Water
- Powder Colours: Silver, Cerise or Viola
- 16” drum covered with sugar paste and trimmed with purple ‘washi’ tape
- 14 cake dowels
- Posy pick for flowers
- Extruder for circular bead
- Large rolling pin
- Small rolling pin
- 1.5” decorators brush
- PME strip cutter No.2
- Cake smoothers
- Various size square cutters (sizes used in this project – 30mm and 28mm)
- Sharp Knife
- Scissors
- Large soft make-up brush
- Little Brush
- Small measuring jug
- 2 small bowls
- 2 tbsp
- Measuring scale
Step 1
Mix the white and black modelling paste to achieve the grey colour. Mix well so that the paste is workable.
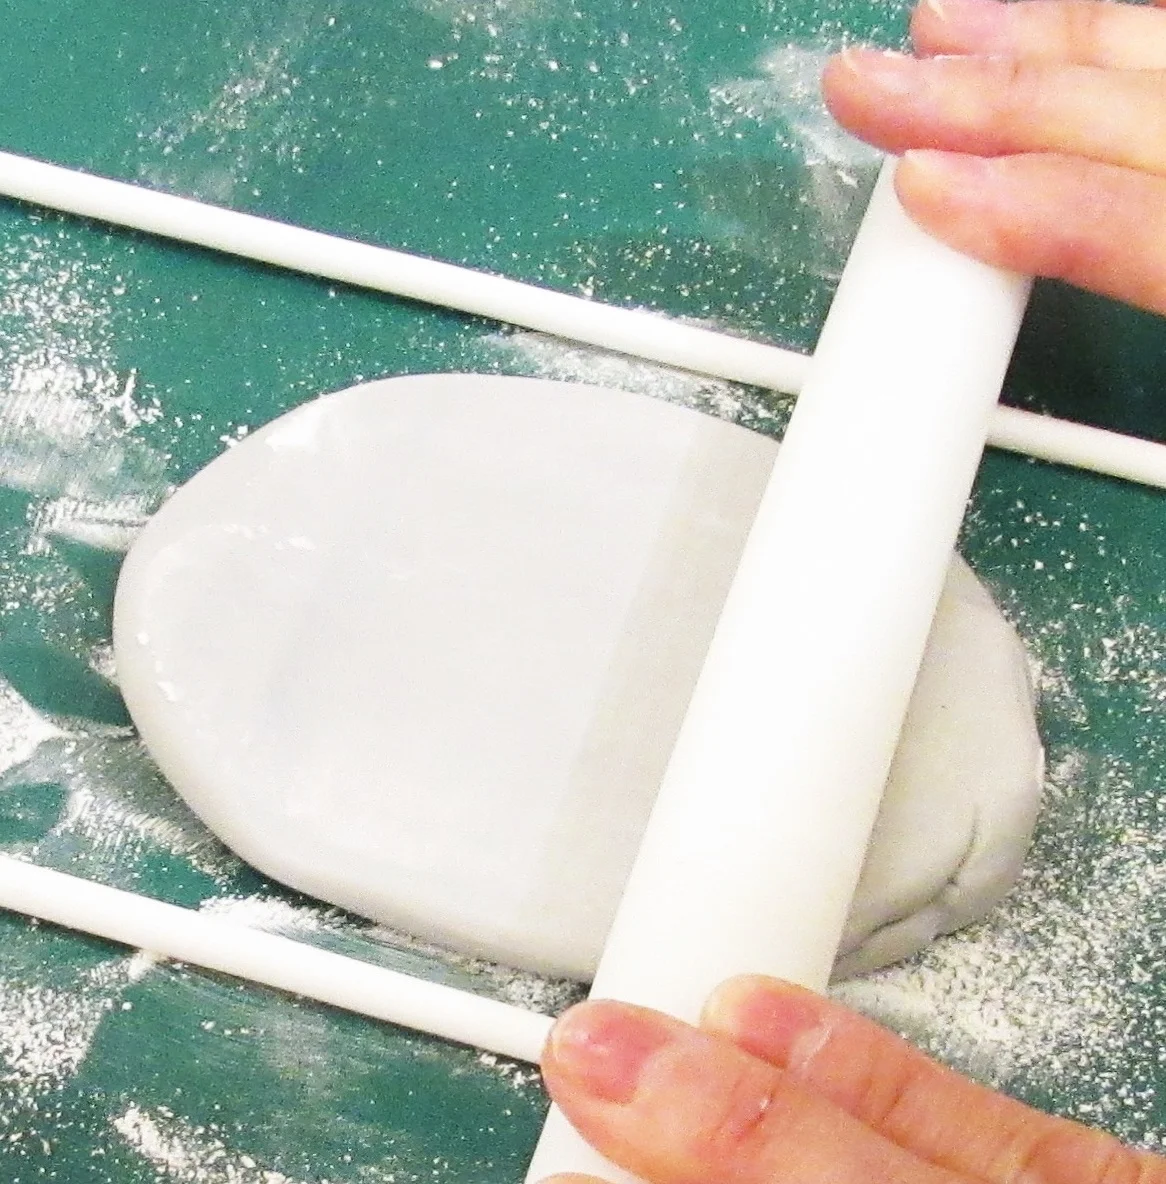
Step 2
Dust your work area with cornflour. Roll out the paste using cake dowels as spacers to achieve an even thickness of paste.
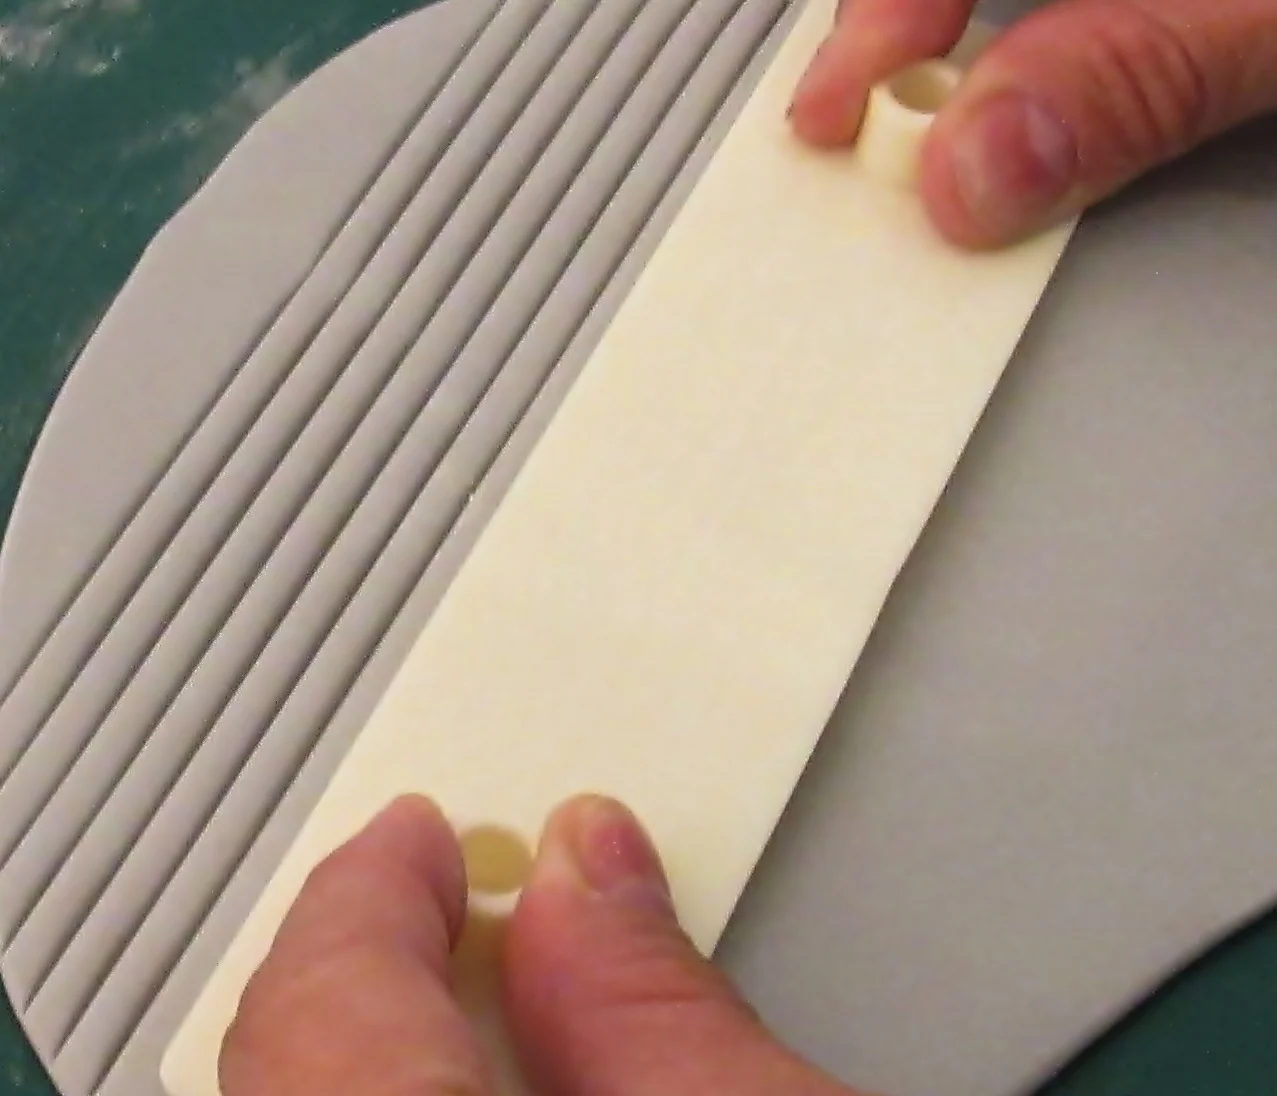
Step 3
Using the PME strip cutter form equally spaced lineacross the rolled out paste. Continue until paste is fully marked with lines. Do not press too hard in order to avoid cutting through the paste.
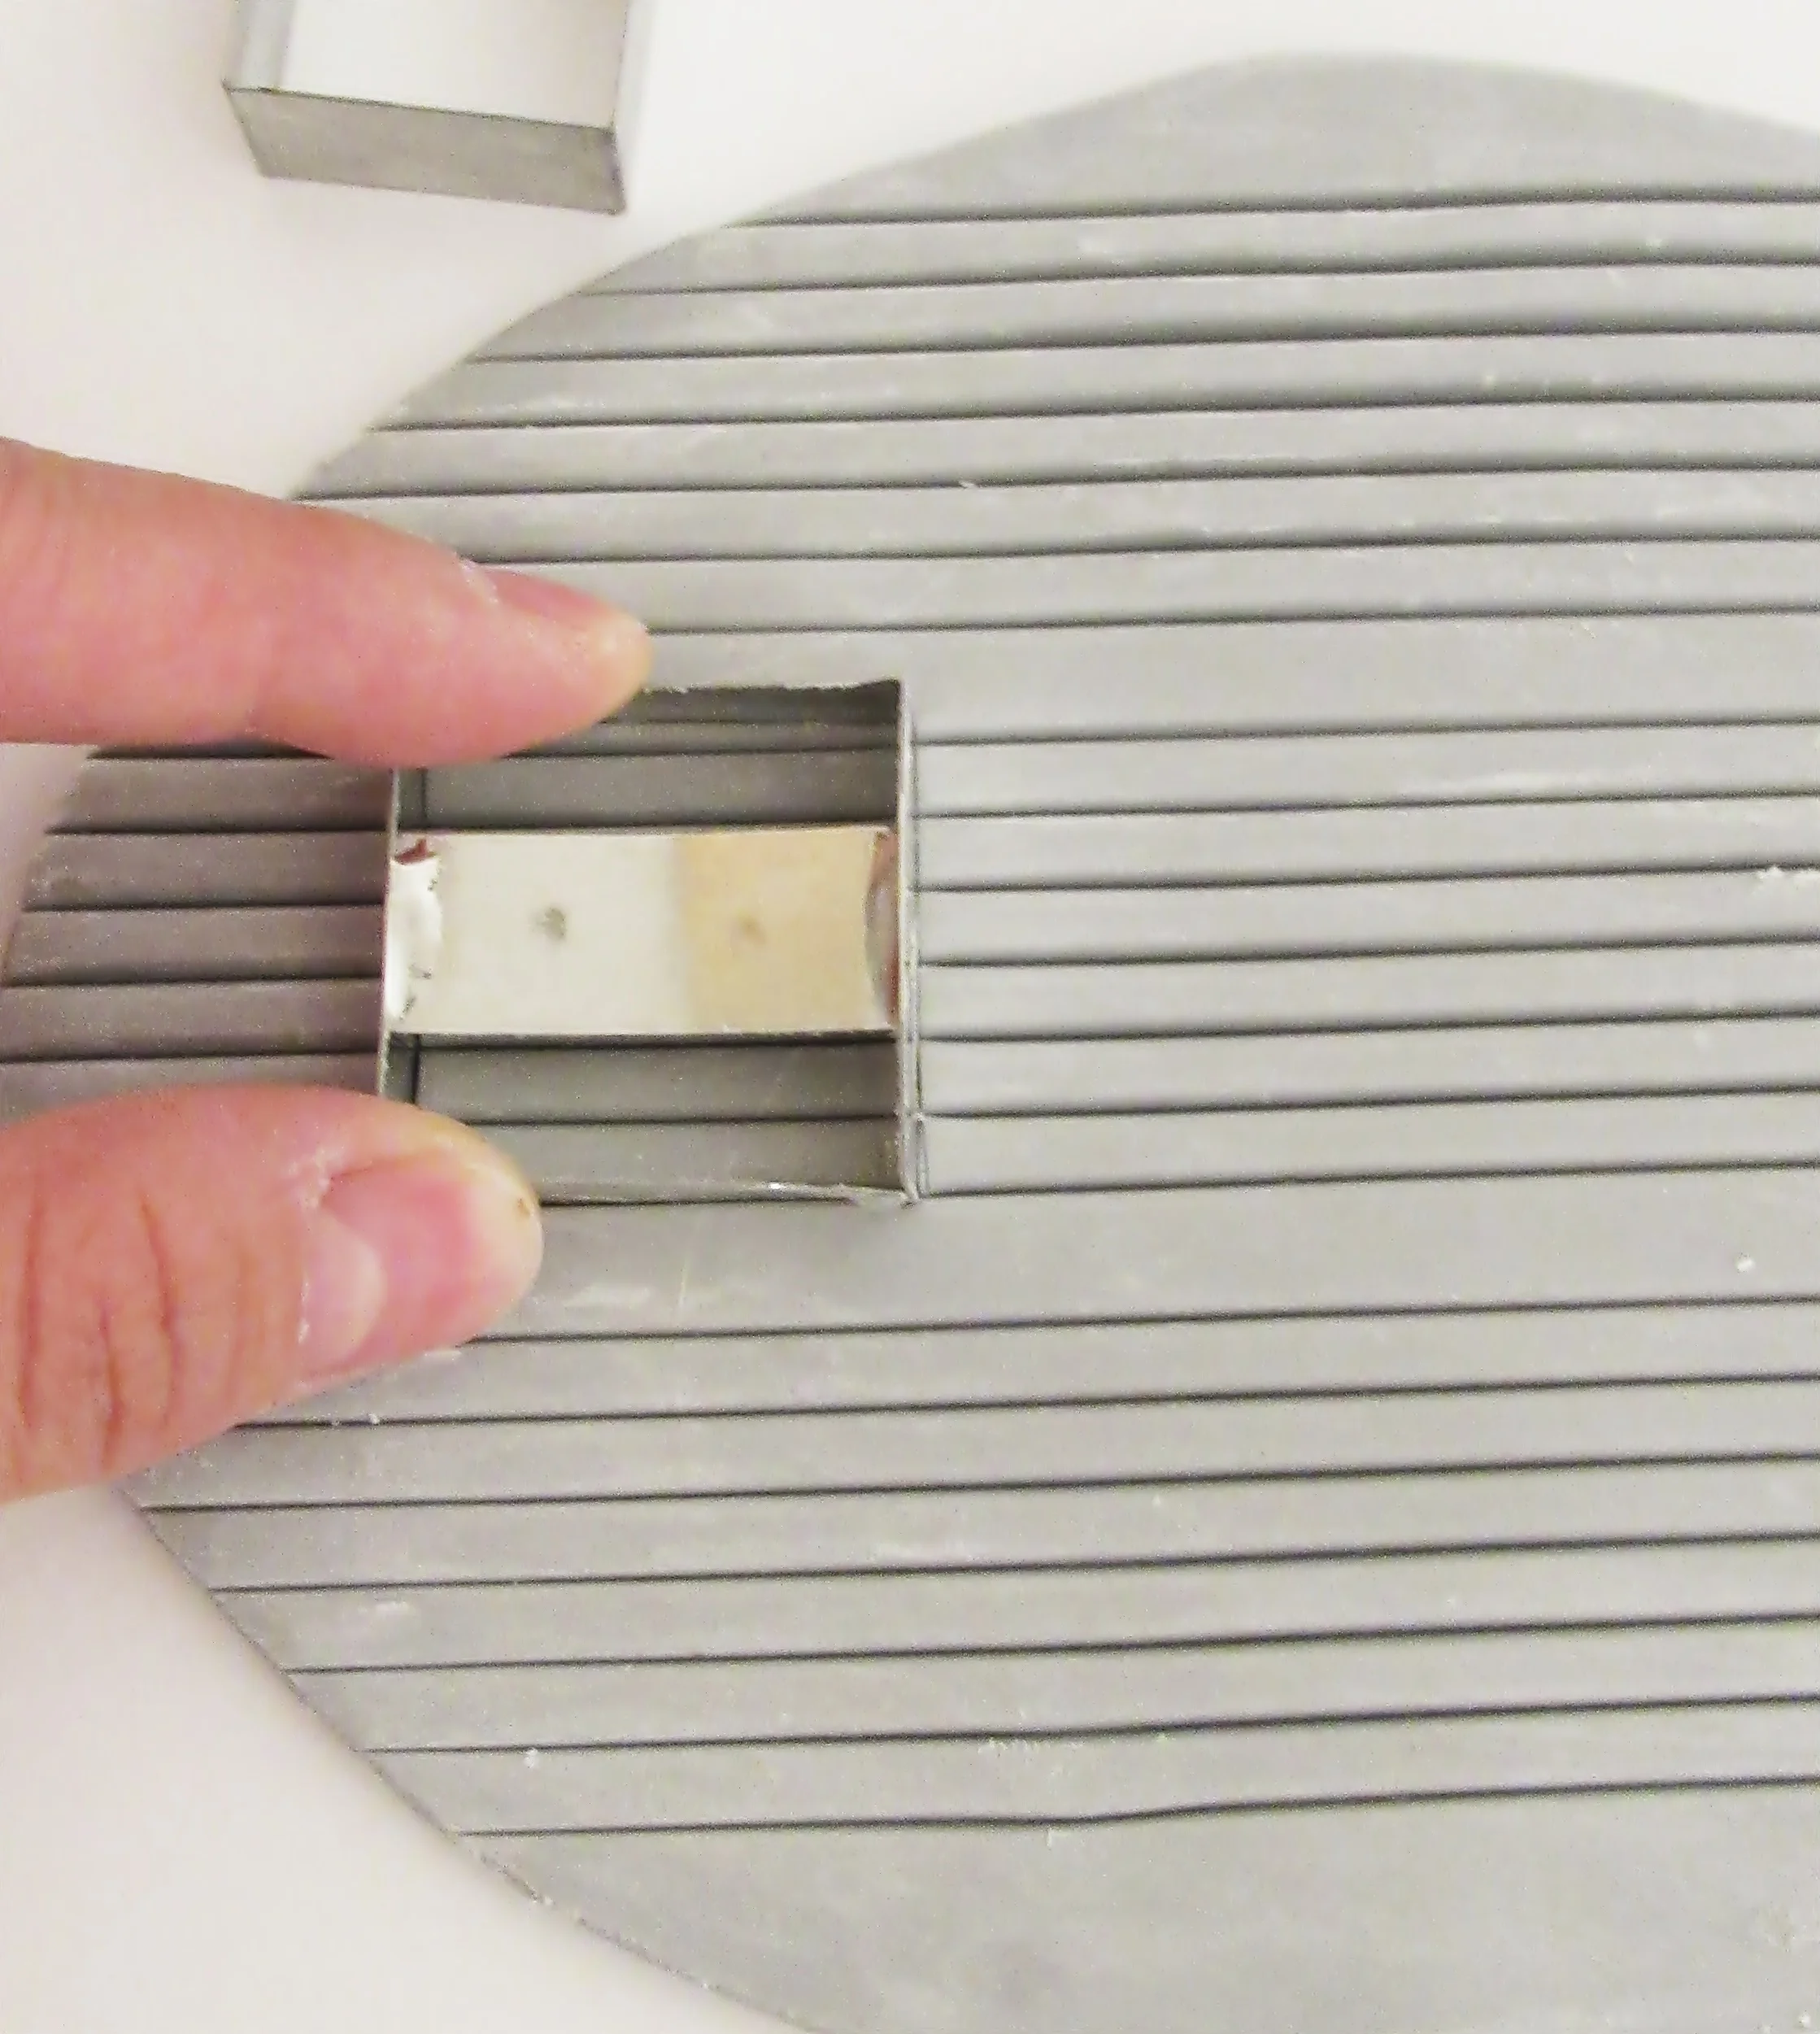
Step 4
Using a (30mm) square cutter cut out squares. Careful to be accurate and lined up along the previously formed strip cutter lines
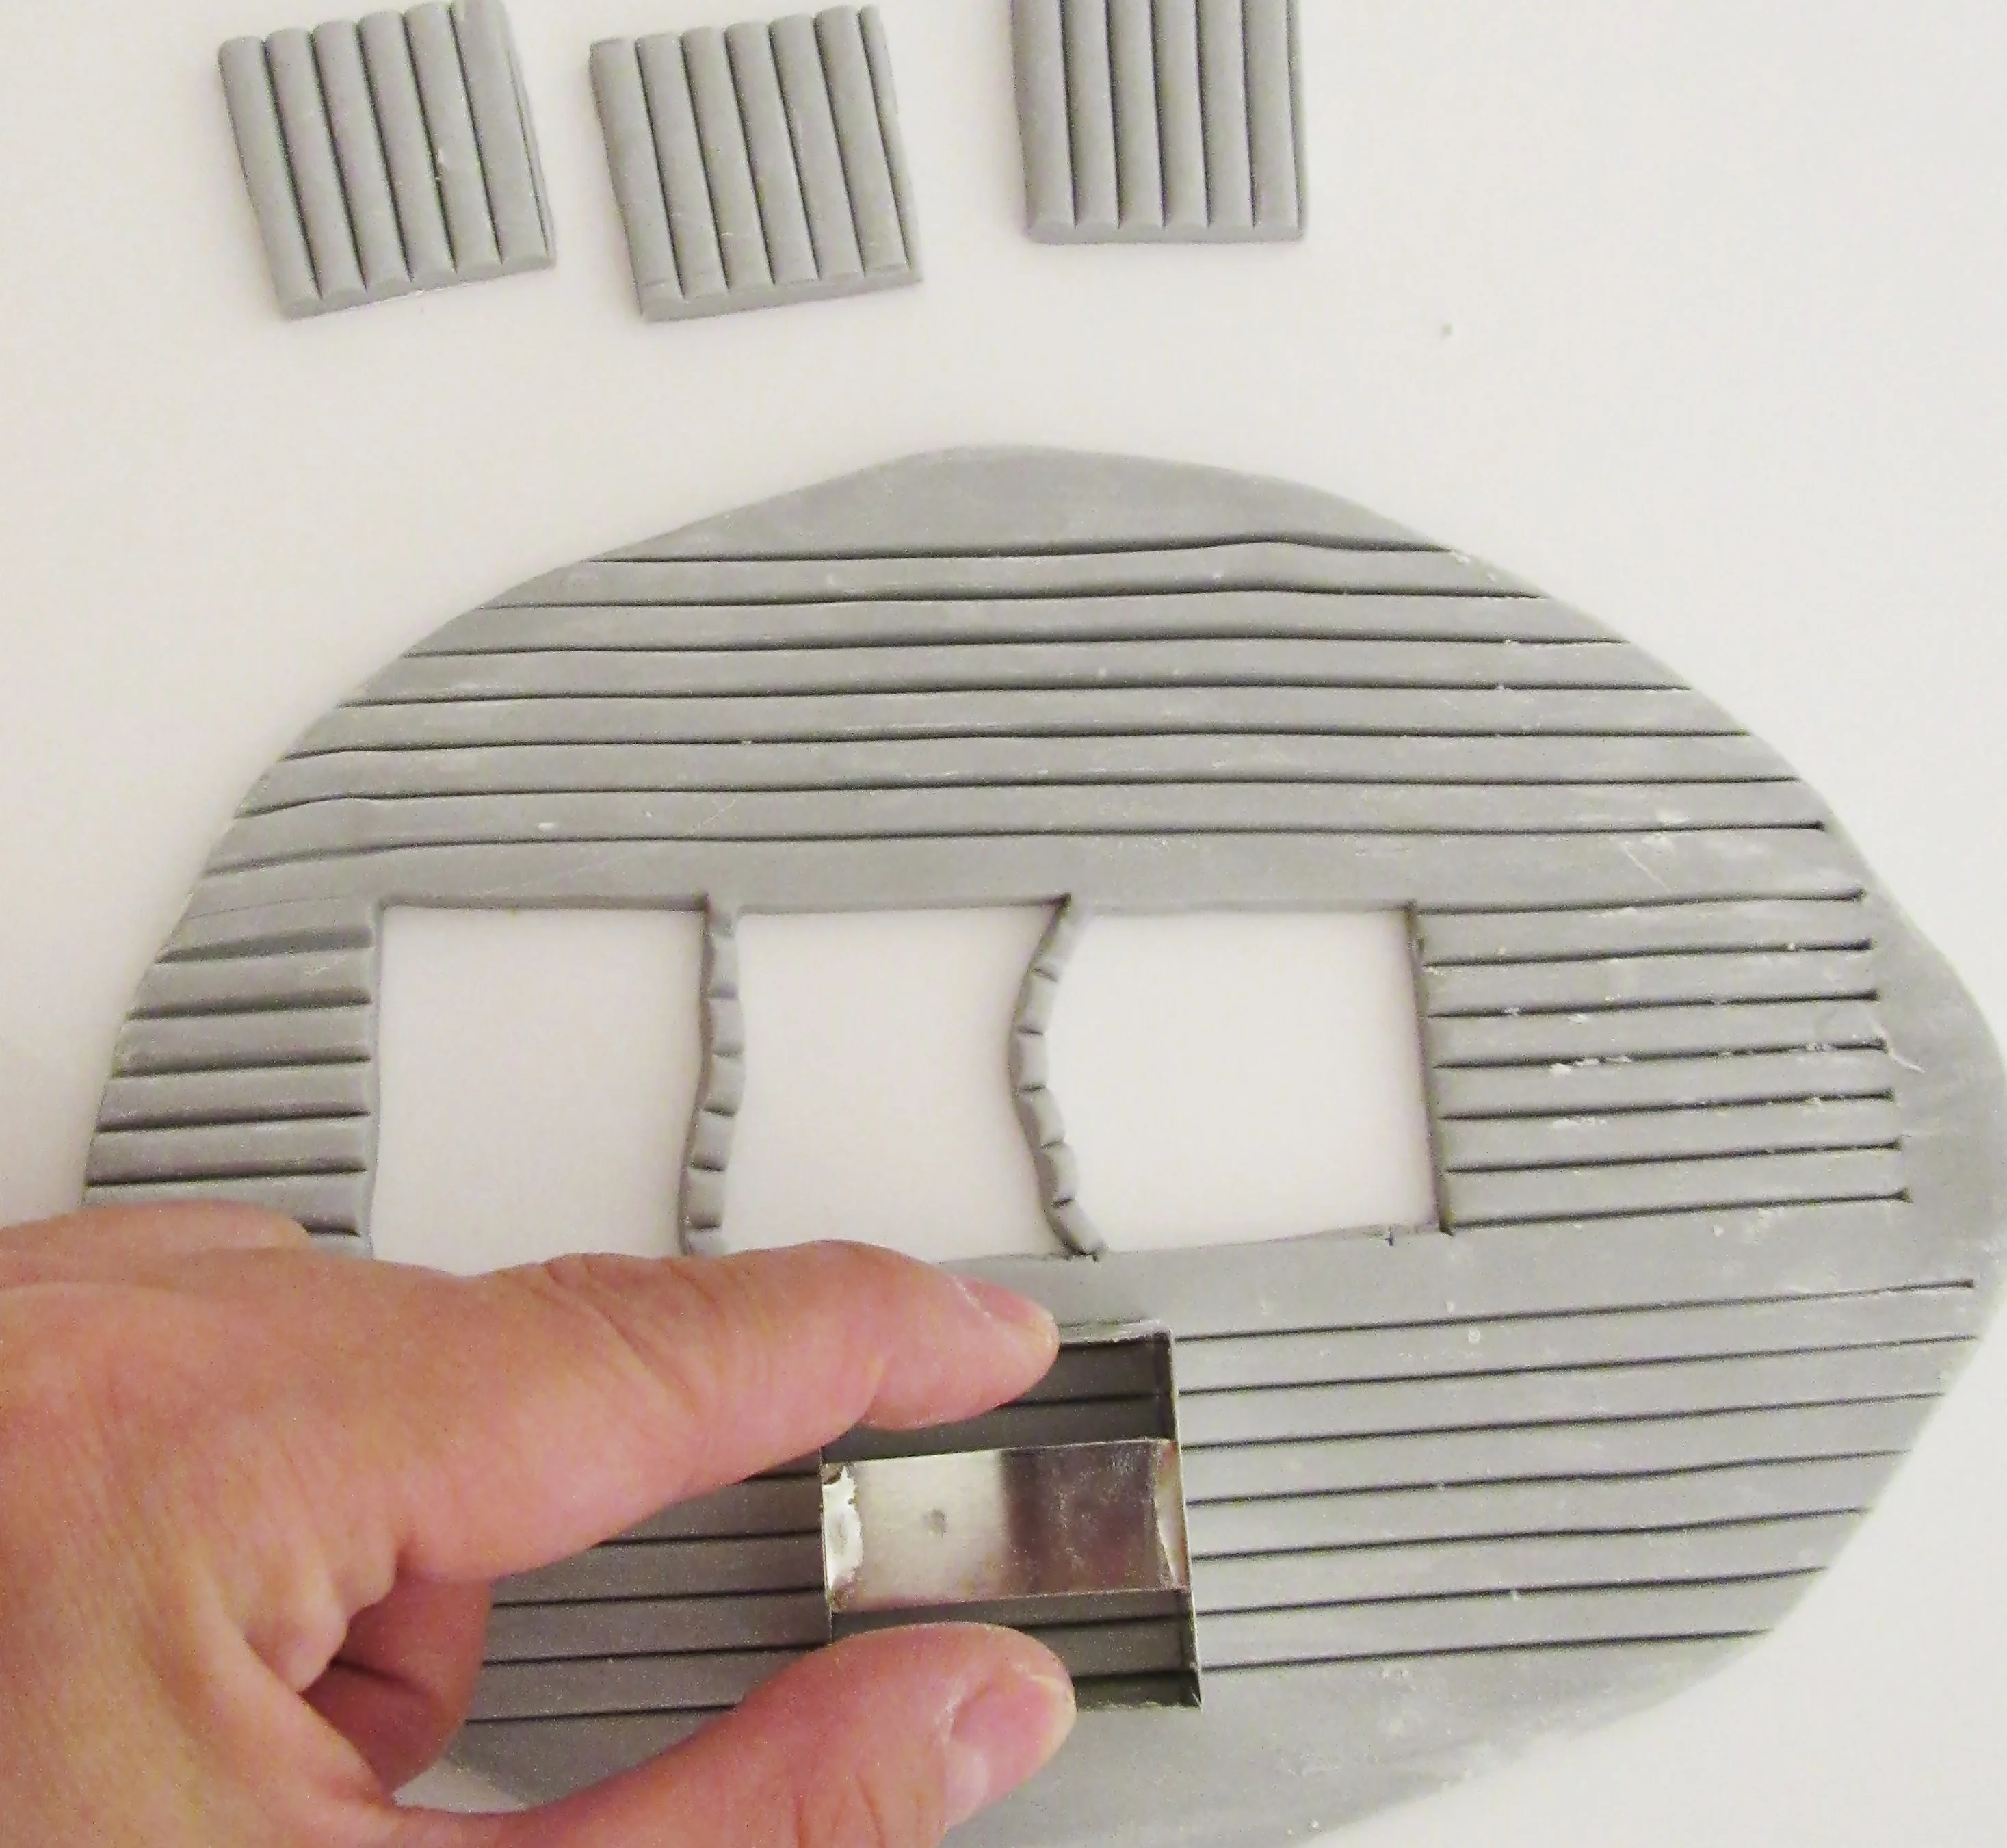
Step 5
Repeat to form a number of squares.

Step 6
Position 4 of the squares together with the lines vertically and 4 of the squares together with the lines horizontally.
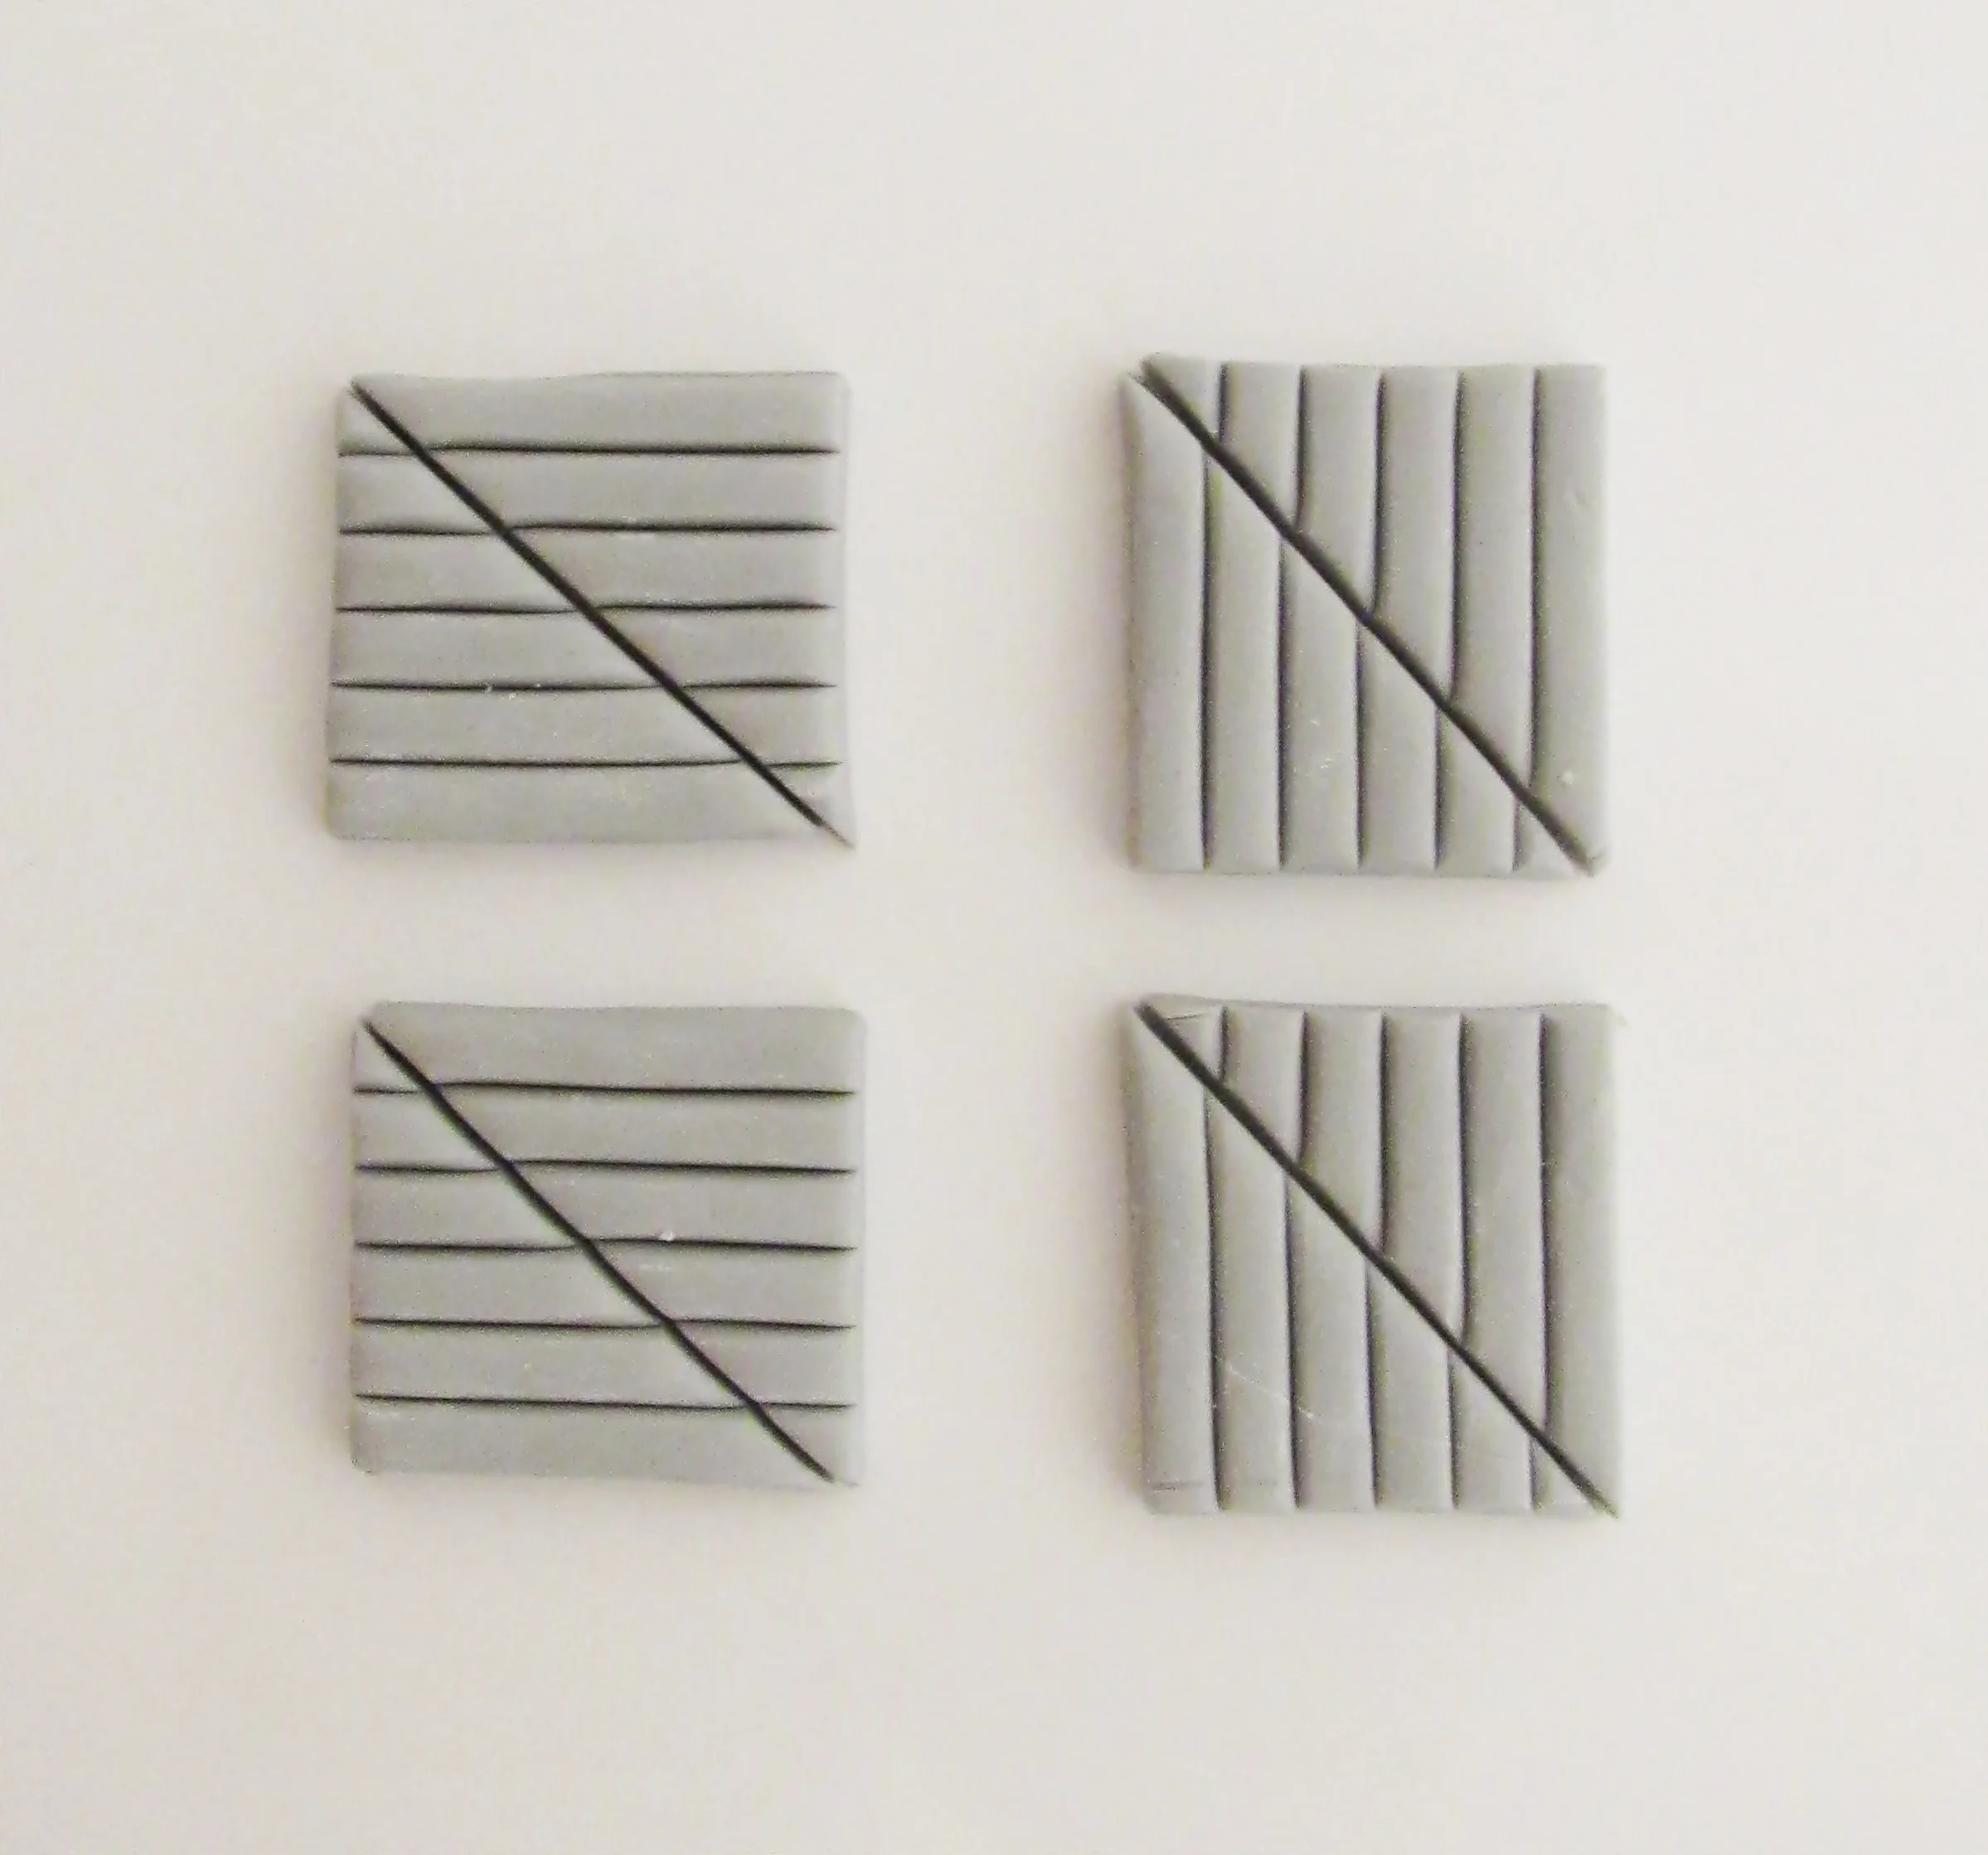
Step 7
Cut each square diagonally across from corner to corner with a sharp knife.
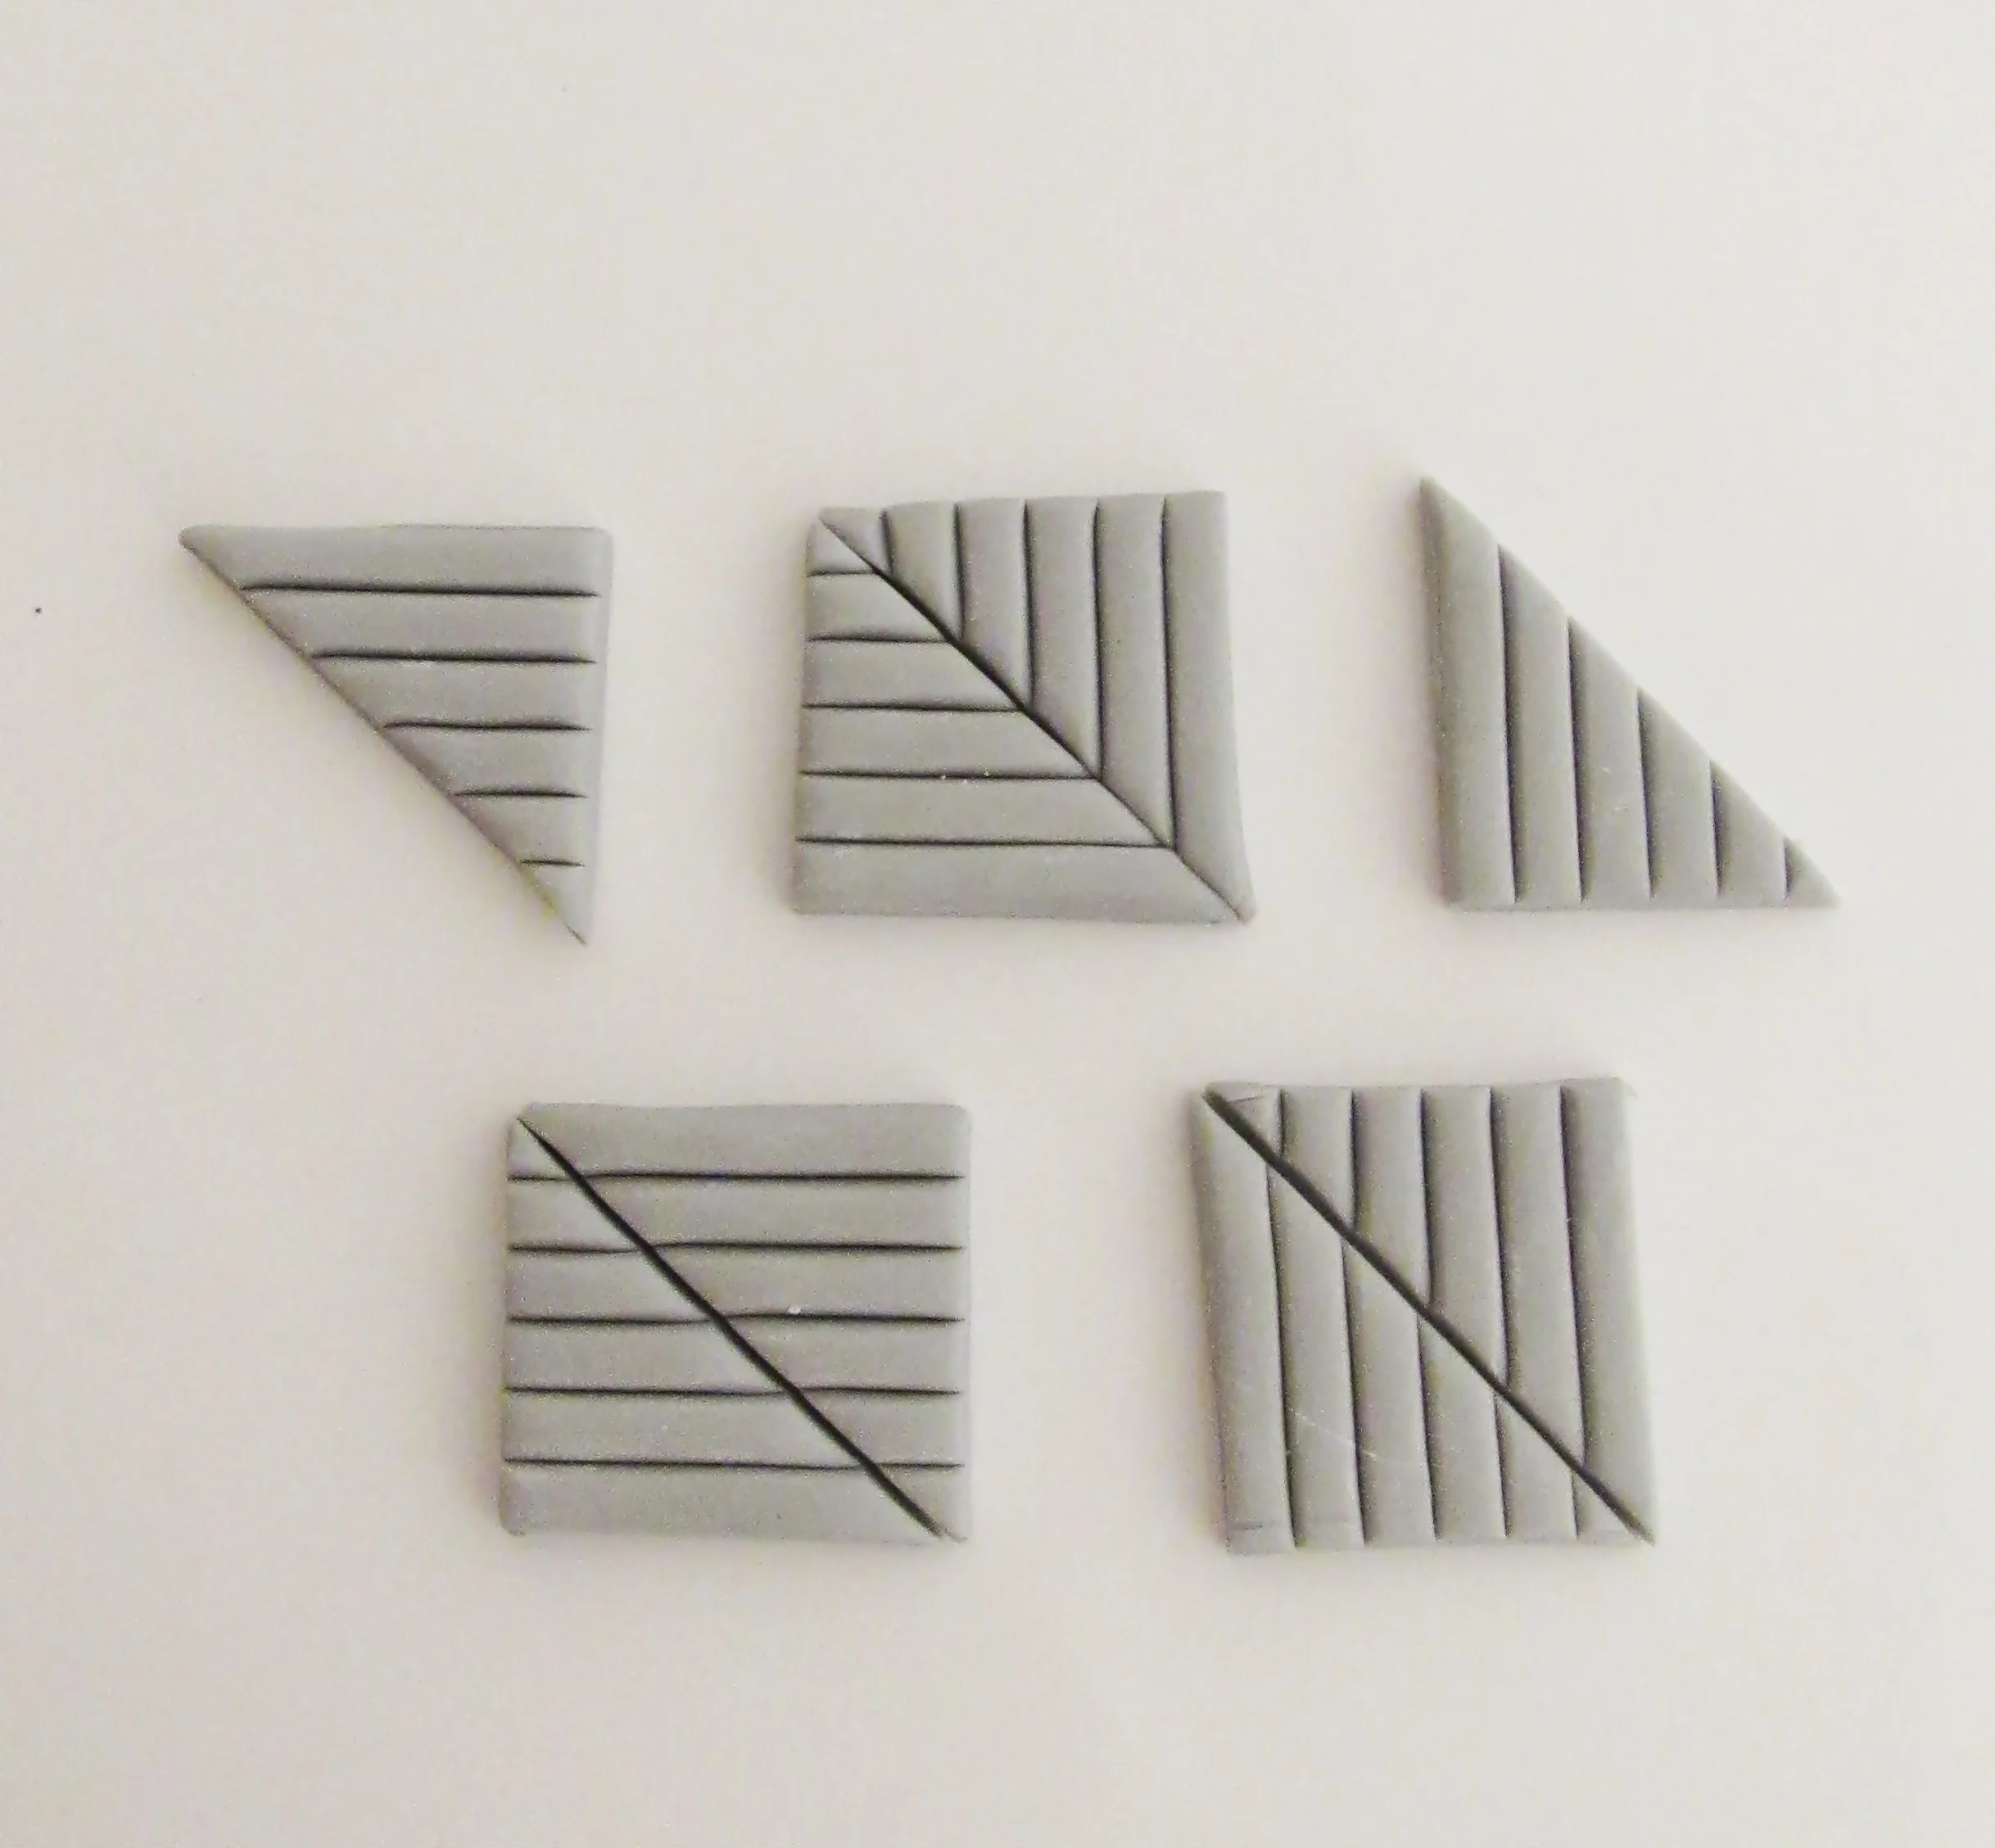
Step 8
Take one triangle from the vertical squares and one from the horizontal squares. Offer them together so that the strip cutter lines match and line up. Using a small amount of glue fix the two triangular pieces together. Note at this stage the outer edge won’t line up perfectly..
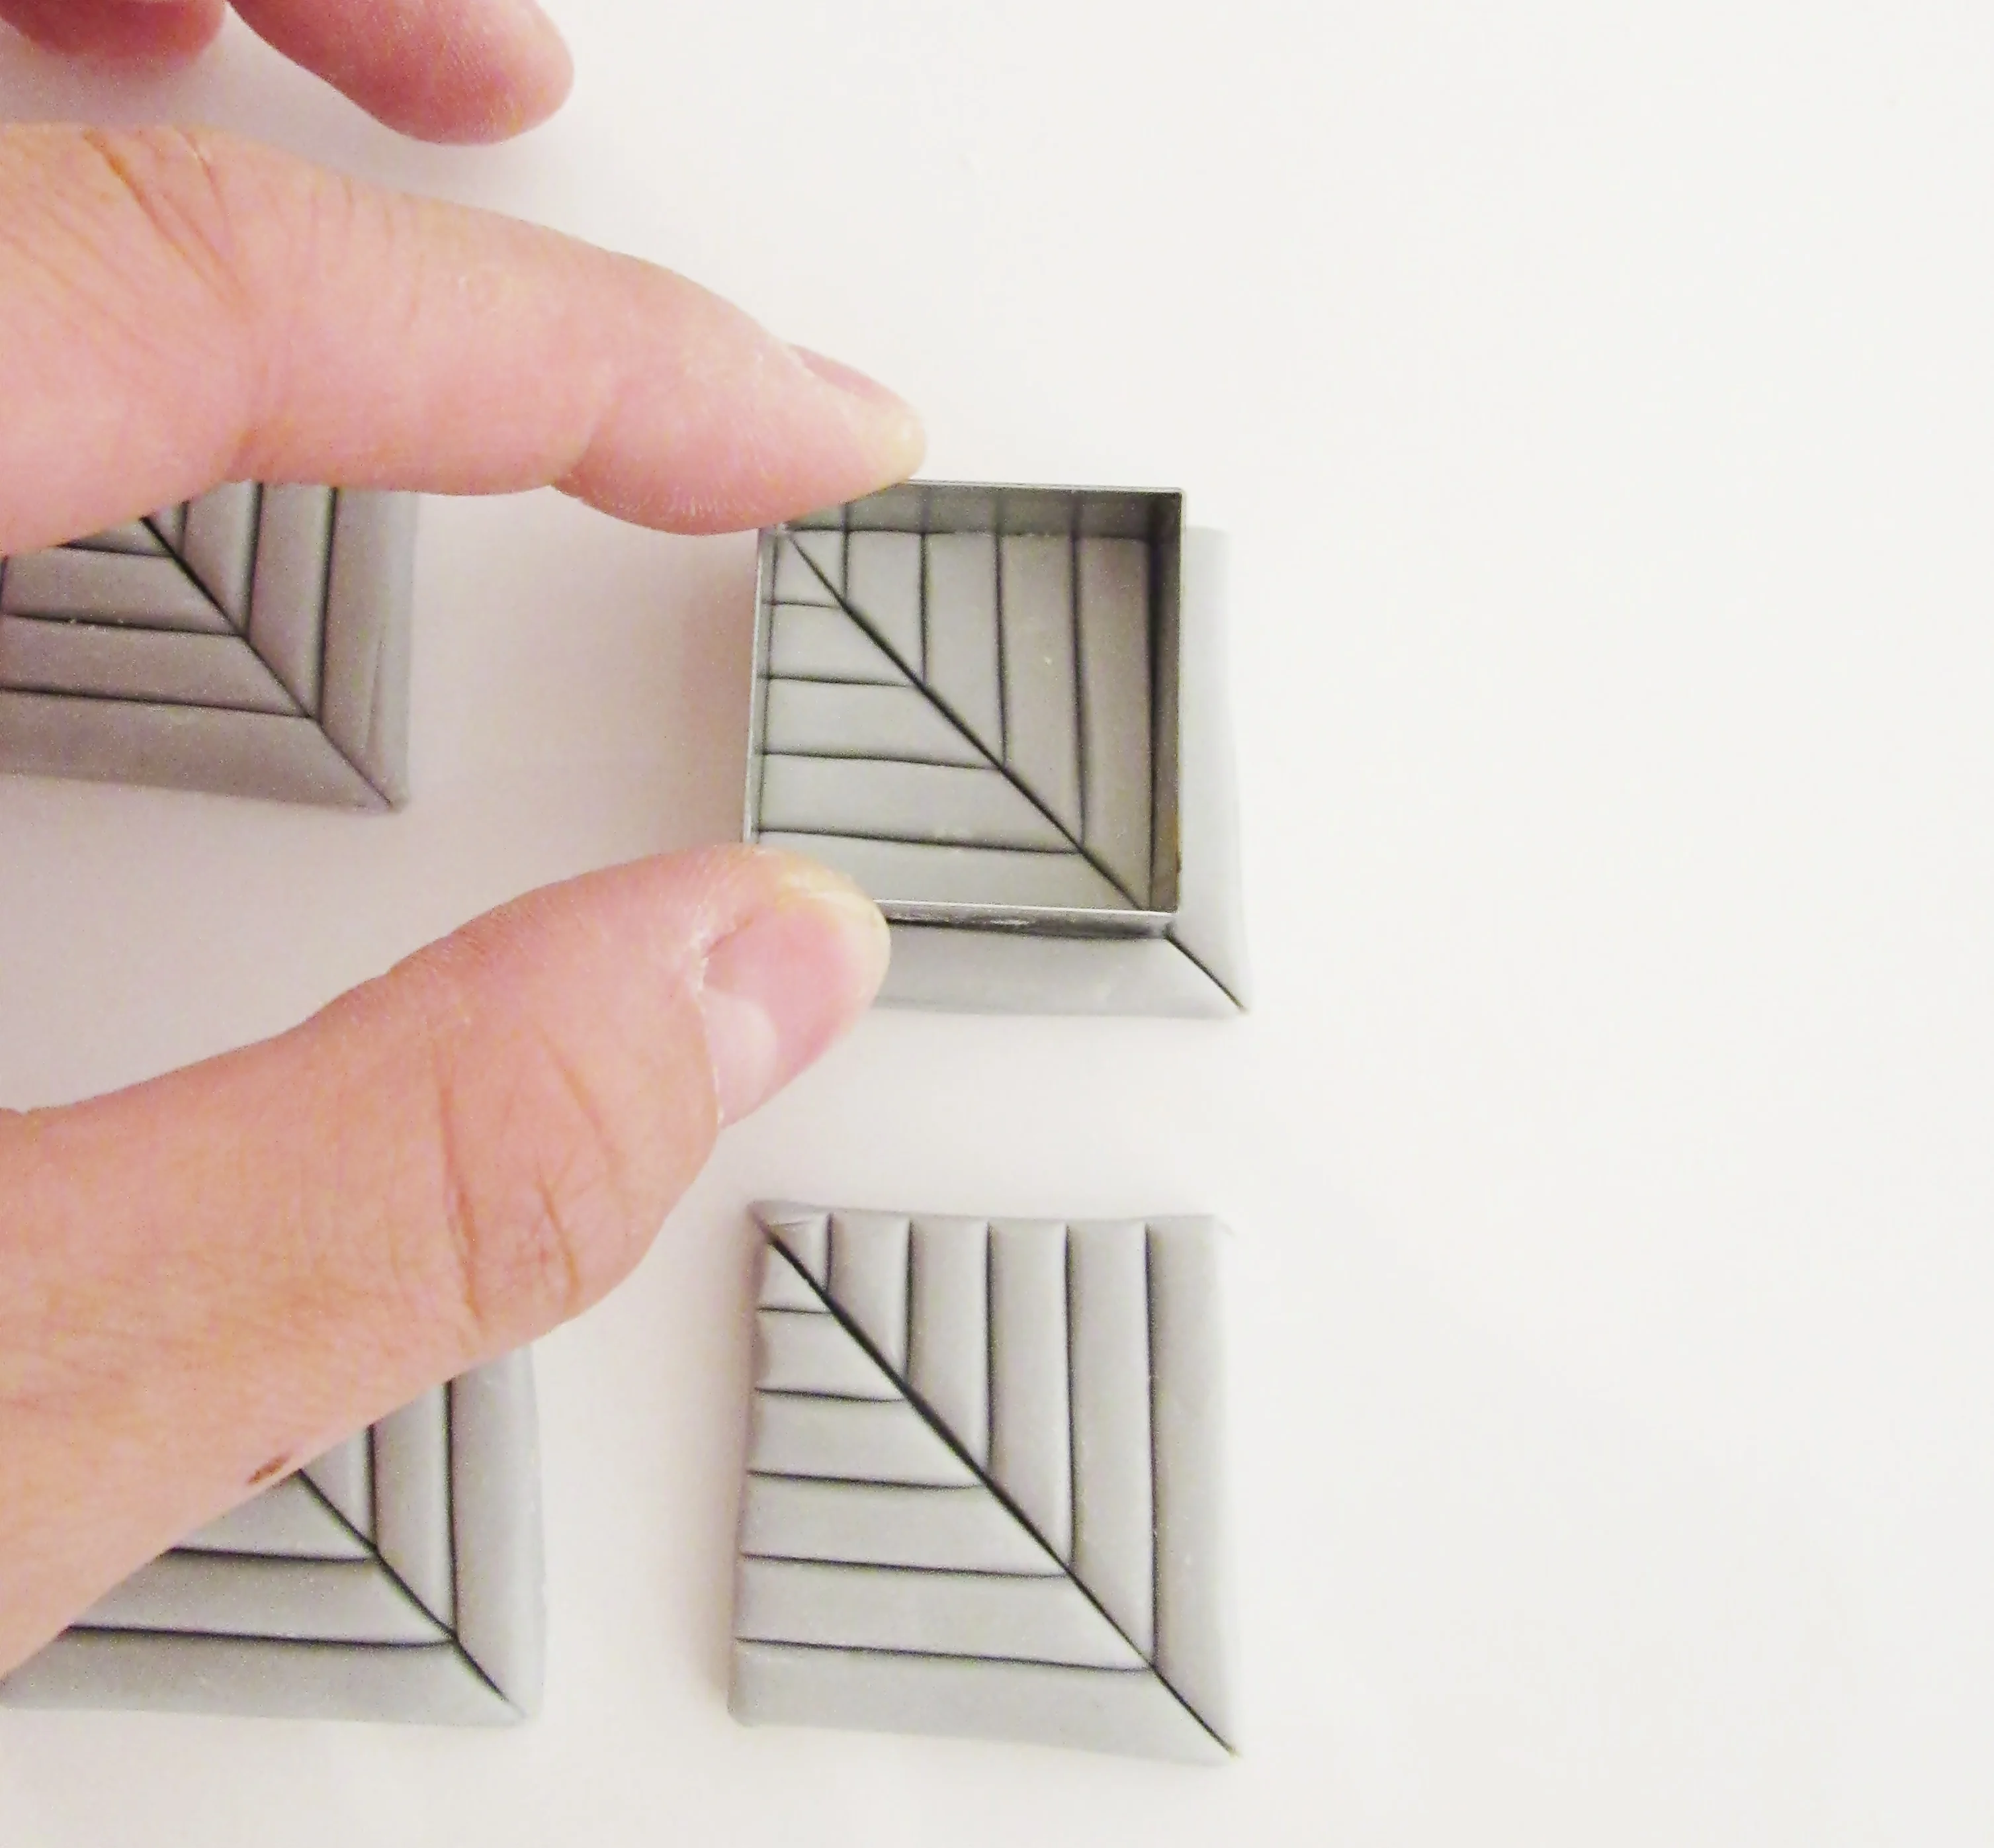
Step 9
Using a slightly smaller square cutter cut out a perfect square from each glued piece. Care is needed to line up the cutter with the lines on the paste.

Step 10
Repeat this process until all are cut out into perfect squares.
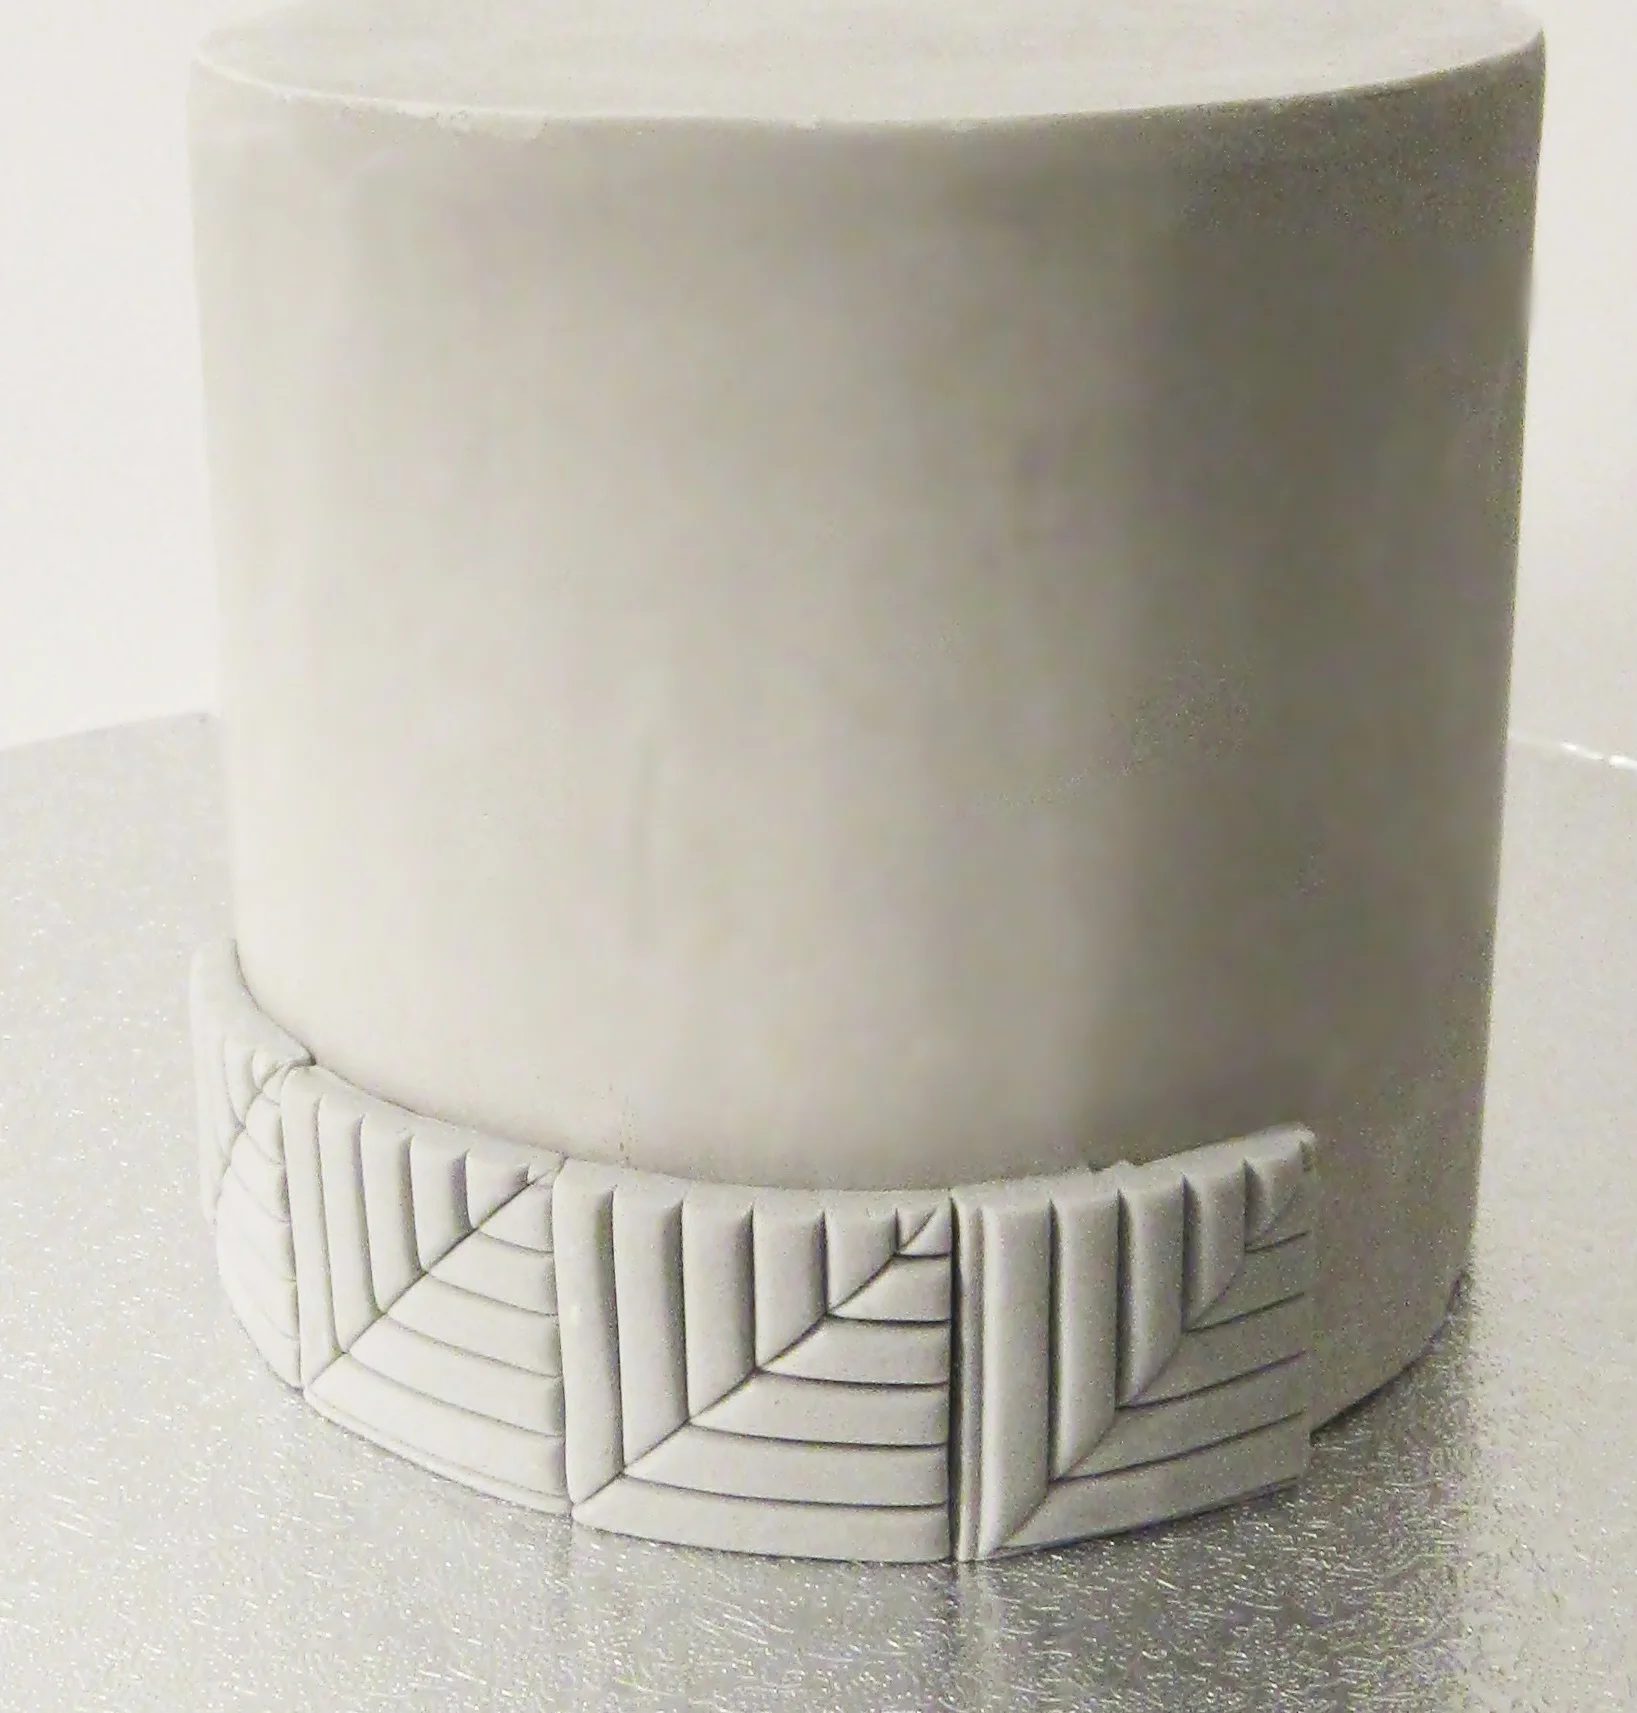
Step 11
Place the covered top tier onto a drum on your turntable. Using edible glue fix the squares around the base of the tier. Care is needed so all the squares in one row are in the same orientation and line up perfectly.
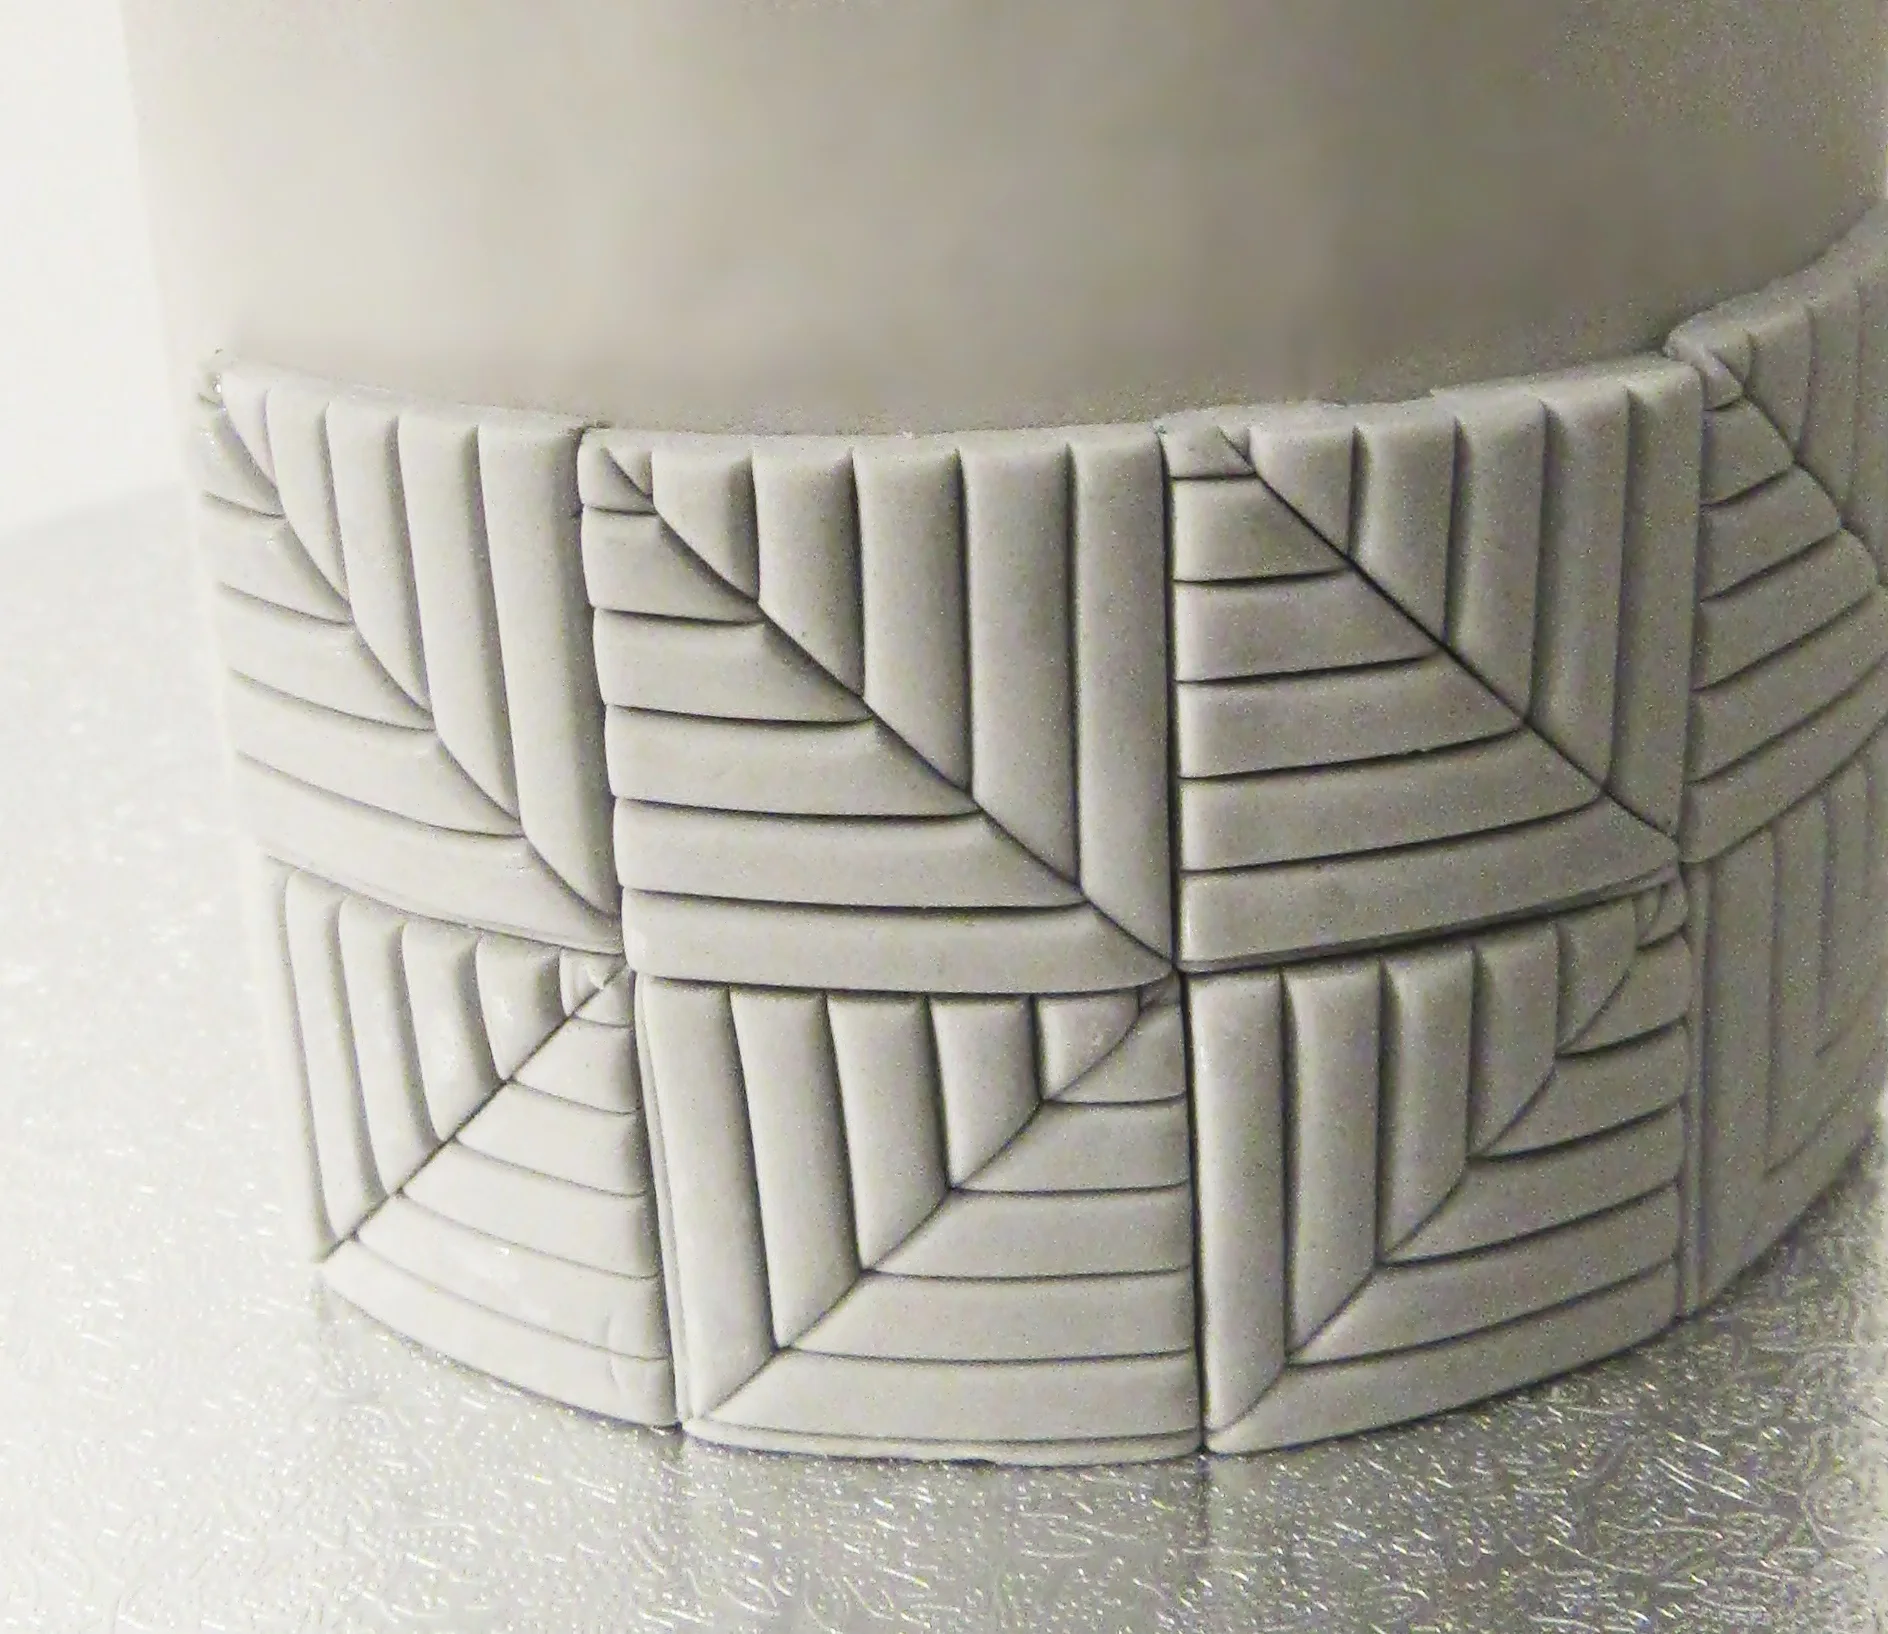
Step 12
Repeat for a second row rotating the pattern to the opposite direction of the row below.
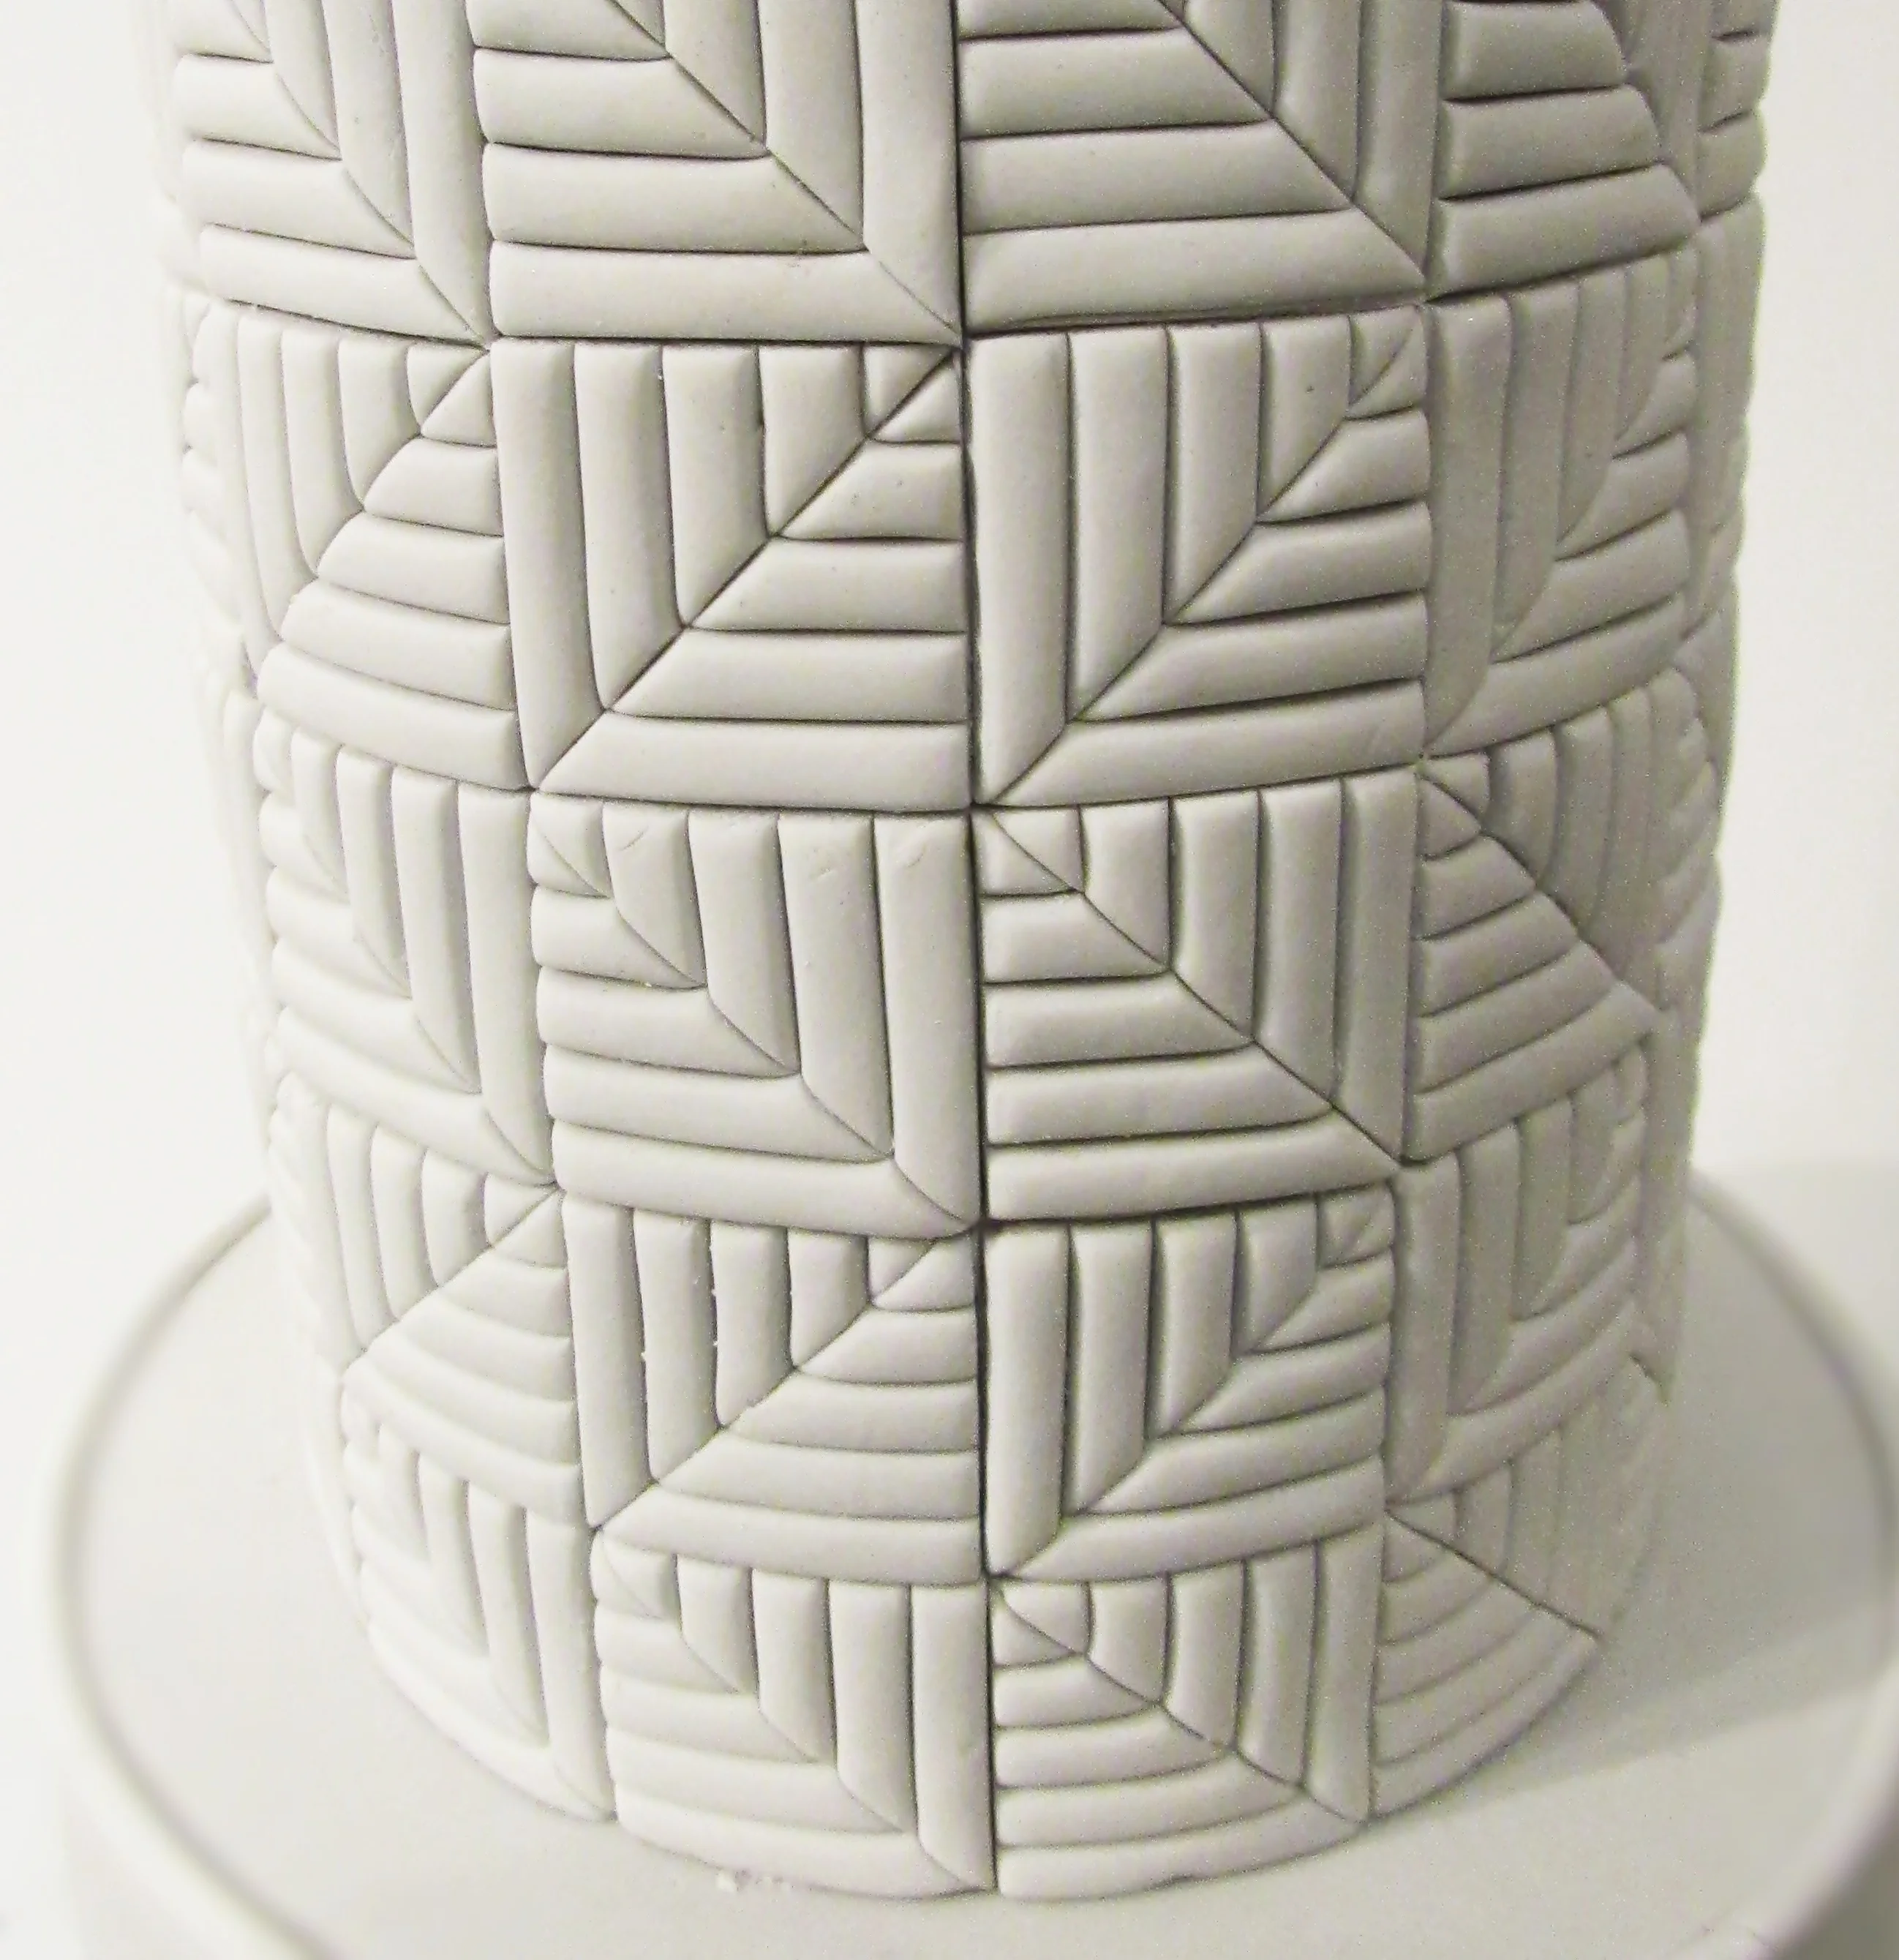
Step 13
Continue until the whole tier is covered with rows of squares. Alternate the pattern for each row up the cake.
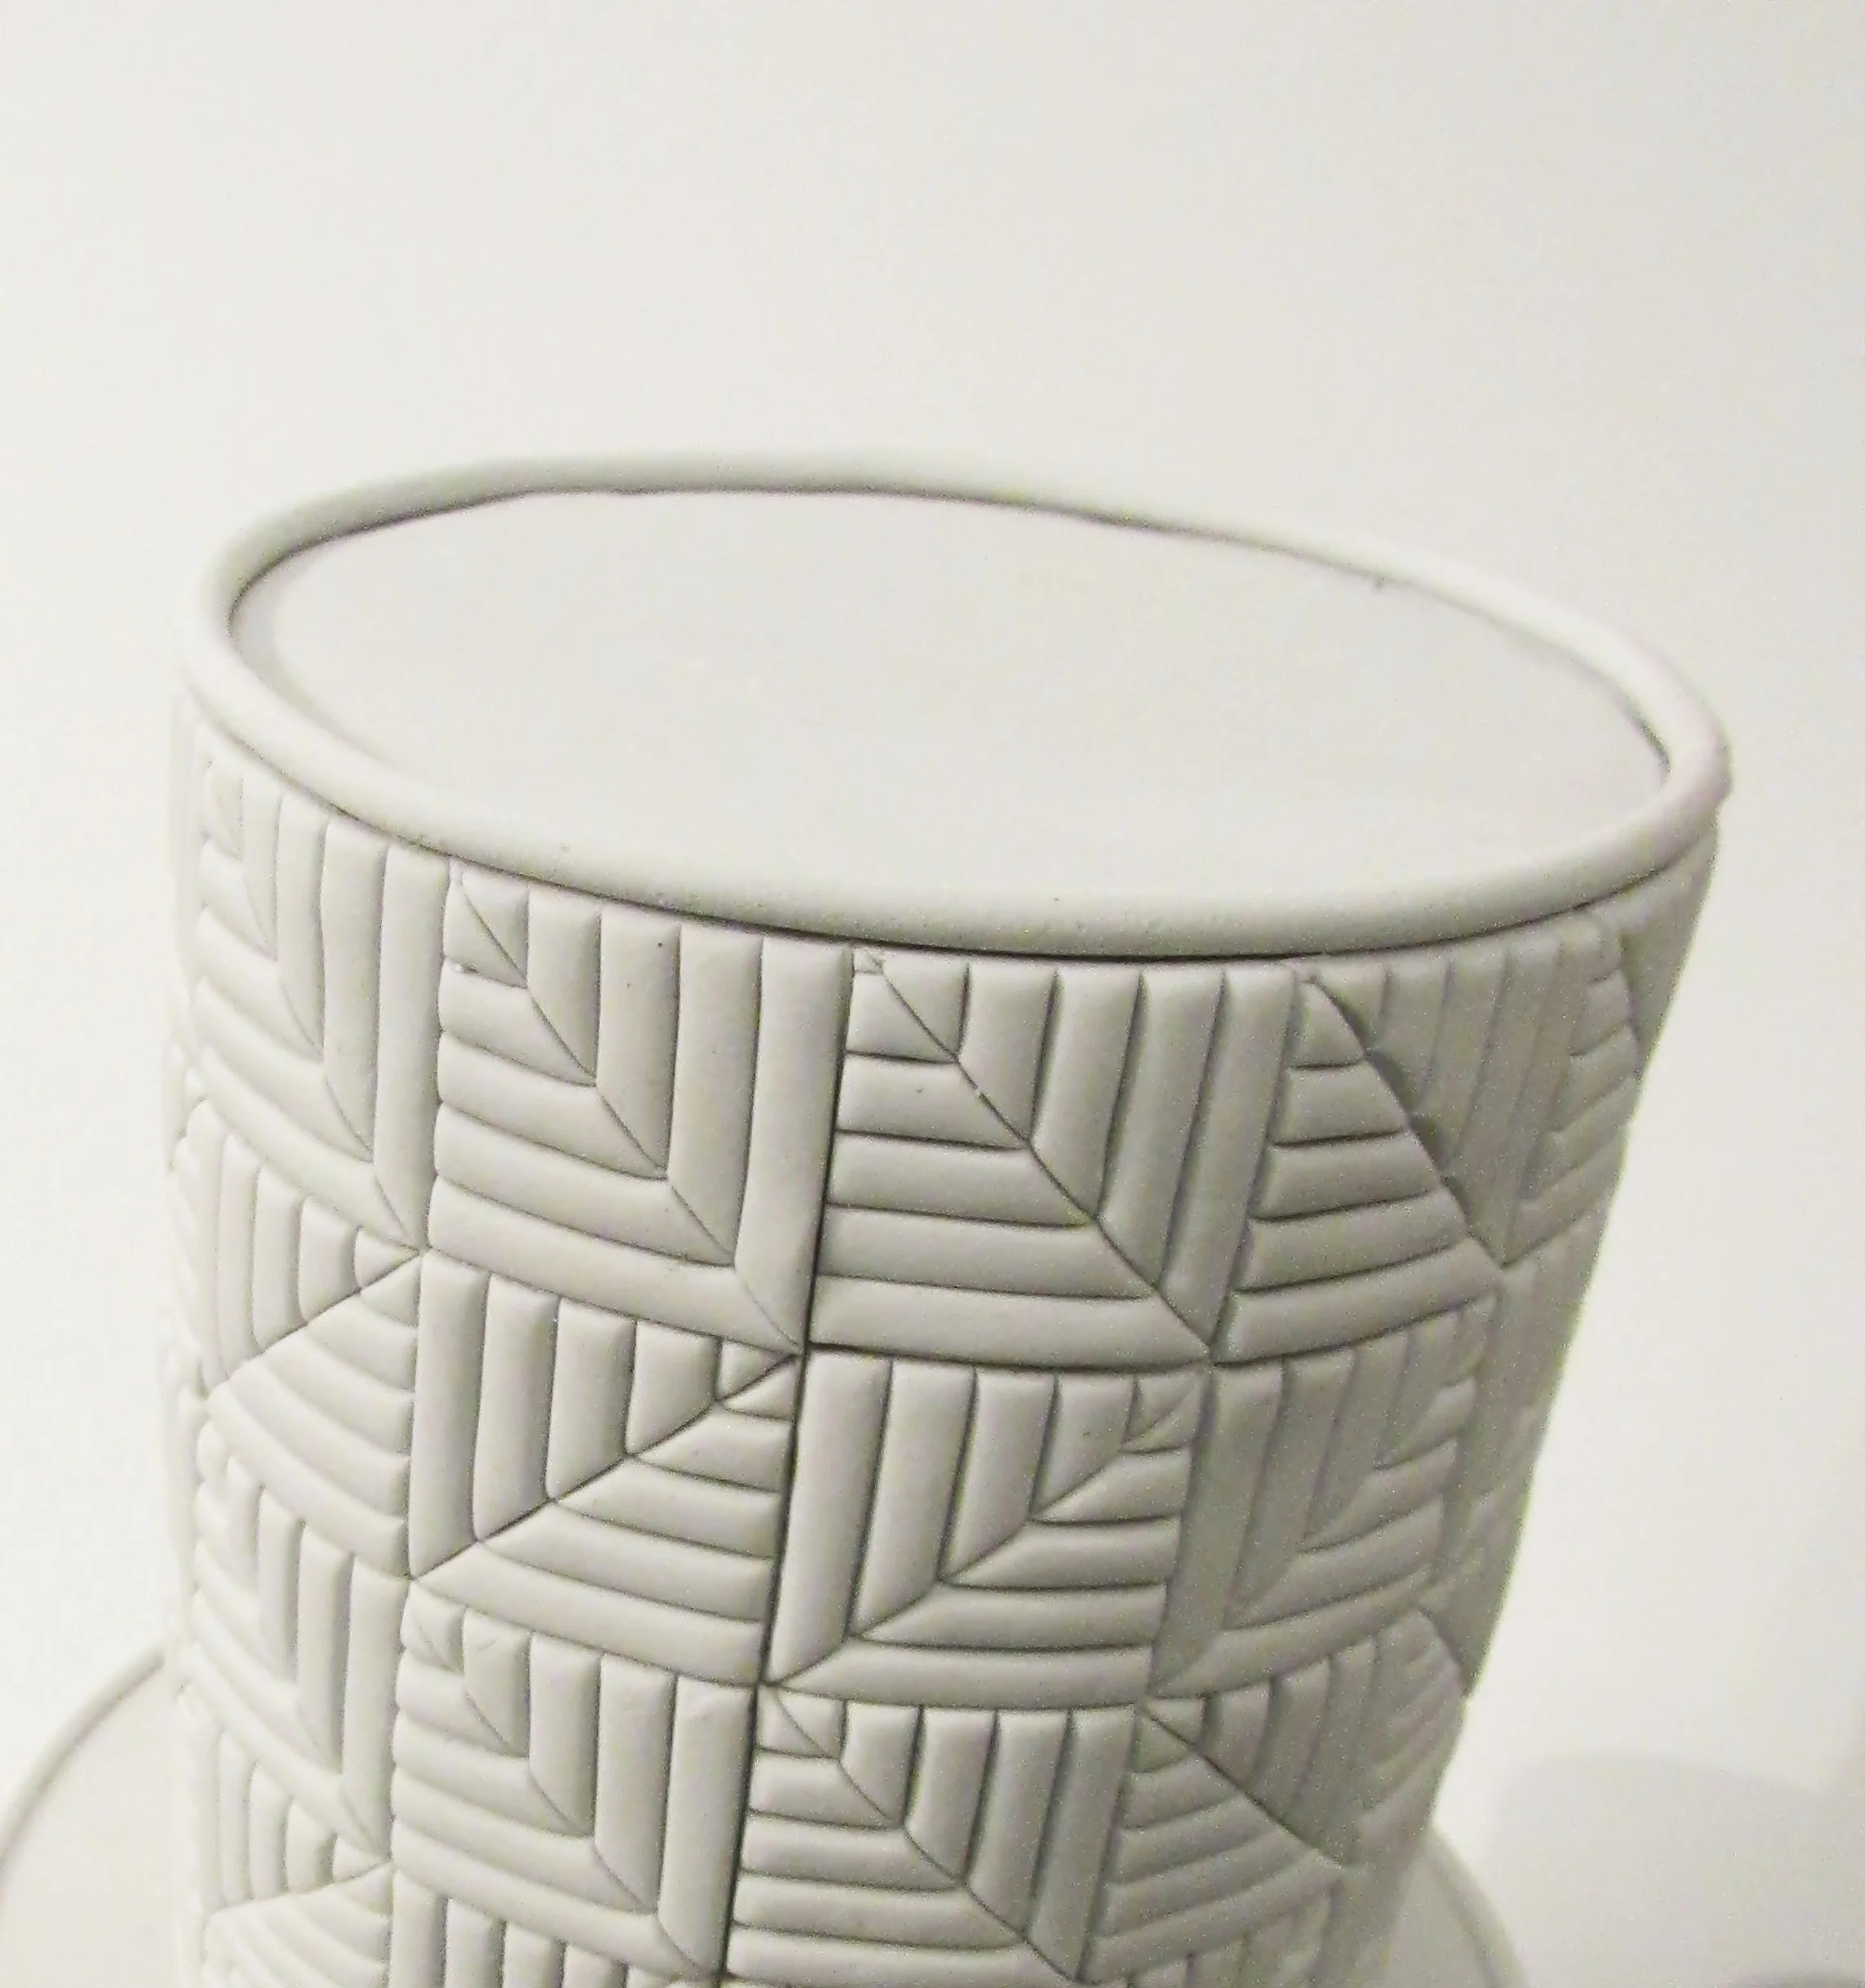
Step 14
Using the extruder form a bead around the top perimeter. The joint in the bead should be to the rear of the cake and blended to hide the joint.
Step 15
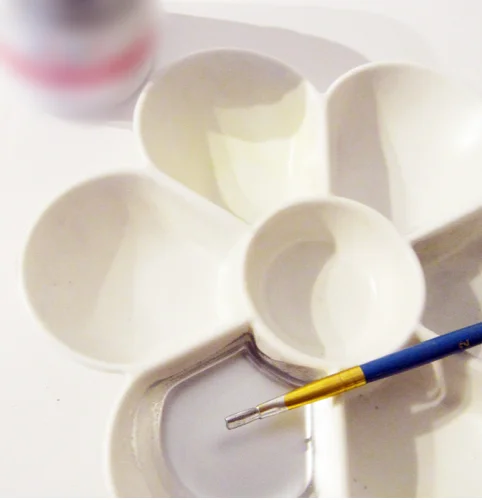
Mix silver dust with clear alcohol. The consistency should not be too thick and liquid enough to apply evenly.
Step 16
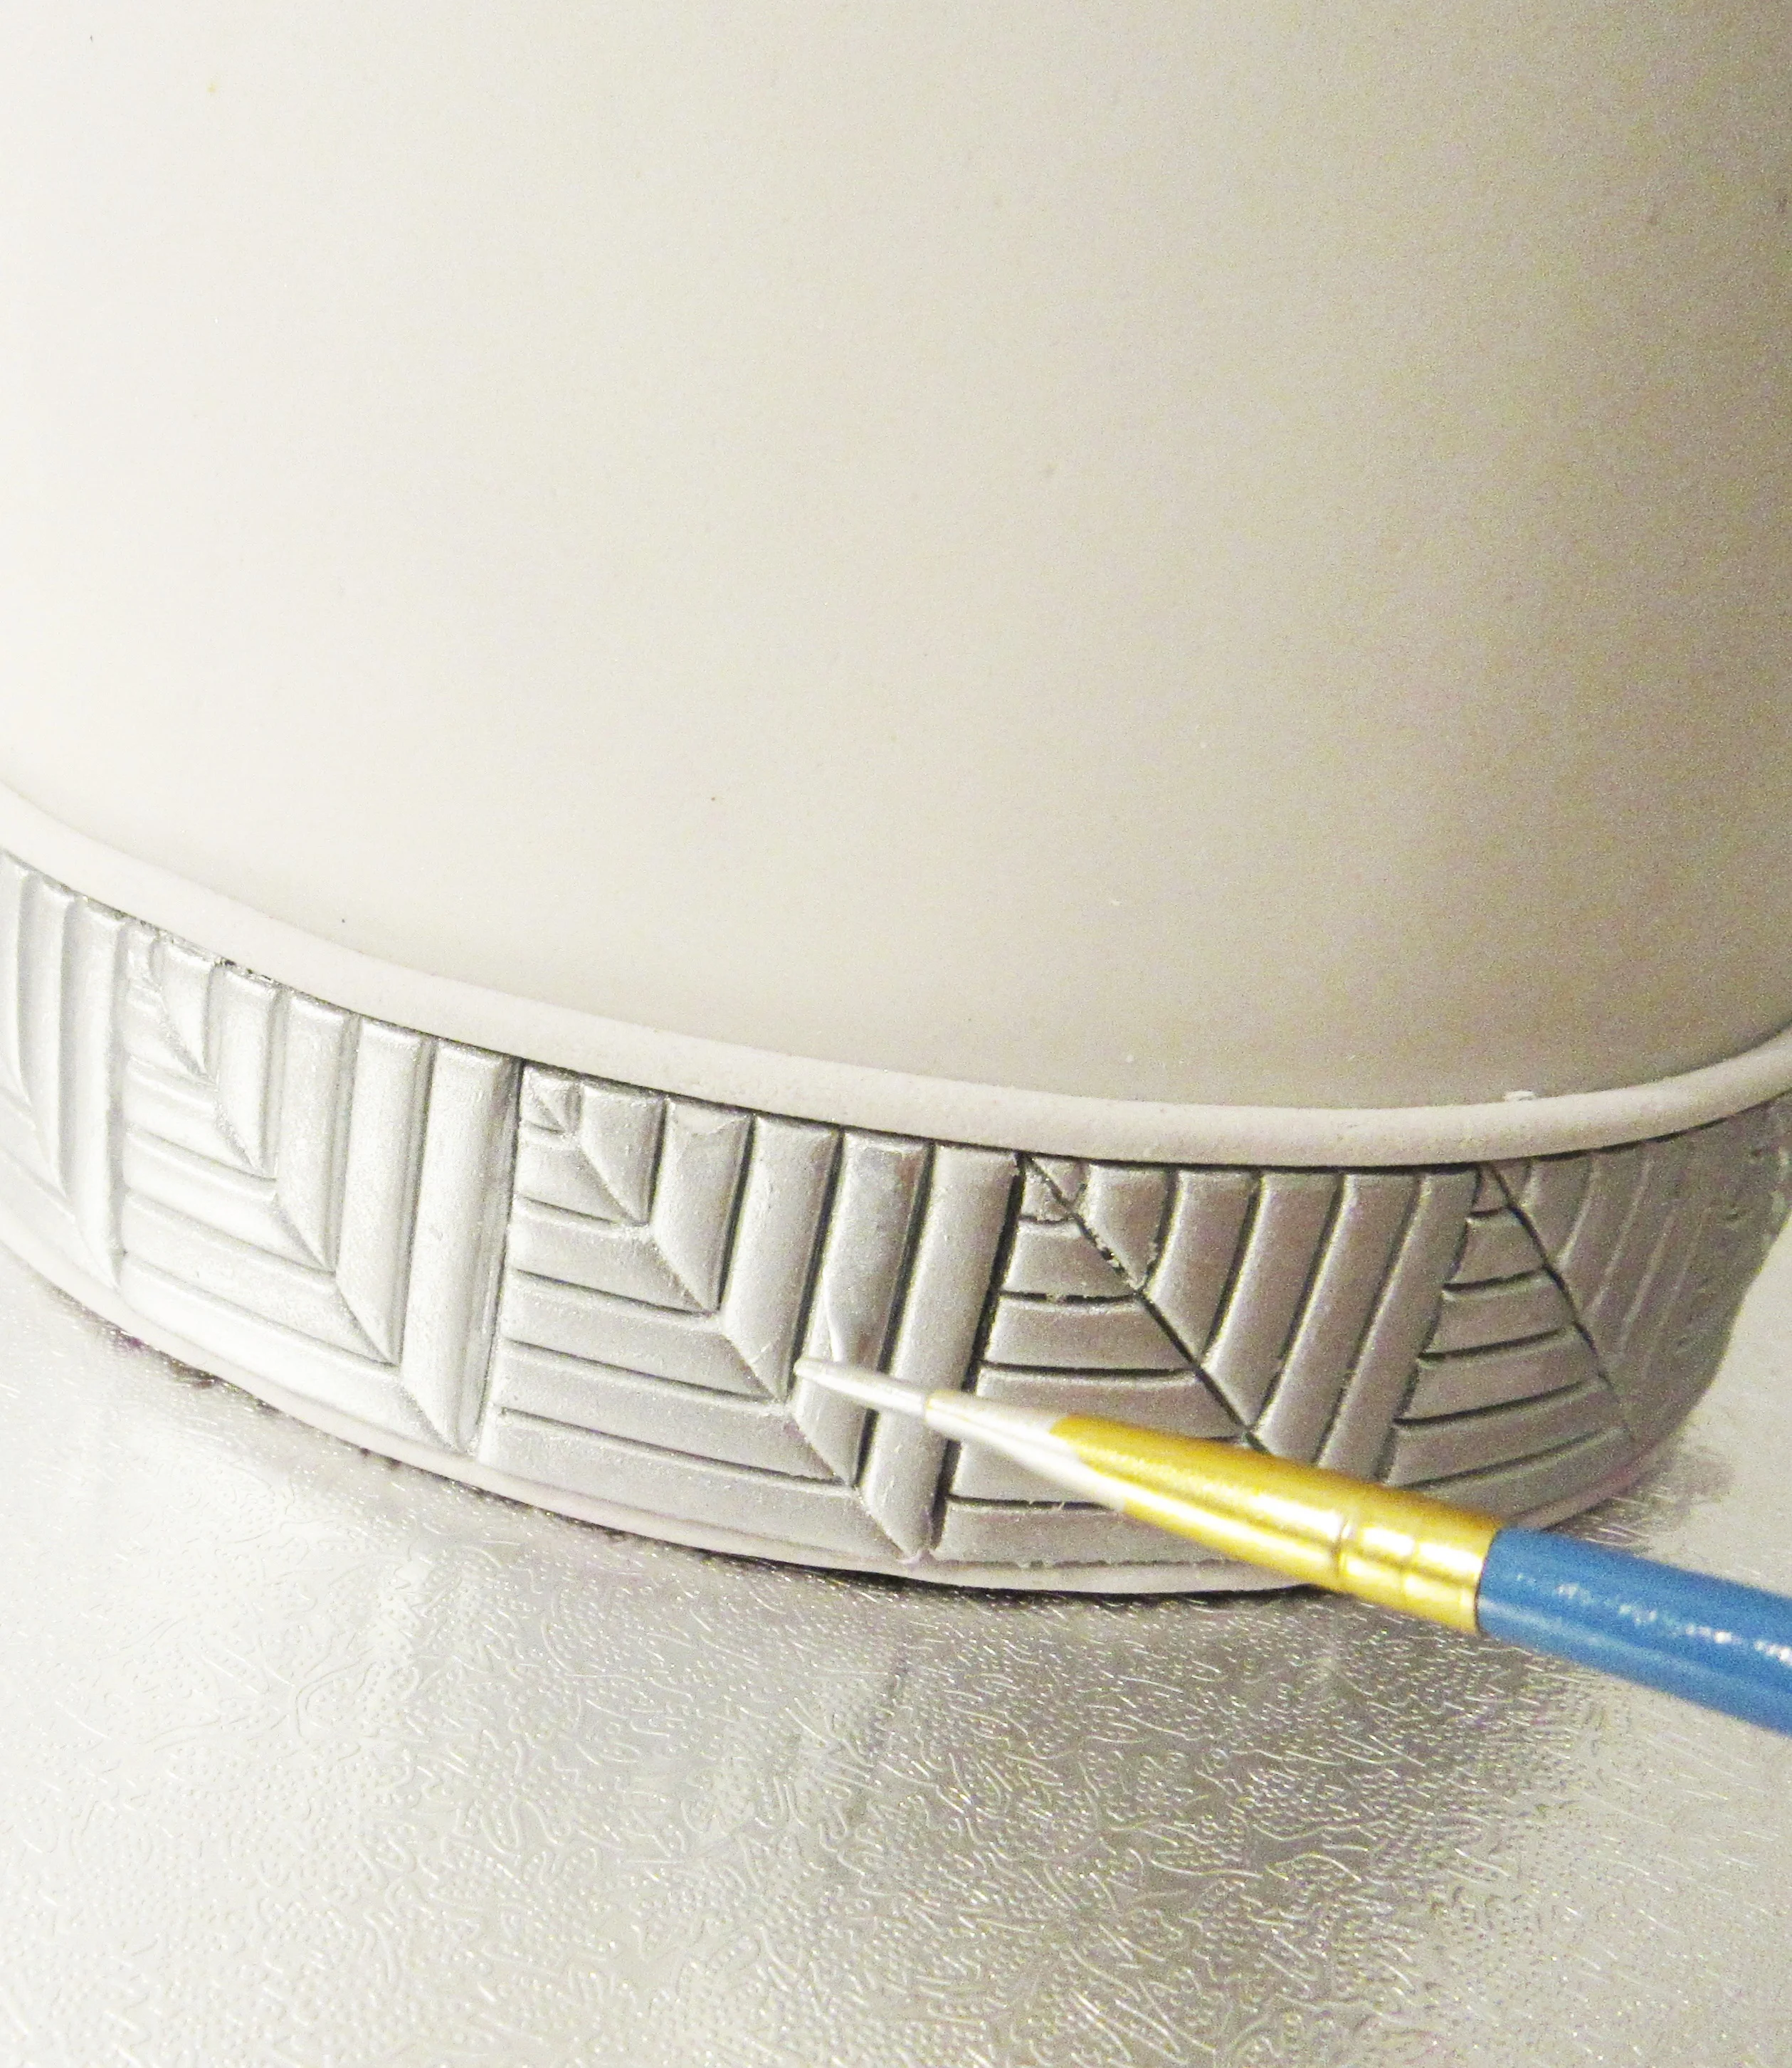
Paint the squares using a small brush to achieve a different finish and extra results.
Step 17
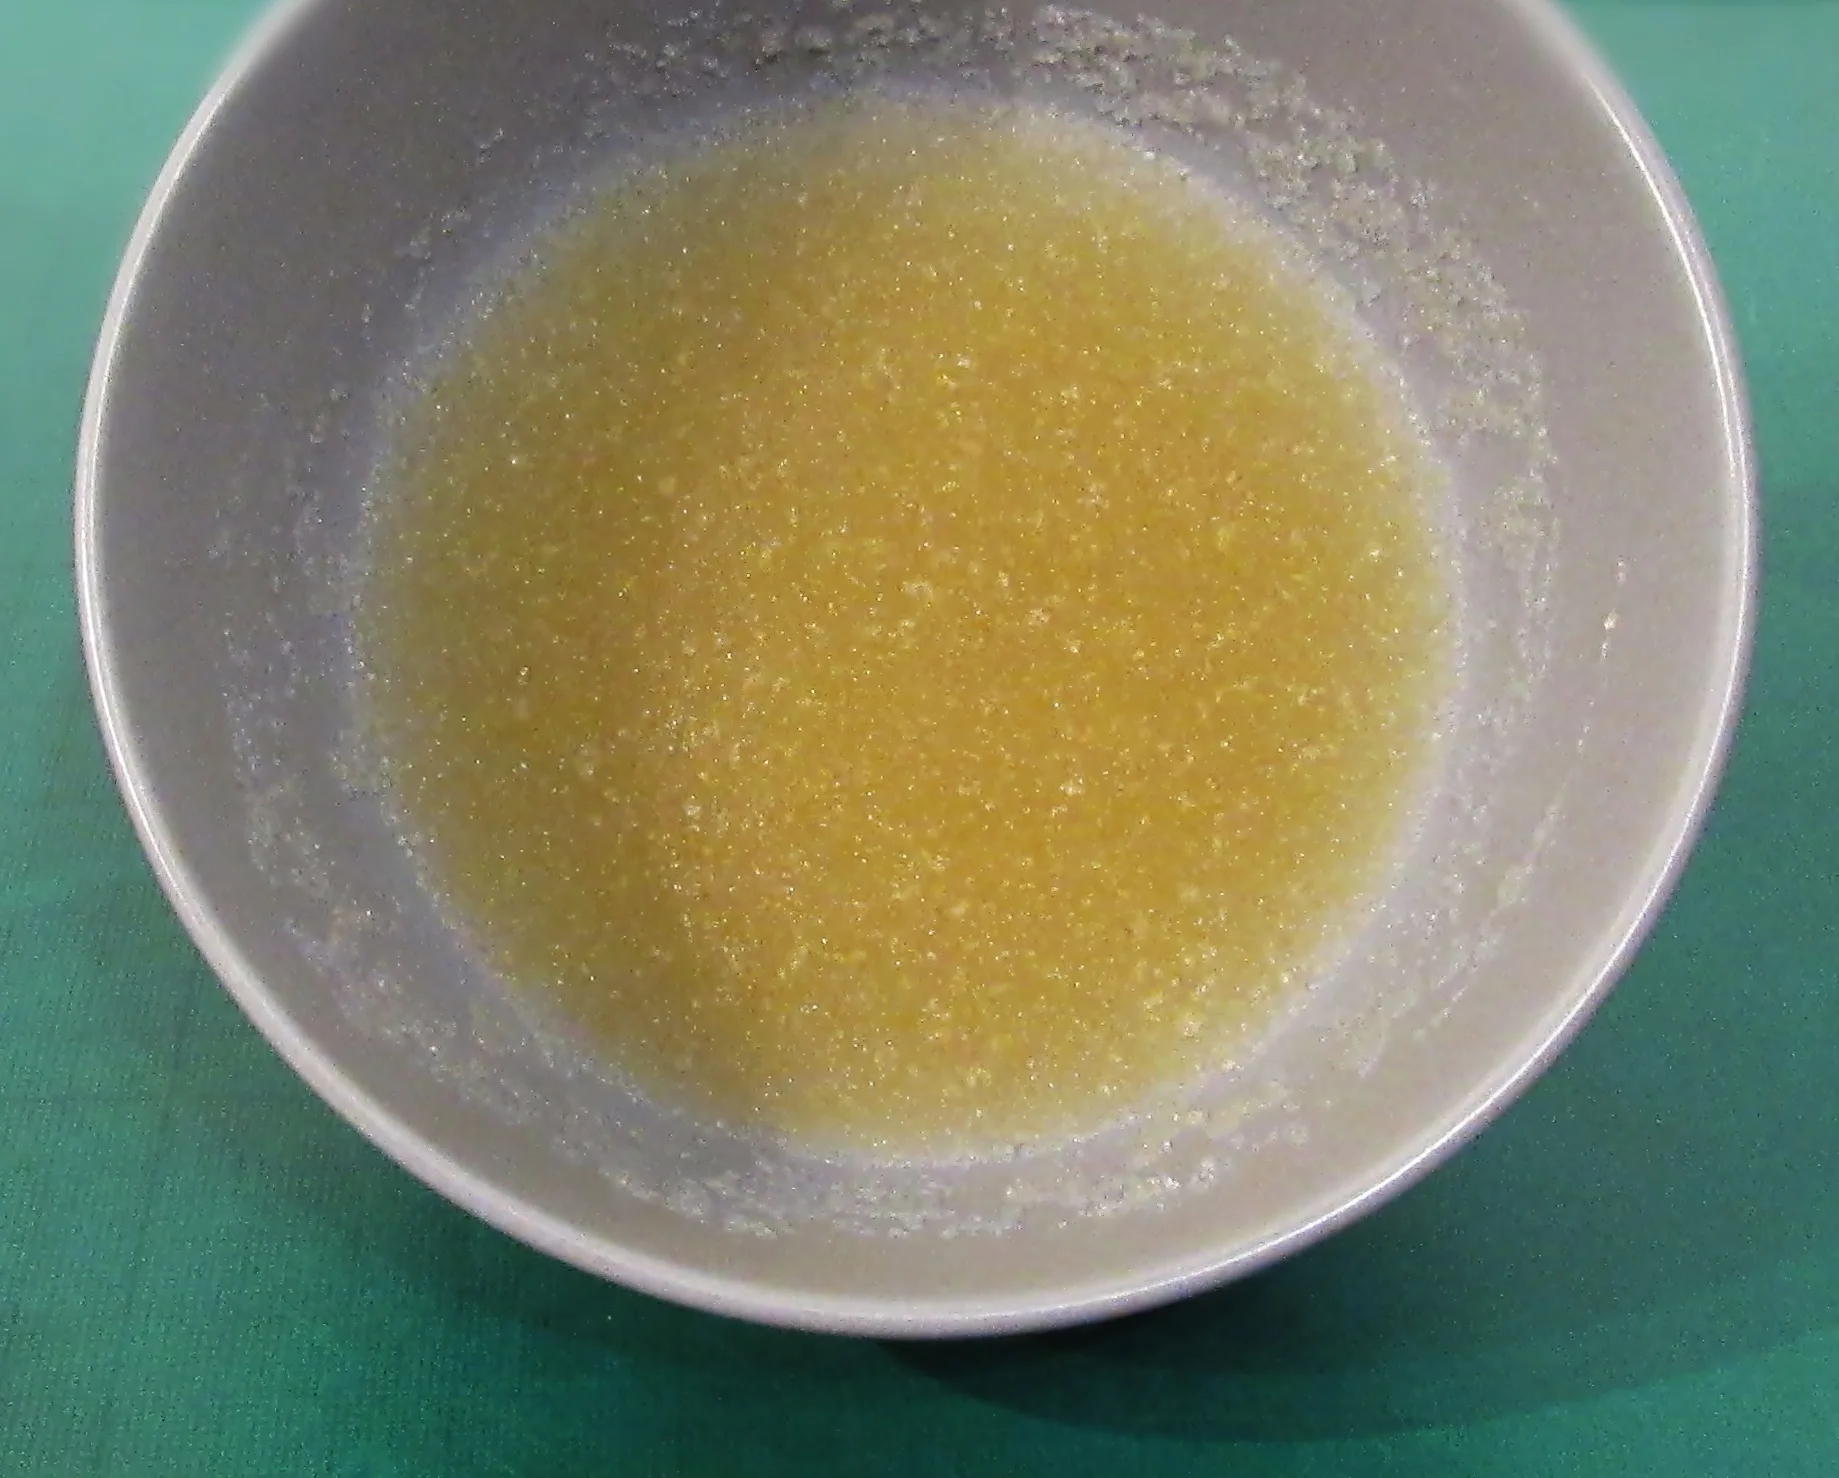
Now for the ‘purple cabbage’ barrel tier. Add 130ml water and 36g gelatine to a bowl and mix well to dissolve.
Step 18
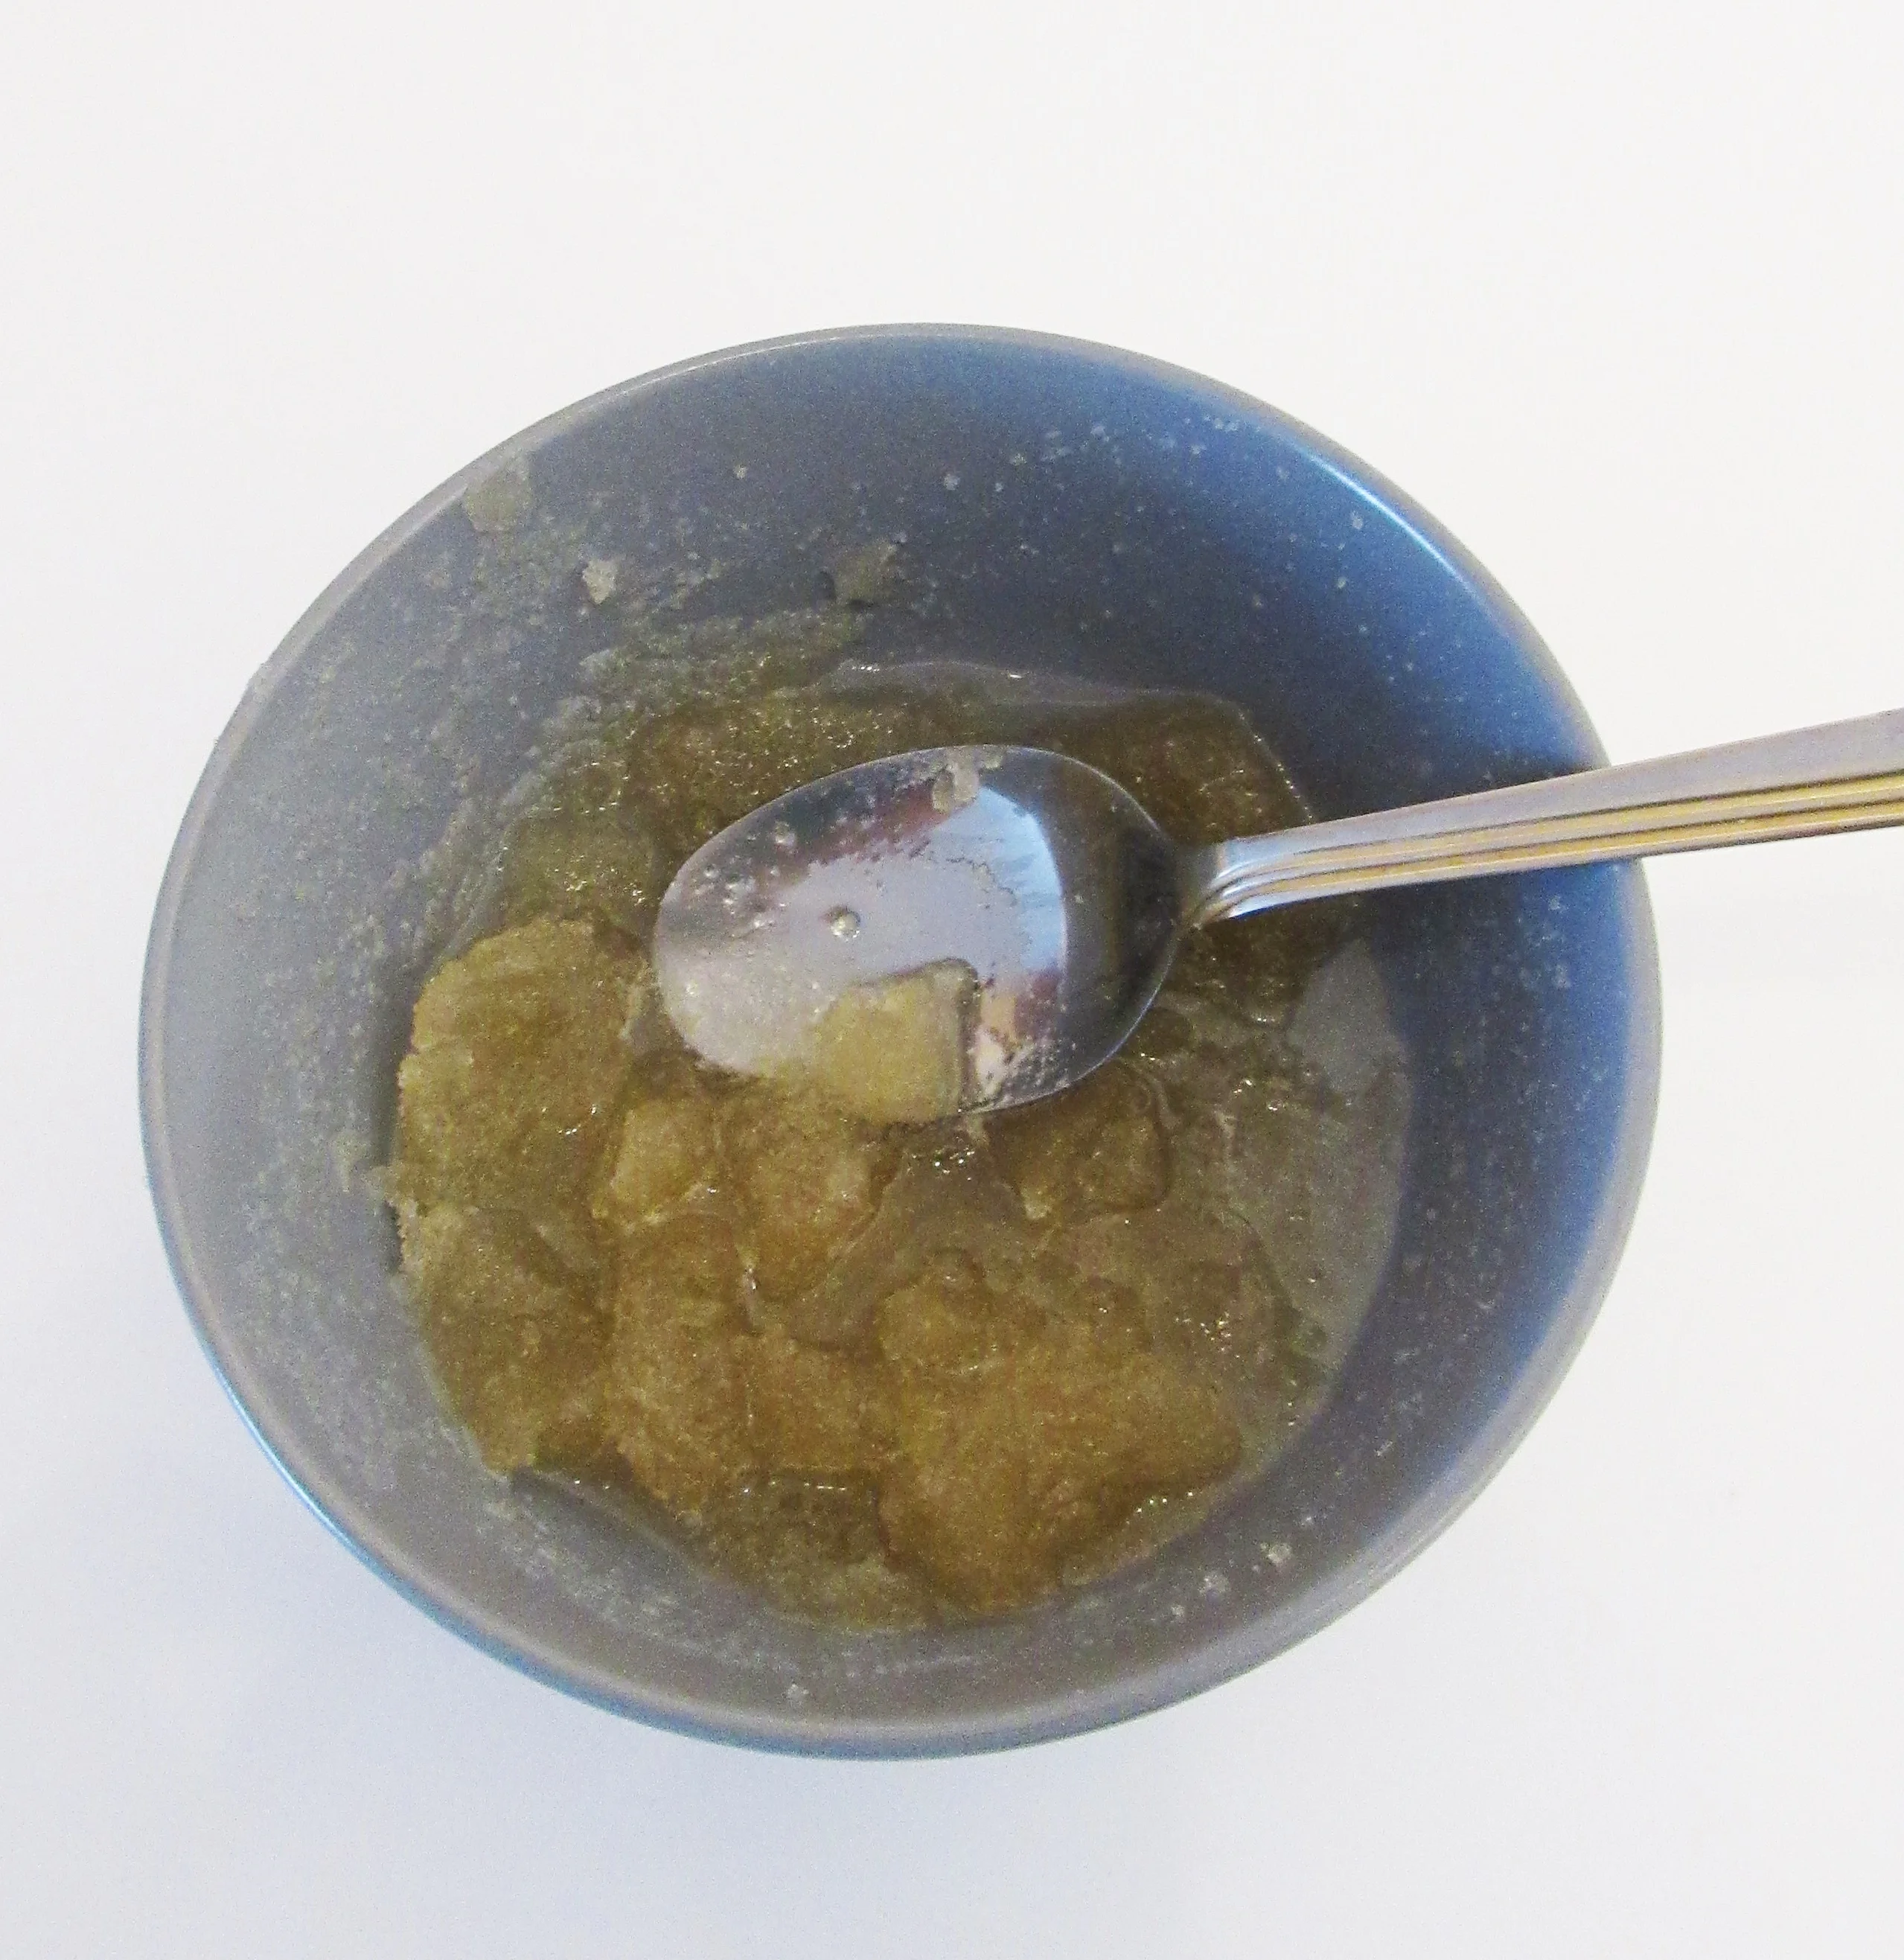
Leave to stand for 15 minutes to set.
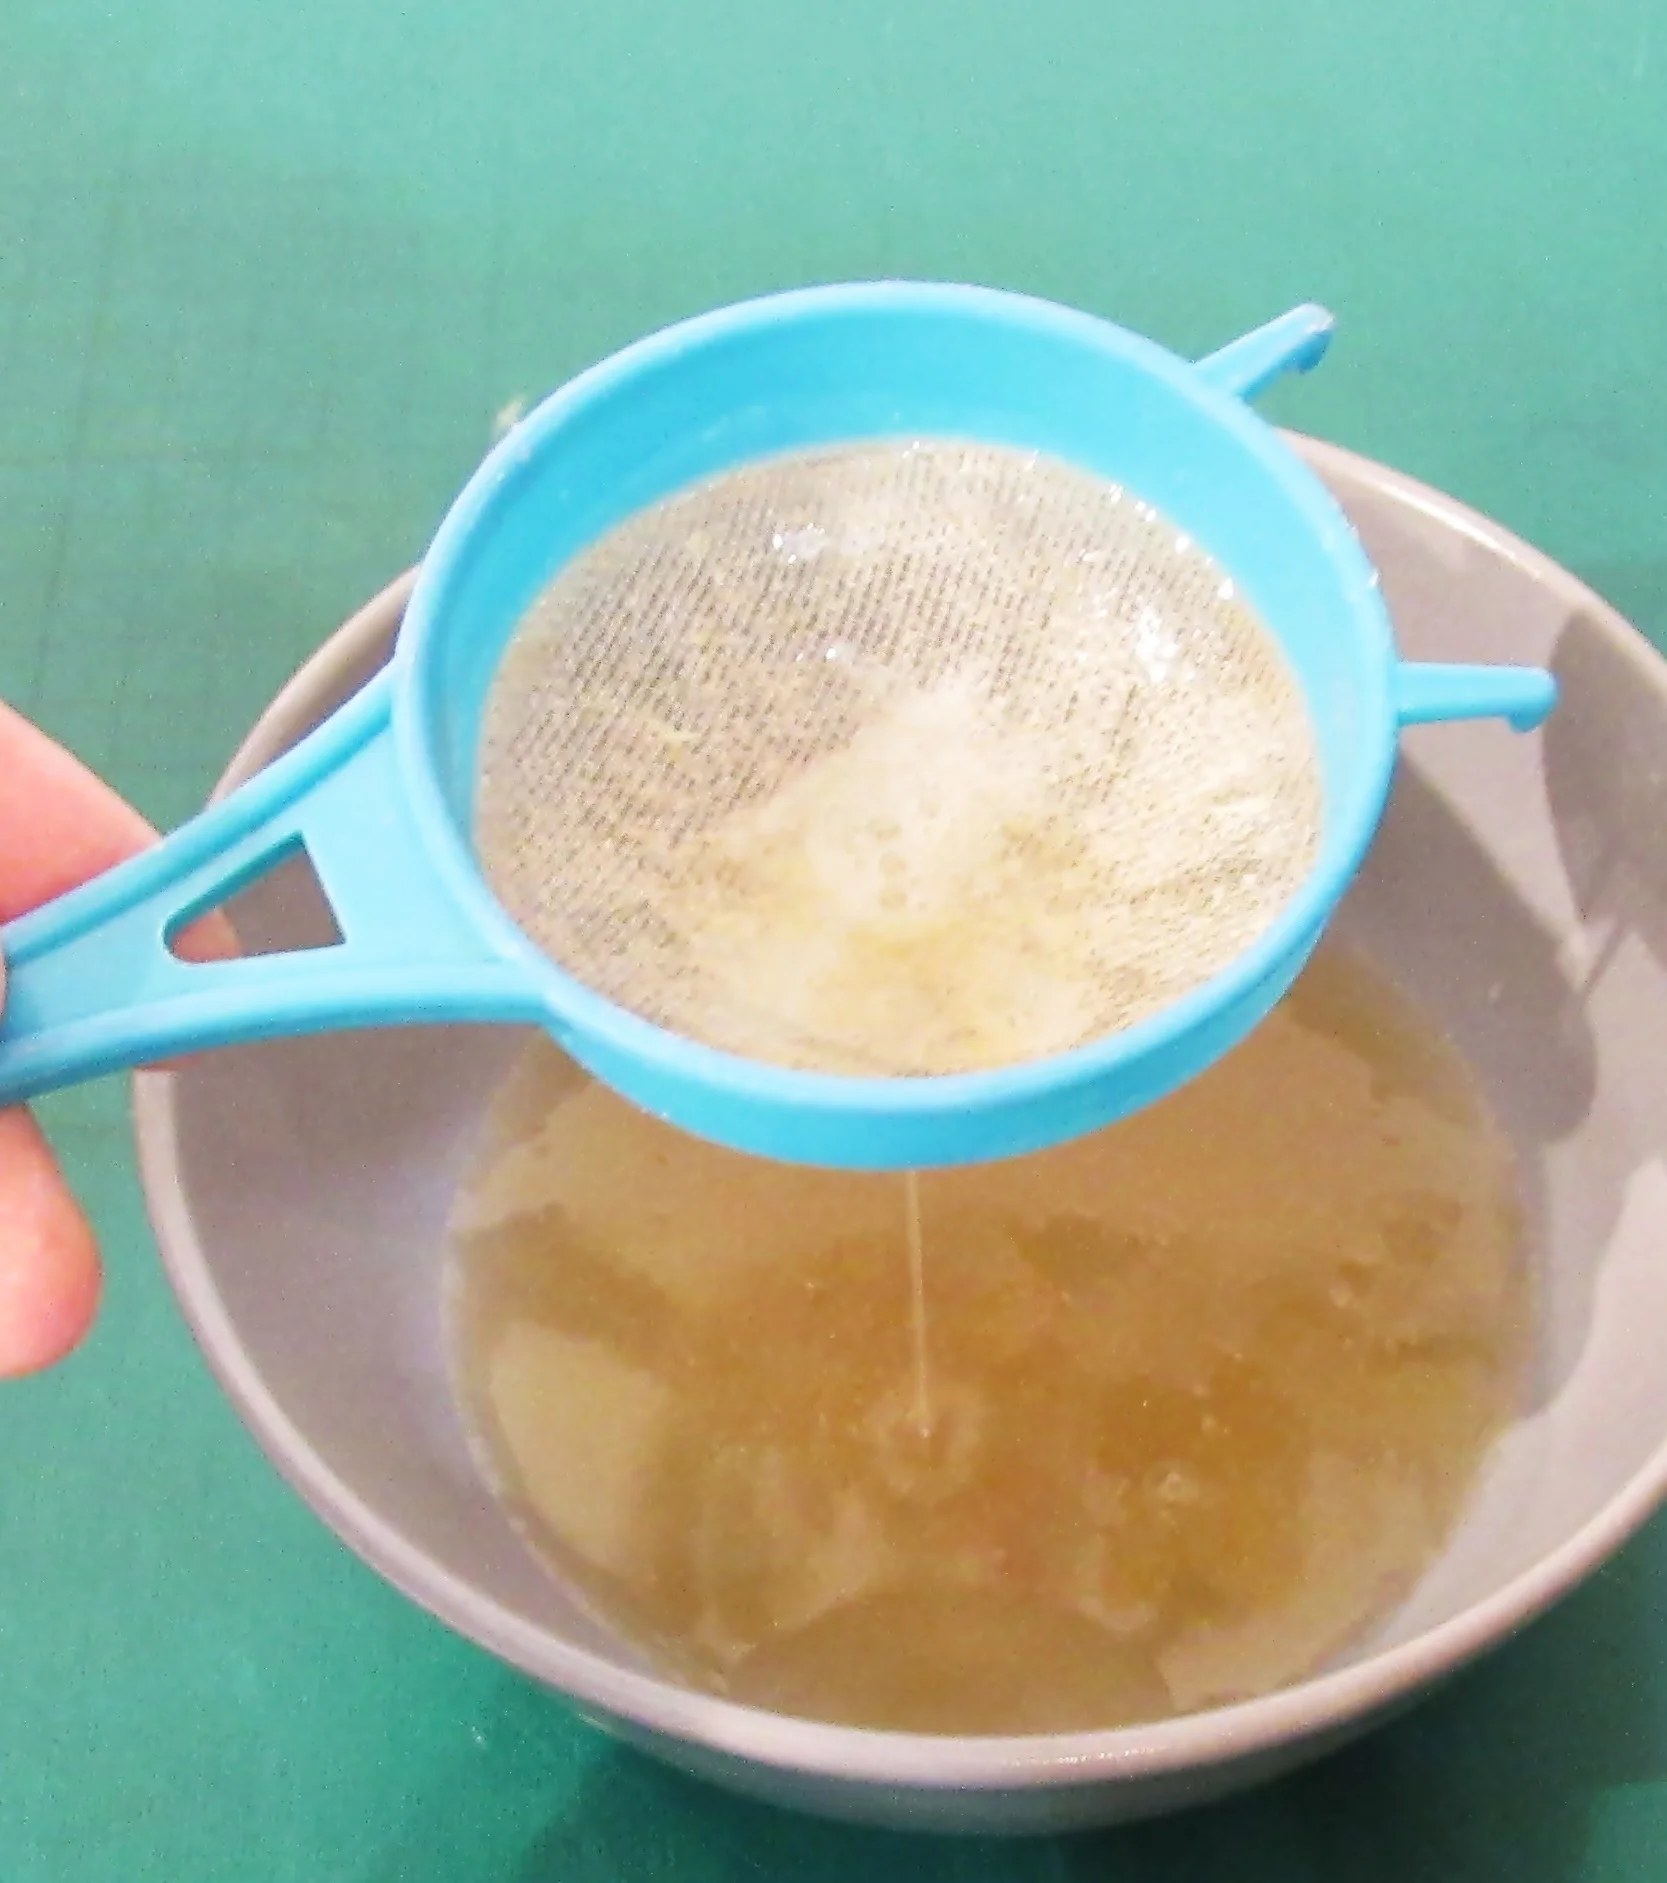
Step 19
Add 80ml of glycerine and stir well. Put the mixture into a microwave for 15-20 seconds until it becomes a liquid.Sieve the gelatine/glycerine liquid to remove all lumps and white bits from the top of the liquid.
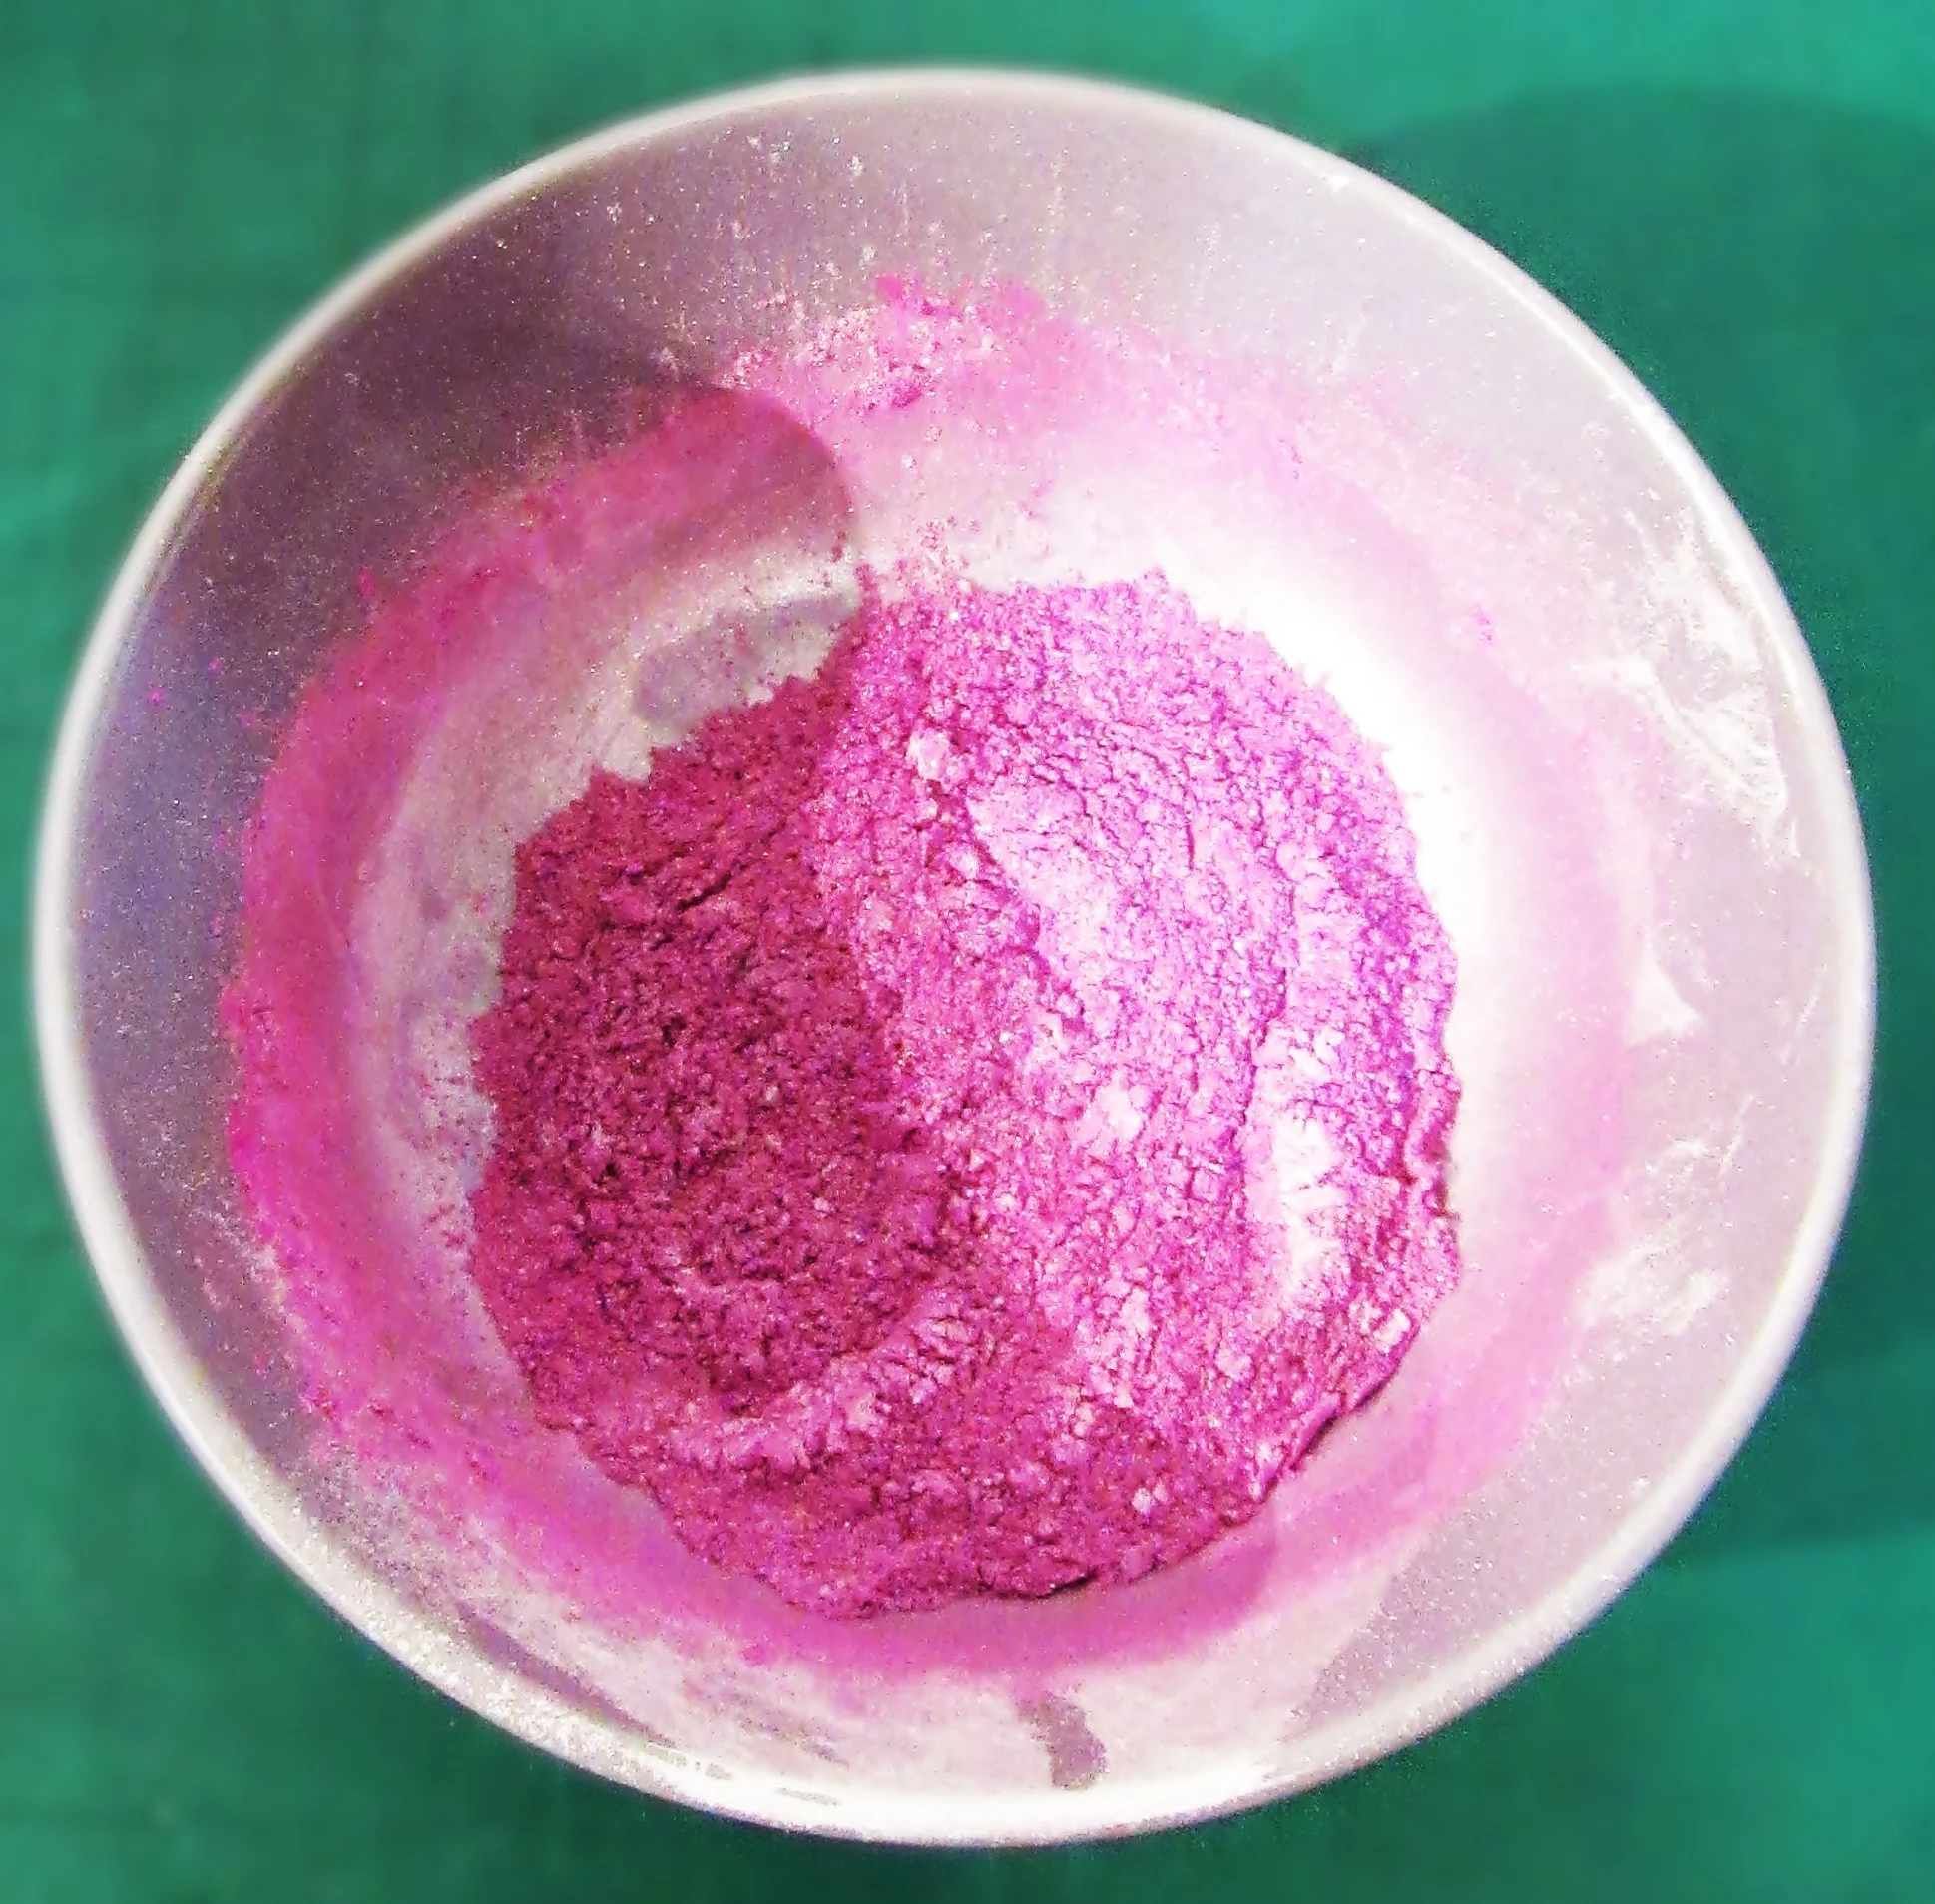
Step 20
In a separate bowl mix the powder colours to achieve the required colour. Different colours of choice can be used to suit your design and style.
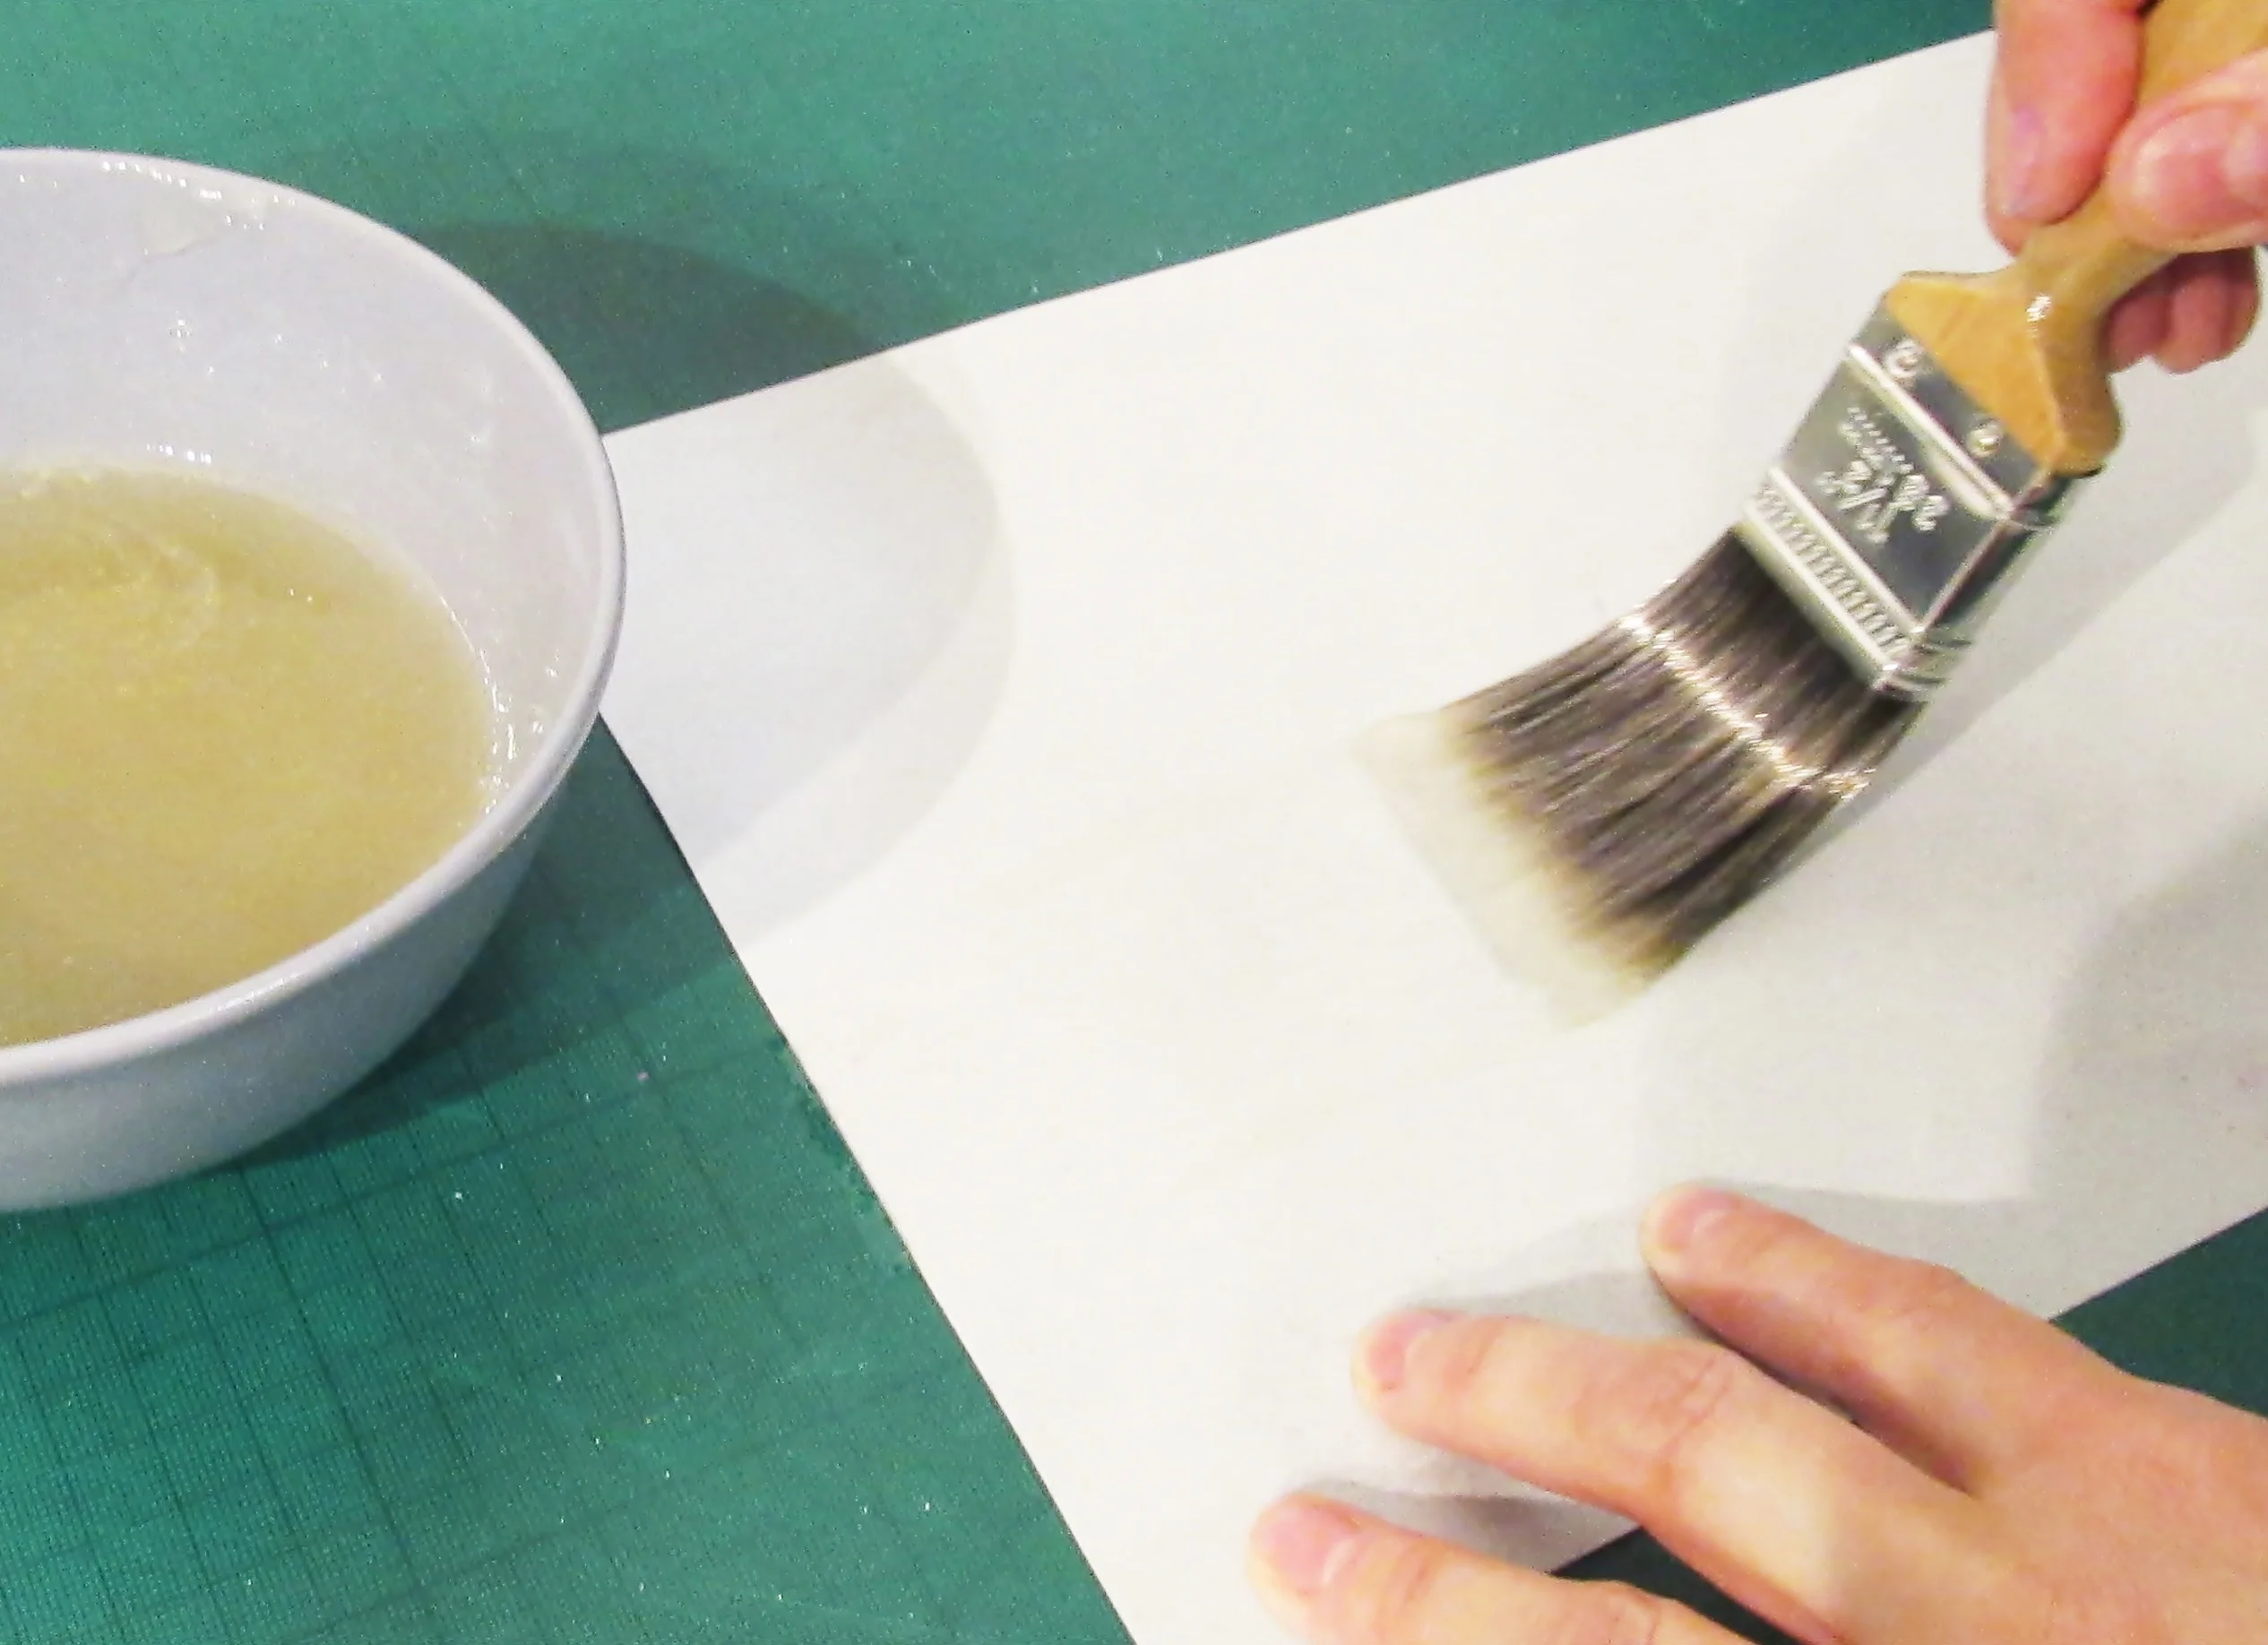
Step 21
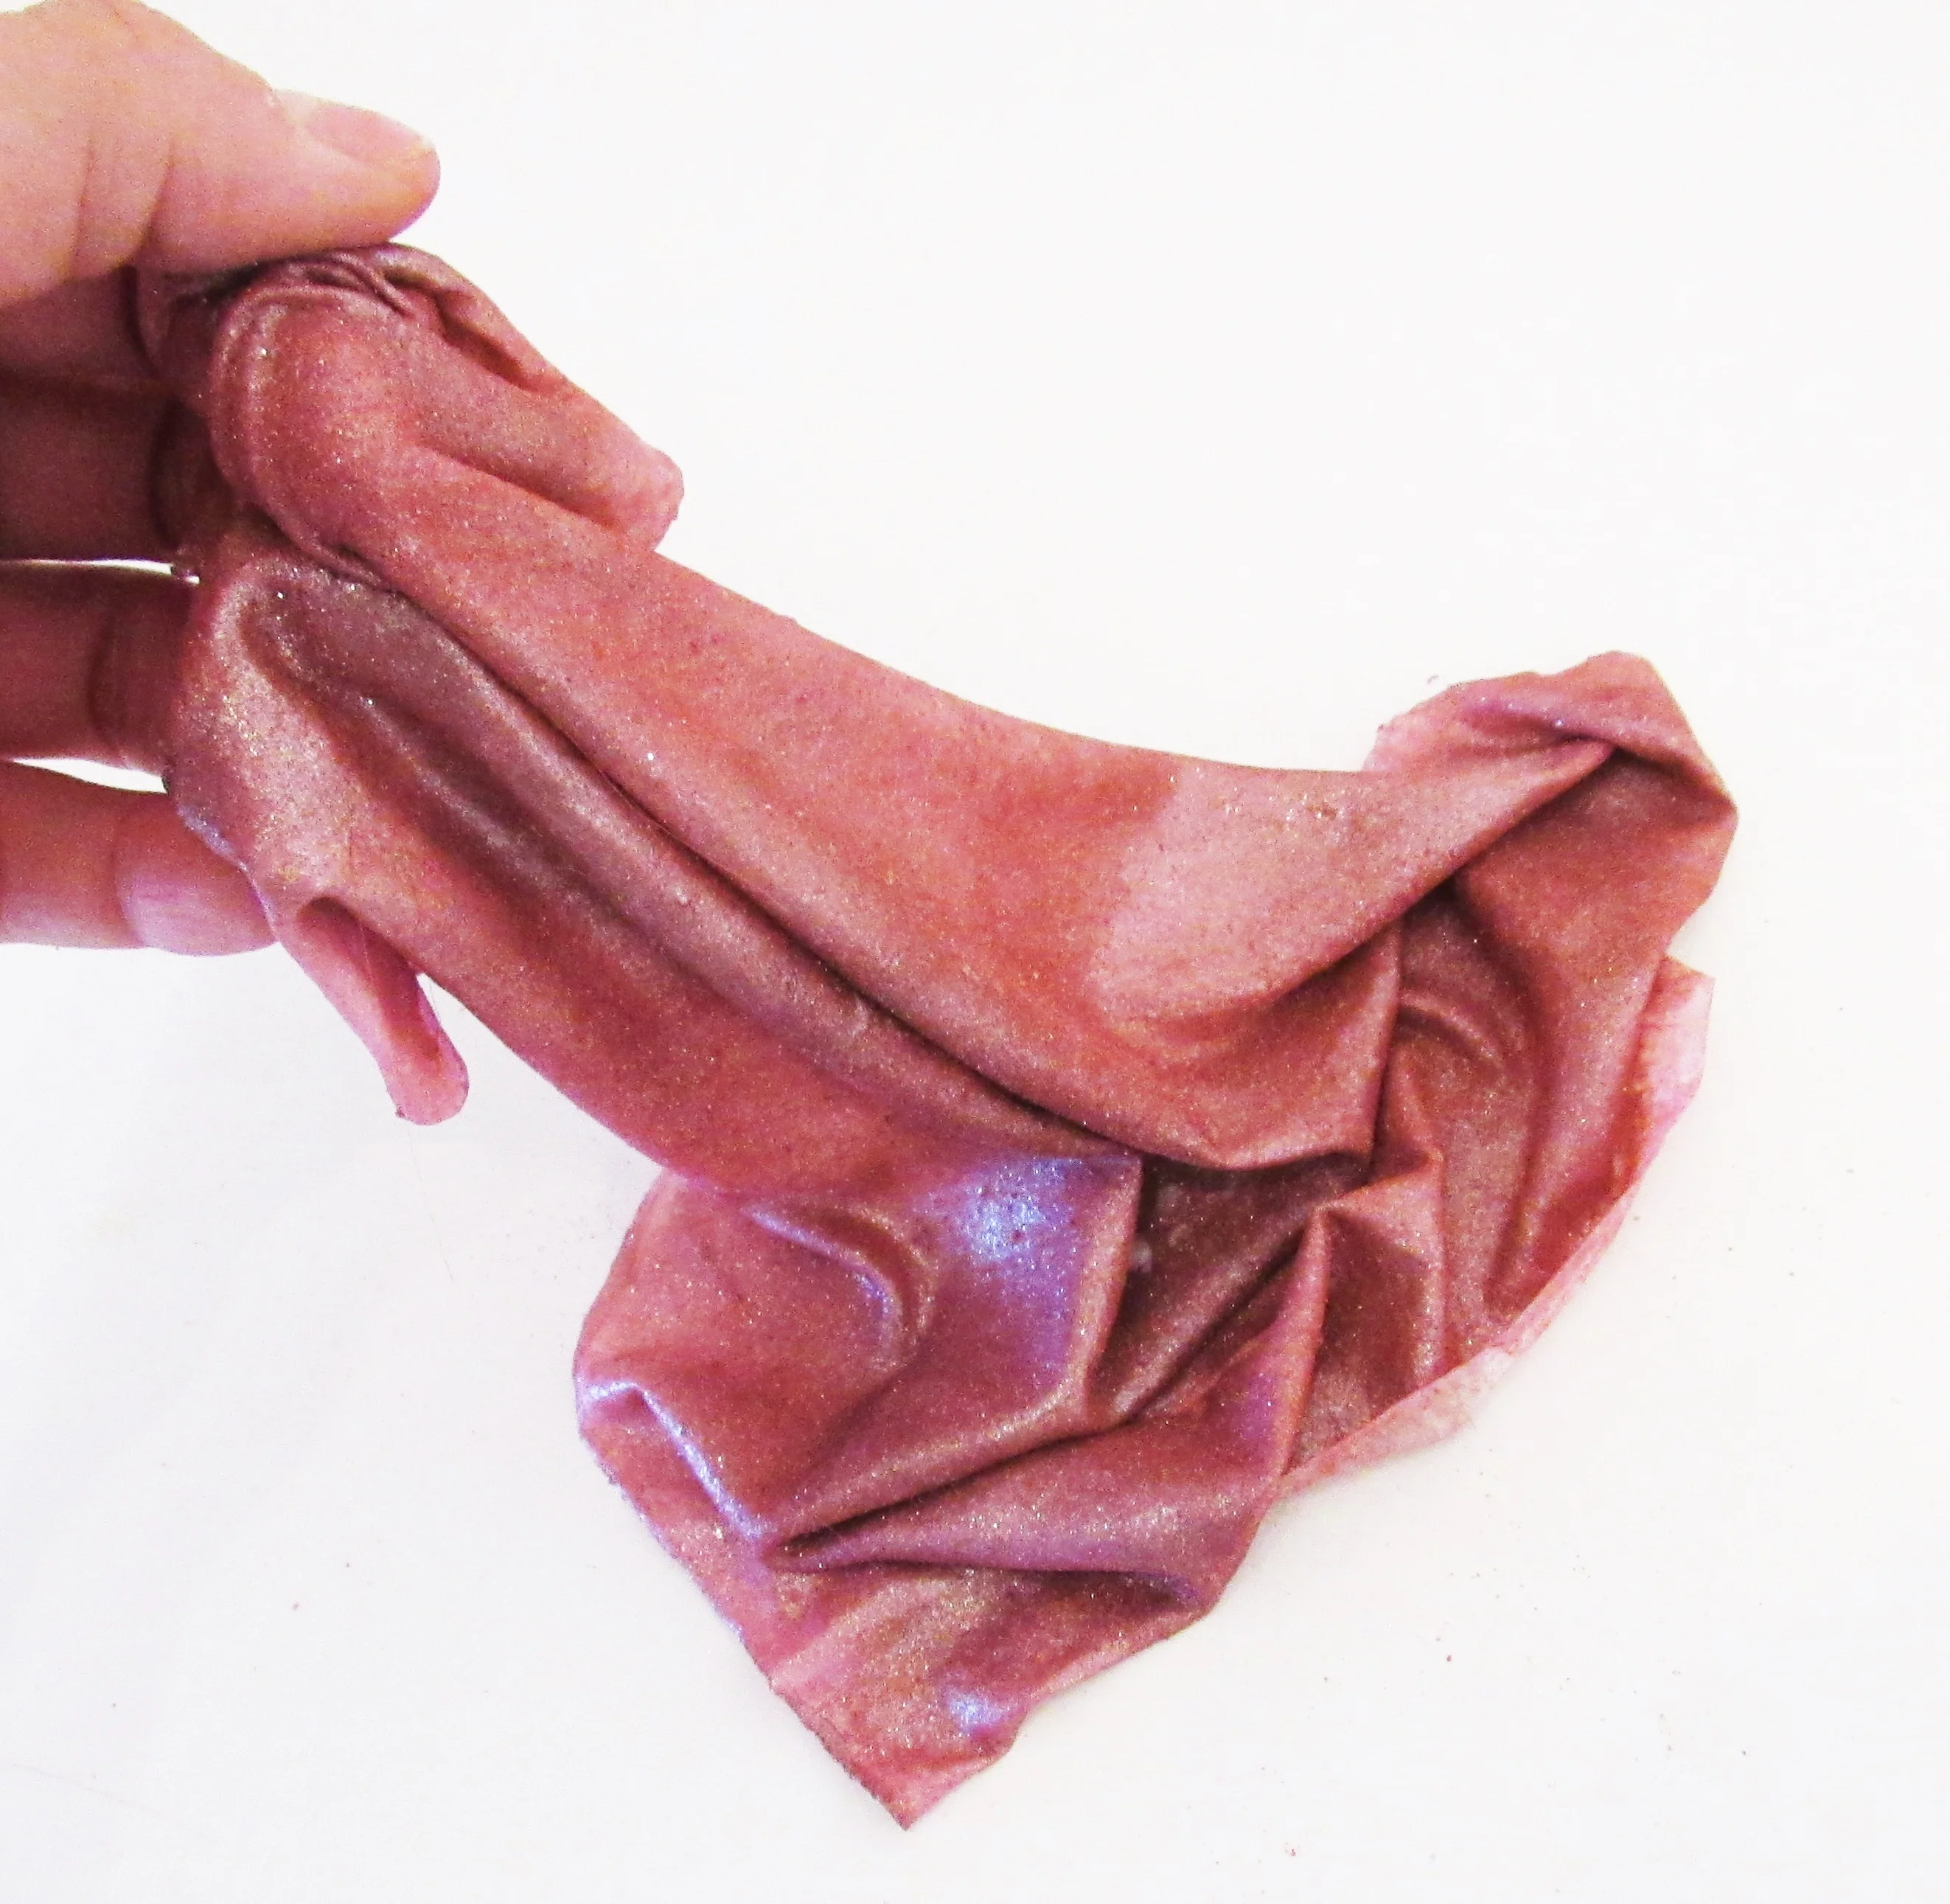
Lay one sheet of wafer paper on a board. Paint with the liquid gelatine mixture. Cover the whole sheet on both sides and leave for approximately 5 minutes.
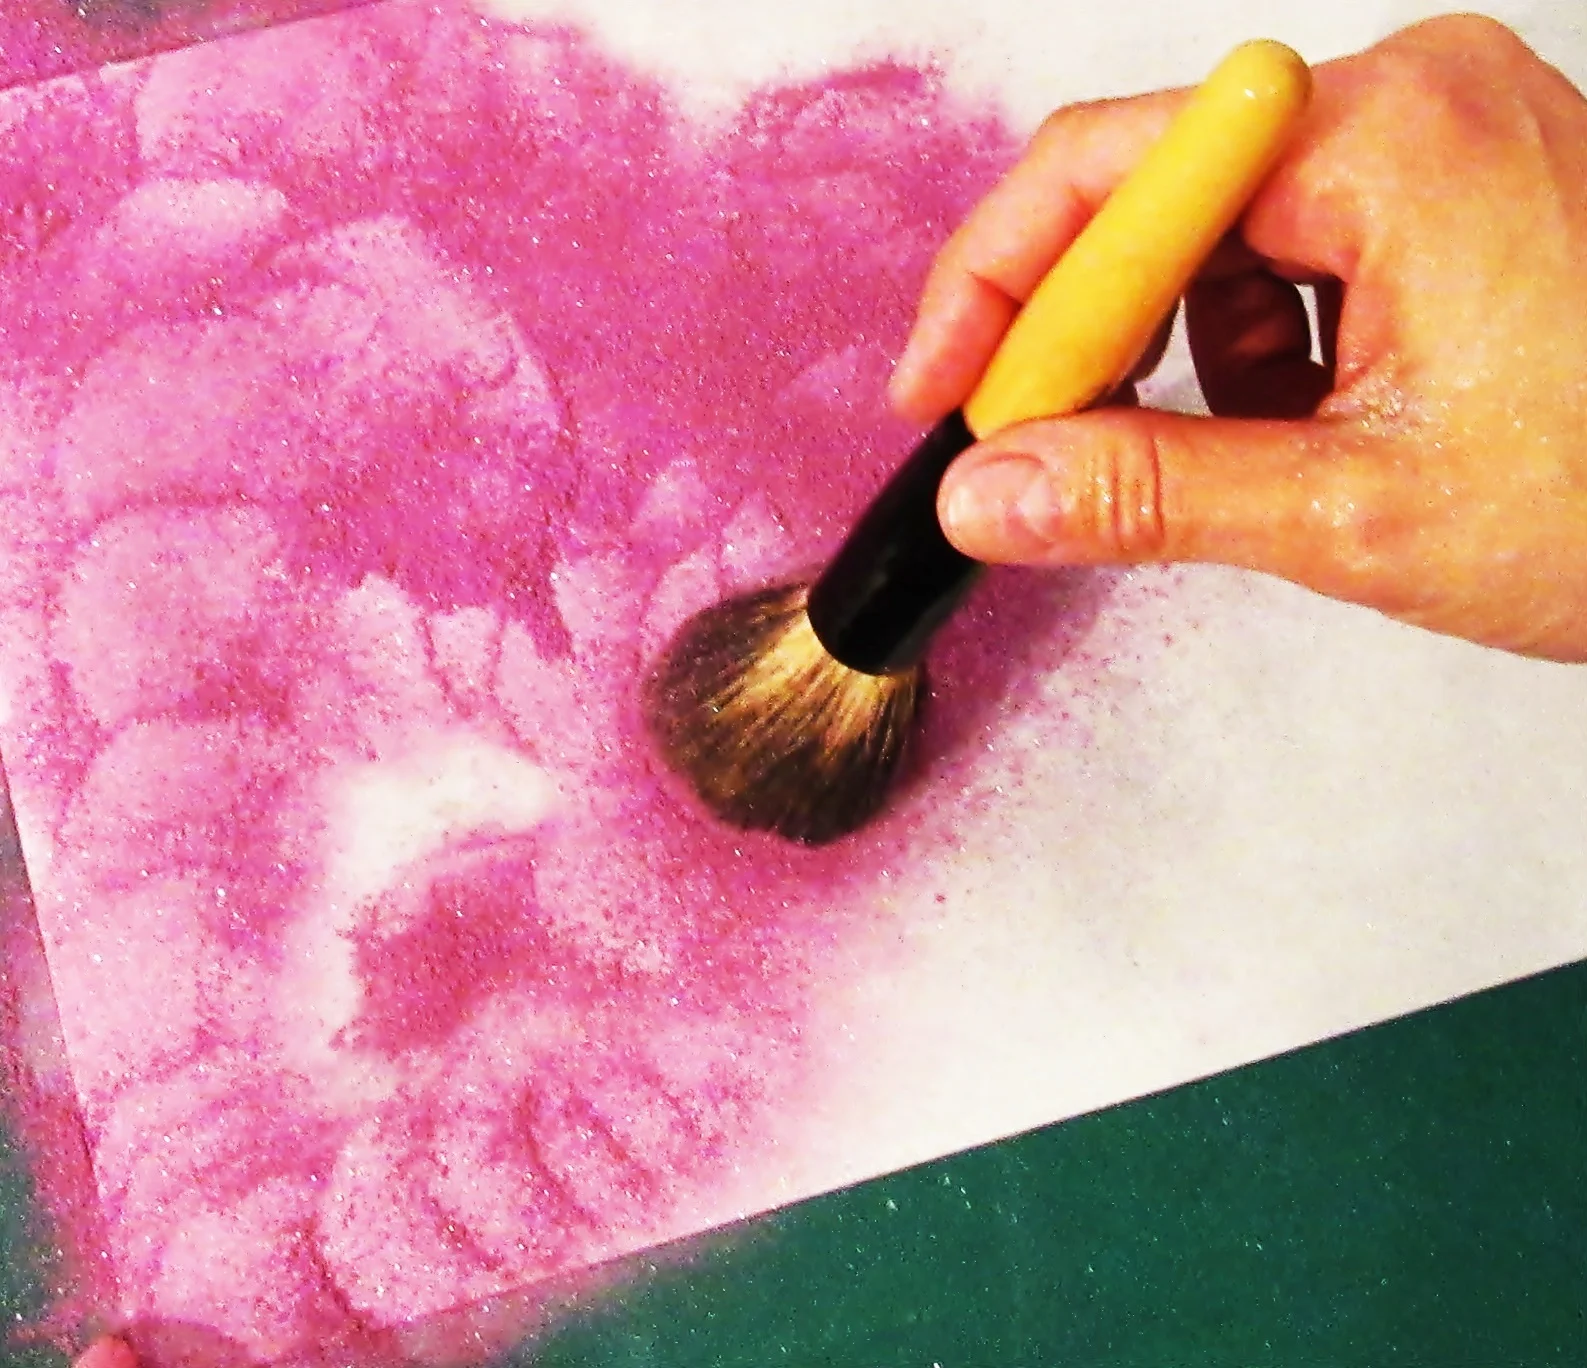
Step 22
Using a large make-up brush dab on the colours to fully cover one side of the sheet. Gently shake of the excess dust.
Step 23
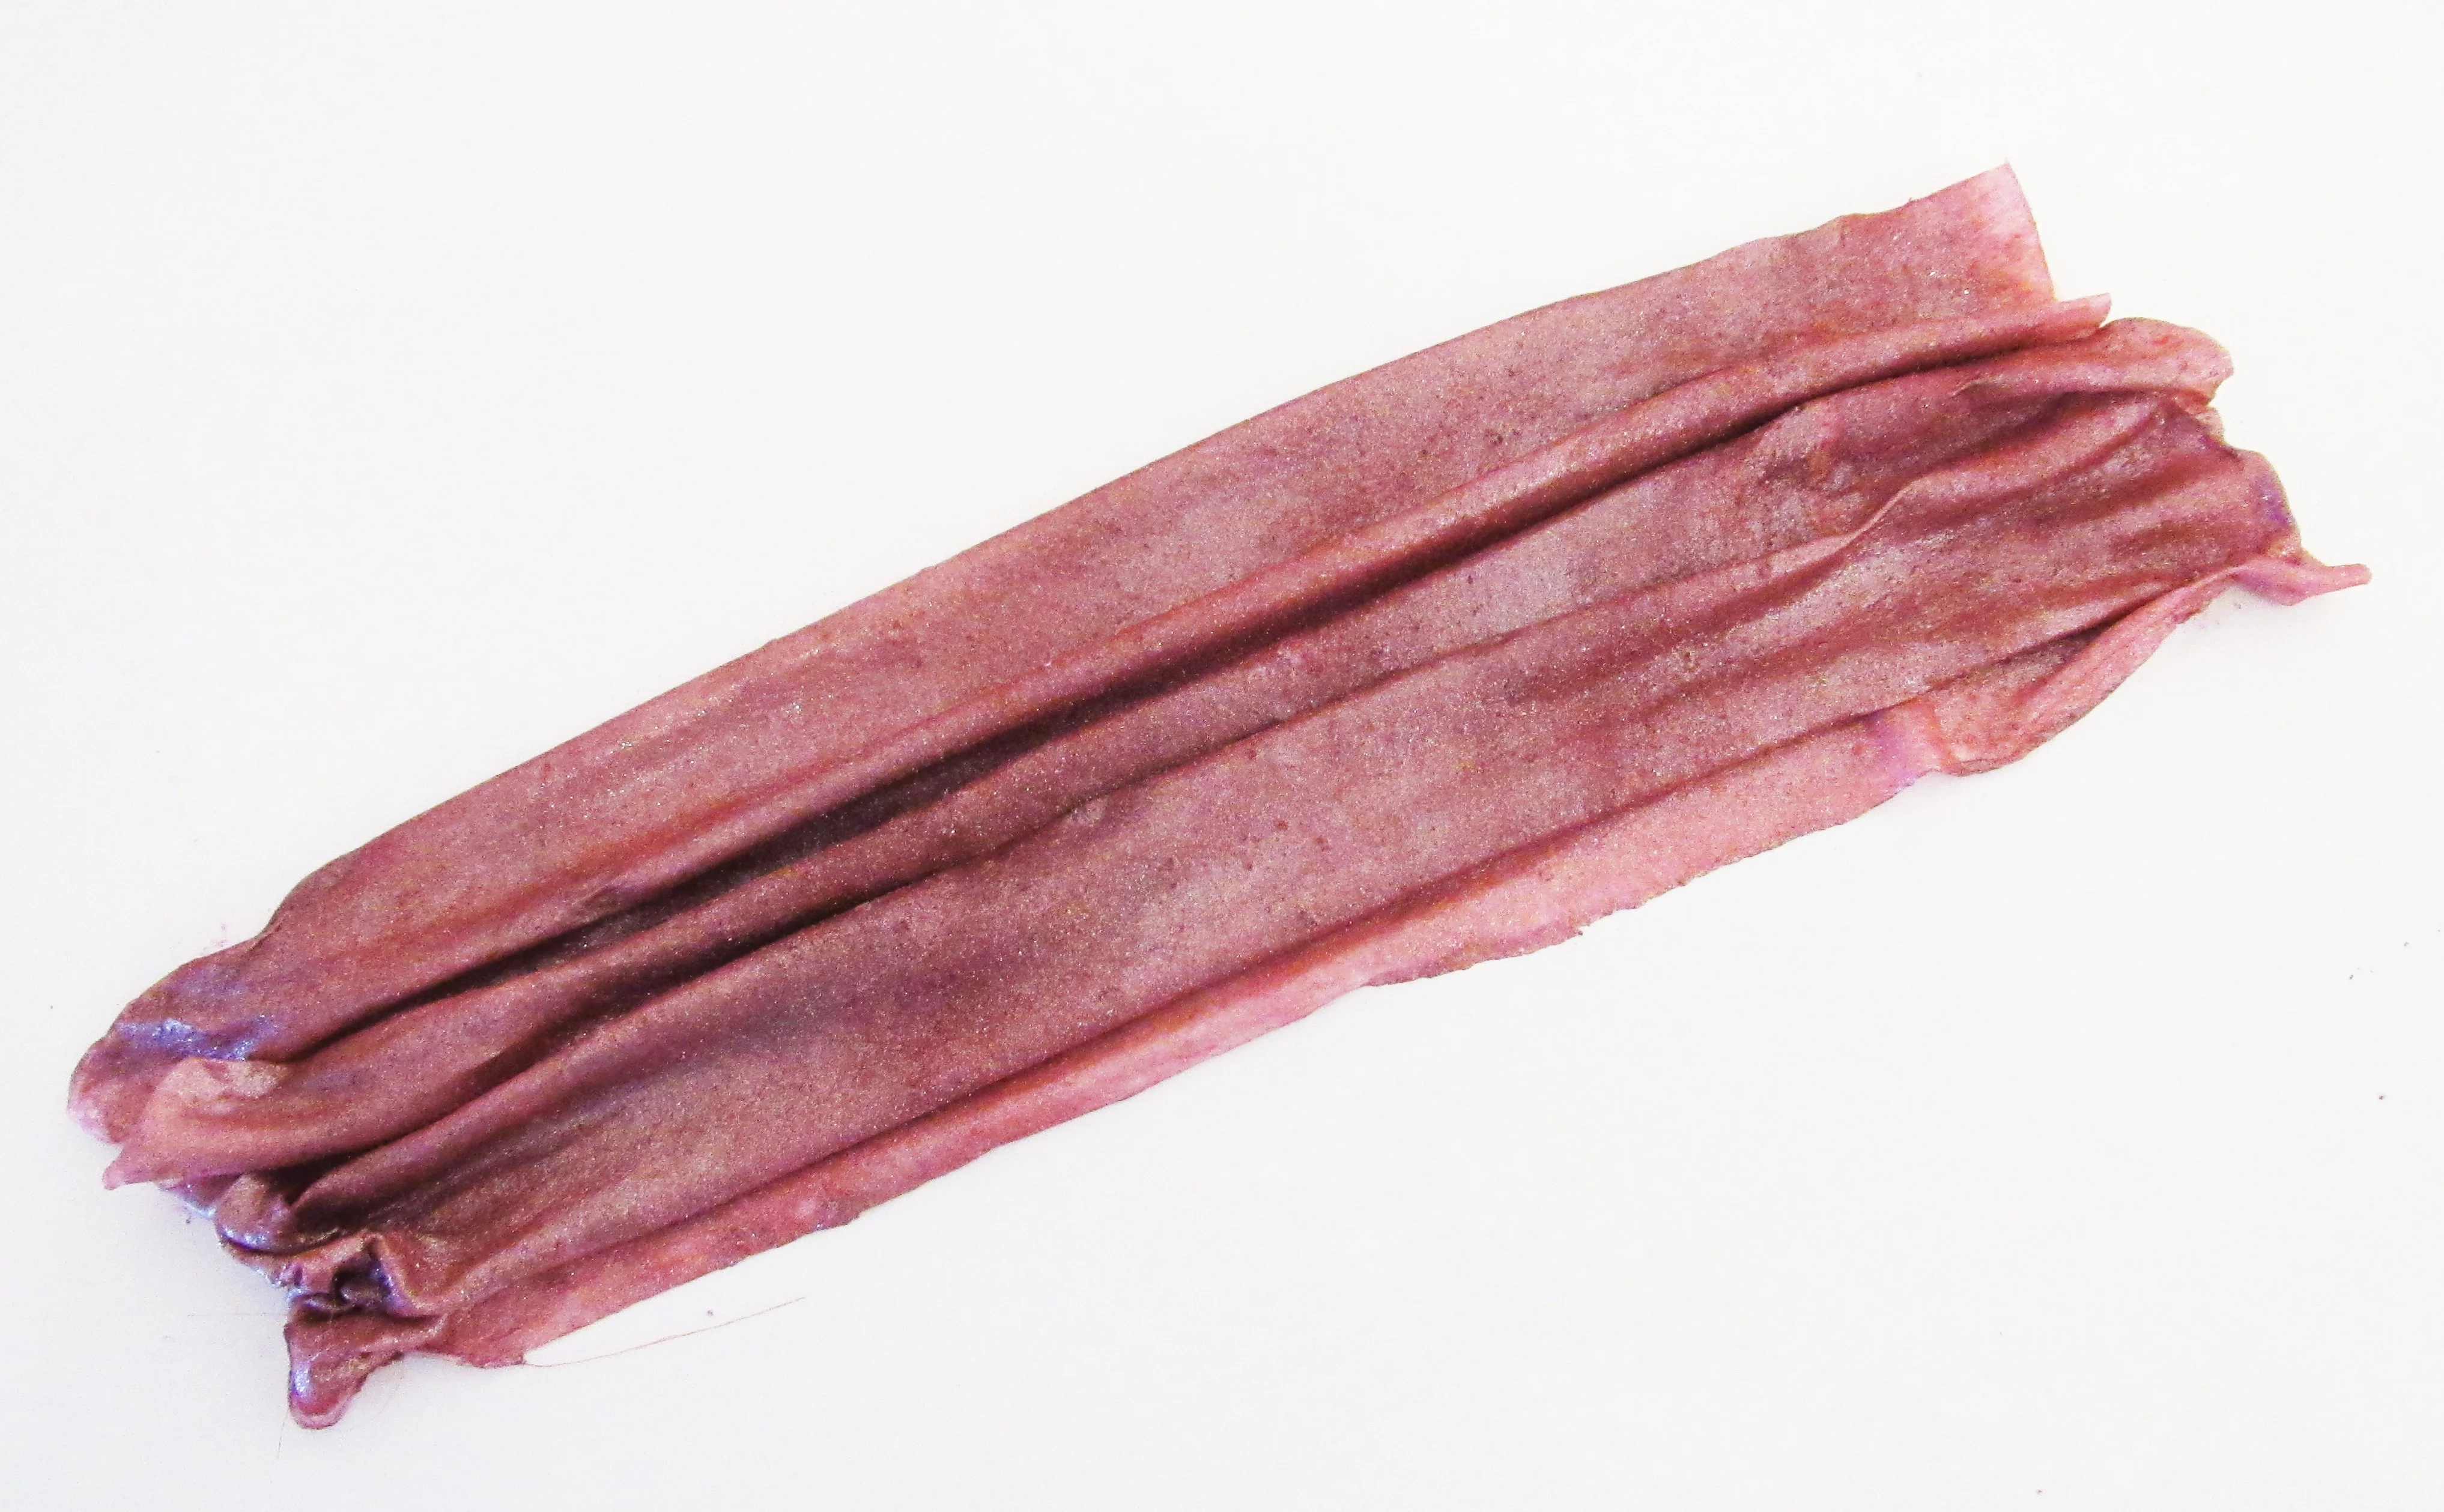
The sheet of wafer paper should be soft and pliable. The gelatine mix details provided will cover up to 10 sheets of wafer paper.
Step 24
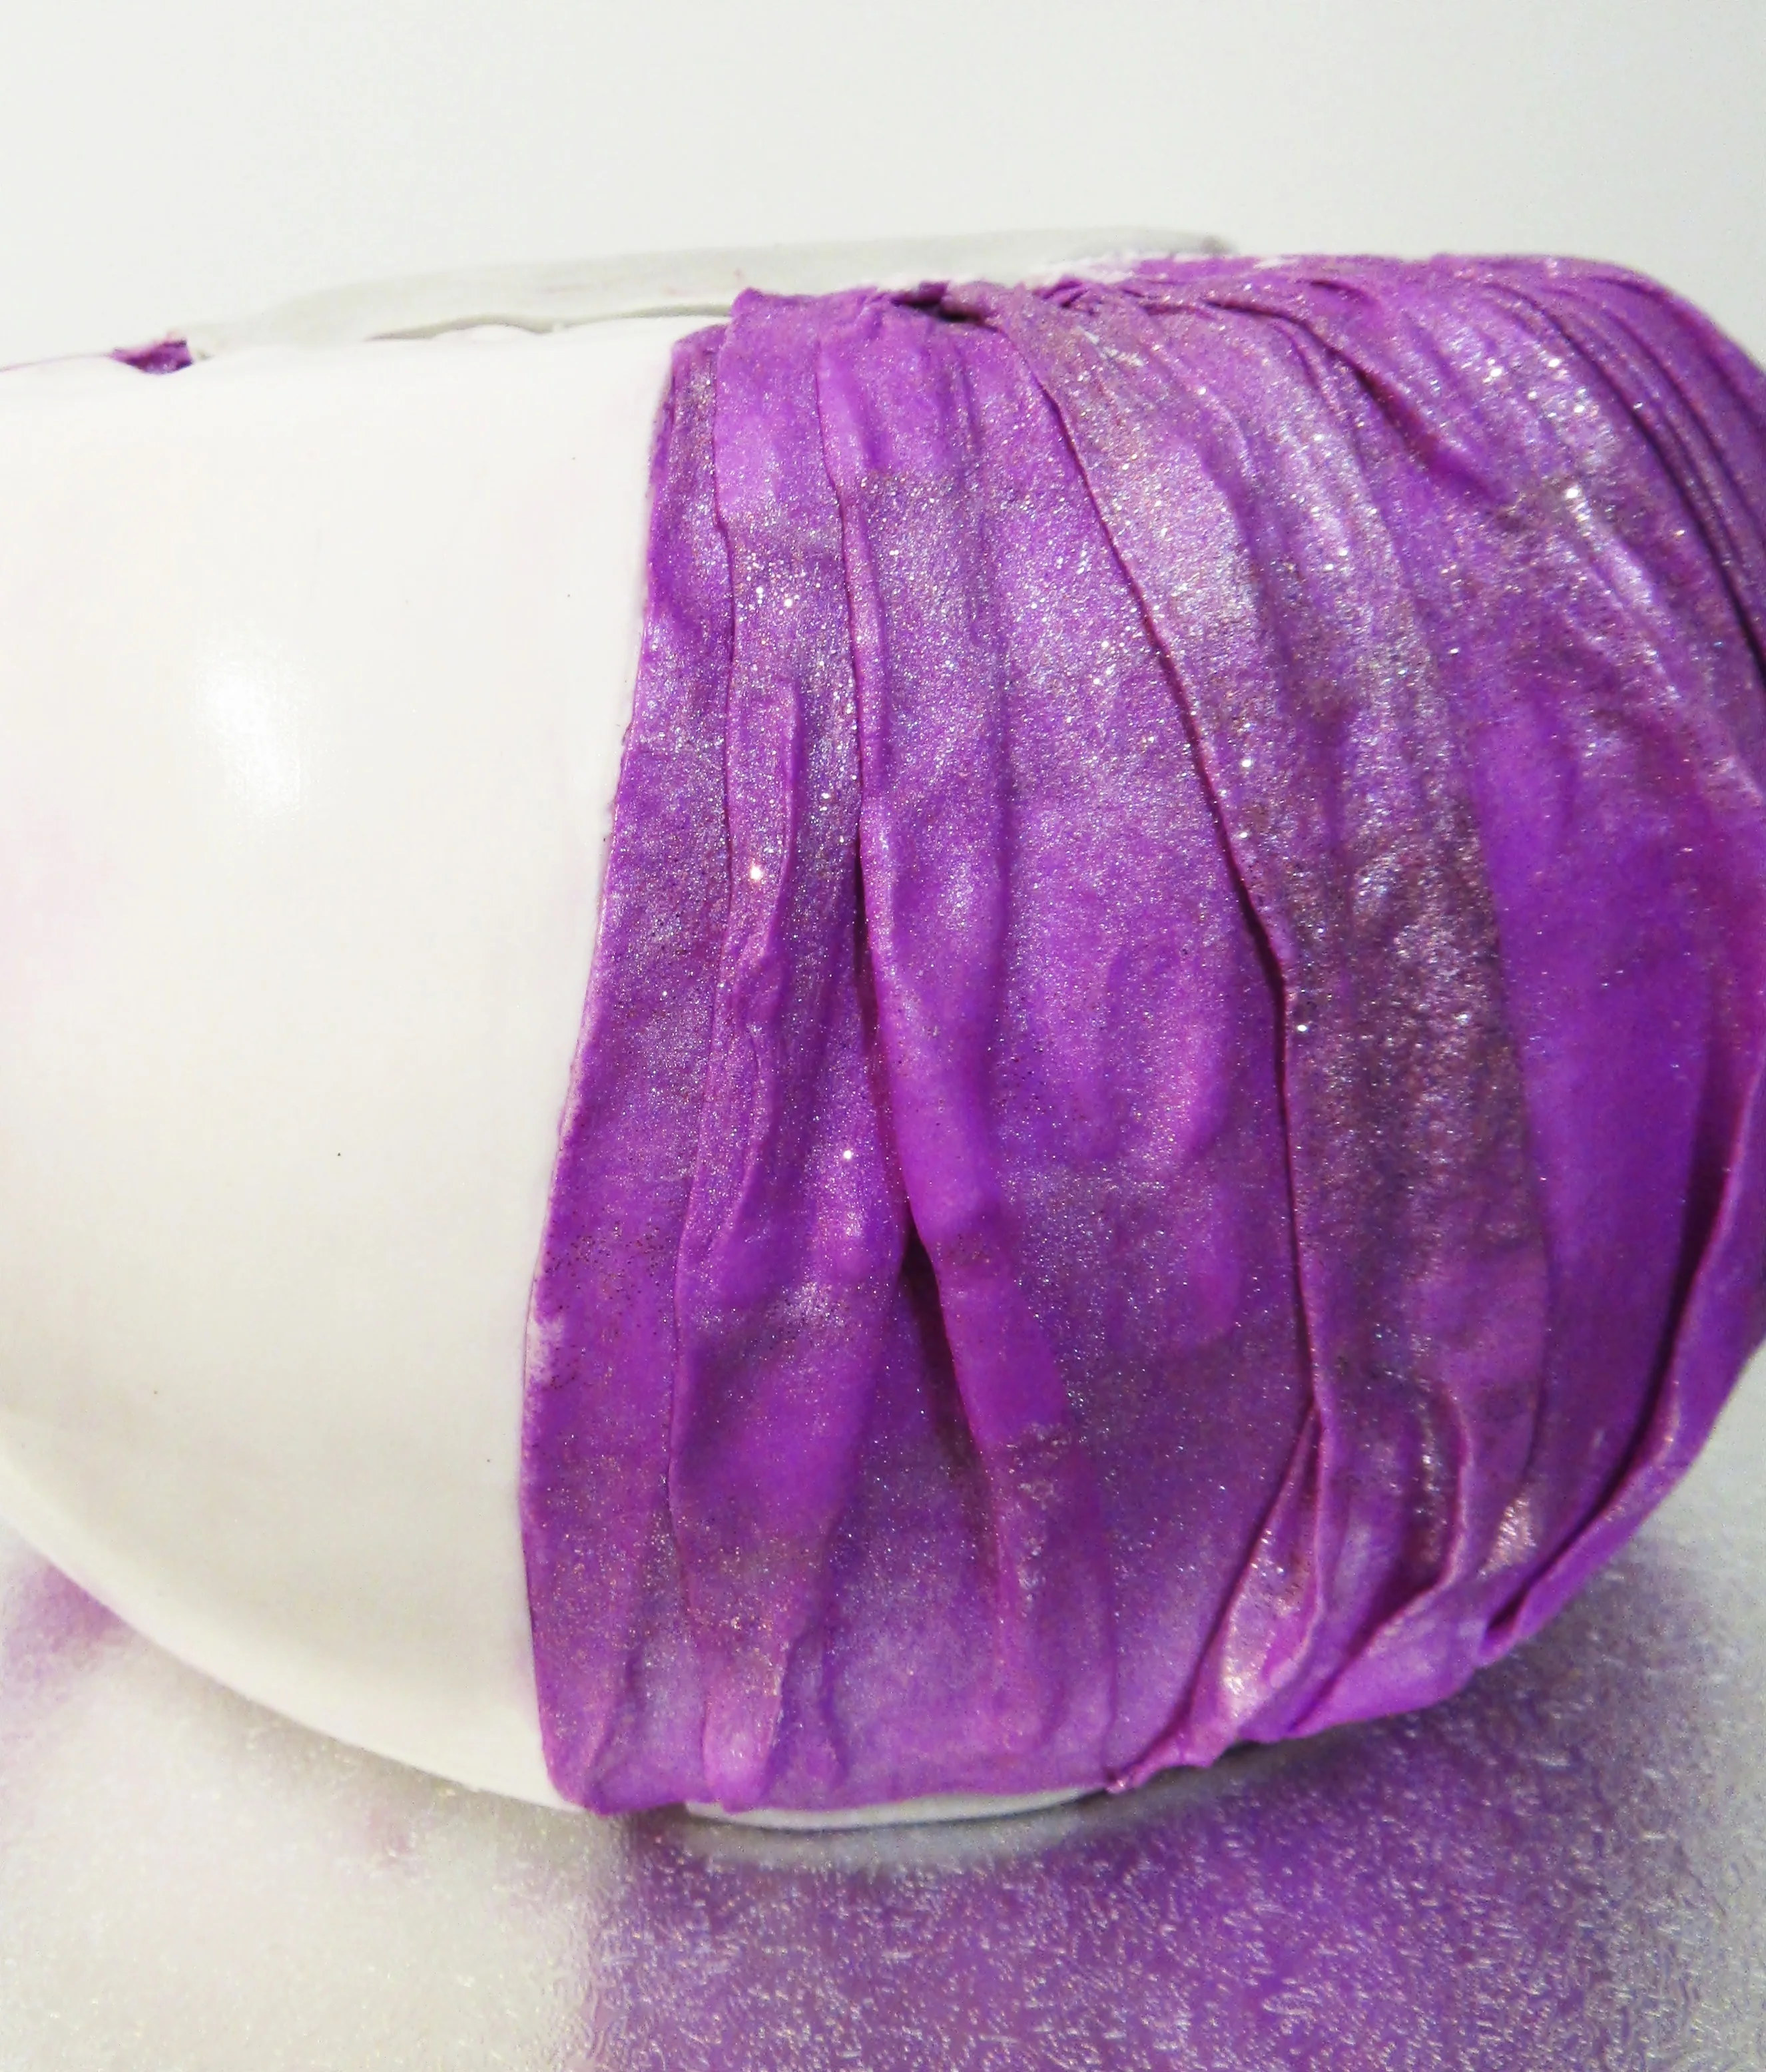
Apply edible glue on to the top edge of the barrel cake. Gently fold up the wafer paper and fix to the top of the barrel.
Step 25
Fold the paper under the cake and fix the bottom with edible glue. Do not stick the paper to sides of the cake. Cut off any excess edges from the wafer paper whilst it is still soft
Step 26
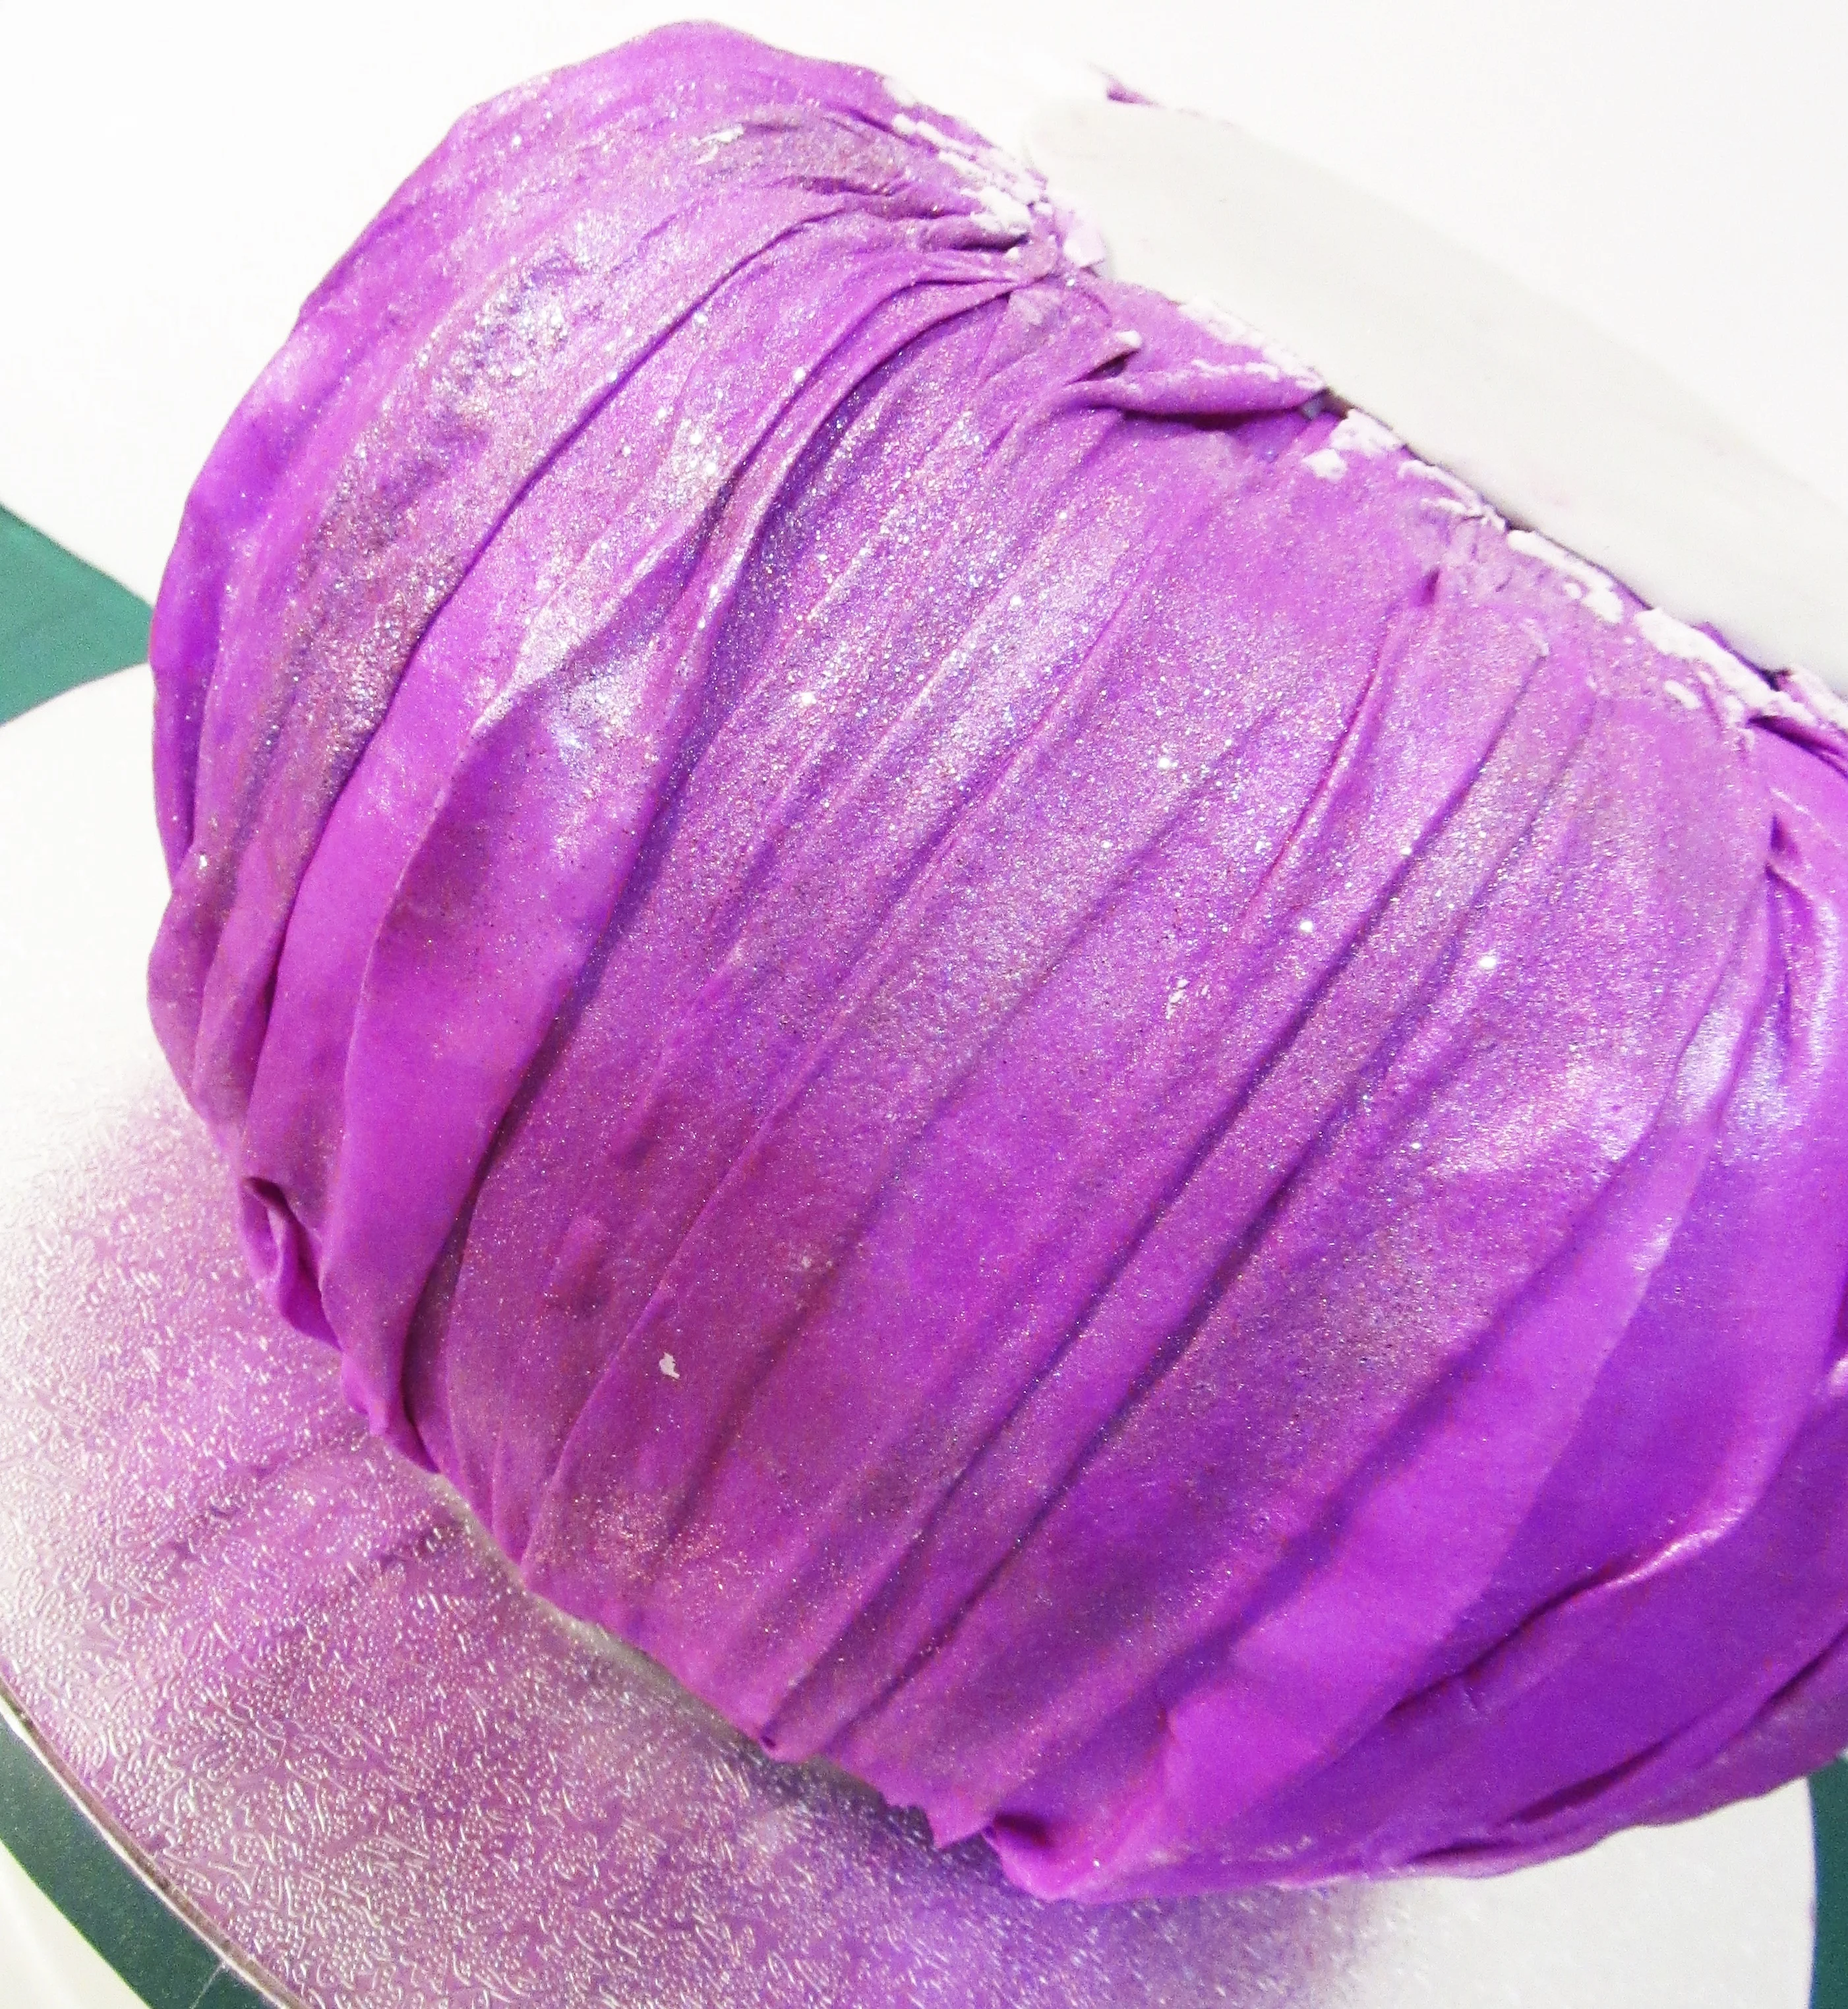
Continue until the barrel tier is fully covered. Overlap each new piece with the previous fixed piece. Using dowels build up all of the completed tiers
Step 27
Use royal icing to secure each tier in place. Fix the pre-made flowers into the flower pick. That completes the cake.
