


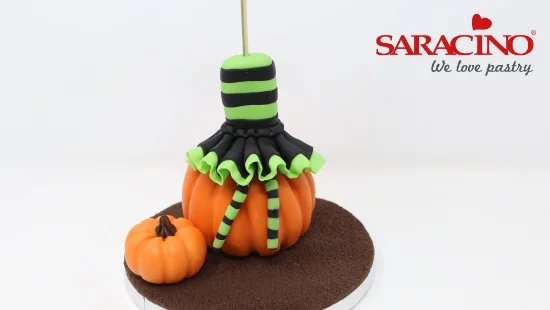
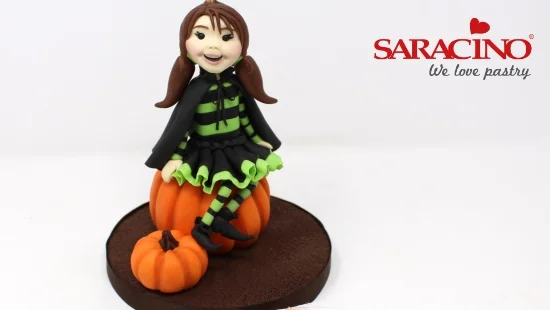
TRICK OR TREAT CUTE WITCH
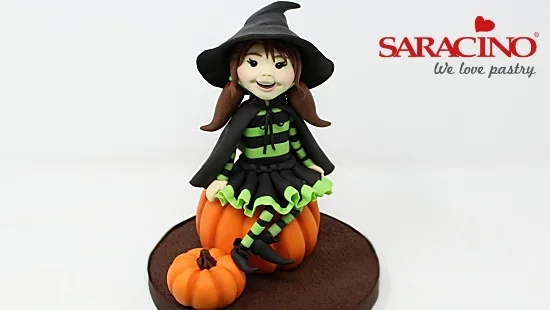
Author: RHIANYDD WEBB

You will need:
- 80g sugarpaste: brown
- Saracino pasta model: (24g skintone; 60g light green; 30g brown; 210g orange; 20g; 150g black)
- Edible glue
- Cornflour puff
- Saracino dust colours: yellow; orange; brown; rose
- 4mm dragees x 2: Drageekiss black
- Small rolling pin
- Small sharp knife
- Palette knife
- No.8 filbert paintbrush
- Scissors
- No. 0 round silicone shaper (cerart)
- Hard point silicone shaper (cerart)
- Large celpin
- Dresden (PME)
- Cake Dutchess modelling tool set
- 15cm cake drum
- Scalpel
- Kebab wooden skewer
- 5.5cm diameter polystyrene ball
- Celpad
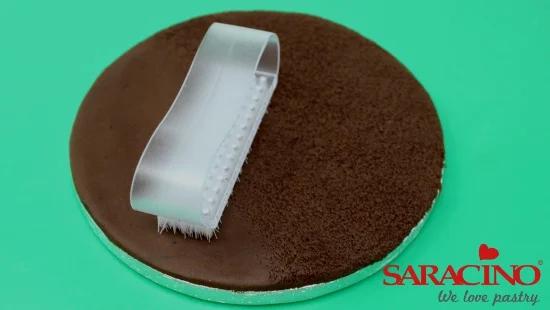
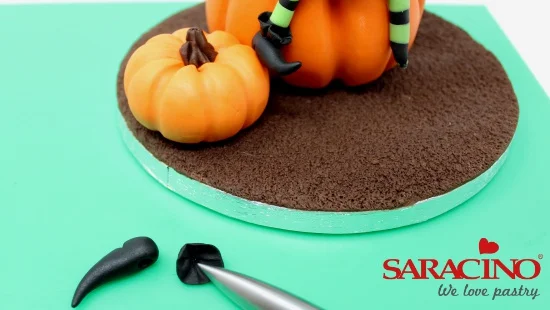
Step 1
Pin the brown sugarpaste straight onto the damp round cake drum. Trim the excess from the edge and texture firmly with a nailbrush. Reserve the trimmed paste.
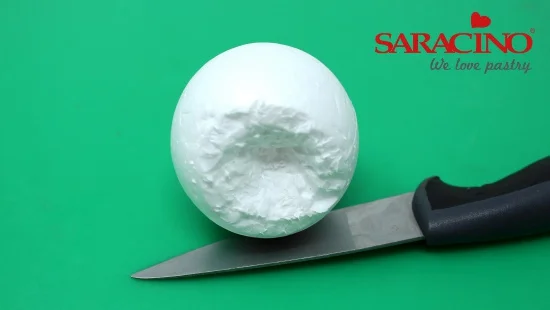
Step 2
Use a sharp knife to cut a hollow slightly narrower than the top of the polystyrene ball.

Step 3
Roll out 170g of orange Saracino and cover the polystyrene ball with the hollow at the top. Blend the seams underneath and create the hollow with a celpin.
Tip
The paste will adhere to the polystyrene either by brushing with water or with piping gel.
Step 4
Roll the celpin around the ball, leaning into the paste to create the hollows. Blend the joins at the base and smooth.

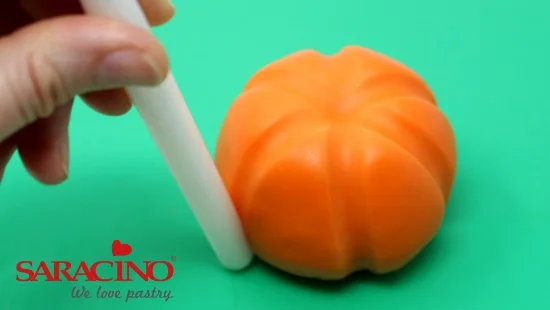
Step 5
Add as many segments as you wish using the celpin. Use the narrow end of the Dresden to enhance them.
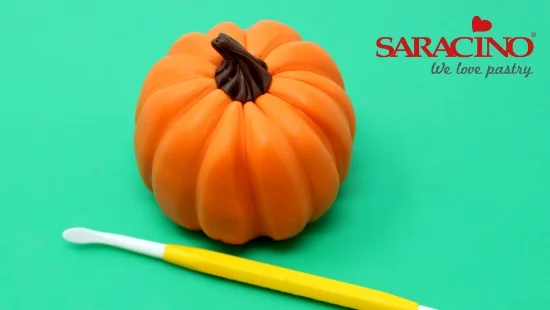
Step 6
Smooth over the grooves with a small bone tool. Create the stalk from a mushroom shape of 2.5g of the brown sugarpaste and press the wide end into place in the hollow. Mark the grooves with the Dresden tool.
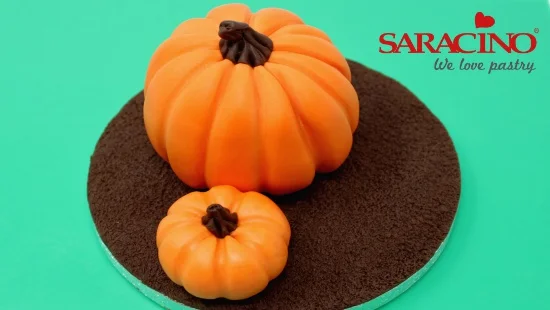
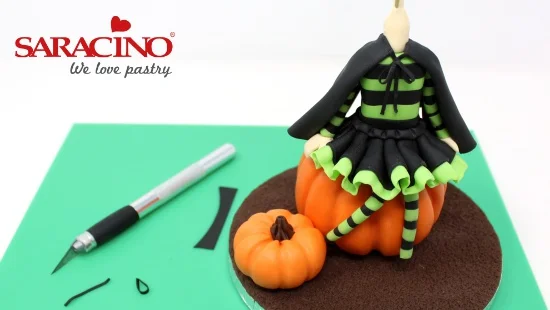
Step 7
Create a small pumpkin from 40g of Saracino by first rolling into a ball, then creating the indents with a narrow paintbrush handle. Use 1g of brown sugarpaste to make the stalk as before.
Step 8
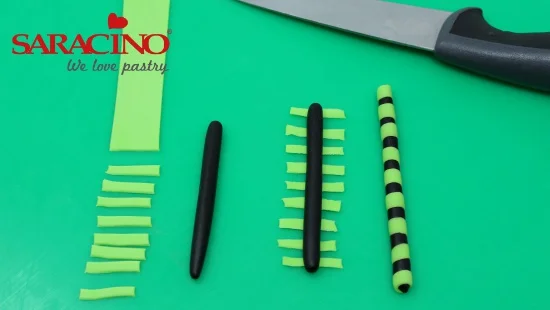
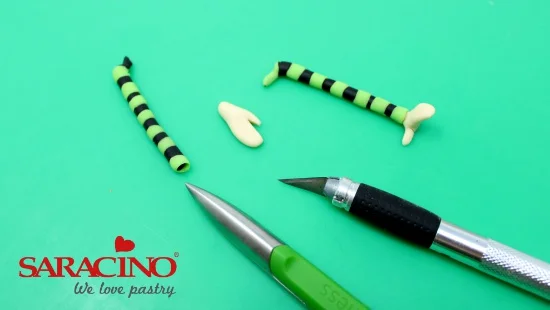
Roll two legs from black Saracino. Each leg is to be 10cm long and weigh 2g. Repeat to make two arms, this time 6cm long each and weighing 1.5g each. Roll out light green Saracino and cut narrow strips as in the image. Wrap around the arms and legs and roll to fix.
Tip
Saracino that is still soft does not need edible glue to stick to itself.
Step 9
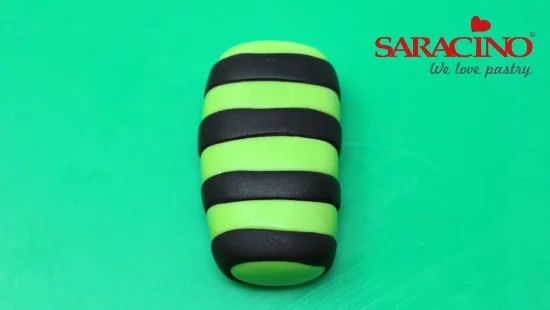
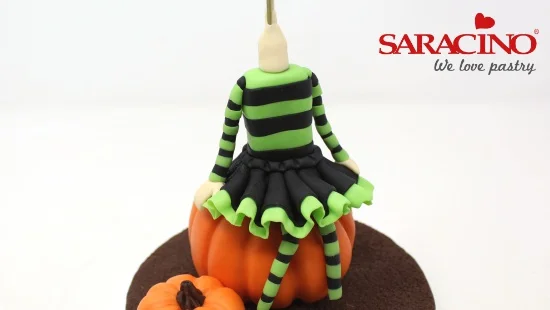
Create the body using 28g of light green Saracino rolling to a sausage measuring 5cm tall and 2.5cm wide. Roll out black Saracino and cut narrow stripes. Wrap around the body and trim the excess. Roll the body to blend.
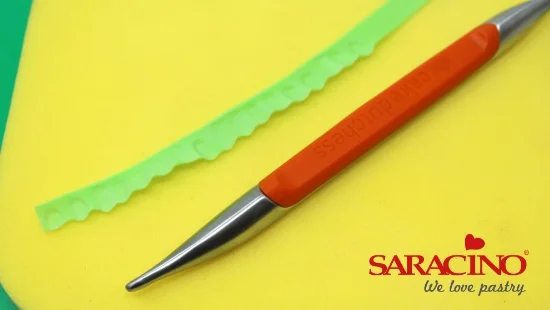
Step 10
Thinly roll out more light green Saracino and cut a strip 24cm long by 1cm wide. Place on a celpad and use the orange Cake Dutchess tool wide end to press onto the paste and pull. This will leave a frill-like texture. Leave to rest while you complete the next stage.
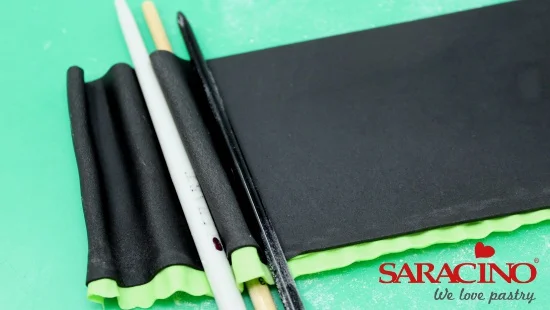
Step 11
Roll out 50g of black Saracino to 25cm long and minimum of 7cm wide (we will trim this to size shortly). Place on top of the green frill and press to attach. Find three similar width handles and create the pleats by sliding one handle underneath the paste and placing a handle on top either side, the gently press the outer handles and slide towards the middle. (See image). Repeat along the length of the paste.
Tip
Work quickly when creating the pleats, but if the paste begins to dry out, gently warm with a hair dryer
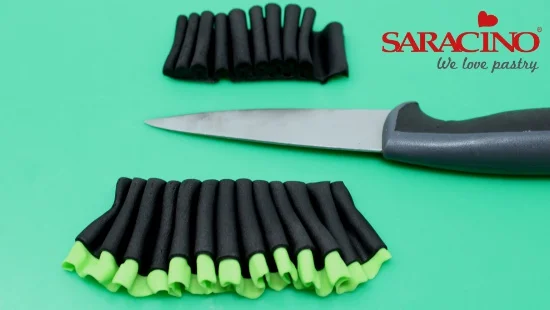
Step 12
Gently tighten the pleats by pushing the paste together and trim with a smooth bladed knife. Reserve the trimmed sections without damage in order to create the back of the skirt.
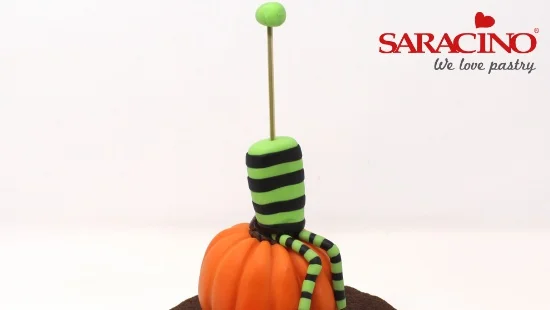
Step 13
Bend the two legs one third of the way down and place onto the pumpkin. Place the body on top and push a wooden skewer down through the polystyrene ball.
Safety Tip
Cut the skewer to slightly longer than needed and push a brightly coloured spare piece of paste on top.
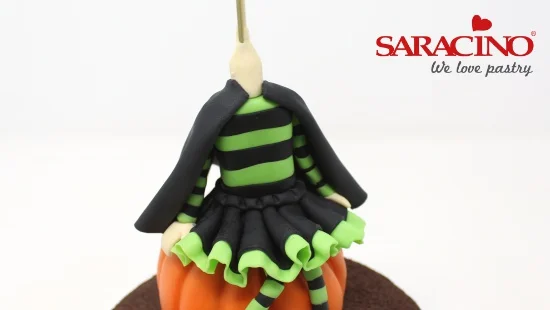
Step 14
Lightly brush edible glue around the waist band and gently wrap the skirt around, pressing gently into place. Cut to fit with the scissors and add the reserved pleated black paste at the back if there is a gap. Roll a narrow sausage of black Saracino as a waistband and use the narrow end of the orange Cake Dutchess tool to press into the waistband above each pleat.
Step 15
Use the cone end of the green Cake Dutchess tool and create a hollow to fix the arm into. Roll 1.5g of skin Saracino into a sausage and fix into place for the neck.
Step 16
Pinch the arms over at the top as in the image and cut each to 6cm long. Create the hands from 1g of skin Saracino each. Roll to a double ended cone and slightly flatten one end. Use a scalpel to cut away a wedge to separate the thumb and pinch the top to a point. Hollow the end of the arms and press the hand into place. Lift as in the image.
Step 17
Glue inside the arm sockets and fix the arms into place with the palms down on the pumpkin.
Step 18
Roll out 50g of black Saracino and cut out the cloak as in the template. Turn over and curl back the straight sides. Use a handle to lift pleats from the curved side.
Step 19
Glue slightly around the shoulders and wrap the cloak around. Use the handles to lift the cloak up and give movement.
Step 20
Thinly pin out more black Saracino and cut very narrow strips. Attach two as strings at the opening of the cloak. Bend two more into loops and attach with edible glue. Press the paintbrush handle onto the knot area to fix. Cut out the collar as in the template.
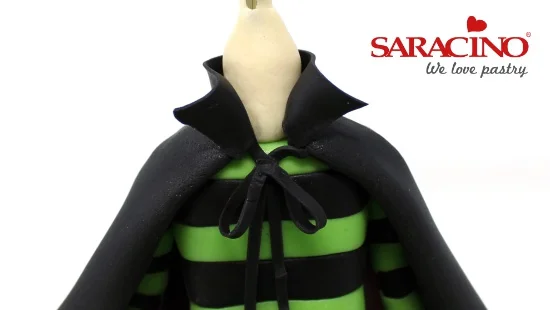
Step 21
Glue around the base of the neck and add the collar with the straight side at the bottom. Curl back the fronts.
Step 22
Cut any excess off the legs and pinch to a point. Cut 1g of black Saracino and half and roll each into a ball. Open up the ball with the pointed end of the green Cake Dutchess tool and place the tool back inside, pressing against the work board repeatedly to create the frilly sock shape in the image. Roll 1.2g of black Saracino into a pointed cone, press the knife end in for the heel. Repeat for the other boot.
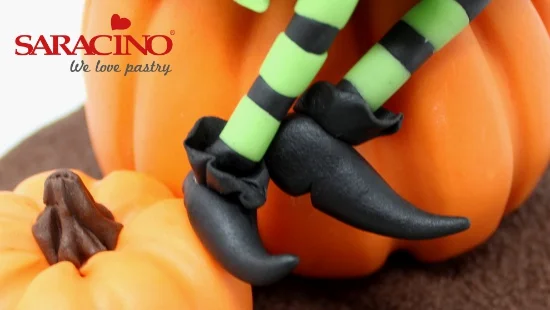
Step 23
Fix the sock onto the base of the legs. Push the cone tool into the top of the shoe, glue and push the sock into the shoe. Fix in place against the pumpkin with a little edible glue.
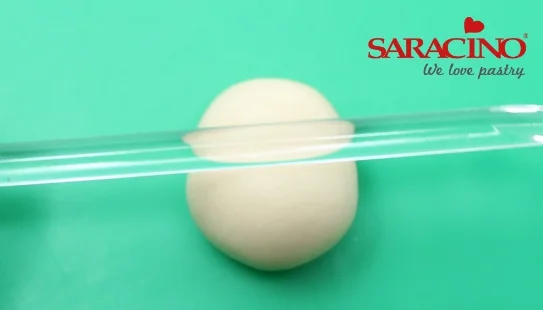
Step 24
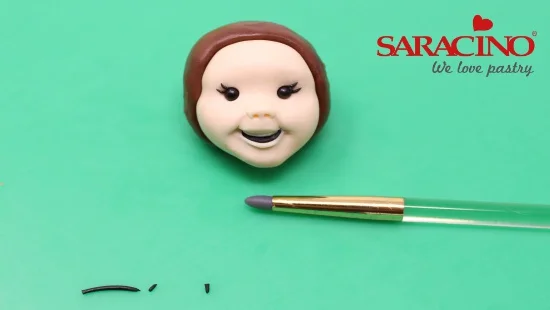
Roll 20g of skin Saracino into a slight egg shape. Press the handle of the no.0 round Cerart tool. Smooth over the tool lines with fingertips.
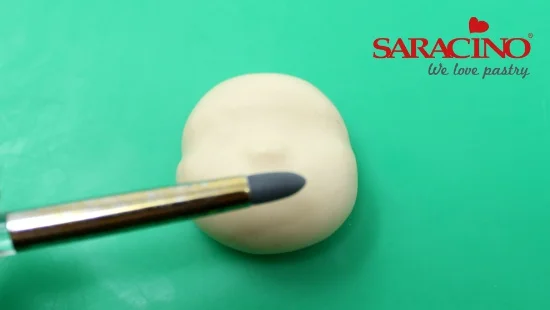
Step 25
Stroke to lift up a little paste to form the nose. Round off with the no.0 round tool. Smooth over with fingers.
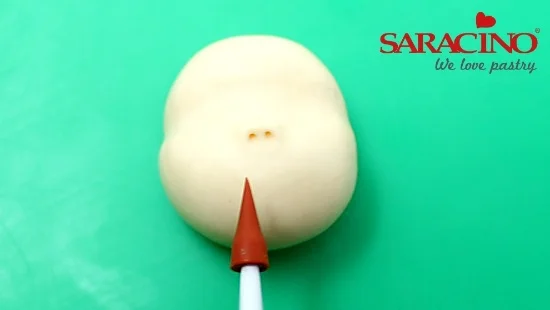
Step 26
Gently push the hard point tool in for the nostrils.
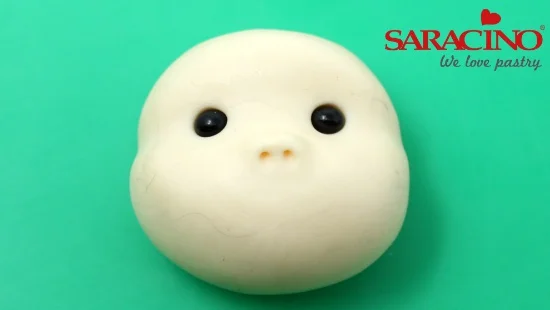
Step 27
Push the two black dragees in for the eyes, first with a finger, then firmly into place with the no.0 round tool.
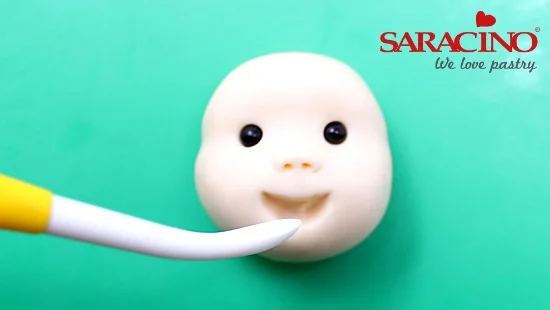
Step 28
Open the mouth by pushing the wide end of the Dresden gently into the face first of all straight, then tilt from side to side to create the straight line of the upper lip.

Step 29
Fill the mouth with a small banana shape of black Saracino. Use the Dresden tool to smooth it into place.

Step 30
Roll a tiny sausage of white Saracino and press against the underside of the top lip. Indent the corners of the mouth with the broad end of the Dresden.
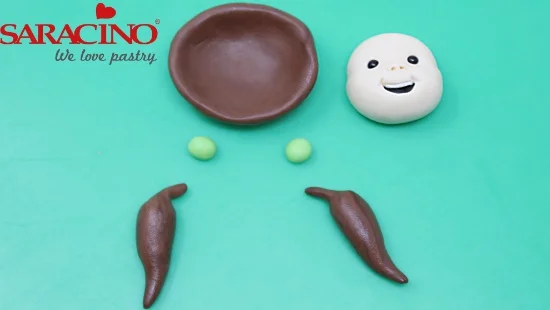
Step 31
Roll a ball of 21g of brown Saracino and hollow so that the head can sit in the hollow. Roll the bunches from 4.5g each of brown Saracino in the shapes as in the picture. Cut 1g of light green Saracino in half and roll two balls of paste.
Tip
To attach tiny pieces of paste, glue the area they are to fix to, and lift the paste into place with a damp paintbrush
Step 32
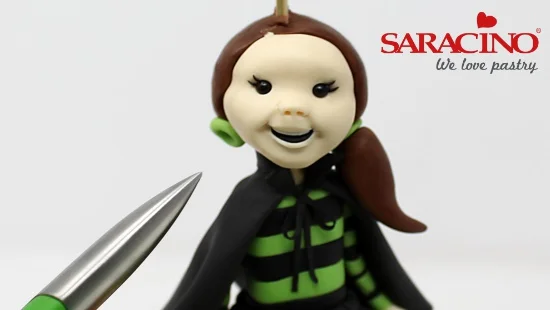
Gently push the head into the hollowed brown paste and press into place to fix. Narrow the chin by pressing either side at the base. Mark the two lines either side of the mouth by stroking with the no.0 round tool, then stroke around the lower part of the mouth to create the lip. Add eye lashes using tiny teardrops of black Saracino.
Step 33
Push the head onto the skewer allowing the skewer to go all the way through for support. Use the Cake Dutchess cone tool to create hollows where the hair bunches will go. Roll the green balls into teardrops, insert into the hole and hollow those before pushing the bunches into place.

Step 34
Add tendrils to frame the face and a fringe from narrow sausages of brown saracino.
Step 35
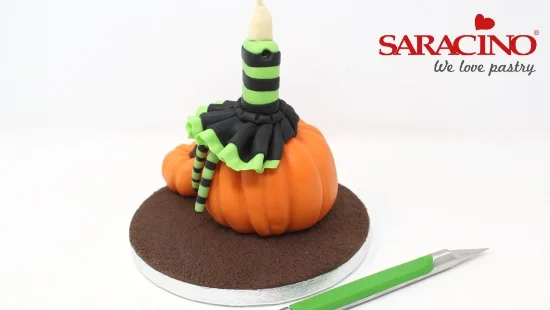
Trim off the excess kebab skewer. Dust the lips and cheeks with saracino rose dust and a no.8 filbert brush. Dust the smooth segments of the pumpkin with yellow. Dust the indentations first with an orange and red mix, then with brown at the base.
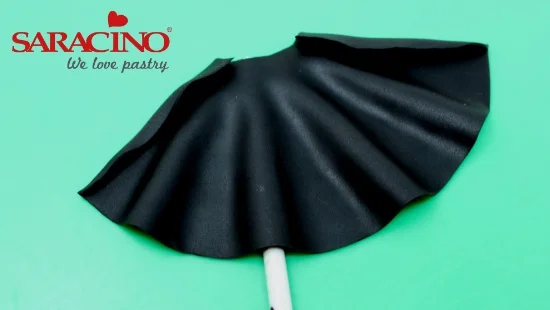
Step 36
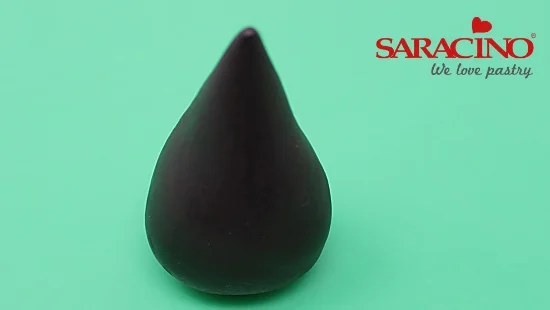
Roll 43g of black Saracino into a broad cone shape.
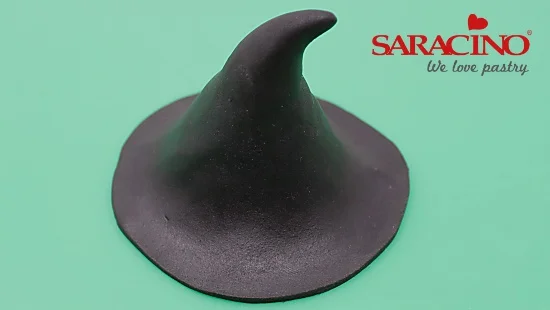
Step 37
Press down the lower third of the cone to broaden and continue to flatten against the work board to create the brim of the hat. Trim the brim to a circular shape with a scalpel. Bend over the tip of the hat and add indentations for character.
Step 38
Hollow out the inside of the hat so that it fits over our little witches head and fix into place with a little edible glue.
