

You will need:
GRASS BOARD
375g Pasta Top coloured green
75g Pasta top coloured grey
Saracino gel colour – yellow, green, blue, black
Saracino powder colour – green, white, brown
PAVING
375g Pasta Top coloured grey
20g Pasta Top coloured green
3 Bourbon biscuits
Saracino gel colours – black, green, yellow
Saracino powder colour – black, brown
WOOD
375g Pasta Top coloured grey
5g Black Pasta Model
Saracino powder colour – black, brown
Equipment
- 1 sheet Saracino wafer paper 0.27g
- 10 inch round cake drum
- Knife
- Cocktail sticks
- Dresden tool
- Flat angled paintbrushes for dusting.
- Small paintbrush for gluing
- Cool boiled water / edible glue
- Balling tool (Cerart K500)
- Star piping tip
- Grease proof paper
- Scissors
- Rolling pin
- Sieve
- Spoon
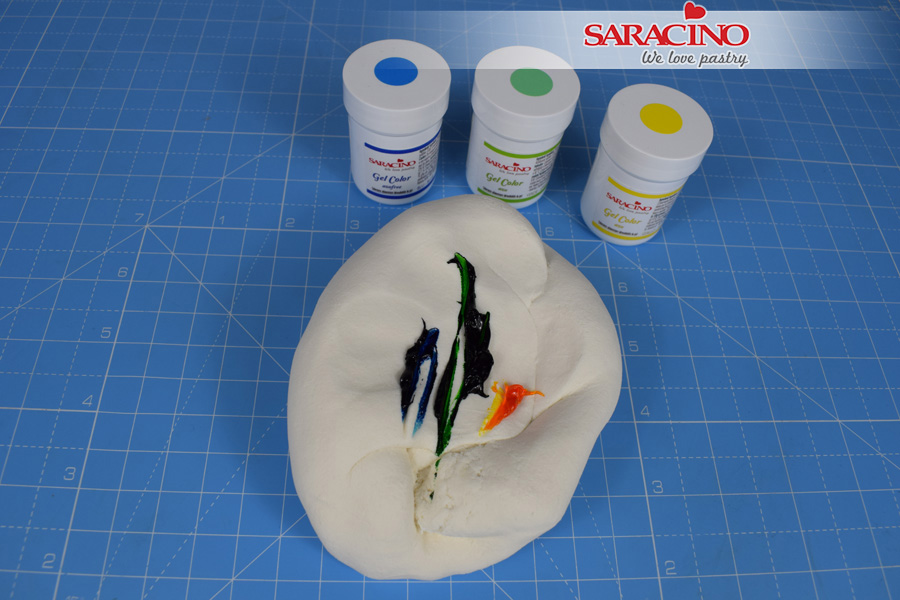
Step 1
GRASS: Using a small amount of yellow, green and blue gel, colour 375g of pasta top green. Knead the paste until the colour is fairly uniform throughout.
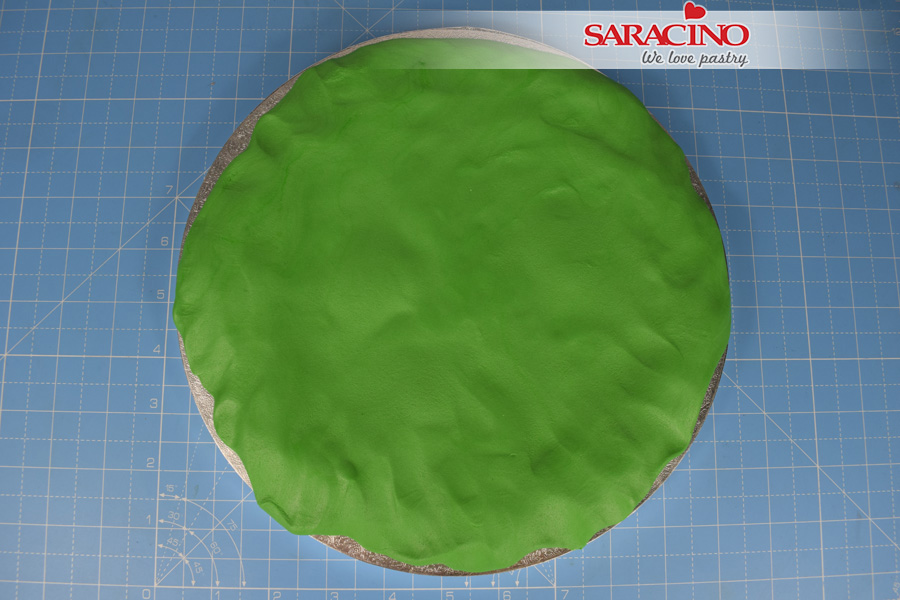
Step 2
Place the paste on the centre of the board. Using your fingers, stretch and push out the paste so that it is thicker around the edge of the board and fairly flat in the centre where your cake will sit.
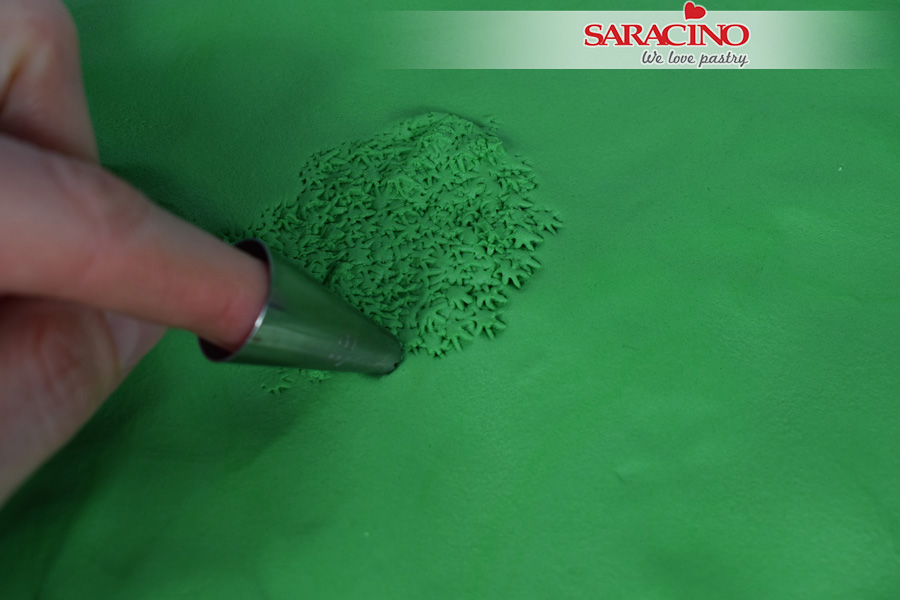
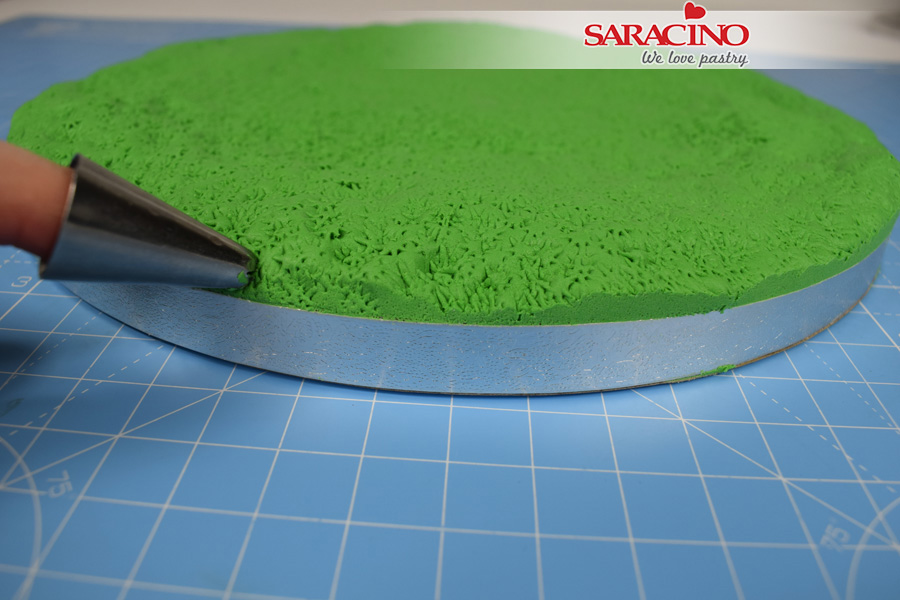
Step 3
Take a star piping tip and gently begin to push into the paste repeatedly to texture the grass.
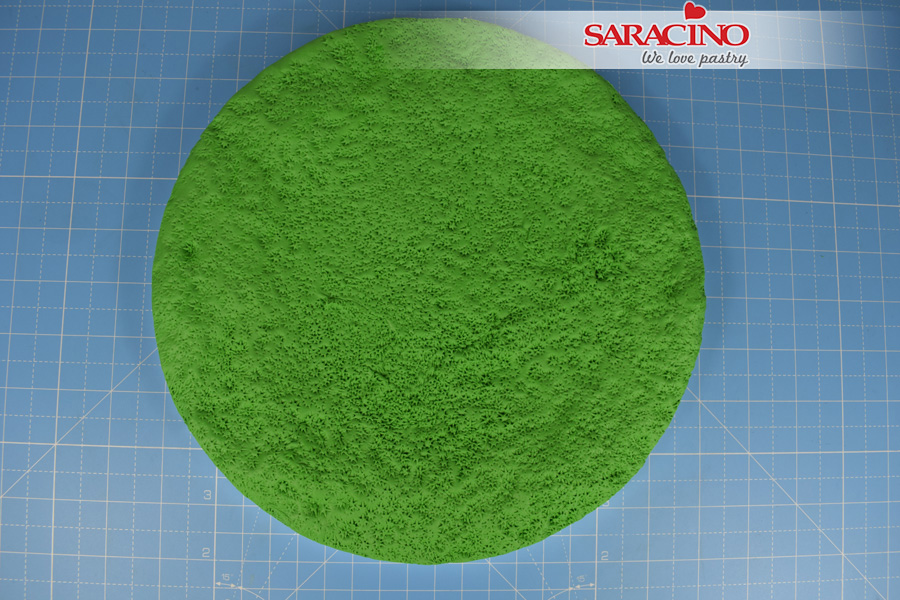
Step 4
Continue until the whole board is covered. Trim the excess paste from around the edge with a sharp knife.
Step 5
Texture the cut edge with the piping tip.
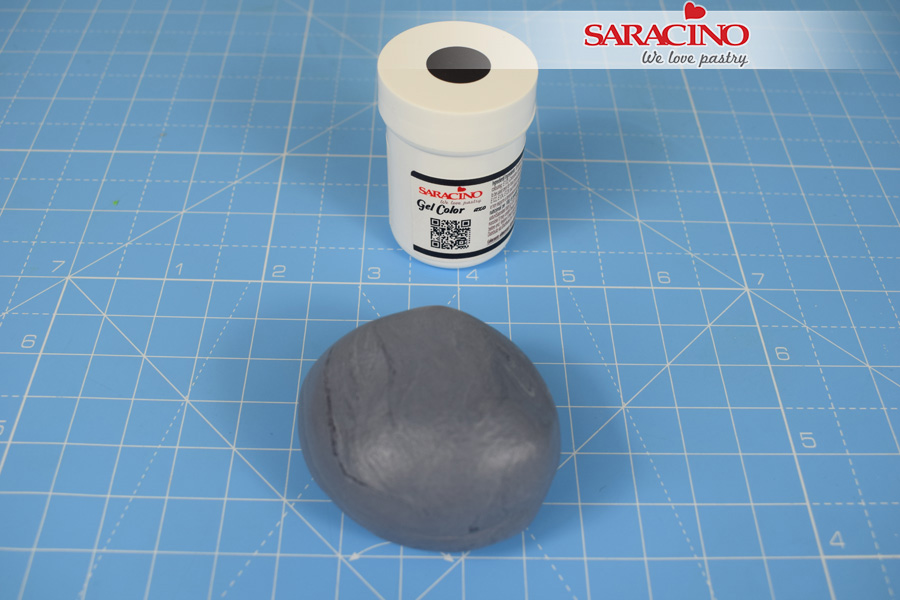
Step 6
Colour 75g of pasta top with some black gel colour to create a dark grey.
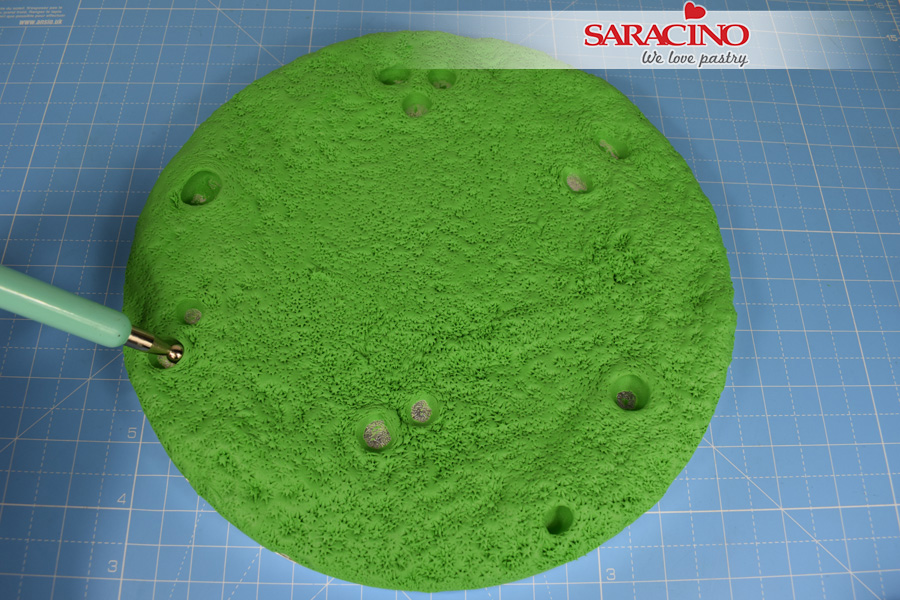
Step 7
Use the end of the balling tool to create random holes in the paste around the edge of the board.

Step 8
Roll small balls of grey paste and with a small amount of water stick into the holes.
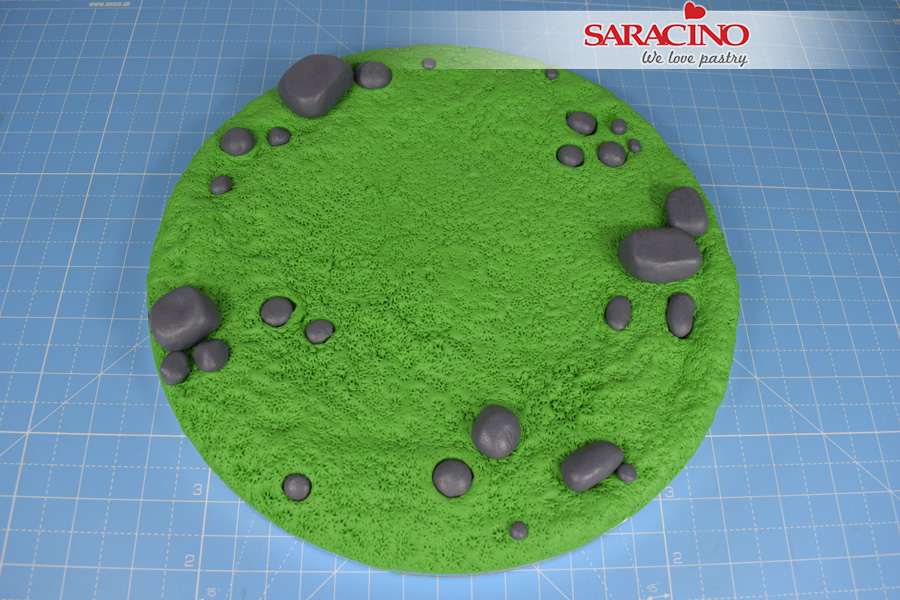
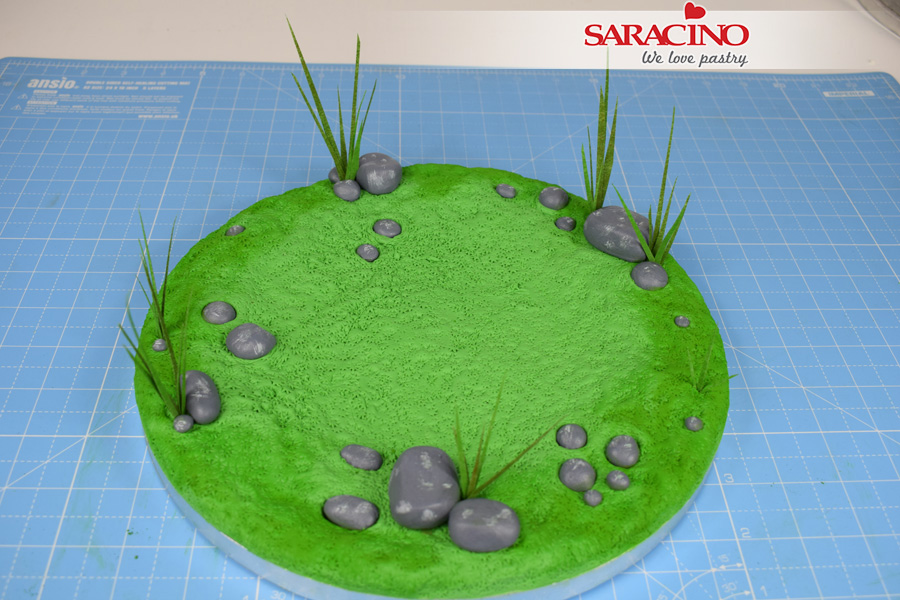
Step 9
Use the remaining grey paste to make stones to sit on the surface of the board. Group the larger ones together and dot tiny ones at random places.
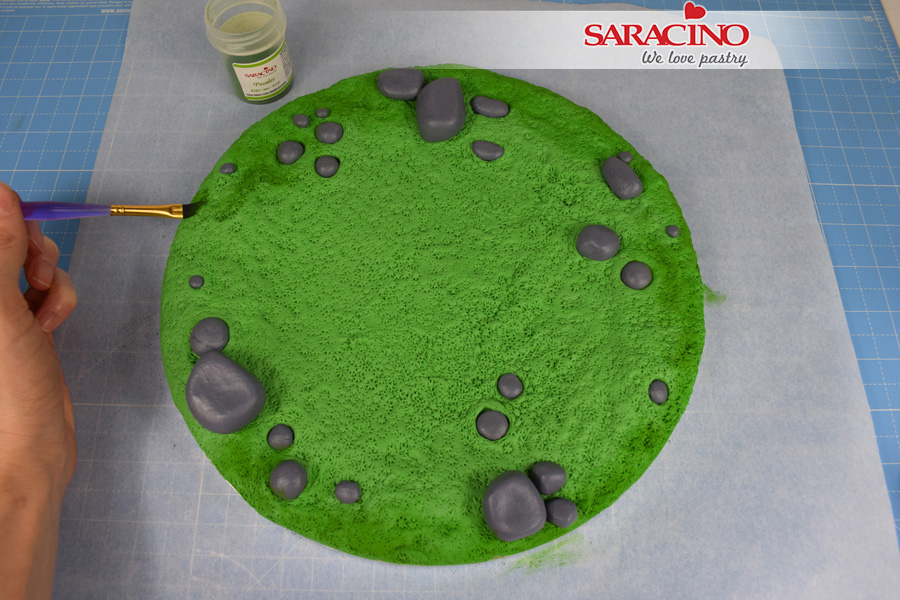
Step 10
Using a flat angled paintbrush apply some green dust around the edge of the board.
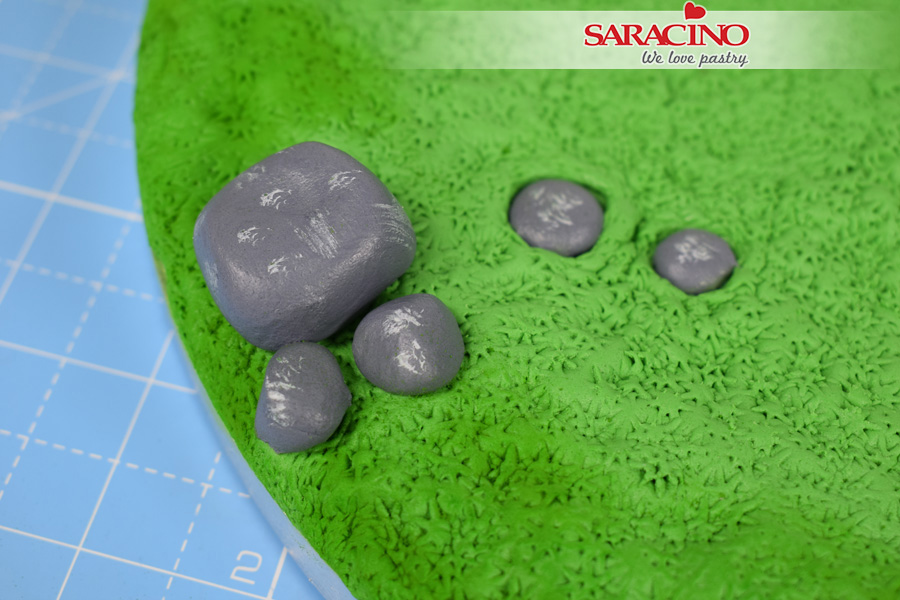
Step 11
Mix a small amount of white dust with a couple of drops of water. Paint white flecks onto the surface of the stones.
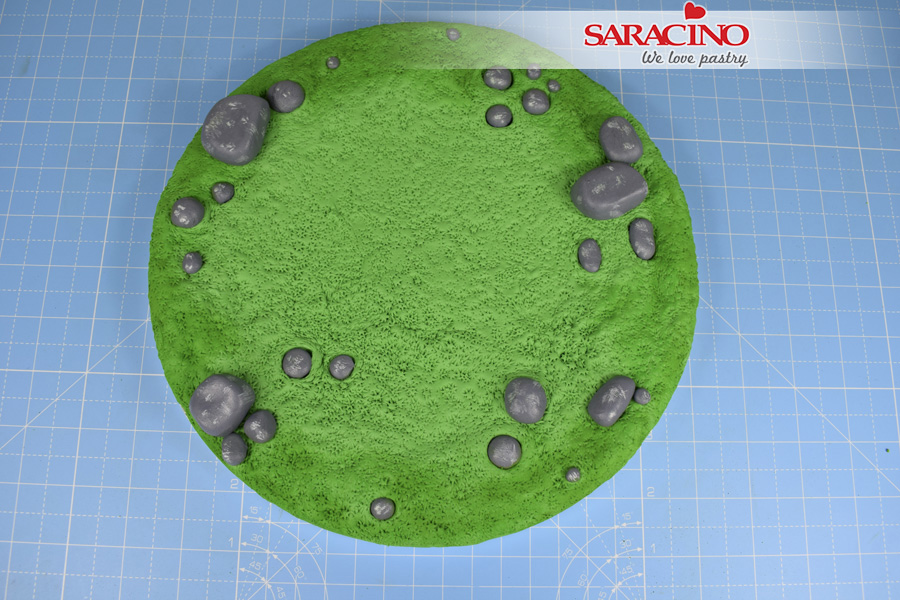
Step 12
Continue until all the stones are painted.
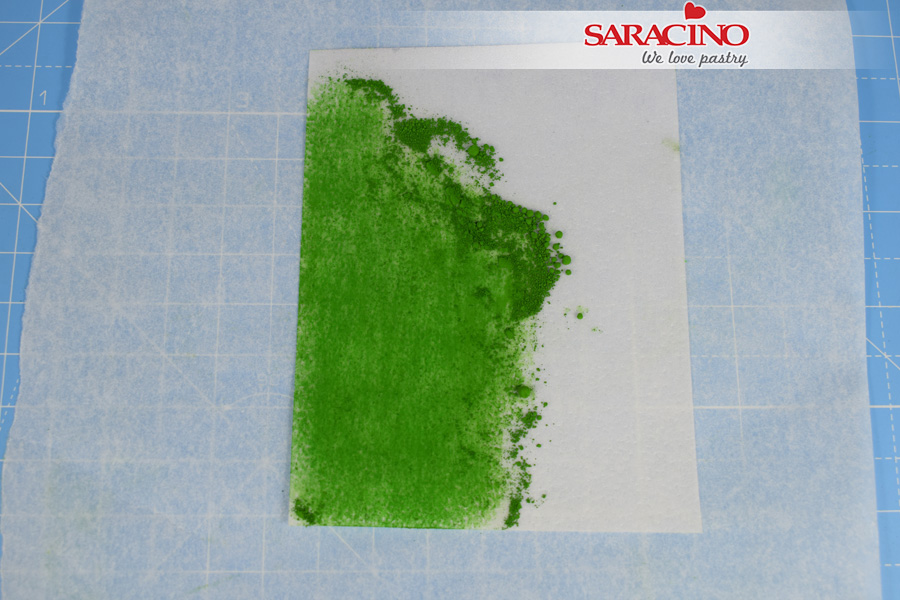
Step 13
Lay a small square of wafer paper onto a piece of greaseproof paper. Use your finger to rub green dust into the surface of the paper. Turn the paper over and repeat on both sides.
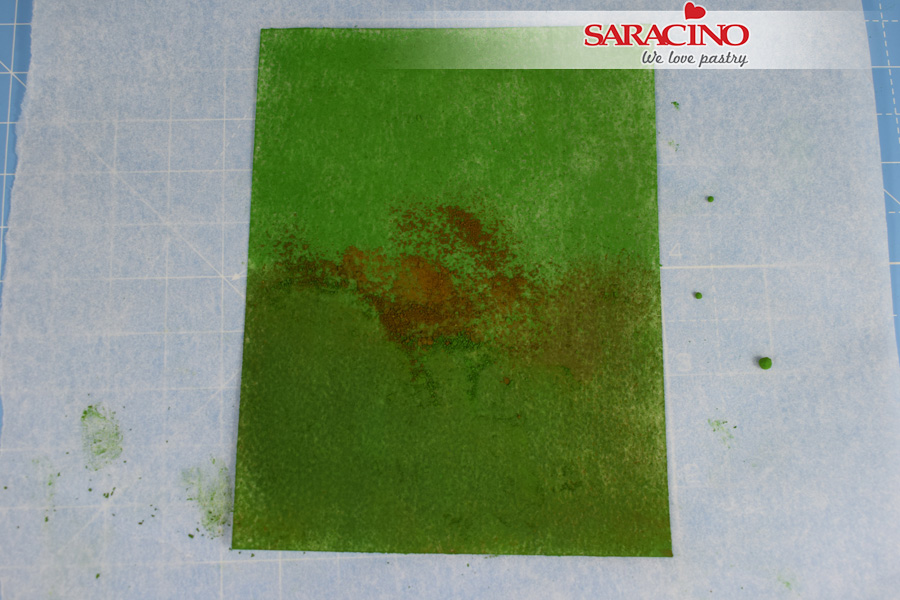
Step 14
Once the paper has been coloured green, take a small amount of brown dust and colour one side to create a darker shade of green.
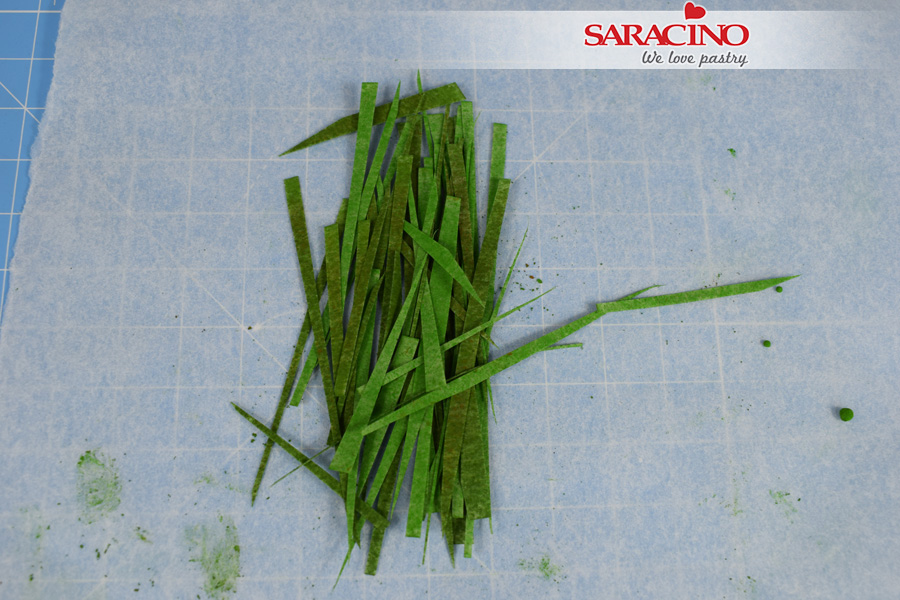
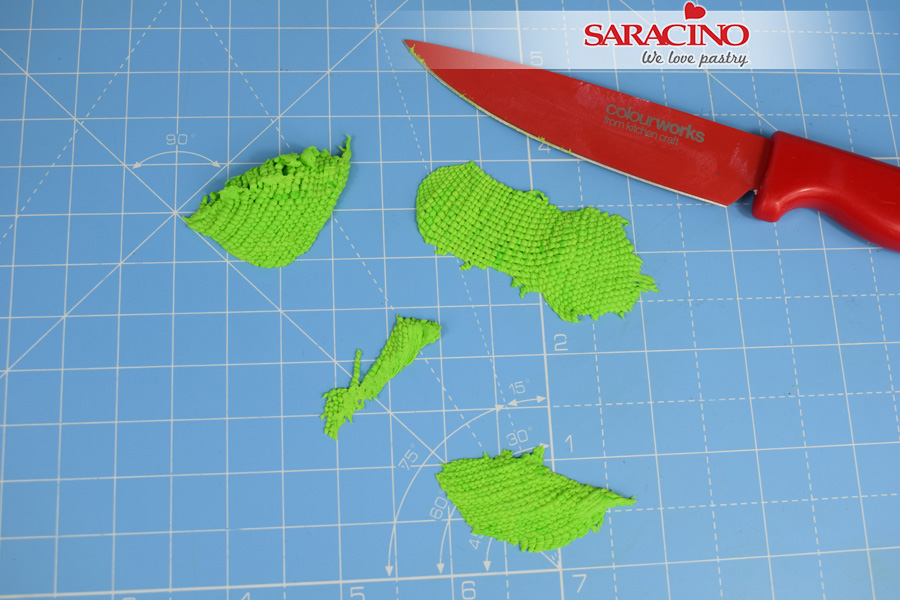
Step 15
Use a pair of scissors to snip the paper into blades of grass.
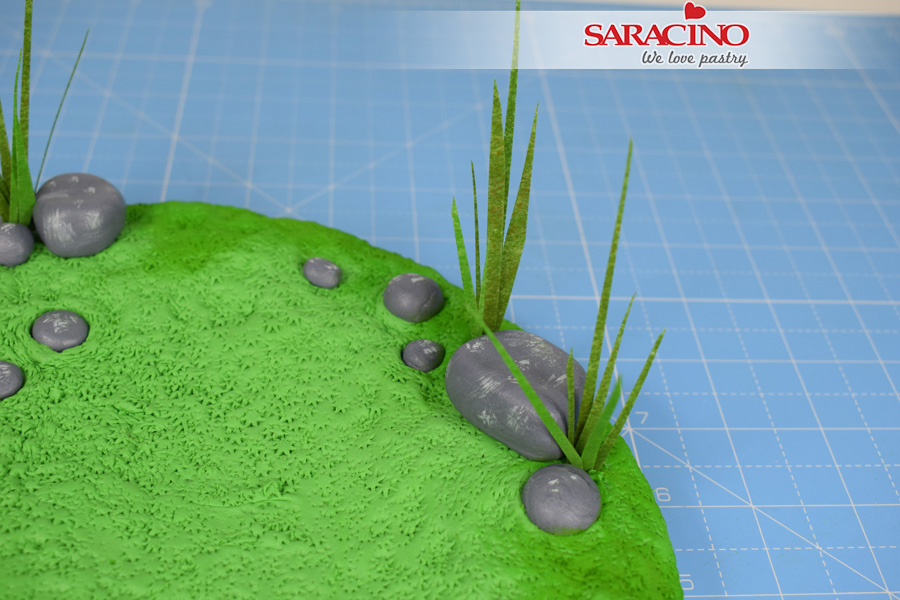
Step 16
Use the wide end of the Dresden tool to poke a hole in the paste either side of the large rocks. Apply a small amount of water to the hole. Bundle together small groups of grass and stick in the hole. Push the paste back together to hold the blades in place.
Step 17
Repeat at random places across the board until you’re happy.

Step 1
PAVING: Using a small amount of black gel, colour 375g of Pasta Top light grey. Knead the paste until the colour is fairly uniform throughout.
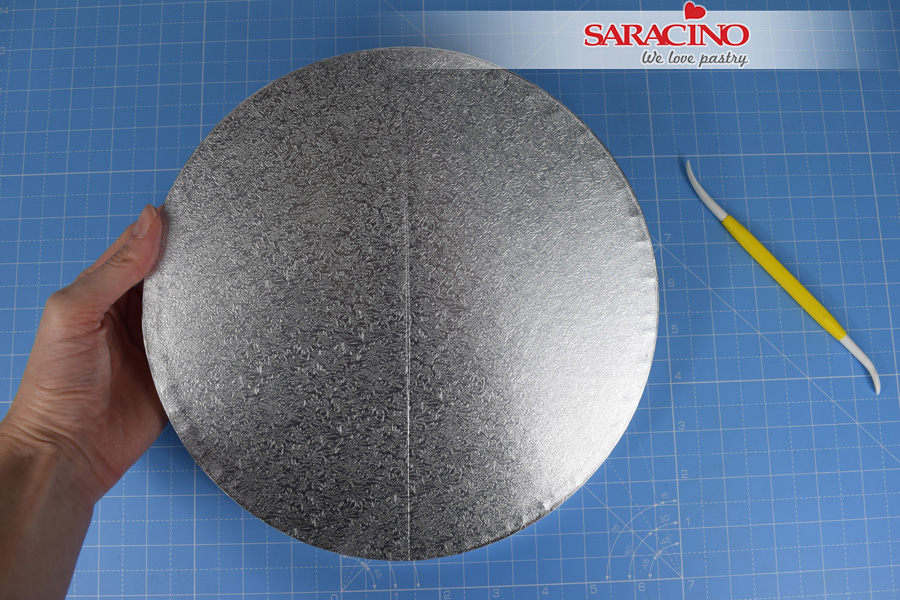
Step 2
With the pointed end of the Dresden tool, gently score a line down the centre of the board.
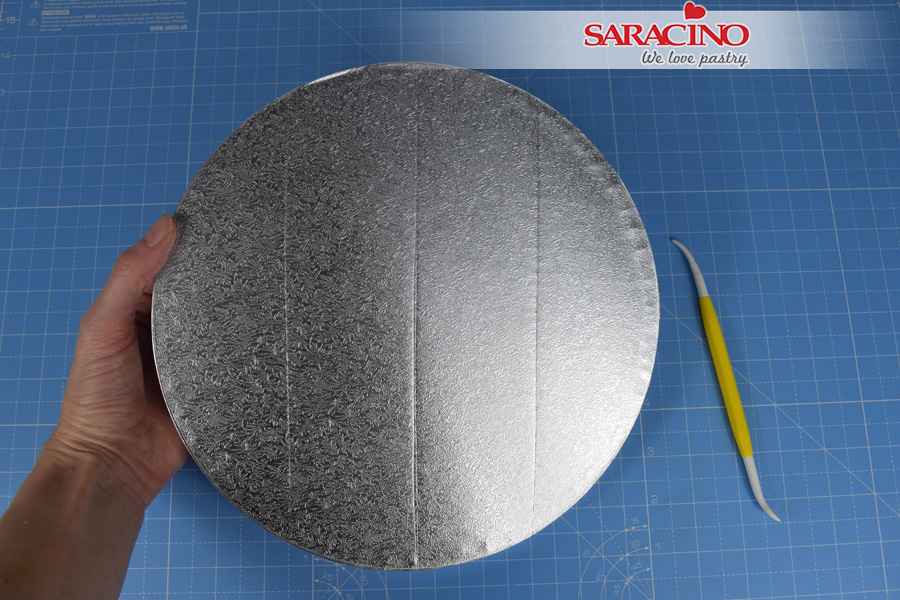
Step 3
Score two more lines dividing the board roughly into quarters.
Step 4
Score lines dividing the strips into rough squares, staggered in a brick pattern.
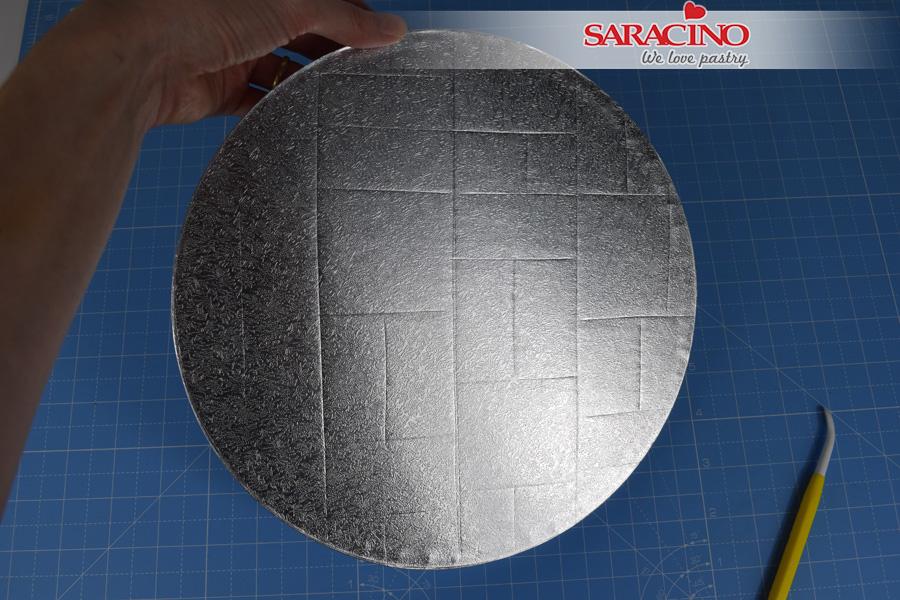
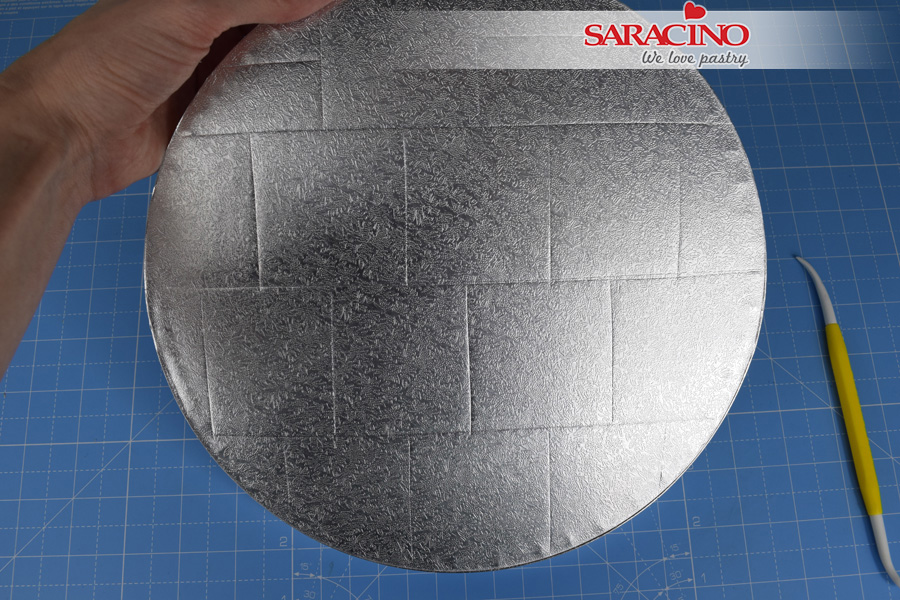
Step 5
Score lines dividing random squares into smaller rectangles and squares. Don’t worry if they’re not perfect, you can change any as you go along later on.
Step 6
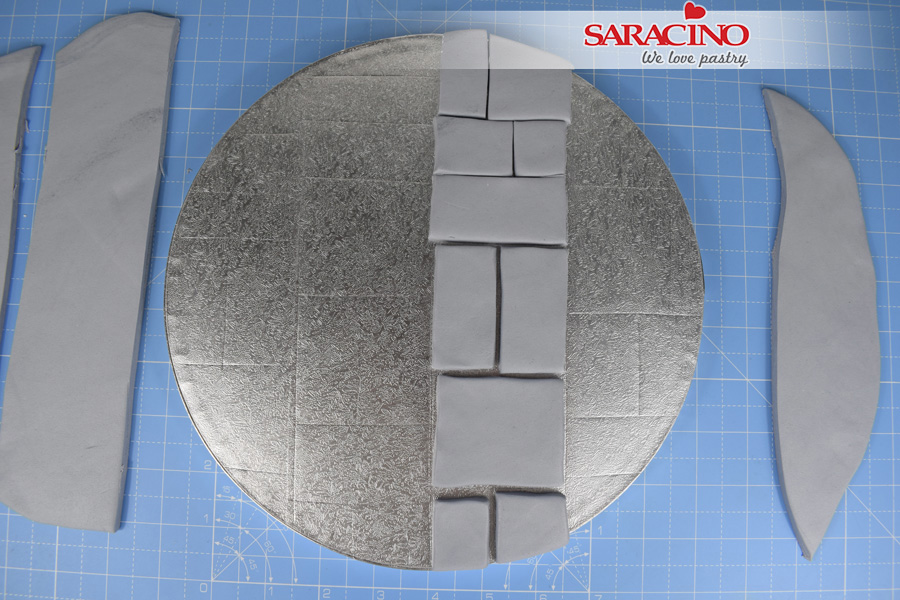
Roll out the paste to a thickness of around 5mm until it roughly covers the board.
Step 7
Lay the paste on the board. Using a sharp knife and the quarter lines you scored first as a guide, cut the paste.
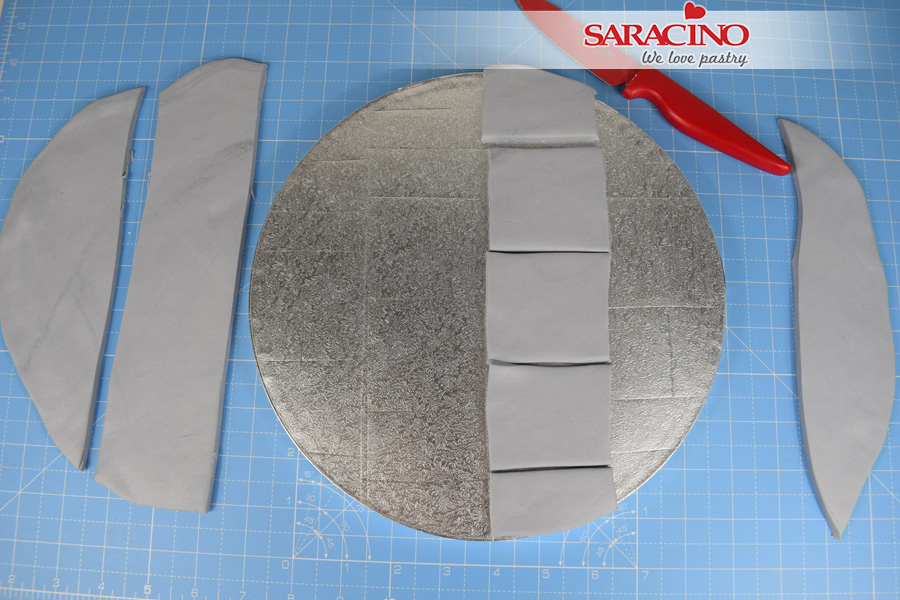
Step 8
Take one strip and use the square lines you marked in step 4 to cut the paste again.

Step 9
Use the marks you scored in step 5 to divide each of the squares.
Step 10
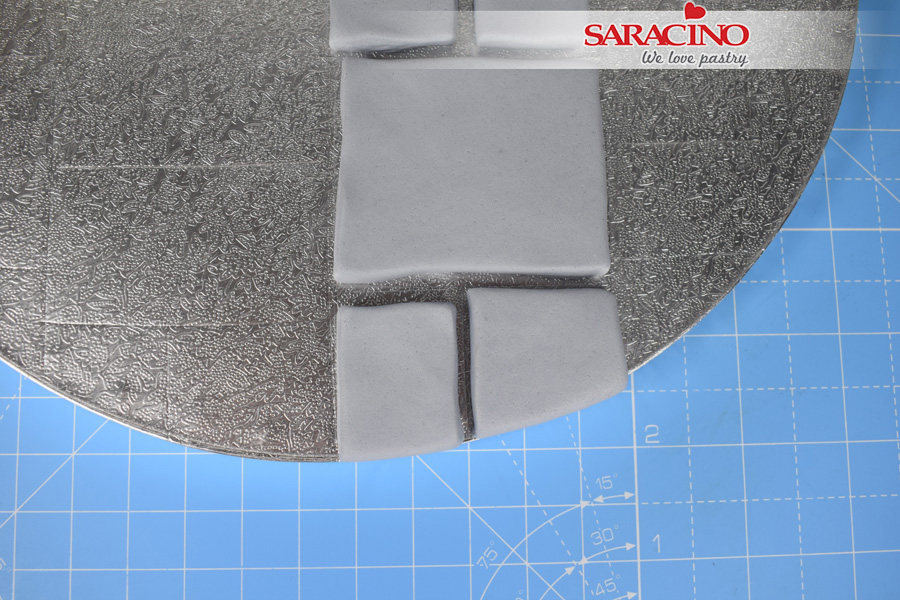
Trim a tiny amount from each of the smaller pieces so that they fit within the marked area on the board.
Step 11
Continue to trim each piece smaller and lay on the board in position. Smooth the cut edges of the pieces with your finger tips then pinch to define.
Step 12
On outer pieces only trim the inside edges so that the paste and the board line up and there are no gaps.
Step 13
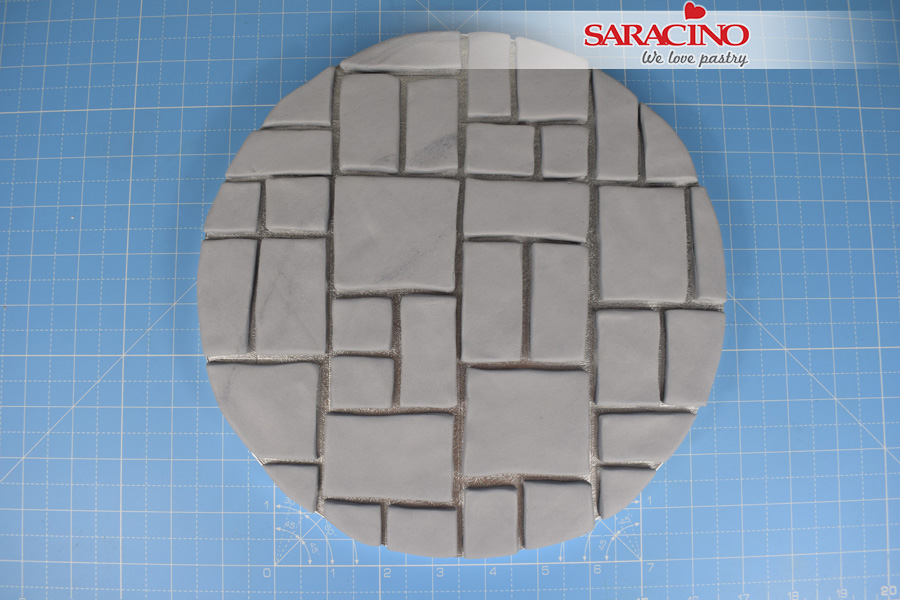
Repeat this process for each strip until the whole board is covered. You can change the pattern within any square as you go along if you choose to.

Step 14
Turn the Dresden tool on its side and use the veining end to mark lines across the tops of random tiles.

Step 15
Mark lines down the edges of tiles also.
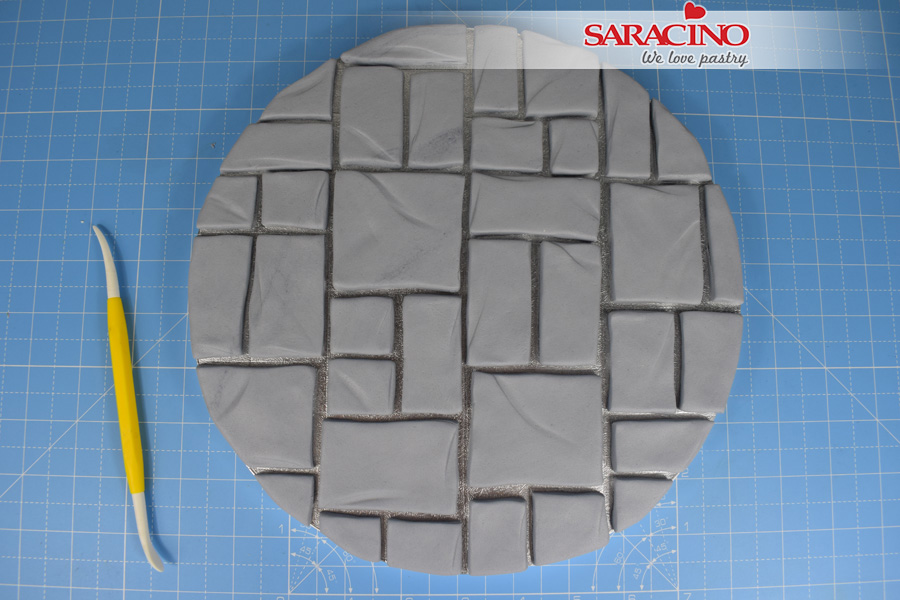
Step 16
Once all tiles are marked lift them one at a time and stick into place with water / edible glue. Be careful not to get any water on the edges of the tiles or you’ll have to wait for it to dry before continuing.
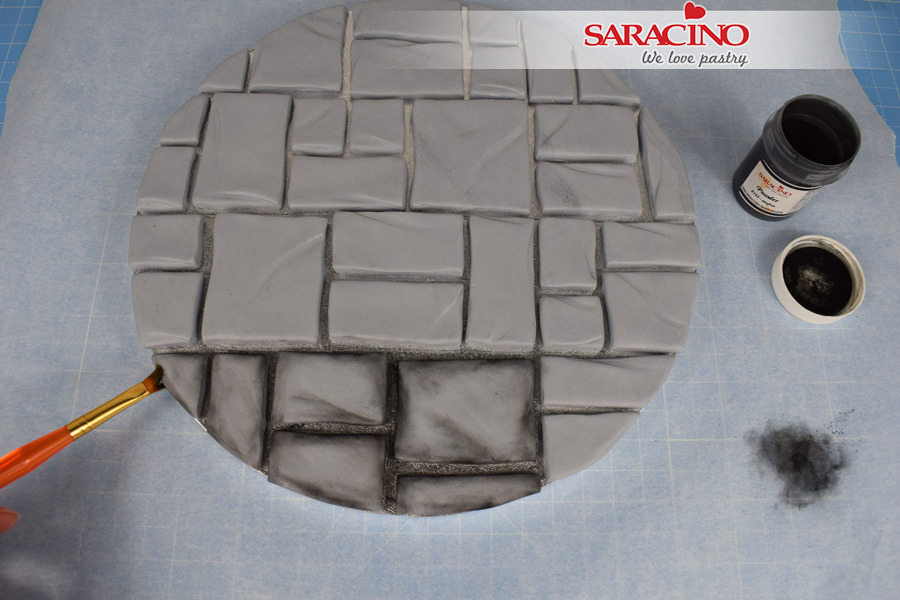
Step 17
Take a flat angled paintbrush and apply a small amount of black dust to the edges of each tile
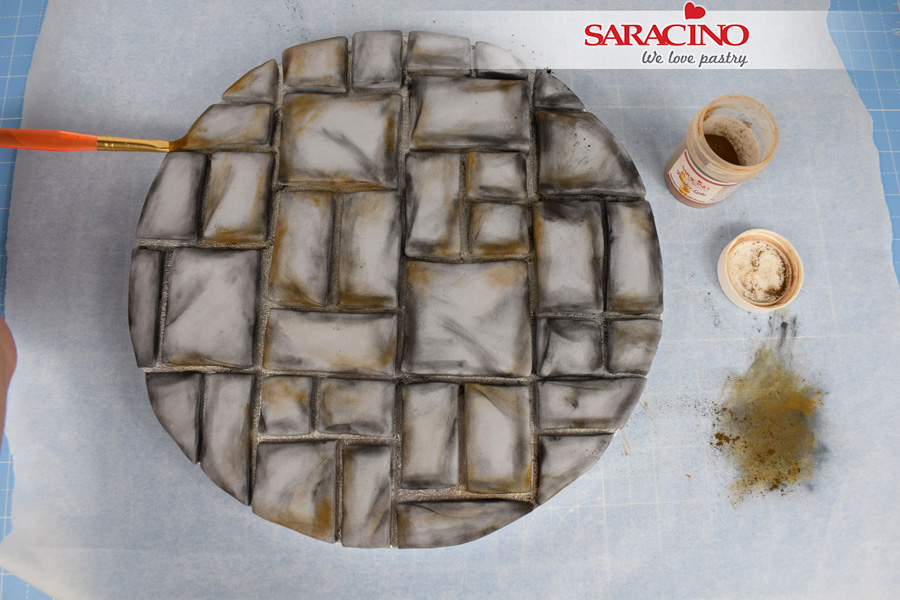
Step 18
Once all tiles are dusted with black, repeat the process with brown dust.
Step 19
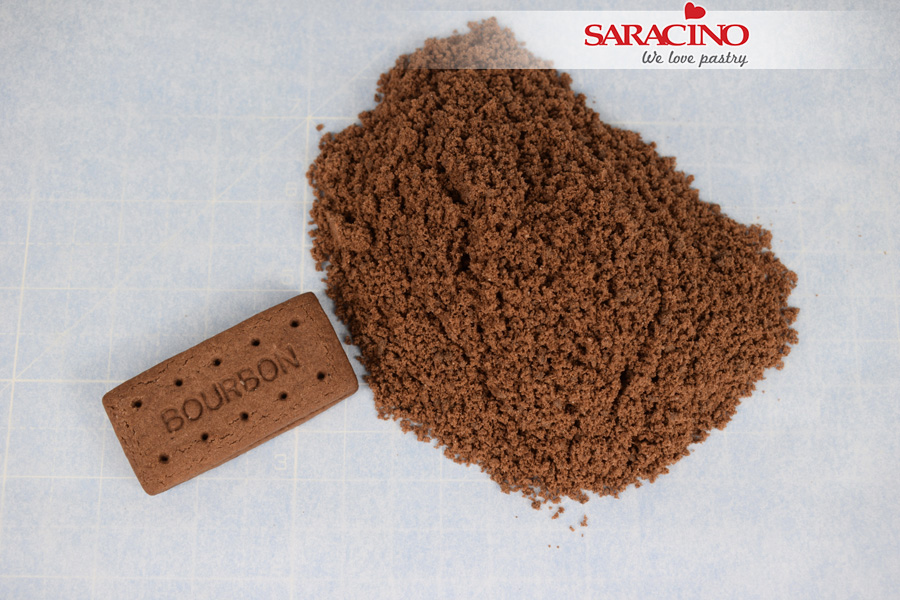
Crush 3 Bourbon biscuits.
Step 20
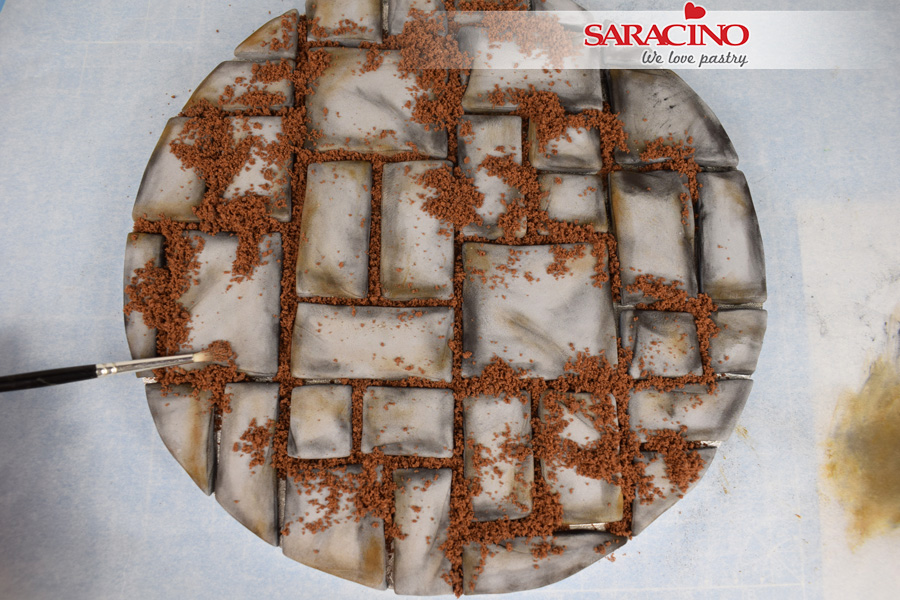
Spoon the biscuit crumbs into small piles on the board.
Step 21
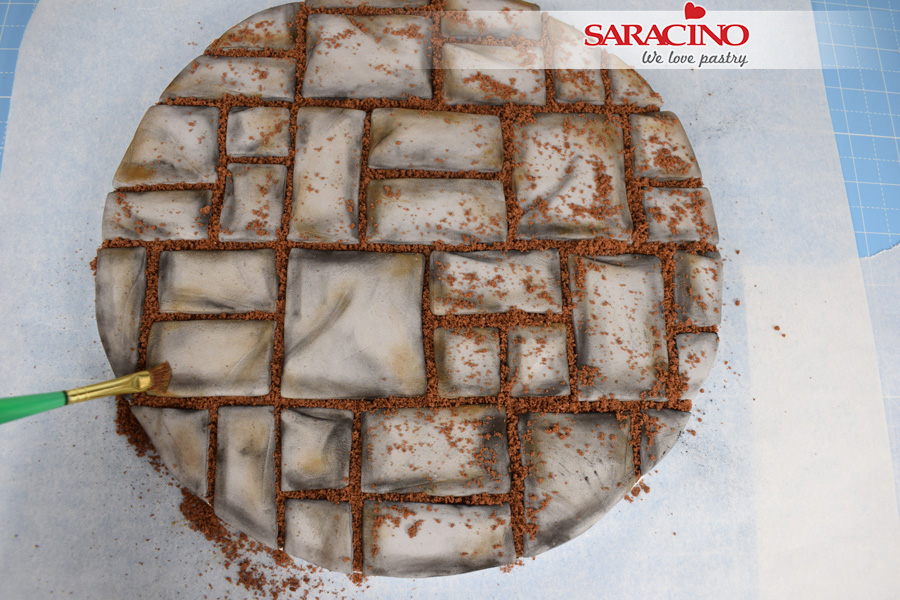
Working from the centre of the board outwards, use a paintbrush to push the crumbs into the cracks.
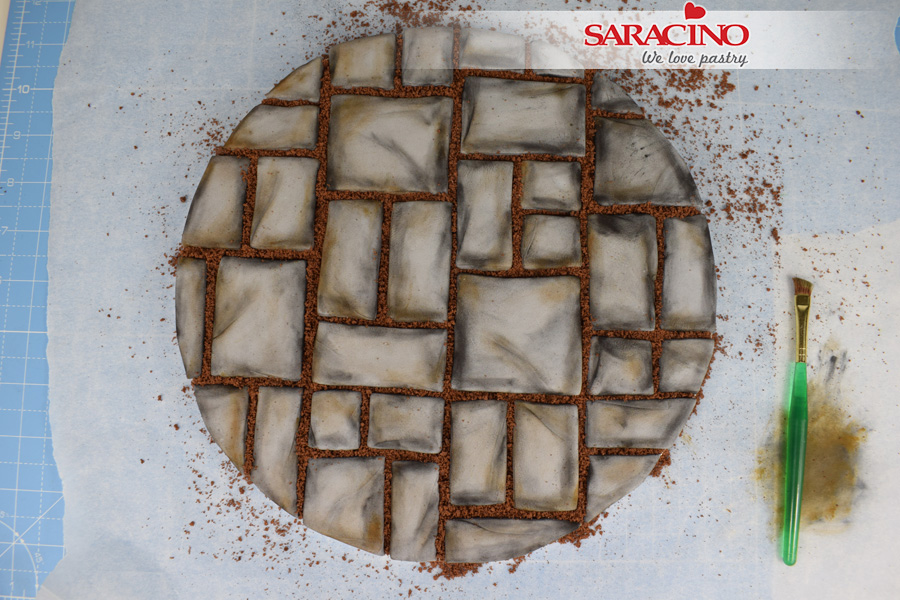
Step 22
Keep going until all the gaps are filled, brush any excess crumbs onto the paper.
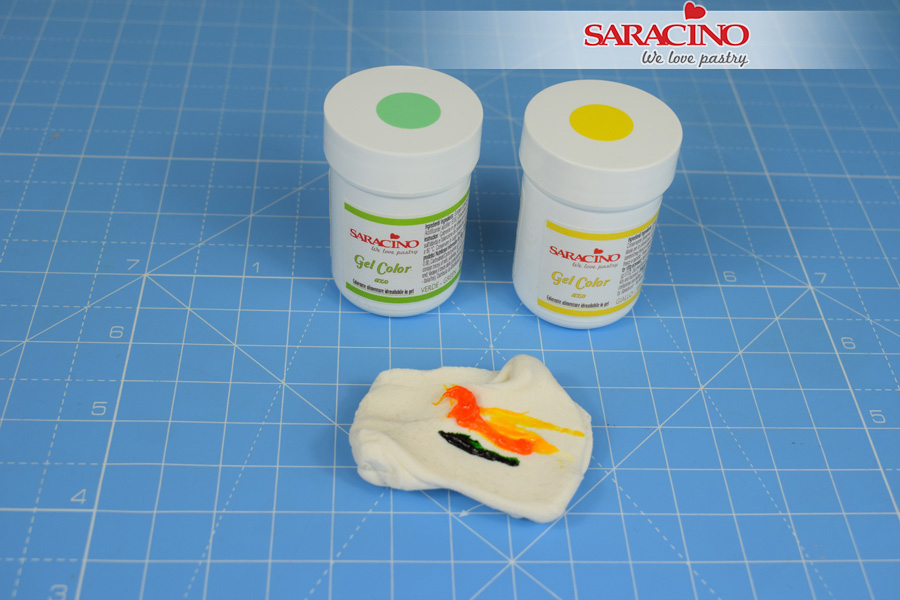
Step 23
Colour 20g of pasta top with a small amount of yellow and green gel colour, to achieve a bright green.
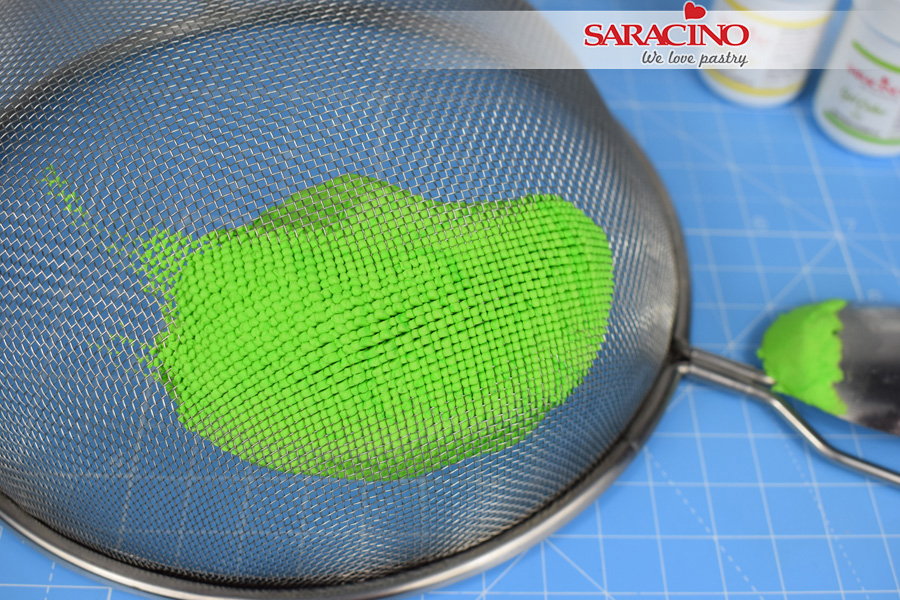
Step 24
Push the paste through a sieve using the back of a spoon.
Step 25
Carefully use a sharp knife to slice off the paste.
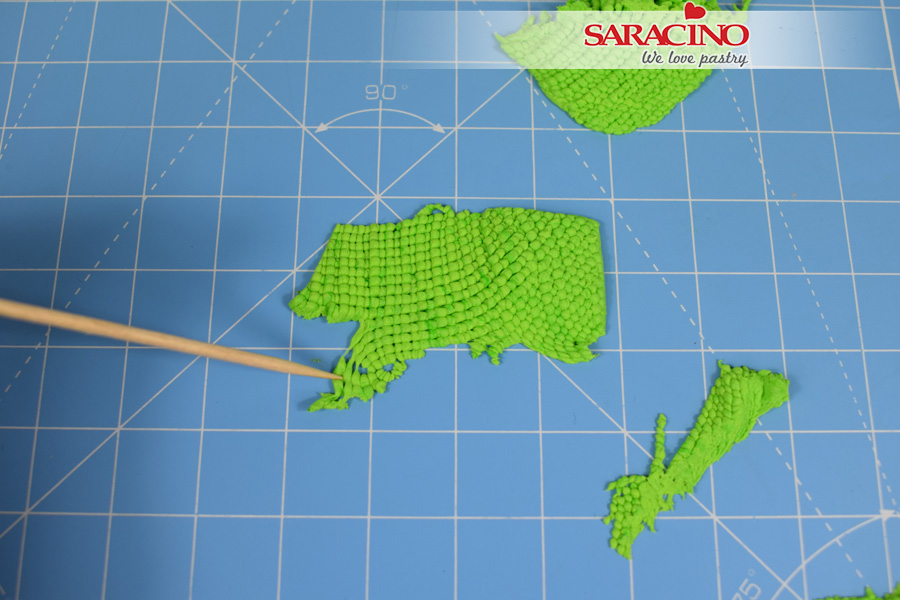
Step 26
Use a cocktail stick to pull small amounts of paste off.
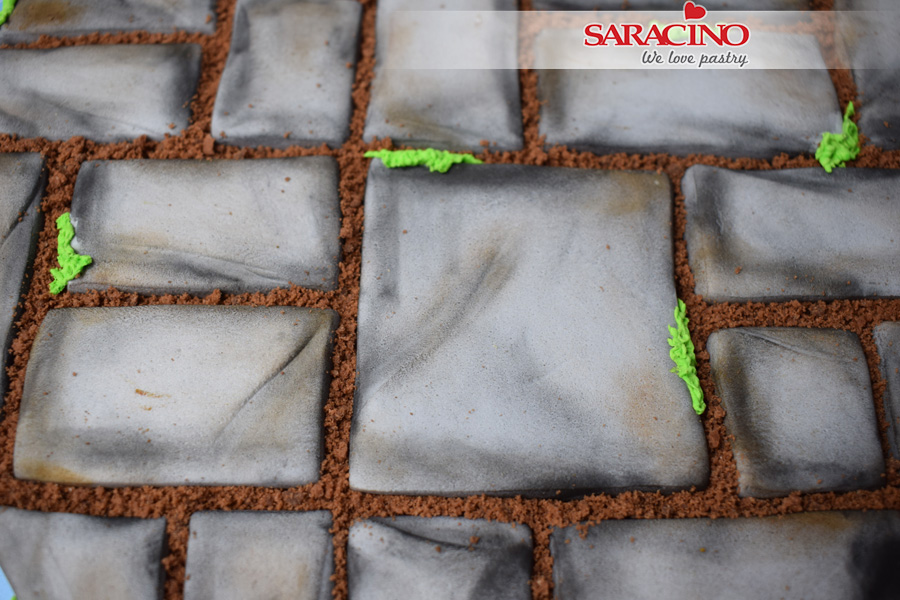
Step 27
Randomly stick small amounts of the green paste to the edges of tiles.
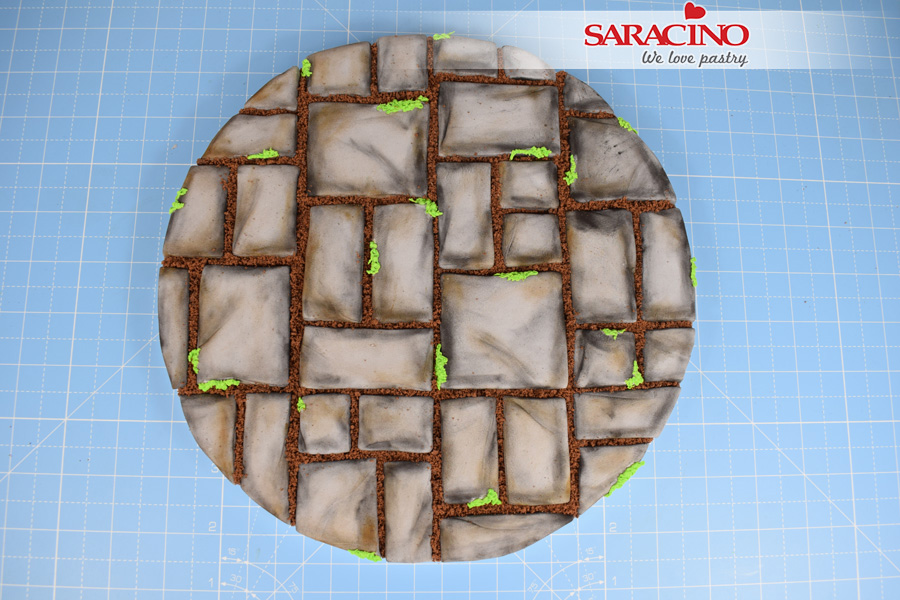
Step 28
Continue across the board until you’re happy, and your board is now ready for your cake.
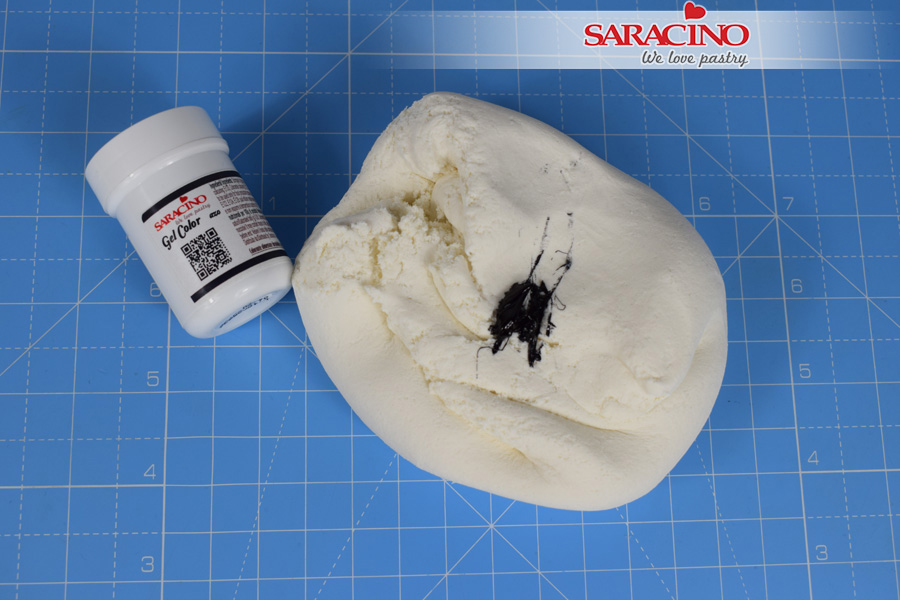
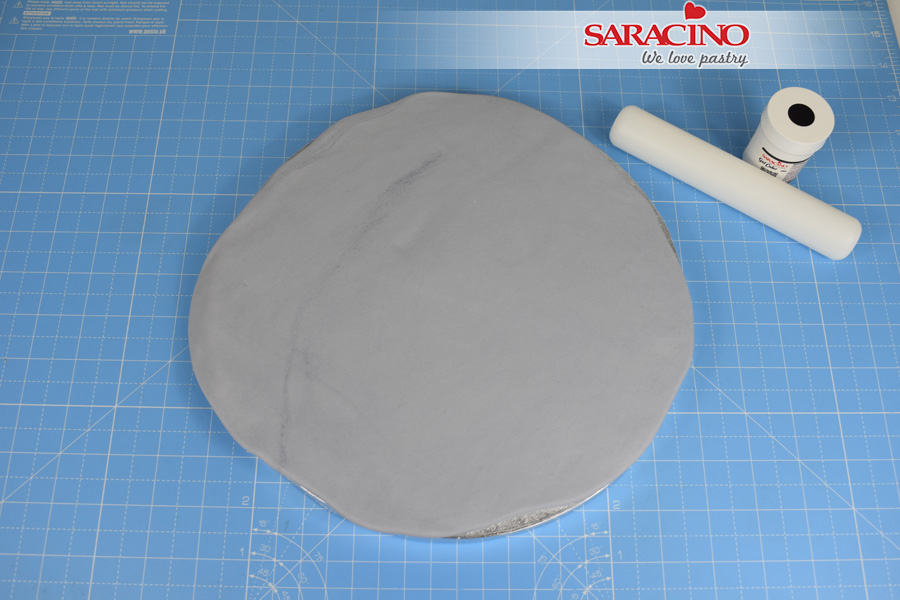
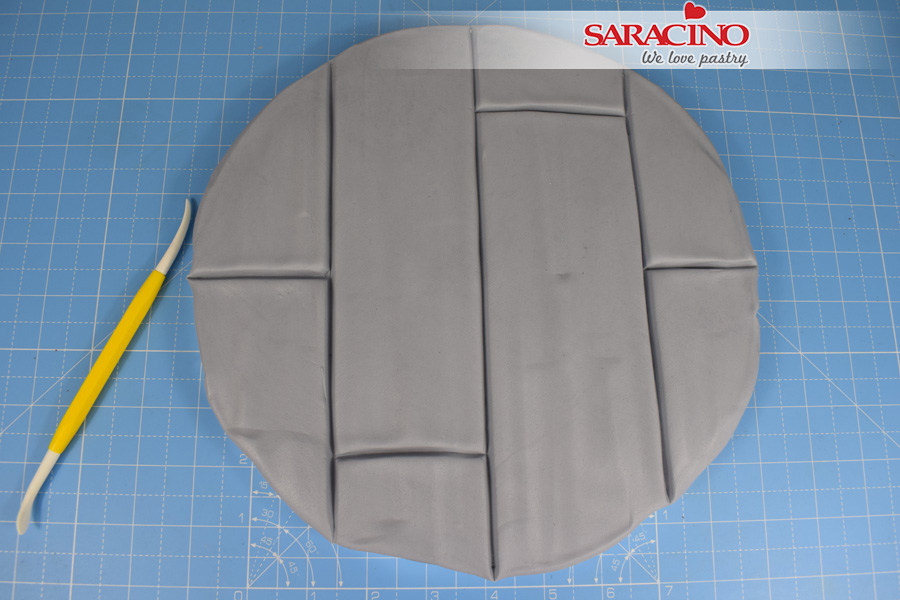
Step 1
WOOD: Using a small amount of black gel colour 375g of pasta top light grey. Knead the paste until the colour is fairly uniform throughout.
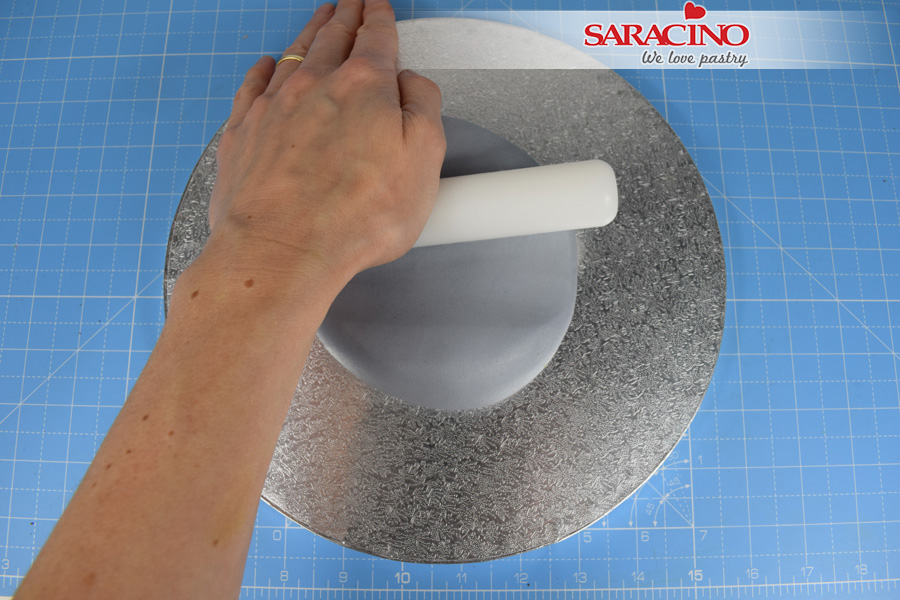
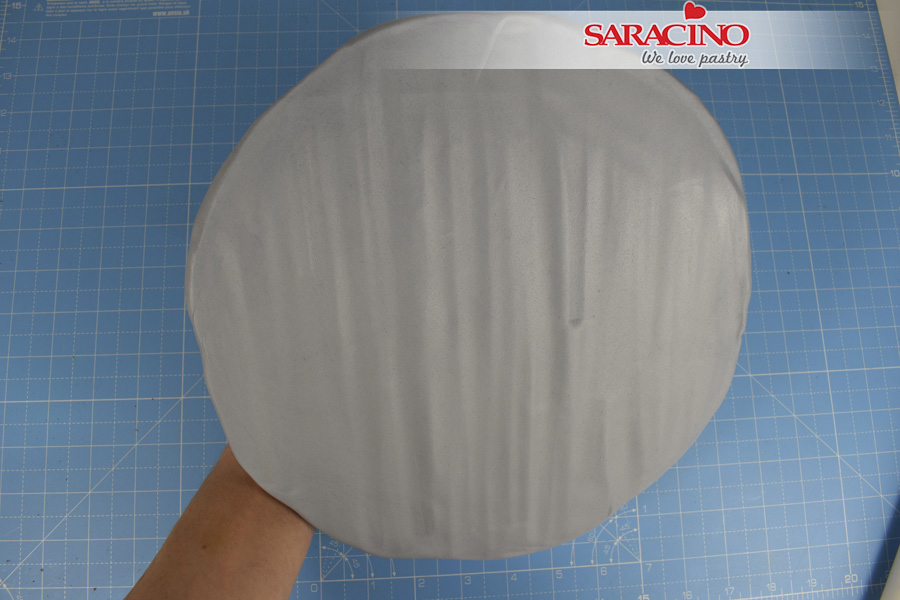
Step 2
Place the paste on the centre of the board and begin to roll out using a small rolling pin.
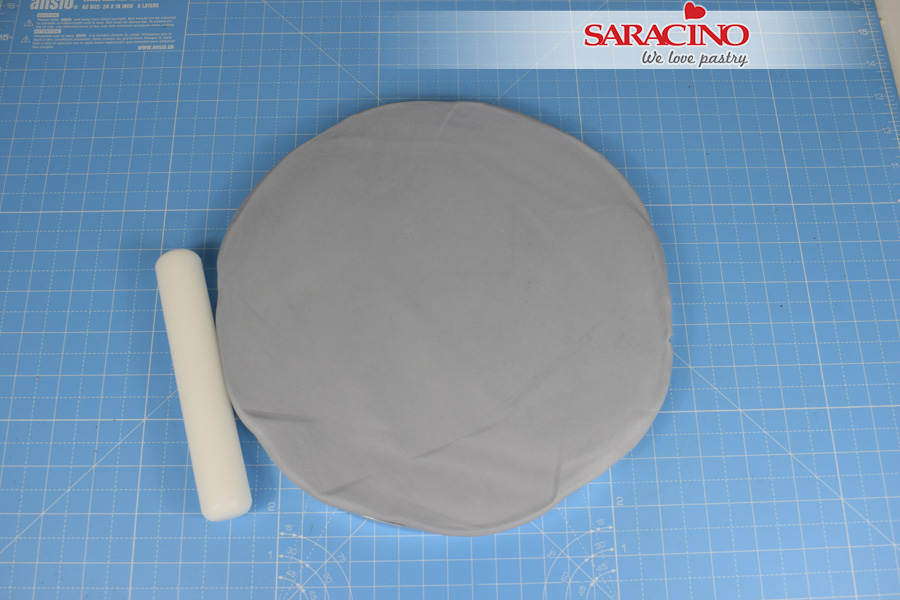
Step 3
Keep rolling out the paste until the whole board is covered
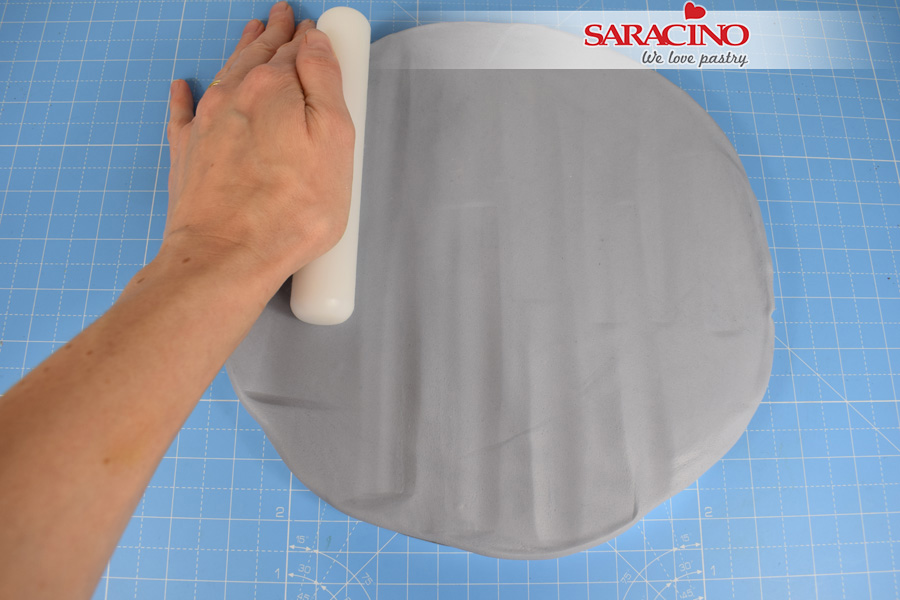
Step 4
Press the rolling pin into the paste to create grooves and ridges. Keep the lines you mark in the same direction.
Step 5
Continue to mark the paste across the whole board.
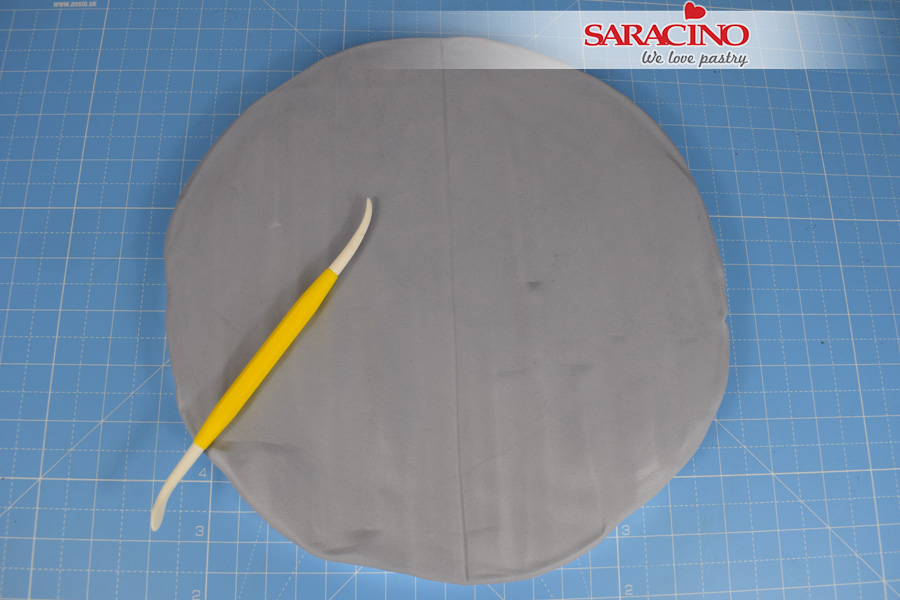
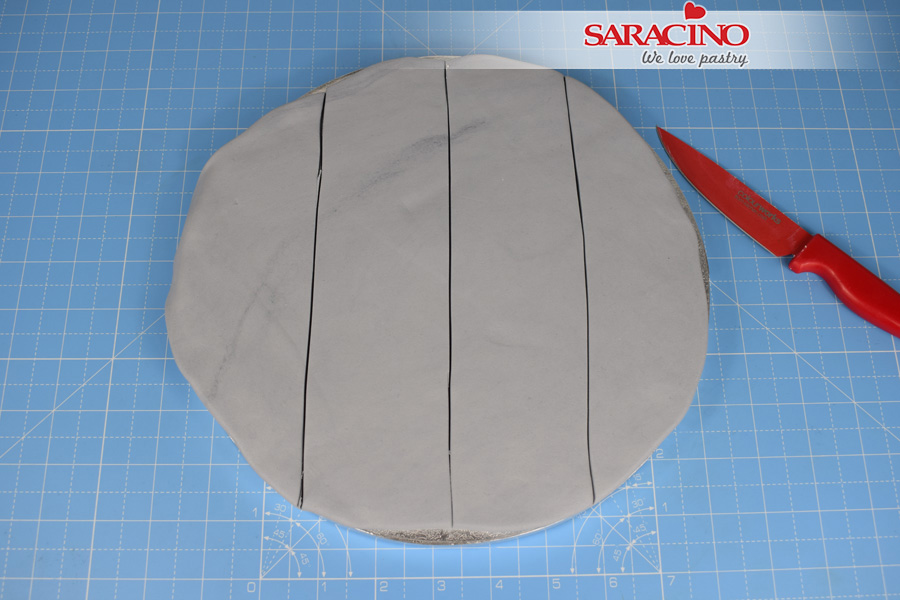
Step 6
With the pointed end of the Dresden tool, gently score a line down the centre of the board.
Step 7
Score two more lines dividing the board roughly into quarters
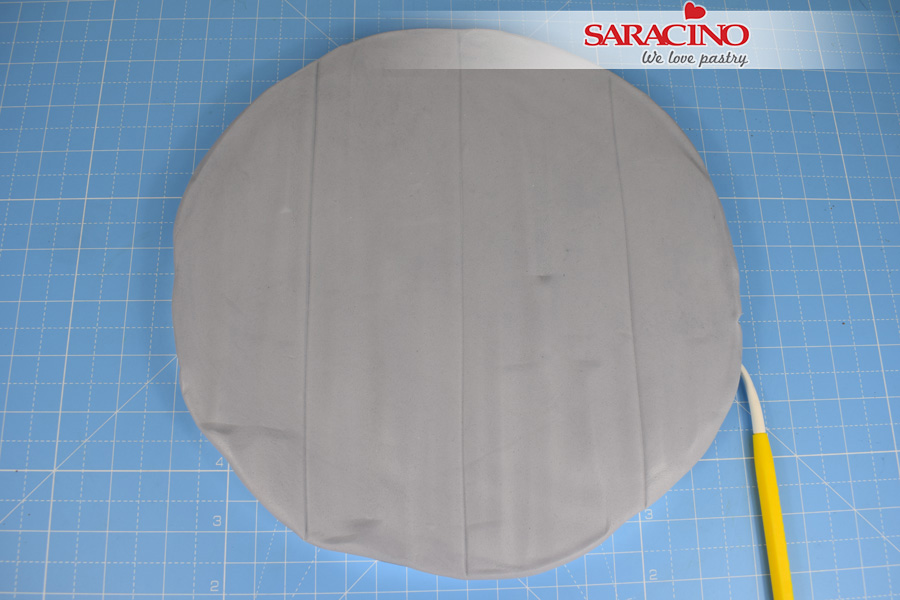
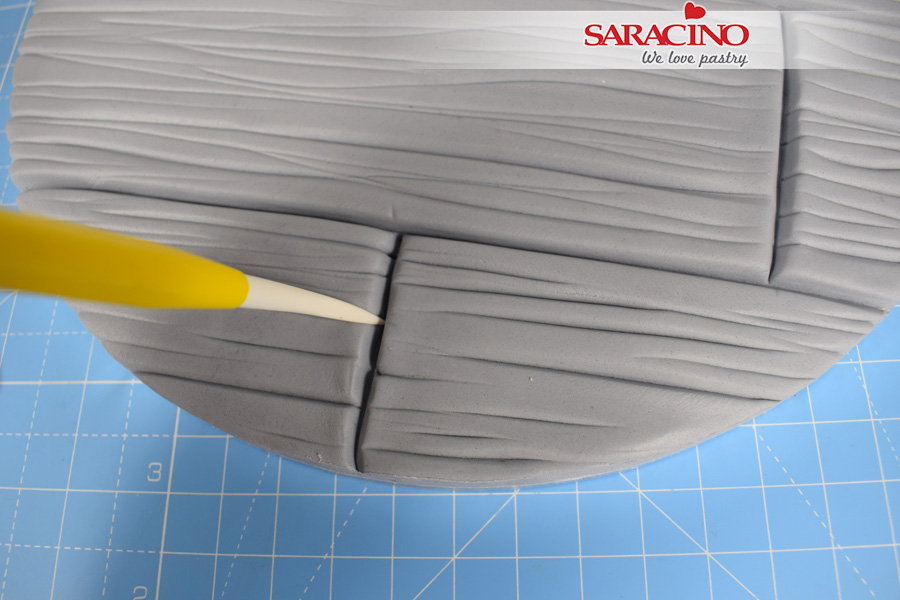
Step 8
Score 4 small lines across the strips to divide the planks as shown.
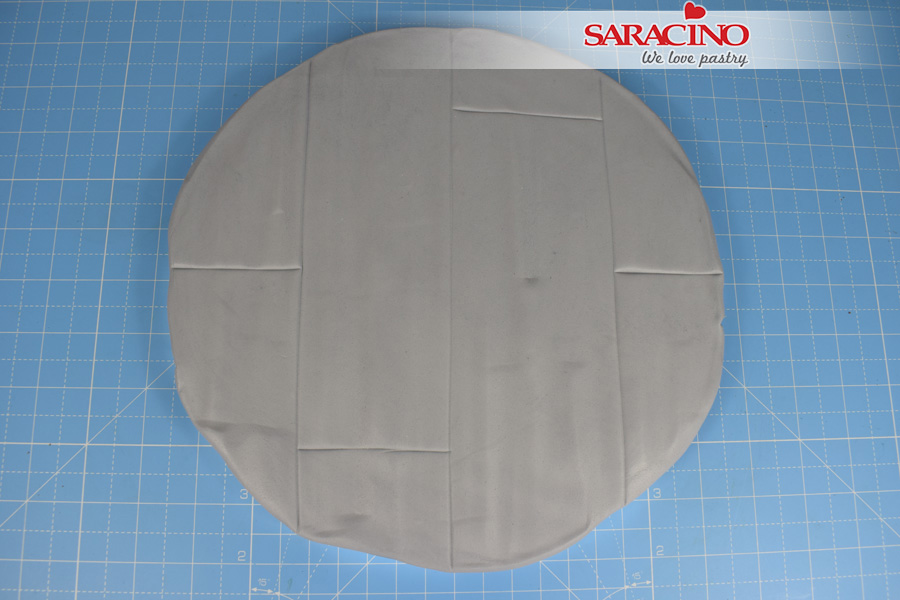
Step 9
When you are happy with the lines go over them with the Dresden tool this time applying more pressure to create deeper grooves
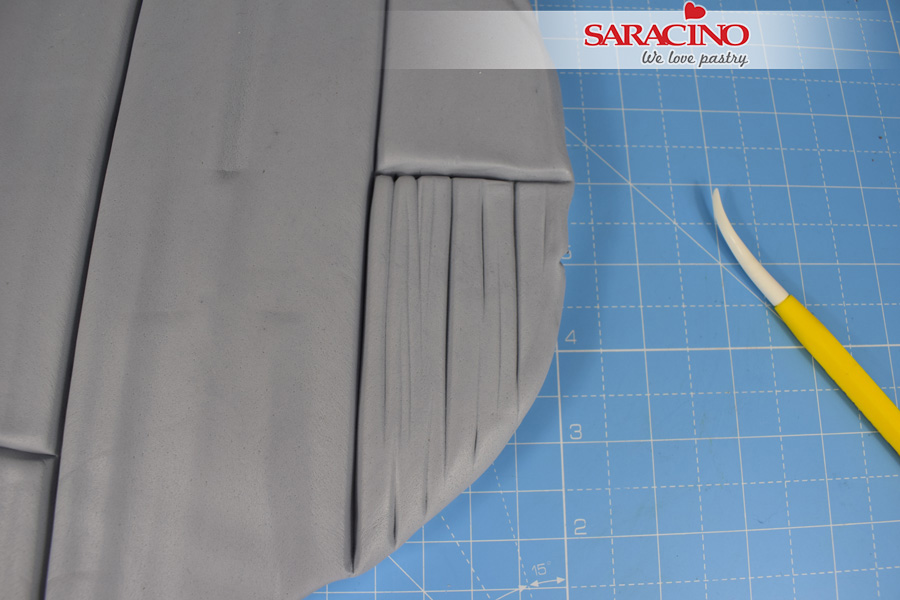
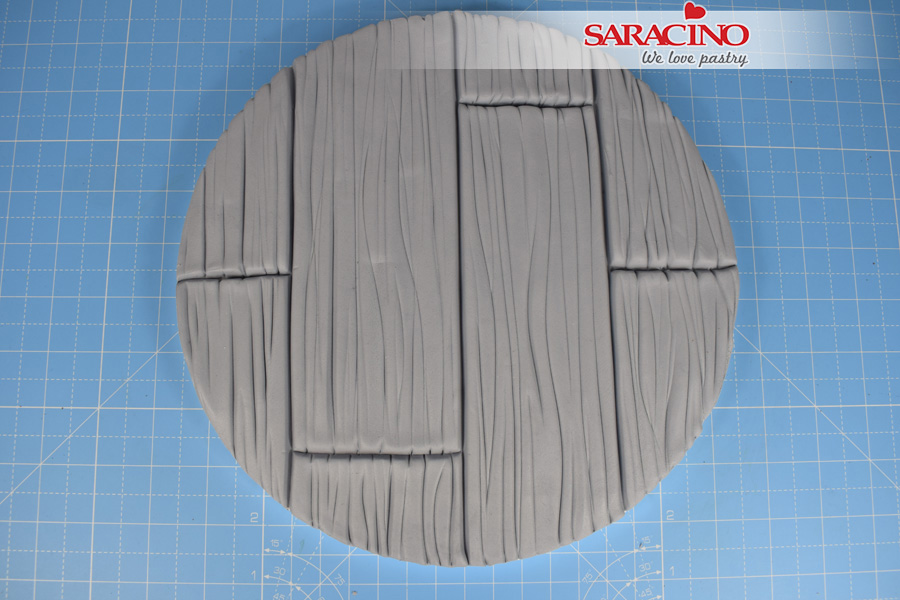
Step 10
Starting on the outside edge, mark the planks using the Dresden tool with a series of random lines and grooves. Varying the pressure will vary the depth of each line.
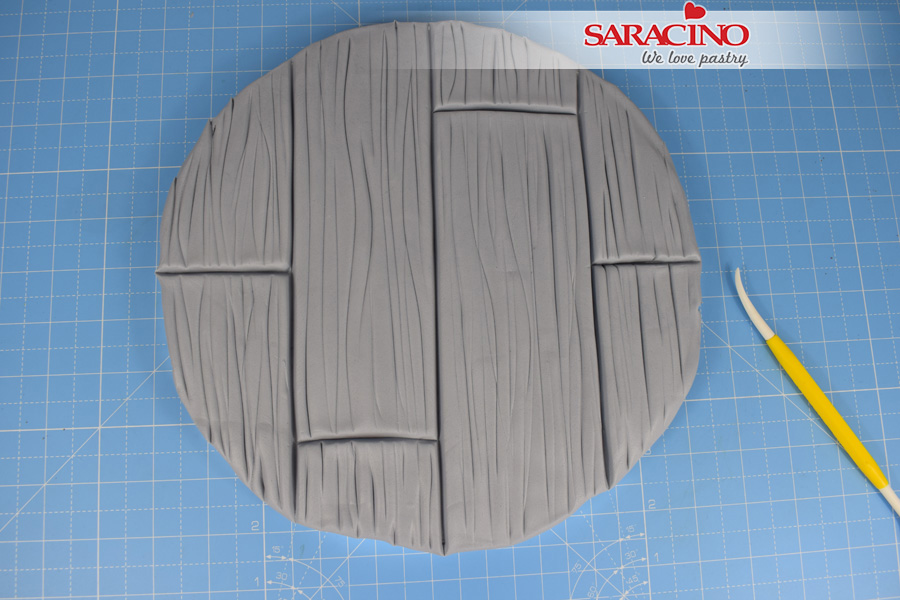
Step 11
Mark each plank separately until the whole board is done.
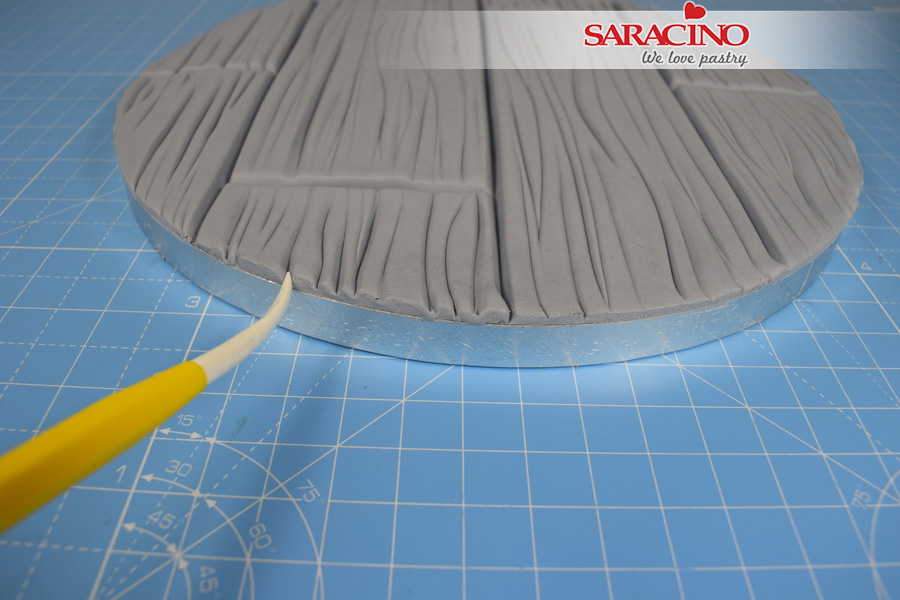
Step 12
Use the tip of the Dresden tool carry the lines over the edge of each plank around the edge of the board.
Step 13
Mark the inside edges of each plank.
Step 14
Continue across the board.
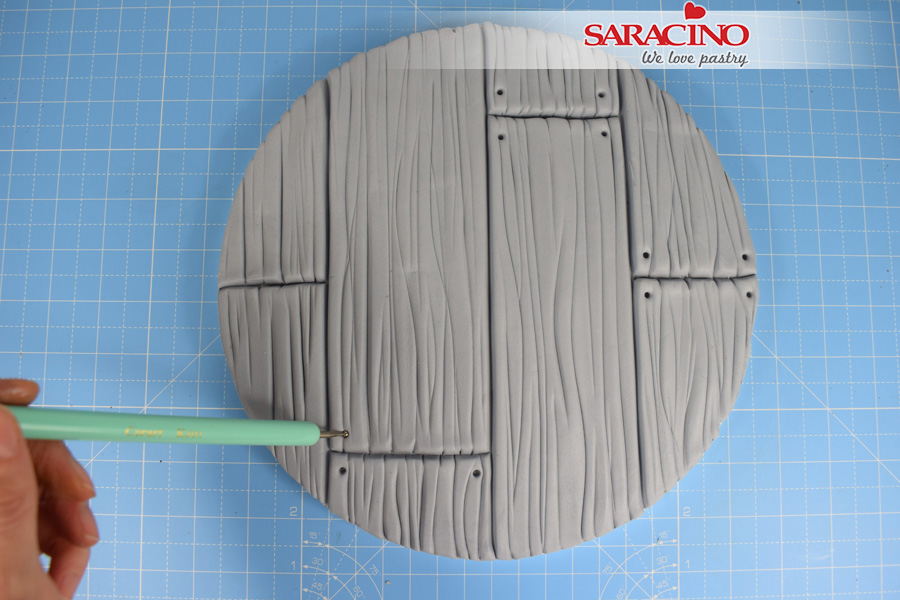
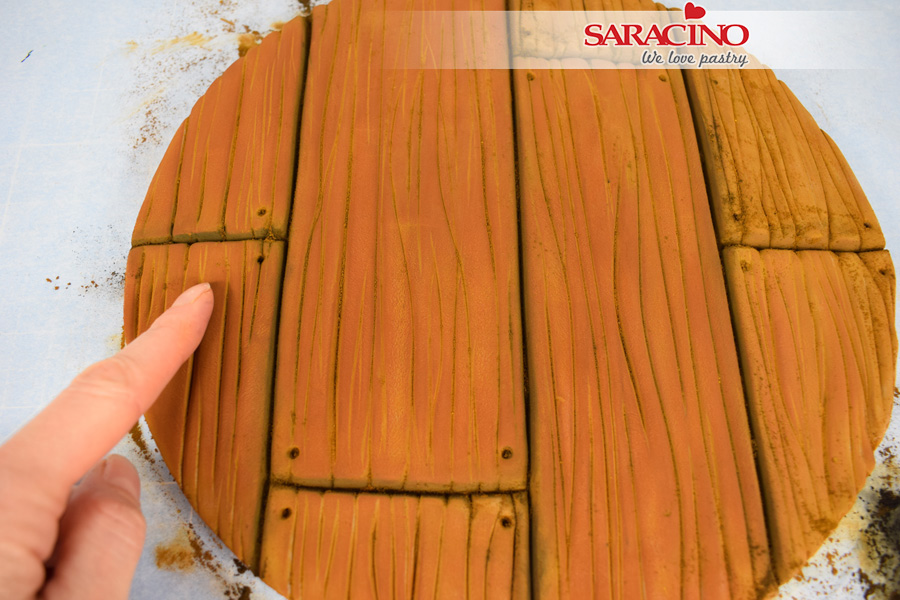
Step 15
Use a small balling tool to mark nail holes at the end of each plank.

Step 16
Place your board on a piece of grease proof paper. Take a flat angled paintbrush and begin to apply brown dust to the planks. Rub the dust in circular motions to work into the paste.
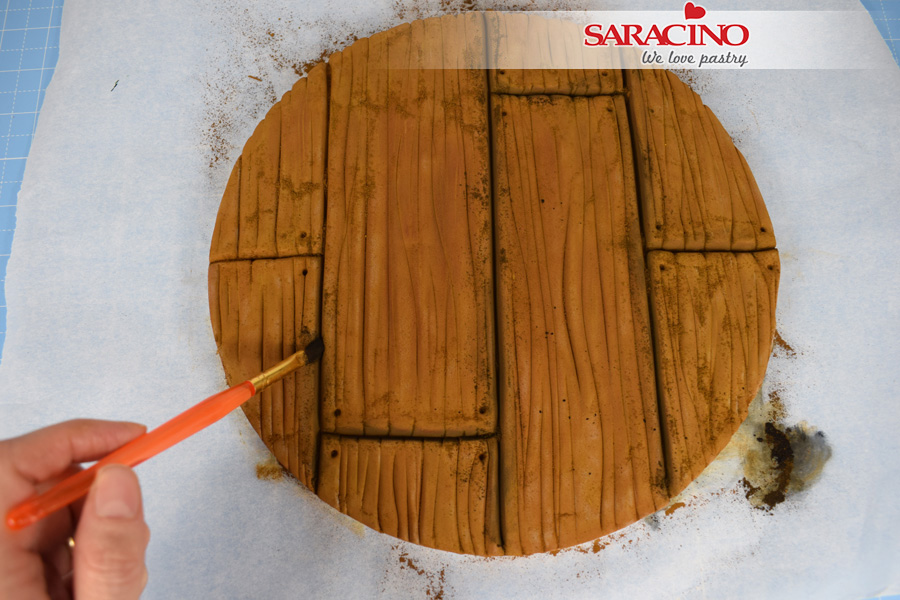
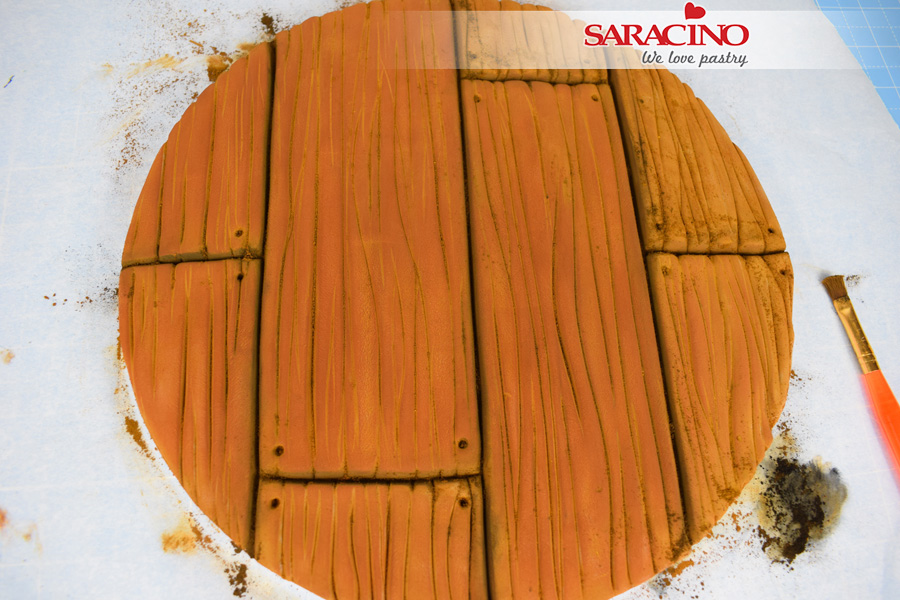
Step 17
Once all planks are dusted with brown, apply a small amount of black dust to the gaps between each plank.
Step 18
Use your finger tips to gently rub the dust into the paste. This will cause the dust to darken and create a wood like sheen.
Step 19
Work across the board, rub more in some spots than others to vary the depth of colour.
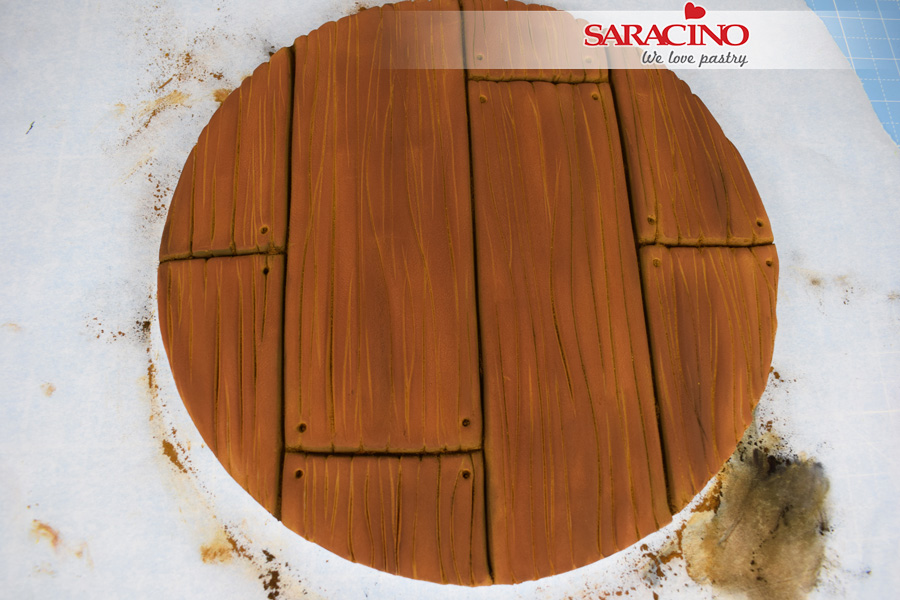
Step 20
Lightly rub your finger in the black dust on the paper and transfer it to the board in random areas to further darken the wood.
Step 21
Dusting instead of painting means that you retain all the lines you scored and marked at the start. It also means you don’t have to wait for your board to dry.
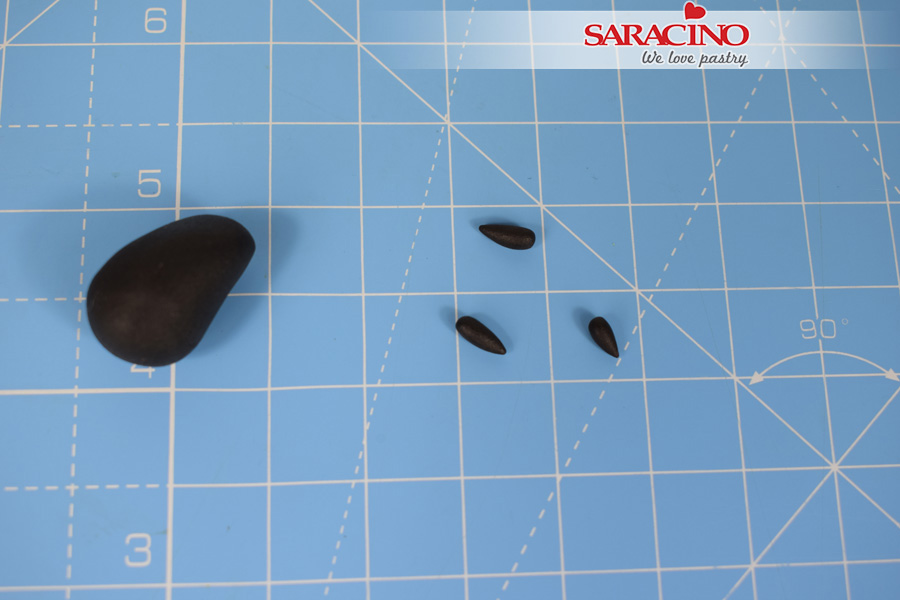
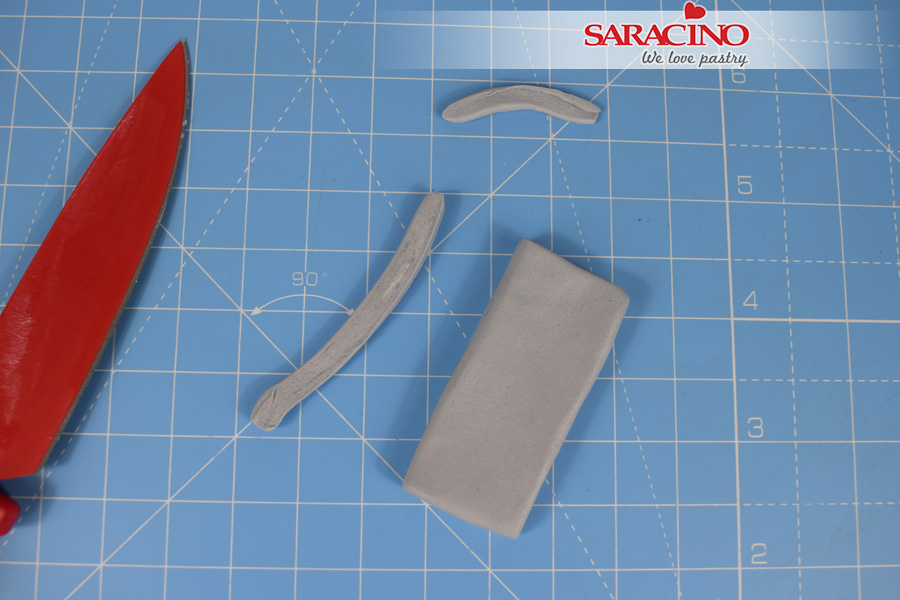
Step 22
For the nails take a small amount of black modelling paste and roll 14 small teardrops.
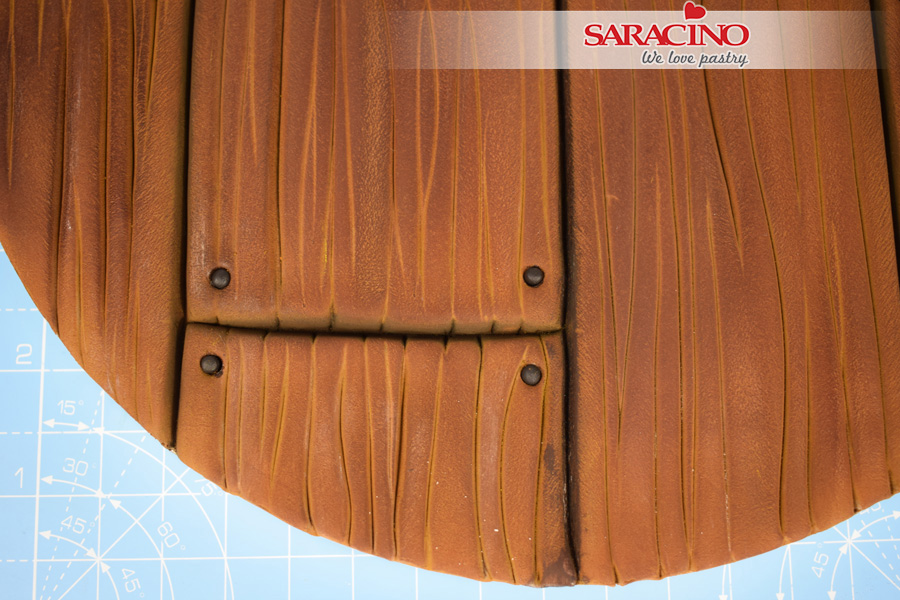
Step 23
Stick each into place with a small amount of water.
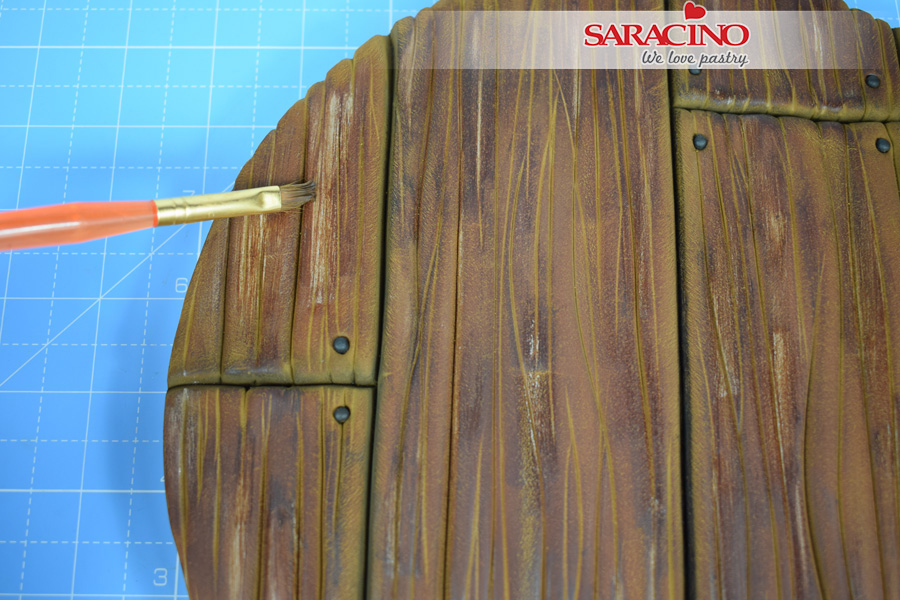
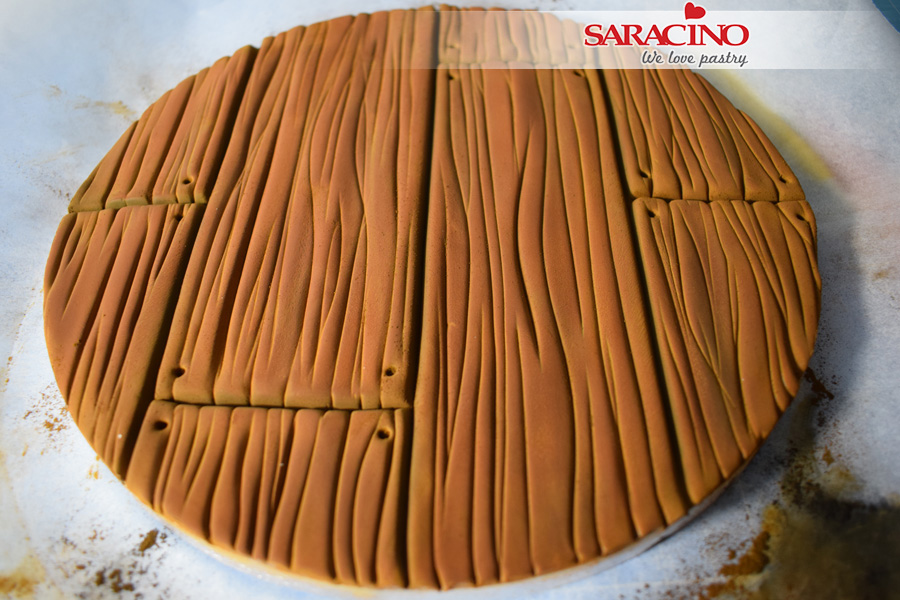
Step 24
Dip the flat paintbrush into some water and remove almost all of the water from the brush. Gently brush across each plank, following the grain to remove some of the colour and create an aged look to the wood.
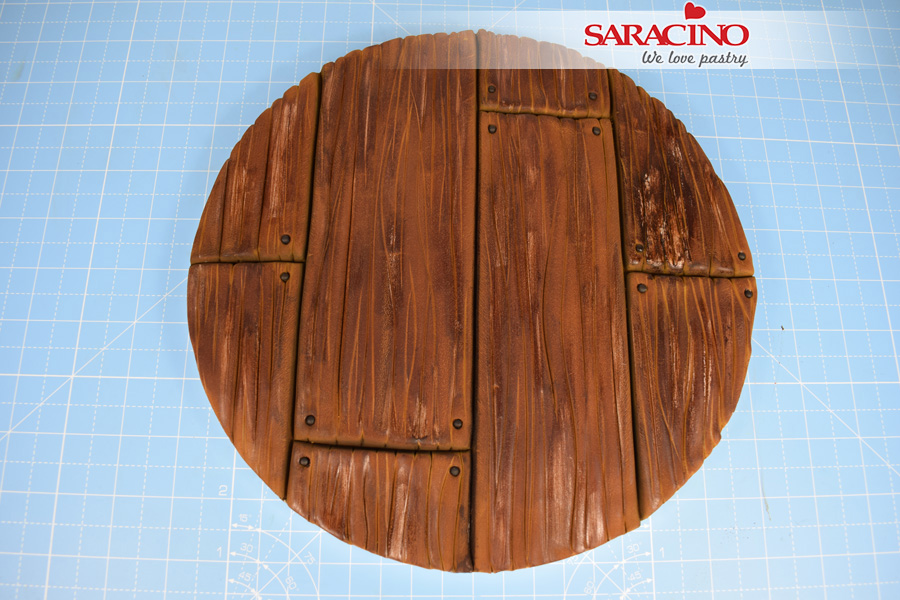
Step 25
If you remove too much colour by accident (see right hand side of board) allow the paste to dry throughly and then re dust with the brown.
