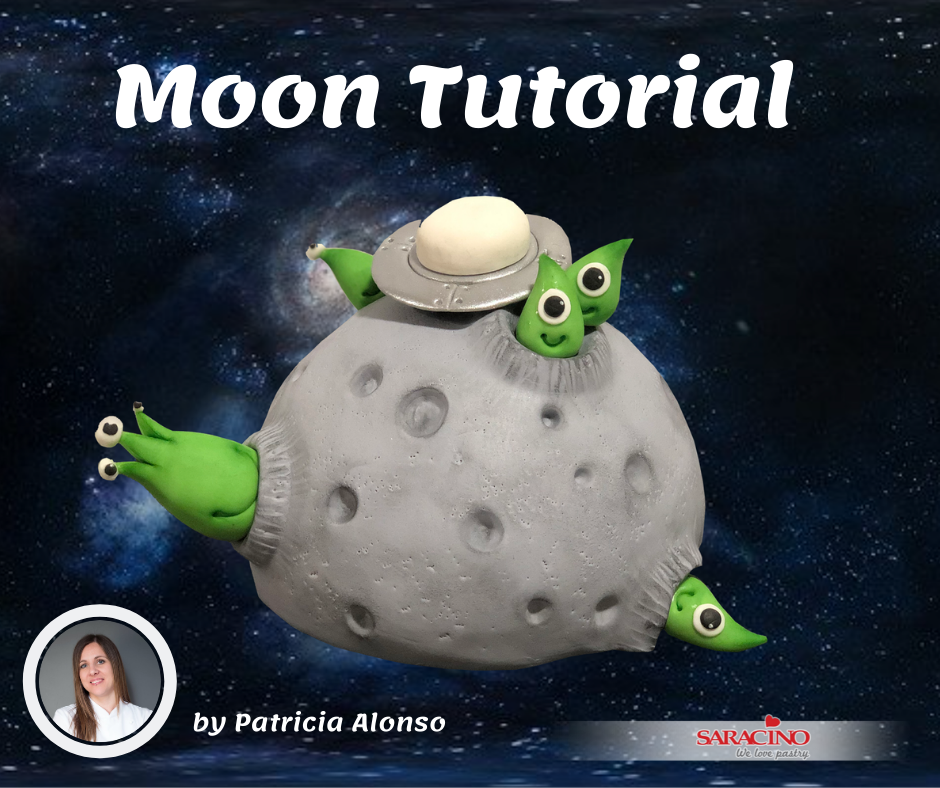
Author: Patricia Alonso

FB: La Galeteria
Skill level: BEGINNERS
TIP:
This can be made as a cake instead of a topper. All you have to do is cover the sponge with chocolate ganache and chill well in the fridge. Then you can decorate your cake as shown in the tutorial.
You will need:
- 50g Saracino green modelling paste
- 20g Saracino black modelling paste
- 20g Saracino white modelling paste
- 300g Saracino White Pasta Top
- Saracino gel colours: black and white
- Saracino powder colours: black and green
- Saracino lustre dust: silver
- Saracino cake gel
- Dresden tool
- Large and small ball tool
- Fine brushes
- 15cm styrofoam ball (cut flat at the base)
- Cocktail sticks
- Knife
- Rolling pin
- Small scissors
- Piping nozzle Nº 5
- Round plunger cutters: medium and small
- Round cutters: 2.5cm, 4cm and 6cm
- Wire brush
- Tool to make curved smile
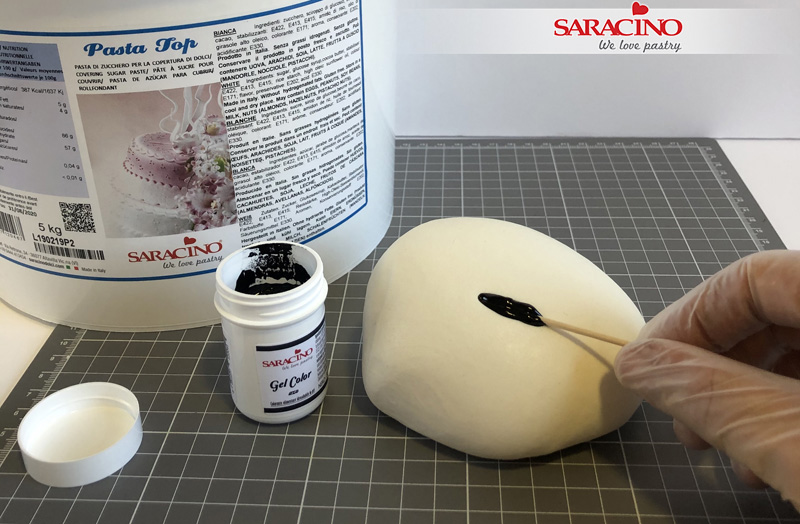
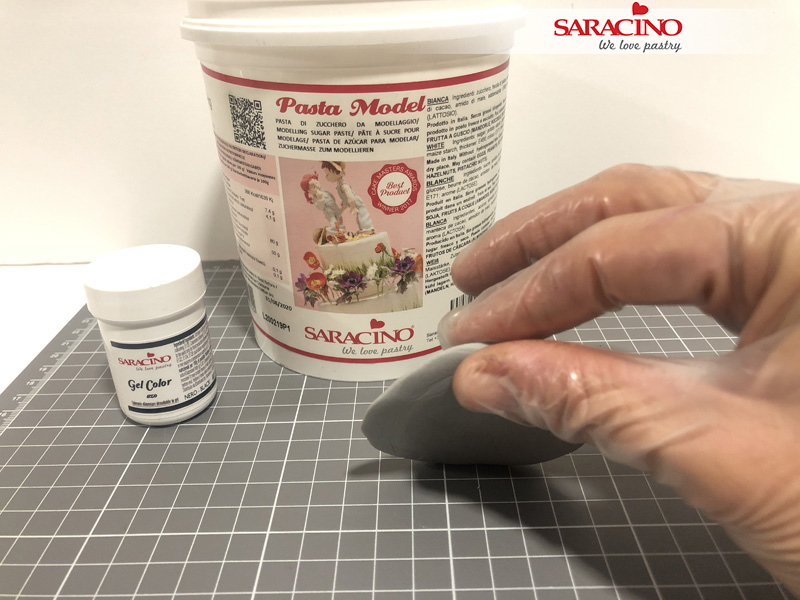
Step 1
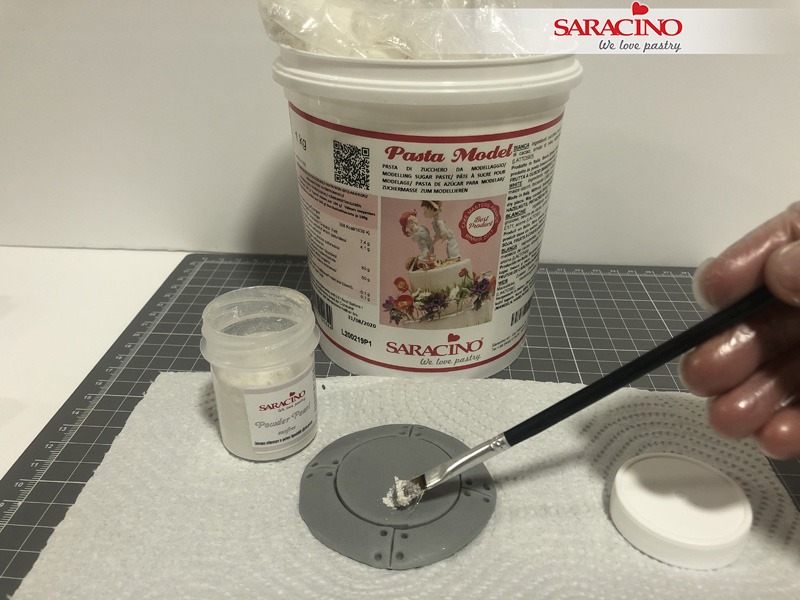
Colour 300g of Saracino white pasta top with Black gel colour. I recommend you use a toothpick to do this as you can control the amount of gel you add.
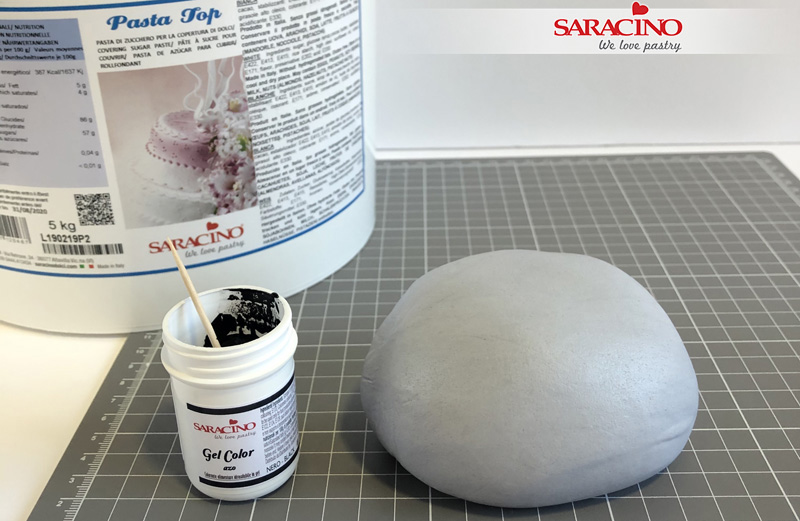
Step 2
Mix evenly to form the grey colour you require.
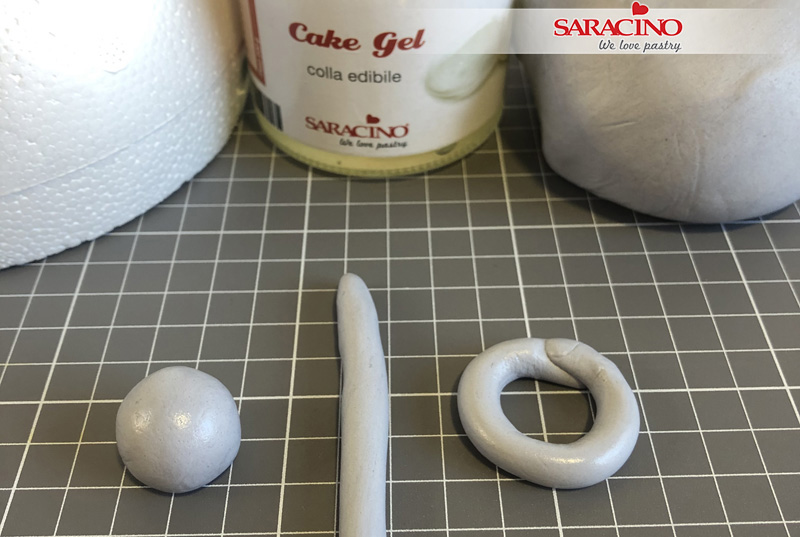
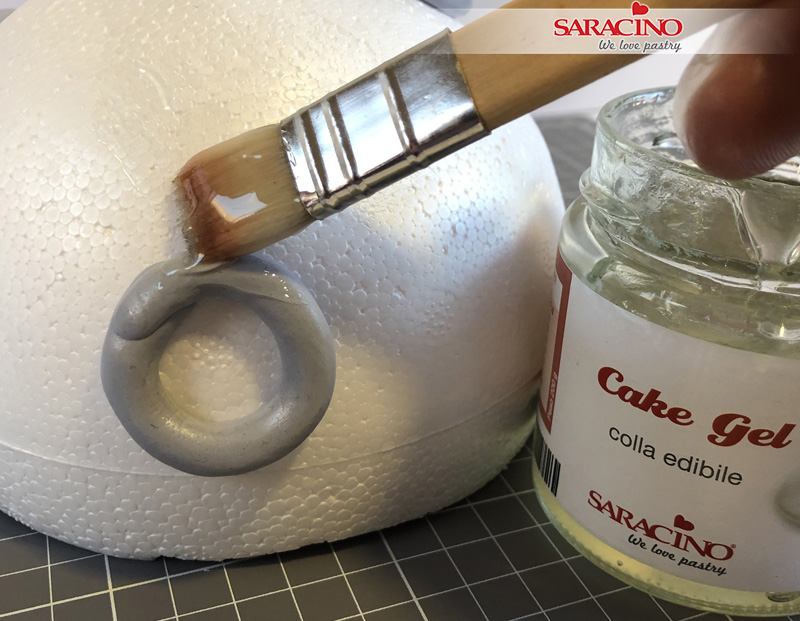
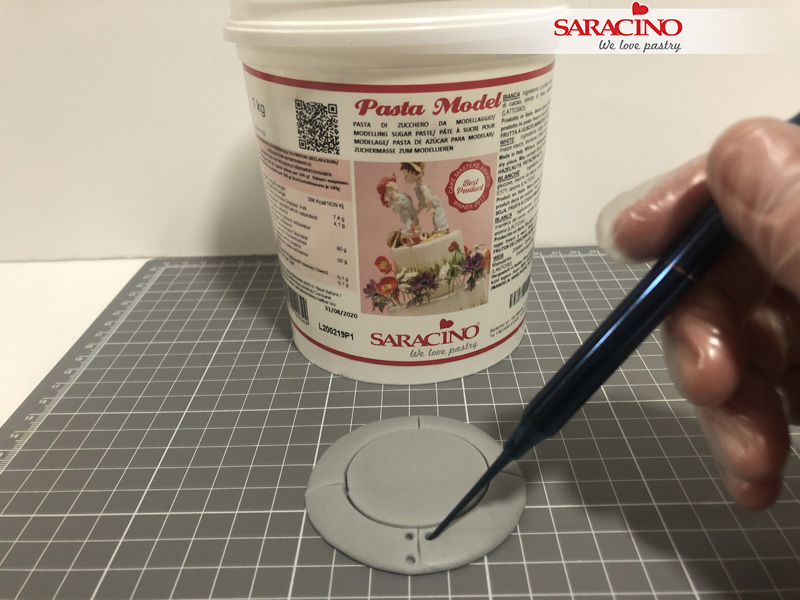
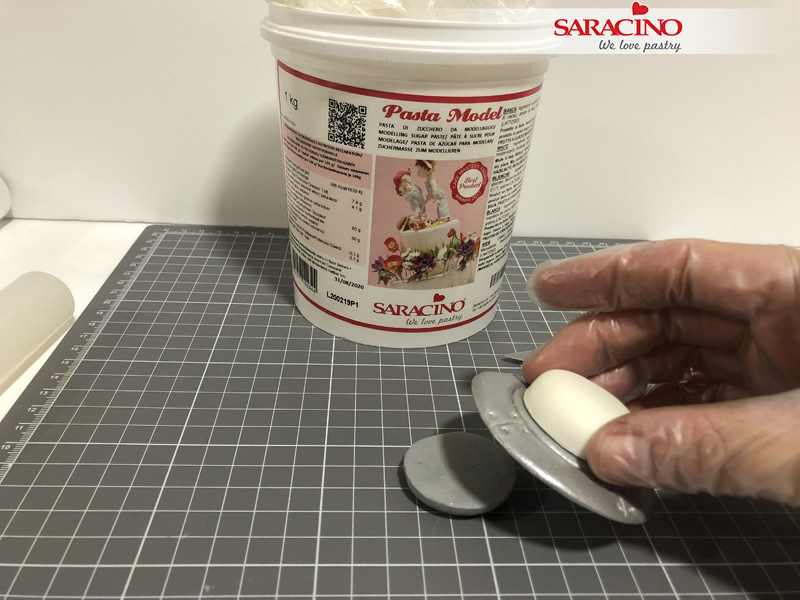
Step 3
With a small ball roll a sausage shape. Form it into an “O” shape.
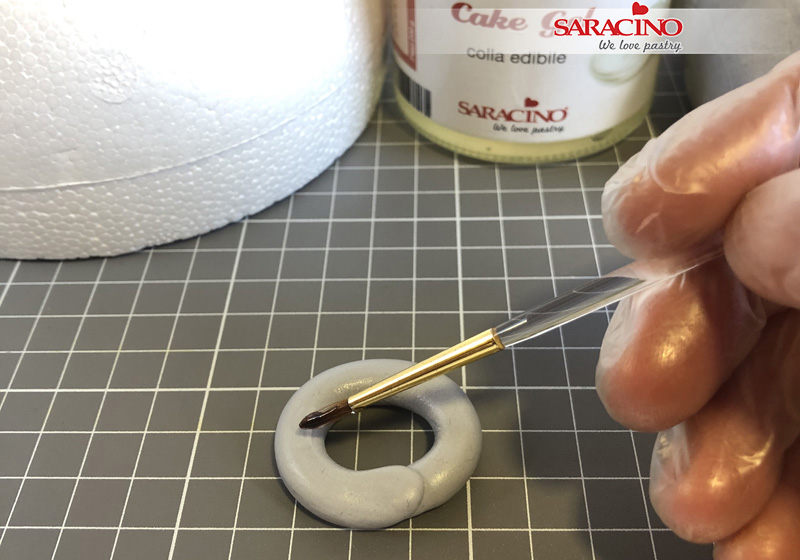
Step 4
Apply cake gel to the surface for fixing to the cake.
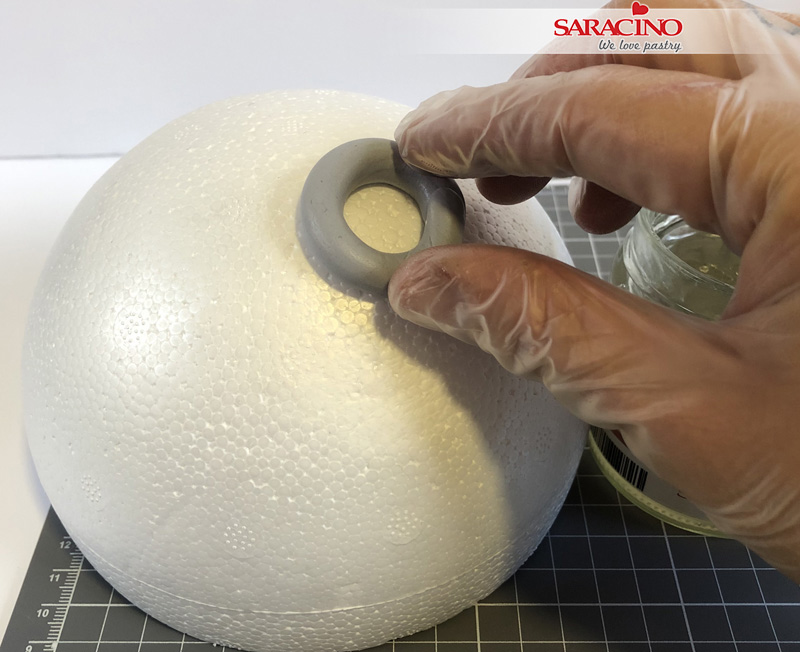
Step 5
Make as many ‘O”s as you need and fix them to the dummy.
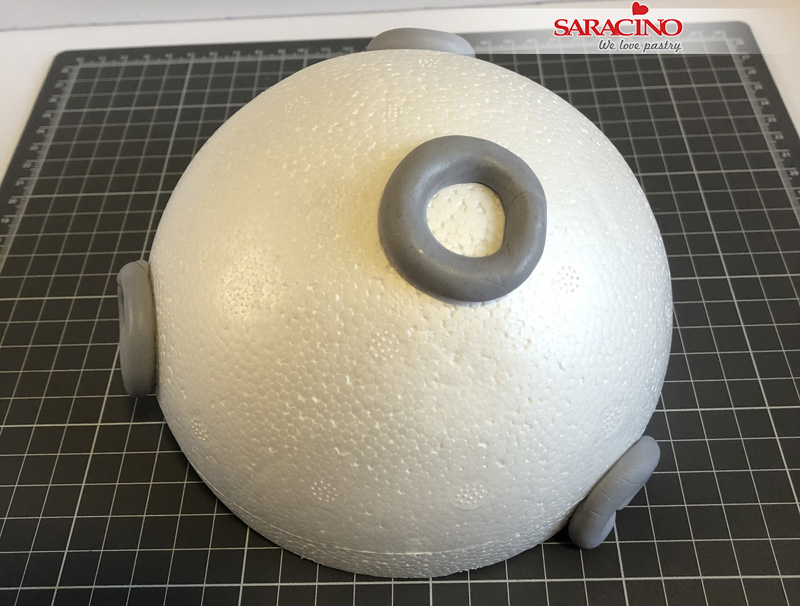
Step 6
The quantity of craters will depend on the size of your project.
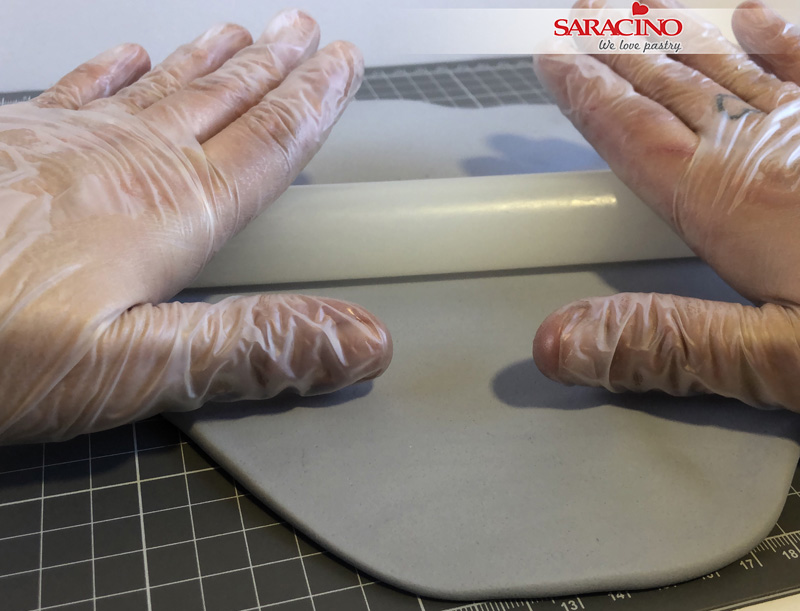
Step 7
Roll the remaining grey paste to 5mm thick.
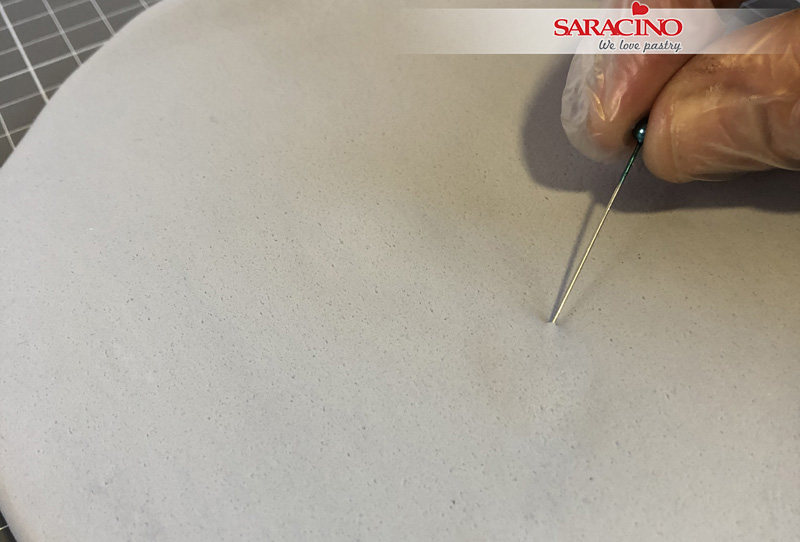
Step 8
Sometimes when mixing paste air bubbles are formed. If you see any when rolled out you can pop them with a sharp pin or needle.
Step 9
Paint the surface with Cake Gel.

Step 10
Cover with the rolled fondant.
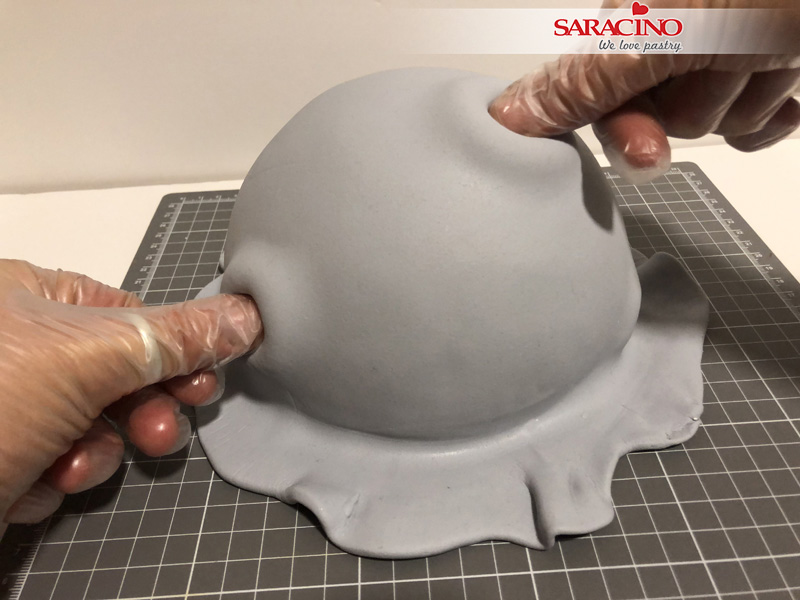
Step 11
Use your fingers to form the craters.
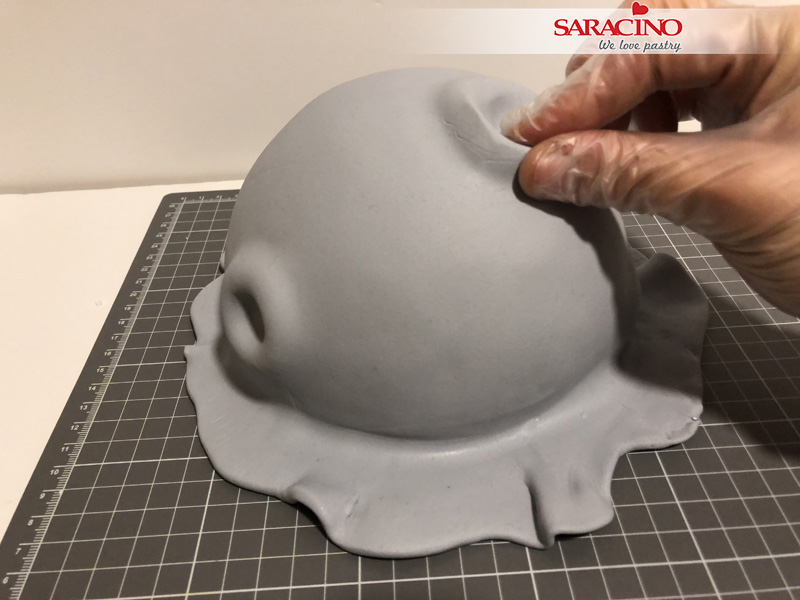
Step 12
Use your fingers to give the edges of the craters shape and definition.
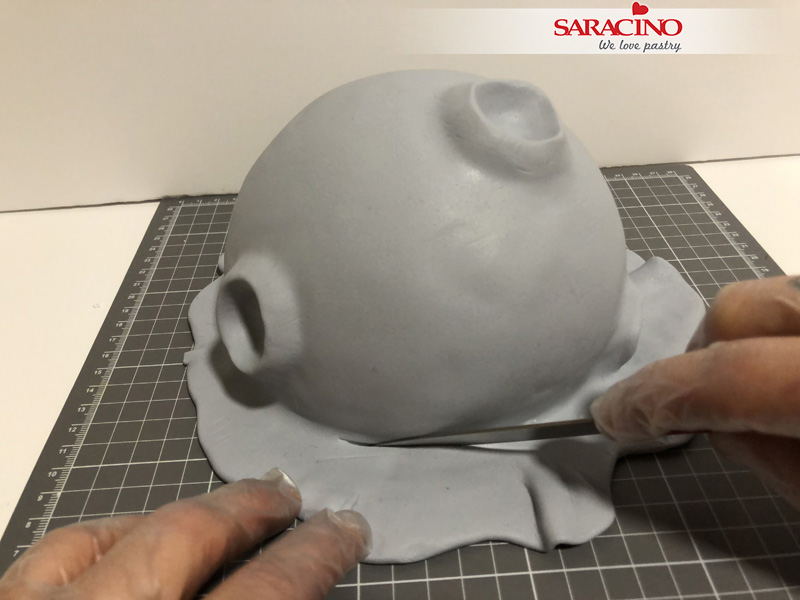
Step 13
Cut off the excess pasta top.
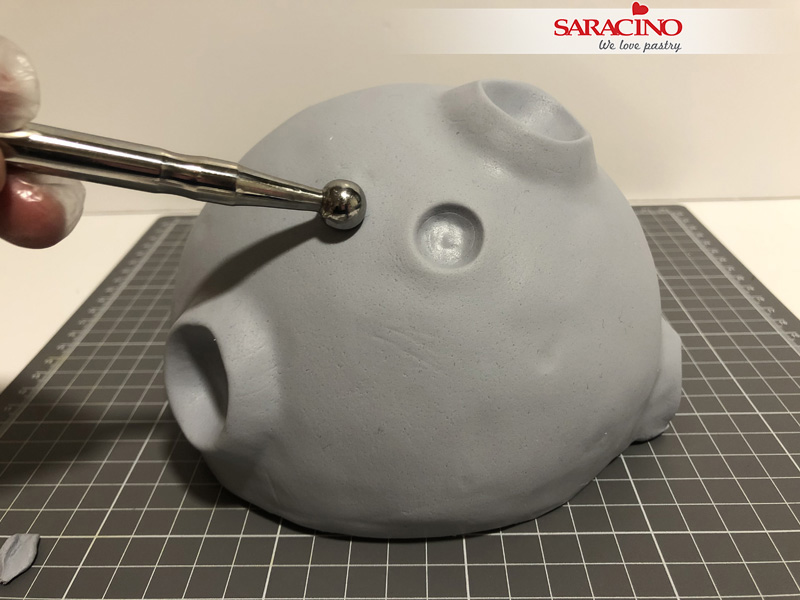
Step 14
Form smaller craters with a large ball tool.

Step 15
Form smaller craters with a medium ball tool.
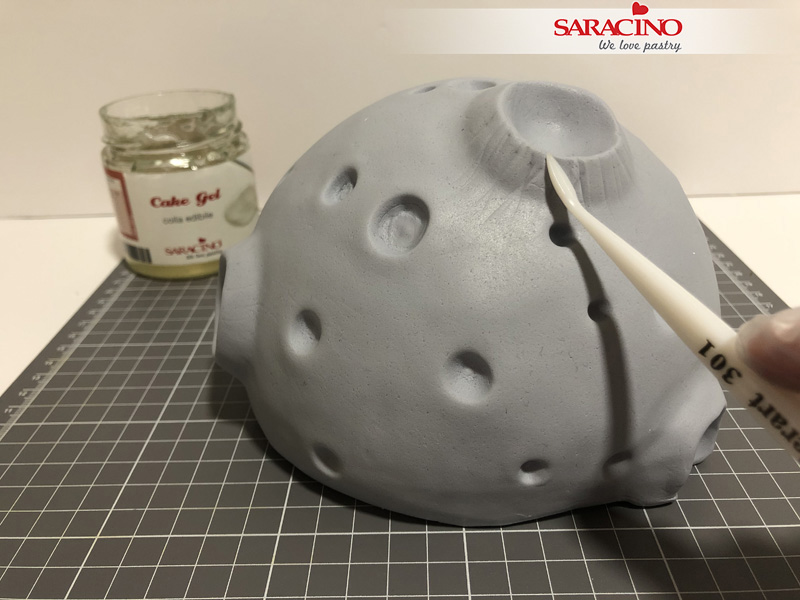
Step 16
Using your Dresden tool give definition to the edges of the craters.

Step 17
Using your wire brush use gently to give a textured finish to the planet surface.
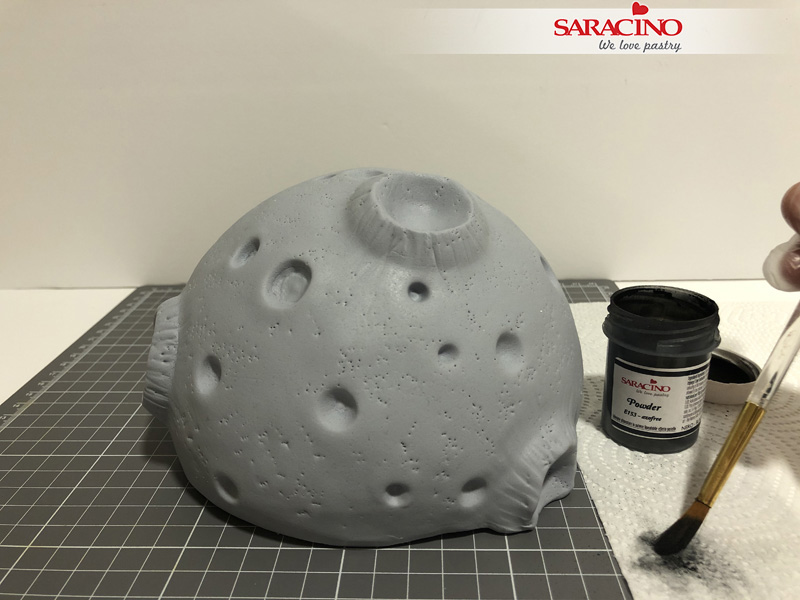
Step 18
Using a thick brush highlight areas of the planet with black powder colour. Remove any excess powder from your brush using a paper towel.
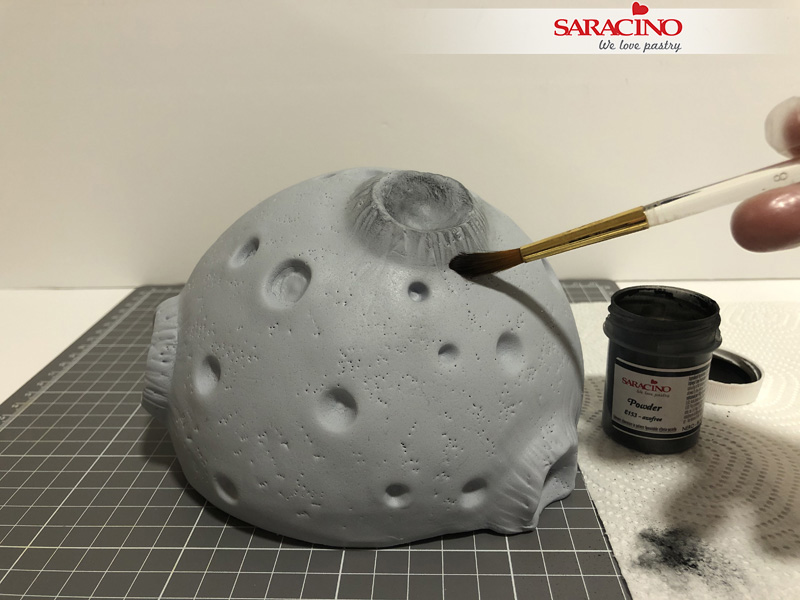
Step 19
Blend the powder colour to give shades.
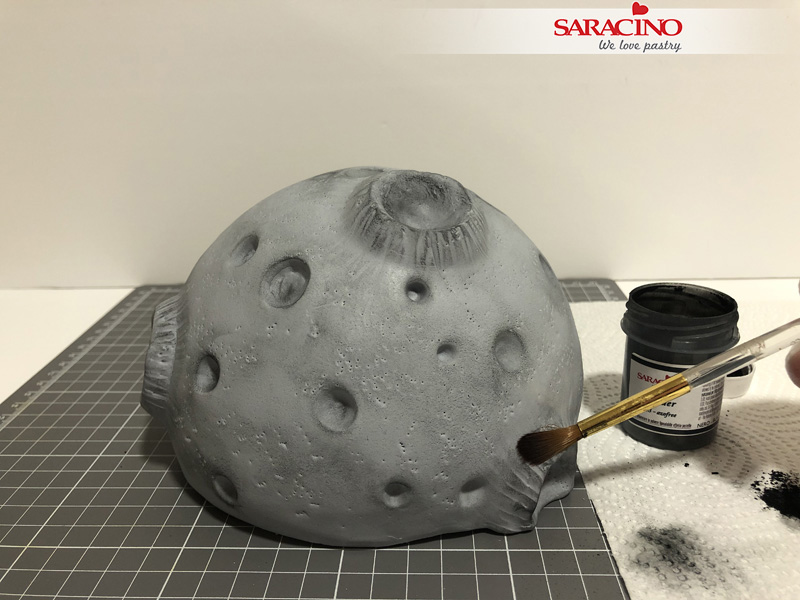
Step 20
Repeat this over the whole of the planet surface.

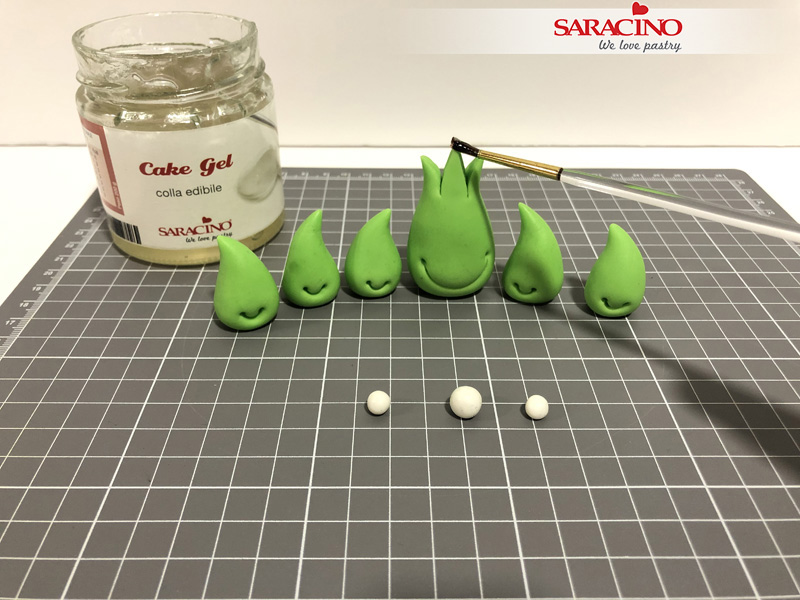
Step 21
Using your green modelling paste form small balls and create tear shapes using finger pressure.
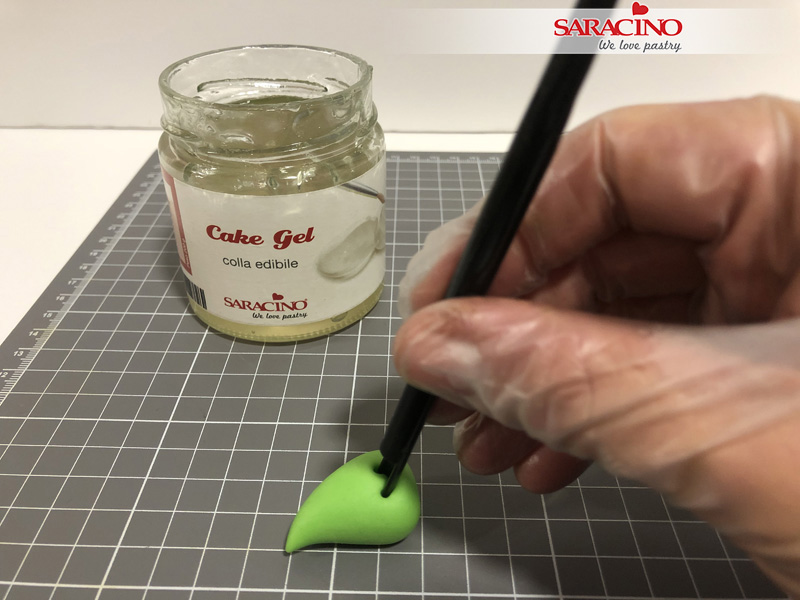
Step 22
Mark the smile with the smile tool.
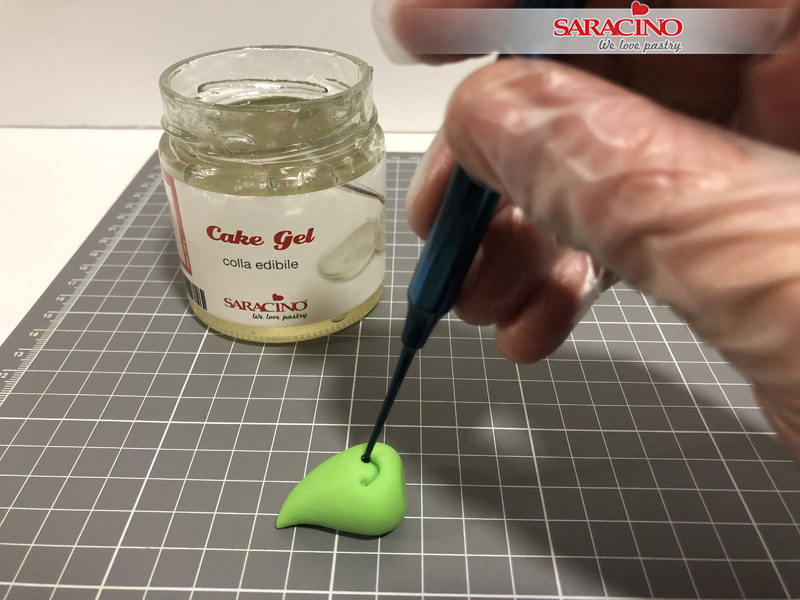
Step 23
Mark the corners of the mouth with a small ball tool.
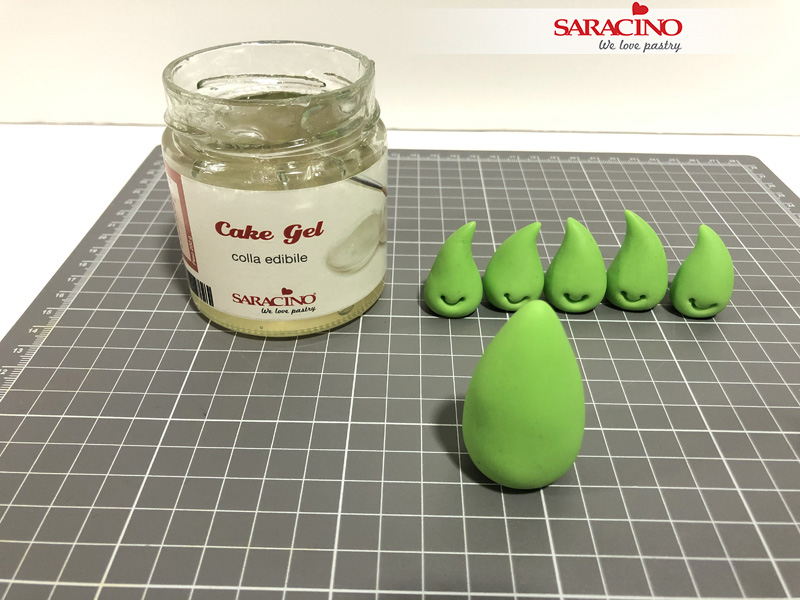
Step 24
Form a bigger tear shape.
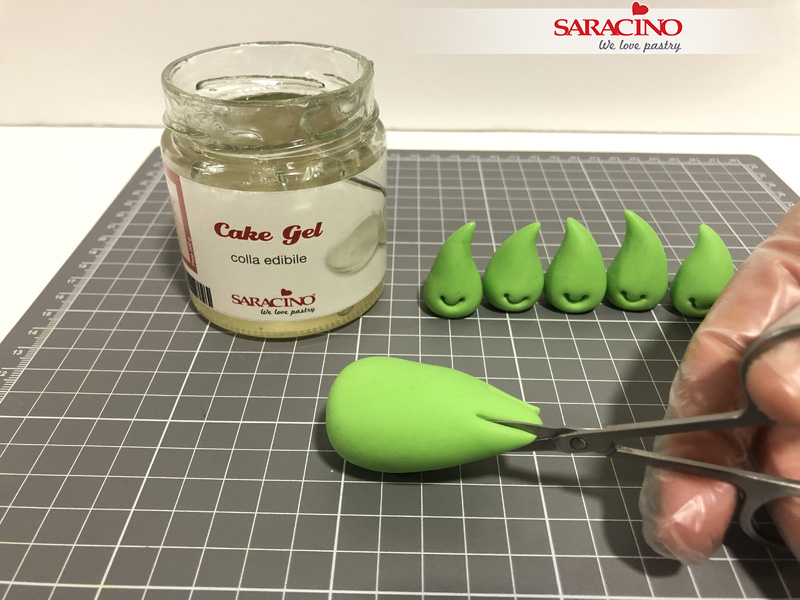
Step 25
Cut the thin end into 3 parts with scissors.
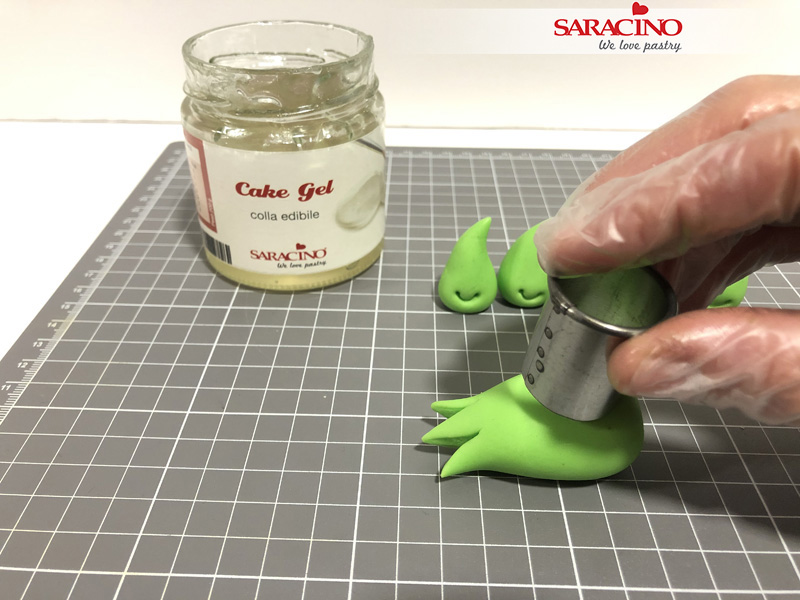
Step 26
Using a section of the 2.5cm round cutter form a mouth.
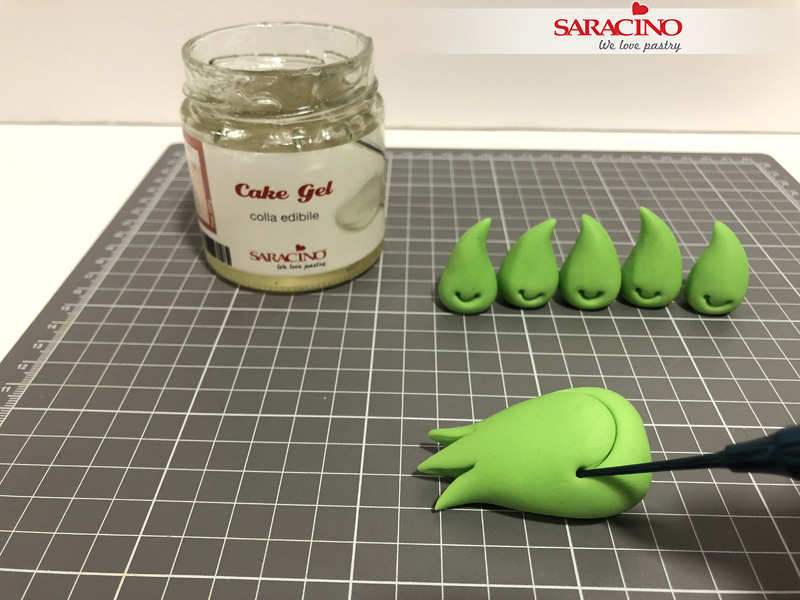
Step 27
Mark the corners of the mouth with a small ball tool.
Step 28
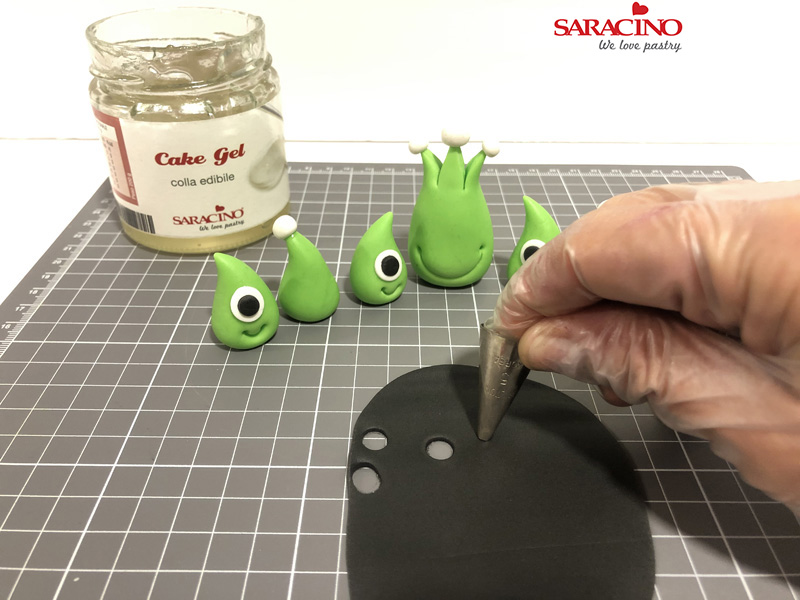
Apply Cake Gel on the ends that will have ball-shaped eyes.
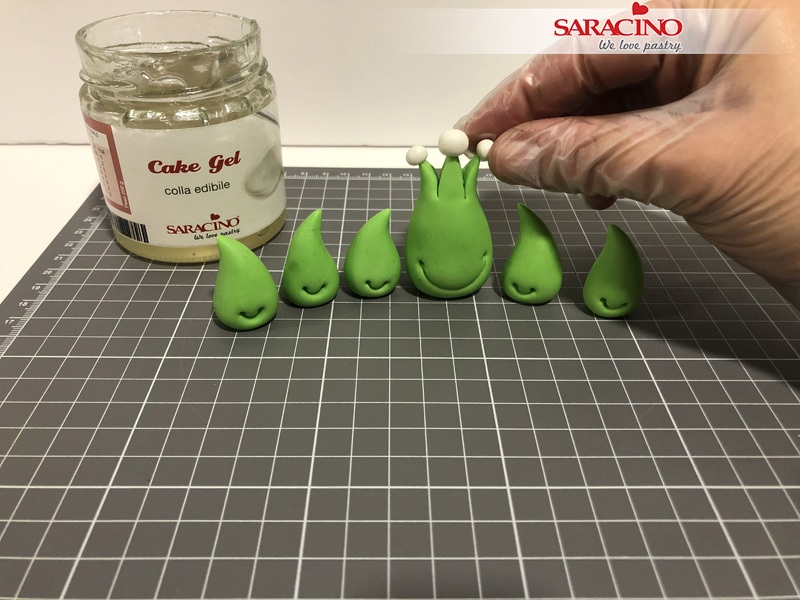
Step 29
Form and glue little balls to the ends. Make the eyes the size you would like to see.
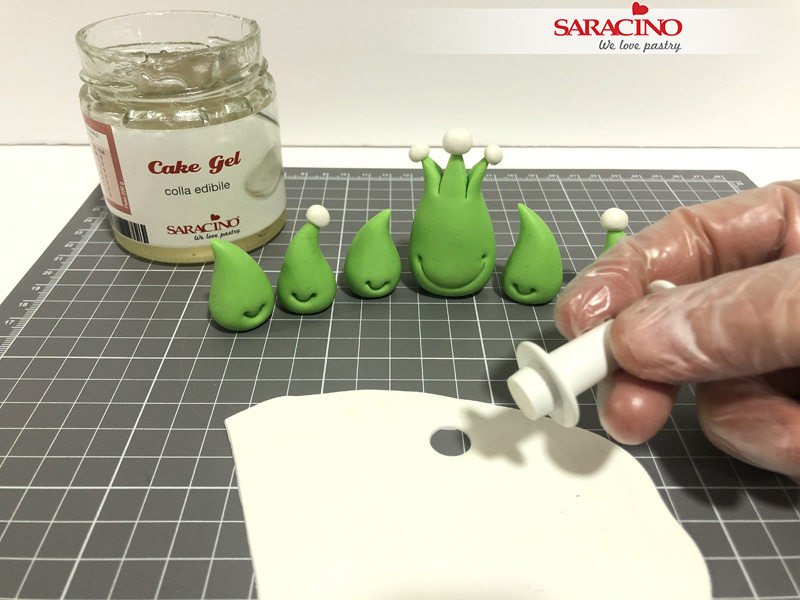
Step 30
Roll some white modelling paste and cut circles with the medium plunger cutter.
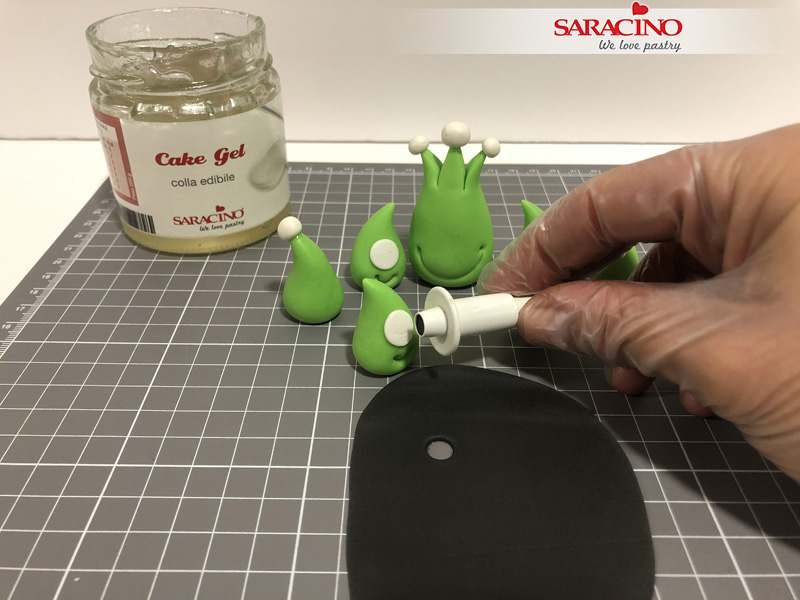
Step 31
Roll some black modelling paste and cut circles with the small plunger cutter.
Step 32
Using the piping nozzle cut some small circles for the smallest pupils.
Step 33
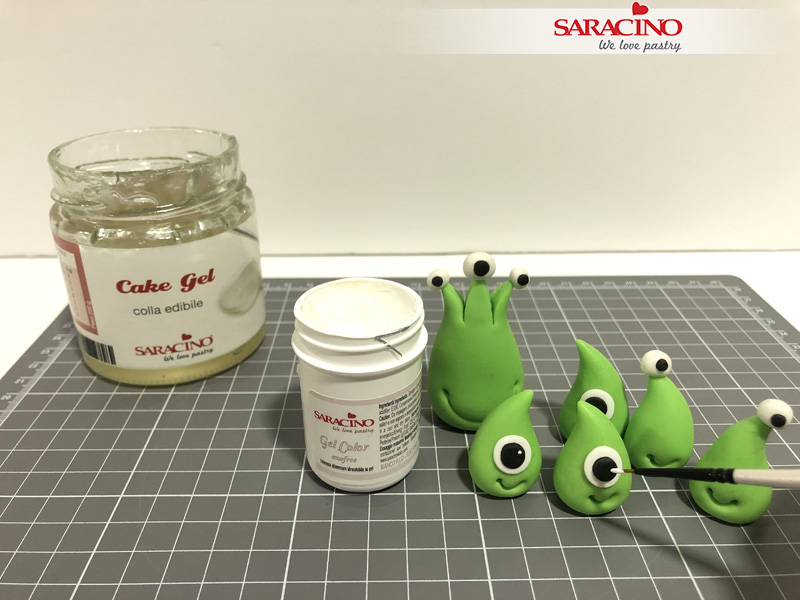
Paint a small dot on the pupils with a fine brush and white gel colour.
Step 34
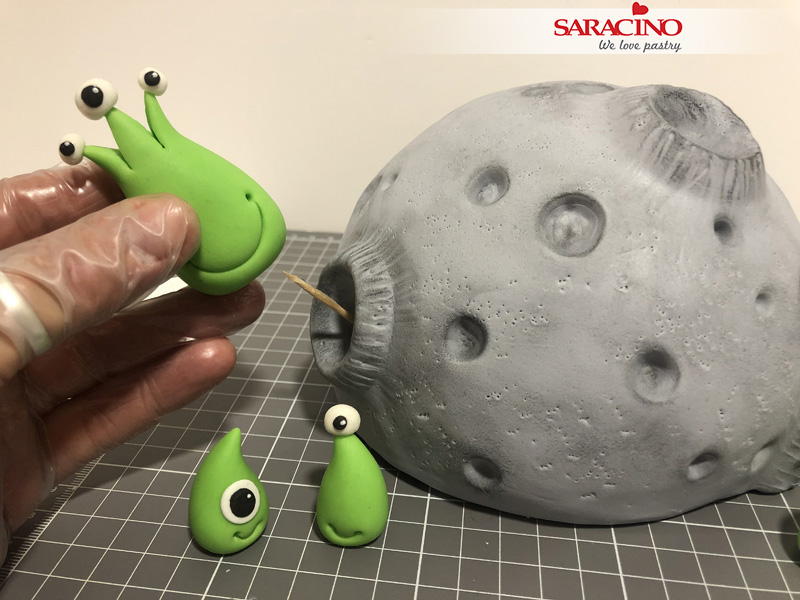
Fix the heaviest aliens into the craters with a toothpick and Cake Gel.
Step 35
Apply a small amount of Cake Gel to the base of the smallest aliens.
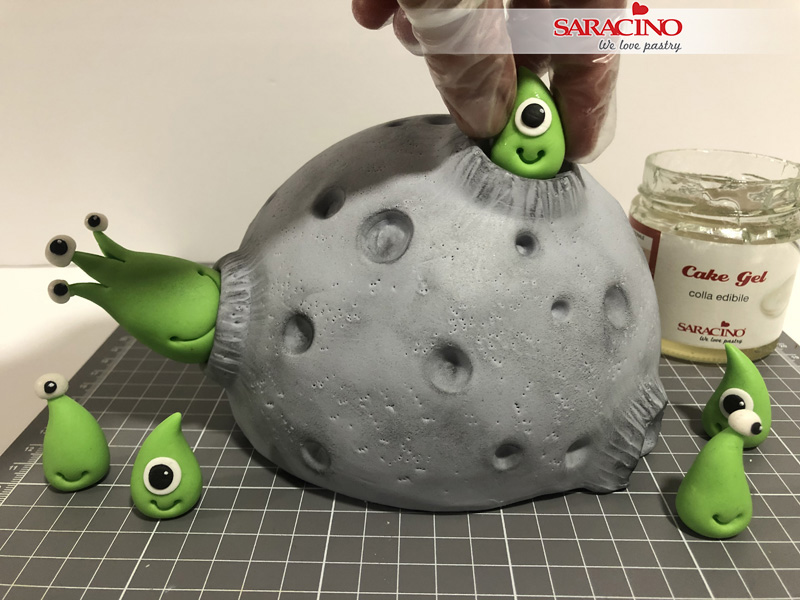
Step 36
Fix them into the craters.
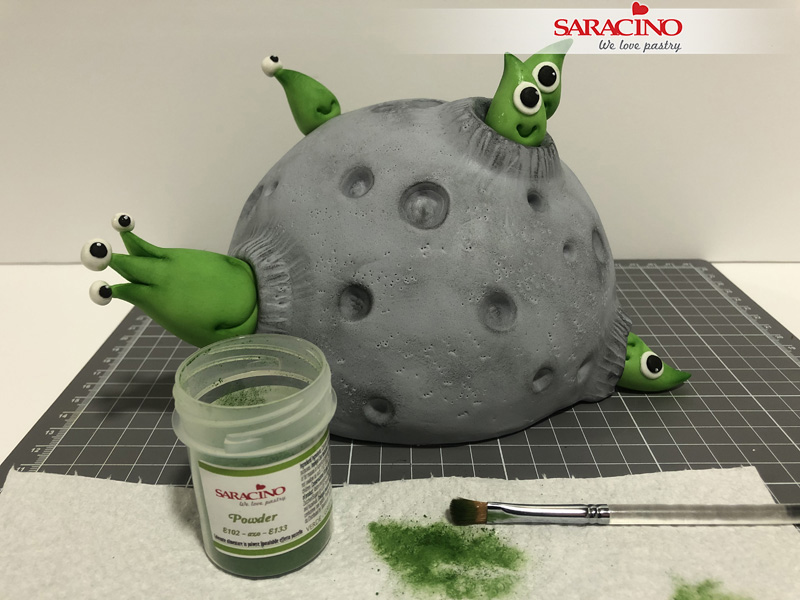
Step 37
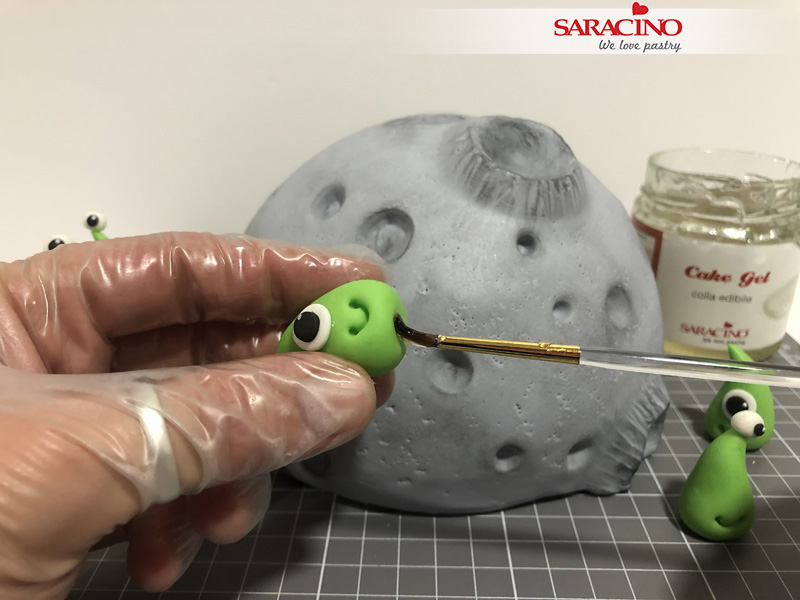
Using green dust colour highlight the aliens to give them shade and definition.

Step 38
Mix white modelling paste with black gel to achieve a grey colour. Roll to 4mm thick and cut out a 6cm circle.
Step 39
Pinch the edge with your thumb and index finger to give it a narrow edge.
Step 40
Using your circle cutter, knife and small ball tool mark the detail onto the disk.
Step 41
Using a dry brush dust with silver lustre colour.

Step 42
Roll white modelling paste to 1cm thick. Place a layer of cling film on top. Cut a 4cm circle over the cling film so it stretches and forms a nice dome shape.
Step 43
Glue the top dome to the bottom space ship disk.
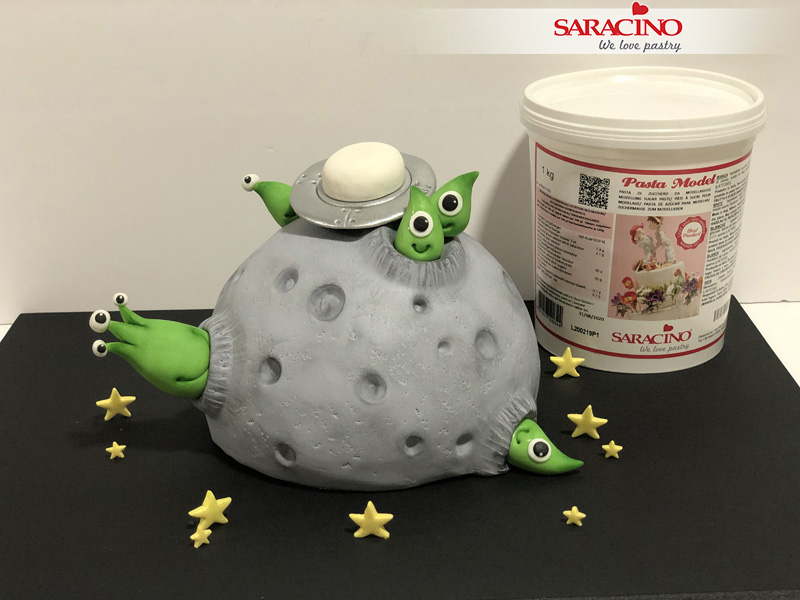
Step 44
Fix the UFO onto the planet.
