
FB: CALLI CREATIONS
Skill level: BEGINNERS
FROM CALLI:
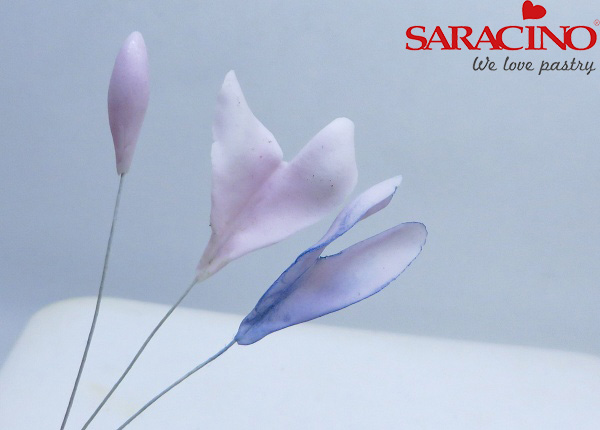
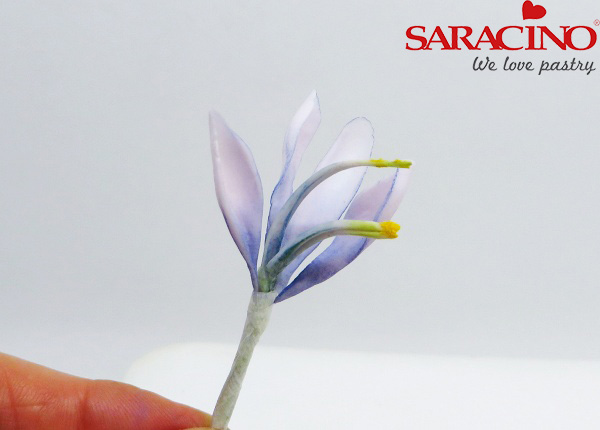
I’ve made up the flower as near to nature as possible, but used artistic licence so not botanically accurate.
I made three stamens (two joined with one behind it) . The petals sit as follows: Two tear drop petals either side of stamens, with a larger one at back of flower and a cupped one in the front.
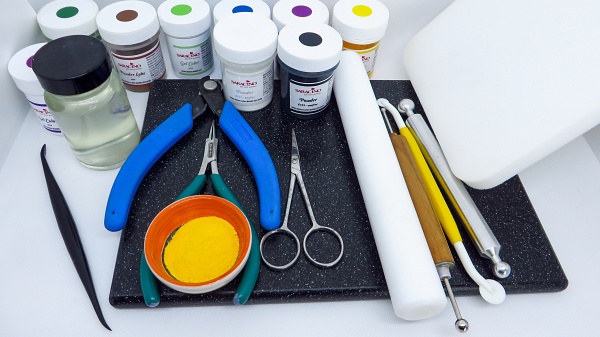
You will need:
- Saracino Flower Paste
- Saracino Colour Dusts (purple, red, blue, white, yellow, green, brown)
- Saracino Colour Paste (green, purple)
- Florist Wires (30, 28, 22)
- Florist Tape (Light Brown and White – ¼ inch)
- Semolina
- Edible Glue
- Cornflour for dusting
- Balling tool
- Non stick rolling pin (I use 9”)
- Cel Pad
- Cel Board
- Dresden tool or cutting wheel
- Paint brushes (Flat for dusting (size 2 – 4 and one fine line brush [eg 000 size])
- Small daisy cutter (I used tinkertech brand metal)
- Wire Cutter
- Kitchen Roll
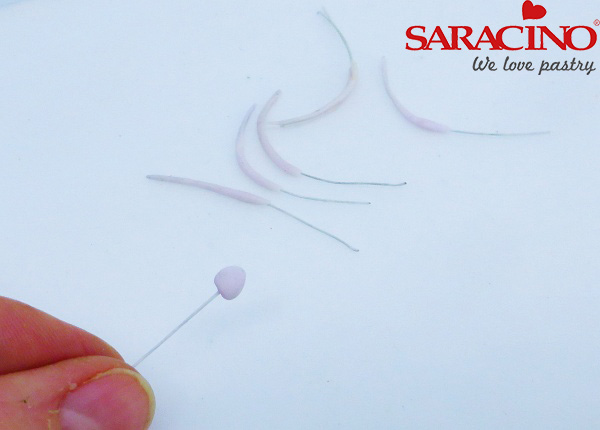
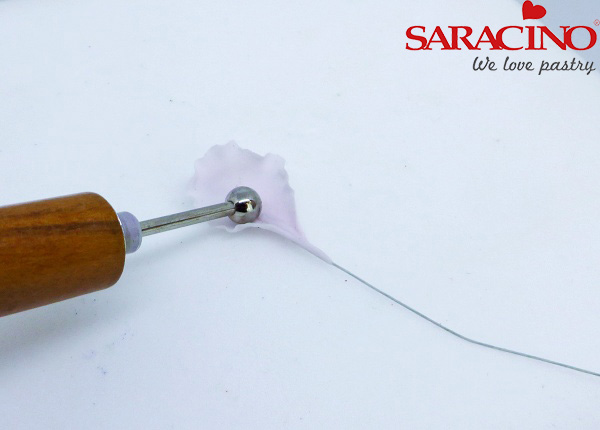
Step 1
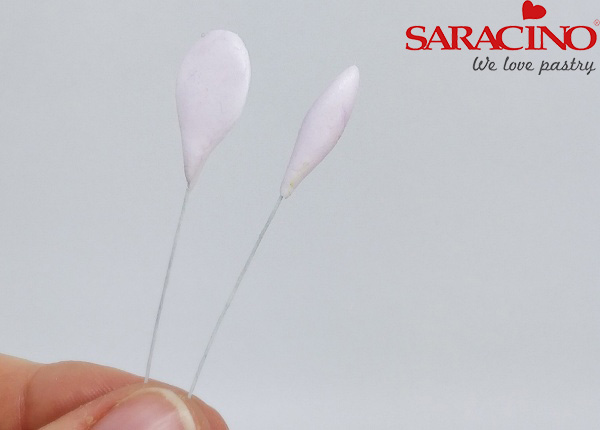
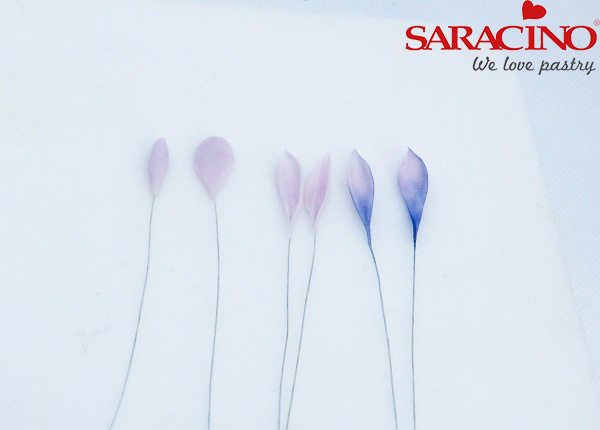
Roll out a small ball of premixed pink flower paste onto a 30 gauge wire
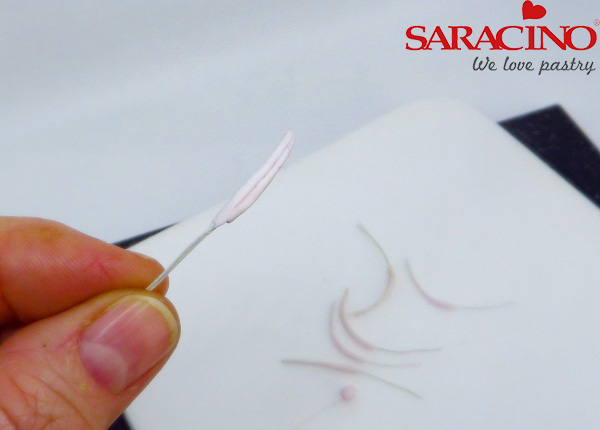
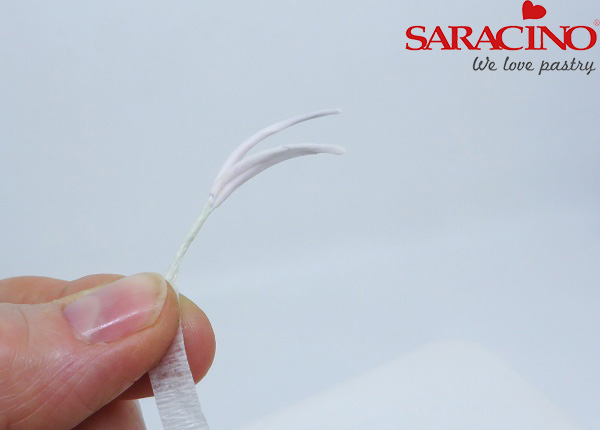
Step 2
Using a twisting movement downwards between fingers, spread the paste down the wire about a 1.5 centimeter with it thinner at top. Make two of those and one slightly longer. Curve slightly over finger and leave to dry. Stick the two shorter ones together and make sure the point meet at top.
Step 3
Tape the longer one over the back, with white tape

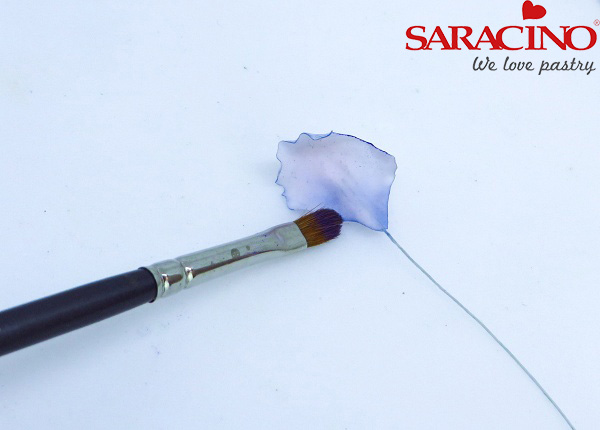
Step 4
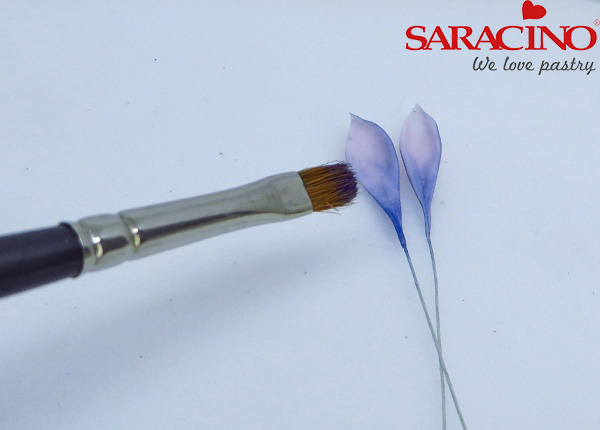
Dust with a light dusting of purple and white mix dusts
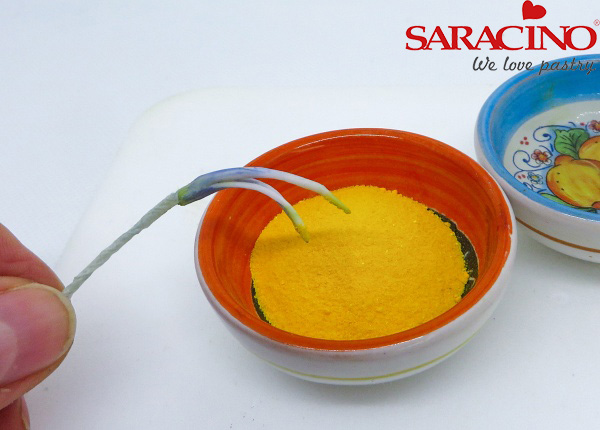
Step 5
Mix semolina and yellow dust colour to make pollen. Dip the end of the double stamen into edible glue, then into pollen and leave to dry
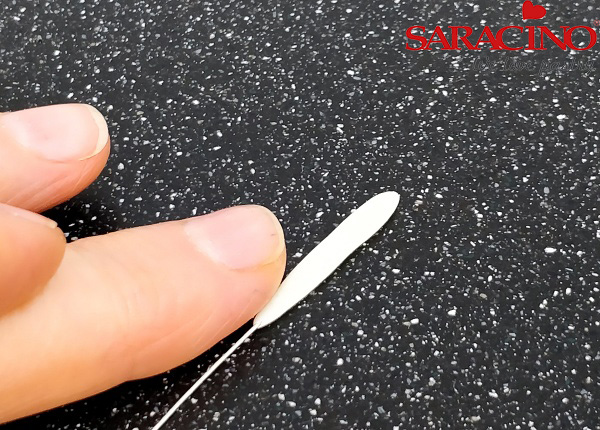
Step 6
Back Petal: Place a small ball of pale pink paste onto a 30 or 28 gauge wire. Roll paste between fingers to taper into a teardrop shape. Make as many as you require.
Step 7
Roll the tear drop out into a large petal on your board, and using small sharp scissors, cut a v shape at the top in the middle and using the ball tool on the centre of each side, at back of petal, to help it curve outwards
Step 8
Brush lightly with purple/white mix colour dusts.
Step 9
Tape to back of stamens
Step 10
Two side petals: Repeat same process at the back petal, but using a slightly smaller ball of paste onto a 28 or 30 gauge wire . Make 2 petals
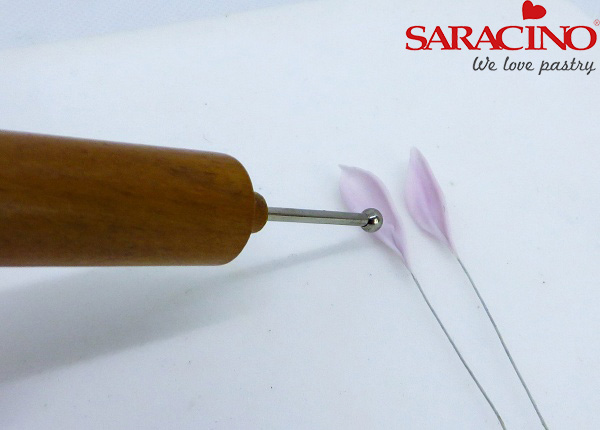
Step 11
Using a ball tool, spread out to thin either side and upwards, keep the point at tip
Step 12
Dust very lightly with purple and white mix, keeping it slightly darker at base.
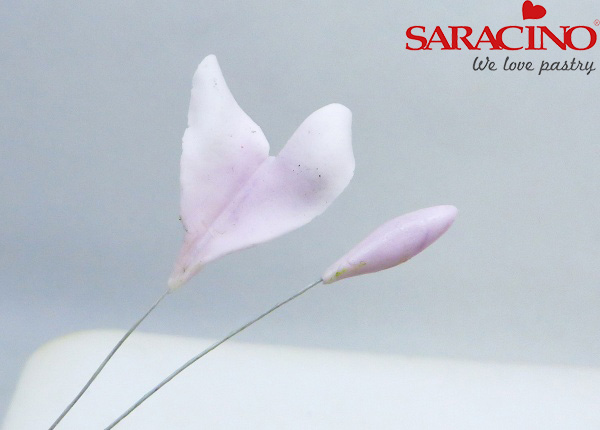
Step 13
Your petal should look like this.
Step 14
Tape, with white tape, to either side of stamens.
Step 15
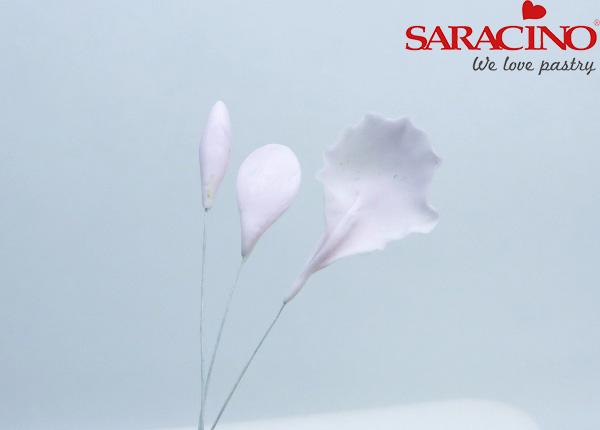
Front petal:Same as before, roll out a ball of pink paste (about same size as back petal) onto a 28 or 30 gauge wire
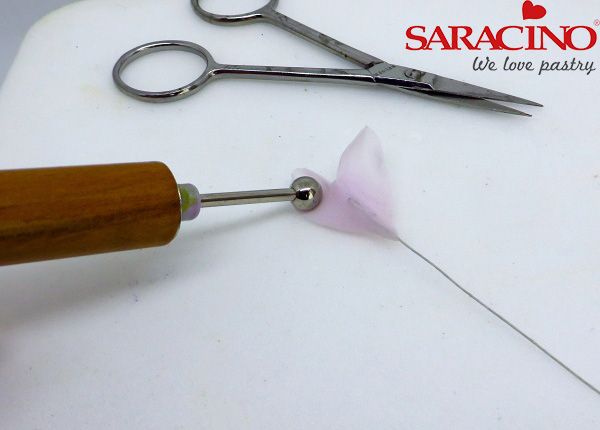
Step 16
Then ball out into a round cup shape, thinning the edges. Place ball of tool in centre to help it form cup shape.
Step 17
Dust lightly as previous petals.

Step 18
Take a very thin fine line brush and create a soft mottled effect, at base and centre of petal, with colour mixed with a little water

Step 19
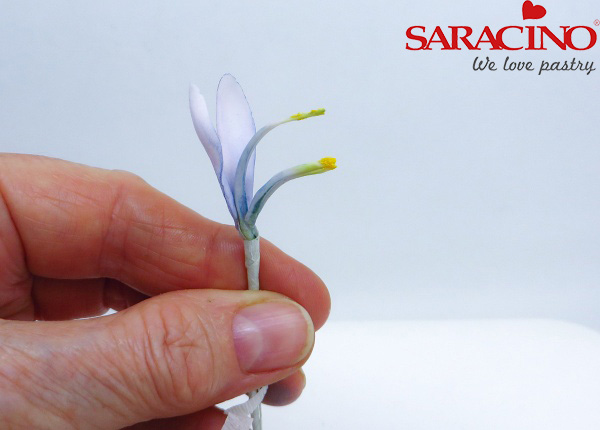
Tape onto front of flower with cup facing upwards. Your flower is now complete

Step 20
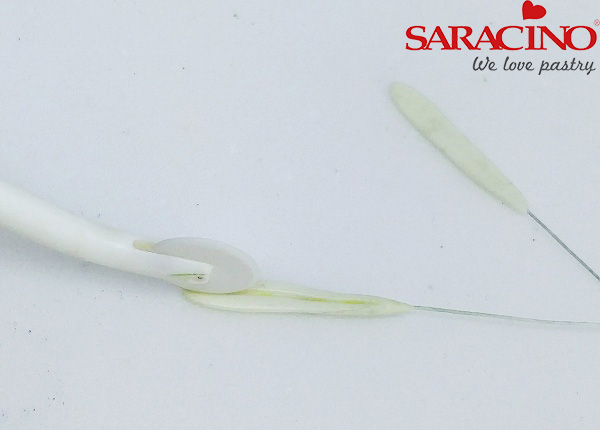
Rosemary leaves – You will need to make a lot of these ( depending on how much you need to use). I used about 50-100 various sizes as you will see the rosemary sprig is varied.
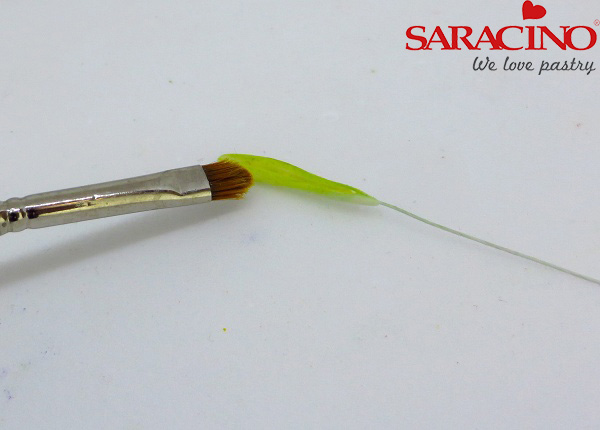
Place a small ball of pale green paste onto a 30 gauge wire and taper between the fingers down the wire to form a long tear drop.
Step 21
Place onto your cel pad and gently press with your finger to flatten
Step 22
Form a middle vein by rolling up the centre, gently, with a cutting wheel. You could also use a dresden tool to do this.
Step 23
Dust with pale green first (I mixed a little green into yellow).
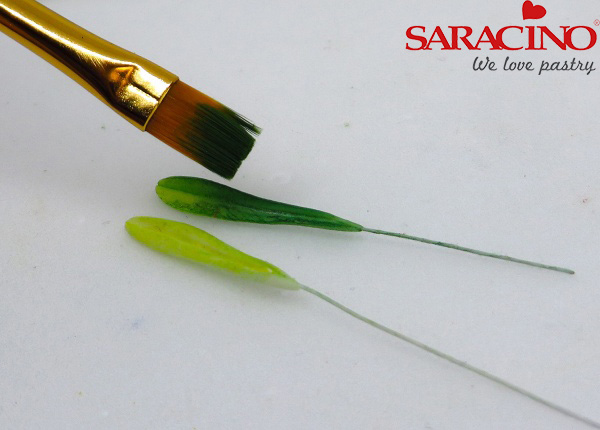
Step 24
Then colour dust with a darker green (I mix a little brown and blue into the green) keep it lighter at the tips and no need to dust the back as leaves are lighter at the back.
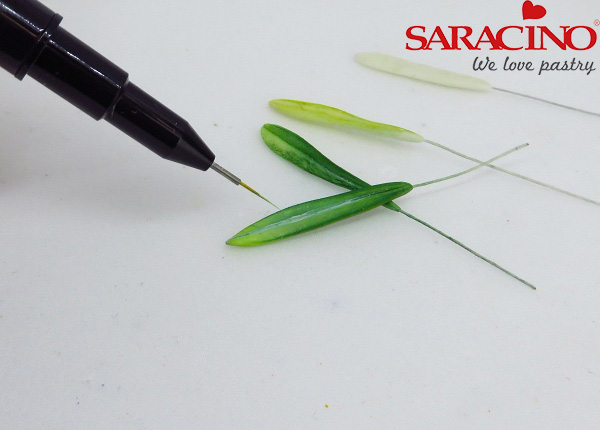
Step 25
WIth the fineliner brush with a little white that’s been mixed with a little water, paint a line down the centre. I put some onto the edges as well, just here and there
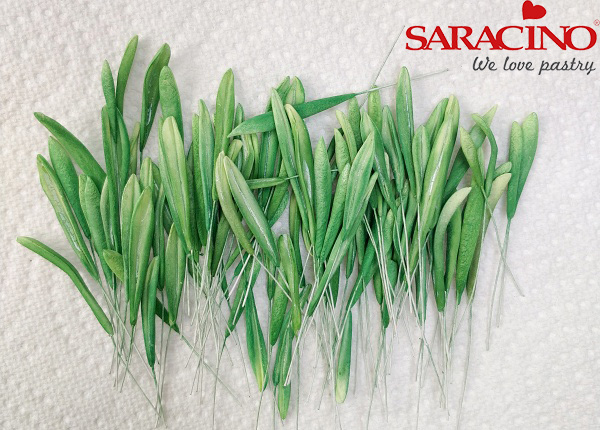
Step 26
Make a lot of leaves, all different sizes.
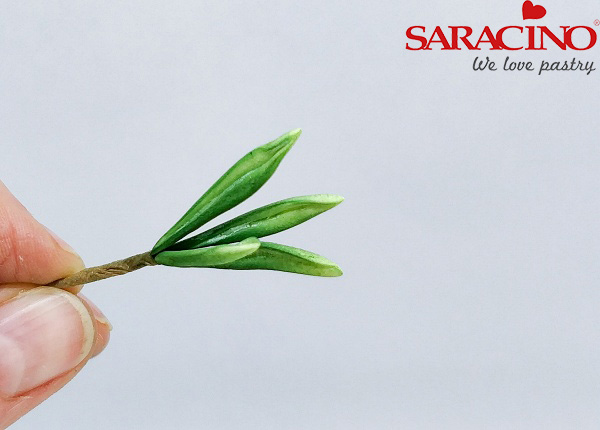
Step 27
Group leaves with brown tape.
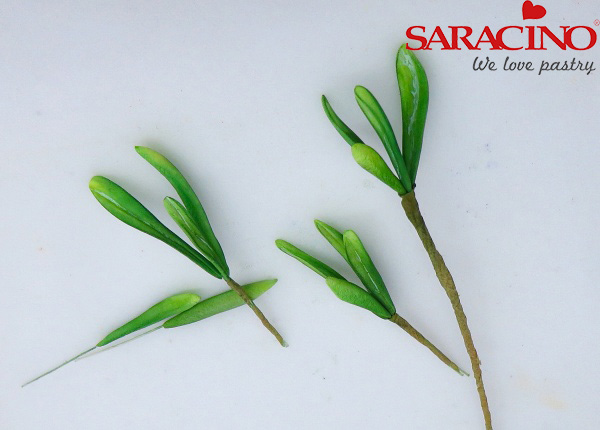
Step 28
Leaves should be grouped in various sizes and numbers

Step 29
Start with a small sprig of leaves at top of taped full wire, then work your way down the wire with single as well as groups of leaves
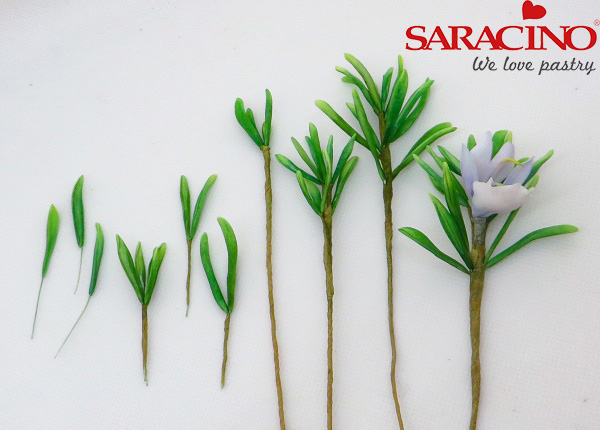
Step 30
Add the occasional blossom as you go down.
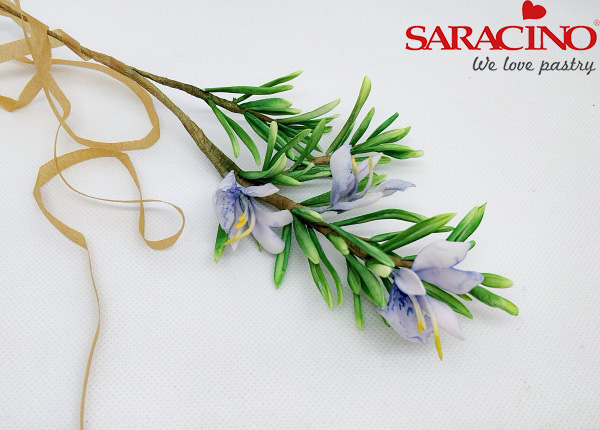
Step 31
Tape a few short branches to main one.
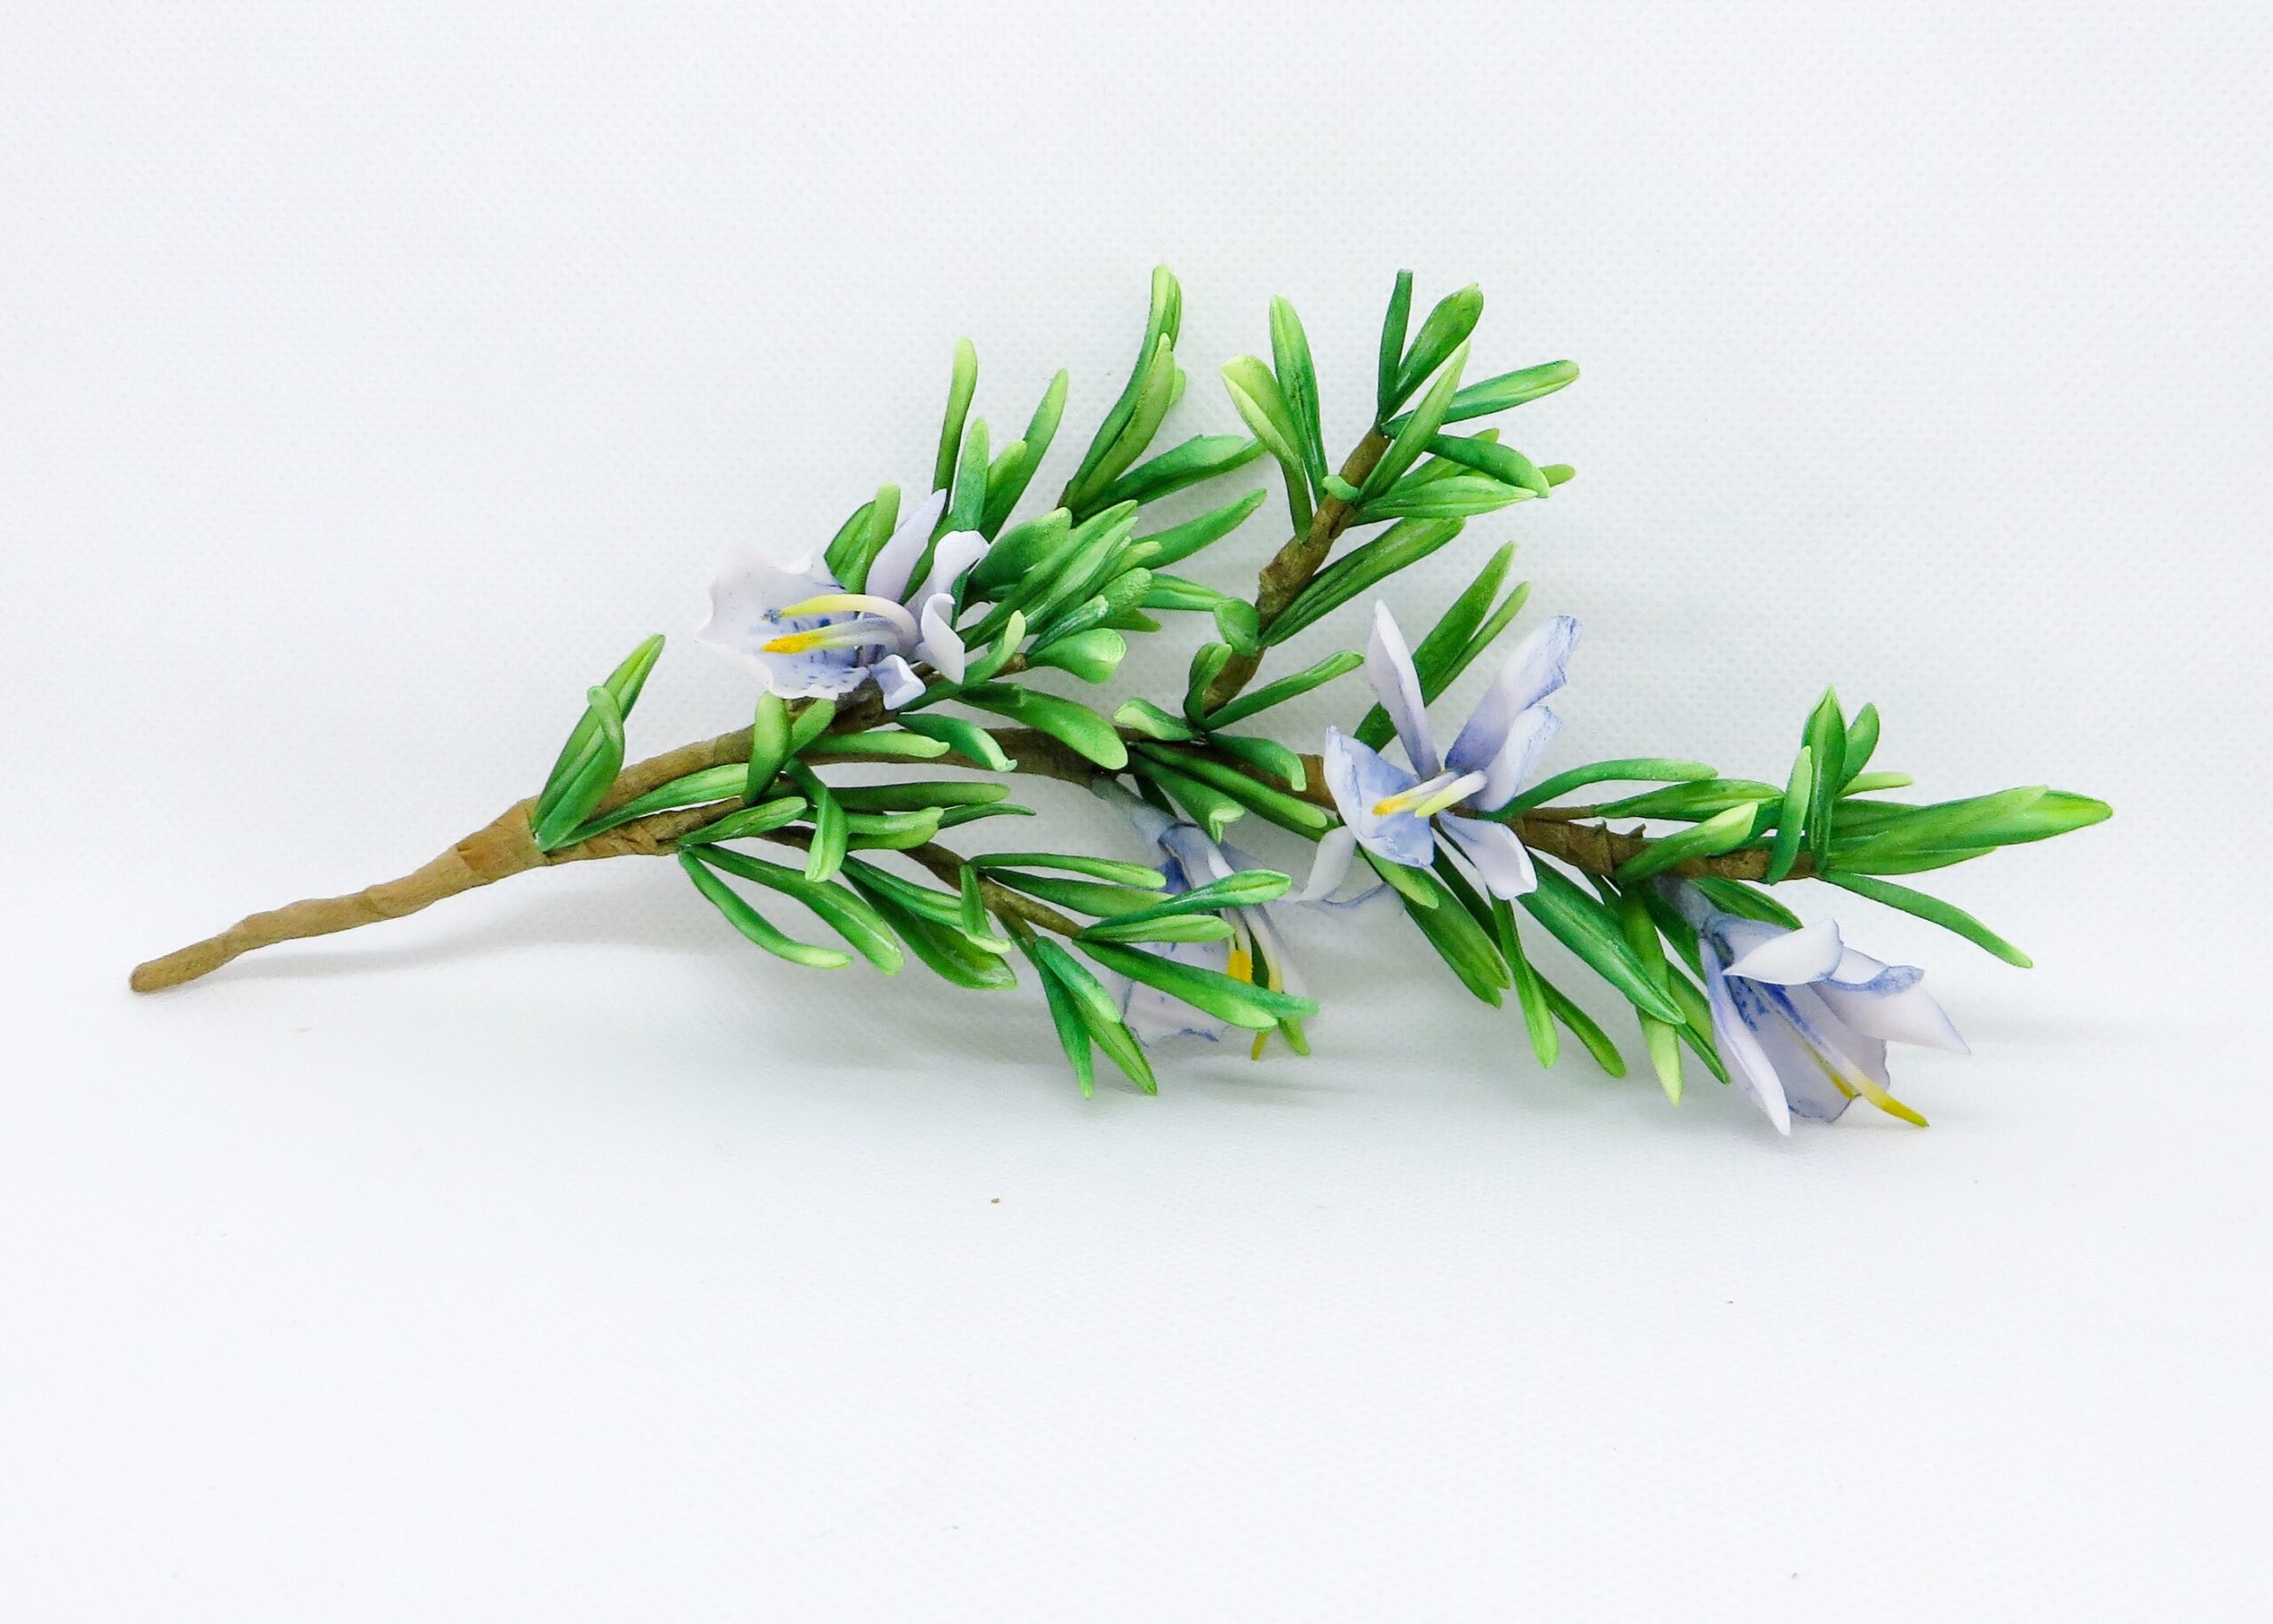
Step 33
Here is completed rosemary sprig with blossoms
