You will need:
- Non stick board
- Small rolling pin
- Edible glue
- Exacto knife
- Dresden tool
- Point tool
- Small flower foam base
- Tapered point colour sharper No 0
- Small ball tool
- Fine brush (No 5/0)
- Saracino dust colors (light blue, brown, black, pink)
- Some vodka (or other clear alcohol) for mixing colours
- Saracino modelling paste (white, skin, pink, grey, fuchsia, orange, green, brown)
- Toothpicks
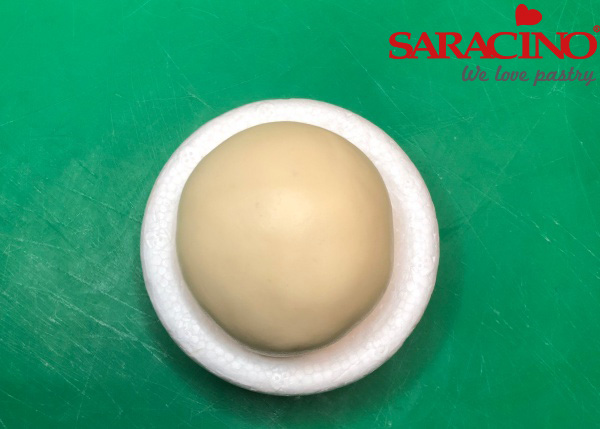
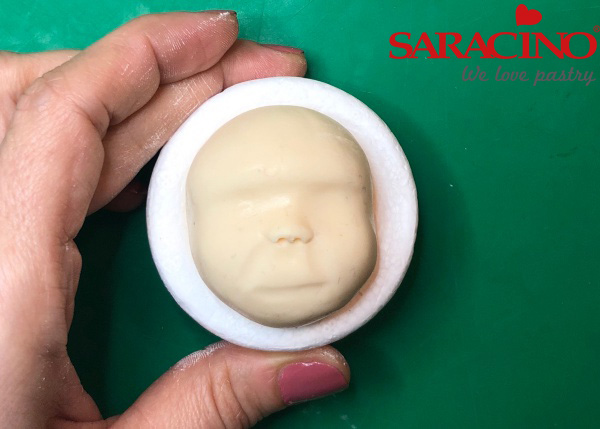
Step 1
Take a piece of skin coloured modelling paste, soften it and mould it into a ball shape.
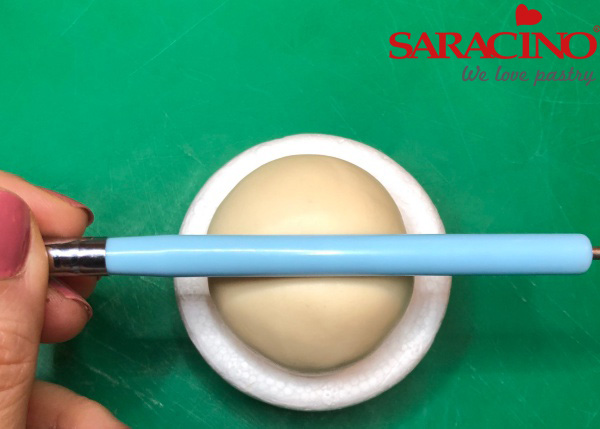
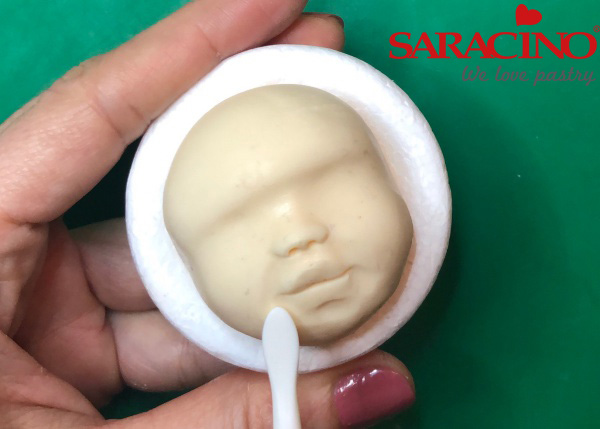
Step 2
With the side of a brush or other appropriate tool press slightly in the middle of the ball.
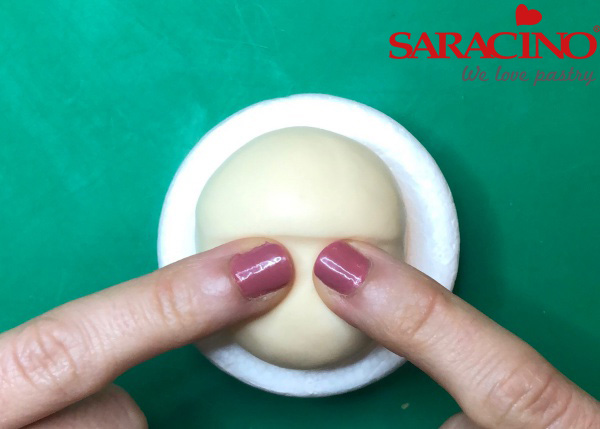
Step 3
With two small fingers press slightly left and right of the center of the dent to form the nose in the middle.
Step 4
With the dresden tool, form the sides and the end of the nose pushing it upwards
Step 5
With the end of a finger smooth the edge of the nose to make it a bit rounder.
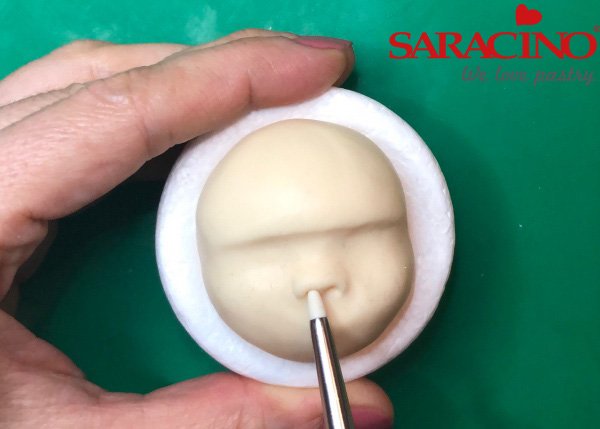
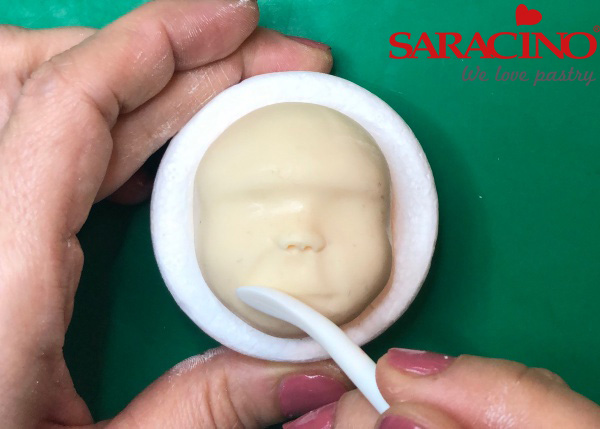
Step 6
Make the two nostrils with the silicon brush or a point tool and form a nice shape.
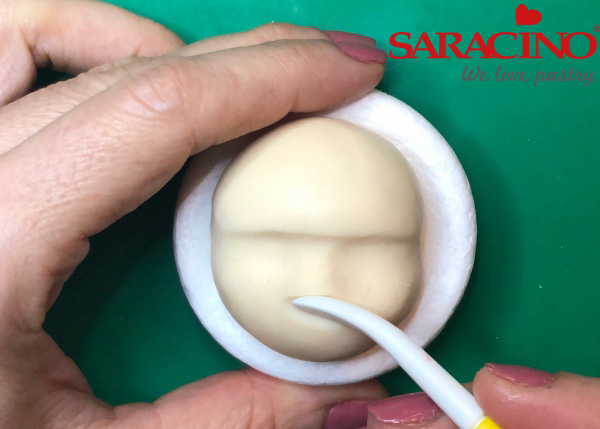
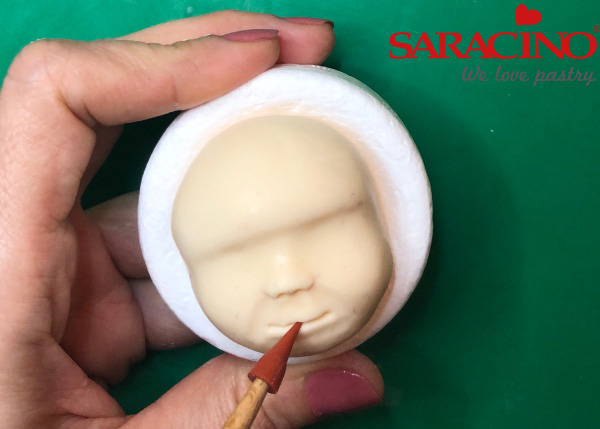
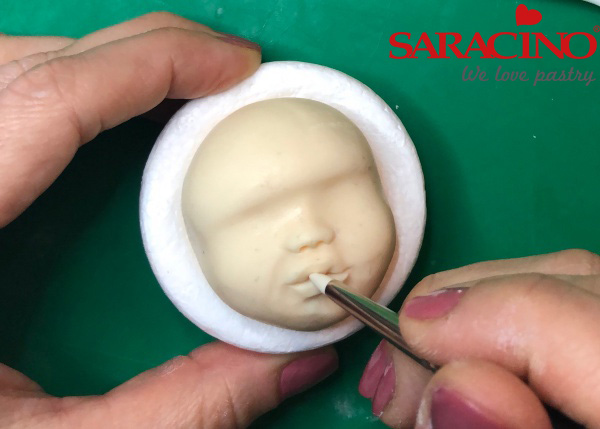
Step 7
Define the space where the mouth will be by making left-right diagonal grooves and also horizontal (as a small triangle)
Step 8
Correct it with dresden tool
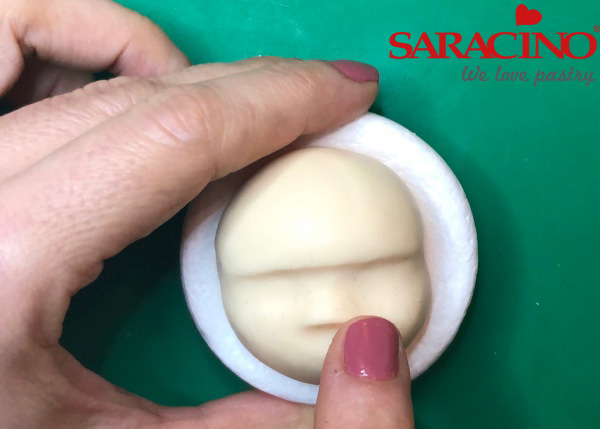
Step 9
With the point tool we divide this space to create the upper lip and the lower.

Step 10
Cut it slightly with a blade to stand out
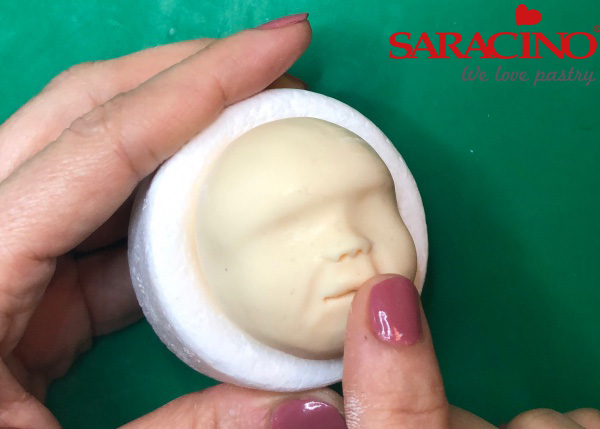
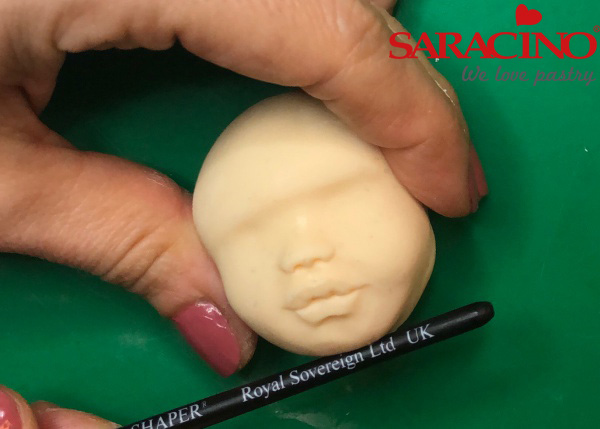
Step 11
Soften the edges of the upper lip with the tip of your finger
Step 12
Form the border of the lower lip and the edges of the mouth with the dresden tool
Step 13
Add details with the silicon brush on the lips
Step 14
With the back of a brush, shape the chin pushing it upwards
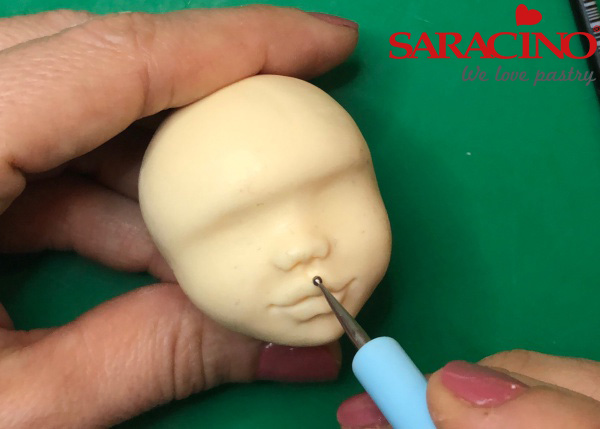
Step 15
Form a distinct philtrum above the upper lip with a small ball tool
Step 16
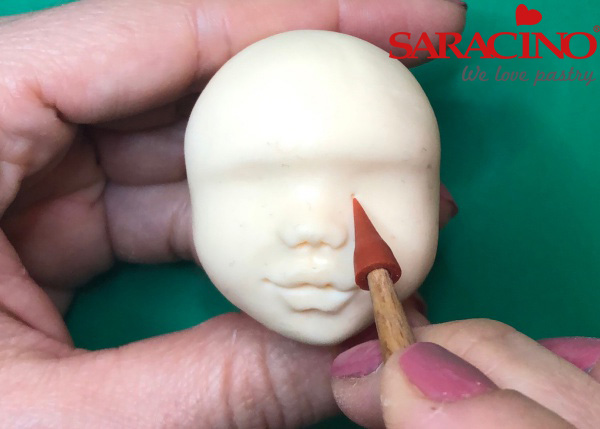
Make a dot for the inner eye angle where the eye begins
Step 17
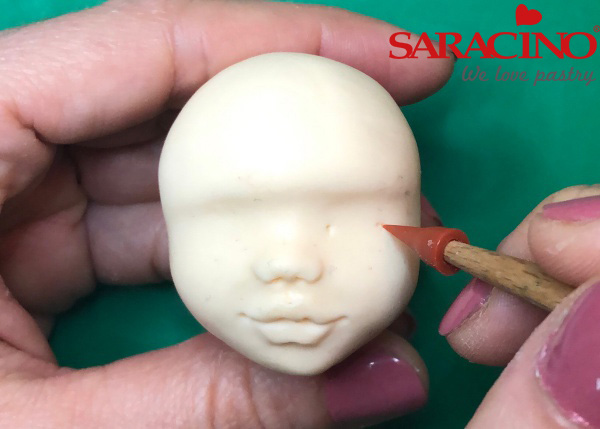
Make a dot for the outer eye angle where the eye ends
Step 18
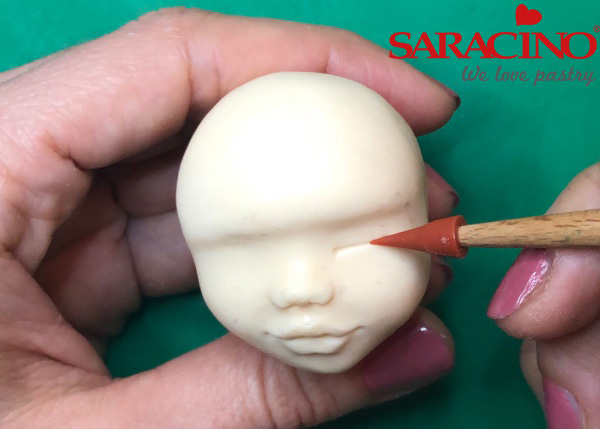
Unite the two dots with a line
Step 19
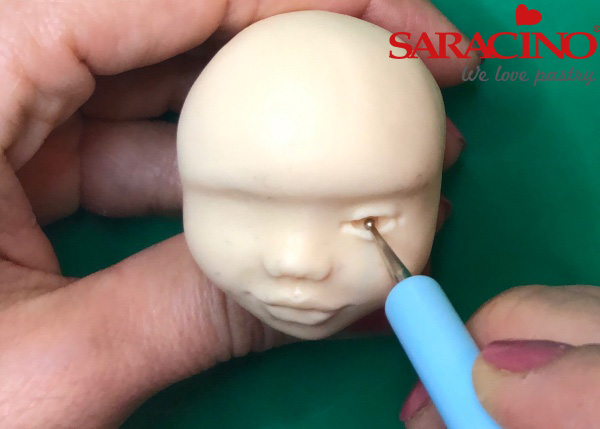
Widen the line with the small ball tool
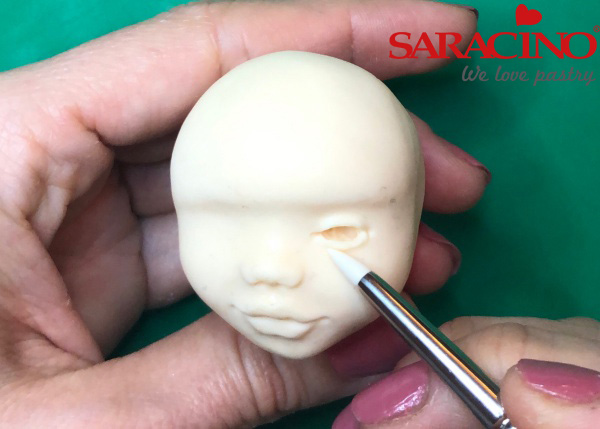
Step 20
Form the eyelids with the silicon brush

Step 21
Repeat same steps for the other eye
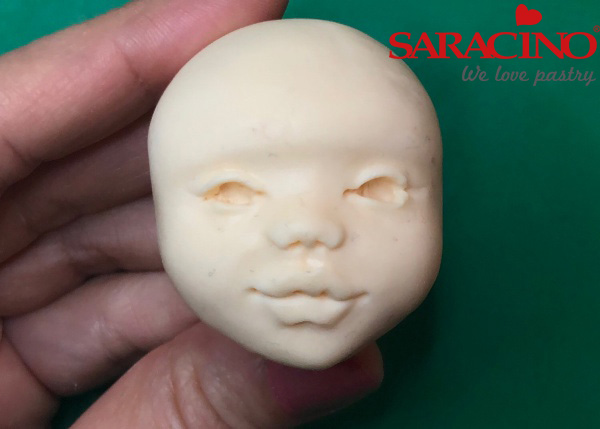
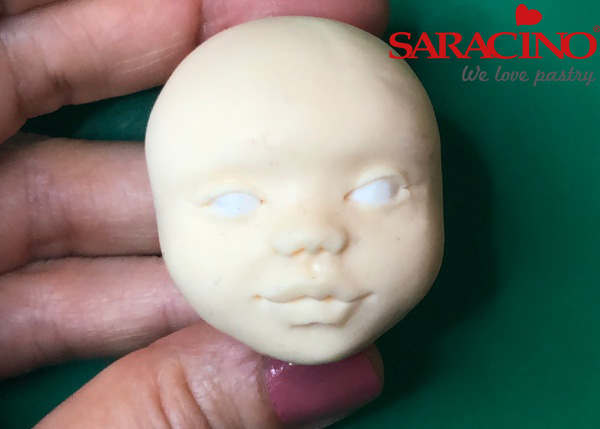
Step 22
Now you have the two eye sockets
Step 23
Put some white paste in one of the sockets.
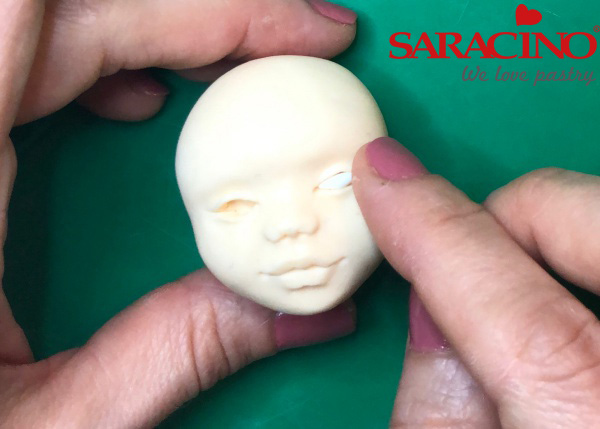
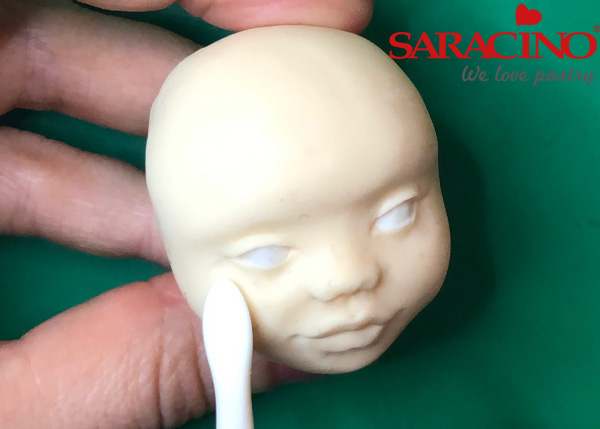
Step 24
Push it slightly and carefully to cover all space
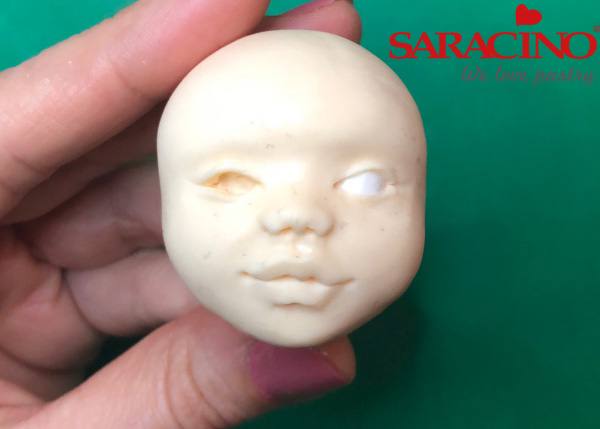
Step 25
Repeat with the other eye
Step 26
With the back of the dresden tool make the appropriate adjustments on the details of the eyes
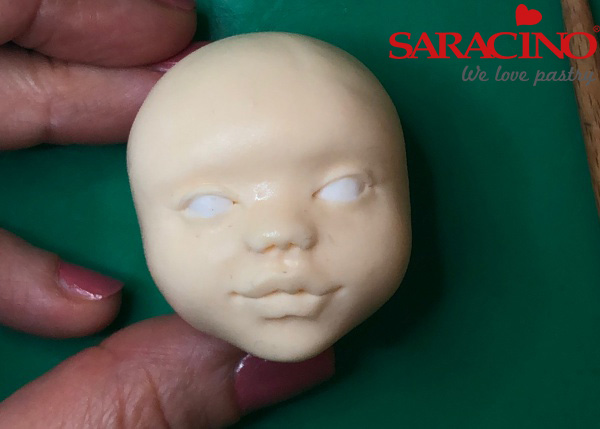
Step 27
Now the face is ready to color

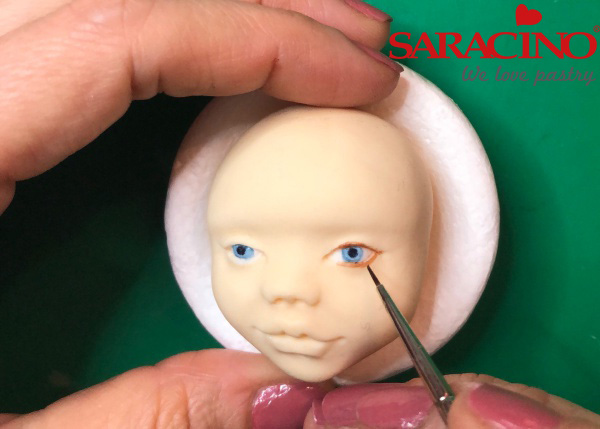
Step 28
Start by painting the main colour of the eye using powder colours mixed with clear alcohol.
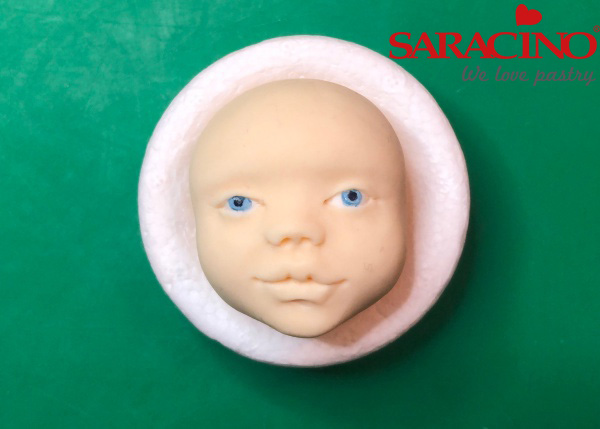
Step 29
Put some black for the pupil and some white for the light
Step 30
Color the eyelids with light brown for the lashes
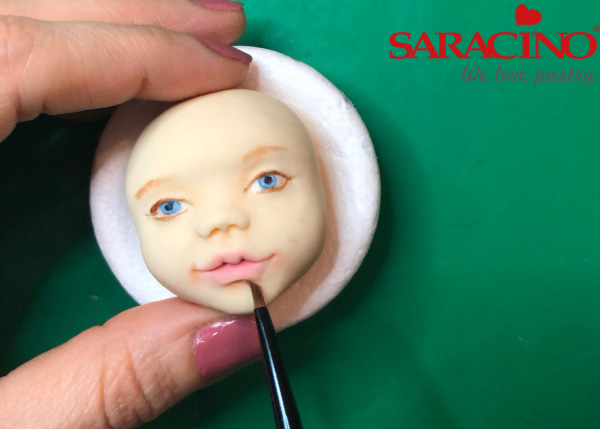
Step 31
Give some shadows on the edges of the eyes, nose and lips with light brown dust
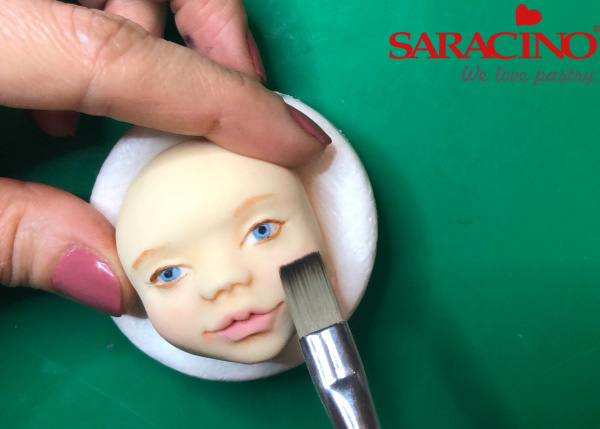
Step 32
With a bigger brush dust the cheeks with a light pink colour powder.

Step 33
The face is ready
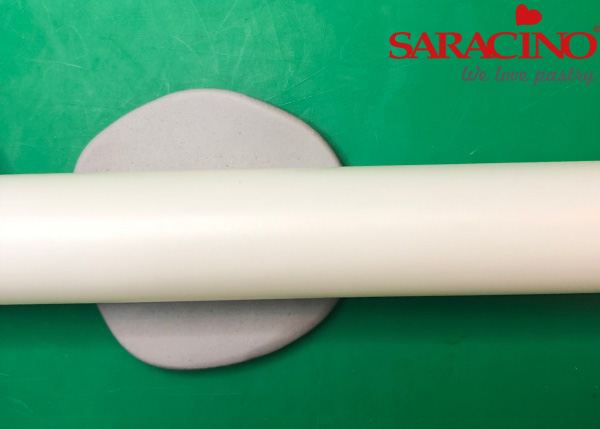
Step 34
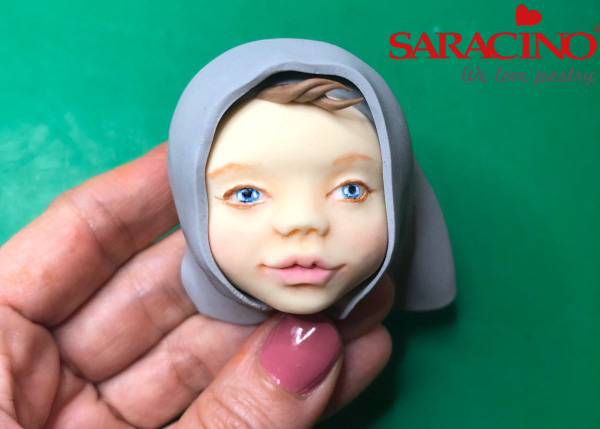
Roll out some grey paste for the hood
Step 35
Attach the hood to the head using edible glue
Step 36
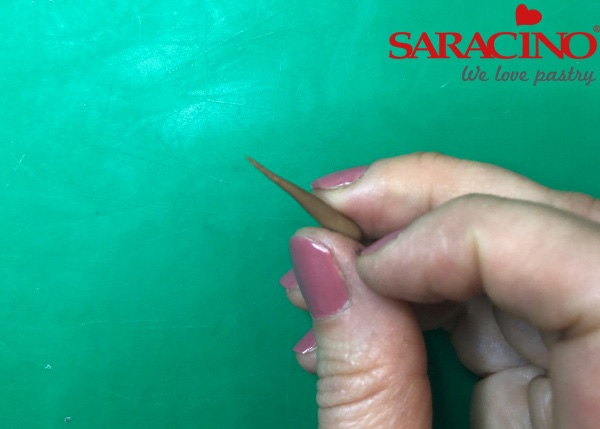
Roll out with the tips of your fingers some brown paste pieces
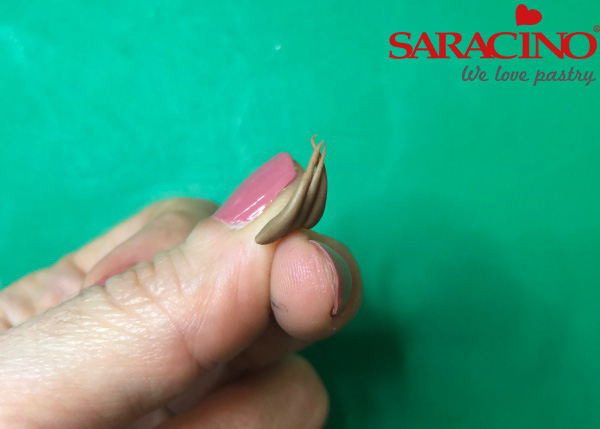
Step 37
Put them side by side to make the hair
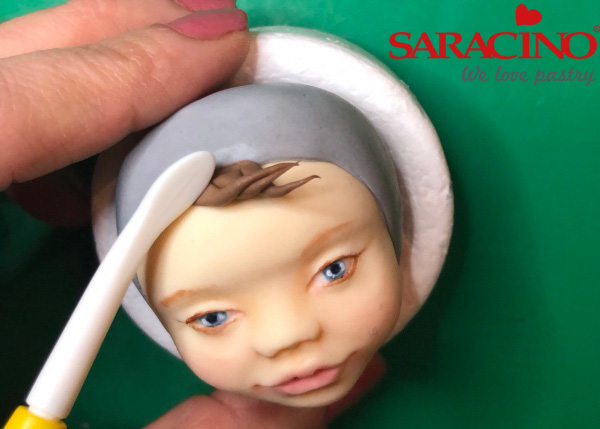
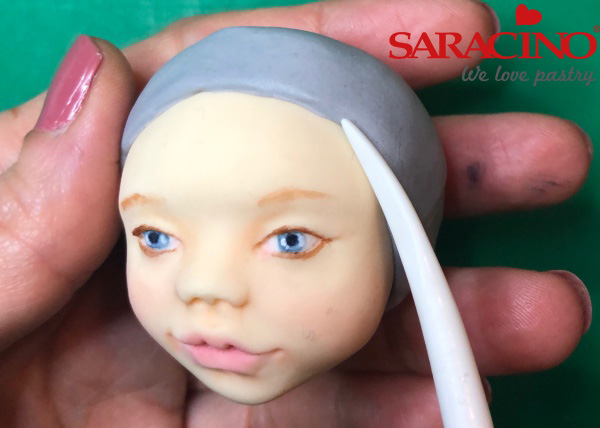
Step 38
Attach them to the top of the forehead at the edge of the hood
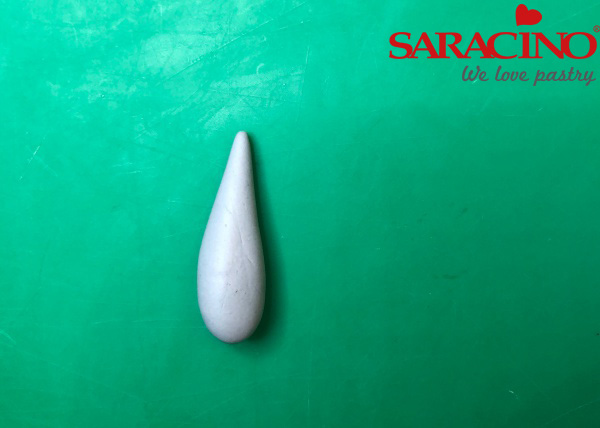
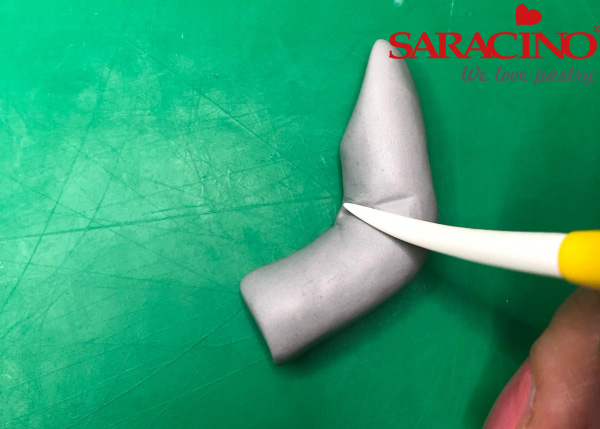
Step 39
Shape the grey paste into a teardrop
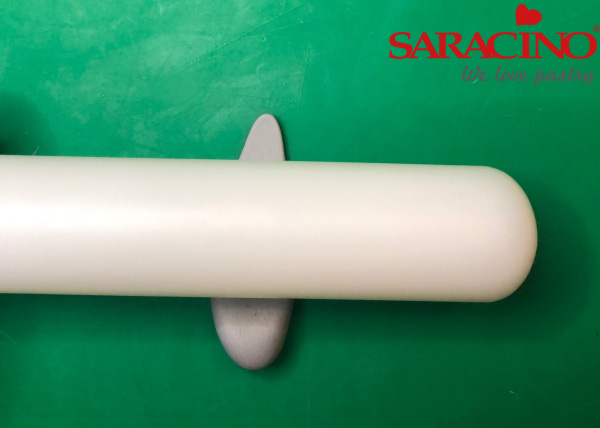
Step 40
Roll out the grey paste to form the bunny ears.
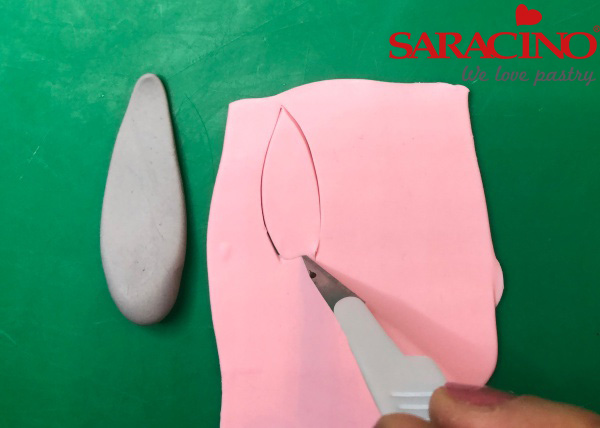
Step 41
Roll out pink modelling paste. Cut a piece of the pink paste to the same shape as the ear but a bit smaller.
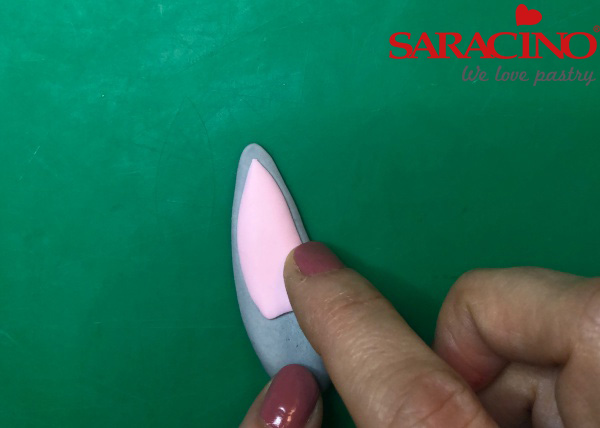
Step 42
Attach the pink over the grey with edible glue
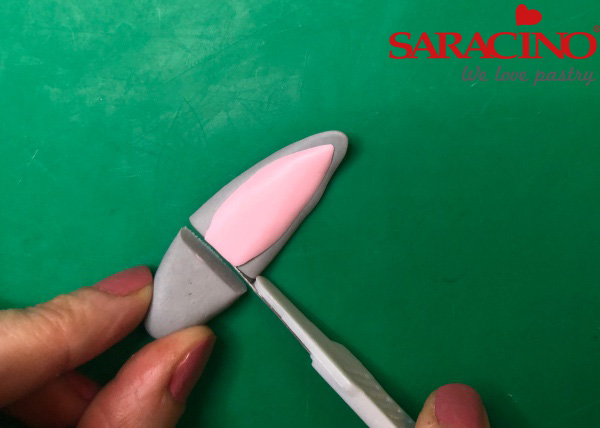
Step 43
Cut the excess to form a straight edge.
Step 44
Make a bigger hood using grey modelling paste and cover the head
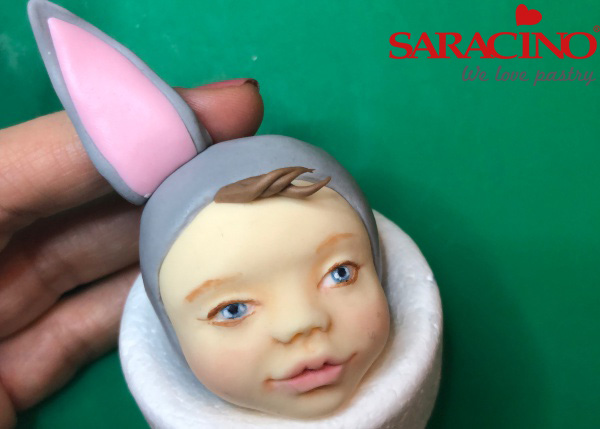
Step 45
Attach the ear to the hood with edible glue.
Step 46
Repeat with the other ear.
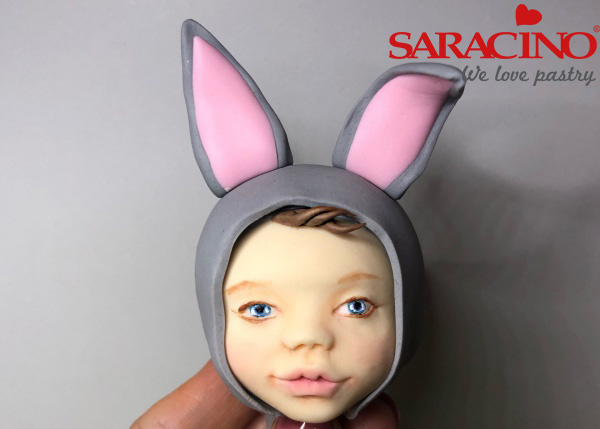
Step 47
Put the head safely on the side ready for later.
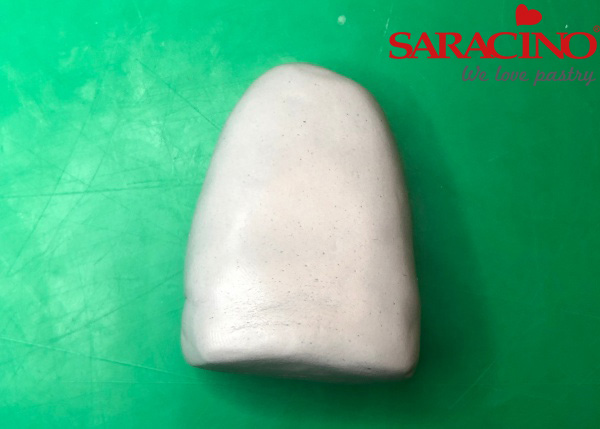
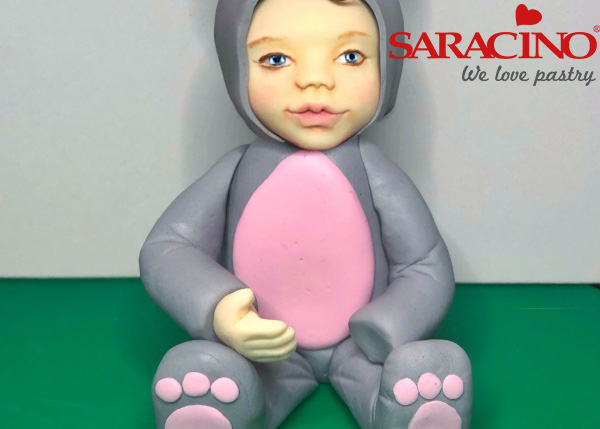
Step 48
Take a piece of grey paste and form the body as shown
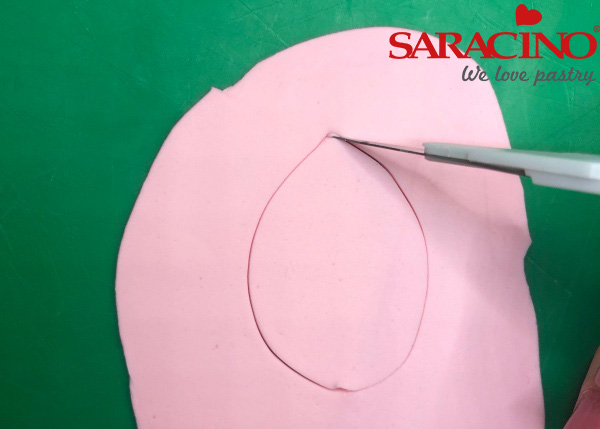
Step 49
Roll out some pink paste and cut a large petal shape for the tummy
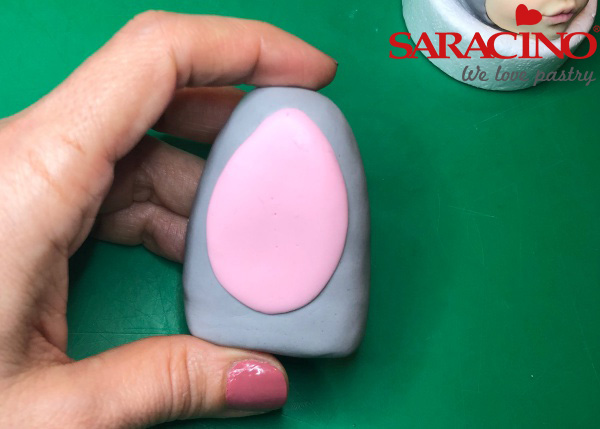
Step 50
Attach it to the body with edible glue
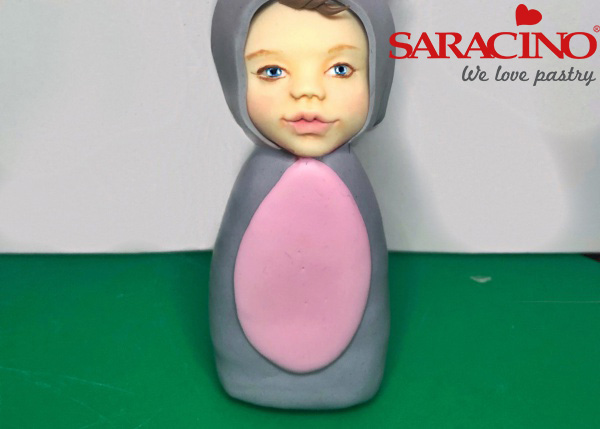
Step 51
Put a toothpick in to the top of the body and attach the head
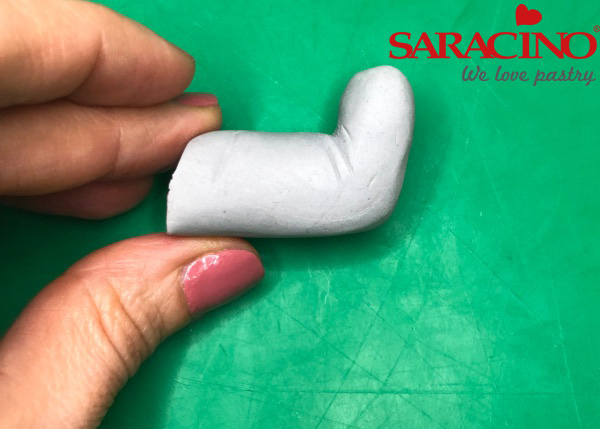
Step 52
With a piece of grey paste make an L-shaped leg as shown
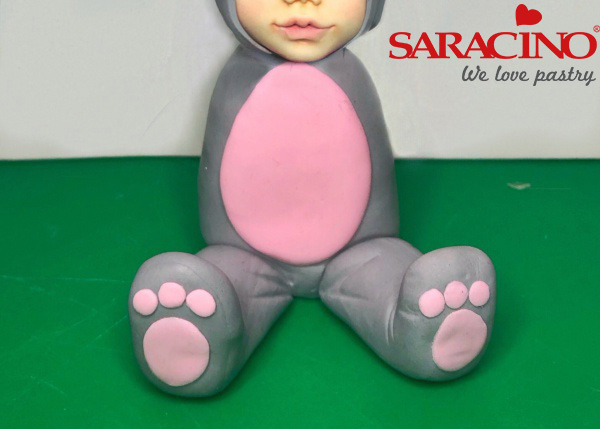
Step 53
Put some pink details on the shoe pad and do the same for the other leg. Fix them both to the base of the body
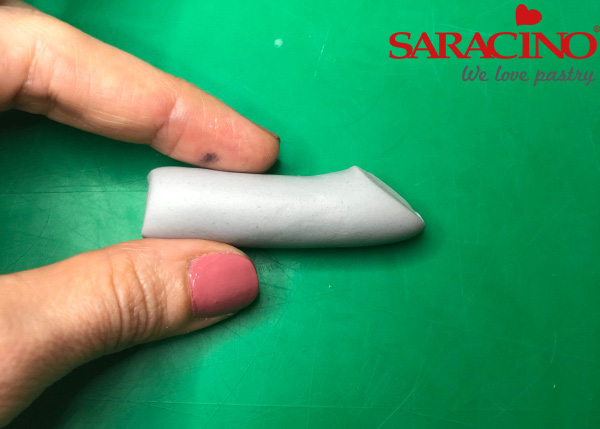
Step 54
Roll some grey paste in a sausage shape and cut off the edge diagonally for the arm
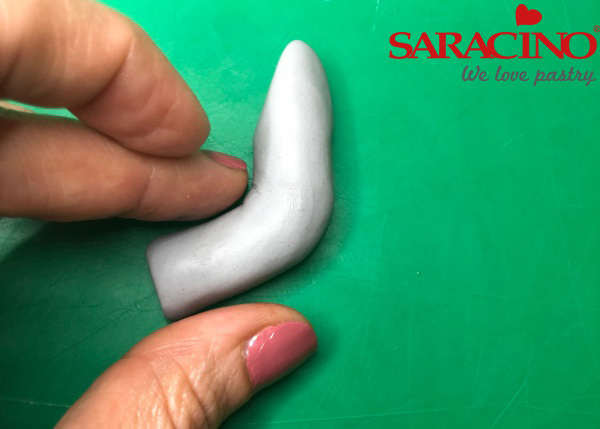
Step 55
Bend it in the middle to form an L shape
Step 56
Give some wrinkles to the inside angle with the dresden tool
Step 57
Finish both arms and attach them to the body
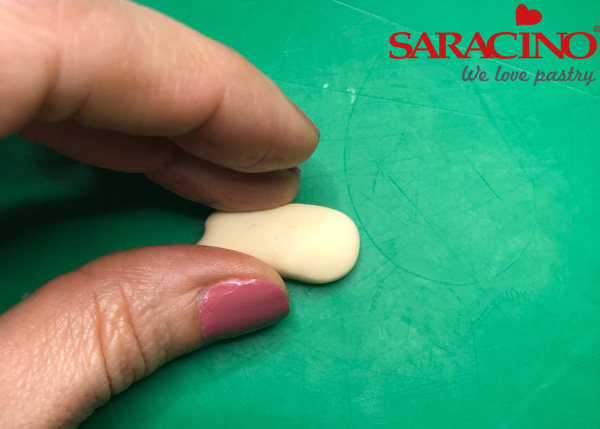
Step 58
Roll a small sausage of skin modelling paste and flatten the edge
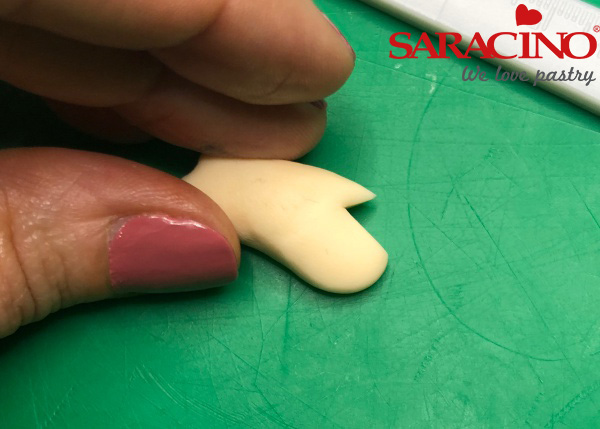
Step 59
Cut a triangle to form a thumb
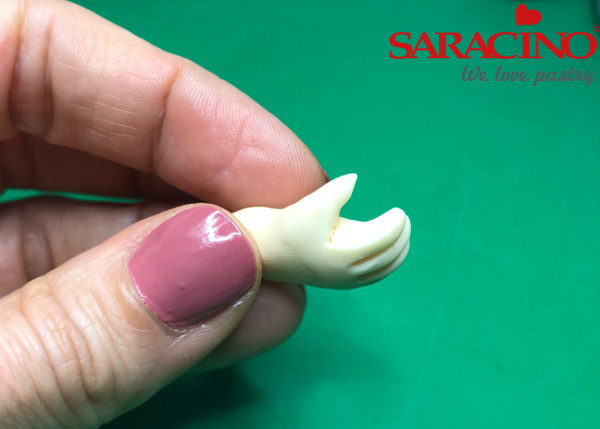
Step 60
Separate the rest of the fingers and give them a slight bend to the inside of the fist
Step 61
Attach the hand at the end of the arm. Do the same steps with the other hand
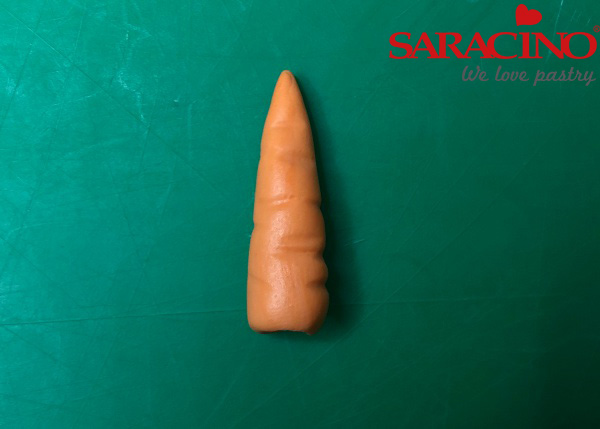
Step 62
Make a small carrot with orange paste
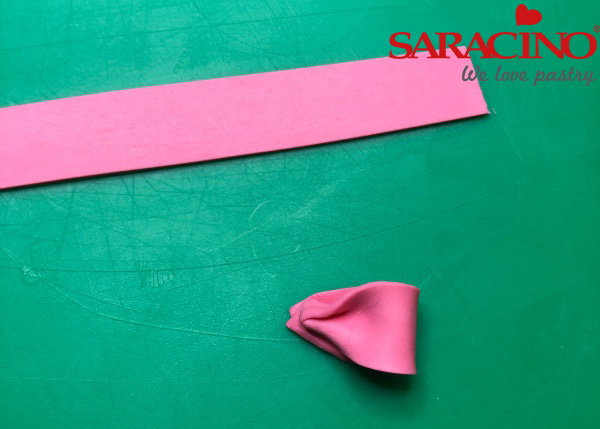
Step 63
Make a pink bow for the neck
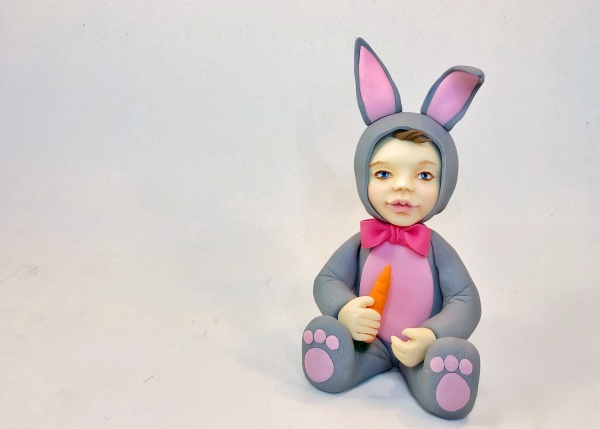
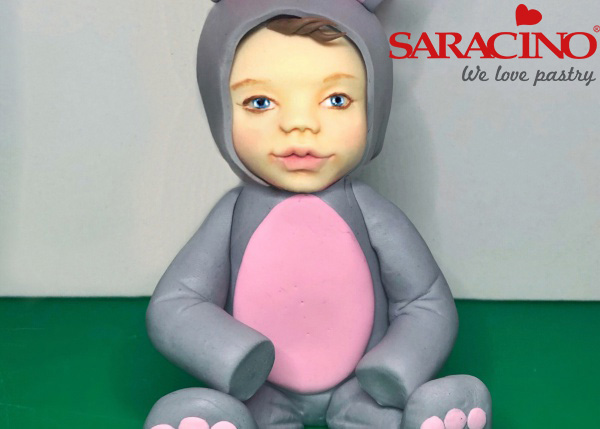
Step 64
Attach the carrot and the bow and the figure is ready!!!
