You will need:
- Saracino Pasta Model: blue, red, brown, white
- White gel colour
- Powder colours – gold, black, dark blue, red and brown
- Liquid Shiny confectioner’s glaze
- Dresden tool
- Exacto knife
- Rolling pin
- Stitch tool
- Pointed modelling tool
- Ball tool
- Paint and dusting brushes
- Texture mat

Step 1
Using light blue Pasta Model form the basic bag shape – create a teardrop and cut off the top. Flatten it narrower at the top.

Step 2
Using a Dresden tool, press a line along the bottom of the bag. This will form the base. Mark two lines on the side of the bag for the joints.

Step 3
Use the Dresden tool to mark an upside down ‘V’ on both sides of the bag.

Step 4
For the front pocket use the Pasta Model and cut out a small rectangle to the correct size to suit your bag. Curve the bottom edges and taper the top a little using an exacto knife. Fix to the front of the bag using a little water if needed.

Step 5
Cut a strip of the blue Pasta Model and curve the two bottom corners. This will be the flap of the pocket. Fix it on top of the pocket and lift the centre a little so that it doesn’t sit flush.

Step 6
Repeat to make the side pockets and flaps. These will be a little smaller than the front pocket.

Step 7
Attach the side pockets. Using a stitching tool mark the stitch lines on the pockets and flaps.

Step 8
On the side pockets, mark a line in the centre using the Dresden tool. Also mark the crease under the pocket.

Step 9
For the straps cut 2 thick strips of the blue Pasta Model. Using a sharp straight edge or ruler mark a line down the centre of each strip.

Step 10
Bend the top of both straps as shown.

Step 11
For the handle use a thin strip and fold it over twice.

Step 12
Fix the handle and the straps to the bag using a little water if required.

Step 13
Cut out a strip. Fix to the top and sides of the bag for the flap over the zip. Mark a stitch line on one side.

Step 14
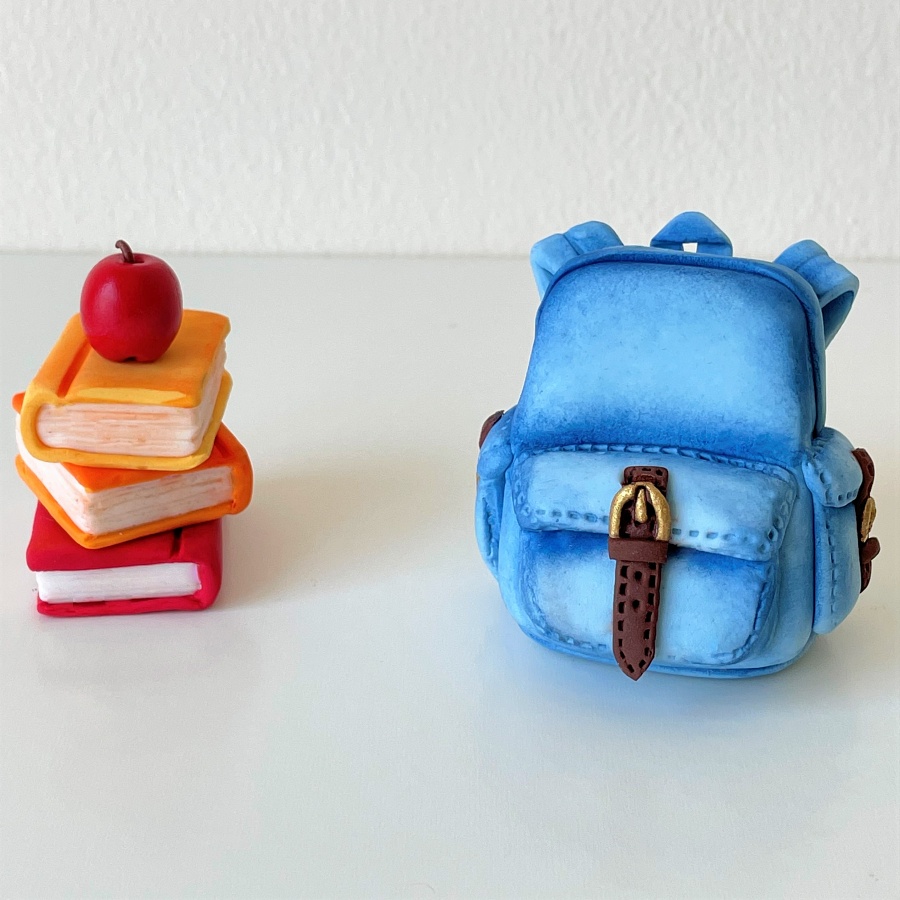
Using a soft brush and blue powder colour dust the bag to give the denim effect.

Step 15
For the strap use brown Pasta Model and cut out the shape as shown. Using a stitching tool mark the edges. Use a pointed modelling tool to mark the holes on the strap.

Step 16
For the buckle roll a small piece of Pasta Model to fit around the strap in an upside down ‘U’. shape. Take a small piece of the paste and shape the piece to fit into the hole. Paint the buckle pieces using gold powder colour mixed with clear alcohol.

Step 17
Use a small piece of brown Pasta Model to form the belt loop and fix.

Step 18
Fix the strap to the bag. Make two more straps and fix to both side pockets.

Step 19
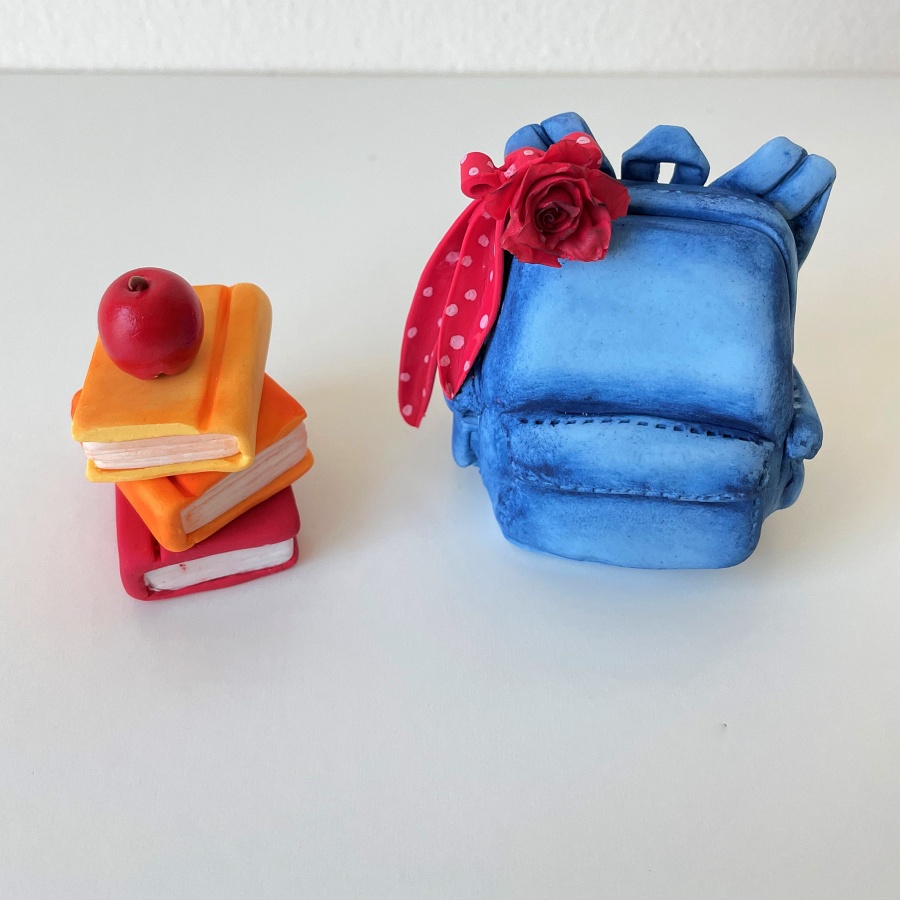
For the flower, roll a thin red strip of Pasta Model. Using a Dresden tool or ball tool, pull out the paste on top to form ridges. It is easier to do this on a foam pad.

Step 20
Now start rolling the petal from one corner to the other and keep adjusting the petals the way you want it.

Step 21
When rolled the edges don’t need to be perfect and can have a little rough look. Pinch the excess at the base and remove. Use a soft brush and a darker shade of red or a little black powder colour to dust the centre.

Step 22
For the bow take another thin strip, tapering at the edges and thicker towards the middle. Use a ball tool to thin the edges if needed.

Step 23
This will also give a little curl effect to the edges. Fold loosely in half.

Step 24
Fold it over so that one side hangs lower than the other.

Step 25
Take a smaller strip of red and cut it into a long rectangle. Fold over both sides to meet in the middle. Use a modelling tool to shape the bow.

Step 26
Using a Dresden tool, mark two small dents near the knot for the fabric folds. Fix to the bow tails.

Step 27
Dilute white powder colour with clear alcohol and paint small dots with a fine brush.

Step 28
Now stick the rose in front and put the bow on top of the rose and hide the joint. You could add a little confectioners glaze to the scarf so that it shines to give a silk look.

Step 29
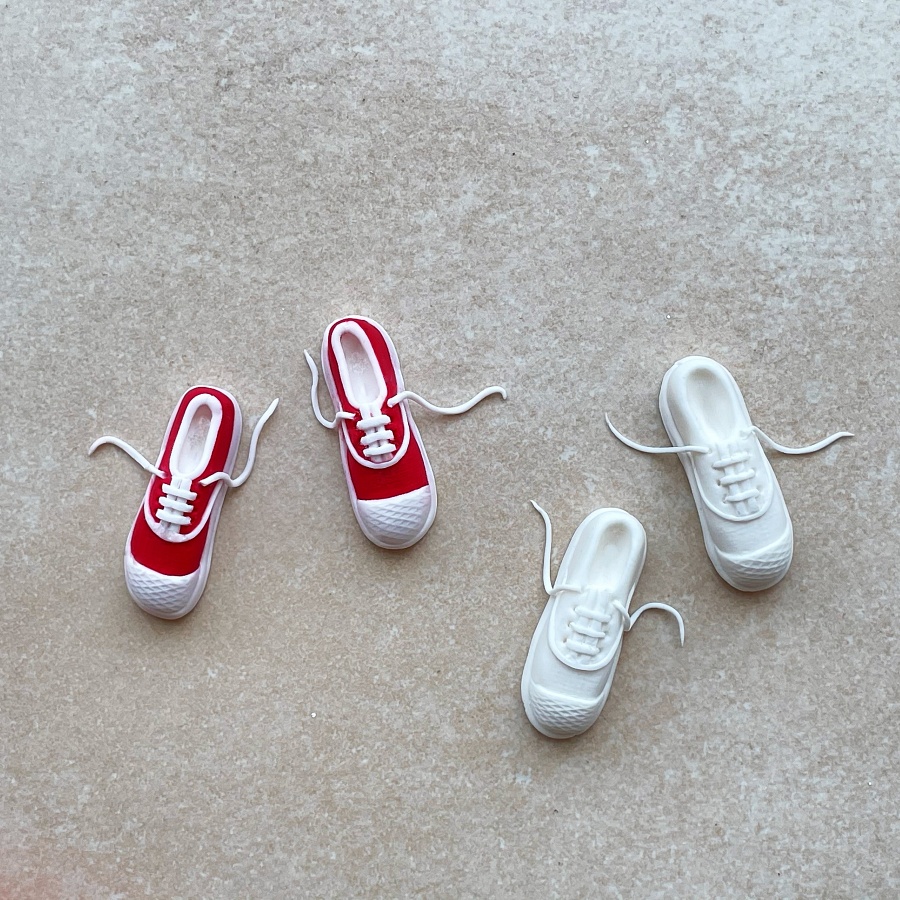
For the pair of trainers. Roll a cylinder shape from white Pasta Model and cut in half.

Step 30
Using your fingers form the basic shape of each shoe. Taper the front of the shoe and pinch in the centre.

Step 31
Flatten slightly at one end. From the middle to the front press down to a slight slope.

Step 32
Using a small ball tool form the holes for the feet.

Step 33
Roll red Pasta Model thinly and give texture using your texture mat. Place over each shoe.

Step 34
Trim the excess from around the base. Using the exacto knife cut open the hole so that the white is visible underneath.

Step 35
Roll a thin strip of white Pasta Model and fix over the seam between the white and red. Trim any excess.

Step 36
Roll a circle of white Pasta Model and use a texture mat to give the appearance shown. Cut in half. Fix to the toe of each shoe.

Step 37
Cut a thin strip of white Pasta Model and fix around the base of each shoe. Mark a stripe using an exacto knife.

Step 38
Cut a small rectangle of the white Pasta Model and fix for the lace area. Roll a thin strip and fix as shown for the white stripe detail.

Step 39
Use a sharp tool to mark the lace holes. Roll a thin strip of white paste for the laces. Cut into small lengths and fix into the lace holes.

Step 40
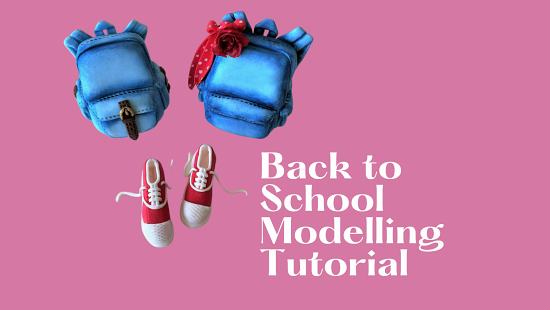
Your tiny shoes topper is ready!


