
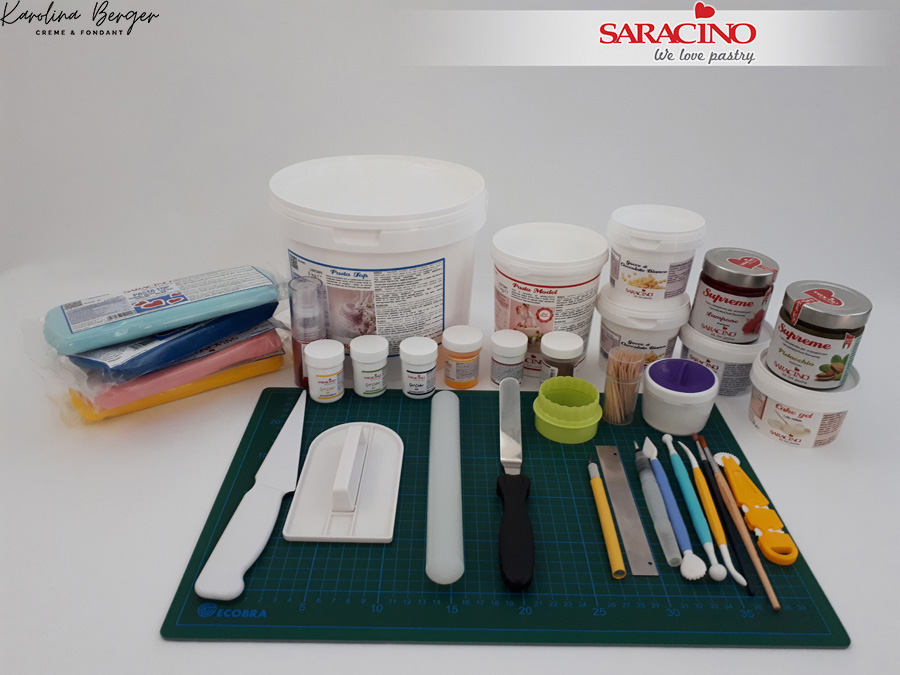
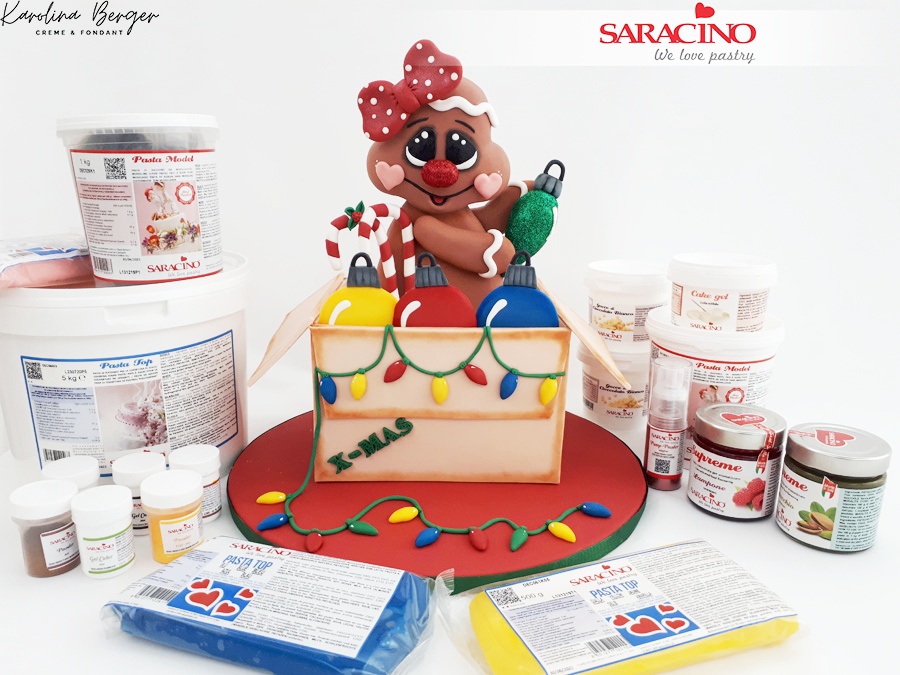
You will need:
Cake or dummy 20x20cm
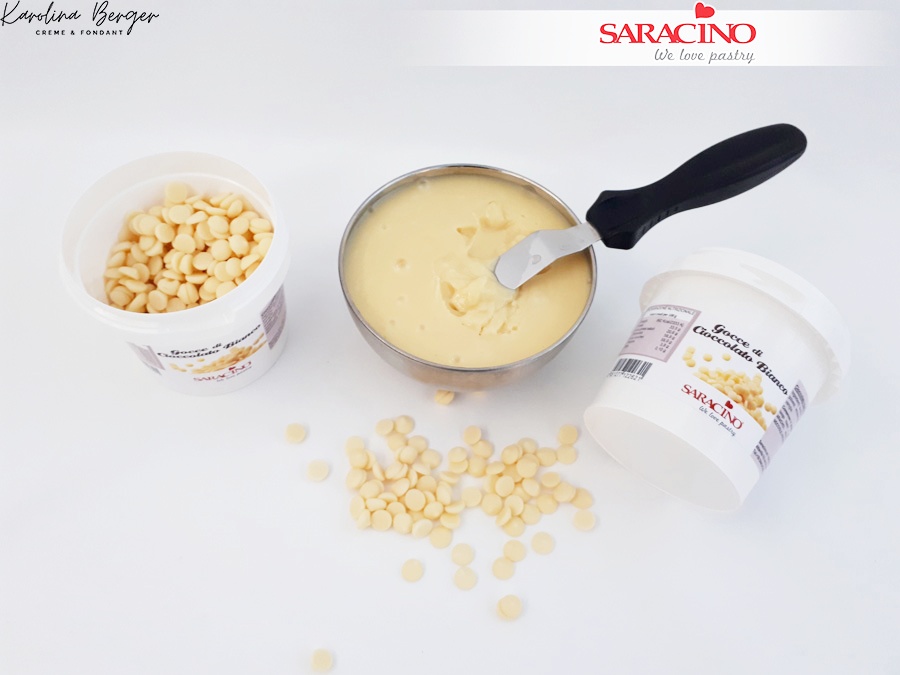
Saracino white chocolate drops
- Cream for ganache
Saracino white Pasta Top (sugarpaste/fondant for cake covering)
Saracino CMC
Saracino Cake Gel Glue
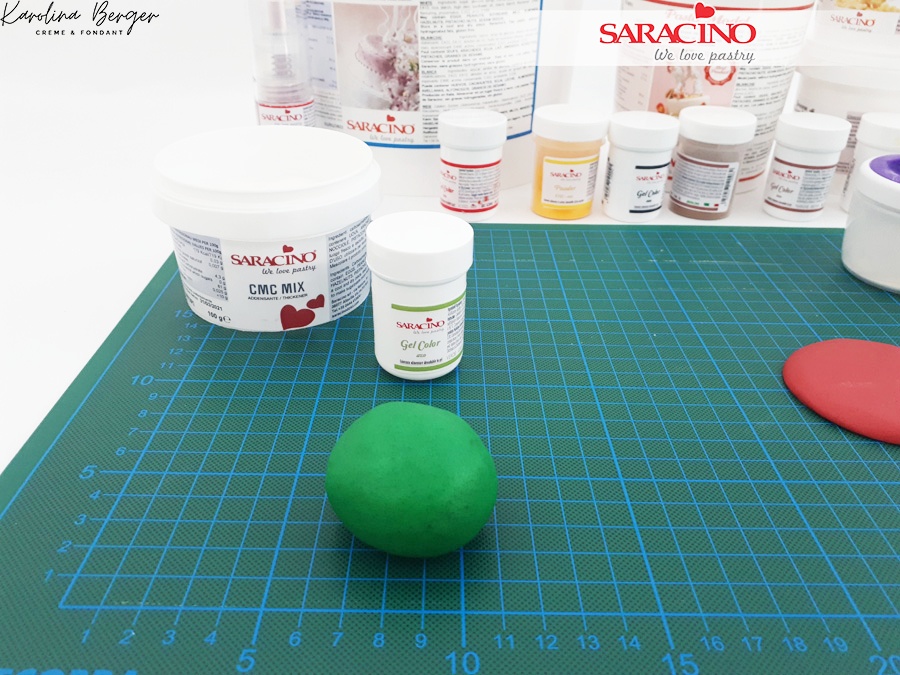
Saracino concentrated colour gel green, red, brown, yellow and black
Saracino Push pump glitter dust red
Saracino powder food colouring brown,pink and yelow
Cake drum
Soft brushes
Cocktail sticks
Modelling tools
Ruler
Fondant knife
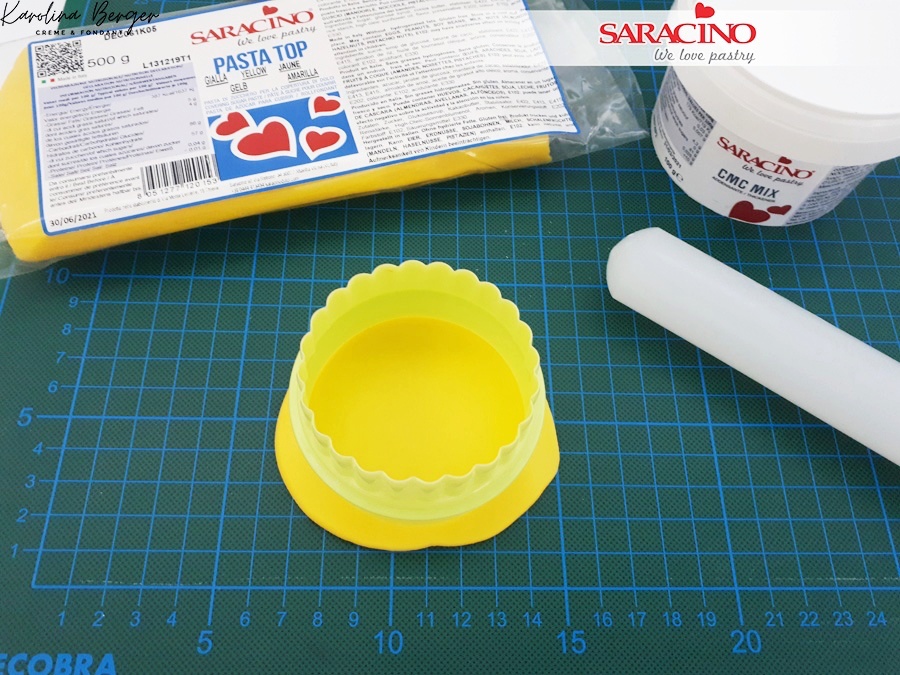
Set of round cutters
Smoother
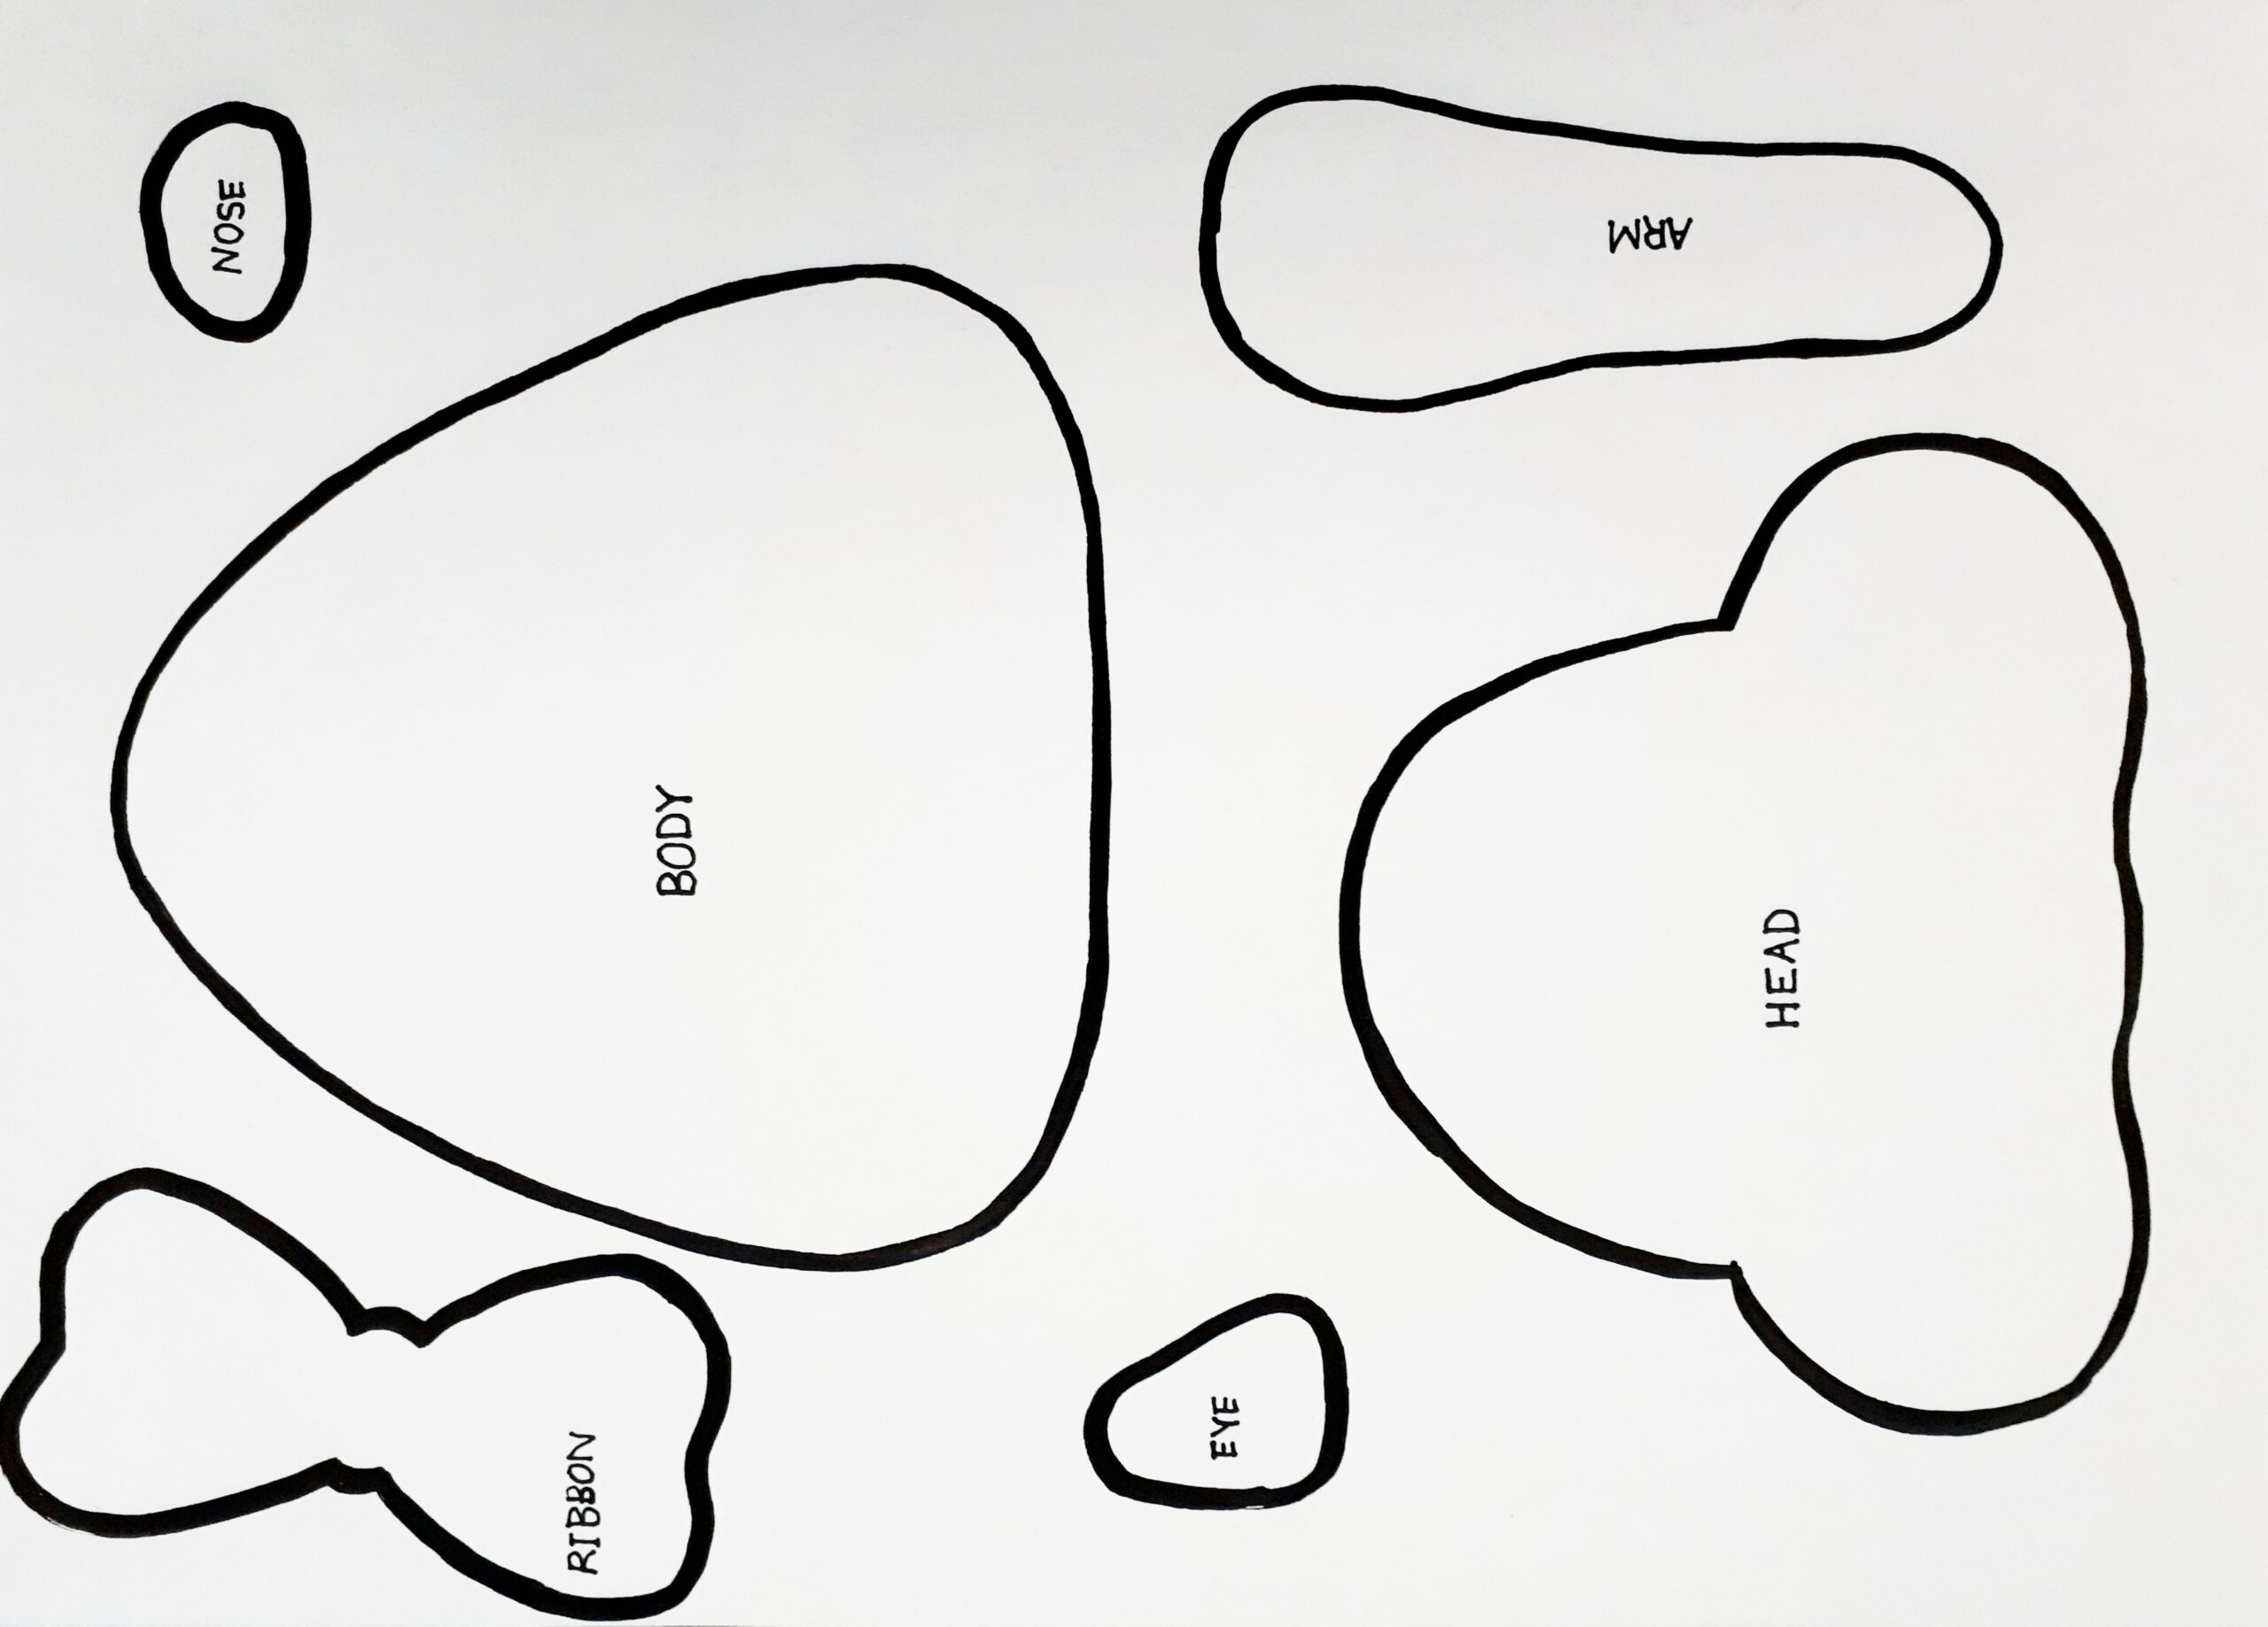
- To download the template click on the picture below
Step 1
Cover cake with ganache made using Saracino white chocolate drops and cream
Step 2
To achieve the colour we need for the cake covering mix Pasta Top sugarpaste with yellow and brown gel colour.
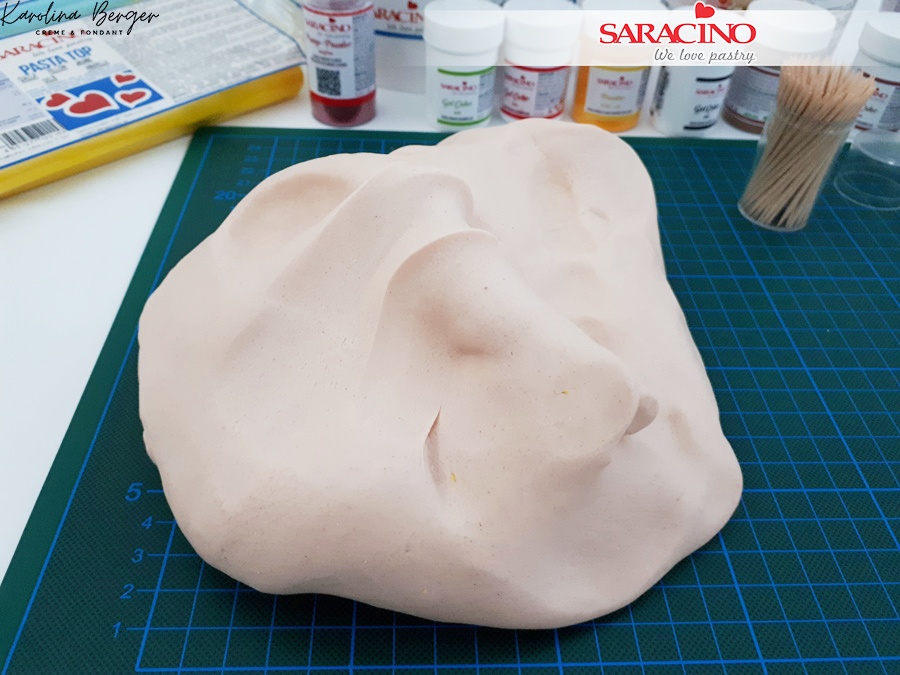
Step 3
Keep adding the yellow and brown gel colours to achieve beige colour. Always start with a small amount of gel colour. It easy to add more if you need but more difficult to take off
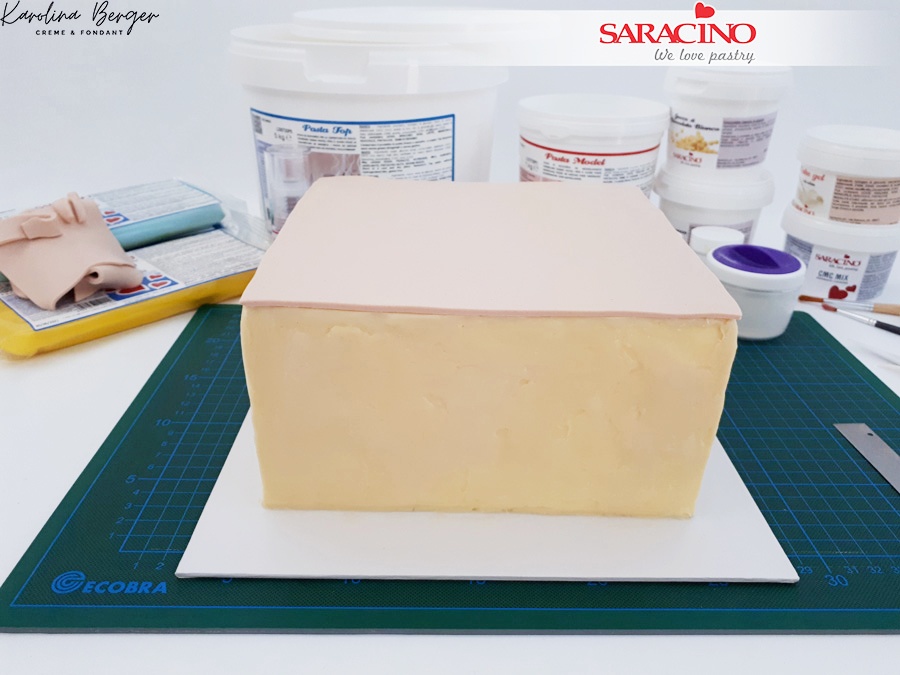
Step 4
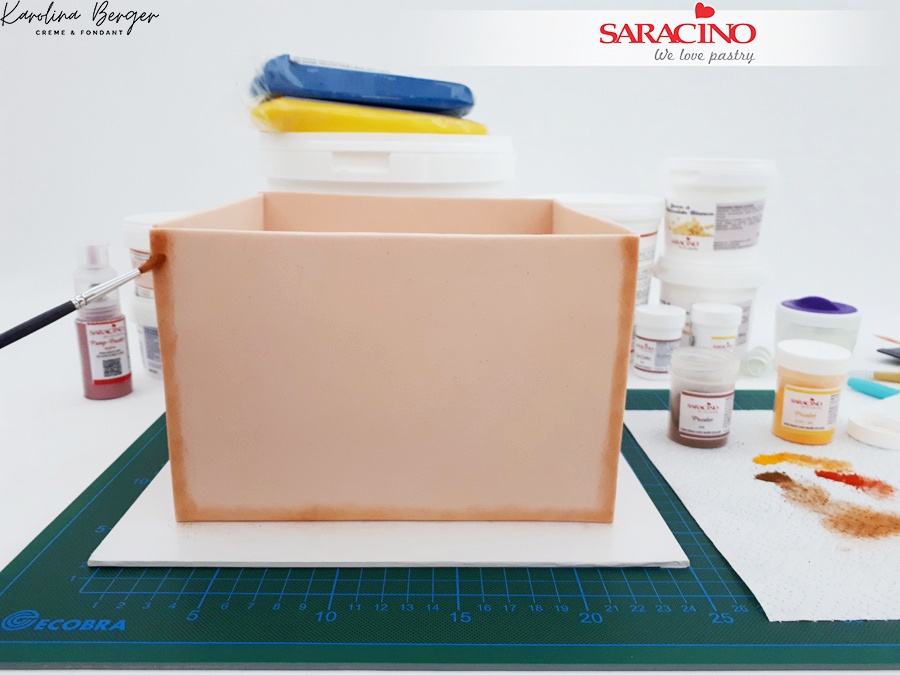
To cover the top of the cake roll out Pasta Top sugarpaste/fondant and cut out a square the same size as your cake. Place on top of the cake.
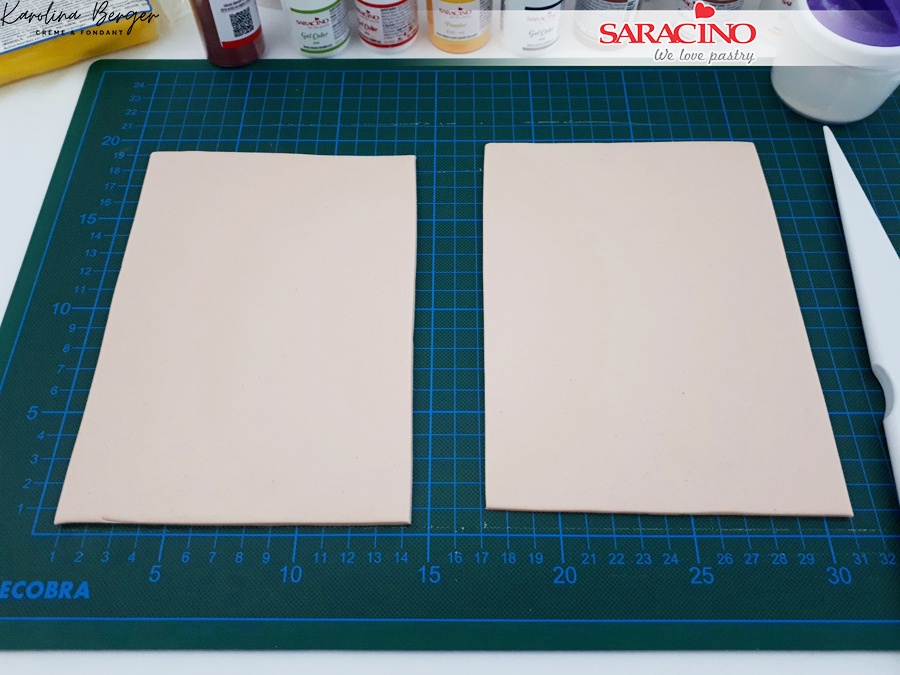
Step 5
For the sides of the cake roll out Pasta Top sugarpaste and cut out 4 pieces to the size needed for your sides. You will need to make each side higher than your cake to form an open box look.
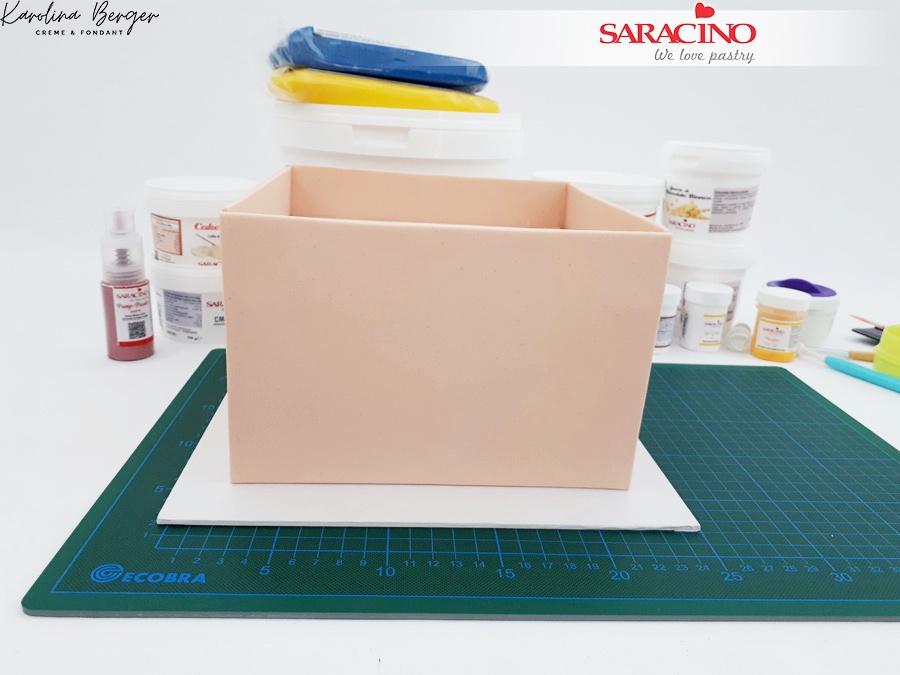
Step 6
Cover each side with sugarpaste.

Step 7
Using muesli or rice krispies melt in the microwave with marshmallow to make a modelling material. Careful not to put the marshmallow in the microwave for too long as it will burn easily. Print off your template.
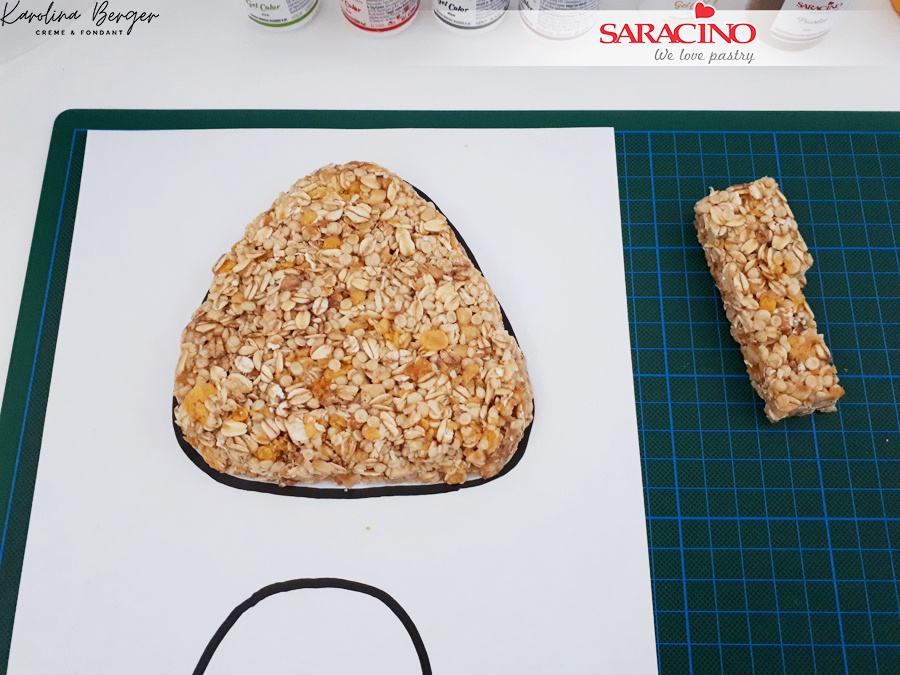
Step 8
Using the template form the body of the gingerbread man
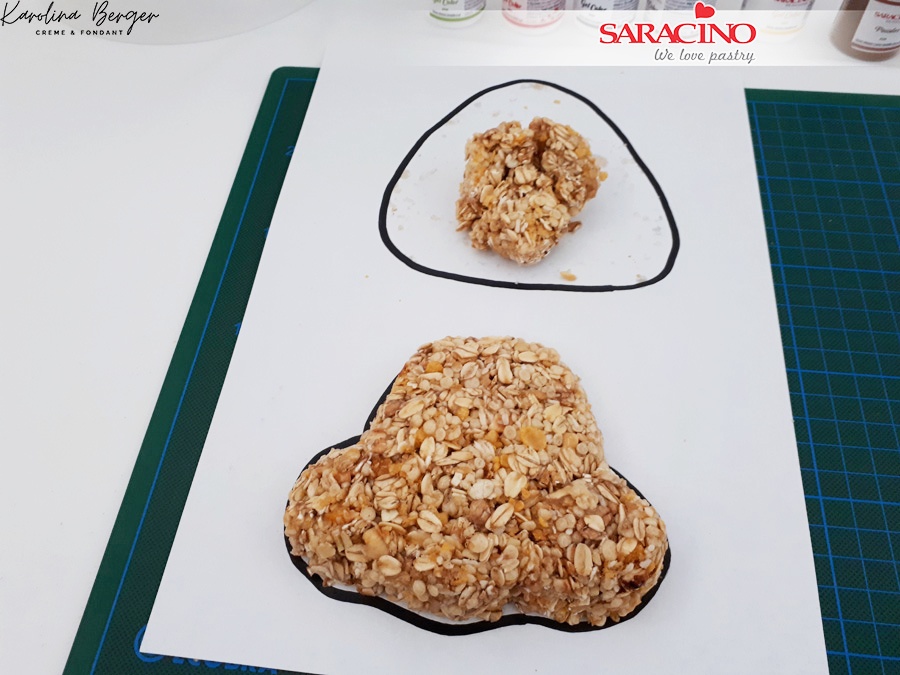
Step 9
Follow the same steps to form the head
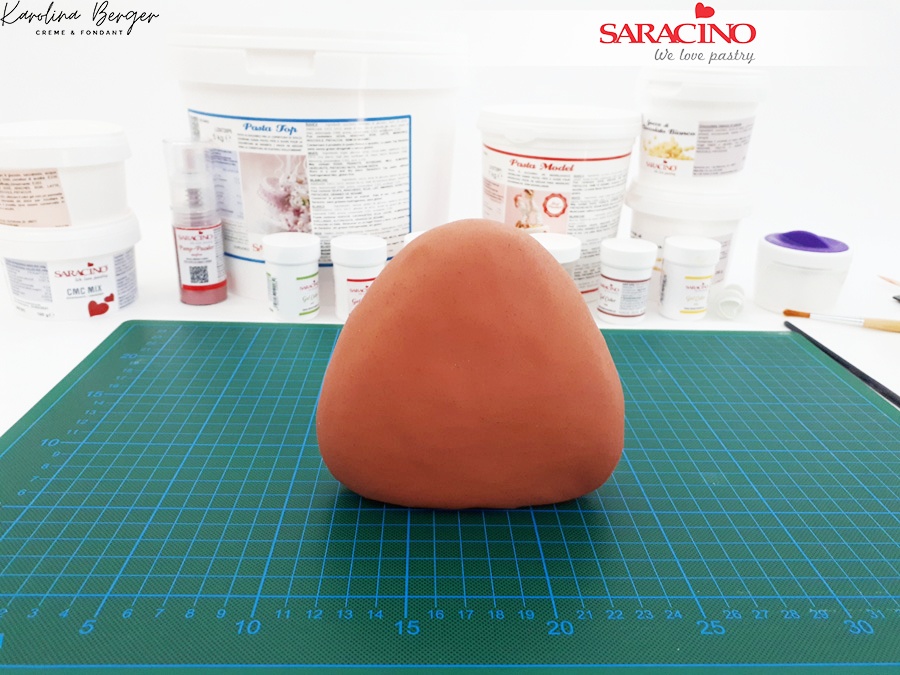
Step 10
Ganache the body and head. Colour the sugarpaste with brown and roll it thinly. Cover the body.
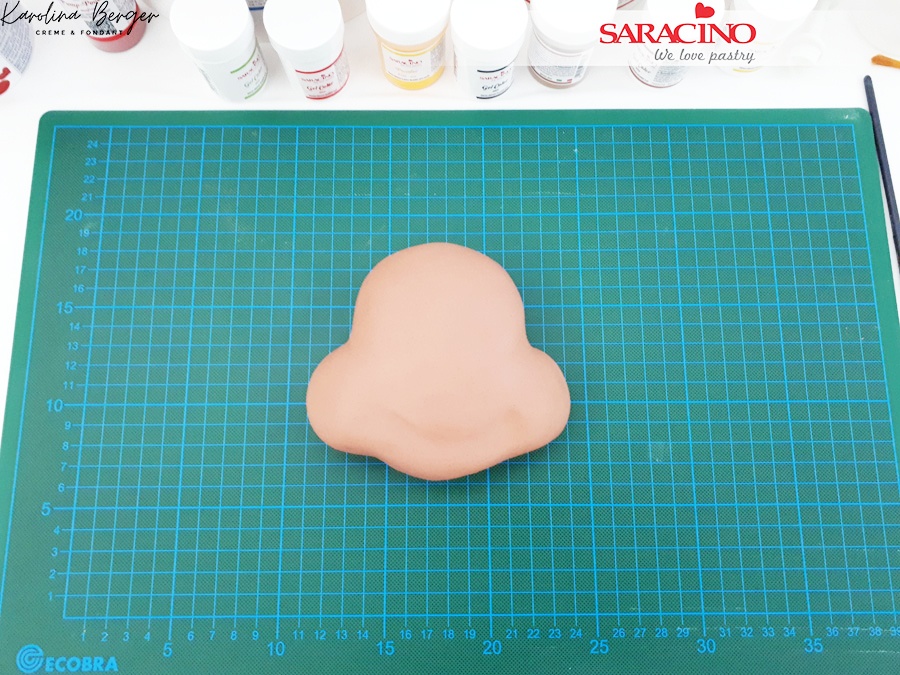
Step 11
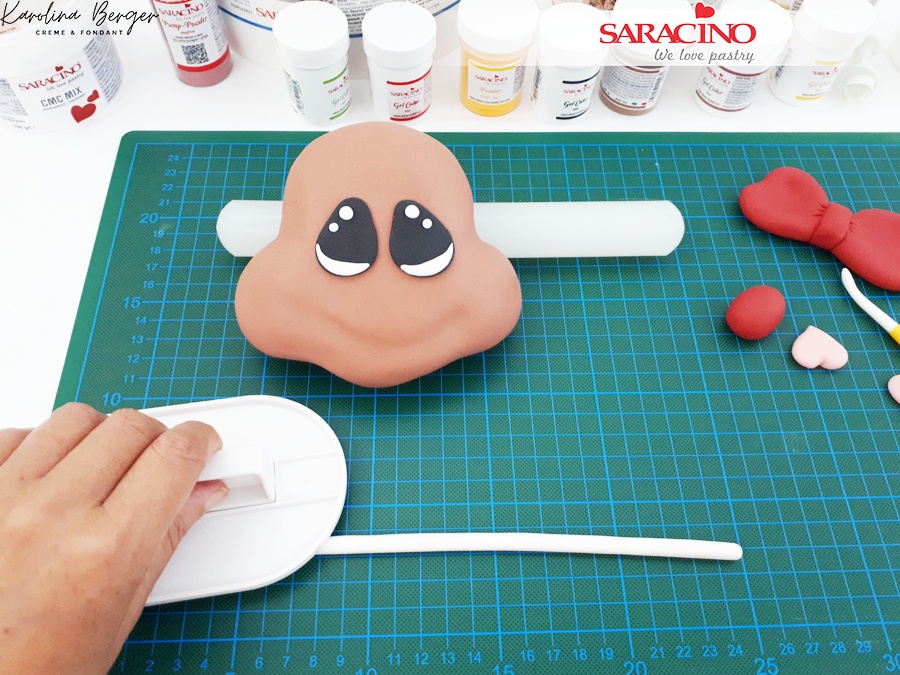
Cover the head with the same brown paste. It may look lighter in this picture but that is just due to camera and lighting angles. Using your modelling tools form the smiling mouth.
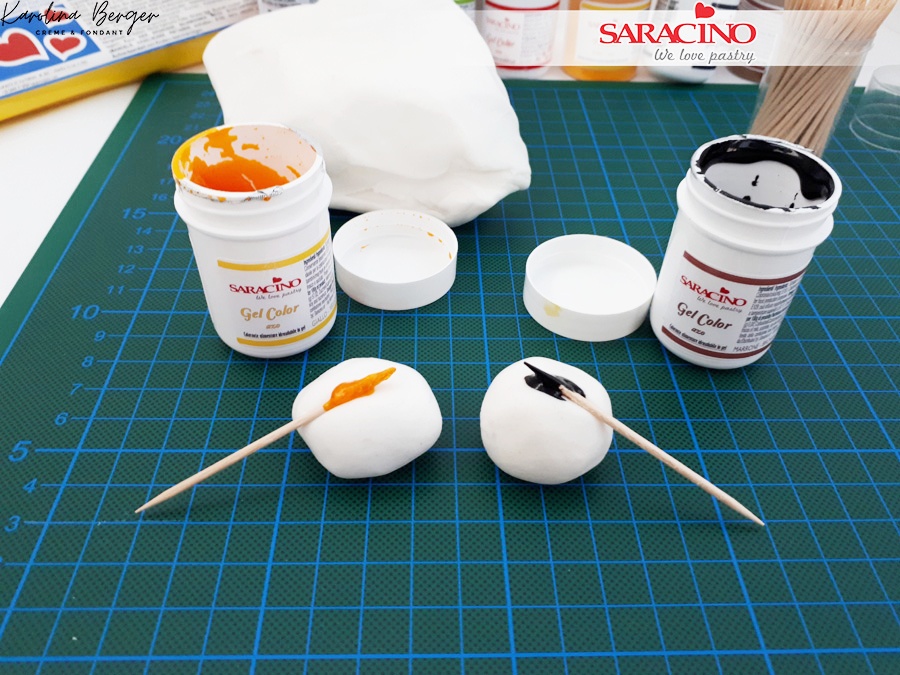
Step 12
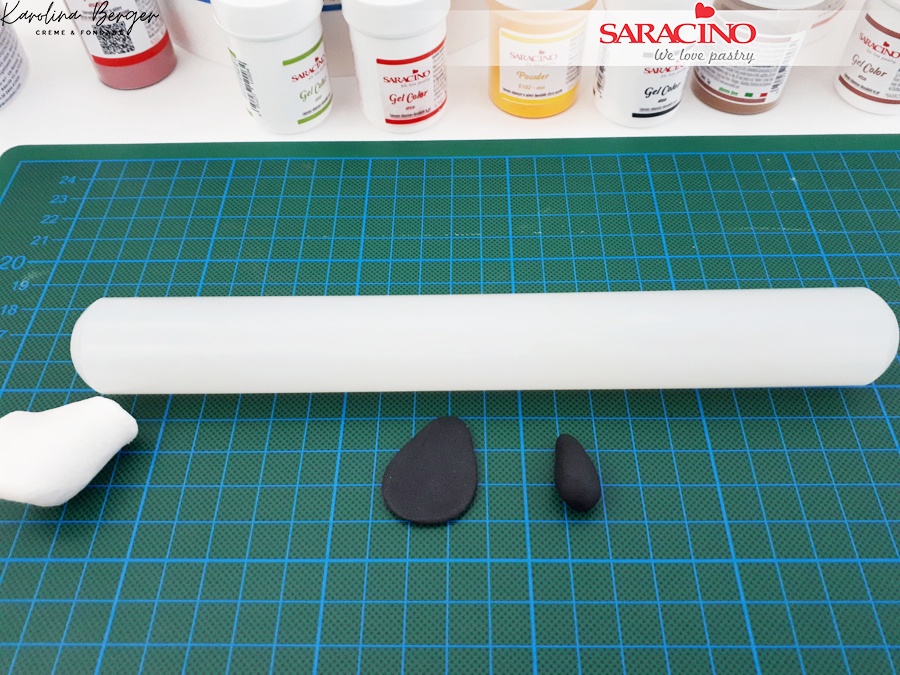
For eyes shape black sugarpaste into teardrop shapes. Roll them to achieve the shape on your printed template.
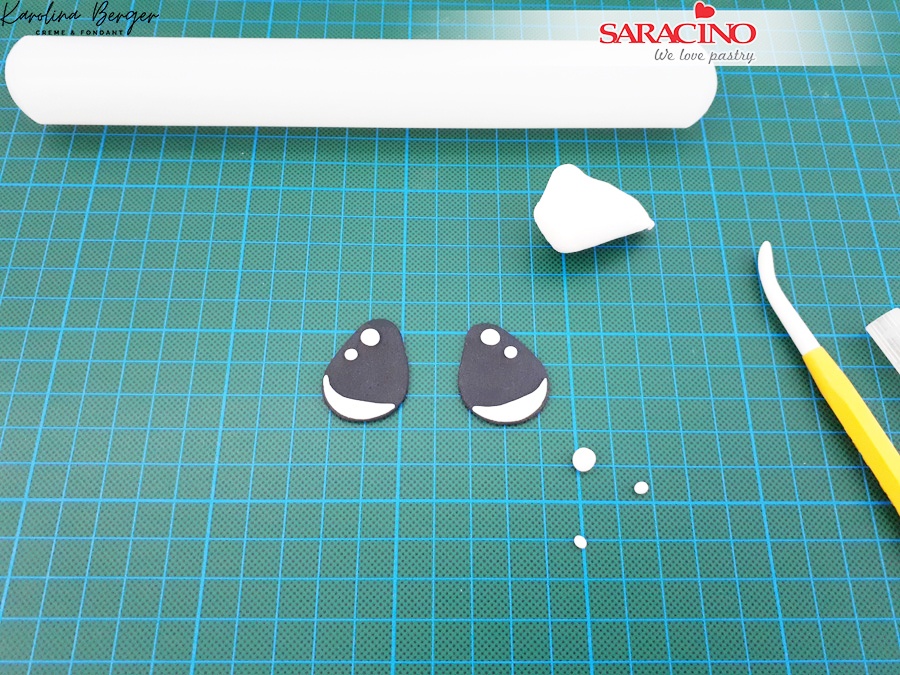
Step 13
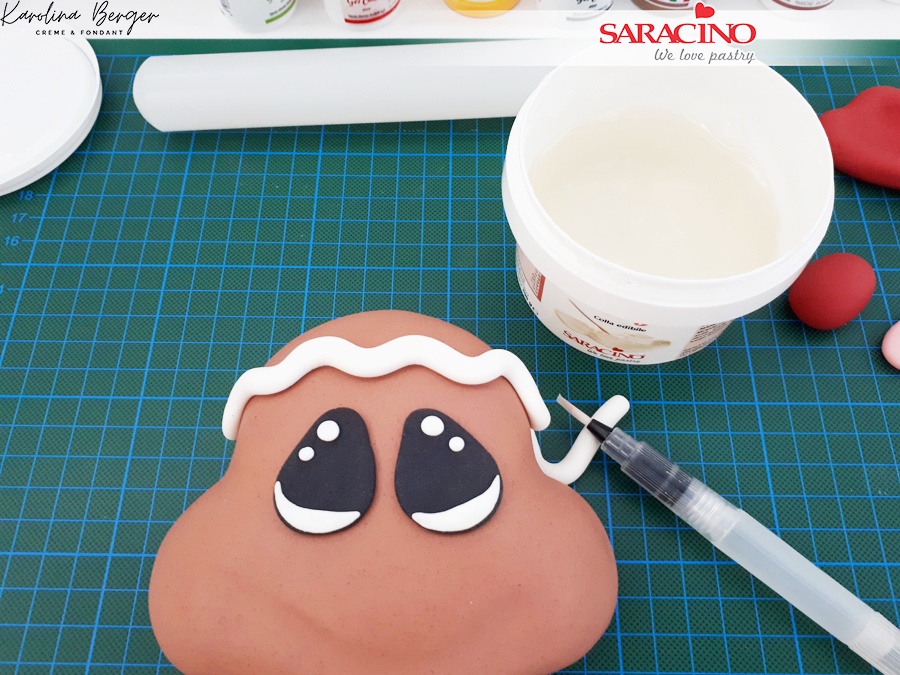
Using white sugarpaste add a bit of effect as shown.
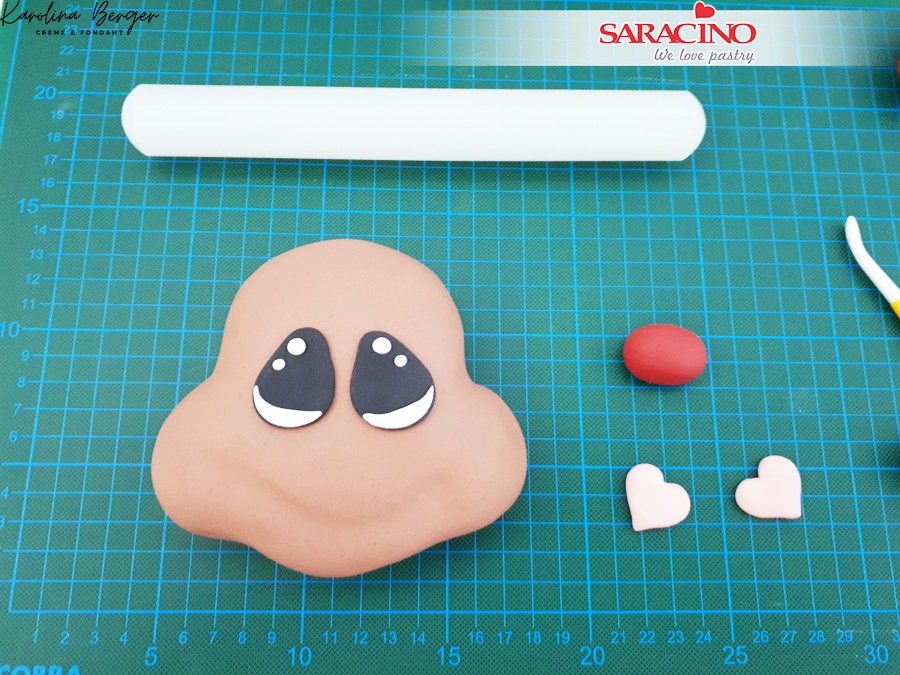
Step 14
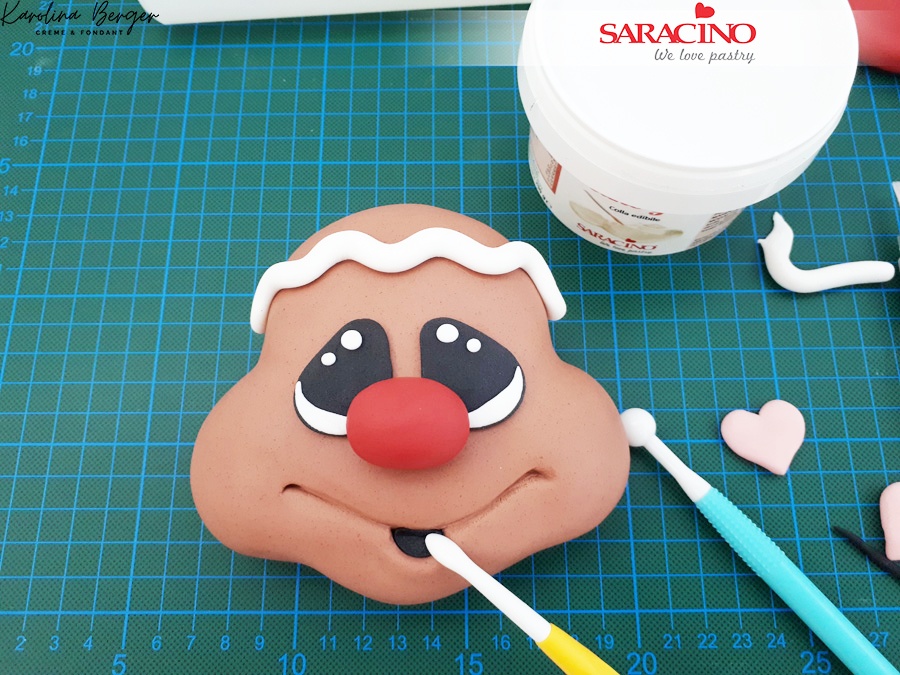
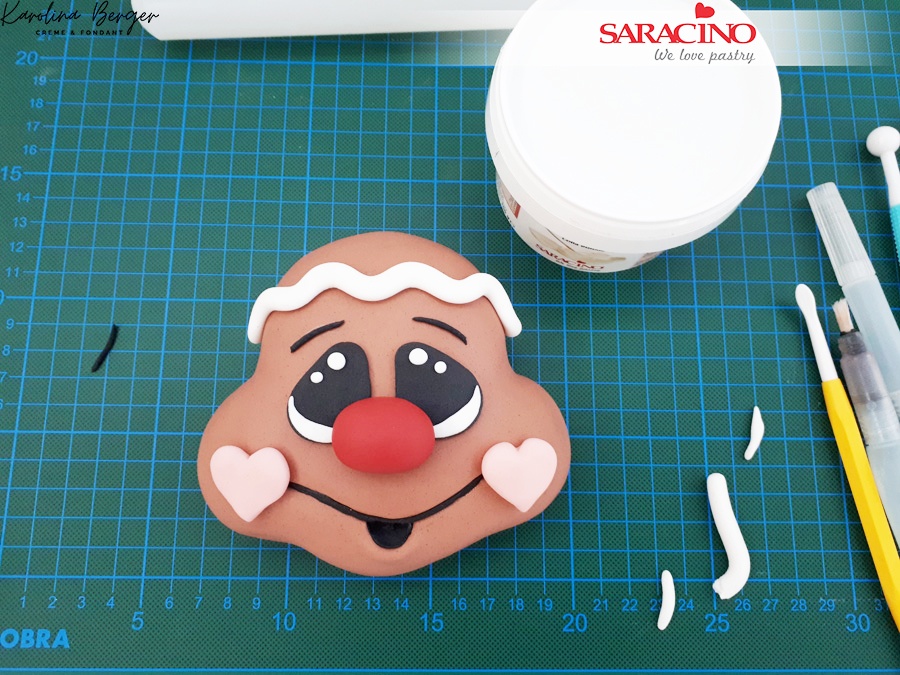
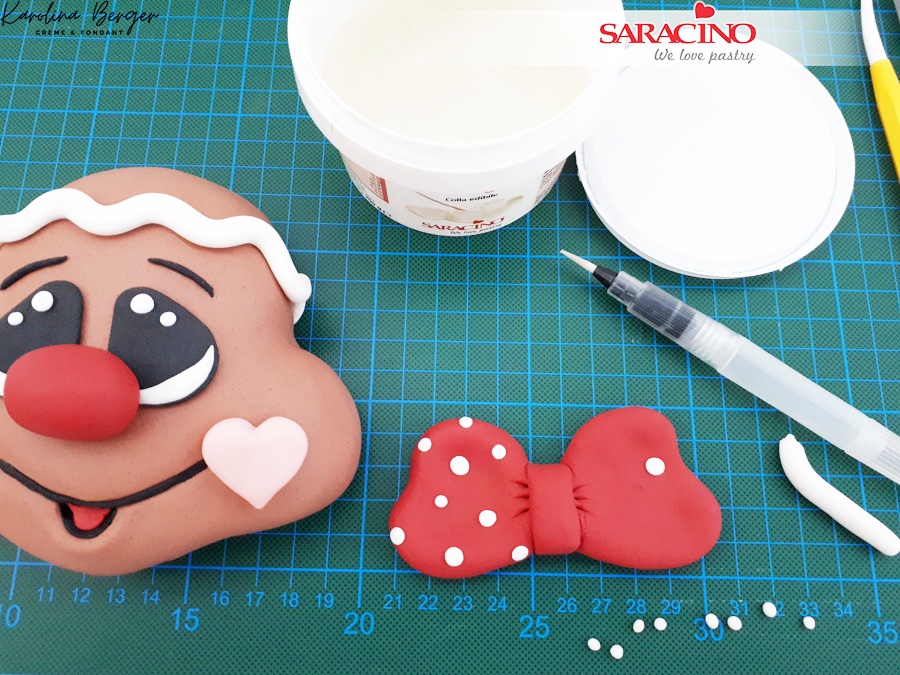
Fix eyes to the face. Make a nose using red fondant. For the cheeks shape two hearts using pink fondant.
Step 15
Using a cake smoother roll out a thin sausage with white sugarpaste
Step 16
Attach it to the top of the head creating a wave of snow
Step 17
Using your modelling tools create a deeper smile. Fix the black tongue. Position your nose on the face to see if it the correct proportion. Do not fix yet!
Step 18
Roll out black to a thin sausage shape and insert to define the mouth and eyebrows. Fix the cheeks.
Step 19
Make a bow with red fondant and decorate with white dots. Use your template to achieve the bow size and shape. Use a small amount of red paste to colour the tongue.
Step 20
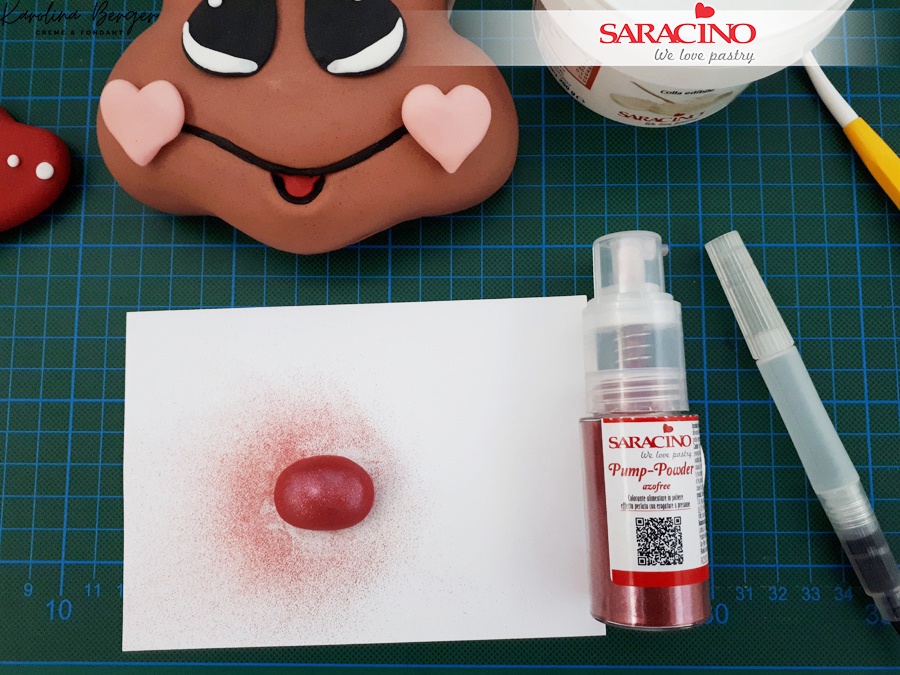
Remove the nose from the face and spray with Saracino pump-up red glitter
Step 21
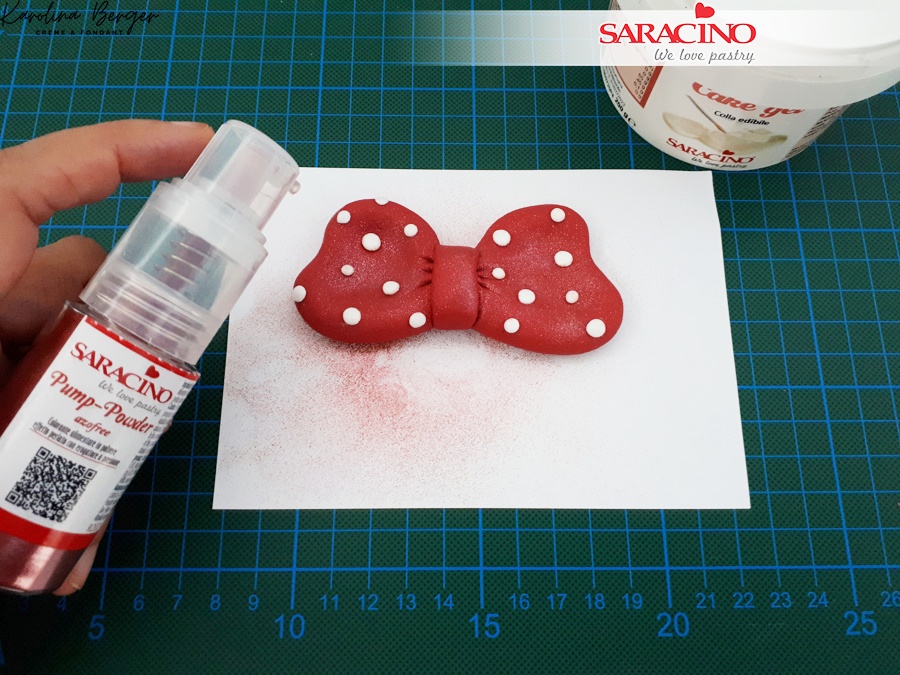
Also spray the bow and put aside
Step 22
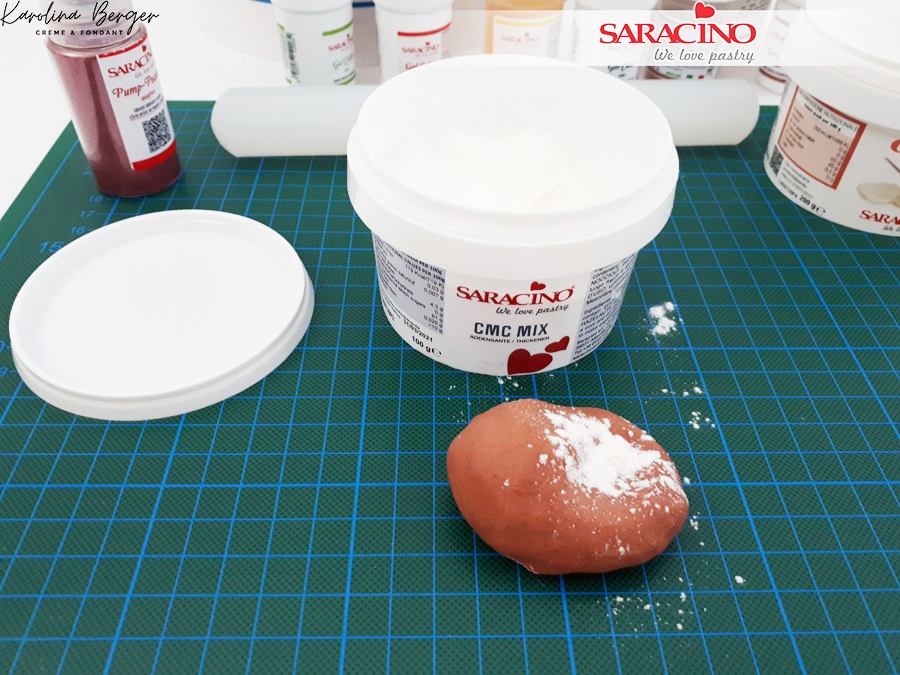
For the gingerbread man arms add cmc to a small amount of brown sugarpaste. Shape to the arm size on your template.
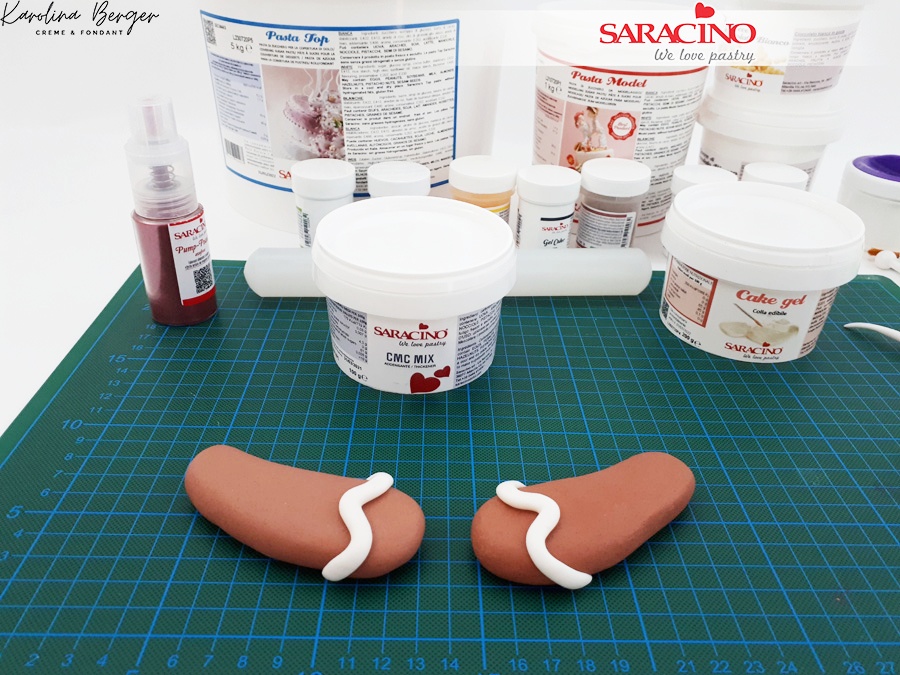
Step 23
Roll thin sausage using white sugarpaste and create waves on the ends
Step 24
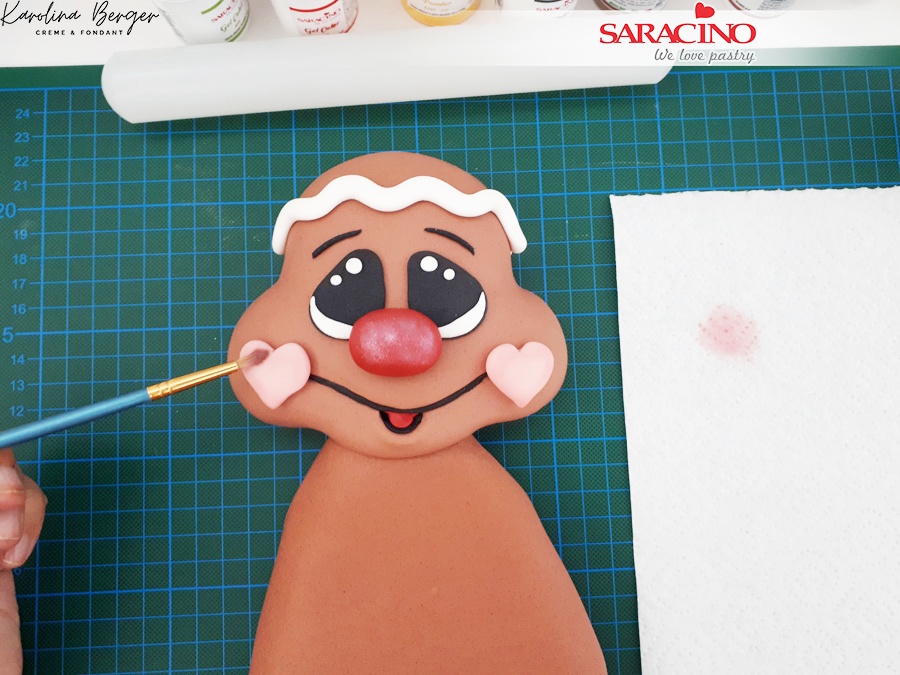
Attach the nose and dust the cheeks with pink powder colour. Fix the head to the body using edible glue and cocktail sticks.
Step 25
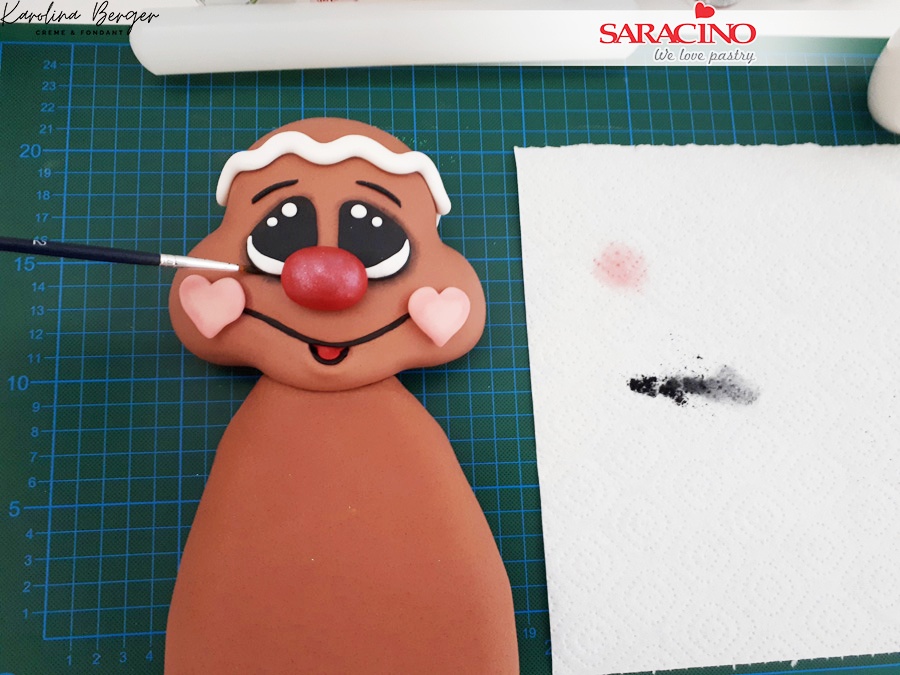
Using black powder colour shade the eyes
Step 26
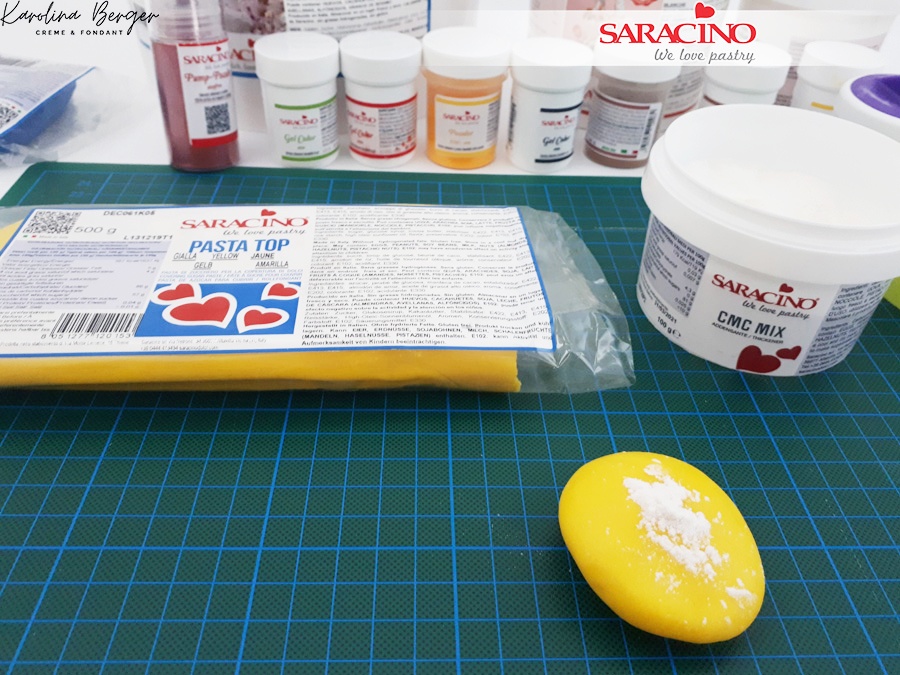
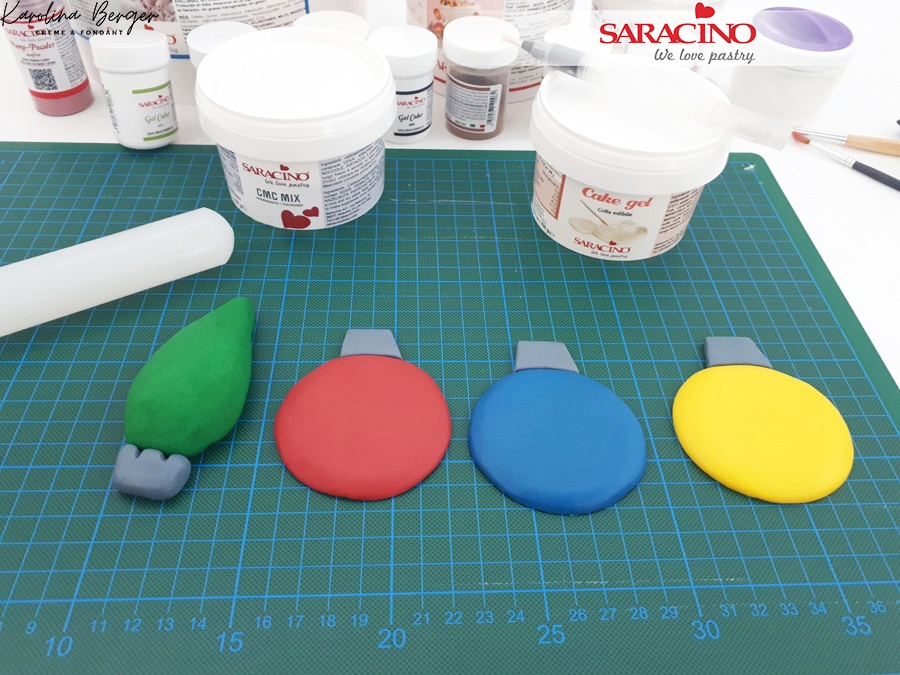
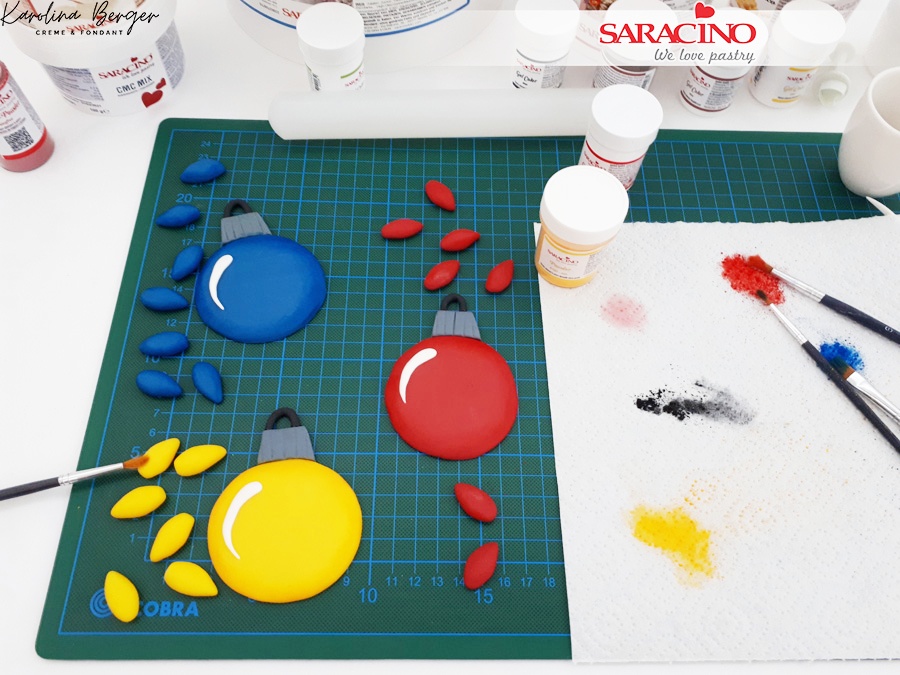
You will now need yellow, blue and red baubles. You can use pre-coloured paste or add gel colours. When you are ready add a little CMC to each colour.
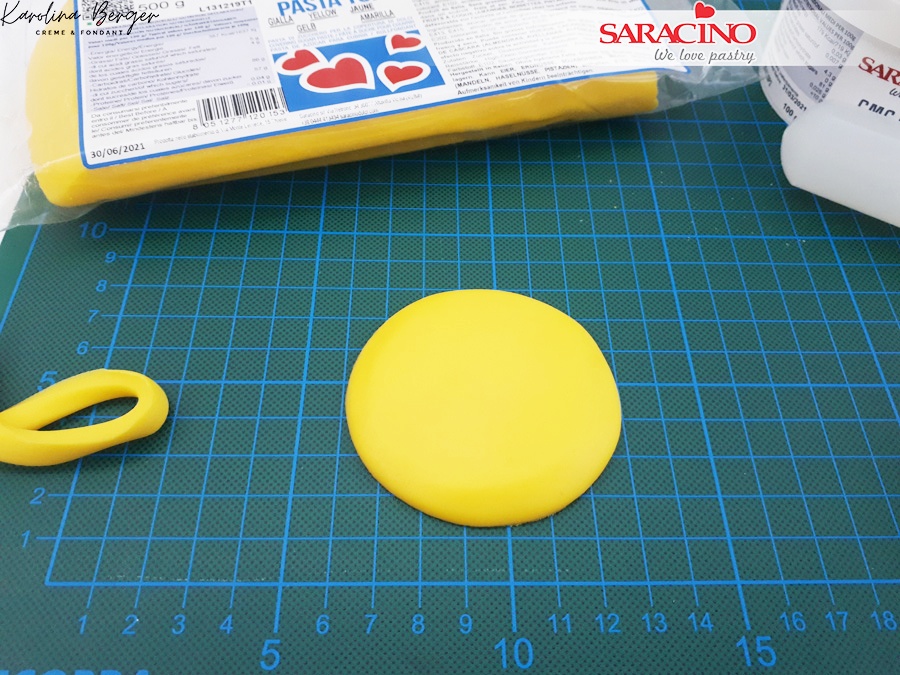
Step 27
Roll out the sugarpaste and cut a circle

Step 28
Using your finger or thumb smooth the edges of the circle
Step 29
Keep it nice and circular as shown. Now repeat for the blue and red.
Step 30
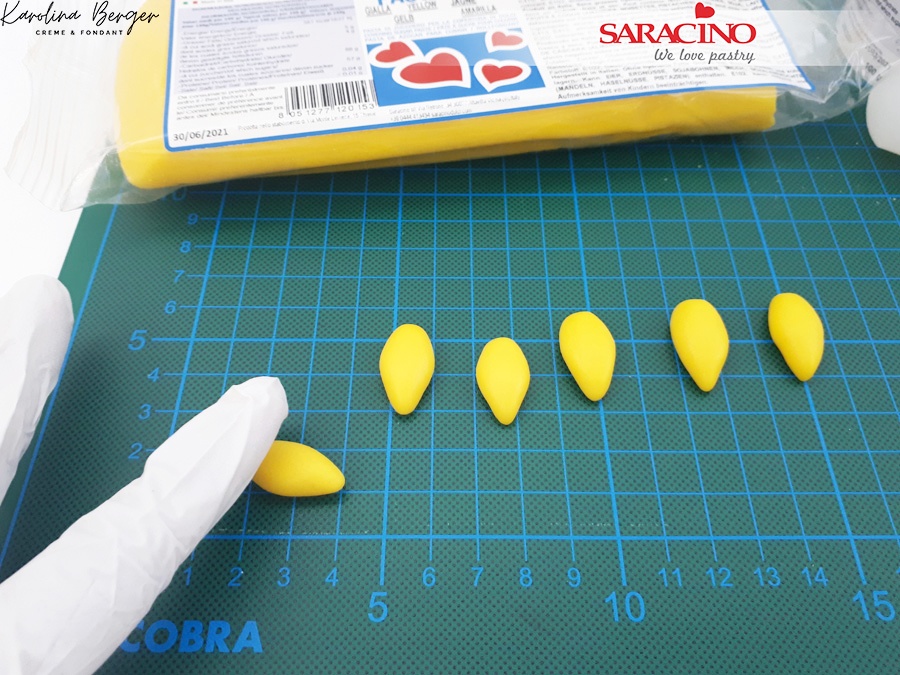
For the Christmas lights add CMC to yellow sugarpaste and roll teardrop shapes.
Step 31
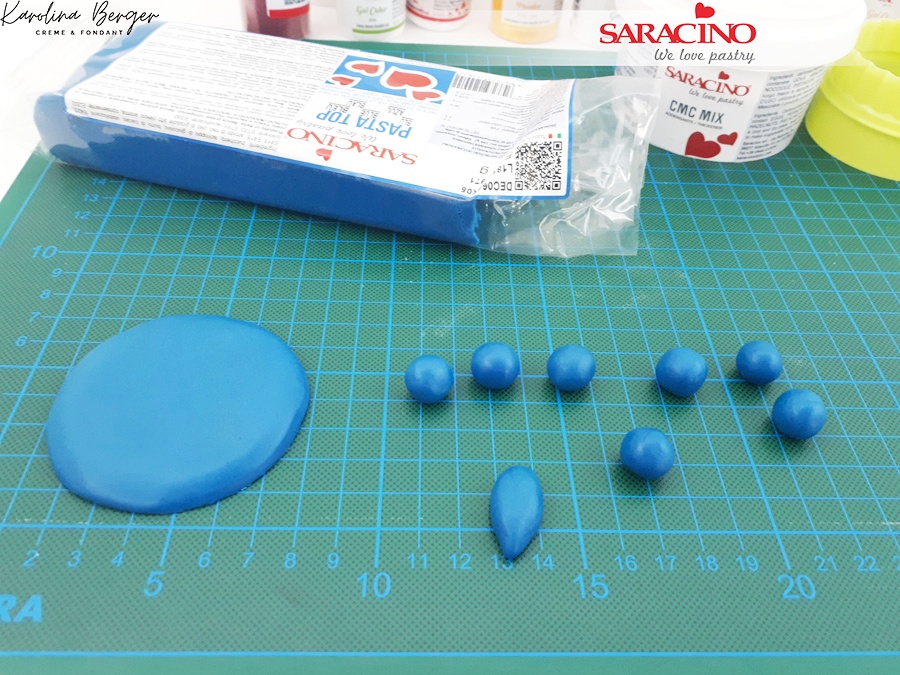
Repeat for blue and red lights. You will need a few of each colour. You can decide how many lights you would like.
Step 32
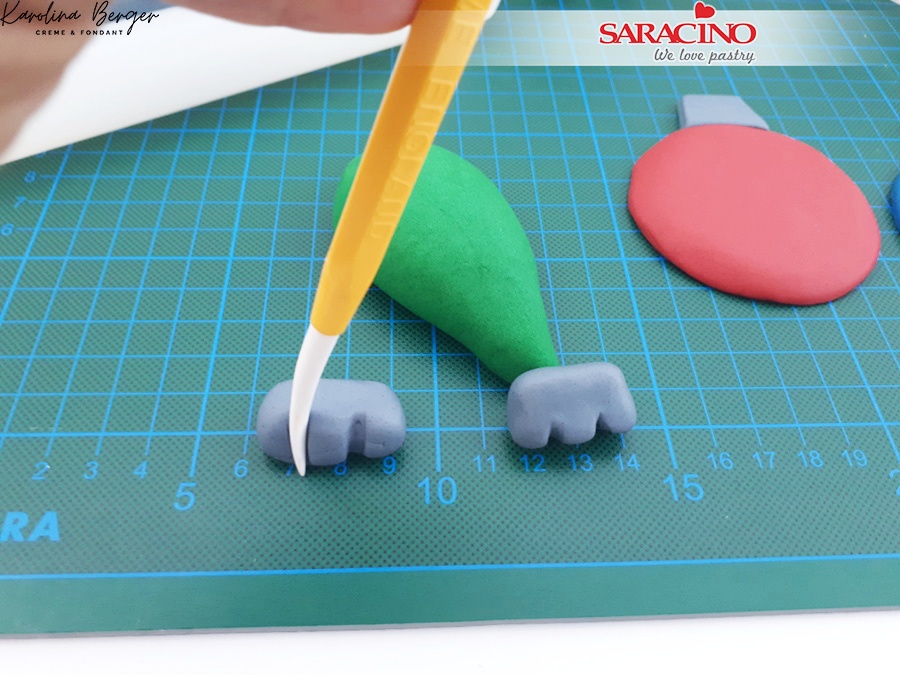
For one bigger Christmas bauble roll green paste into a ball
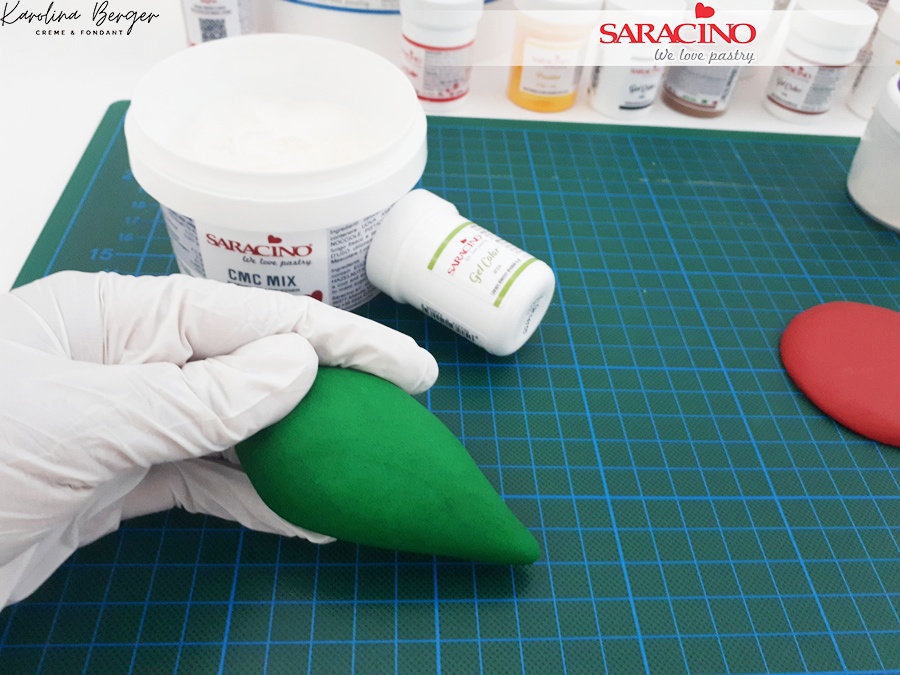
Step 33
Shape it into a cone
Step 34
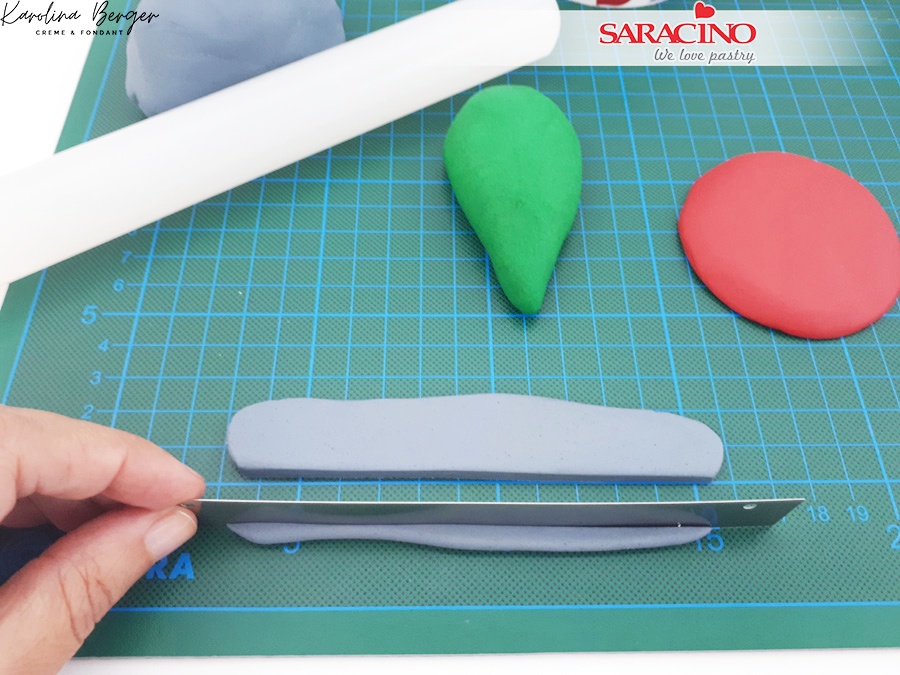
For the upper part of the Christmas bauble mix white sugarpaste with black gel colour to achieve light grey. Then roll it and cut a strip.
Step 35
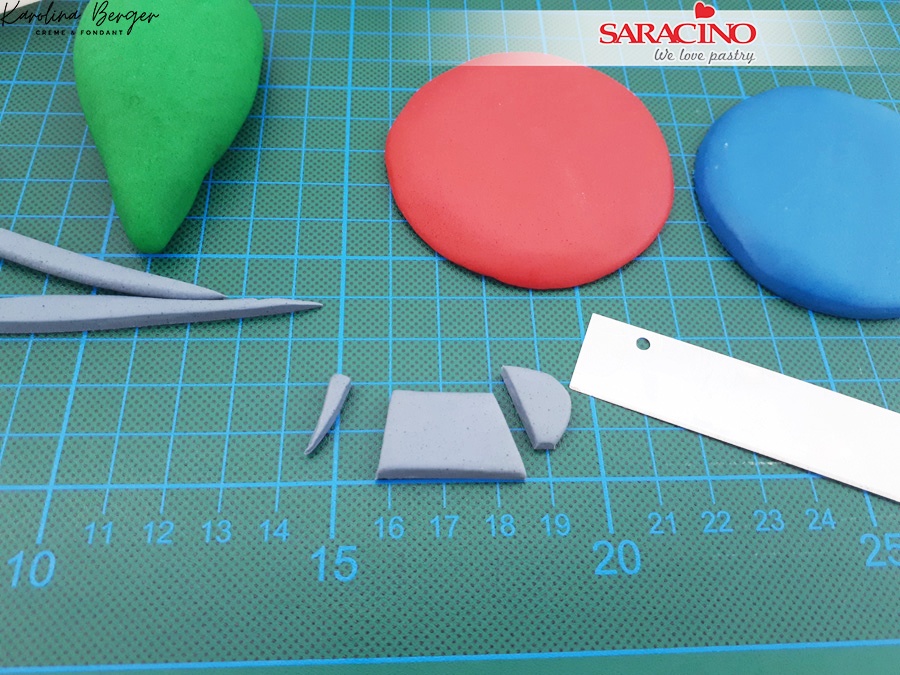
Cut out the shape shown for the top of all the baubles
Step 36
For upper part of larger Christmas bauble knead some grey paste with cmc and create a ball. Flatten it with your fingers and make two groves with modelling tools.
Step 37
Fix them to the top of each bauble using a little edible glue. This is how they should look
Step 38
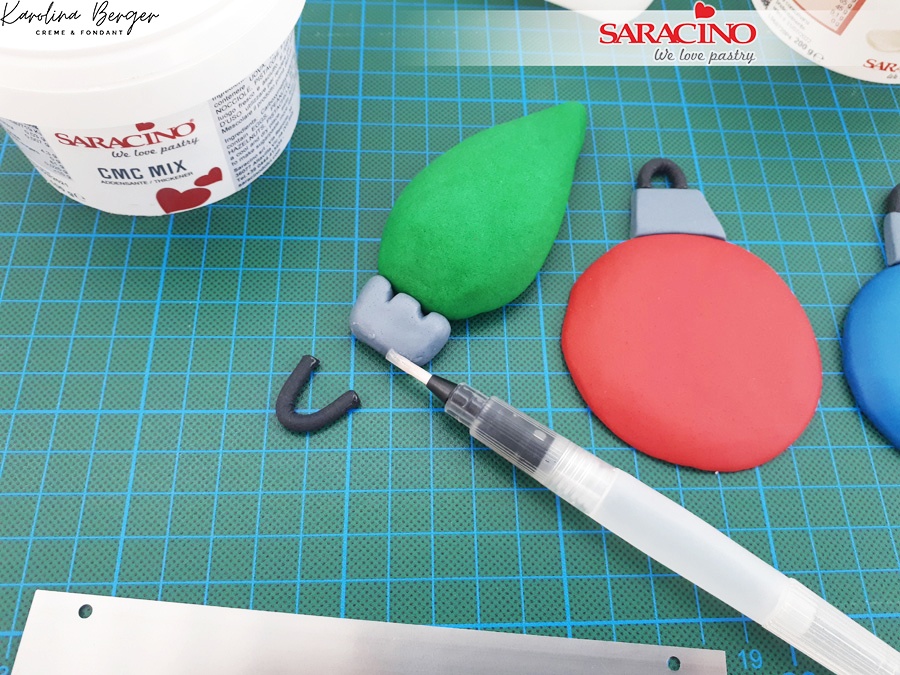
To make little hangers roll out black paste into a thin sausage and fix to the upper part of the Christmas baubles.
Step 39
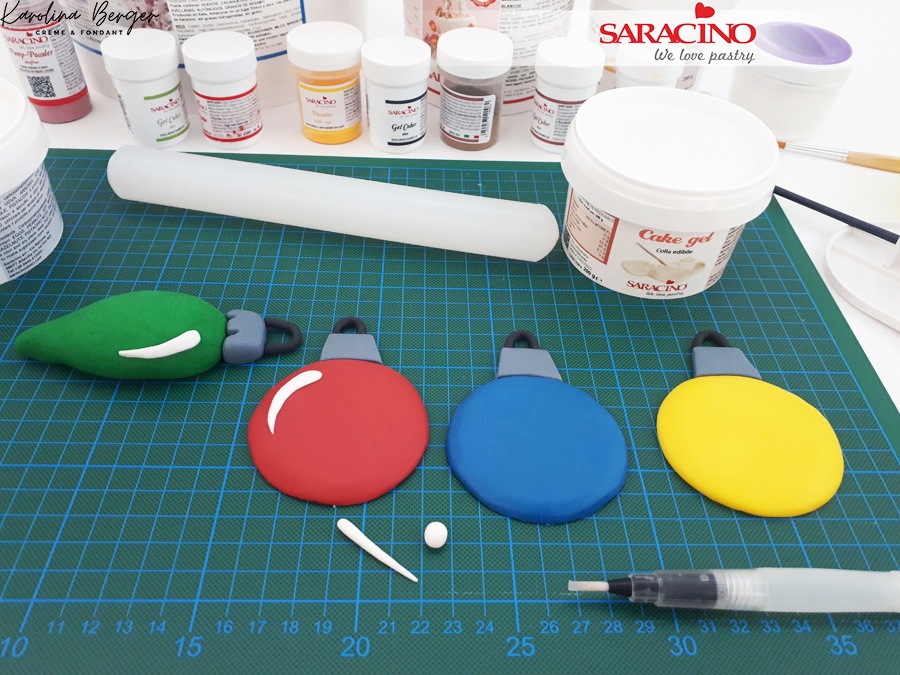
Using white fondant roll some lines and add to the baubles
Step 40
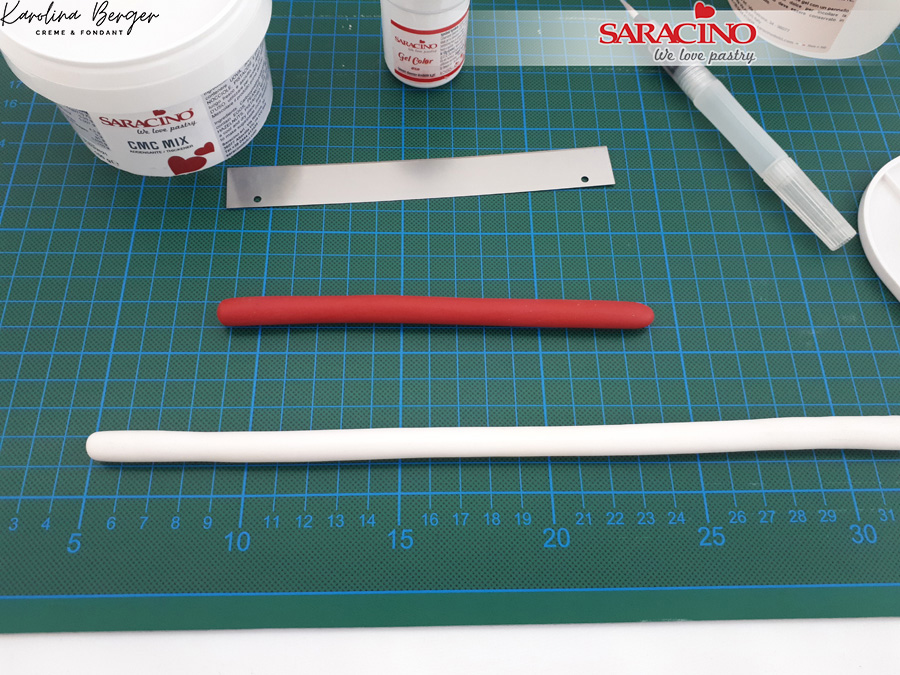
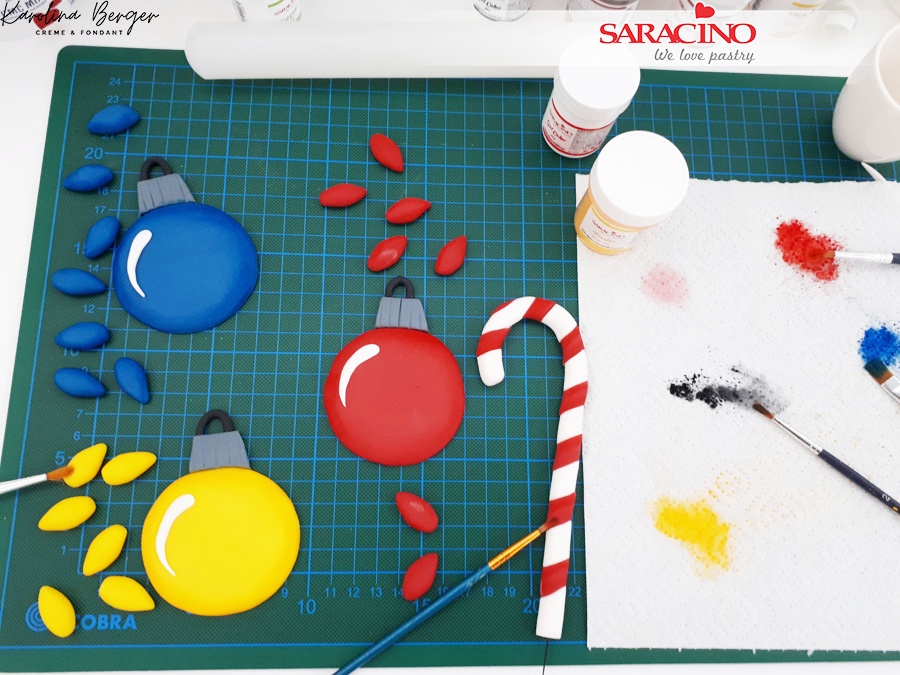
To make the candy canes roll a thin sausage shape using white and red paste. Both sausages need to be the same diameter.
Step 41
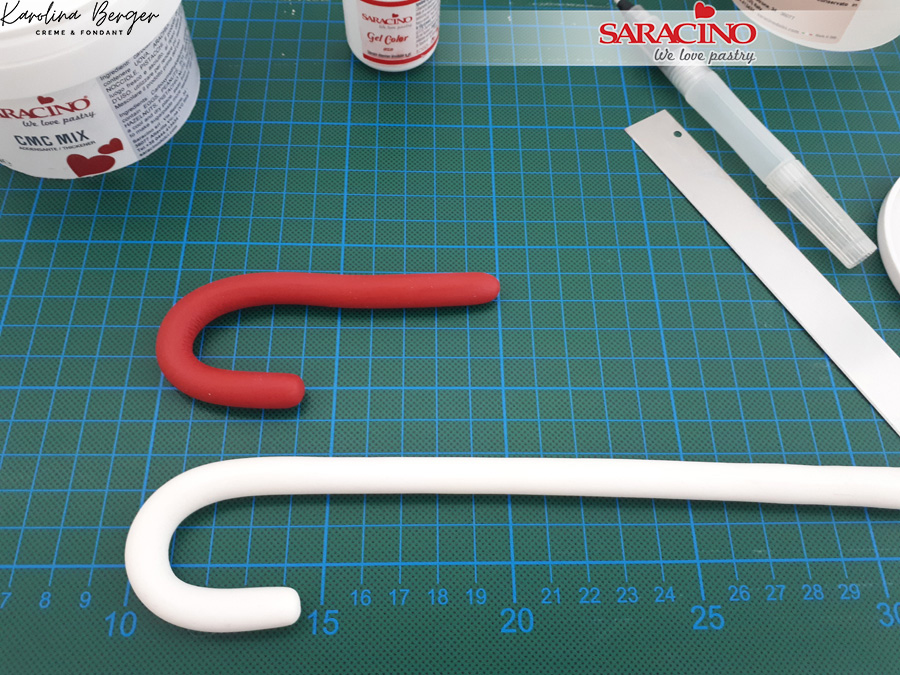
Create a hook shape at the top of each cane.
Step 42
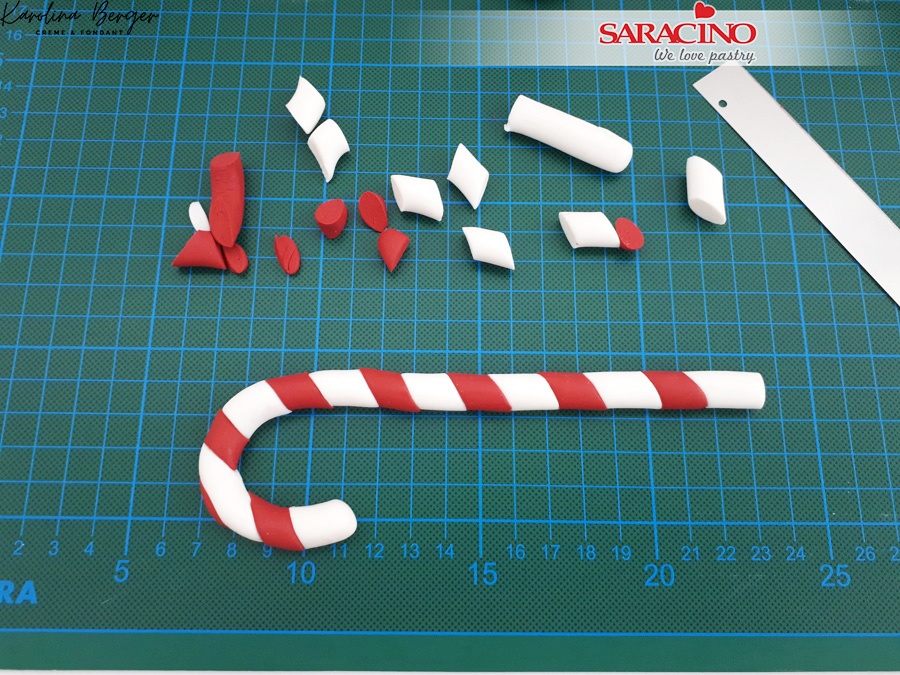
Using a sharp blade cut both in small diagonal regular pieces. Connect together using small amount of cake gel or a little water. You need to alternate the red and white to form the candy stripe as shown.
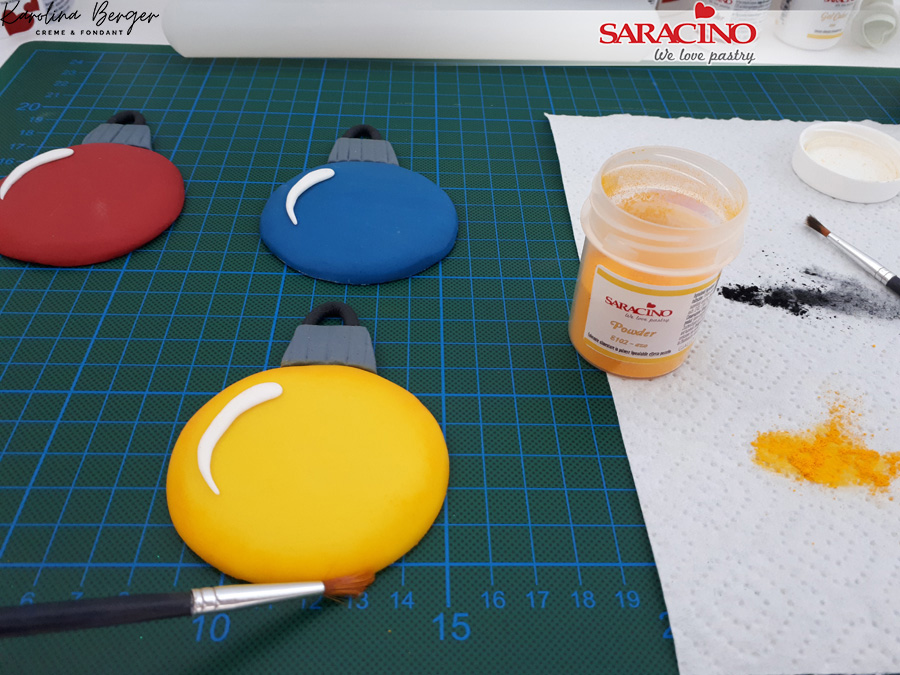
Step 43
Using yellow powder colour shade the edges of the yellow bauble. Use a modelling tool to form lines in the top grey piece of each bauble.
Step 44
Repeat with other baubles and Christmas lights
Step 45
Using red powder colour add some shading to candy cane

Step 46
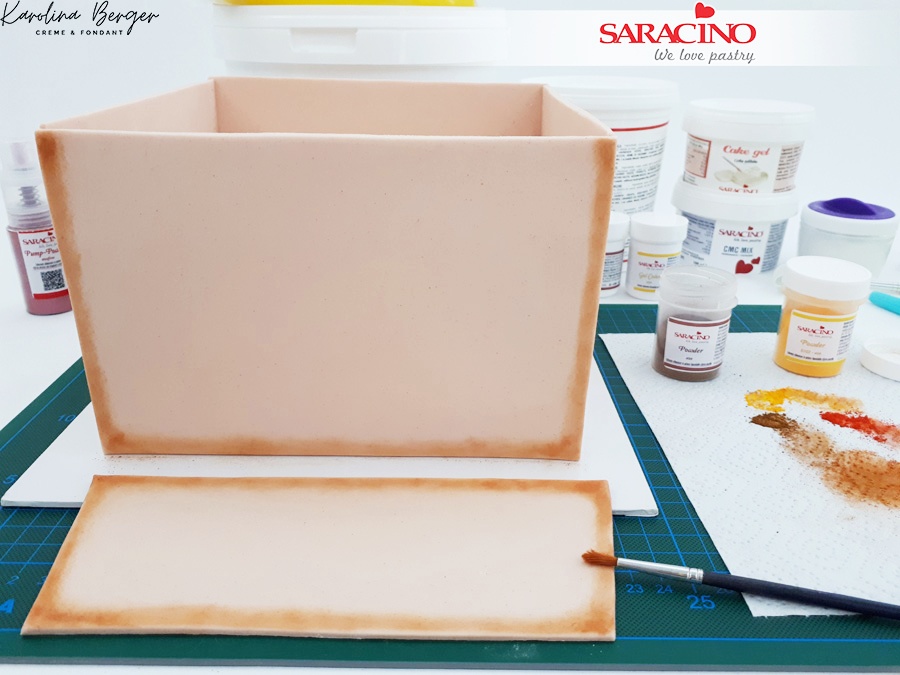
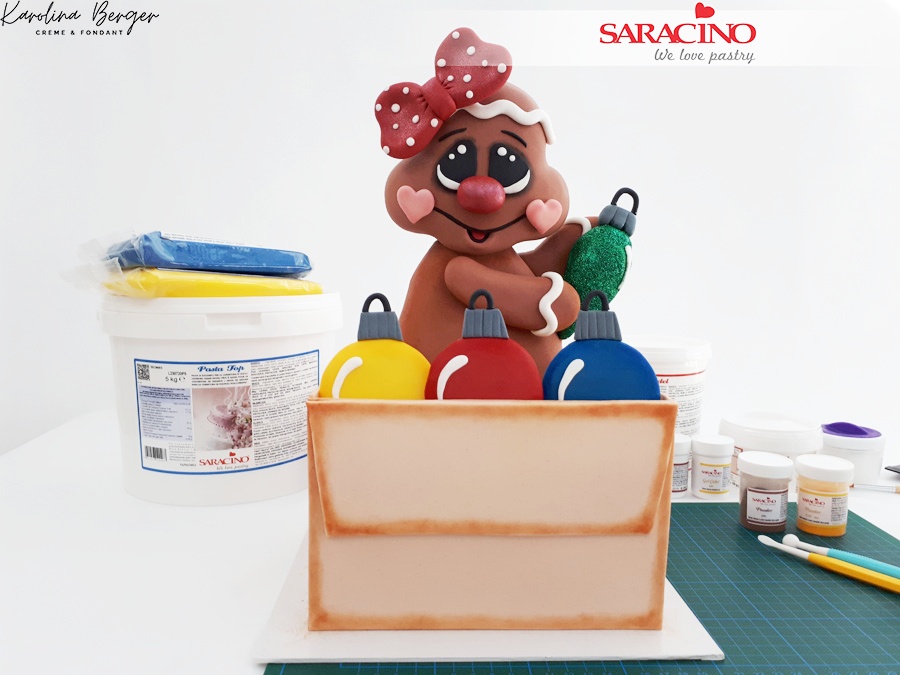
Mix brown, yellow and orange powder to dust the box corners.
Step 47
Your box should look like this.
Step 48
Now for the open lid of the box. Using the same sugarpaste used to cover the box, roll it and cut a smaller rectangle with the width matching the front of the cake. Shade the edges and fix to the cake to make the ‘open box’ effect

Step 49
So it looks like this when fixed. Repeat for the three other flaps of the box. Allow to go hard the CMC will help this.
Step 50
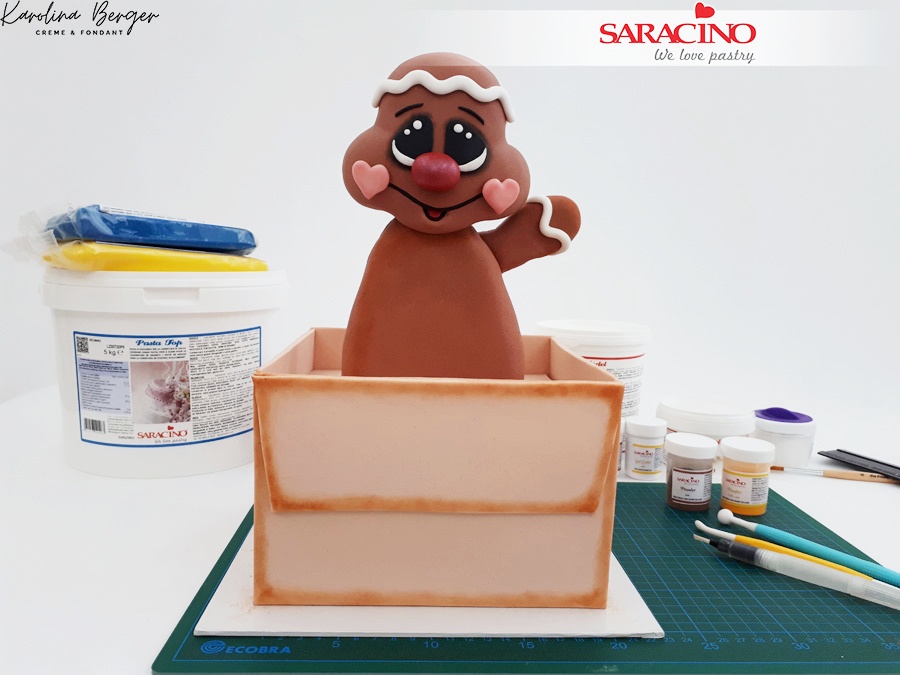
Position and fix your gingerbread man to the top of the box. Now fix one arm. You can use edible glue and if needed a cocktail stick.
Step 51
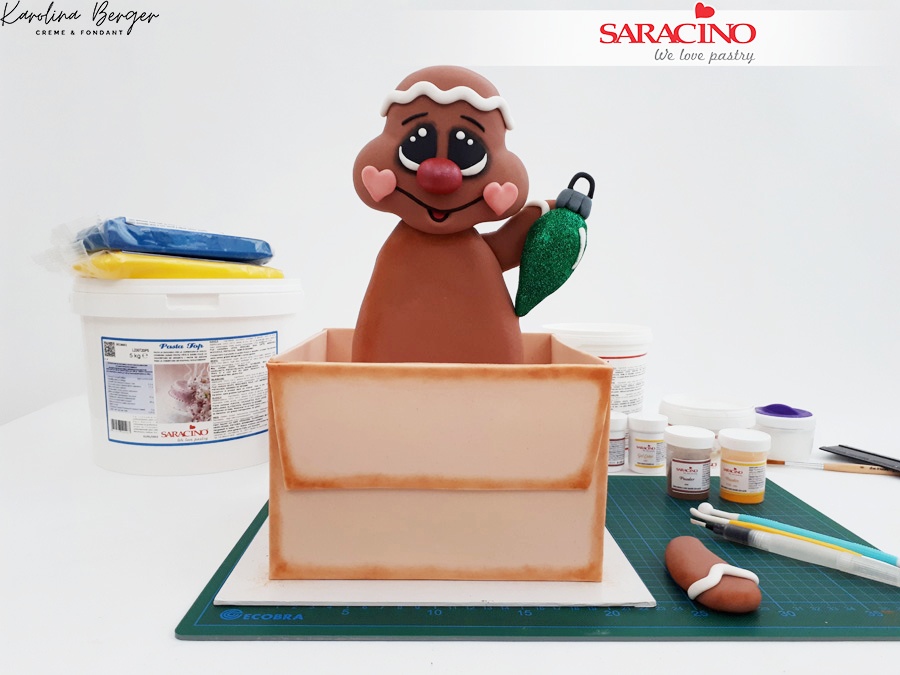
Colour the Christmas bauble with green glitter and add a line of white sugarpaste. Fix the green bauble to the arm and body.
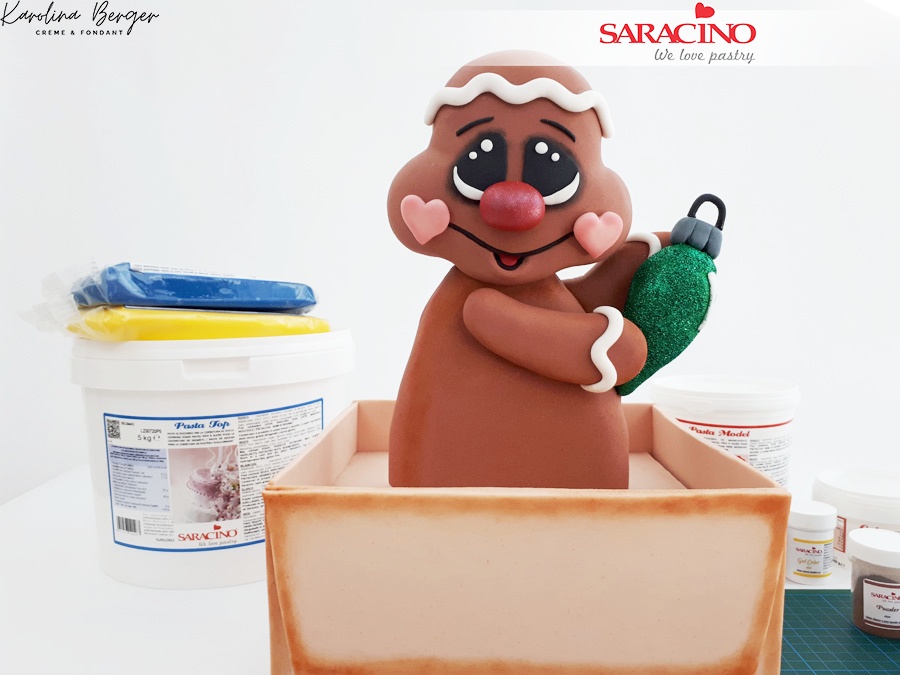
Step 52
Fix the other arm so it is in a position where it looks like it is holding the large green bauble.
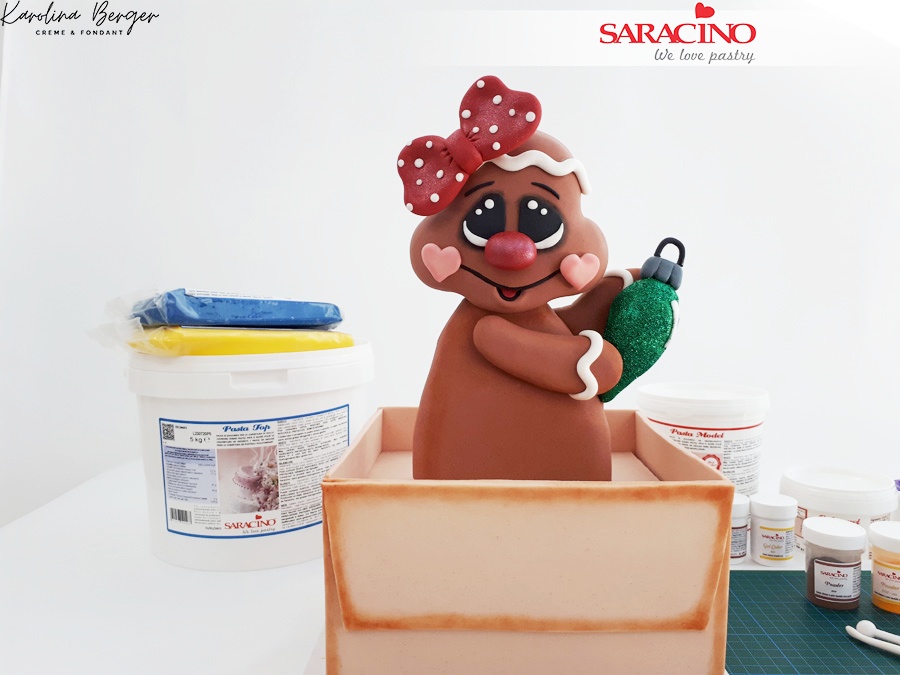
Step 53
Fix the bow to the top of the head.
Step 54
Add the Christmas baubles inside the cake
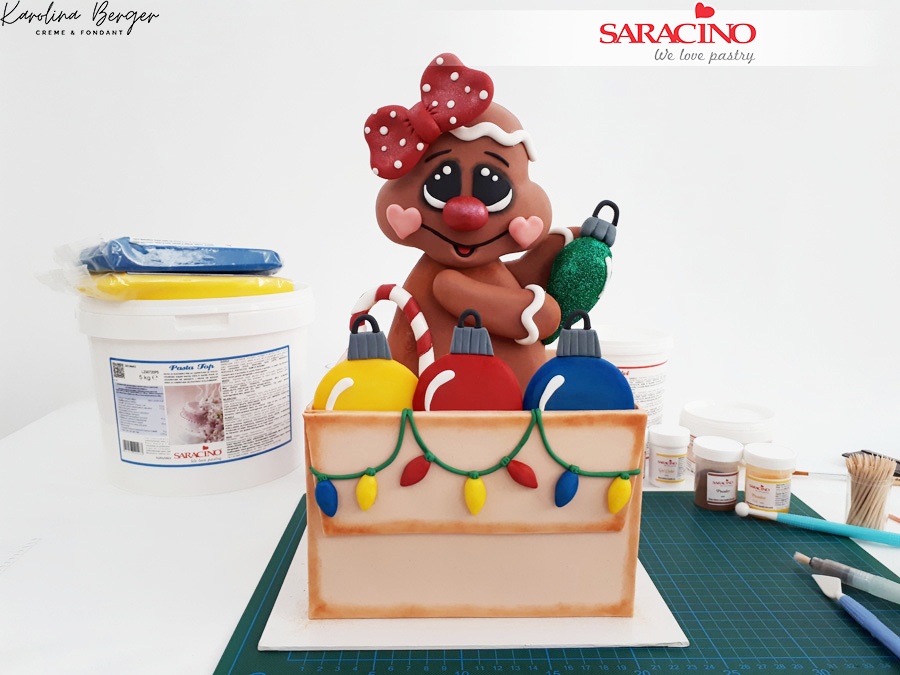
Step 55
Roll a thin green line and create the light cable. Fix on the cake as shown.
Step 56
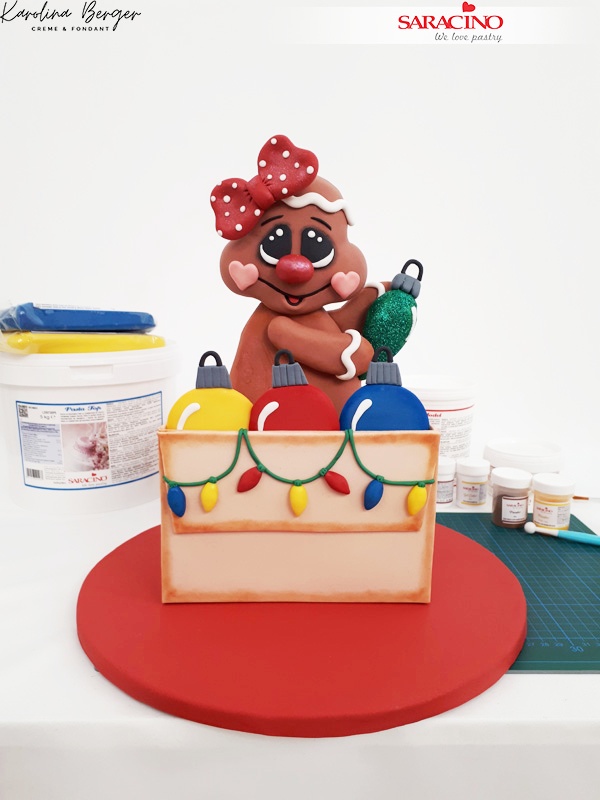
Cover the cake board with red sugarpaste and sit the cake on the board
Step 57
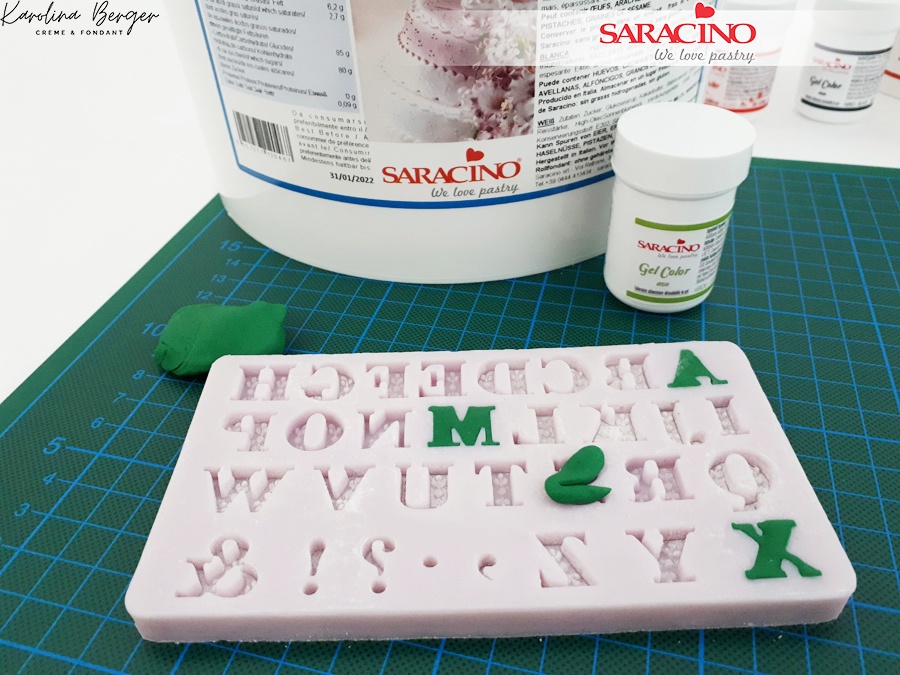
We have used a mould with green fondant to create the greeting. Fix to the side of the cake.
Step 58
Add the candy canes. The canes can be decorated with holly if you want to add more detail. Extend your Christmas lights onto the board as shown.
Once the sides of the box have set fix them to the top of the open box. You may need to support the flaps temporarily whilst they dry into an open position as shown.
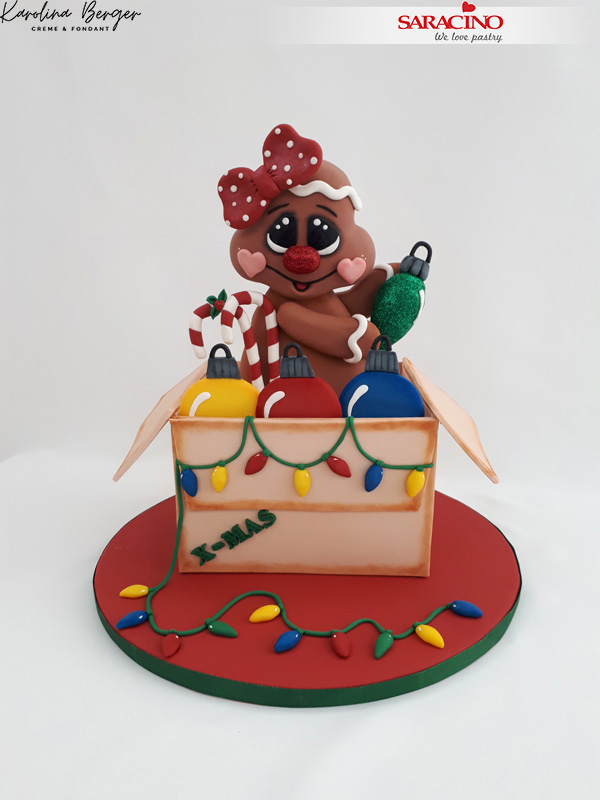
Step 59
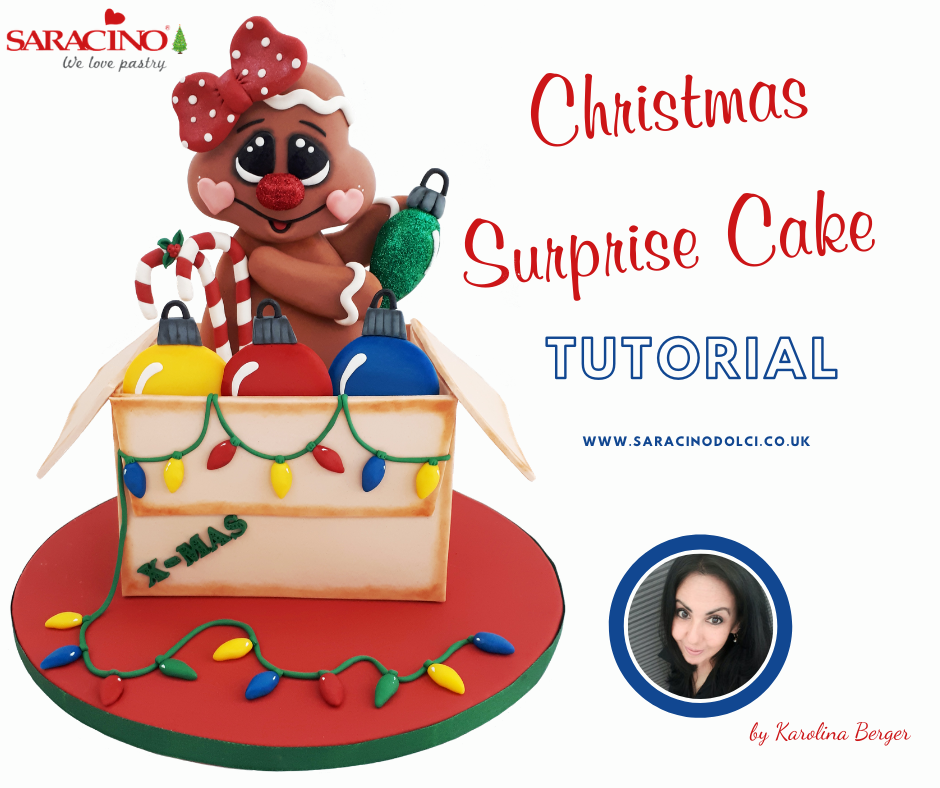
Your cake is ready!
