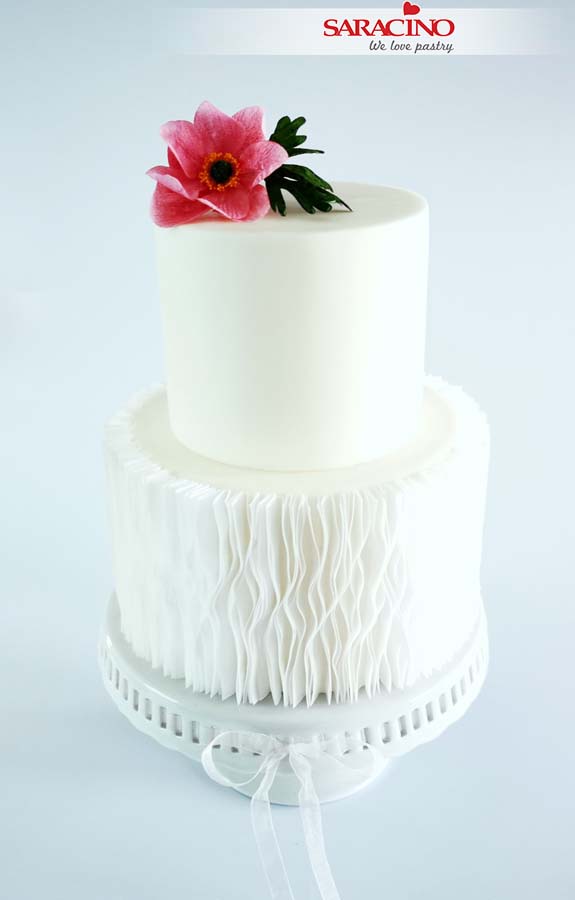
You will need:
- Saracino wafer paper 0.27
- Saracino cake gel
- Cake covered in Saracino white Pasta Top
- Saracino gel colour – pink, yellow and green
- Saracino dust colour – pink and green – optional for leaf
- Clear alcohol
- Gelatin
- Dresden tool
- Small brushes
- Soft flat large brush
- Scissors
- Ruler
- Flower wire gauge 32 and 22
- Wire cutters
- Floral tape
- Posy pick (large)
- Petal veiners/ cutters
- Small ball tool
- Small clear containers/ plastic shot glasses
- Mini stamens

Step 1
Measure the height of the bottom tier of your cake with a ruler or measuring tape.

Step 2
Mark your measurement on a sheet of wafer paper, mine was 13cm high and I have set 3cm width for the strips – you can go wider if you want to.

Step 3
Use your first piece as a guide to cut out several strips of the wafer paper.

Step 4
Using a small brush apply glue to half of the rough side of the wafer paper. We will need to bend it in half lengthways with the glue side facing out.

Step 5
Your first strip should look like this with the glue side ready to fix to the cake.

Step 6
Fix the first strip vertically to the side of the cake.

Step 7
Repeat to make another bent strip. Add a little glue and fix above the first strip so we now have two ruffles facing outwards.

Step 8
Continue the process trying to keep the gap between strips equal.

Step 9
Continue all the way around the cake. The last pieces will need to be narrower to close the final gap.

Step 10
For the petal template draw around your flower veiners or cutters with a dark pencil as it will be easier to see the outline under the wafer paper.

Step 11
Place a piece of wafer paper on top of your template and using the small ball tool or back of a brush draw around it applying light pressure, it will give you a slight indentation but wont rip your wafer paper and you will be able to use your template multiple times. Trace the outline of 3 – 5 big petals, 3 medium and 3 small depending on how full you want your anemone flower to be.

Step 12
Cut out all the petals with scissors – you can double or triple layer your wafer paper sheets to cut out a few at a time. Do not go any more in layers as your petals will have rough edges and we don’t want that.

Step 13
Cut all the petals from the bottom narrow end to about half the length. Cut your 32 gauge wires into three pieces equal in length.

Step 14
Apply a little bit of glue – be gentle with the amount – on one side of the cut and place the wire on the glue. We need to leave the other side of the cut dry with no glue as we will lap it over the wire in the following steps.

Step 15
Your wire should be positioned as shown.

Step 16
Cross over the dry side and press over the wire to fix as shown.

Step 17
Cut off the two small triangle shapes. Put the petals aside allowing them a few minutes to dry completely.

Step 18
For the centre of the flower cut your 22 gauge wire in half. Roll the end to a small spiral shape as this will help to shape the centre. Cut a strip of wafer paper to about 10cm by 1.5cm.

Step 19
Apply glue to the strip on both sides.

Step 20
Put your wire with the spiral end on to the strip and start rolling the wafer paper around the wire until you have wrapped the whole strip and formed a rough ball shape.

Step 21
Shape with your fingers to give the centre of your anemone flower.

Step 22
Prepare gelatine, green Saracino powder colour and a small container.

Step 23
Add some gelatine and green Saracino powder colour into the container and mix well to create the pollen look.

Step 24
Apply a little glue to the ball center we created earlier and dip into the pollen.

Step 25
Make sure that the whole ball is covered and set aside to dry.

Step 26
When the petals are dry it is time to paint them. Mix a little pink Saracino gel colour with clear alcohol.

Step 27
Dip the brush into the colour mix and dry the end on a paper towel to remove most of the paint. Brush the petals on both sides. Do not over wet the petals you just want them damp and catching the colour.

Step 28
After painting place in the petal veiner and press firmly to make sure the veins are going to be visible.

Step 29
Remove from the veiner and curl the edges of some petals slightly using the back of your brush to add a little bit of movement to the finished flower. Set aside to dry.
Step 30
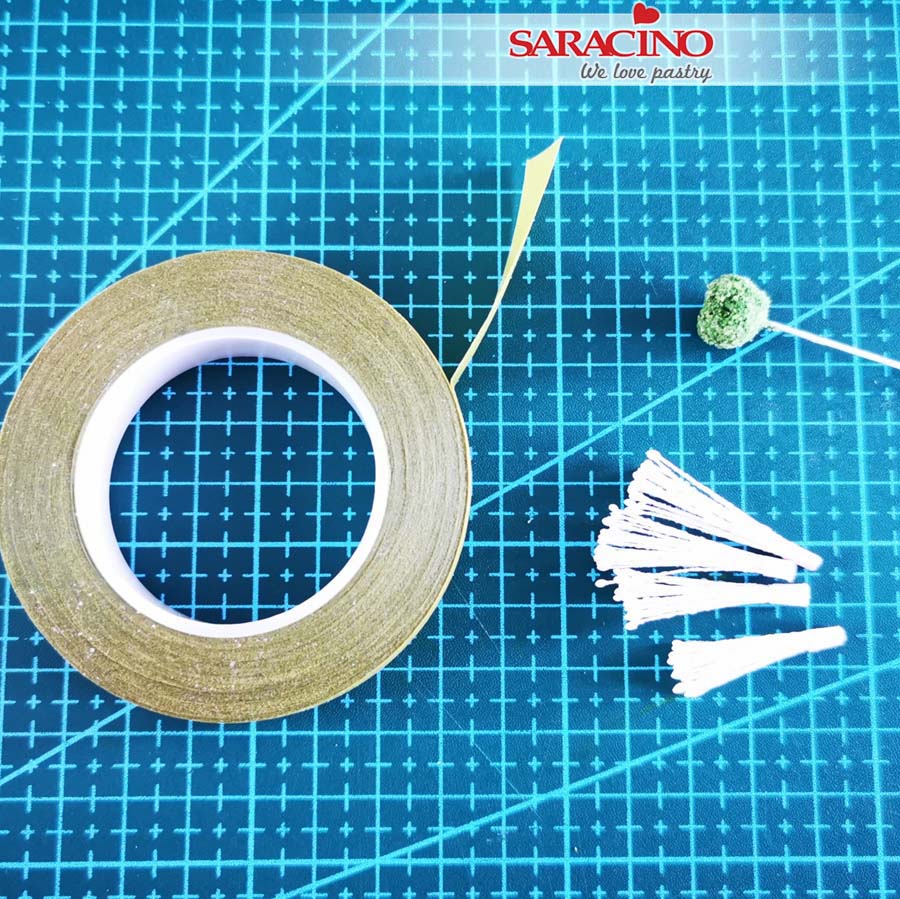
Prepare your mini stamens (cut them in half), the florist tape and the centre that should be completely dry.

Step 31
Arrange the stamens around the center. We want plenty to give a dense look. Tape the stamens to the wire.

Step 32
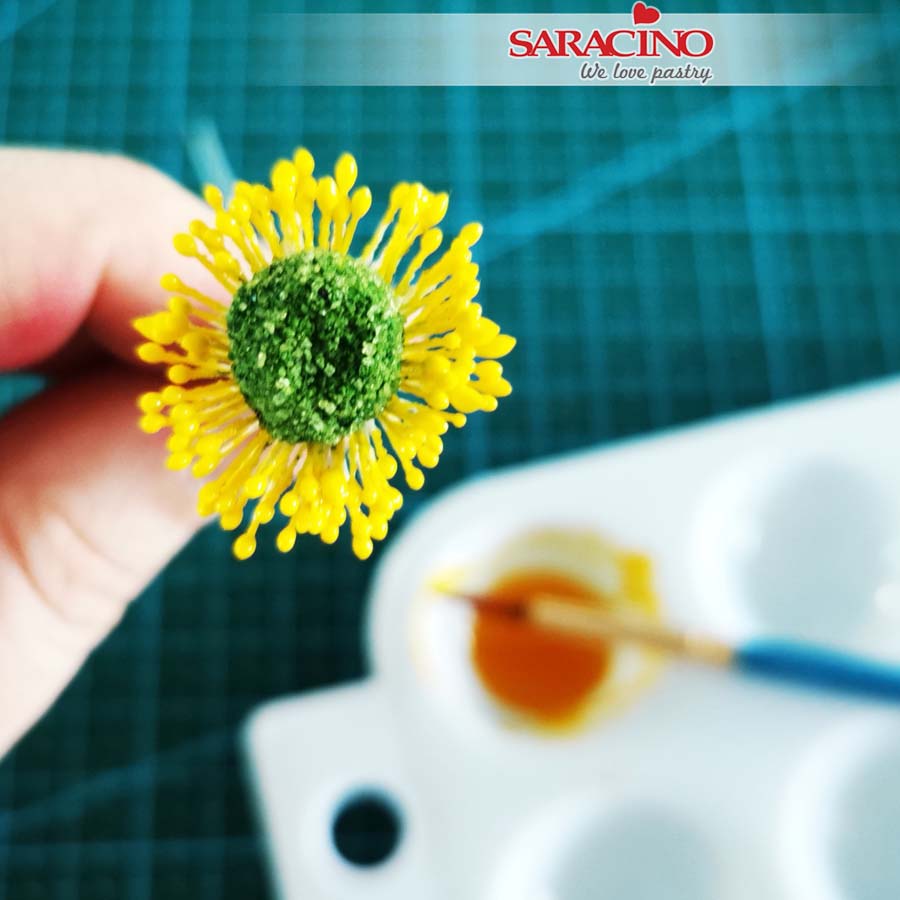
Mix yellow (or black if you prefer) Saracino gel colour with a little clear alcohol.
Step 33
Paint the tips of your stamens to create yellow or black. Leave to dry.
Step 34
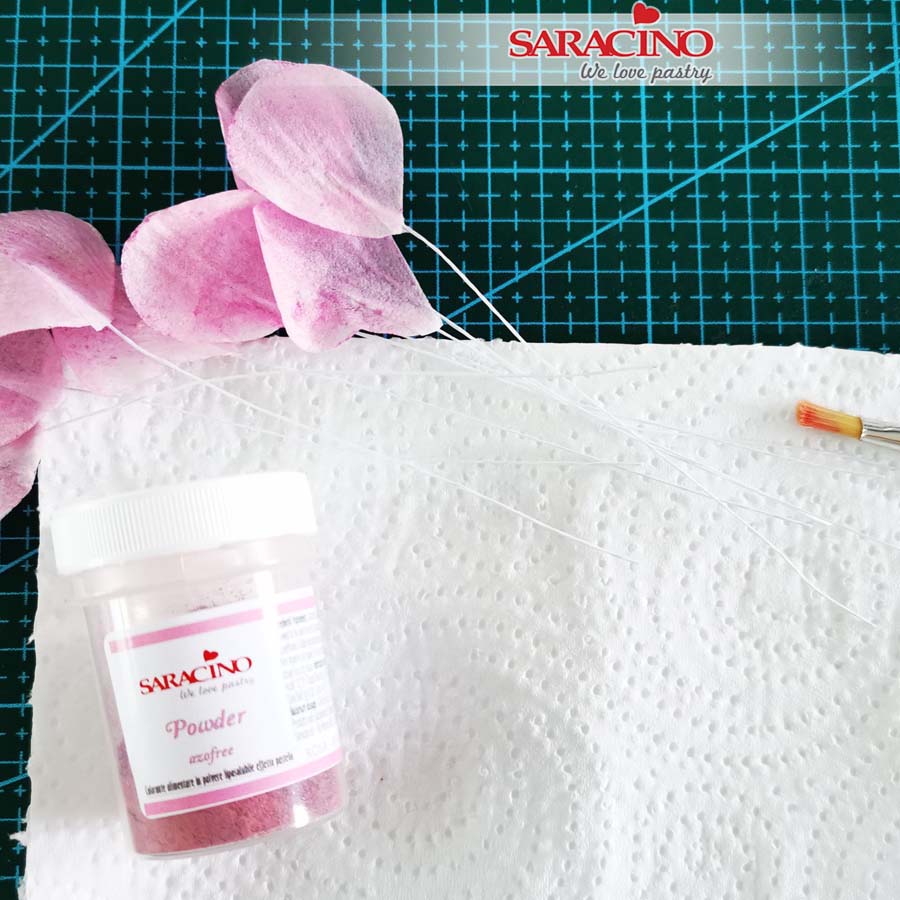
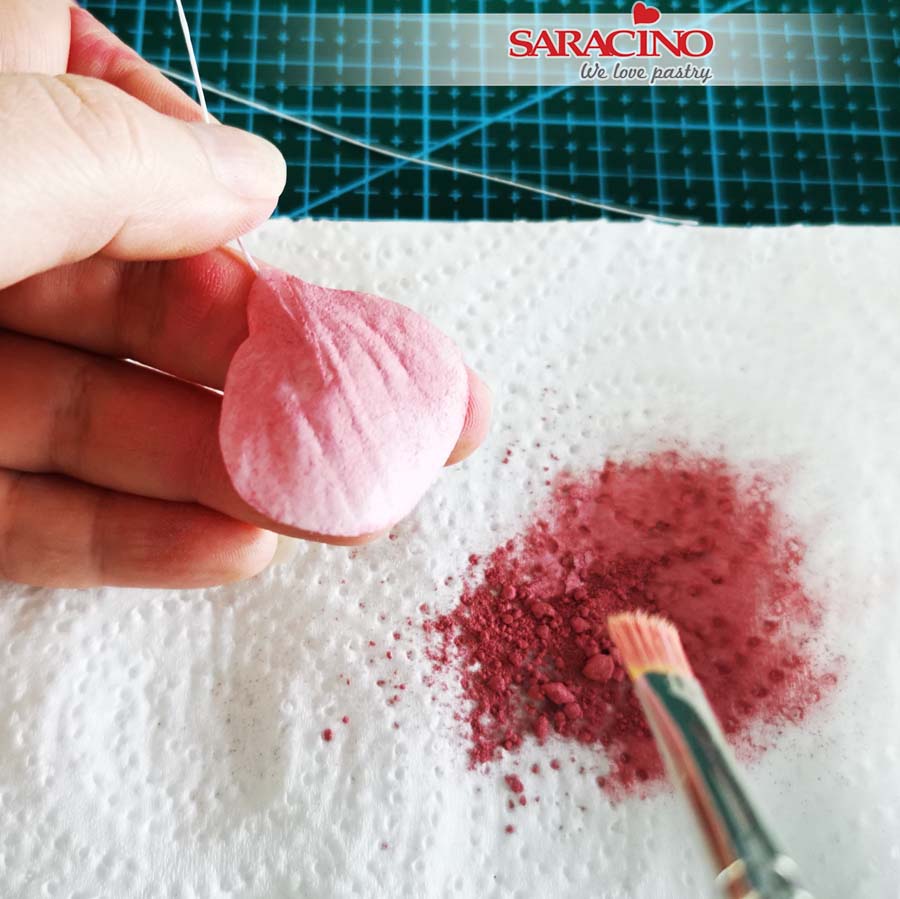
When the petals are dry we can dust them using pink powder colour to bring out the veins.
Step 35
Dust both sides of the petals from the bottom to the top. Leave a lighter colour on the edge to give your petals a more natural look.
Step 36
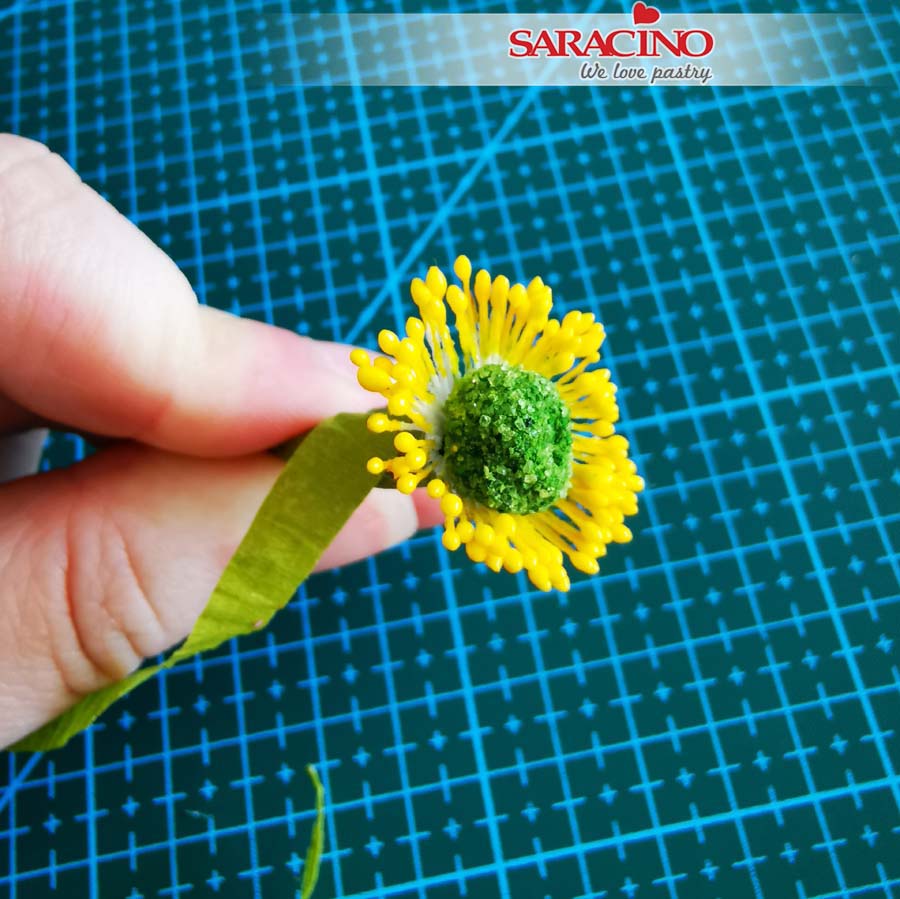
To assemble our Anemone flower start by cutting the tape in half if you are using a full width tape as it will look neater. Wrap the tape around the centre from the base of the ball.
Step 37
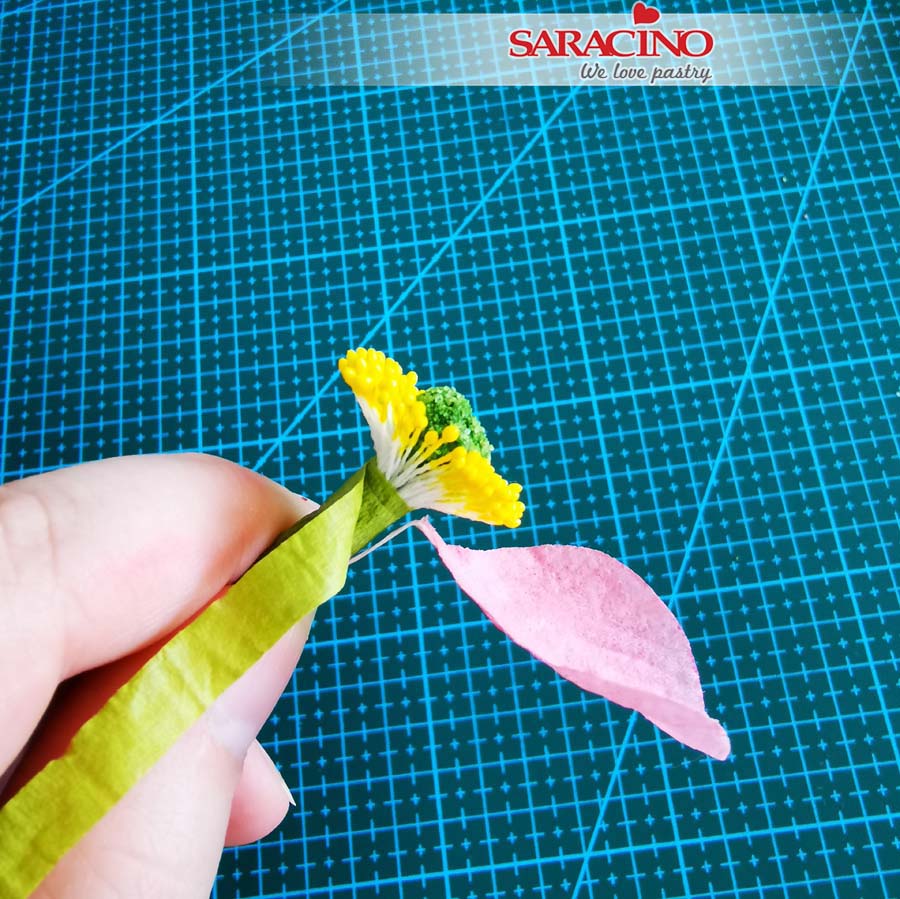
Starting with 3 of the small petals, bend the wire at the base of the petal to enable easier assembly and taping.
Step 38
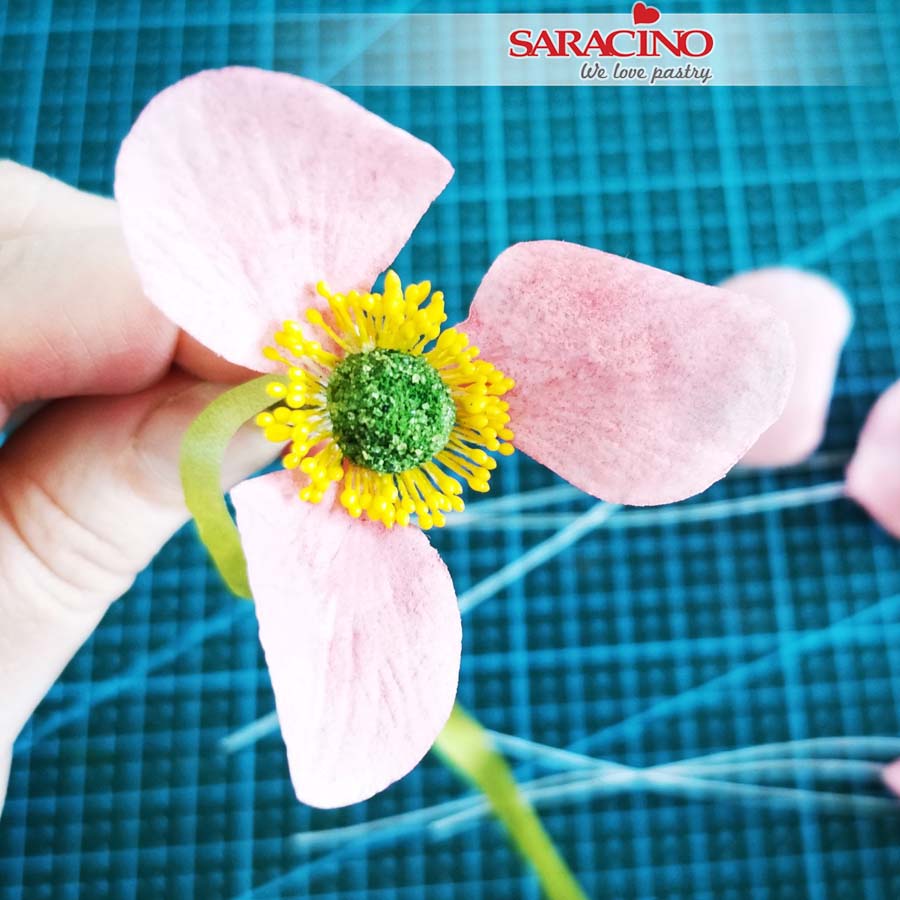
Attach the small petals to the centre spacing them out evenly.
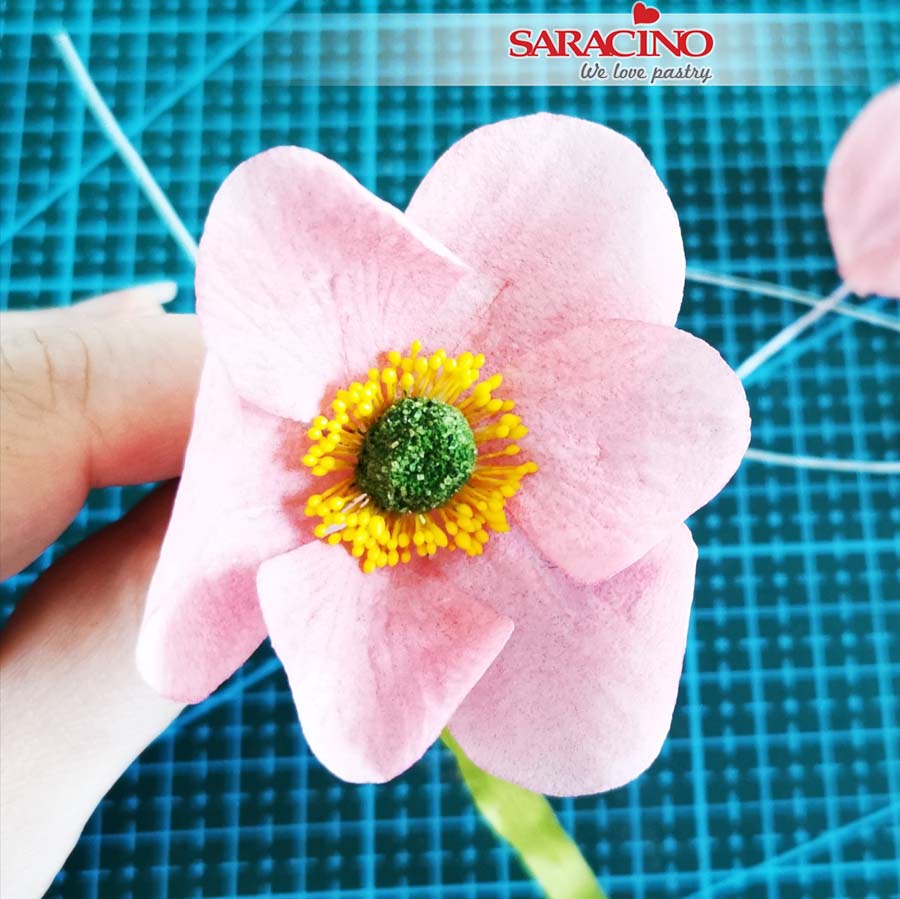
Step 39
Repeat the process with the medium petals, making sure they are positioned in the gaps created by the small petals.
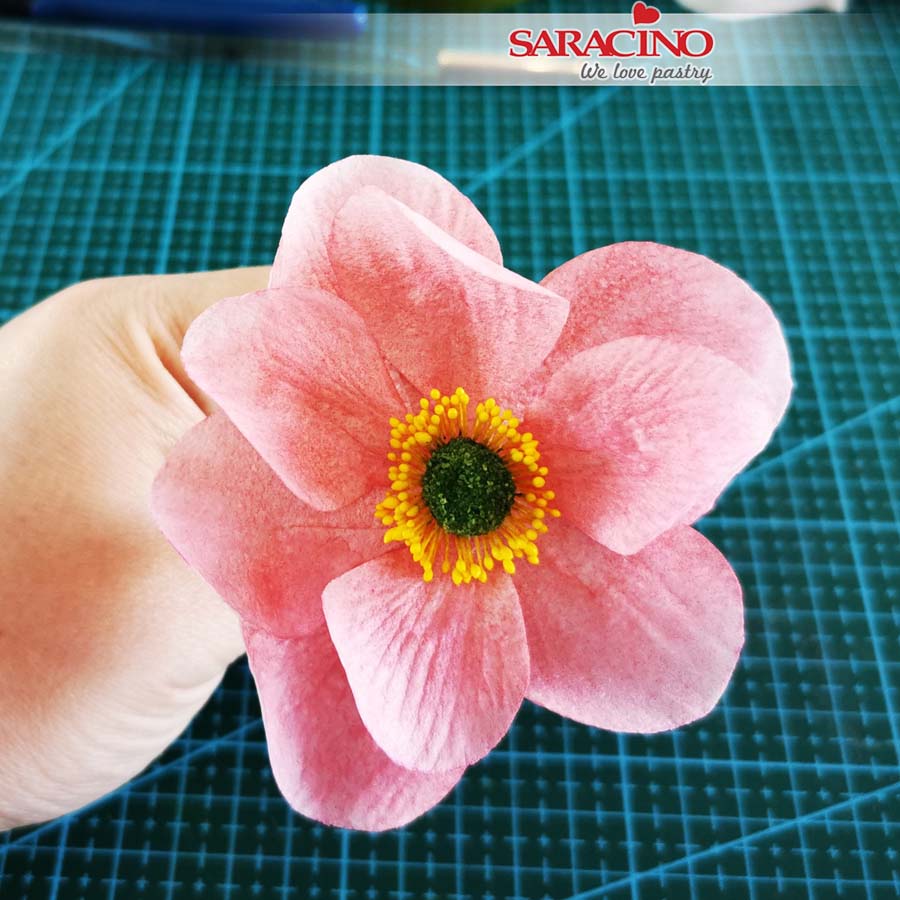
Step 40
Repeat the process with outer large petals. I used only 3 as I wanted it to be more delicate but 5 petals will give you a fuller looking anemone flower. If you want to create the leaf follow the petal steps for cutting out, wiring, painting and dusting. Place the flower into a posy pick and fix into the cake.


