
You will need:
- Saracino milk chocolate drops
- Saracino Pasta Top white
- Saracino Pasta Model white
- Saracino Pasta Bouquet
- Saracino dark Modelling Chocolate
- Dust colours: white, light green, green, yellow, orange, rose, red, burgundy, brown, grey
- Cake Gel
- Clear alcohol
- Gel colours: yellow, light green, green, blue
- Dark chocolate ganache (1:1 ratio chocolate/cream)
- White chocolate ganache (3:1 ratio chocolate/cream)
- Half 30cm diameter by 19cm high dummy (or cake+dummy)
- 18cm diameter spherical cake
- Half 20cm diameter by 5cm high cake
- 25cm external diameter dummy ring with 2.5cm wall thickness
- Knife
- Craft knife
- Smoother
- White flower tape
- Green flower tape
- Soft brushes
- Non stick mat
- Rolling pin large and small
- 20, 24, 26, 28 gauge flower wires
- Ball tool
- Wood effect impression mat
- PME flower cutters
- Flower former
- Cake board 35x35cm
- 26cm long threaded metal rod
- 2 nuts and 2 washers
- Plastic straw

Step 1
Colour Saracino Pasta Bouquet with the green gel colour. Roll out the paste to a thickness of approx 3mm and cut 5 flowers of decreasing size with the 5-petal cutters. Squeeze the tip of the petal between your fingertips to give a slight point.

Step 2
Leave the flowers to dry in the flower former.

Step 3
When they are almost dry lightly dust the end of each petal with the pink powder colour.

Step 4
Fix the flowers on top of each other by gluing them with the cake gel. Stagger the petals as you fix them.

Step 5
Colour Saracino Pasta Bouquet with very little green gel colour. First create a ball and roll it into a teardrop shape by rotating it between your palms.

Step 6
Cut a 26 gauge wire. Lightly dip the tip of the wire in the cake gel (it must only be slightly damp) and insert it into the teardrop. Squeeze the teardrop securely to the wire. You will need to repeat this step for the amount of buds you need.

Step 7
With the white tape join the buds one by one (3 for each level).

Step 8
With the green powder colour, dust to give a darker shade to the end of each branch and colour the tape with a lighter green.

Step 9
For the next flower form a teardrop shape with the dark green Saracino Pasta Bouquet and pinch it into shape with your fingers flattening slightly.

Step 10
Give it a slight curve.

Step 11
Repeat the same procedure and create 5 different petal sizes. You will need 7 leaf size 5 petals (large), 6 leaf size 5 and 4-5 leaf size 3 and 2-3 leaf size 1 (small).

Step 12
Shade the end of each leaf with burgundy powder colour.

Step 13
Create a small thin disk of paste and glue the leaves with the cake gel from the center (size 1) to the largest (size 5). Be careful to not overlap the petals.

Step 14
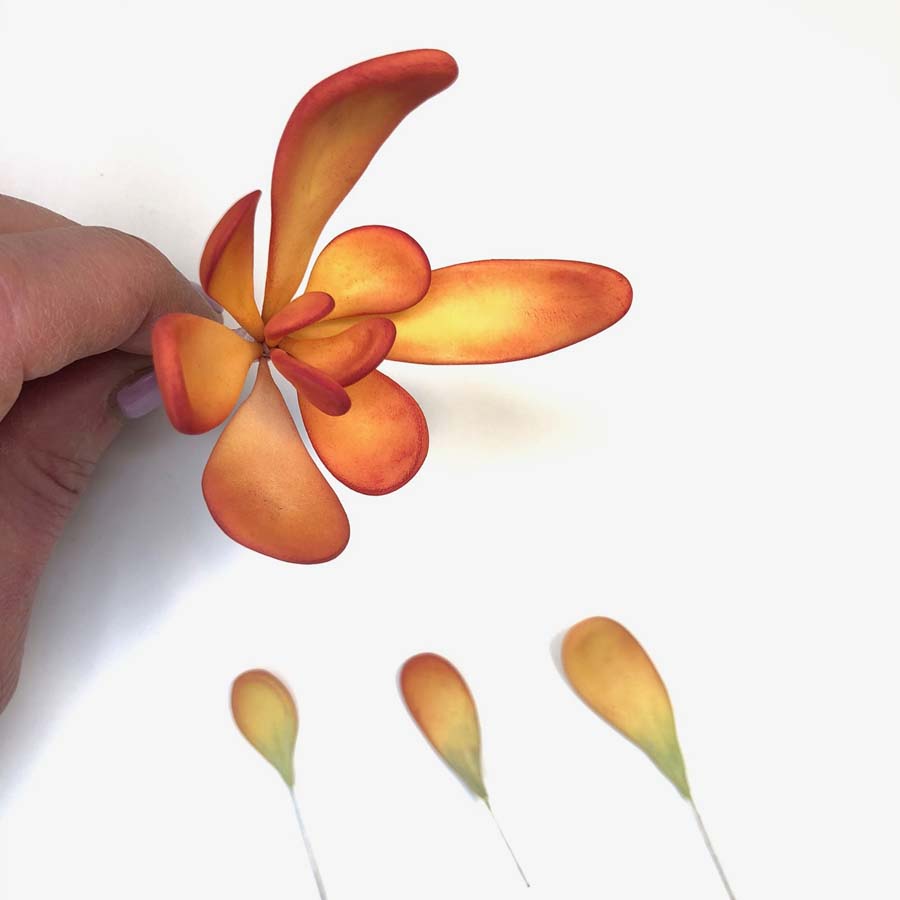
Colour Saracino Pasta Bouquet with the yellow gel colour. Prepare 12 different sized petals starting with a ball of yellow paste. The 5 steps shown is how to make each petal. The final step has been dusted with red and orange powder colour.

Step 15
The petals are all to be different, 2mm thick and rounded on the edges. Dust the edges of the front and back petals with orange and then with a little bit of red powder. 3 petals should be shaded with green powder at the base.
Step 16
Join the petals with the white flower tape starting from the 3 smallest in the center. Then add the other 7 one by one.
Step 17
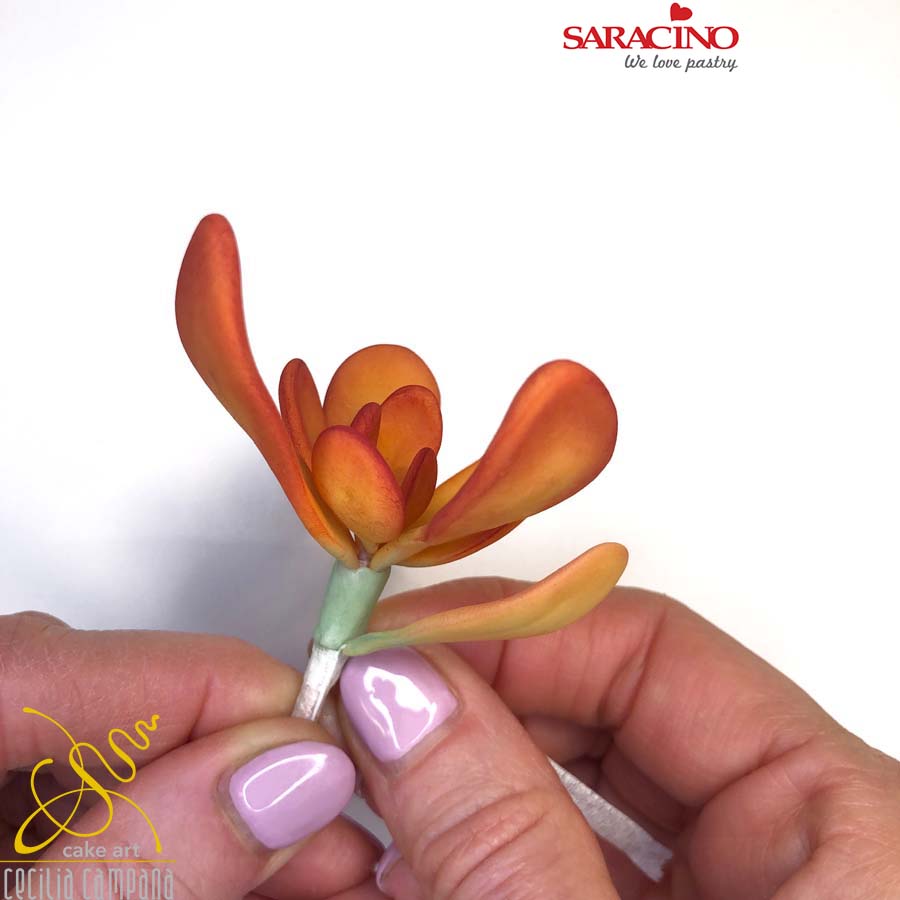
Directly below the petals apply a little glue to the stem and attach light green paste and smooth. Add two petals and fix with florist tape.

Step 18
Repeat the same process and attach the third lowest petal. Make two small squashed green balls and glue them onto the stem as shown.
Step 19
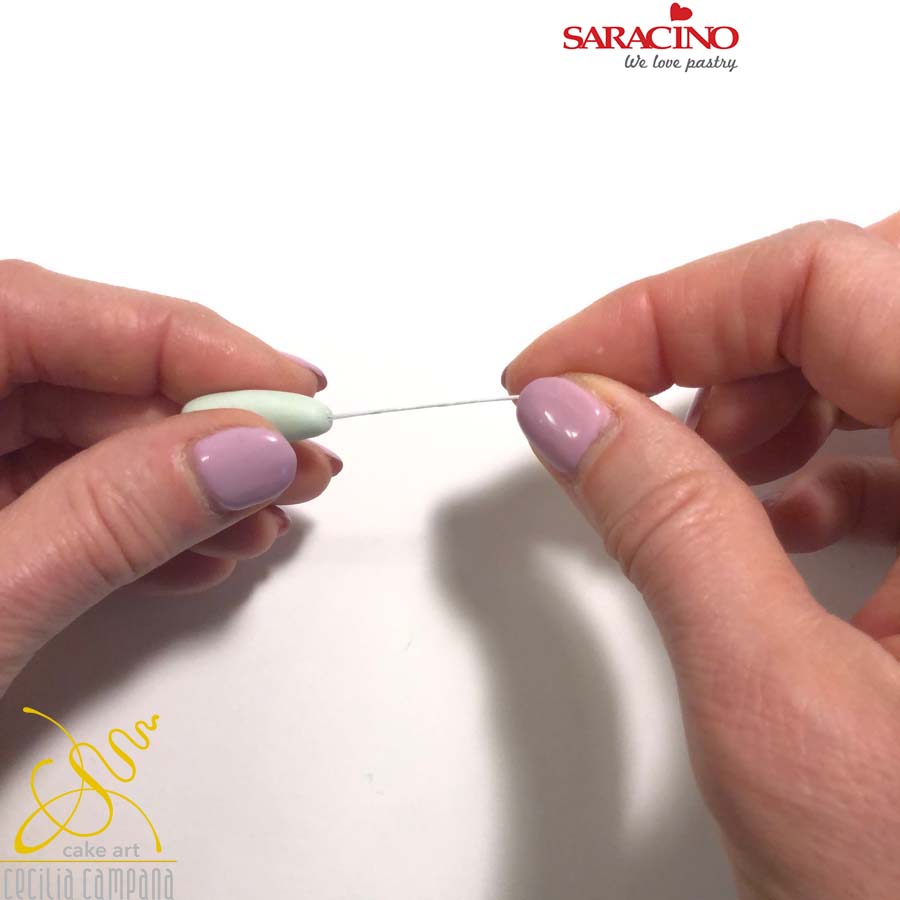
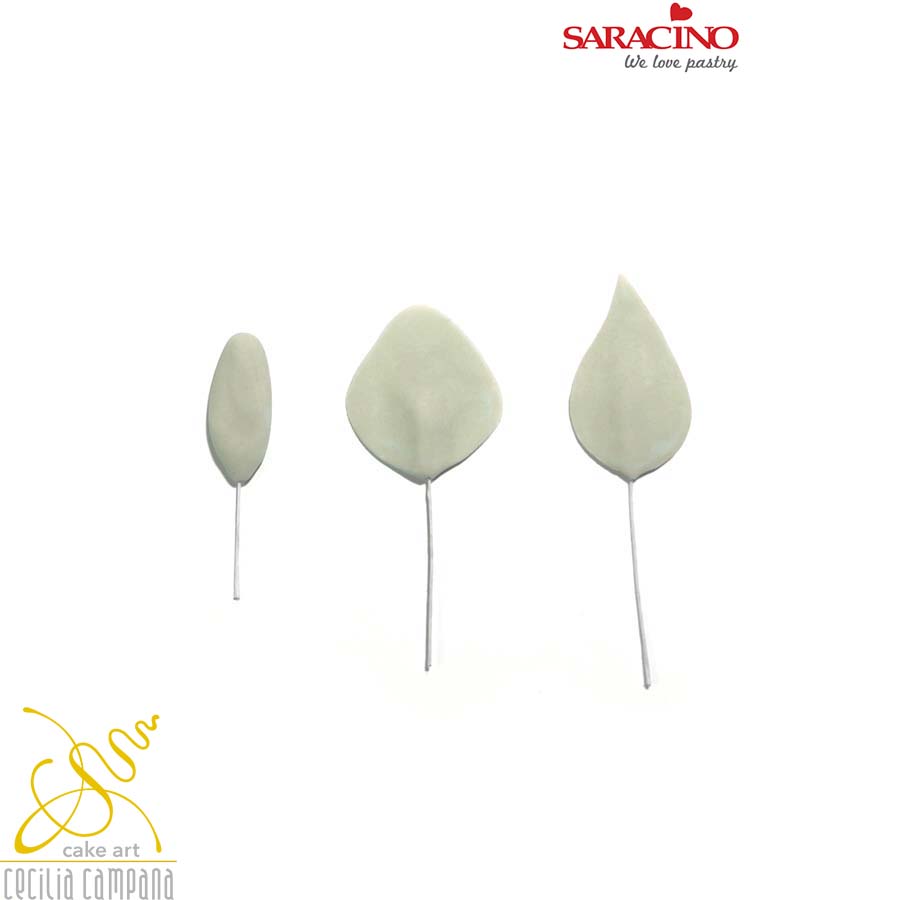
Cut a 26 gauge wire. Dip the tip in the cake gel (it must only be slightly damp) and insert it into a teardrop shape of pale green Pasta Bouquet. Squeeze the bud securely to the wire.
Step 20
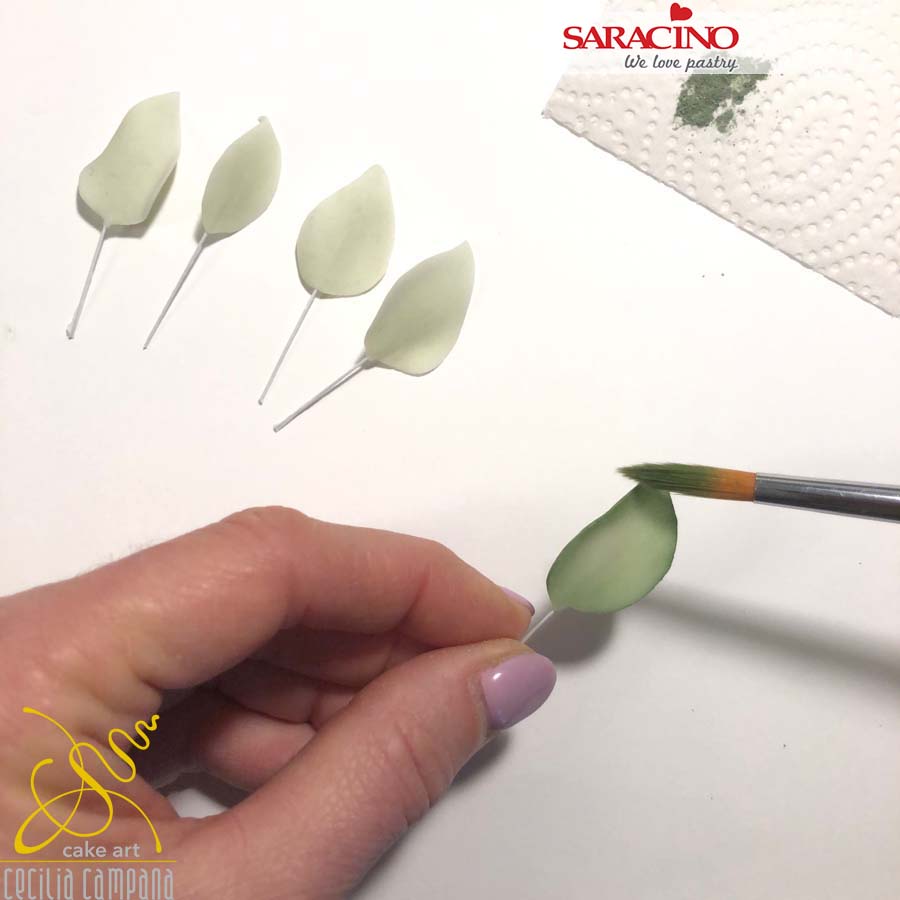
Step 21
Allow the leaves to dry on a shaped mat to give them form. Shade the edges with green colour on both the front and back.
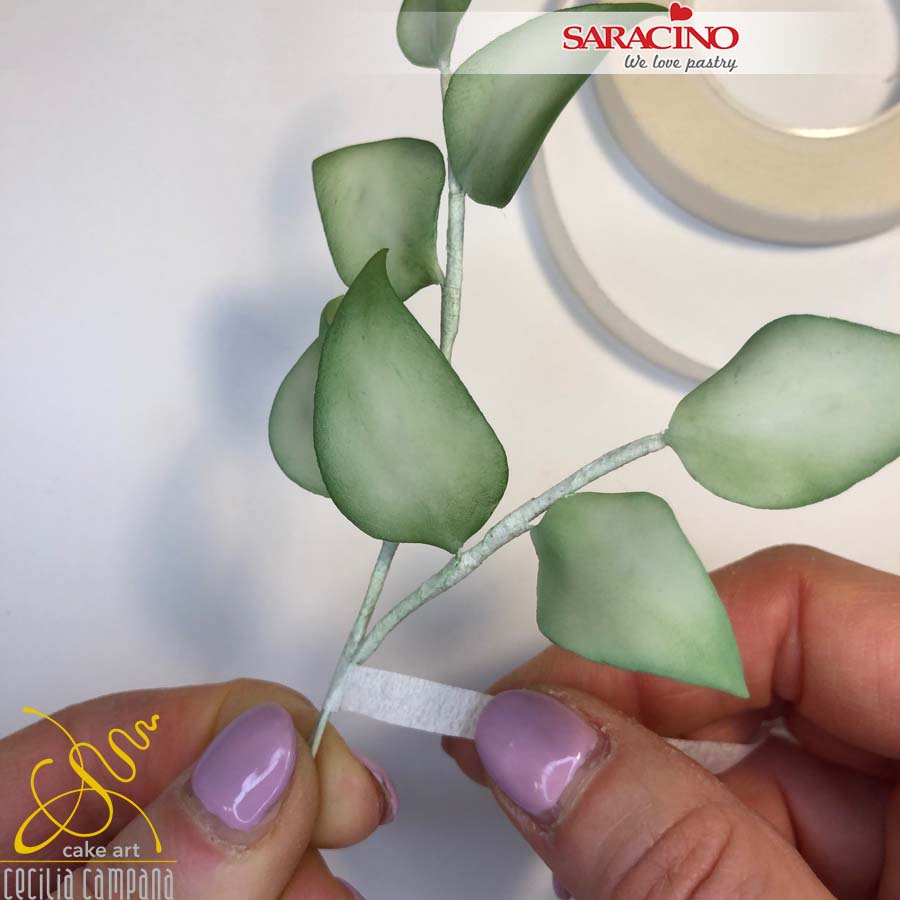
Step 22
Join the leaves one by one on a 20 gauge wire with the white tape. Occasionally add a red bud. Colour the tape with light green dust colour.
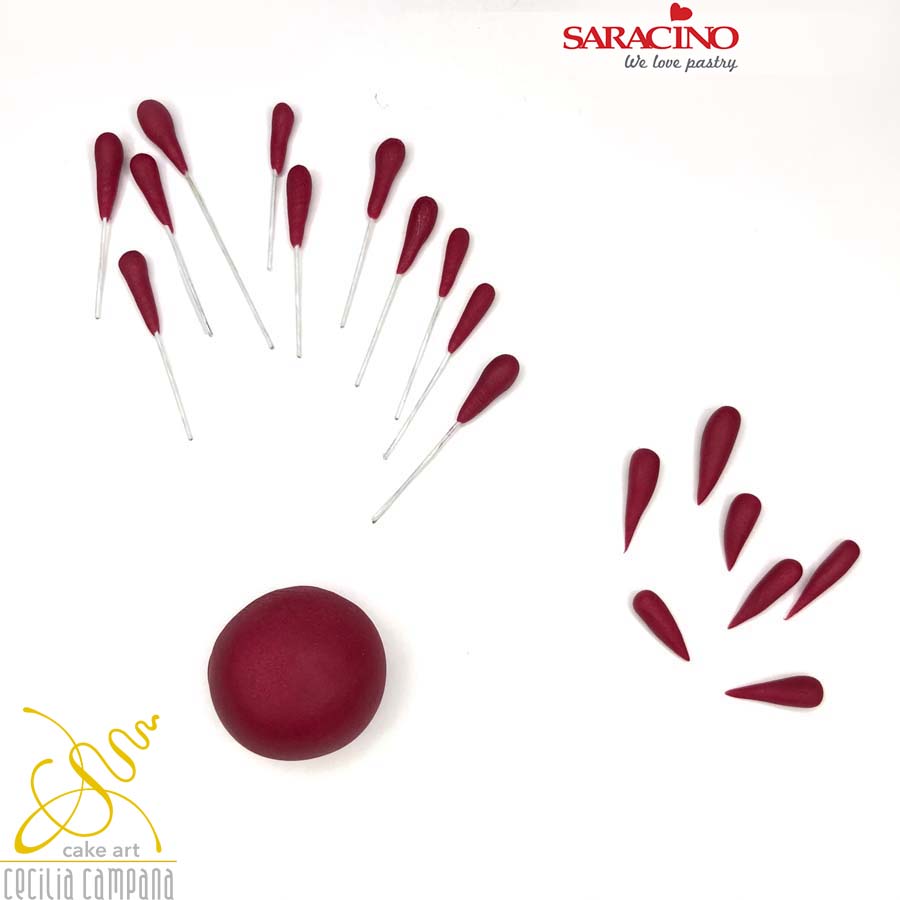
Step 23
Create small dark red teardrop shaped buds. Fix some of them on short lengths of 28 gauge wire.
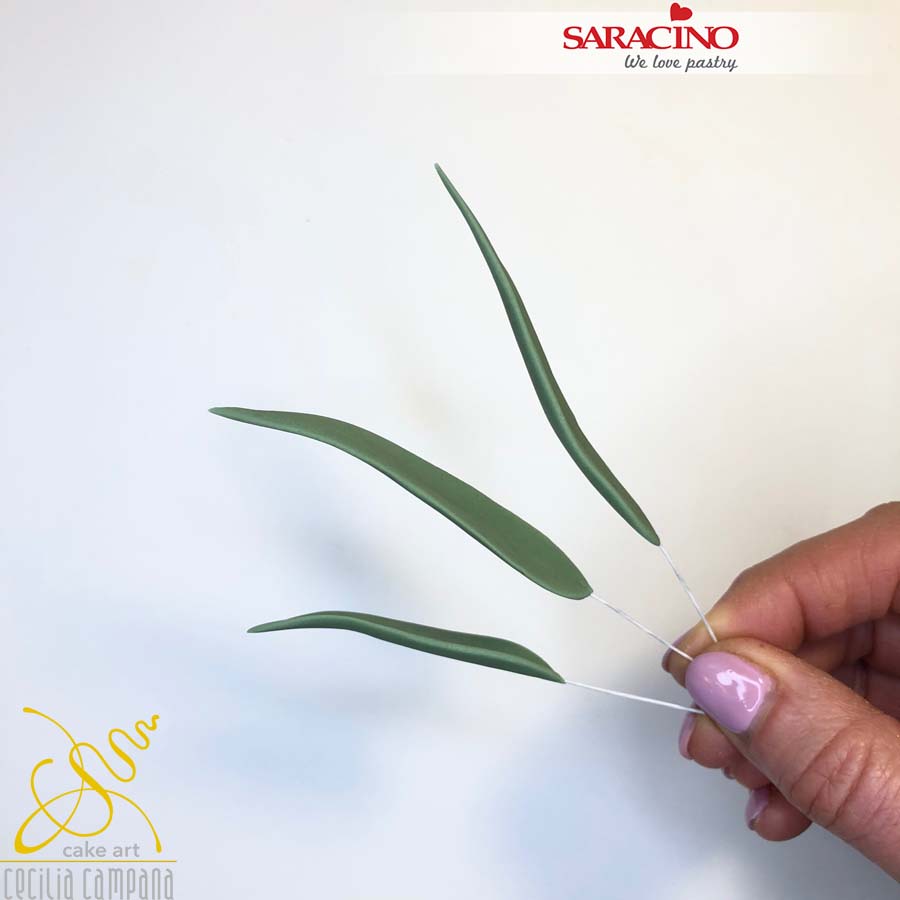
Step 24
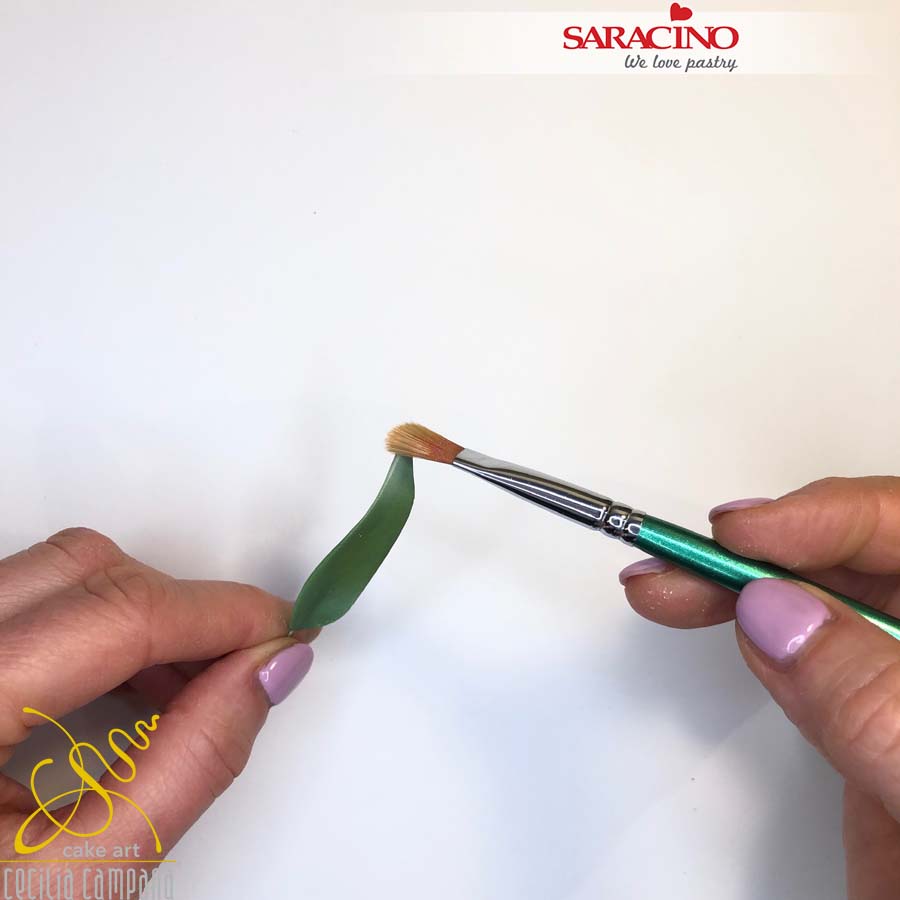
With the same procedure as photos 19-20 create 14 elongated leaves of various sizes using dark green paste. Make them 2mm thick at the bottom and 1mm at the edges and tip.
Step 25
Dust all the leaves with the green powder and touch up only the tips with the white powder colour.
Step 26
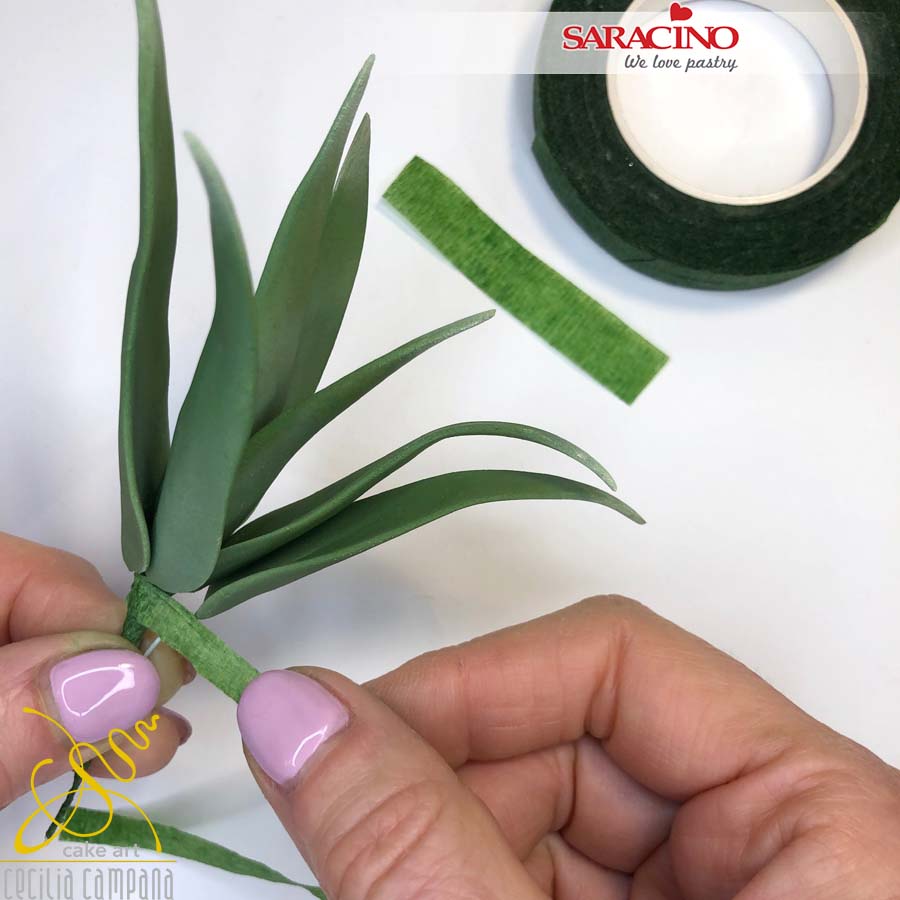
Join the leaves one by one on a 20 gauge wire with the green tape.
Step 27
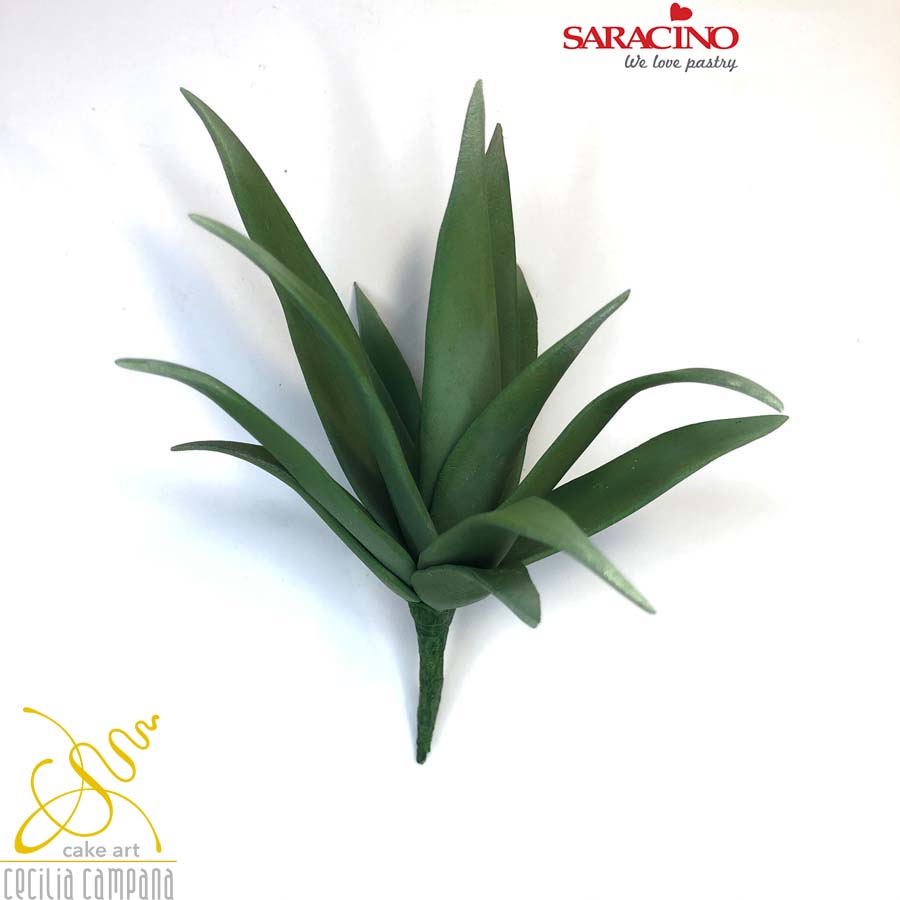
So it looks like this when all the leaves are connected.
Gently steam each flower and petal to fix the colours.

Step 28
You will need to make a diagonal hole through your lower tier dummy at the angle you want the bottom tier to sit.
Cover your lower tier (half round) and the half sphere with white ganache.
Cover the lower tier with white Pasta Top and smooth.

Step 29
On the side of the semicircle paint the outline of the leaves with a brush and the green powder diluted with clear alcohol. Paint them a similar shape to the leaves we made in step 21.

Step 30
With a large brush create the shades. Identify the leaves you want to make three-dimensional.

Step 31
Roll green Pasta Bouquet to approx 1mm thickness and cut 2-3 leaves for each of the drawn leaves you chose in step 30 to make 3D. Thin the edges of the leaves with a ball tool.

Step 32
With green powder colour, dust the edges of the leaves to give depth.

Step 33
Fix the leaves with a thin layer of cake gel on the edge that is in contact with the cake surface. Repeat for the other leaves you chose to have the 3D appearance.
Step 34
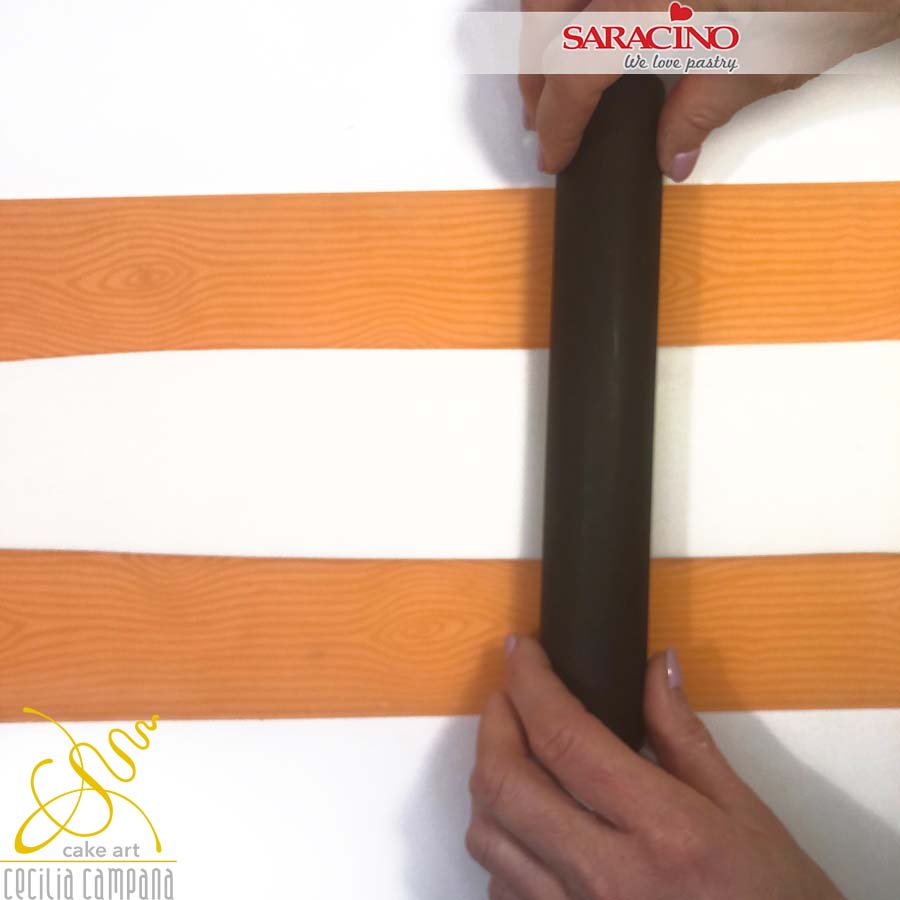
Roll white Pasta Top to approx 3mm thick. Place wood texture mats on top and roll to add texture to the paste.
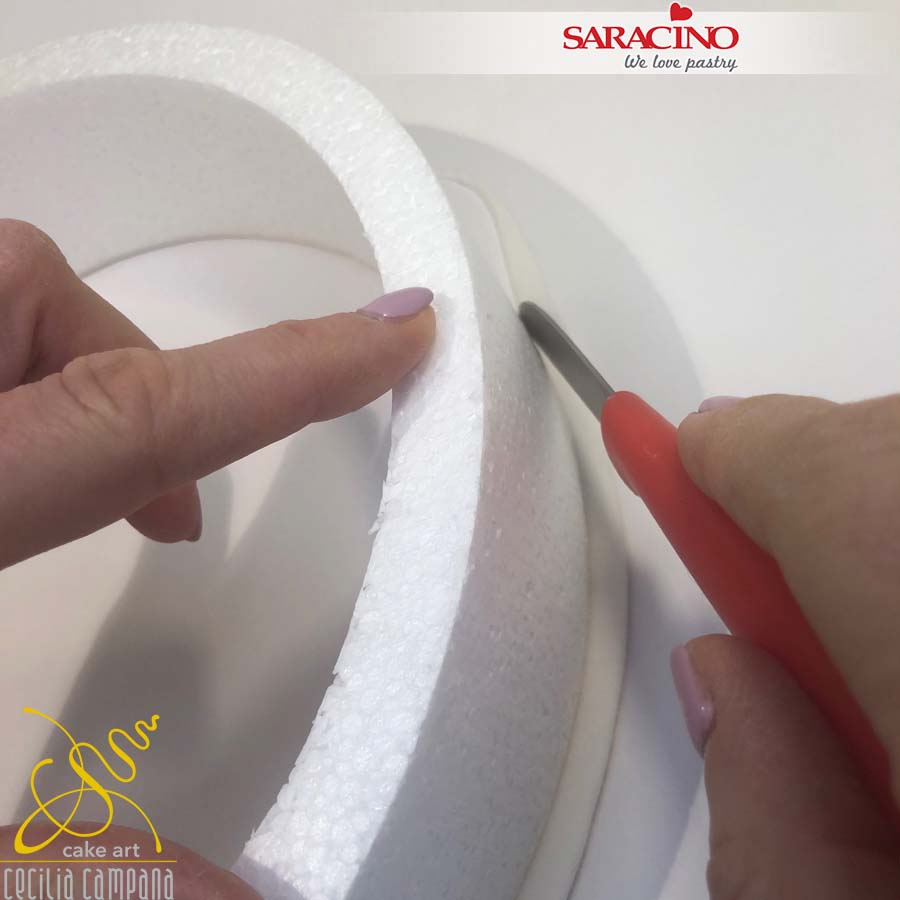
Step 35
Cover one edge of the circle dummy and trim excess paste.
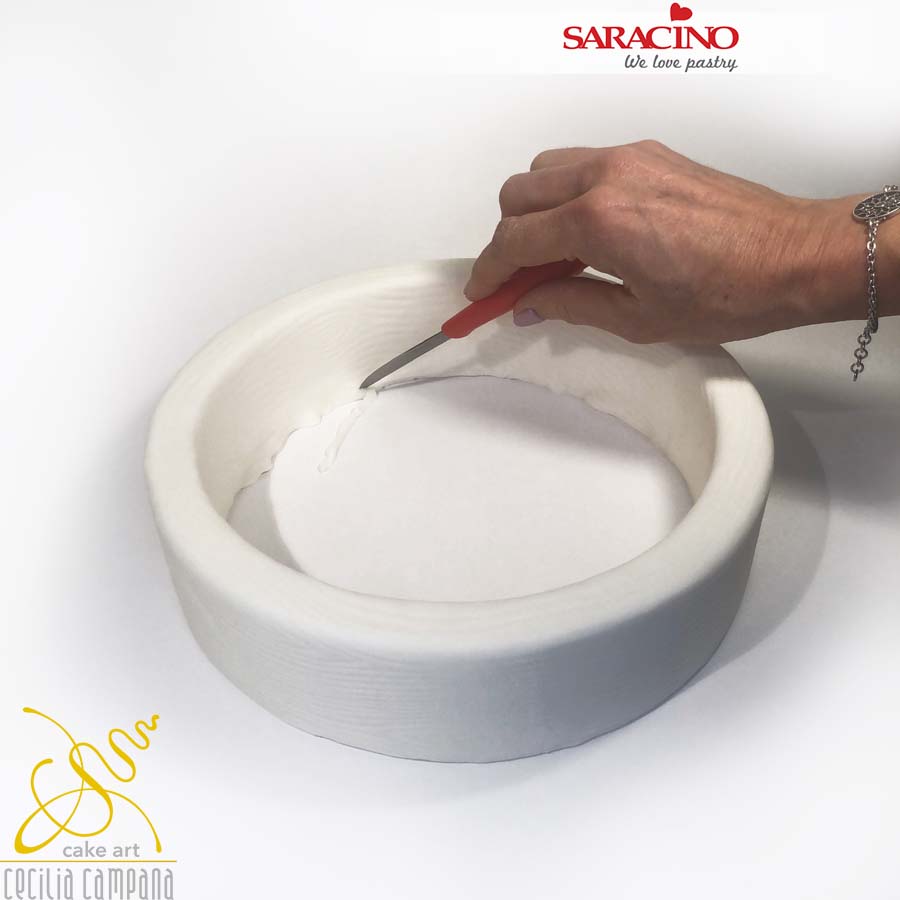
Step 36
Repeat to cover all sides of the ring dummy. Apply a little water or cake gel to the dummy to assist fixing the paste. Trim all excess and blend to smooth the joint taking care not to smooth the texture.
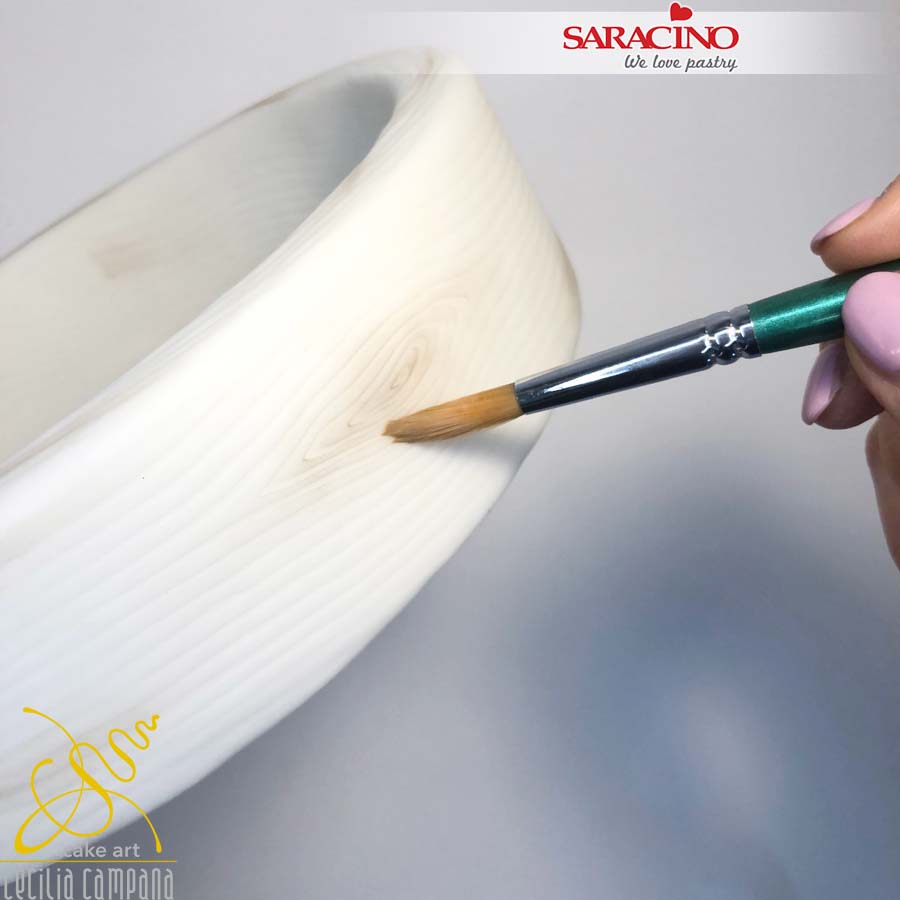
Step 37
Using a soft brush lightly dust the knots using brown powder colour.
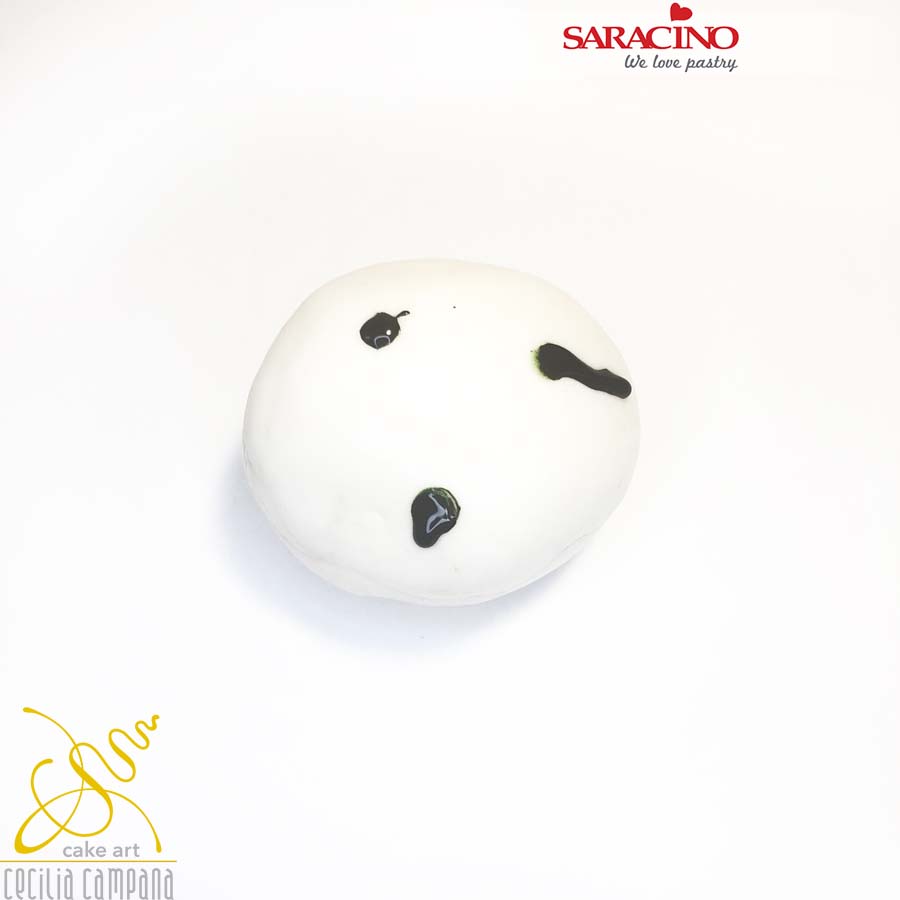
Step 38
Take 140g of Pasta Top and add 3 small dots of green gel colour.
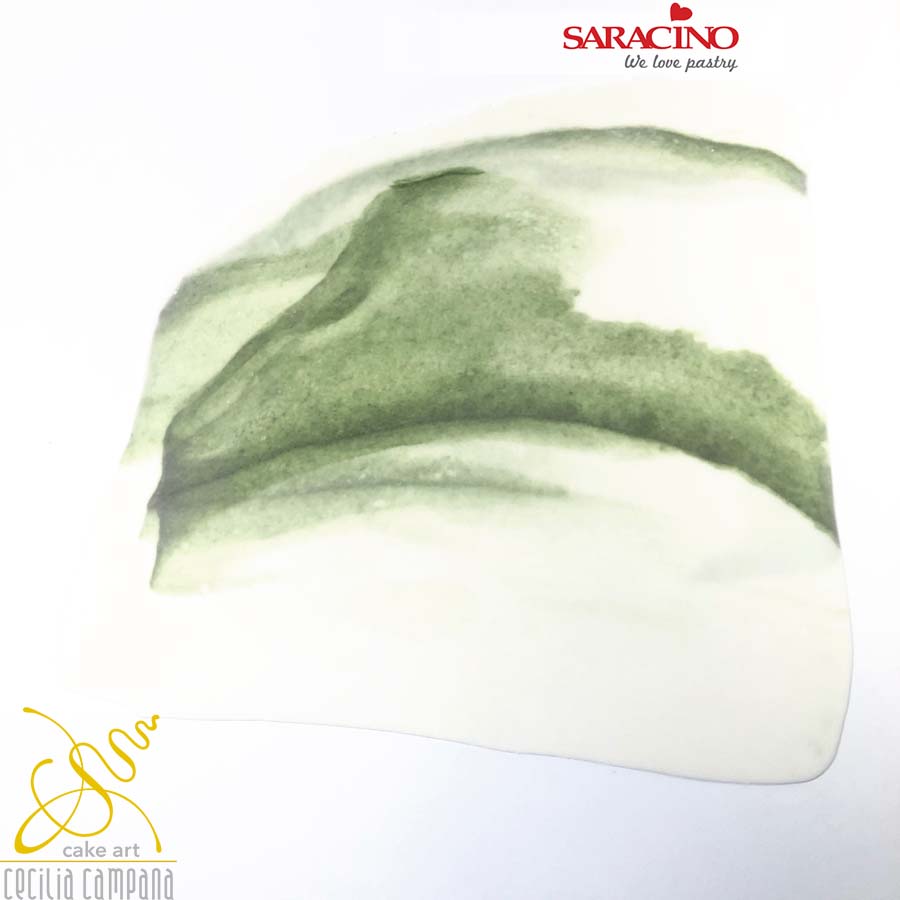
Step 39
Fold and roll out the paste several times in the same direction until it acquires the desired marble style shade and pattern. Roll to 3mm thickness.
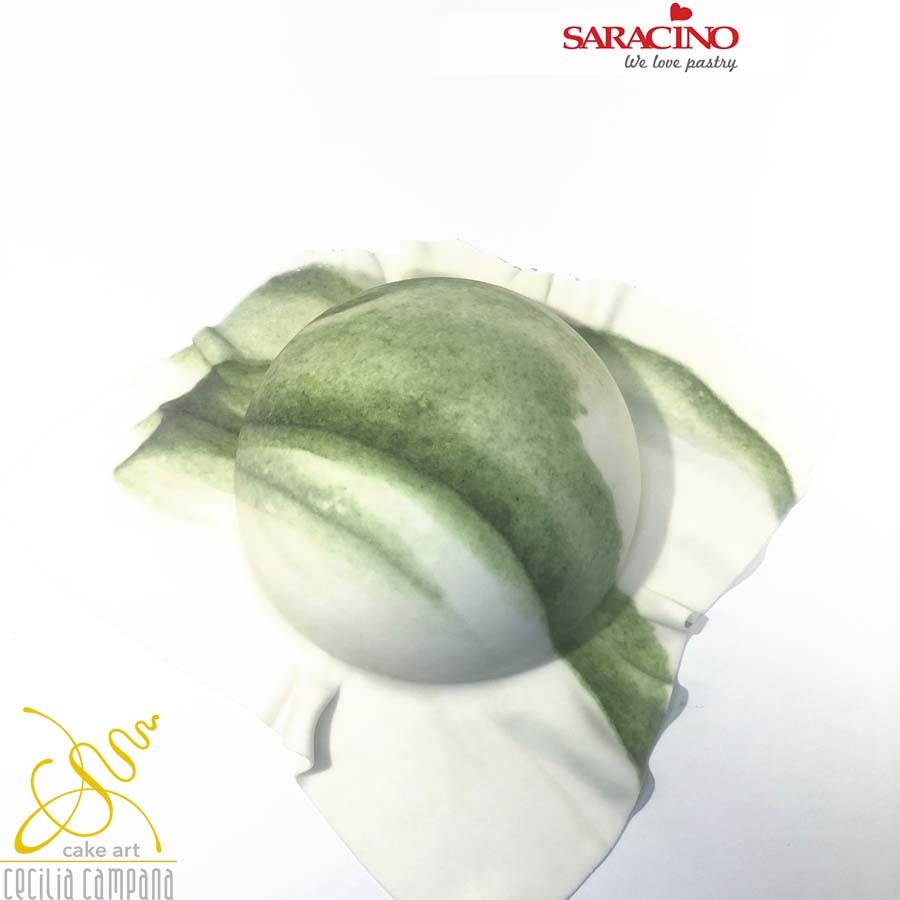
Step 40
Take the half-sphere cake coated with the ganache and place on a cake board. Cover it with the marbelled paste.
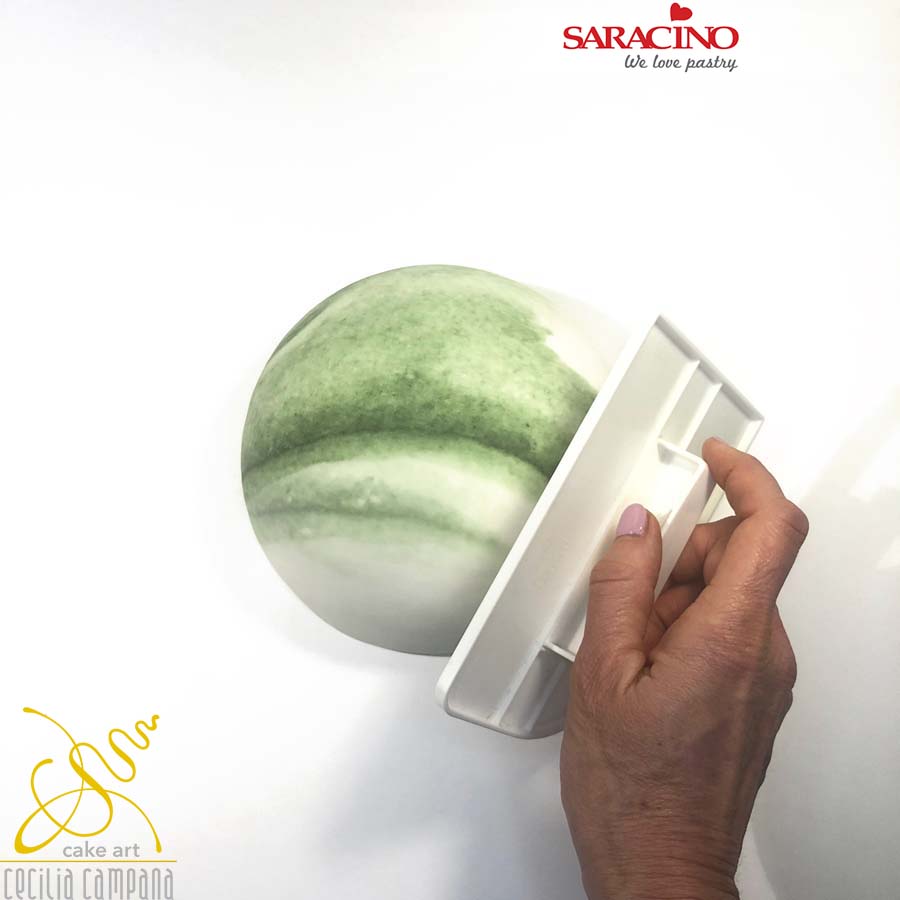
Step 41
Trim the edge excess very carefully and smooth well to give a nice finish.
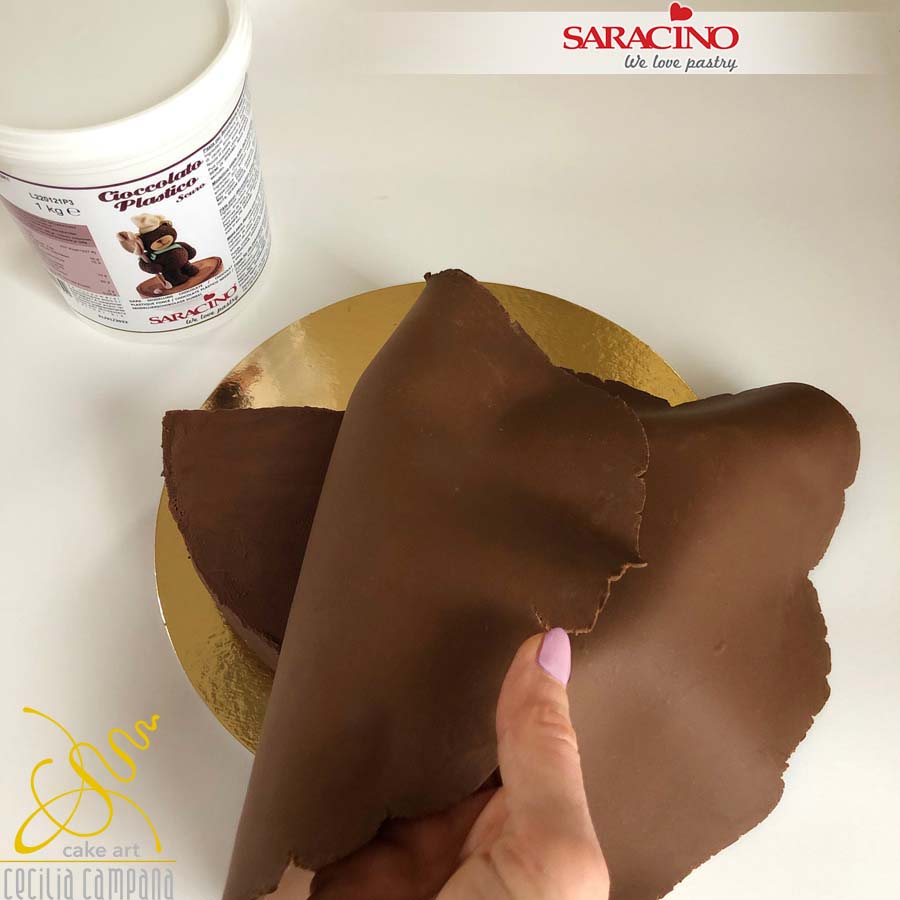
Step 42
Take 150g of dark modelling chocolate and cover the top half round cake that has previously been coated with dark chocolate ganache (the ganache can be applied at the start so it can set whilst we make the flowers).
Step 43
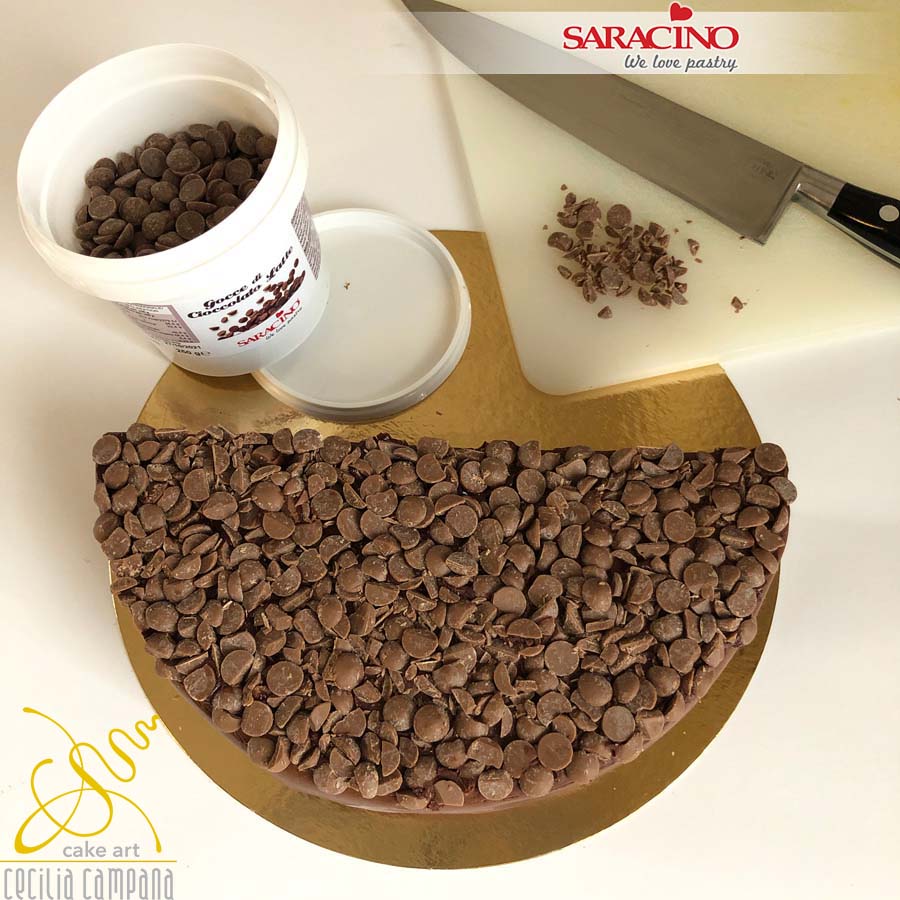
Coarsely chop the Saracino milk chocolate drops and stick them to the face of the semi circle with ganache or cake gel.
Step 44
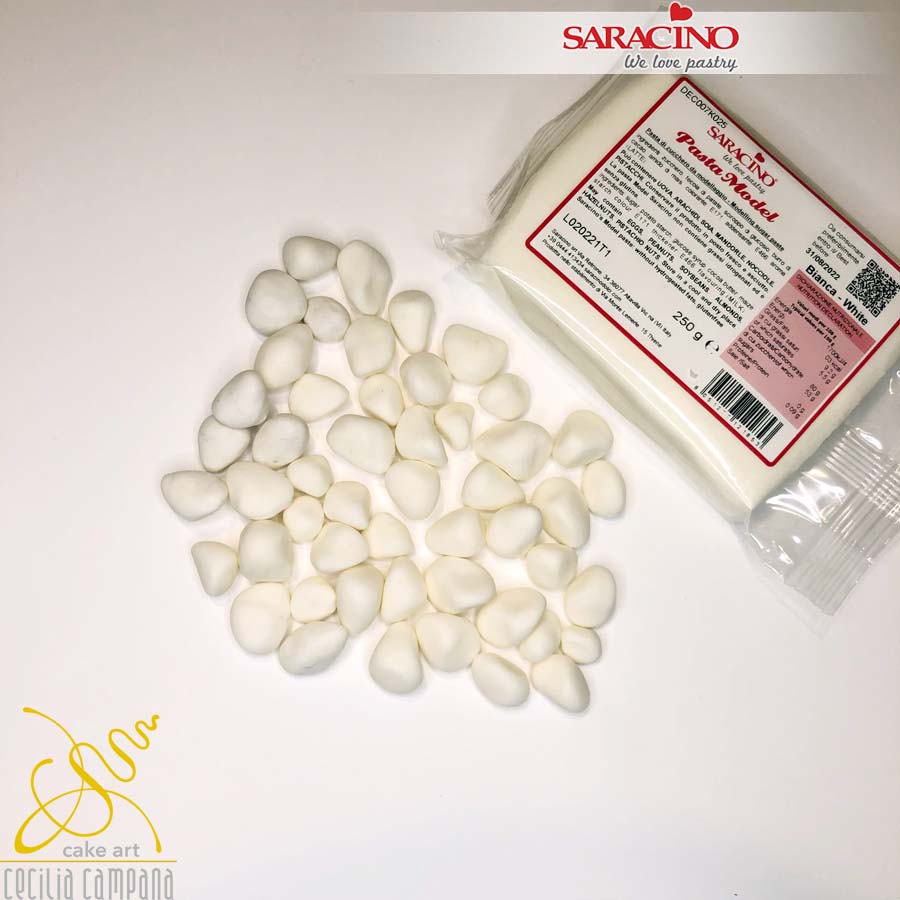
To make stones use white Pasta Model and roll into different shapes and sizes.
Step 45
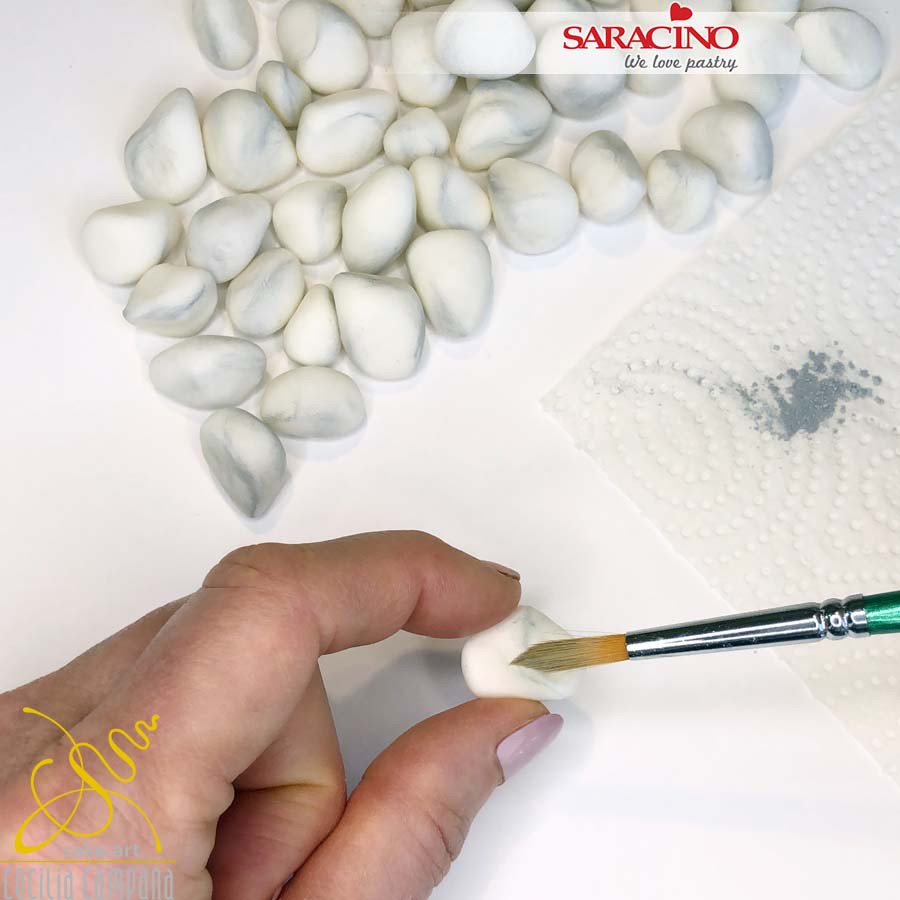
Using a soft brush and grey powder colour dust the stones to give shade, intensifying the colour in some points.

Step 46
For the support structure form a hole central to the board. Pass the threaded rod through and fix a nut and washer both under and above the cake board. Once the rod is securely fixed, cover the board with white Pasta Top. Cover the metal rod with the hollow plastic tube / pipe.

Step 47
Position the bottom tier over the dowel onto the board. You will notice why we had to form the hole through the cake at an angle. Fix some of the dark buds we made previosuly to the leaf pattern.

Step 48
Make a hole close to the edge of the half circle and insert it onto the dowel.

Step 49
Form a hole through the top ring and insert it onto the dowel. You may wish to add a little glue to keep all secure.

Step 50
Fix the top cake inside the ring. You may need to position it lengthways inside the ring to fix over the dowel end and then turn it inside the ring.

Step 51
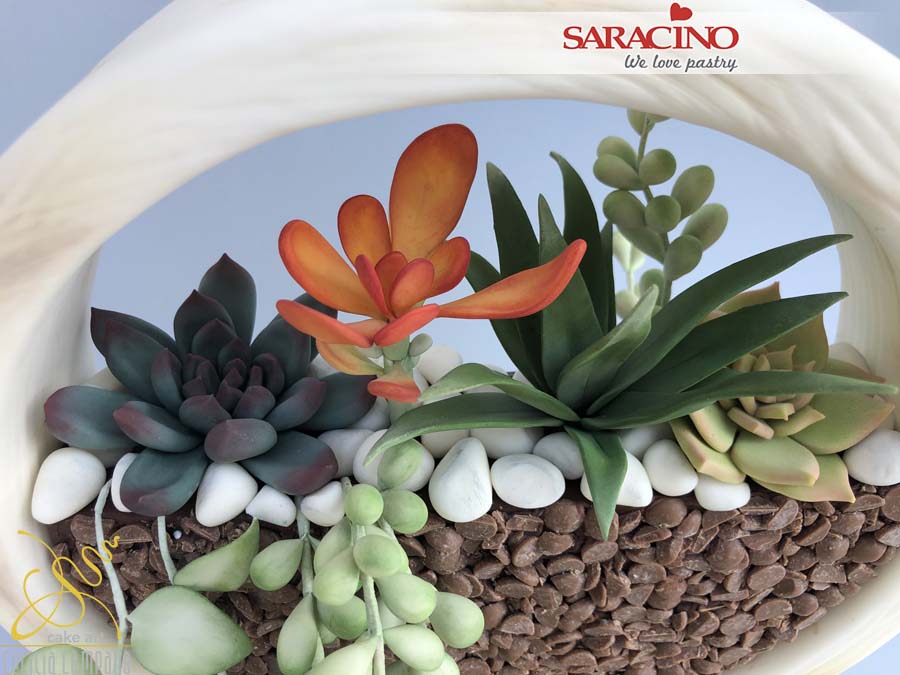
It is time to place the succulents and leaves. We want them to achieve a ‘flow’ with the curved leaves on the lower tier.
Step 52
Add the rest of the succulents and fill in the gaps with the stones.


