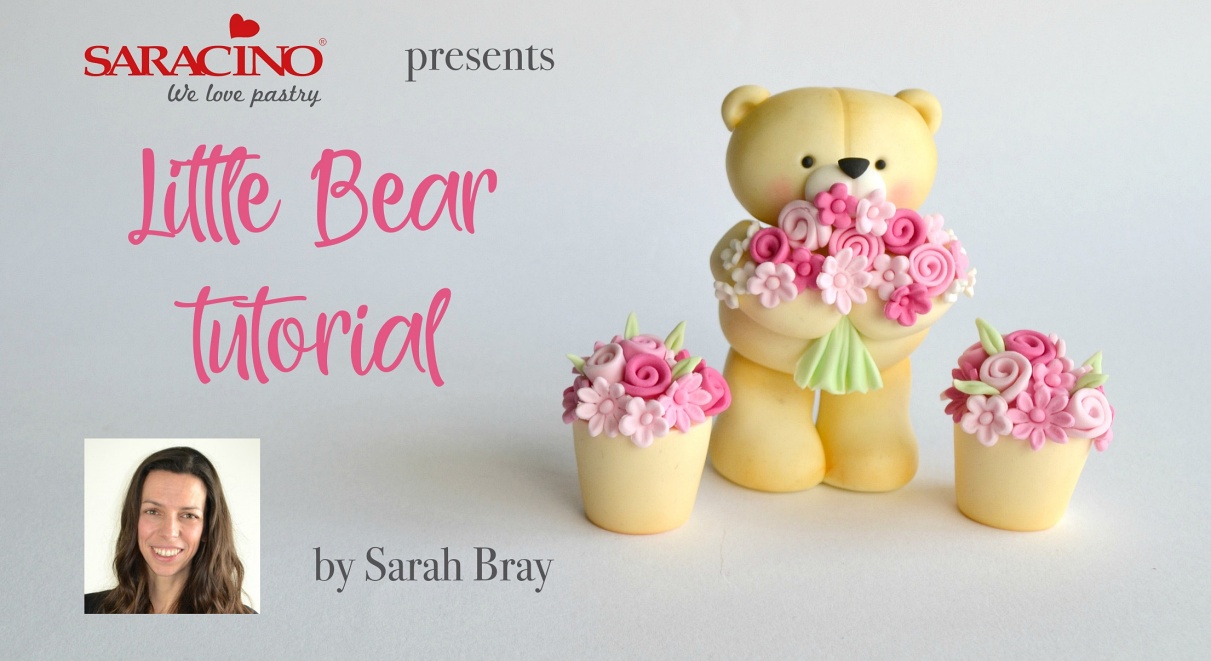

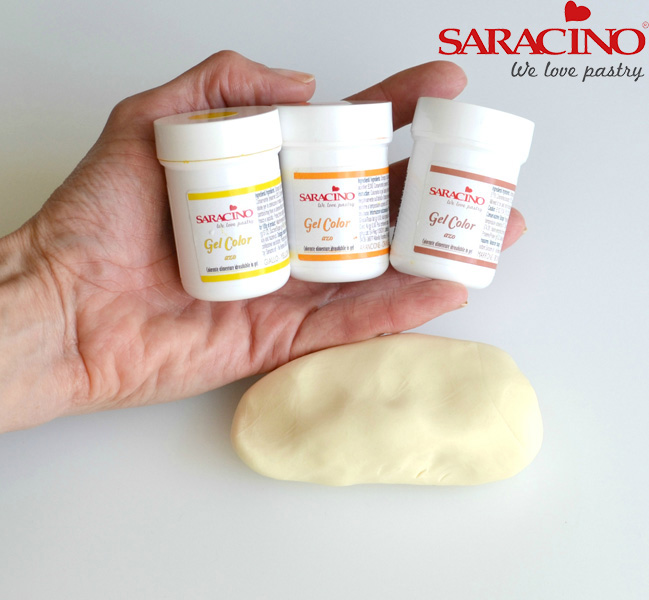
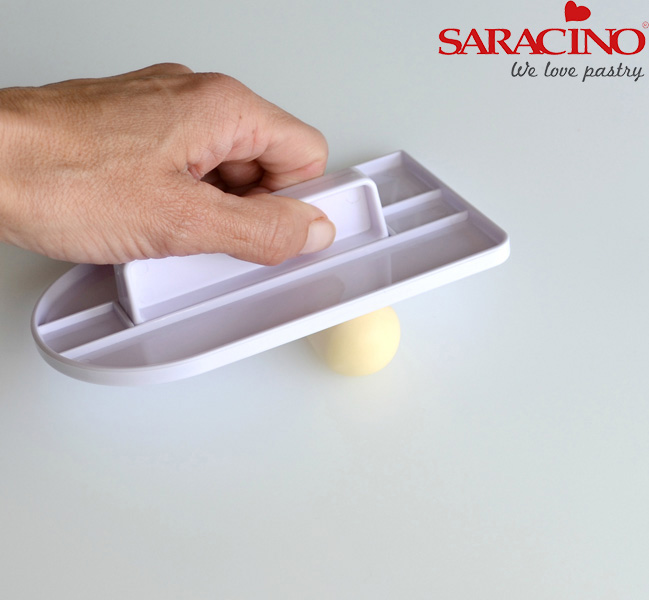
You will need:
- 200g Saracino white modelling paste
- Saracino yellow gel colour
- Saracino orange gel colour
- Saracino brown gel colour
- Saracino green gel colour
- Saracino yellow edible dust
- Saracino orange edible dust
- Saracino brown edible dust
- Saracino pink edible dust
- Small piece Saracino black modelling paste
- Sugar glue
- Workboard
- Cocktail sticks
- Paintbrush
- Rolling pin
- Blossom plunger cutters
- Small flower cutters
- Sharp knife
- Dresden tool
- Small ball tool
- Craft knife
- Dotting tool
- Sponge Mat
- Smoother
- Medium sized soft brush
- Plain wheel modelling tool
Step 1
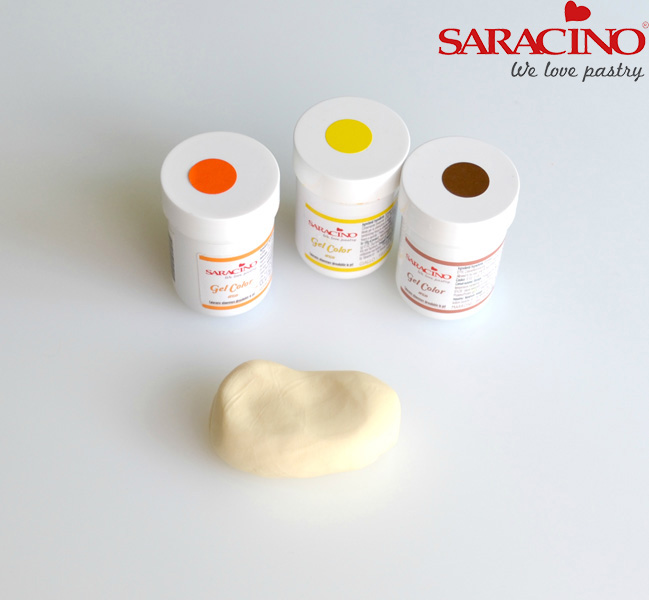
Using a cocktail stick, add small spots of Saracino yellow, orange and brown gel colours to 100g white paste to create a light golden brown colour.
Step 2
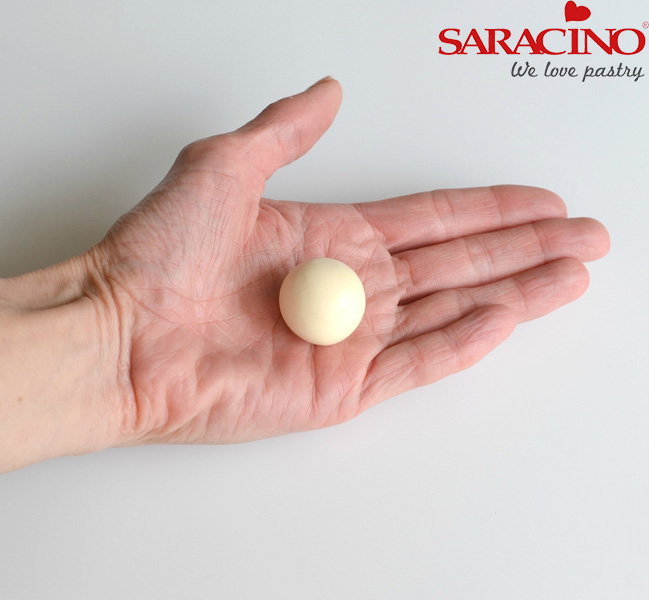
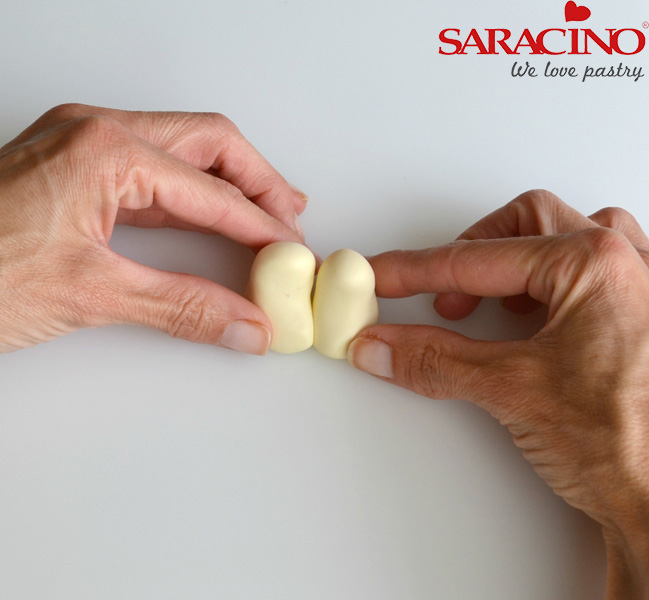
To make the legs take a 12g piece of golden brown paste and roll into a ball in the palm of your hands

Step 3
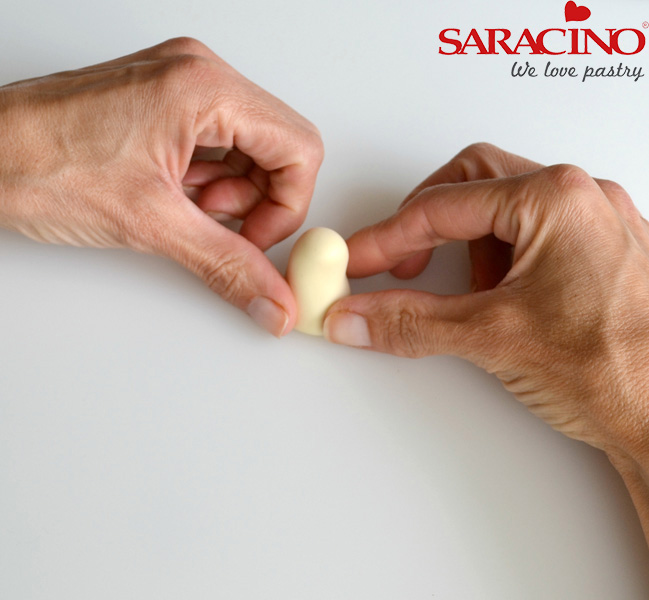
With the ball of paste in your hand use your index finger and middle finger to roll just one end to create a leg shape.
Step 4
Stand the leg onto the board and push it down onto the board to make the foot. Smooth over with fingers to soften any bumps. Repeat steps 2 – 4 to make the second leg
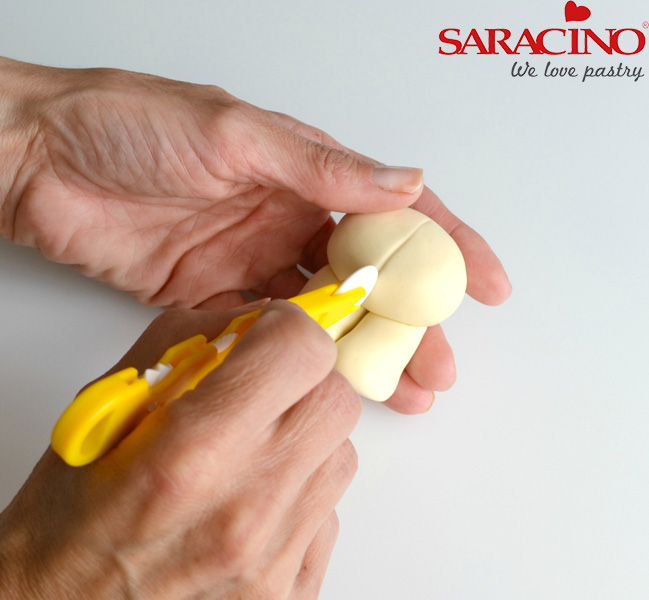
Step 5
Push the two legs together using sugar glue if necessary to secure them together. Be careful not to lose the ankle shape when joining together.
Step 6
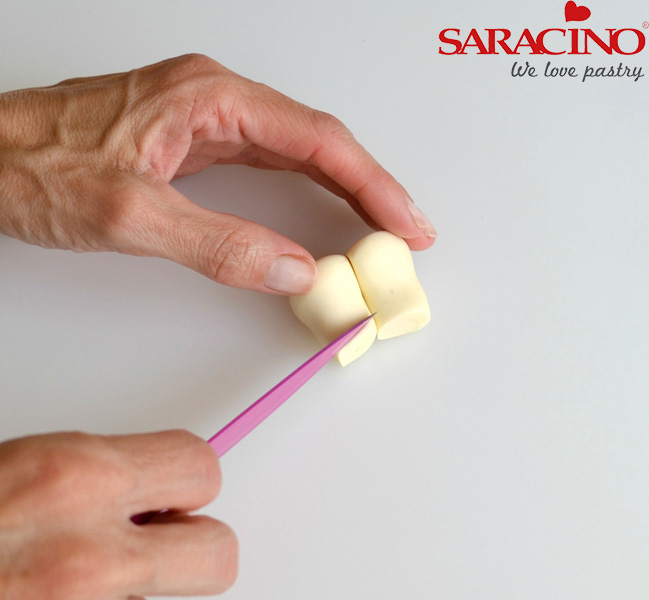
Use a sharp knife to diagonally trim off the top of the legs. Leave to set.
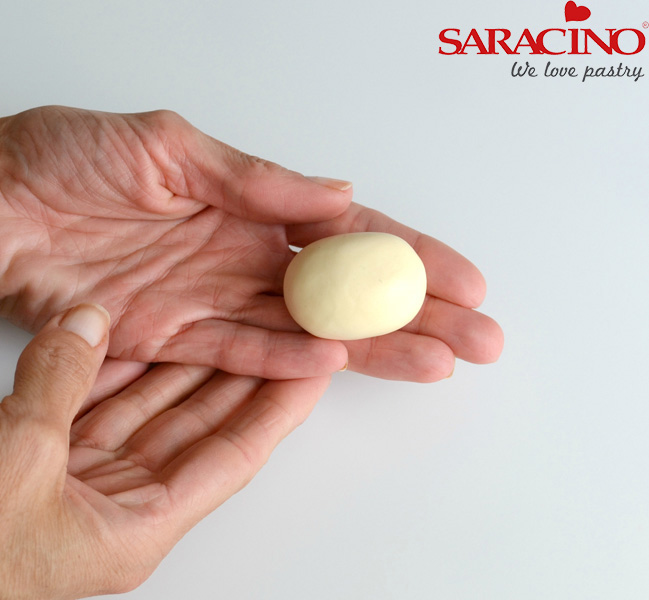
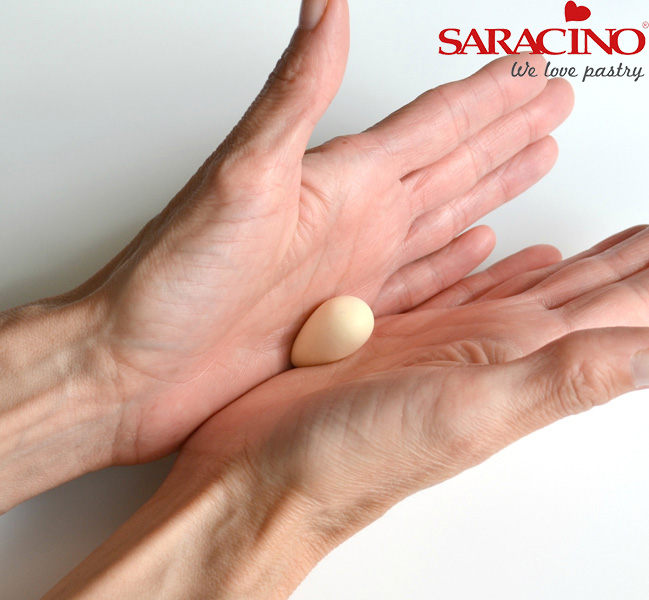
Step 7
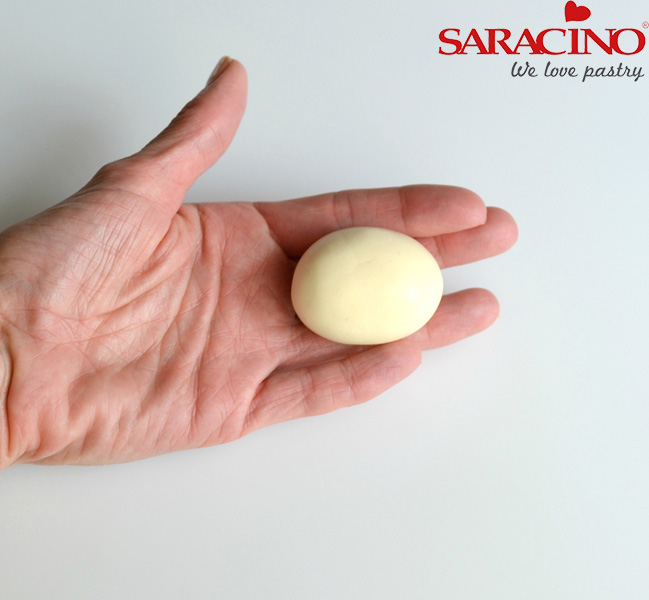
For the bears body roll a 35g ball of golden brown paste into a ball in the palm of your hands and roll gently to make a slight oval.
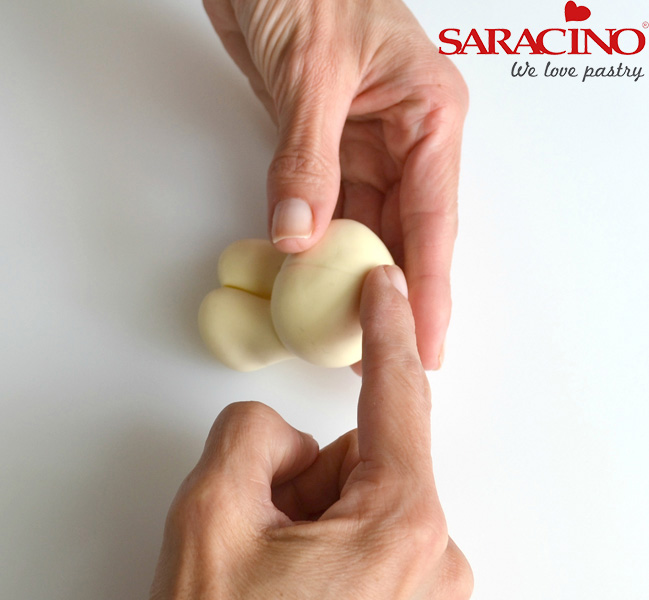
Step 8
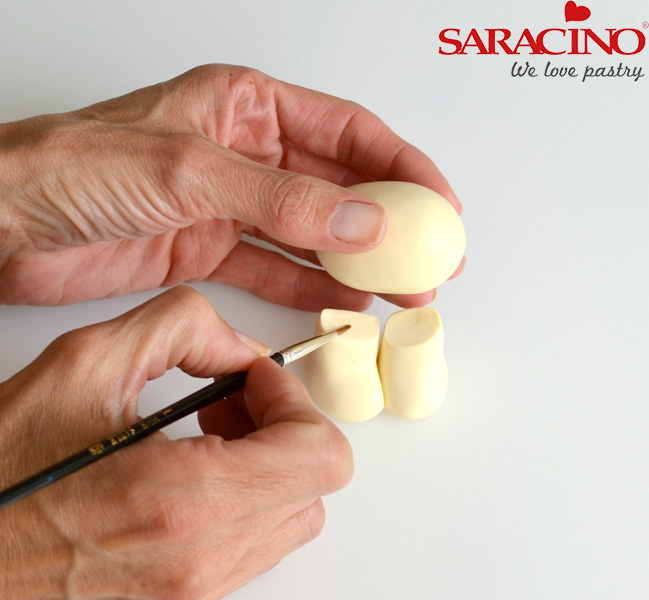
Use sugar glue to attach the body to the legs.
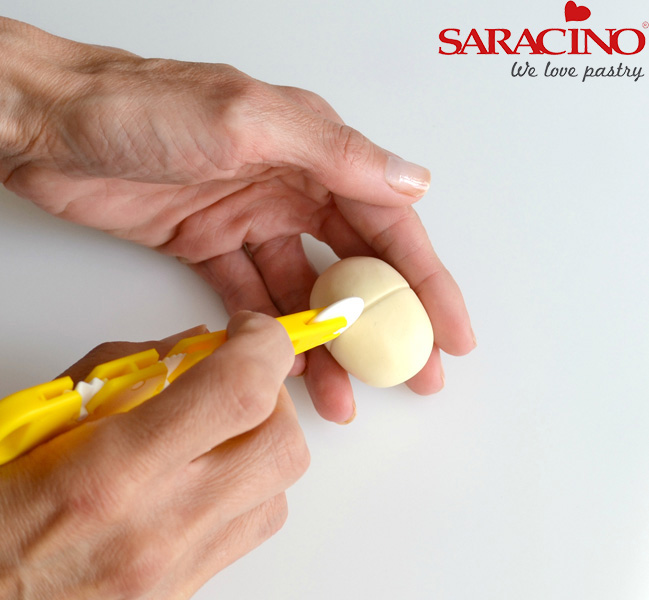
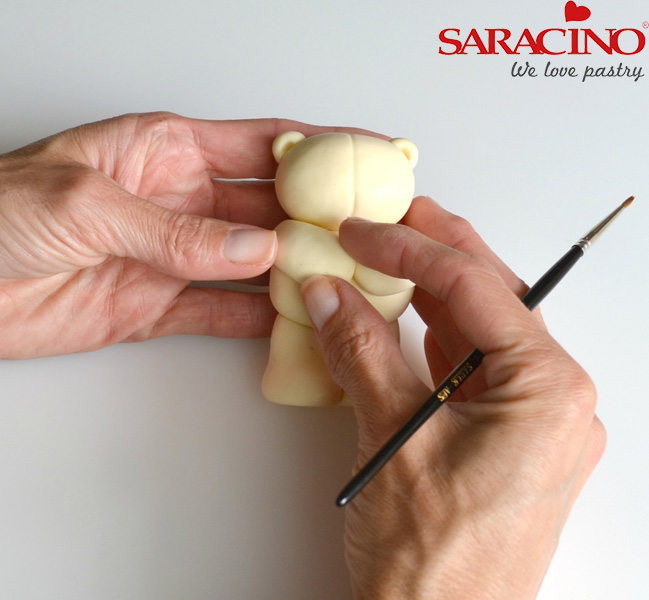
Step 9
Mark a line down the body using a plain wheel modelling tool and leave to set (supporting if necessary)
Step 10
To make the head roll a 25g piece of golden brown paste into a ball and soften gently into a slight oval.
Step 11
Mark a line down the middle of the head using a plain wheel modelling tool and continue down the back.
Step 12
Use your finger to slightly flatten the top of the body in order to secure the head more easily.
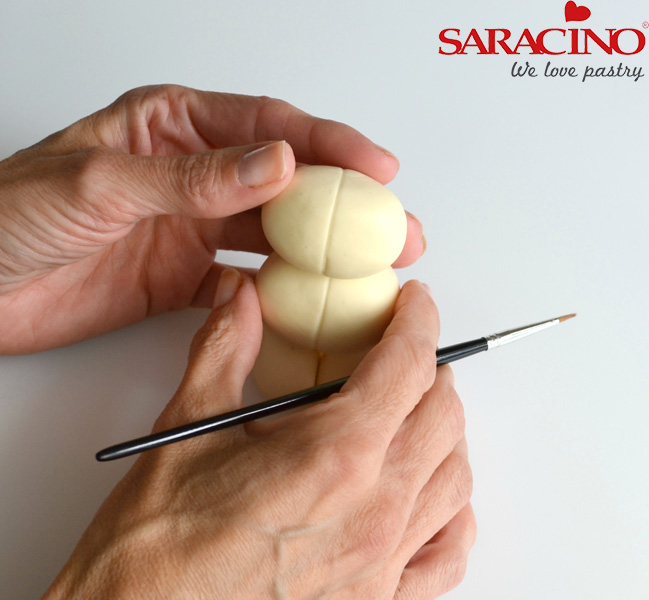
Step 13
Use some sugar glue to attach the head to the body and leave to dry (supporting if necessary)
Step 14
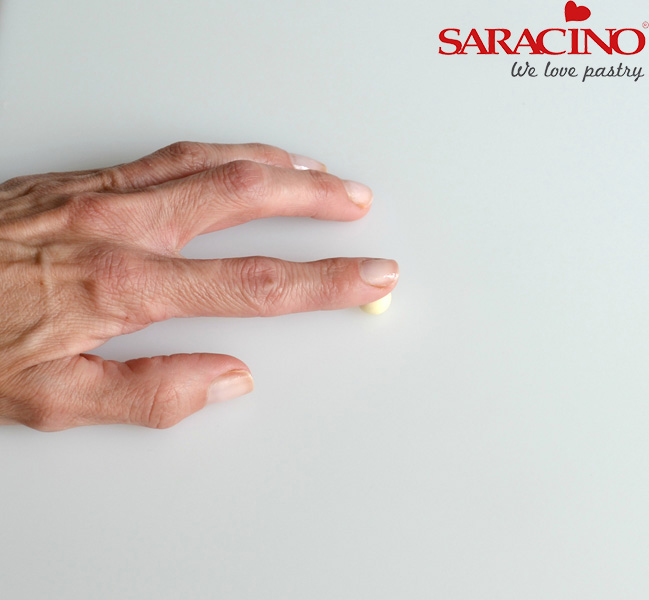
For the ears roll a pea sized piece of golden brown paste into a ball and flatten slightly with your finger.
Step 15
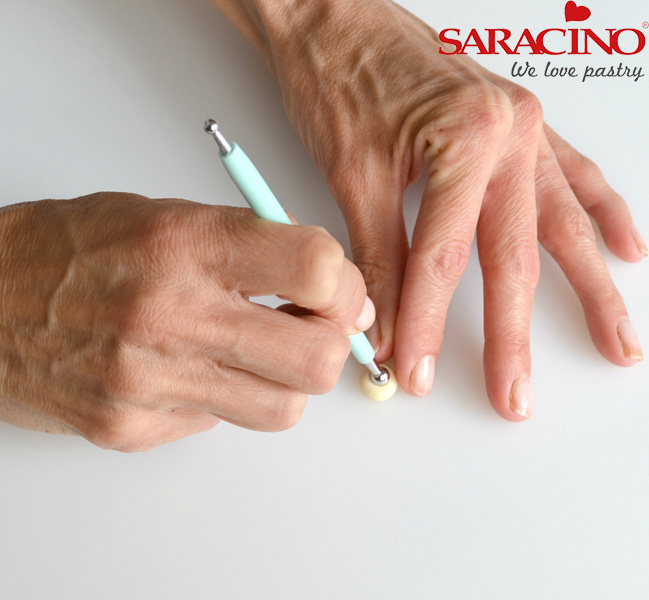
With a ball tool press into the centre of this ball.
Step 16
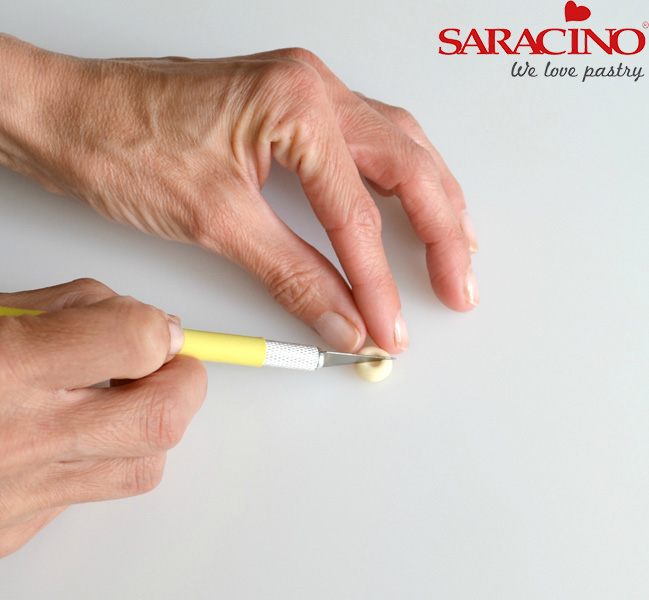
Using a craft knife cut this in two to create two ears.
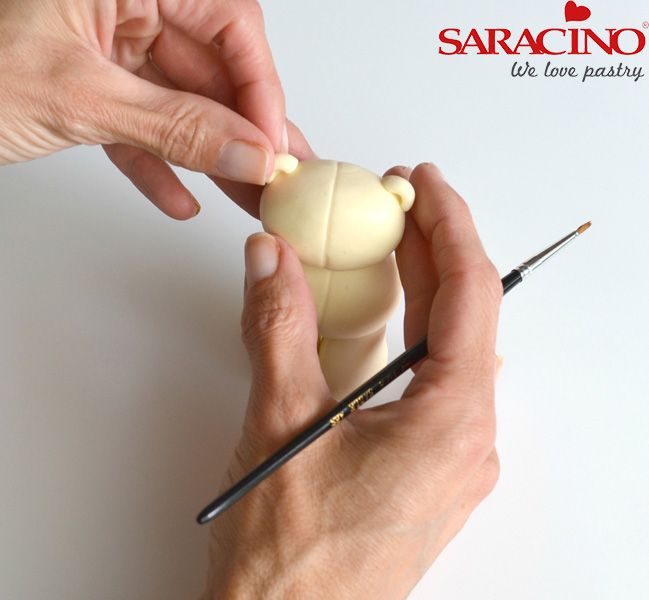
Step 17
Attach one either side of the head to create ears.
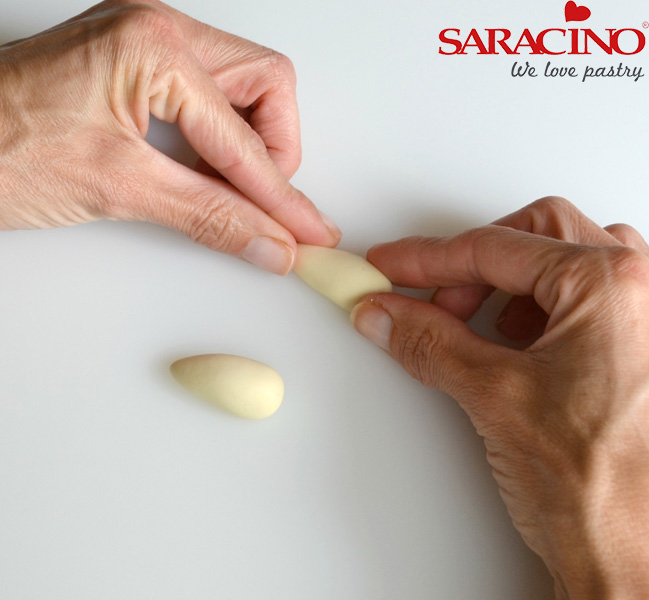
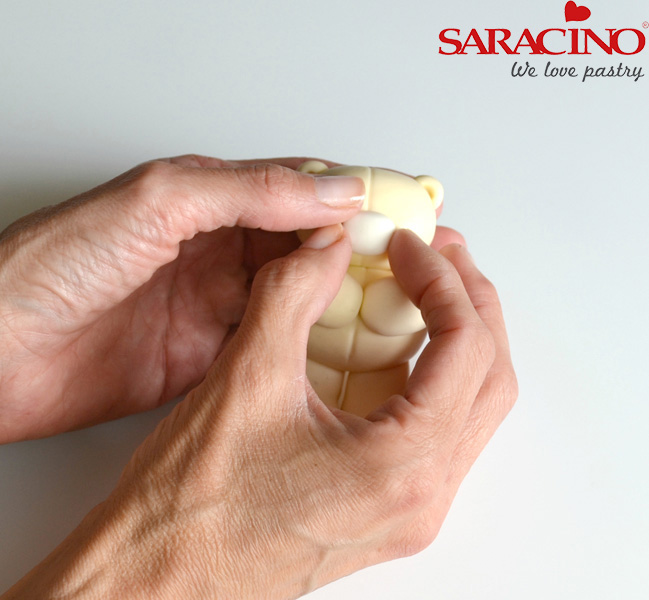
Step 18
To make the arms roll 5g of golden brown paste into a ball and then roll into a teardrop shape with your hands at an angle. Repeat for the second arm.
Step 19
Place the pieces on the board and use your fingers to flatten slightly onto the board.
Step 20
Attach the arms with sugar glue making sure they meet in the middle. If they aren’t long enough elongate the arm slightly before attaching.
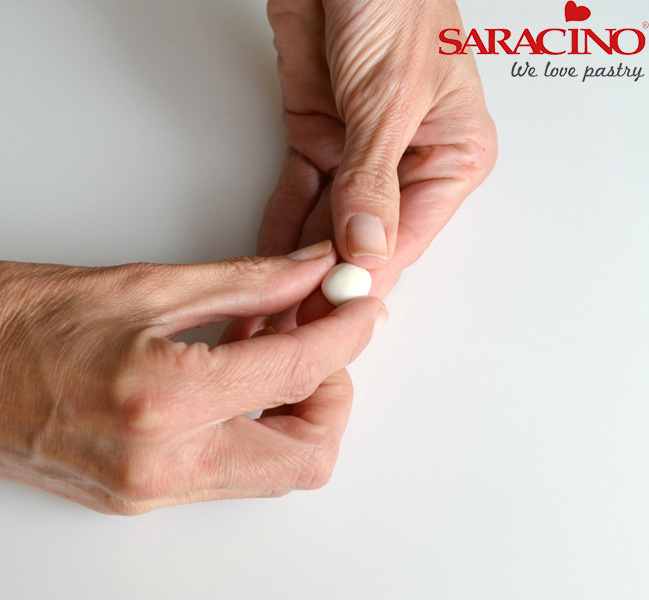
Step 21
Roll a pea sized ball of white paste and flatten slightly onto finger in an oval shape.
Step 22
Attach muzzle to bottom half of the face with sugar glue.
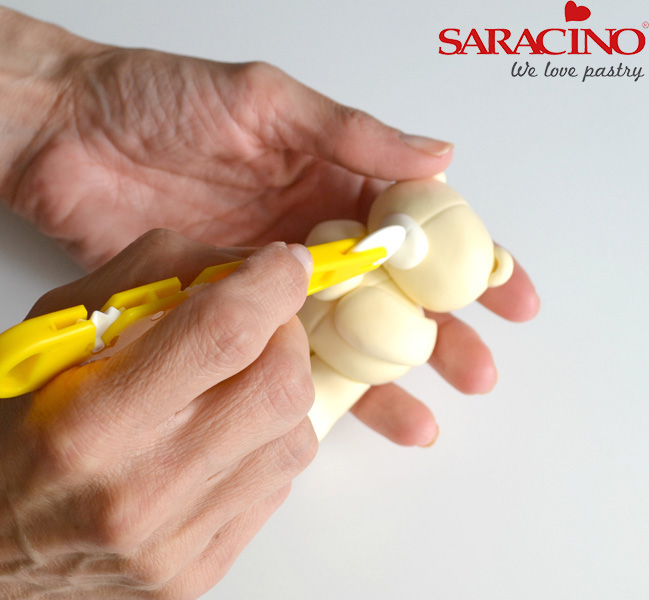
Step 23
Using a plain wheel modelling tool mark a vertical line from the top of the muzzle to the bottom.
Step 24
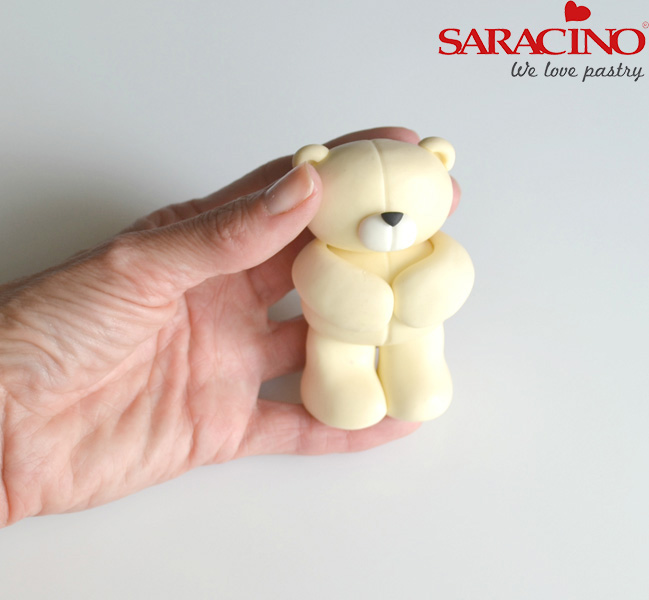
Shape a small piece of black paste into a triangular nose shape and attach to the top of the line just made using a small bit of sugar glue.
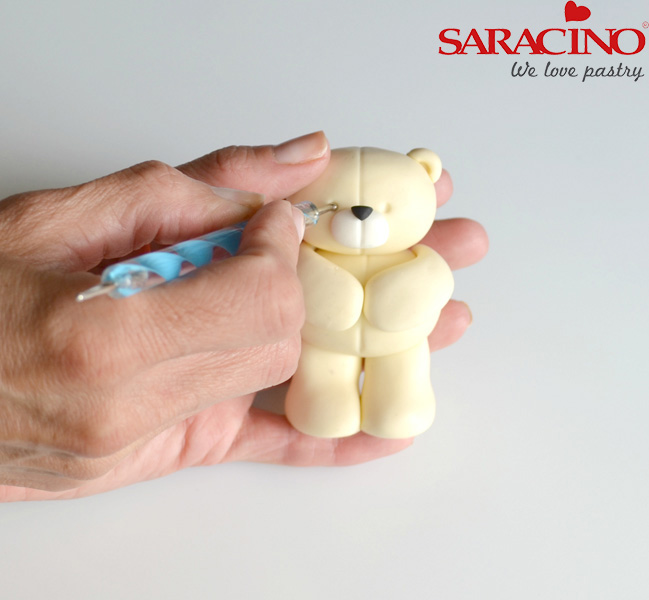
Step 25
Using a small dotting tool mark out two indents for eyes. Leave to dry
Step 26
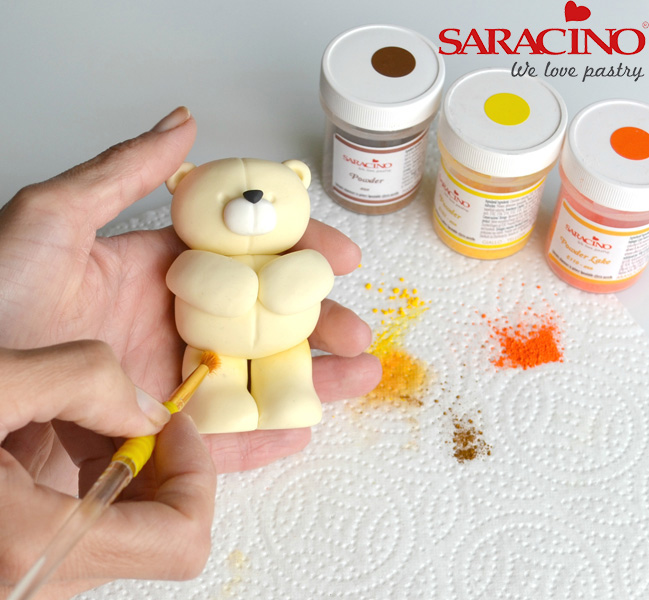
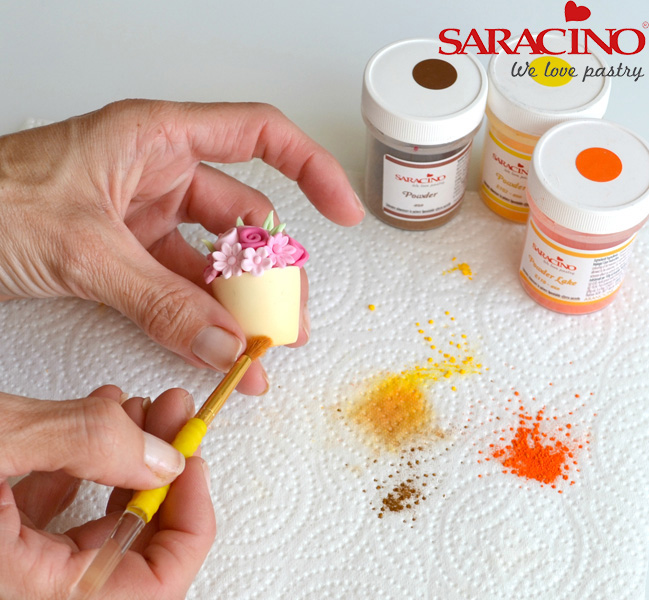
To dust mix a small quantity of Saracino yellow, orange and brown dusts to get a golden colour. Build the colour up slowly with a soft brush dusting the top of the legs, around the base of the feet, under the head and around the edge of his head.
Tip: I keep a small piece of the paste used for the bear to check the colour of the dust before adding to the bear himself
Step 27
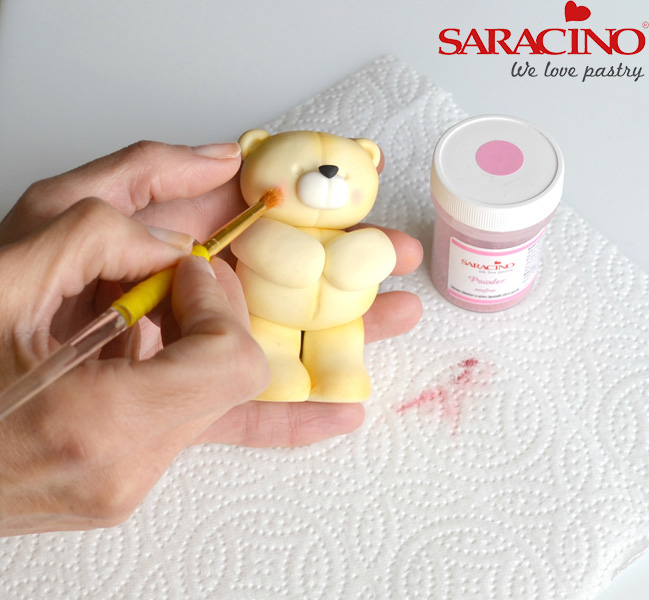
Use a small amount of Saracino pink dust for the cheeks.
Step 28
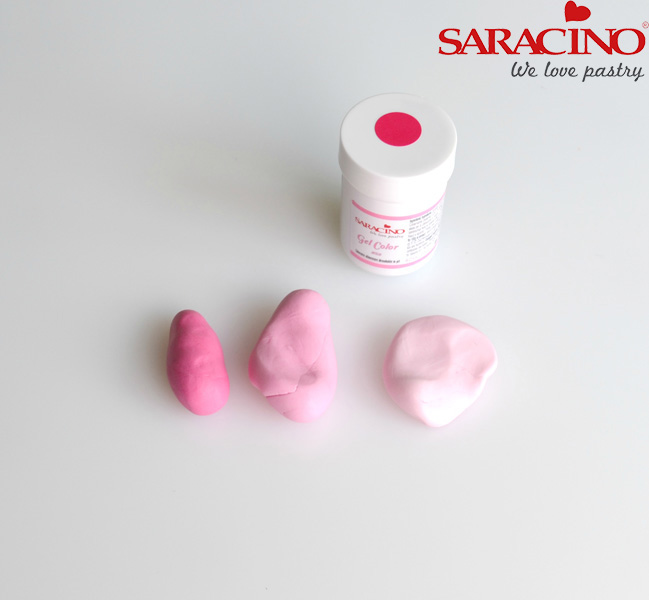
For the flowers mix up three shades of pink using the Saracino pink gel colour and keep a small portion white.
Step 29
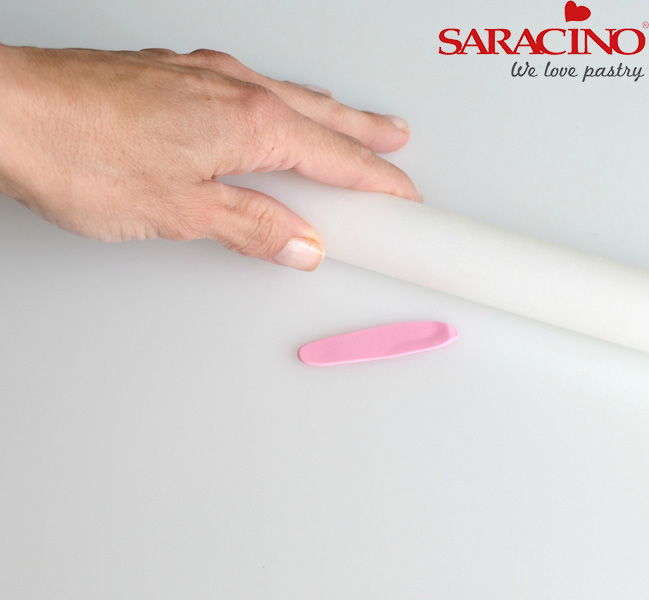
To make the roses roll small pieces of paste into sausage shapes and flatten with the rolling pin
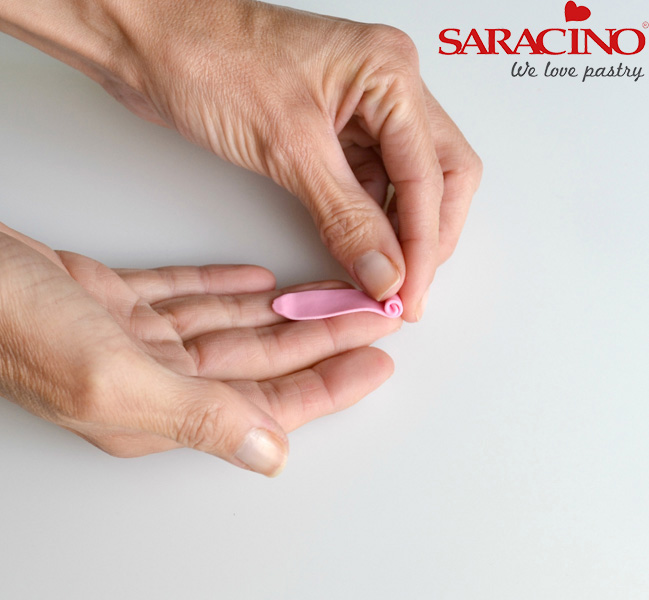
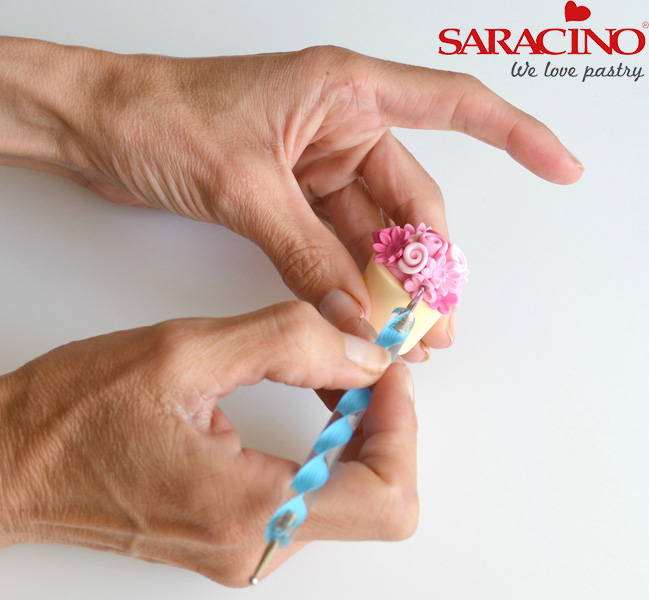
Step 30
Roll up into flowers. You may need to trim the excess paste off with a craft knife before attaching.
Step 31
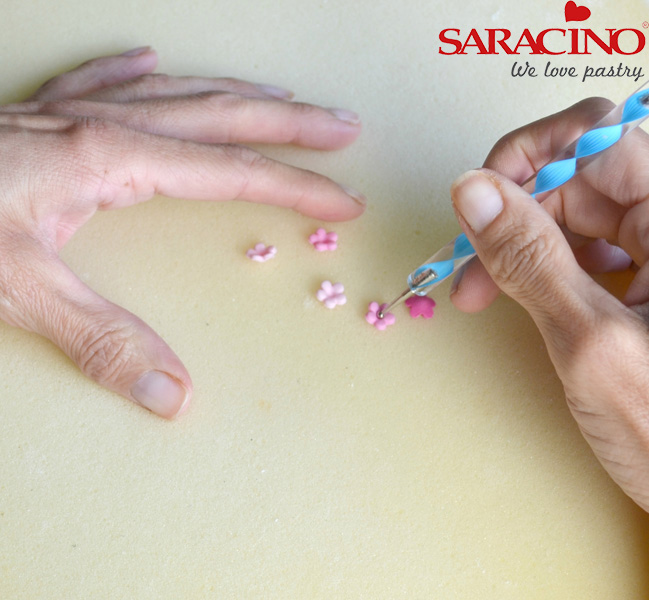
Cut out a variety of flowers using simple blossom cutters and other small flower cutters in all three shades, shaping on a sponge mat with a ball tool.
Step 32
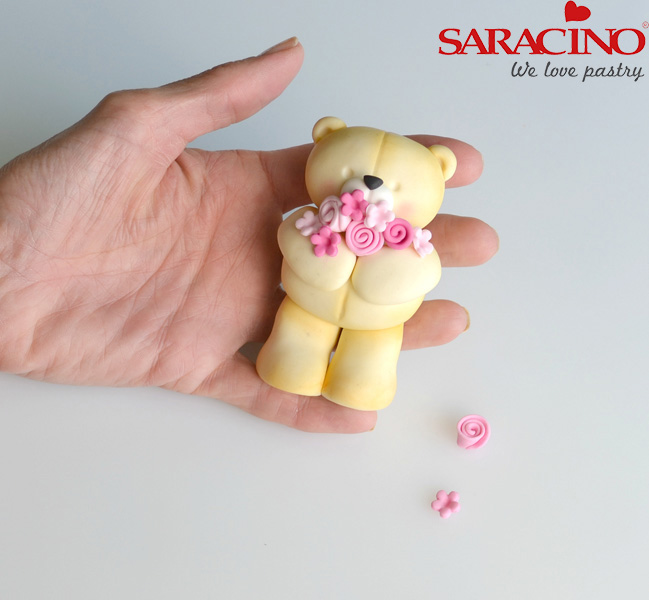
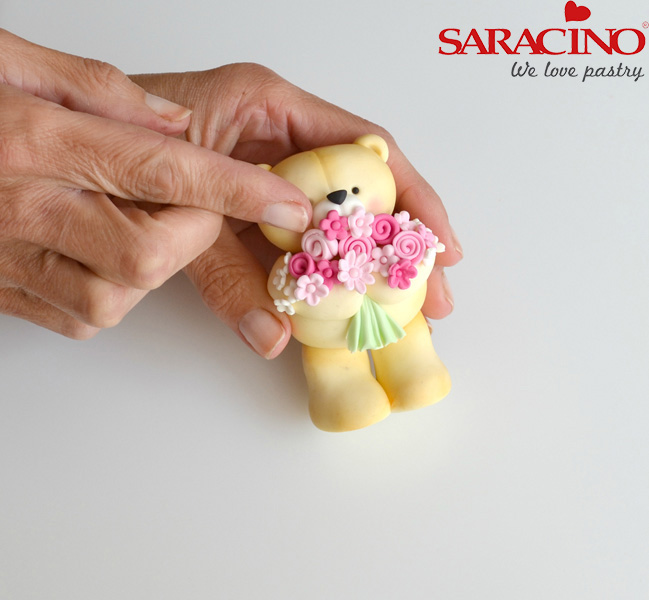
Start to arrange these to the front of the bear securing with sugar glue. Try to add the smaller flowers towards the edges. Roll tiny balls of paste for the centres of the flowers.
Step 33
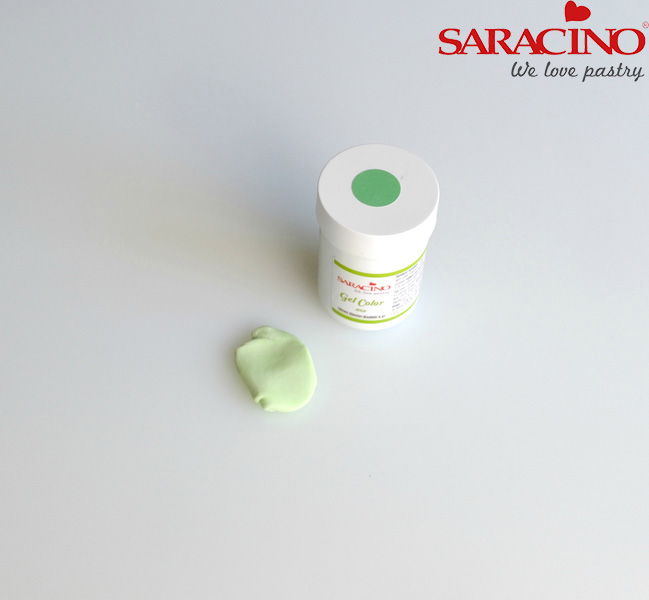
For the leaves and stems mix up a small piece of white paste with a small amount of Saracino green gel colour to create a soft green.
Step 34
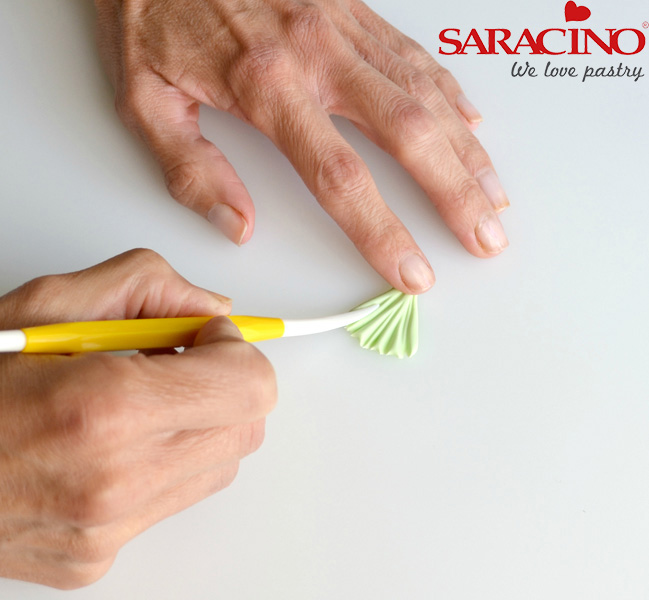
Shape a small triangle of green paste in your fingers and use the thin end of the dresden tool to press lines in to create the look of stems
Step 35
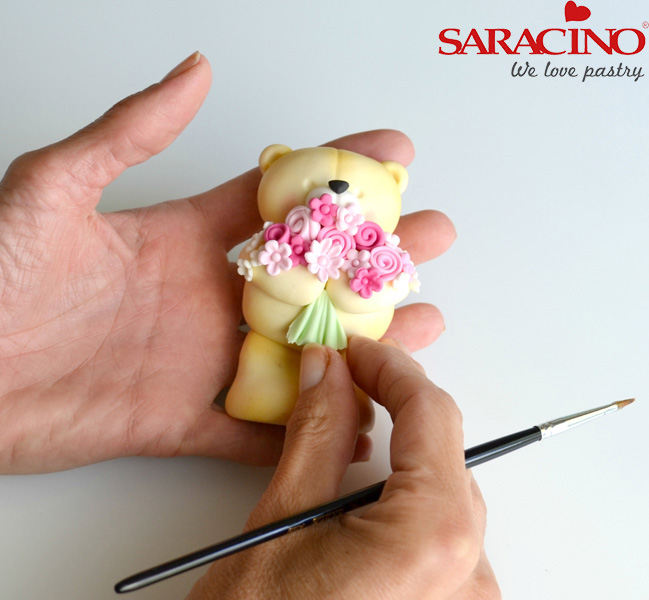
Trim down and attach below the bears arms with sugar glue
Step 36
For the flower pots mix up a 25g piece of white modelling paste to a golden cream colour using spots of Saracino orange, yellow and brown gel colour.
Step 37
Cut in half and using a smoother at an angle, roll to a cone shape.
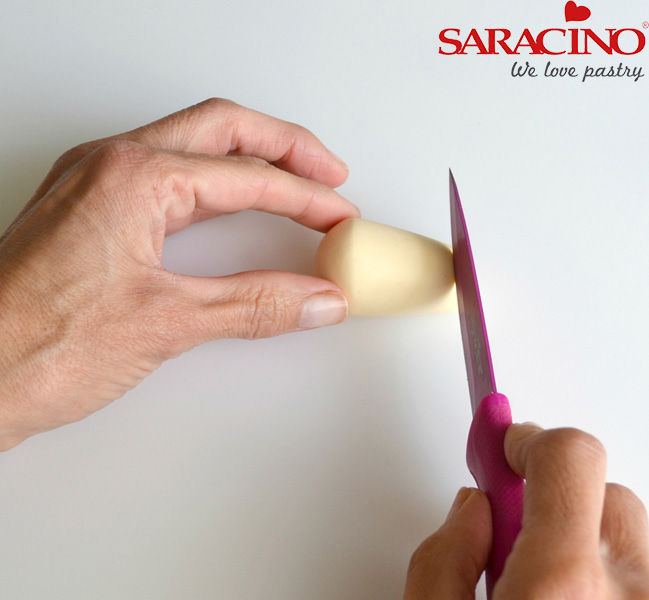
Step 38
Use a sharp knife to cut the excess off from either end to create a flower pot shape.
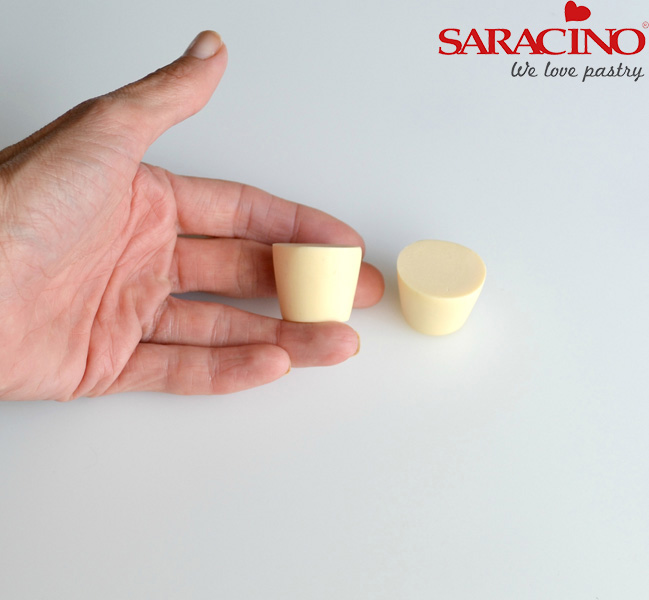
Step 39
Repeat to make the second pot
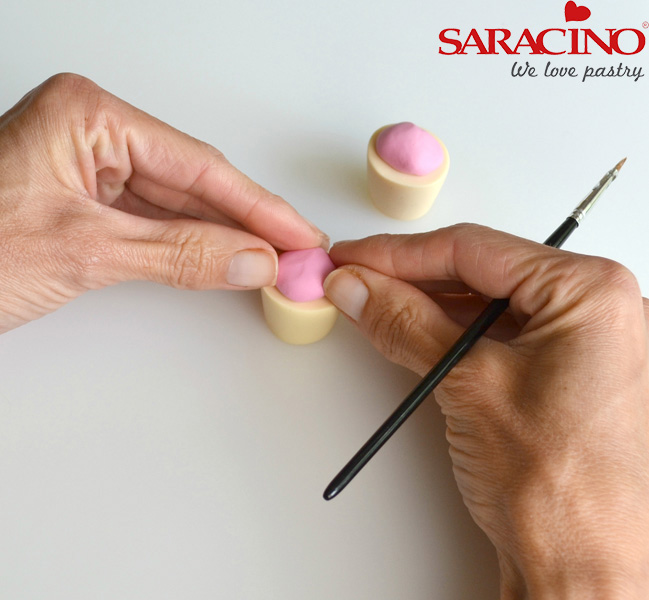
Step 40
Take a small piece of pink (any shade is fine) and stick to the top of each flower pot.
Step 41
Roll roses and cut out flowers as before and stick to both flower pots.

Step 42
Roll tiny teardrops of green paste and using the thin end of the dresden tool make a line down the middle. Push a few of these leaves in between the flowers in the pots
Step 43
Finish pots by very lightly dusting the bottoms using a mixture of Saracino yellow, orange and brown dusts.
Step 44
Roll two tiny balls of black paste for eyes and secure with sugar glue.
