Author: Lynsey Wilton-Eddleston
FB: SUGARWHIZZ
Skill level: BEGINNERS
FROM LYNSEY:
Never underestimate the power of colour! It’s such an important factor in making your creations beautiful, bold and unique to you. With Saracino gel colours its incredibly easy to create a never-ending range of colours, tints and shades, guaranteed to make your masterpiece stand out from the crowd. There’s a strange phenomenon in cake land that leads you to believe you need to own hundreds of pots of colour in all, shapes, sizes and colours. When the truth is you don’t. You only really need a few basic colours and a little knowledge to set you on your way.
For this tutorial we’re going to concentrate on Saracino gel colours, however the same principles apply to the dust colours too. I’m going to show you a few basic steps and introduce you to a few colours to start you on your way.
You will need:
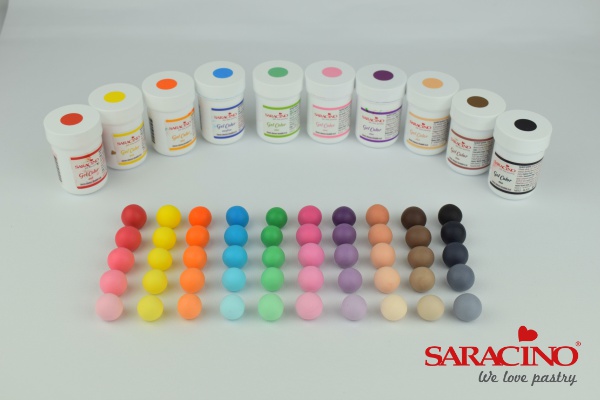
- Saracino Gel Colours:
- White
- Yellow
- Pink
- Red
- Violet
- Orange
- Green
- Blue
- Brown
- Black
- Skin Tone
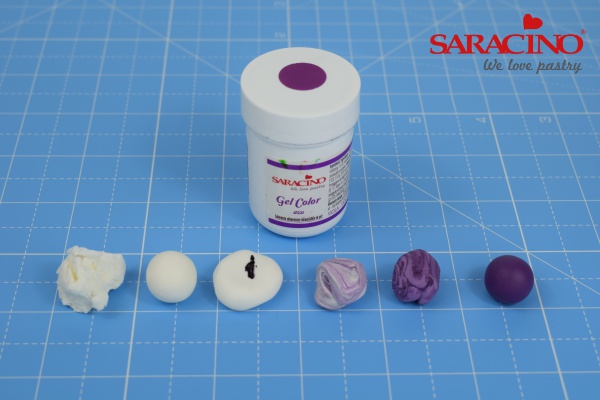
Take the amount of paste you need, knead and soften the paste until it is smooth. Using a clean cocktail stick, apply a small amount of gel colour to the centre of the paste. Fold the paste over so the colour is contained and begin to knead the paste gently. Keep kneading until the colour is unified and streak free. Add more gel colour a little at a time and repeat the kneading process until you reach your desired colour. The more gel colour you add the darker the shade will be. If the paste becomes too warm during colouring it will appear soft and sticky. Don’t worry this isn’t permanent and can be solved easily by placing the paste in a clean food bag and leaving to cool down for a while. Once cool the paste will firm up again and will be easy to handle. For dark shades it is often best to colour your paste 12 – 24 hours before and leave to settle, the colour will develop more and the paste will be easier to work. For lighter shades you can colour and use immediately.
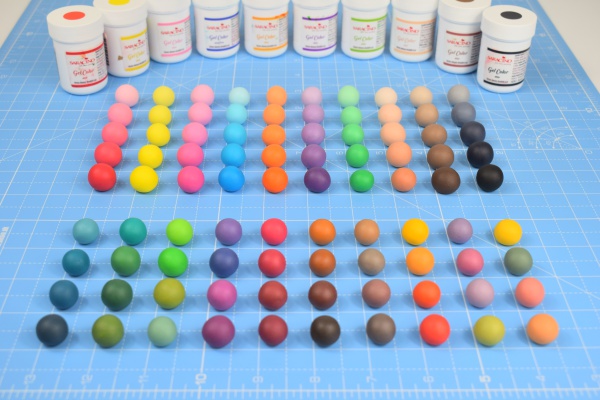
First up this may seem obvious but the simplest way to gain a variety of tints and shades is by adding different quantities of gel colour to white paste.
It’s impossible to give you the exact quantities needed to achieve each shade as it depends on how much paste you want to colour. Therefore, the easiest way is to experiment, start with a small amount of gel colour to create the lightest shade, increase the amount of gel colour a little at a time to create darker shades until you reach the colour you desire. The more practise you have colouring paste the quicker you learn to judge how much gel colour you need.
I’ve given you examples of five different shades for each colour obviously there are many more shades depending on the quantity of gel colour you add.
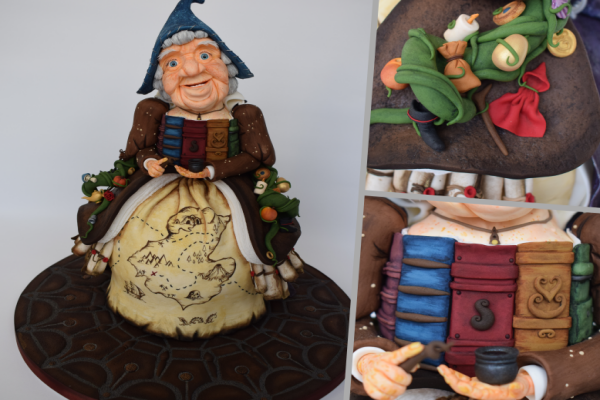
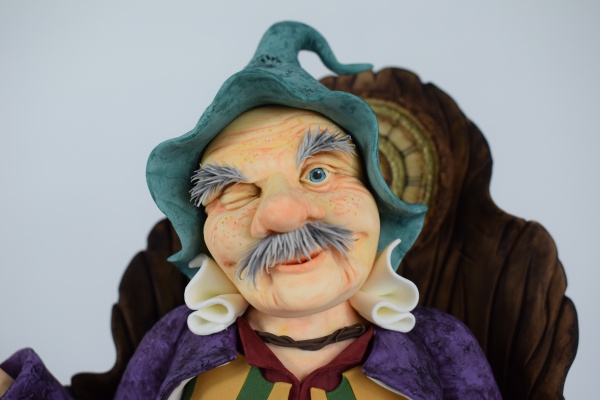
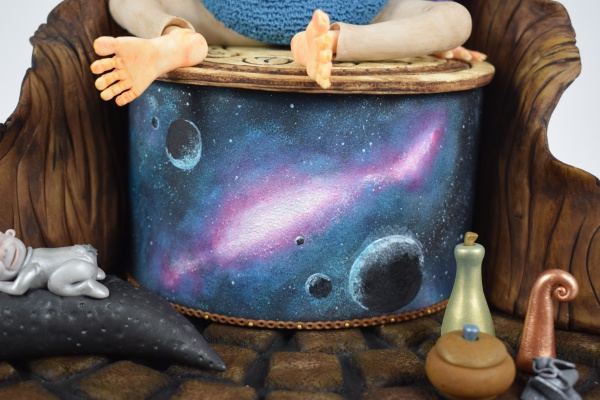
Hard to believe but this cake was made and coloured using only Saracino Gels and dusts.
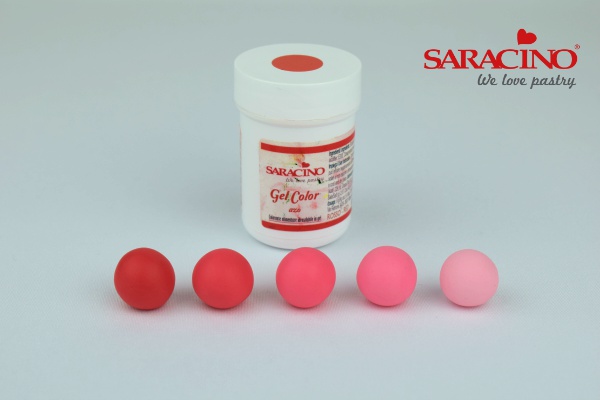
Saracino Gel Colour – RED
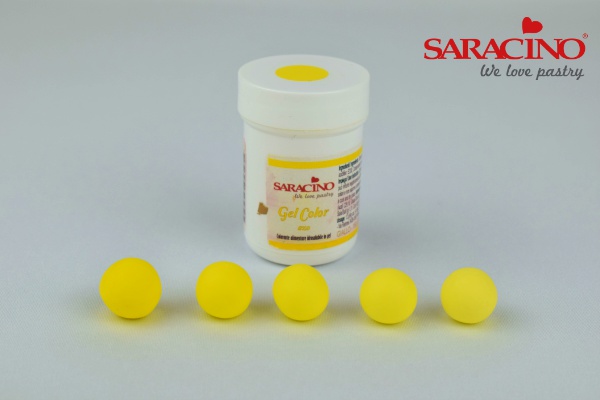
Saracino Gel Colour – Yellow
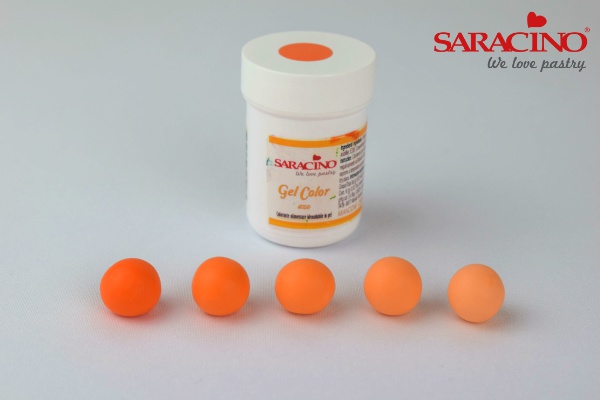
Saracino Gel Colour – Orange
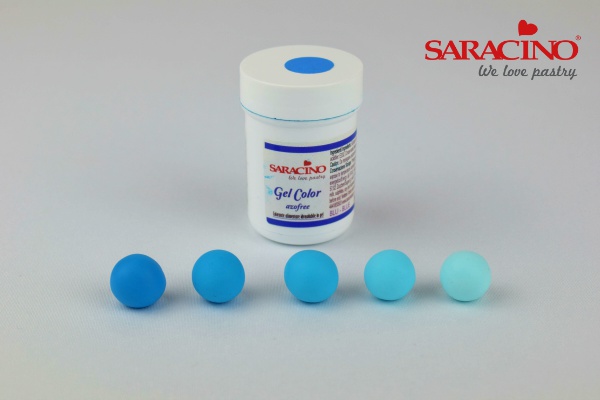
Saracino Gel Colour – Blue
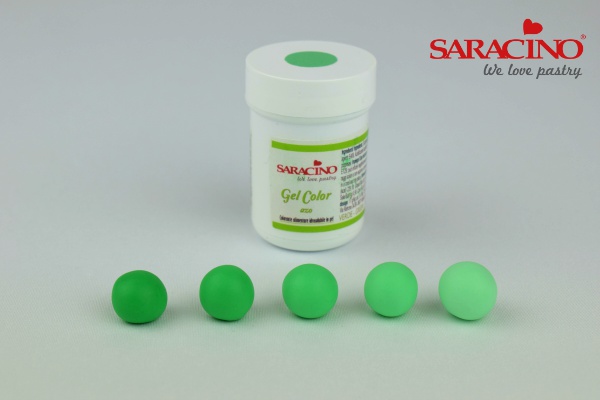
Saracino Gel Colour – Green
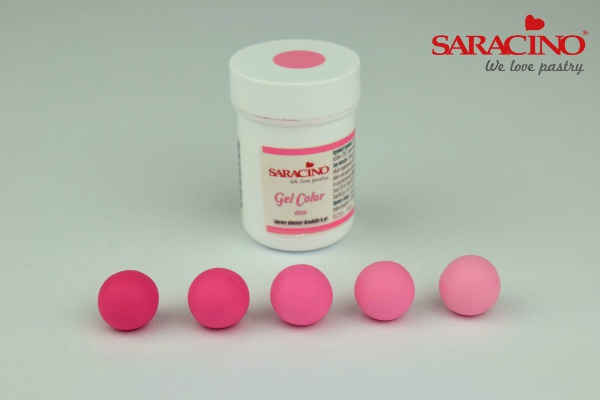
Saracino Gel Colour – Pink
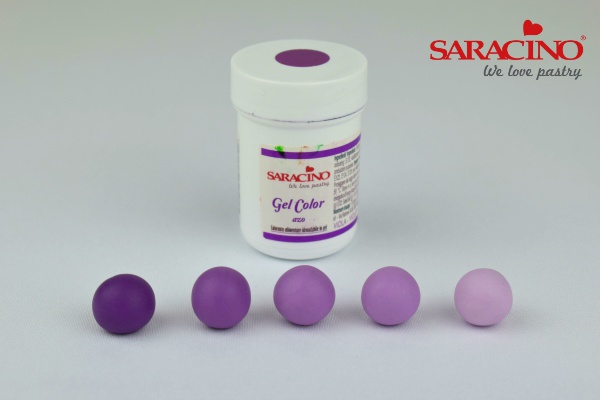
Saracino Gel Colour – Violet
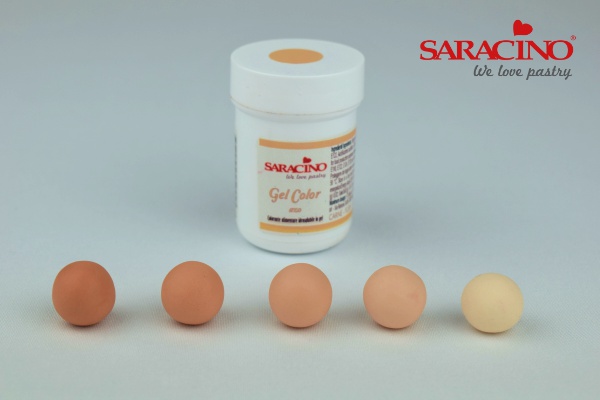
Saracino Gel Colour – Flesh

Saracino Gel Colour – Brown
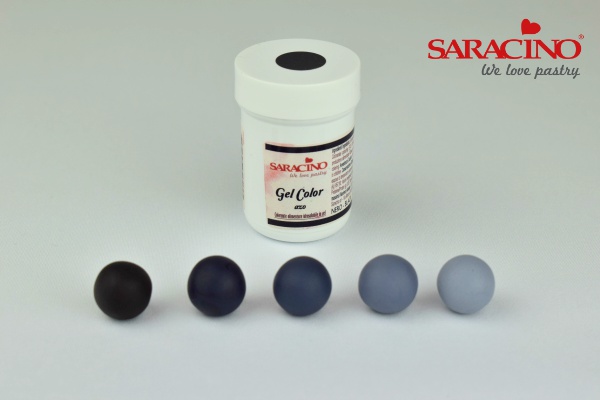
Saracino Gel Colour – Black
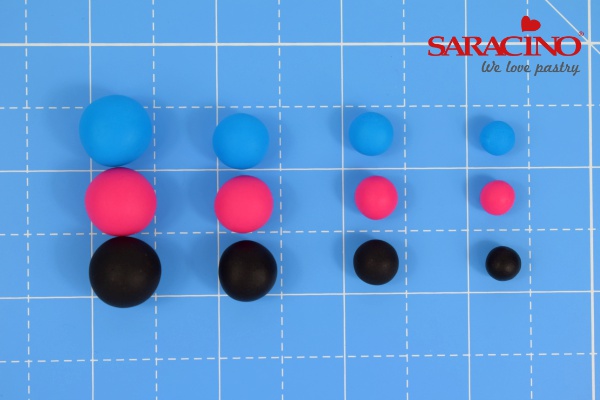
For the tutorial I only needed small amounts to demonstrate so used around 2g for A however A can be any quantity, it doesn’t matter how much you have of A the scale is still the same.
B is roughly ½ the quantity of A.
C is roughly ¼ the quantity of A.
D is roughly 1/8 the quantity of A.
For example, if A was 100g, B would be 50g, C would be 25g and D would be 12.5g .We’ve used these amounts as examples in the mixing guide that follows.
This should help you in scaling up and down for colouring whatever quantity of paste you need.
TOP TIP – When creating a new shade or colour, start small. Mix the colour you need with just a few grams of paste, keep a note of your combination and quantities. Then when you have the colour you desire, scale up the amounts. This way you wont waste huge amounts of paste if you create the wrong colour.
Let the mixing begin…
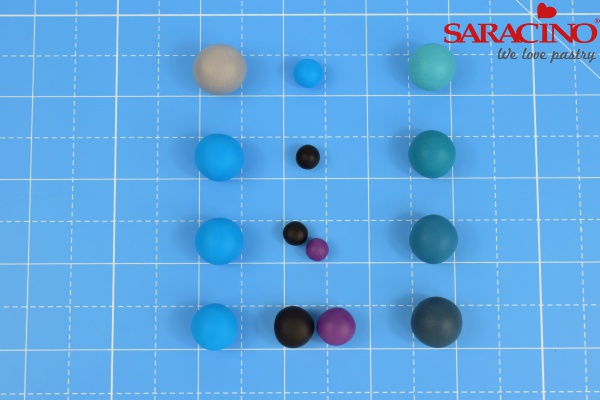
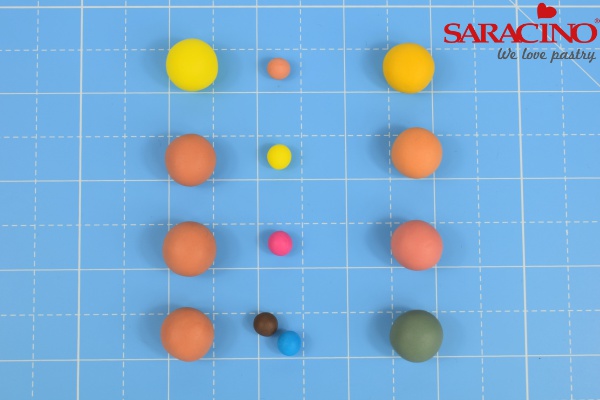
Left to right, top to bottom.
- Grey 100g + Blue 25g
- Blue 100g + Black 12.5g
- Blue 100g + Black 12.5g + Violet 12.5g
- Blue 100g + Black 50g + Violet 50g
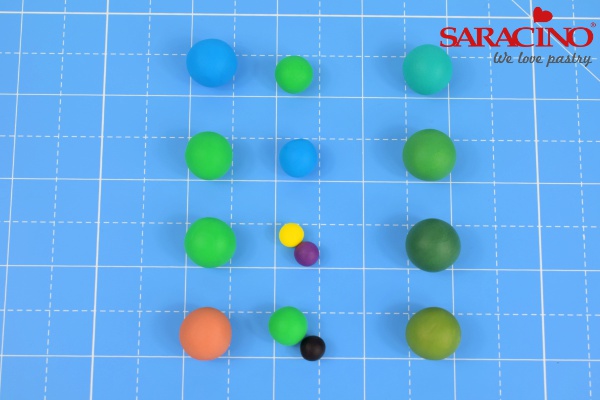
Left to right, top to bottom.
- Blue 100g + Green 50g
- Green 100g + Black 50g
- Green 100g + Yellow 12.5g + Violet 12.5g
- Flesh 100g + Green 50g + Black 12.5g
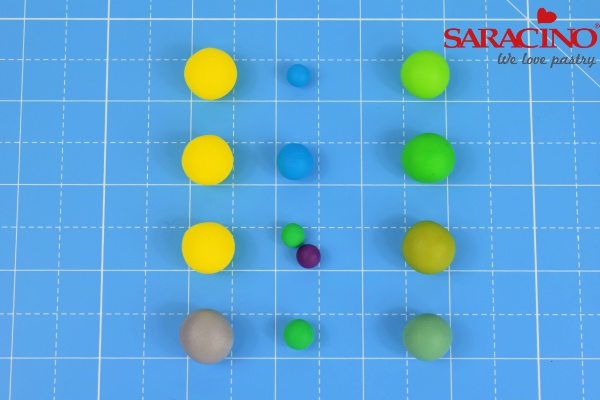
Left to right, top to bottom.
- Yellow 100g + Blue 12.5g
- Yellow 100g + Blue 50g
- Yellow 100g + Green 12.5g + Violet 12.5g
- Grey 100g + Green 25g
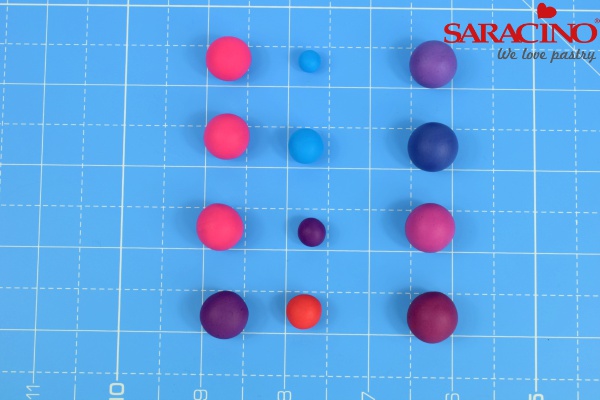
Left to right, top to bottom.
- Pink 100g + Blue 25g
- Violet 100g + Blue 50g
- Pink 100g + Violet 25g
- Violet 100g + Red 50g
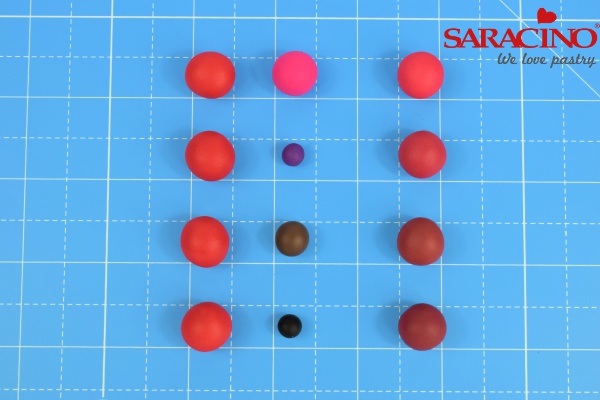
Left to right, top to bottom.
- Red 100g + Pink 100g
- Red 100g + Violet 12.5g
- Red 100g + Brown 50g
- Red 100g + Black 12.5g
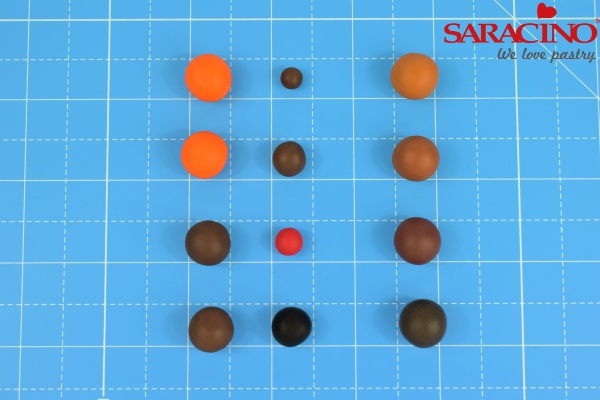
Left to right, top to bottom.
- Orange 100g + Brown 12.5g
- Orange 100g + Blue 50g
- Brown 100g + Red 25g
- Brown 100g + Black 50g
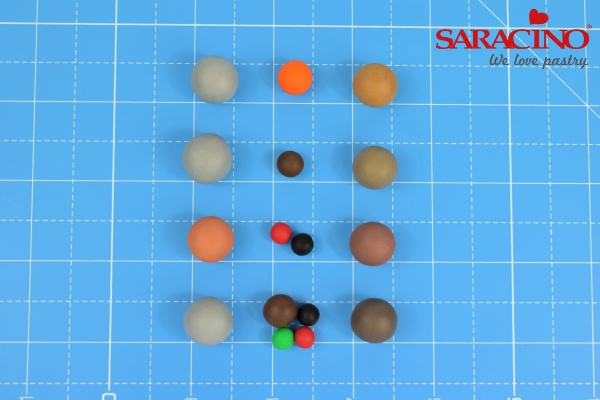
Left to right, top to bottom.
- Grey 100g + Orange 50g
- Grey 100g + Brown 25g
- Flesh 100g + Red 12.5g + Black 12.5g
- Grey 100g + Brown 50g + Green 12.5g + Red 12.5g + Black 12.5g
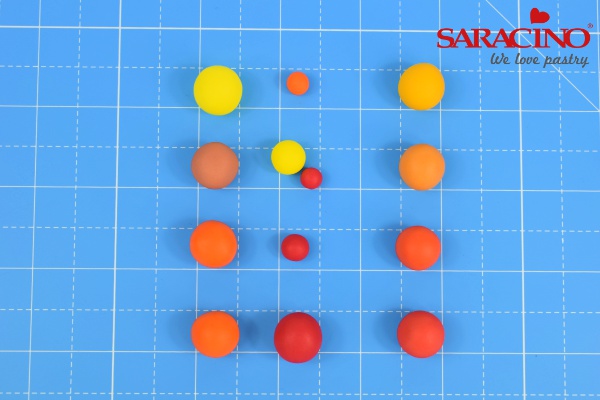
Left to right, top to bottom.
- Yellow 100g + Orange 12.5g
- Flesh 100g + Yellow 50g + Red 12.5g
- Orange 100g + Red 25g
- Orange 100g + Red 100g
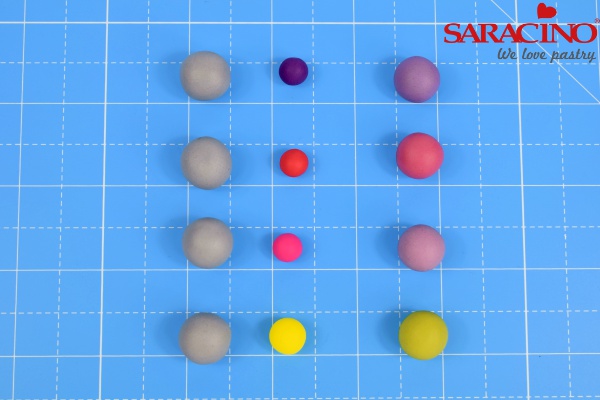
Left to right, top to bottom.
- Grey 100g + Violet 25g
- Grey 100g + Red 25g
- Grey 100g + Pink 25g
- Grey 100g + Yellow 50g
Left to right, top to bottom.
- Yellow. 100g + Flesh 12.5g
- Flesh 100g + Yellow 12.5g
- Flesh 100g + Pink 12.5g
- Flesh 100g + Blue 12.5g + Brown 12.5g
Now you’ve got a whole palette of colours to play with it’s a good time to point out that just like the original gels these new colours can by multiplied into many different, tints, shades and tones.
Tint – A tint is created by adding more white paste to your colour making it lighter.
Shade – A shade is created by adding more black paste to your colour making it darker
Tone – A tone is created by adding grey, or both black and white to your colour.
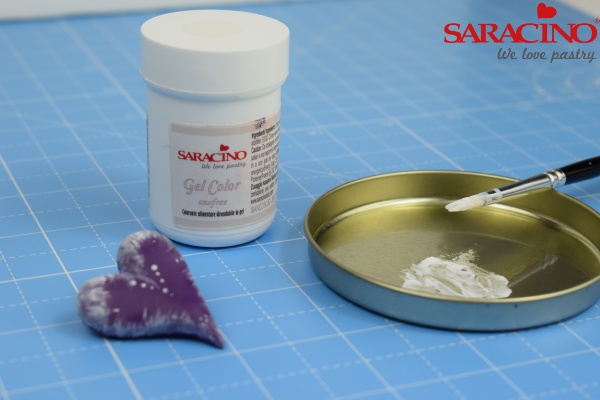
Last but not least is this little beauty… Saracino White gel colour. Which can be used for lightening colours. However, I usually just use white paste and I save this for magical things, like mixing it with a small amount of clear alcohol (or cool boiled water) and painting details such as the whites of eyes, highlighting and shading my creations, or simply painting patterns onto sugar work! The only limit on this one is your imagination.
Of course, this also applies to the full range of Saracino gel and dust colours. You can mix them individually with a small amount of clear alcohol or water or combine the gel and dust colours together to create endless new colours. All of which can then be used to paint and shade your creations, here are some of my favourite examples…
The most important thing to remember is to be brave, experiment and have fun!
