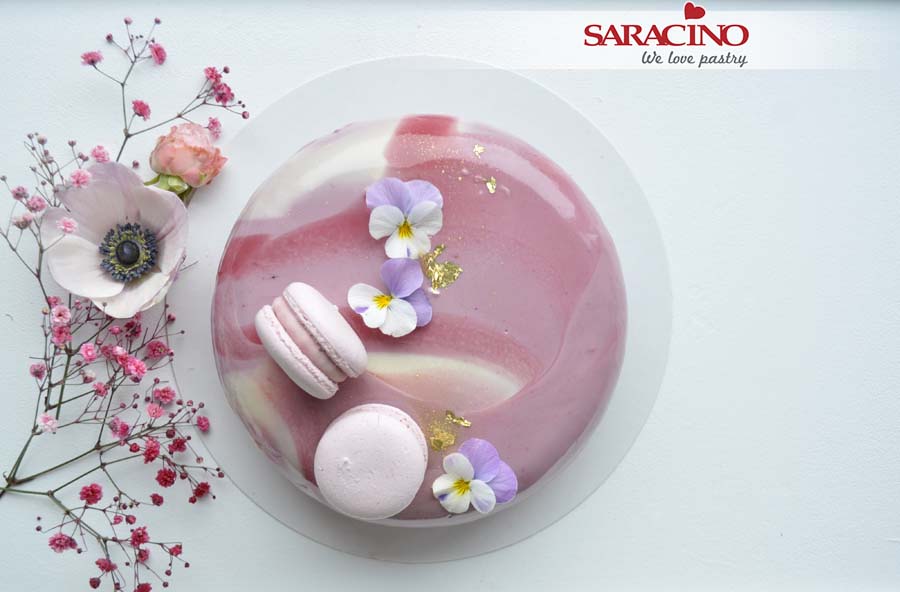
You will need:
- Saracino Le Supreme food flavourings: strawberry, coffee, hazelnut and raspberry
- 50g Saracino Almond flour
- 200g Saracino dark chocolate drops
- Saracino mirror glaze: white chocolate and red fruits (raspberry, strawberry or wild fruits)
- 350g cherries (can be frozen)
- gelatine
- 25g corn flakes
- 20g chopped hazelnuts
- 50g dark chocolate 60%
- 3 eggs
- 80g sugar
- 90g plain flour
- 150g milk
- 200g cold double cream (30-36%)
- 1 tsp freshly ground coffee

Step 1
Prepare all your ingredients. Make sure they are all at room temperature.

Step 2
Prepare 350g of cherries (they can be frozen), 12 g of gelatine soaked in 3 tablespoons of cold water, Saracino food flavouring – raspberry and strawberry.

Step 3
Boil the cherries and blend them to a puree.

Step 4
Add 1 teaspoon of raspberry flavour and 1 teaspoon of strawberry flavour to the puree whilst still hot.

Step 5
Immediately add the soaked gelatin and mix well.

Step 6
Pour the puree into a mould (plate) with a diameter slightly smaller than the cake mould, lined with cling film. Freeze.

Step 7
Prepare the ingredients for the crisp:
• 25g of corn flakes
• 20g hazelnuts, finely chopped
• 50g of plain chocolate
• 1 teaspoon of Saracino gianduia flavouring

Step 8
Melt the chocolate and add the gianduia flavour, cool to room temperature.

Step 9
Add chopped hazelnuts.

Step 10
Add the corn flakes, lightly crushed.

Step 11
Stir quickly and thoroughly.

Step 12
Put the crunch on baking paper and use a spoon to make a circle the diameter of the fruit jelly mould, chill in the fridge.

Step 13
Prepare the ingredients for the almond sponge:
• 3 large eggs (60g) at room temperature
• 80g of sugar
• 90g of wheat flour
• 50g Saracino almond flour

Step 14
Separate the egg whites from the yolks (pay attention to the quality of the ingredients – a fresh egg has a thick egg white and a yolk that does not spill when broken).
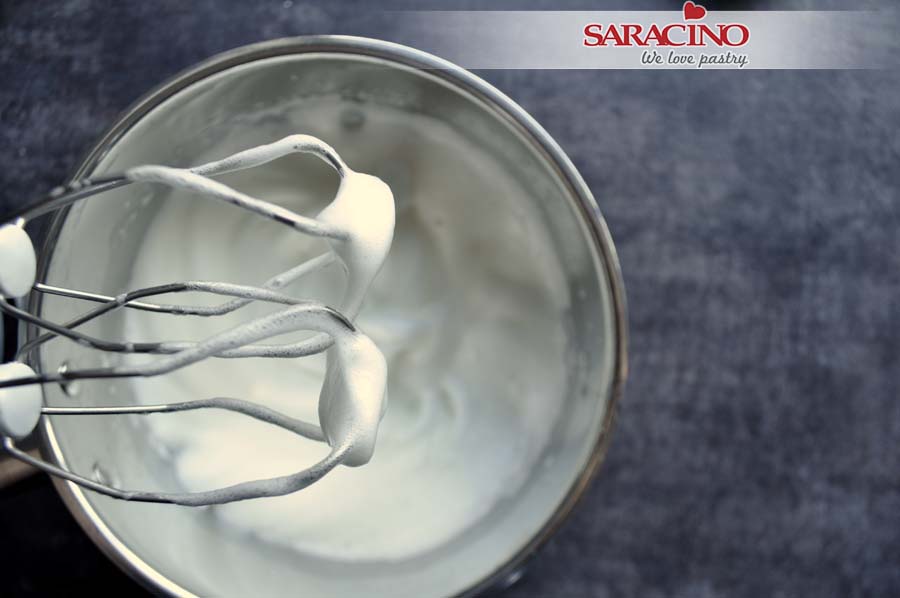
Step 15
Beat egg whites until foam (not stiff).
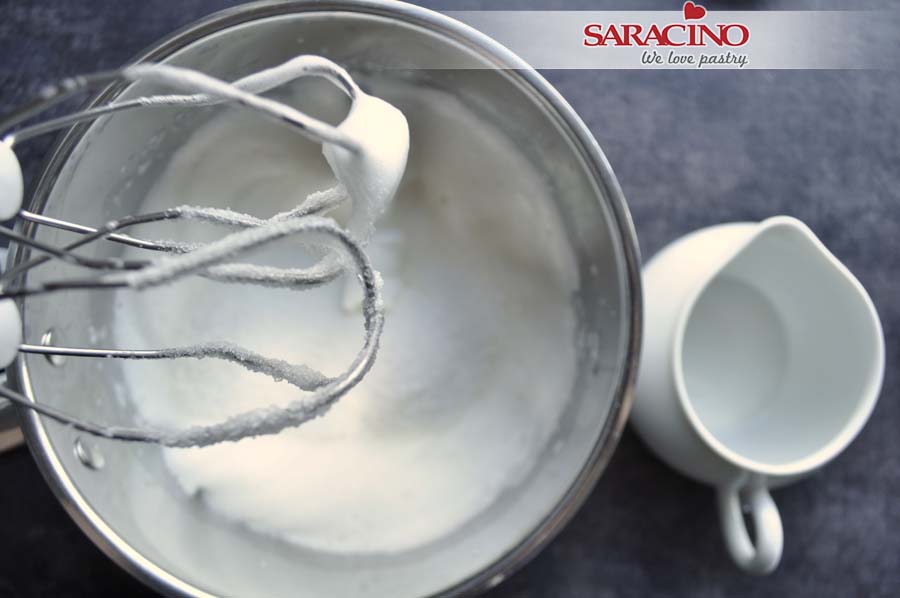
Step 16
Add sugar and beat on medium speed mixer until the sugar is completely dissolved.
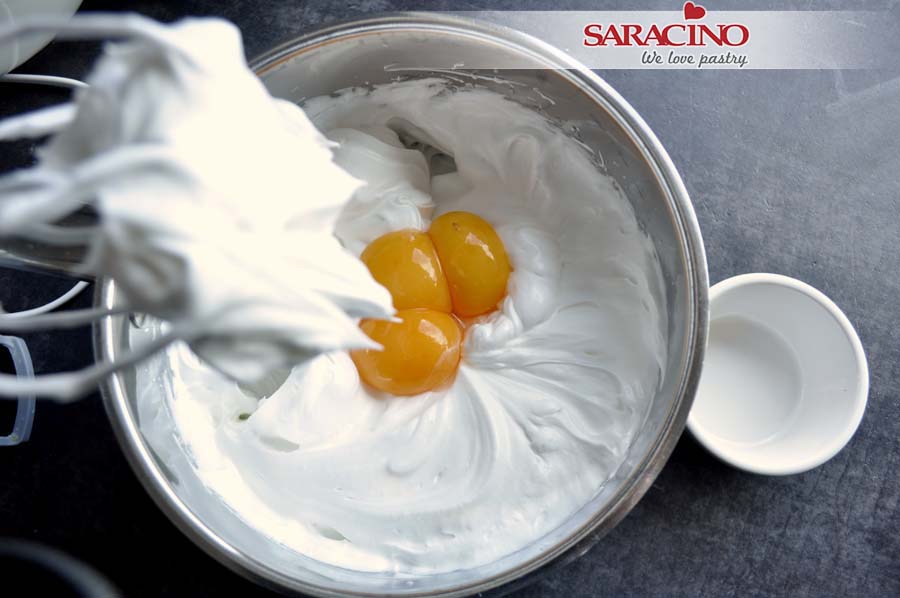
Step 17
Add egg yolks, mix briefly.
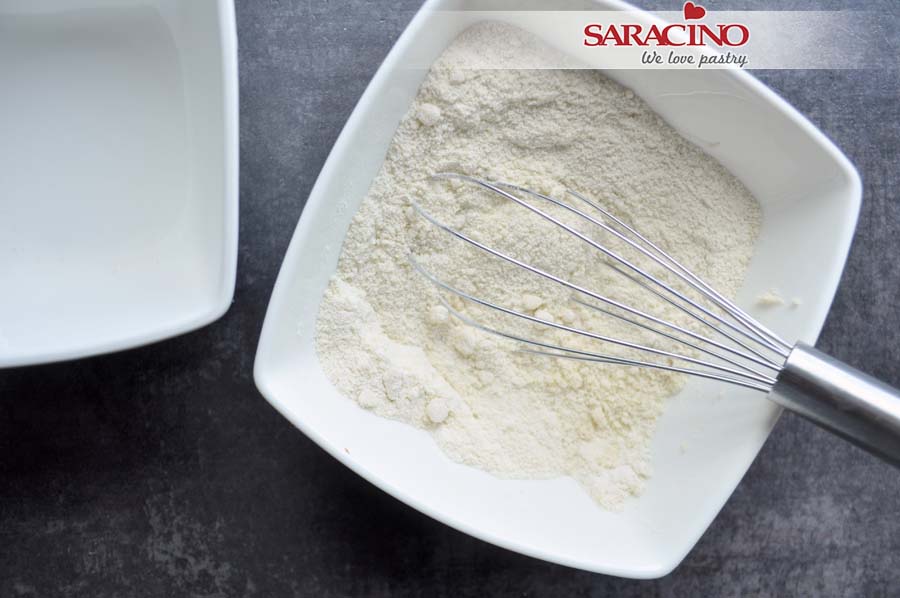
Step 18
Mix the wheat and almond flour.
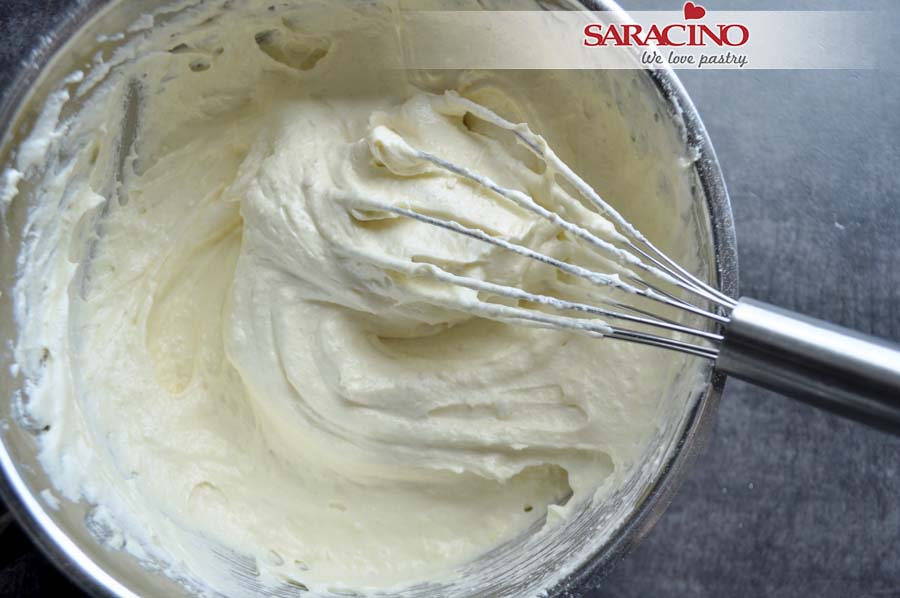
Step 19
Using a hand whisk add the combined flour with beaten eggs and mix briefly, gently but thoroughly.
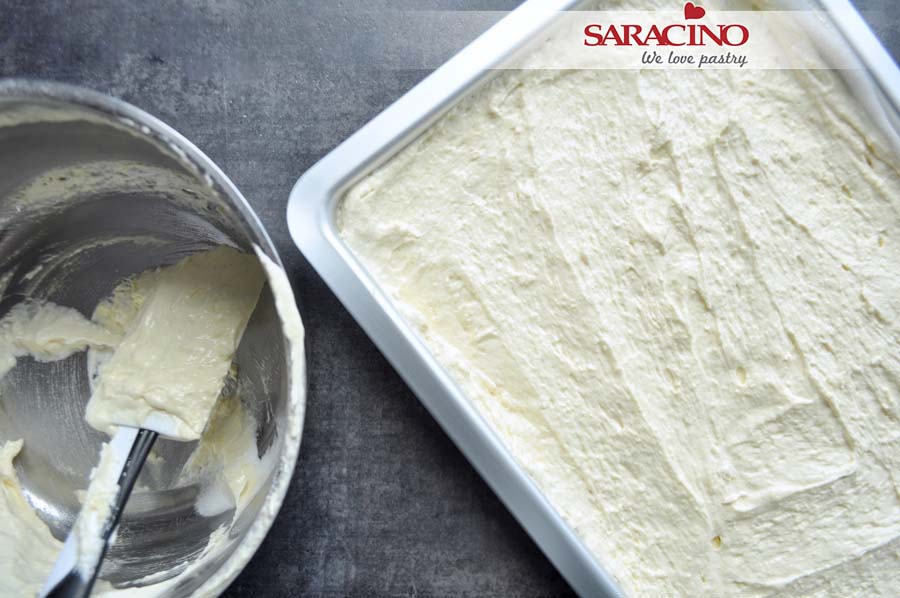
Step 20
Tip onto a baking sheet that has been covered with baking paper, spread to a thickness of about 1cm and bake at 180 degrees Celsius for about 15 minutes (not fan oven assisted).
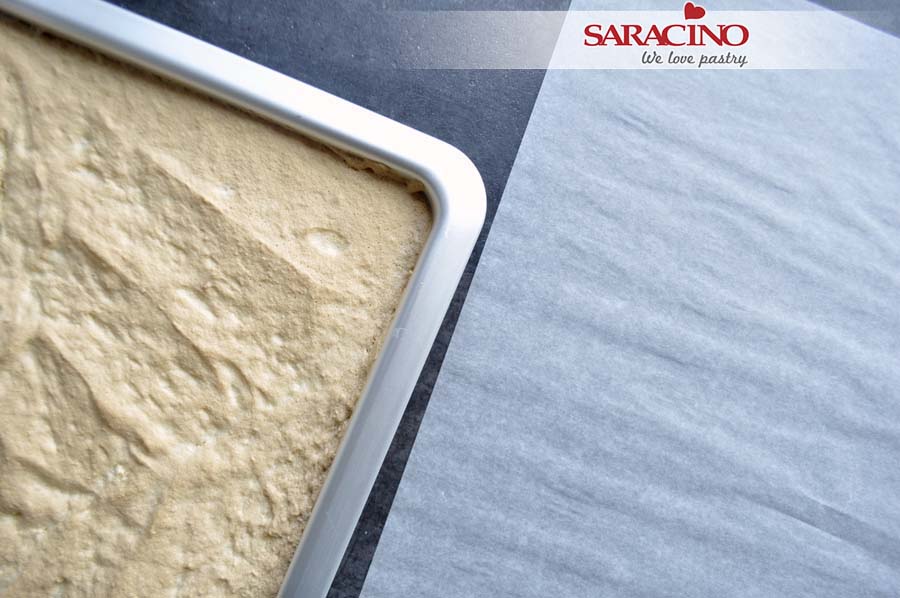
Step 21
Take the sponge cake out of the oven and prepare a sheet of baking paper.
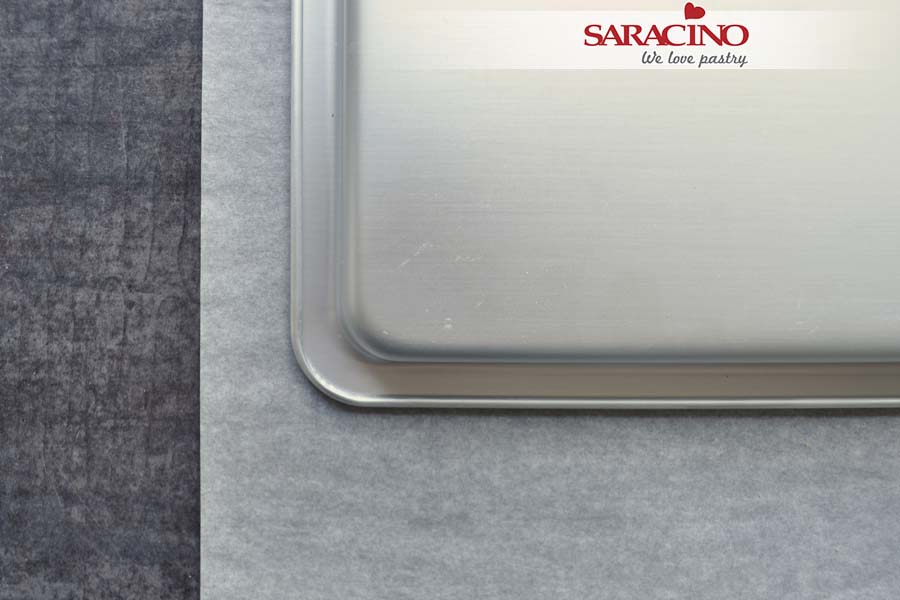
Step 22
Carefully separate the sides of the hot sponge cake from the tray and turn it upside down onto the previously prepared sheet of paper.
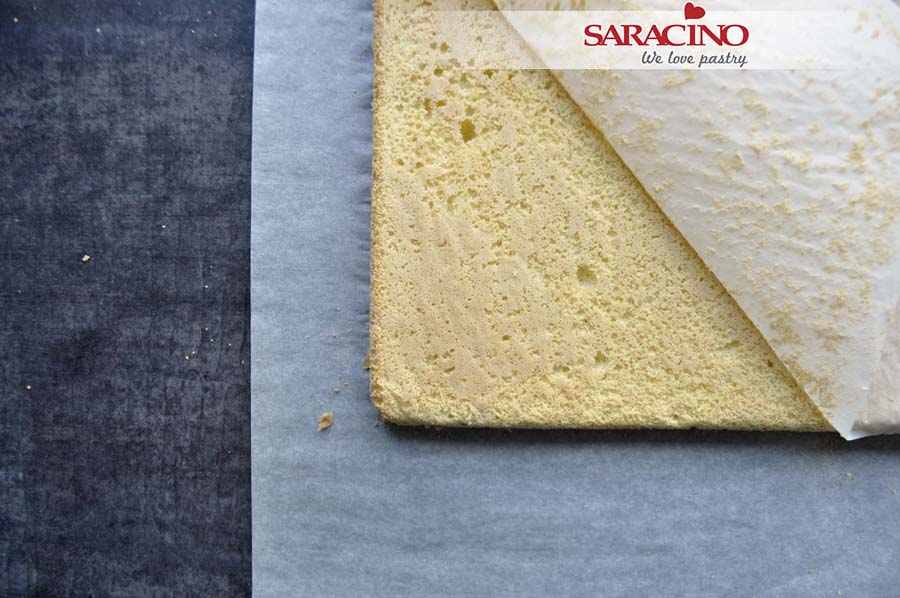
Step 23
Gently peel off the paper on which the sponge cake was baked, and let it cool down.
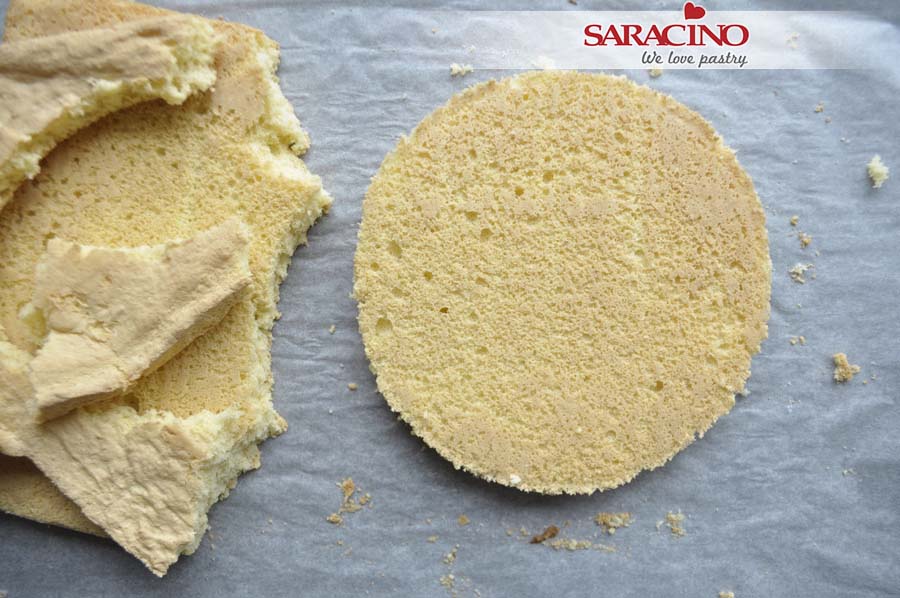
Step 24
Using a sharp knife, cut out a circle with the diameter to match the jelly and chocolate-corn crisp base.
TIP: You can eat the leftover sponge cake or make it into cake pops – remember – this food is too good to waste!
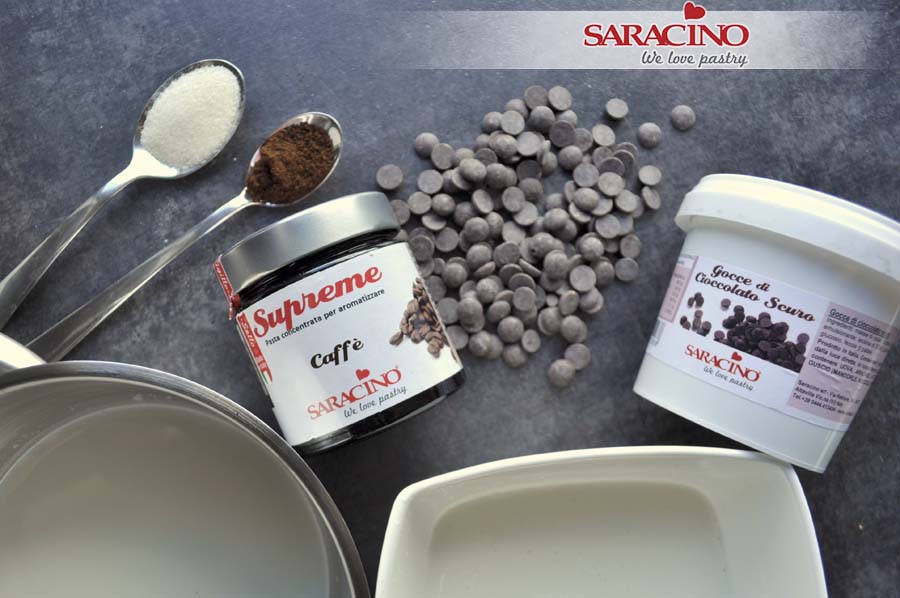
Step 25
Prepare the ingredients for the coffee and chocolate mousse:
• 150g of milk
• 200g of chilled cream (30-36%)
• 200g Saracino dark chocolate
• 10g of gelatin + 3 tablespoons of cold water
• 1 teaspoon of freshly ground coffee
• 1 teaspoon of Saracino coffee flavouring
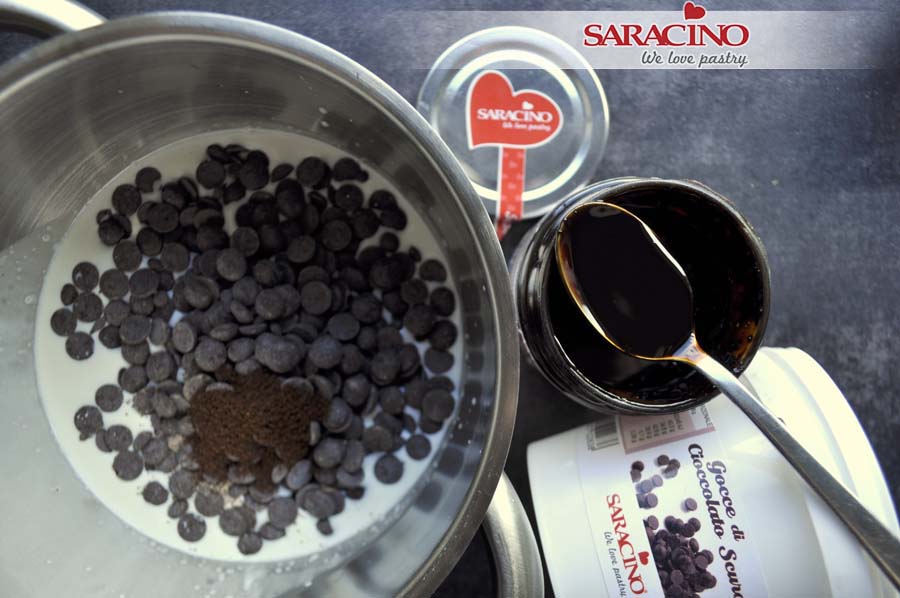
Step 26
Put the milk, chocolate and coffee in a bowl. Add the Saracino coffee flavouring and heat until the chocolate is melted.
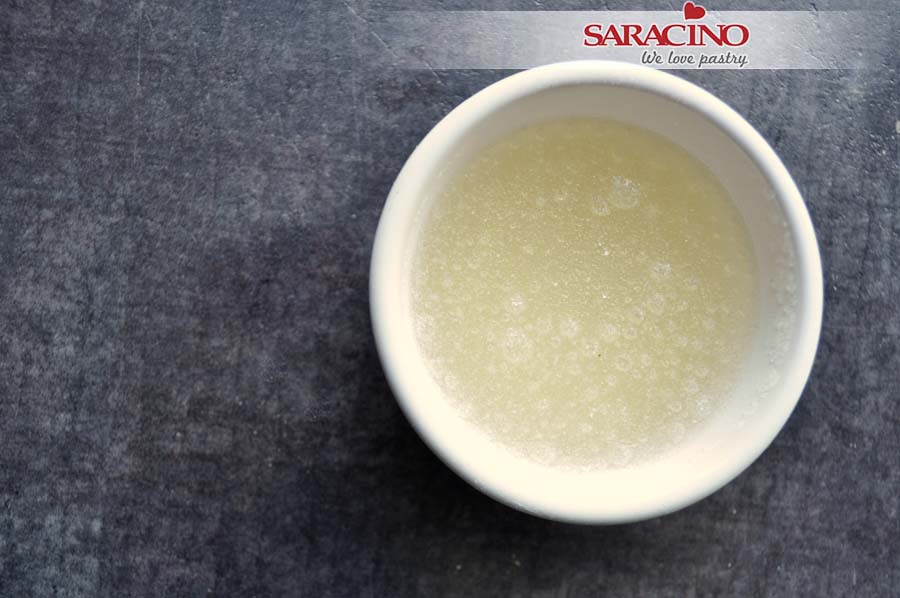
Step 27
Mix gelatine with cold water and set aside.
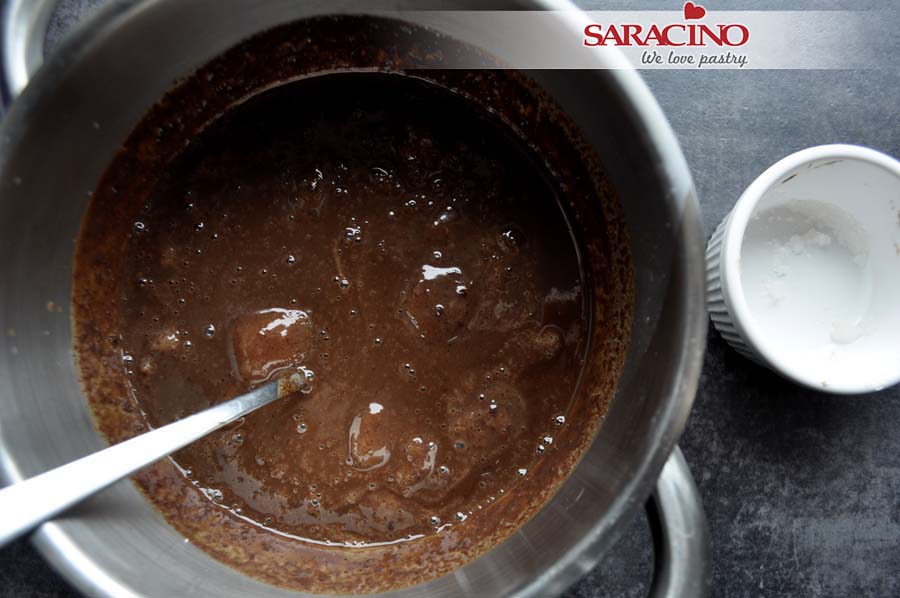
Step 28
Add the gelatine to the melted chocolate mixture.
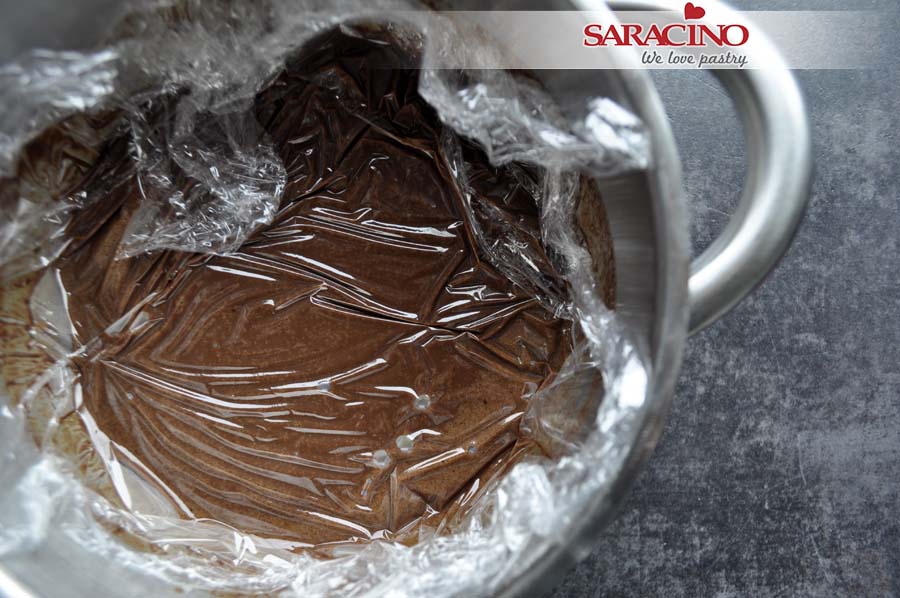
Step 29
Cover the surface of the mixture with cling film and let it cool down to room temperature until it reaches the consistency of a thick sauce – it must not start to set.
Step 30
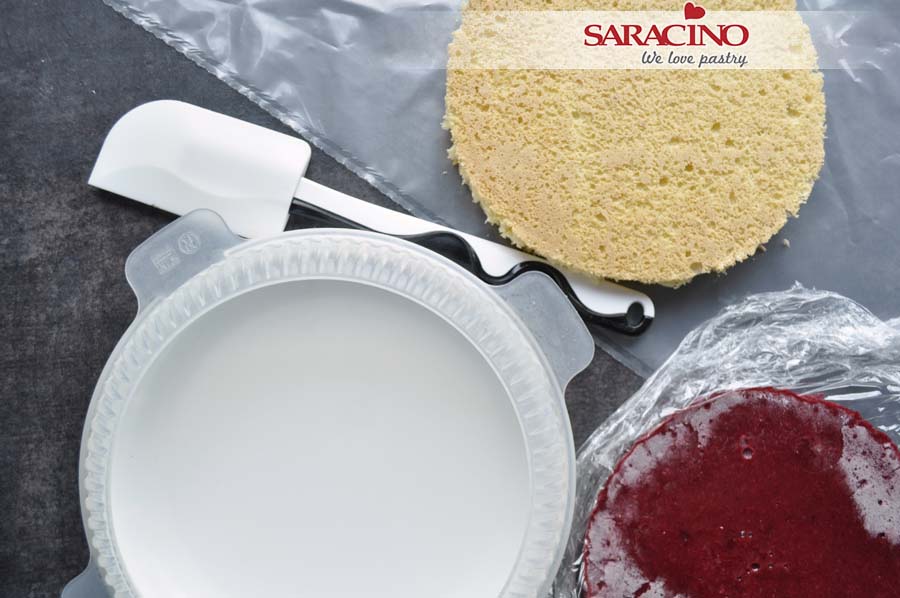
To assemble our final cake prepare a silicone mould, the jelly, sponge cake, silicone spatula and a piping bag.
Step 31
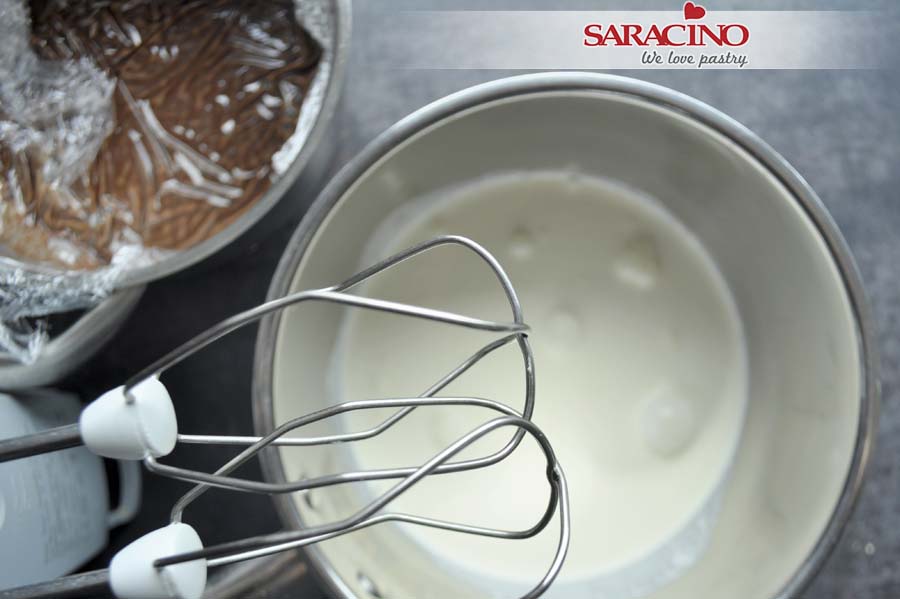
Add your cream to a bowl.
Step 32
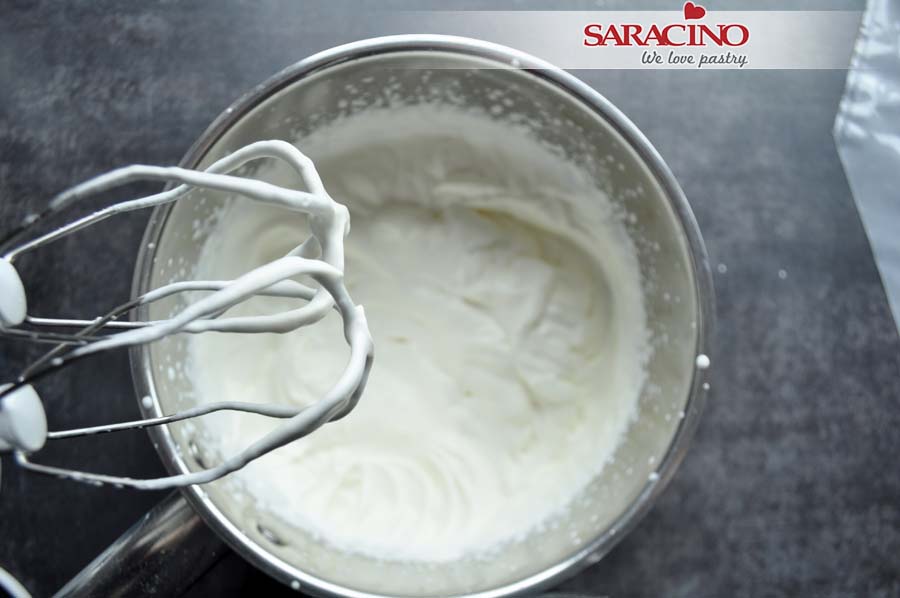
Beat the cream until stiff.
Step 33
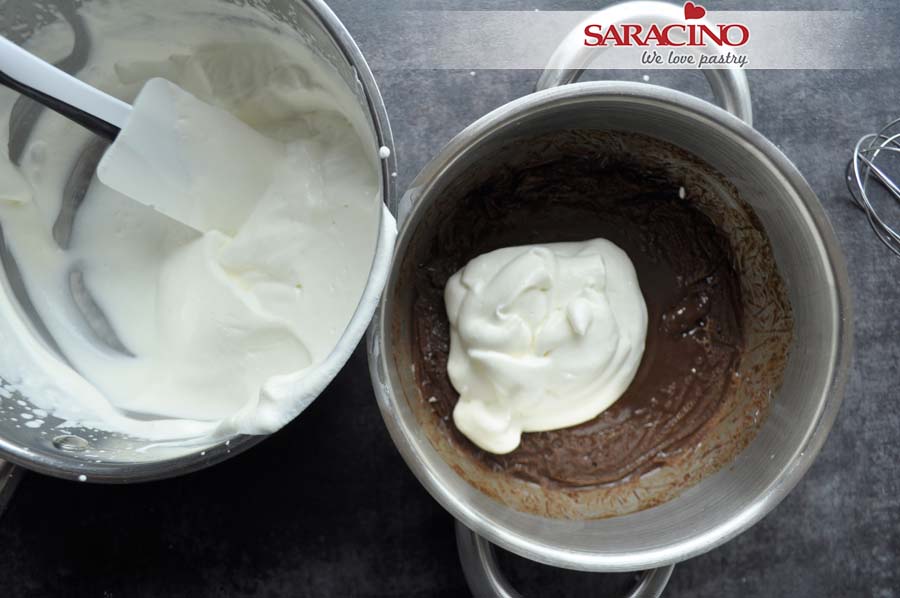
Add part of the whipped cream to the chocolate mixture and combine thoroughly.

Step 34
Add the remainding chocolate mixture into the cream and mix gently but thoroughly.
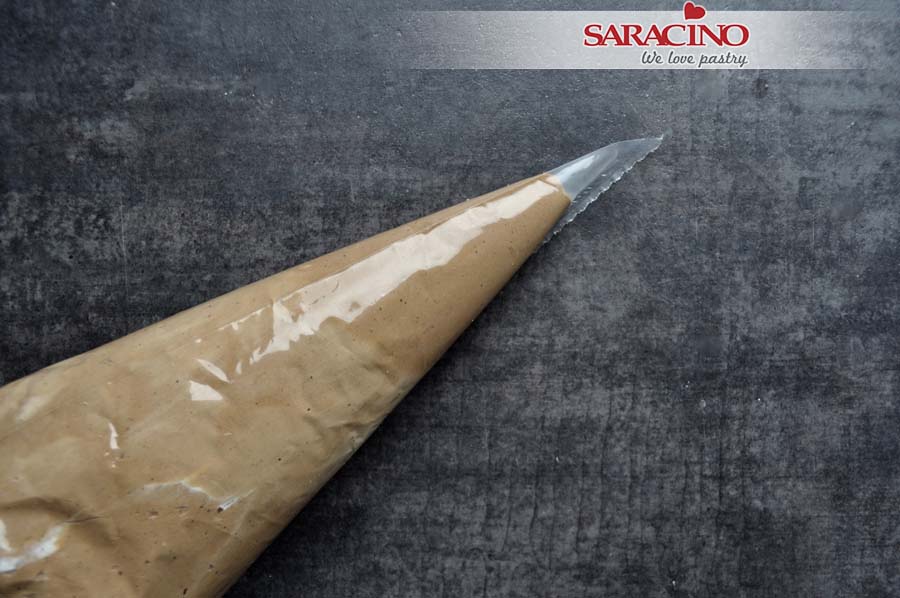
Step 35
Put the finished mousse into the piping bag.
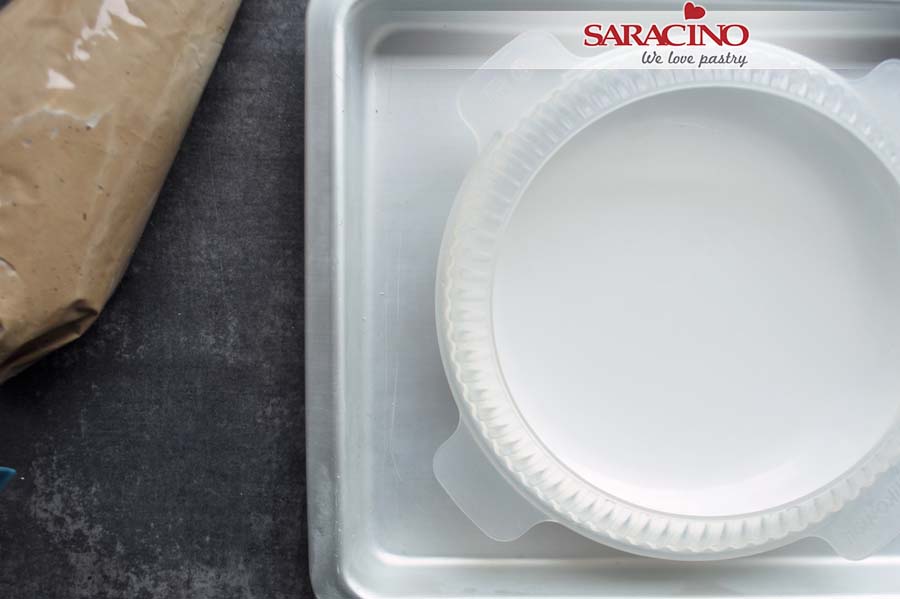
Step 36
Place the silicone mould on the baking tray.
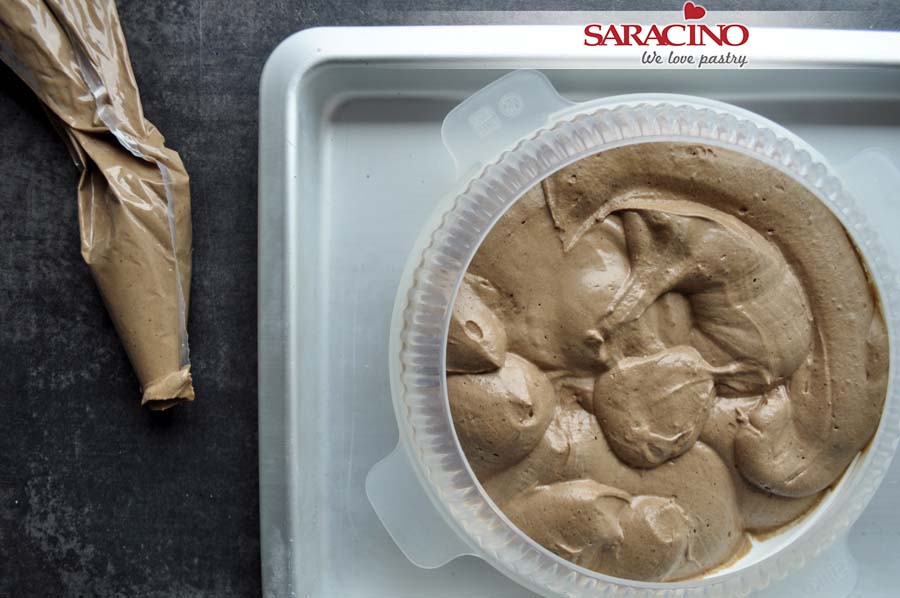
Step 37
Fill it with about 70% of the mousse.
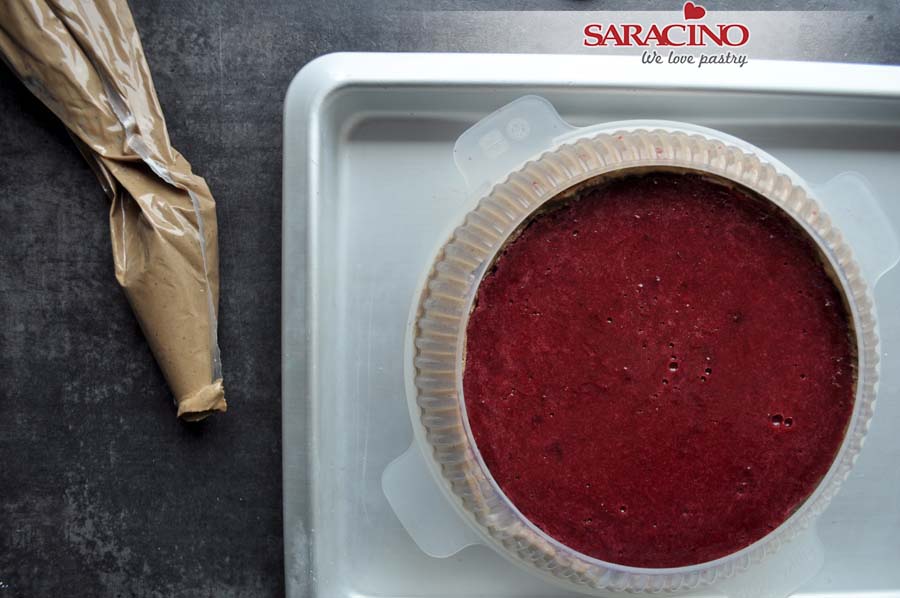
Step 38
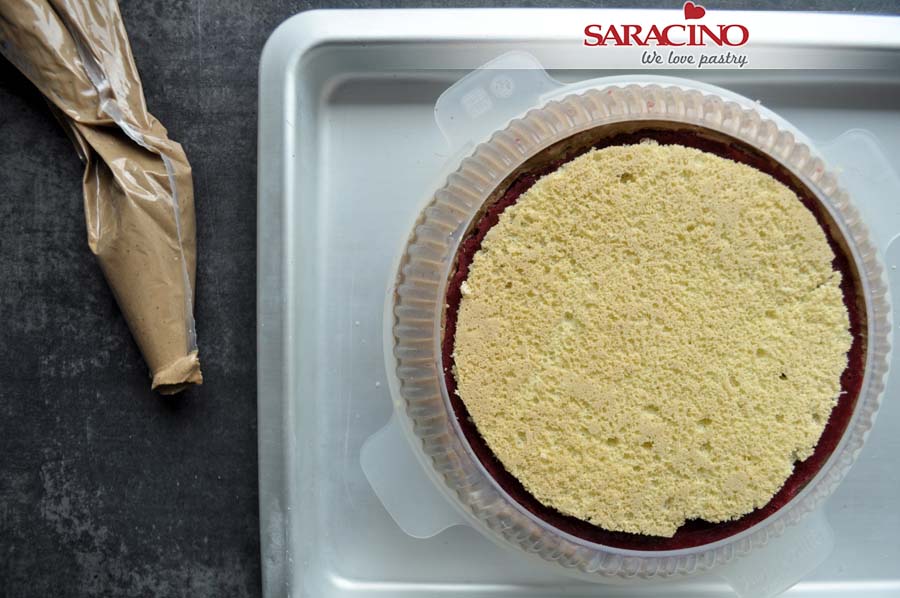
Prepare and add the jelly, press it down slightly pushing the mousse up around the edges.
Step 39
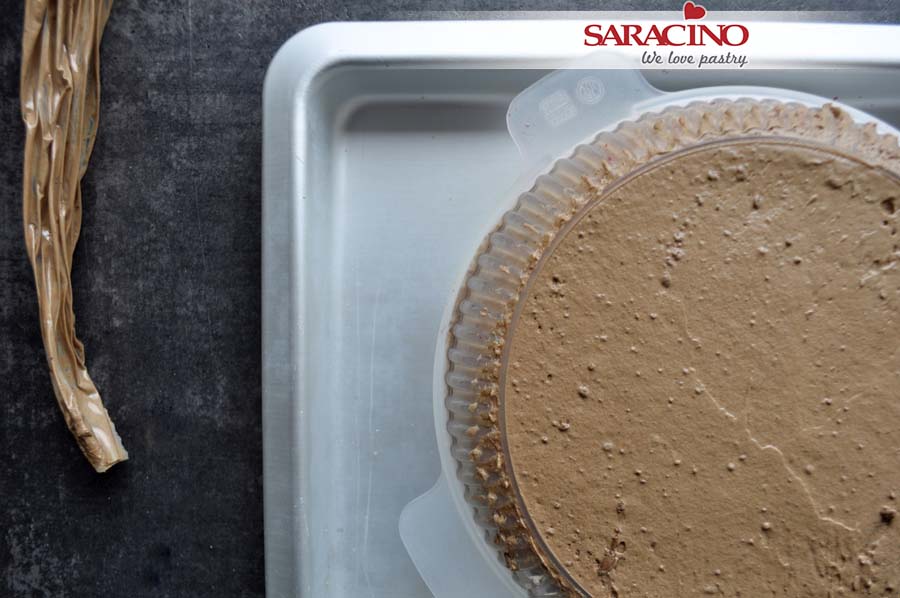
Cover with sponge, press lightly again.
Step 40
Fill the empty spaces around the edge with the mousse and cover the sponge with the rest. Place in the freezer for a few hours.

Step 41
Place the chocolate-nut-corn crisp onto the cake mat.
Step 42
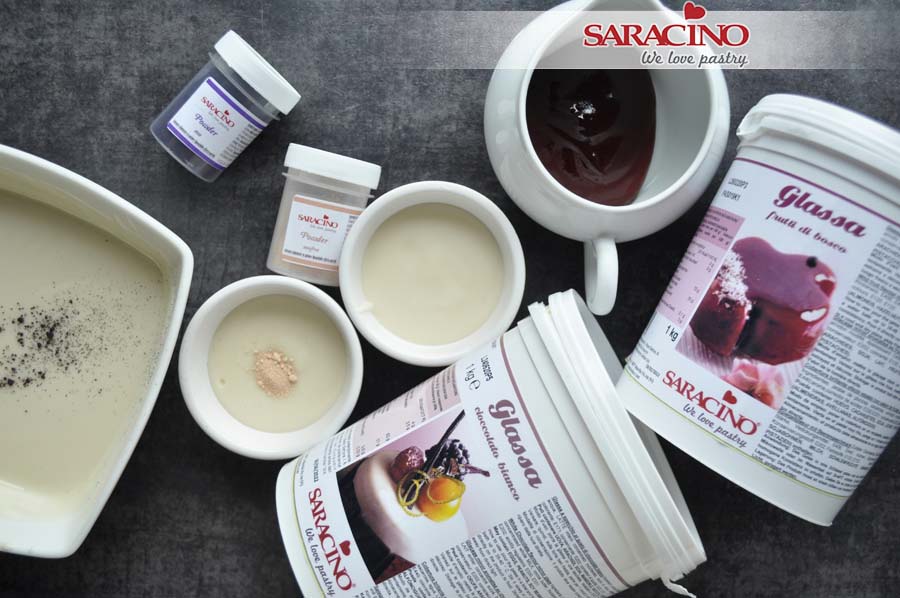
Prepare Mirror Glazes – heat them in a microwave oven to a temperature approximately 40 degrees Celsius. Place the red fruit glaze in a small cup, and pour the white chocolate glaze into three dishes – one larger and two smaller. Colour the mix in the larger bowl with the darker colour you are using (I used pink and purple powders). Add the lighter colour to the second dish with white chocolate and leave the third bowl un-coloured.
Step 43
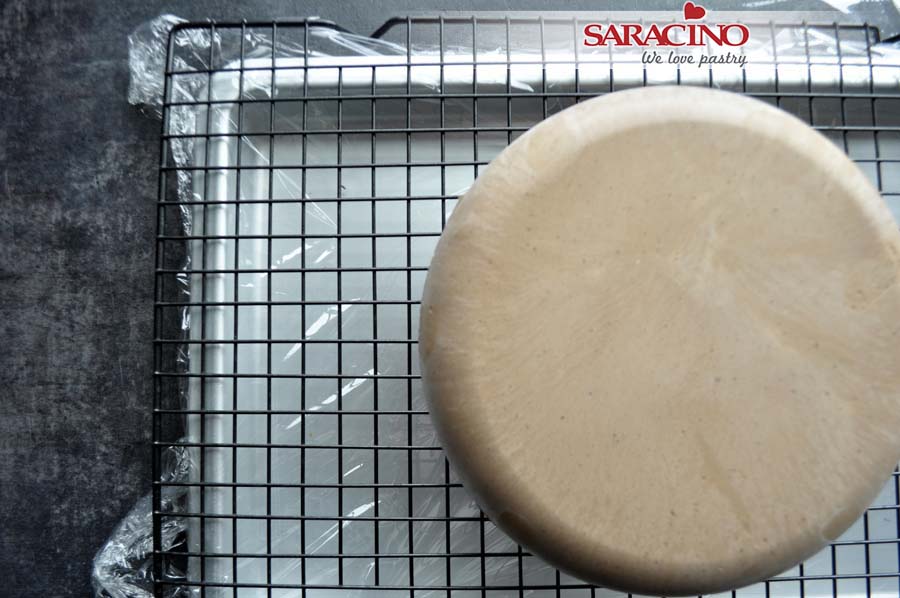
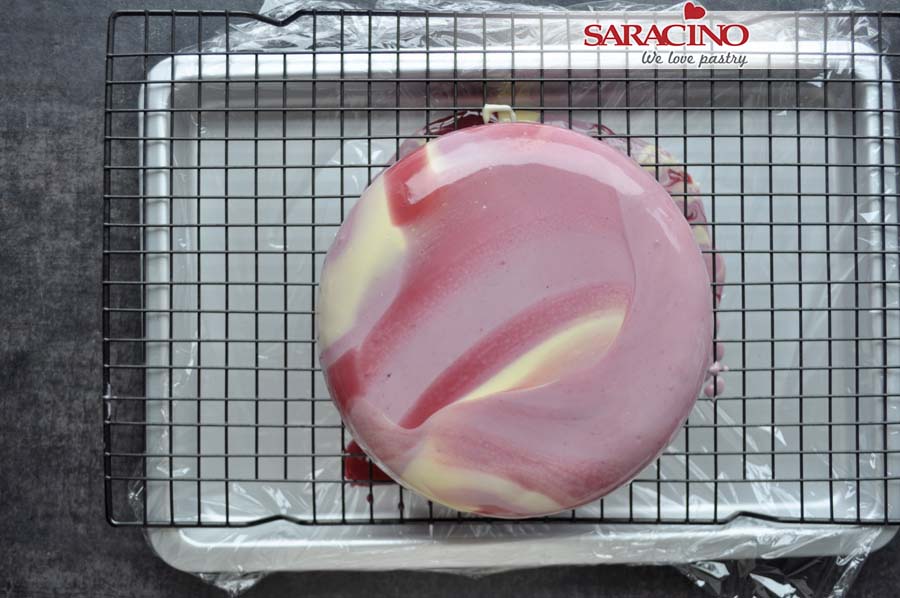
Roll cling film onto a baking tray, place a rack on it and put the frozen cake on the rack.
Step 44
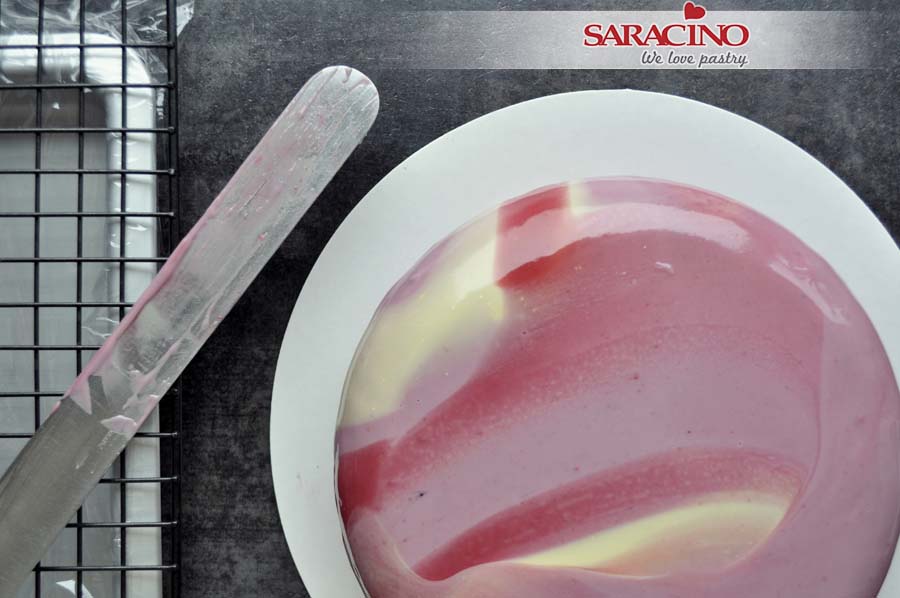
Pour the darkest glaze over the cake. Now quickly pour the other 3 colours onto it as random as you like. Quickly spread the top of the cake with a metal spatula to combine the glazes with each other. Take care not to over blend as we will lose definition.
Step 45
Carefully transfer the cake from the rack onto the chocolate crisp base.
Step 46
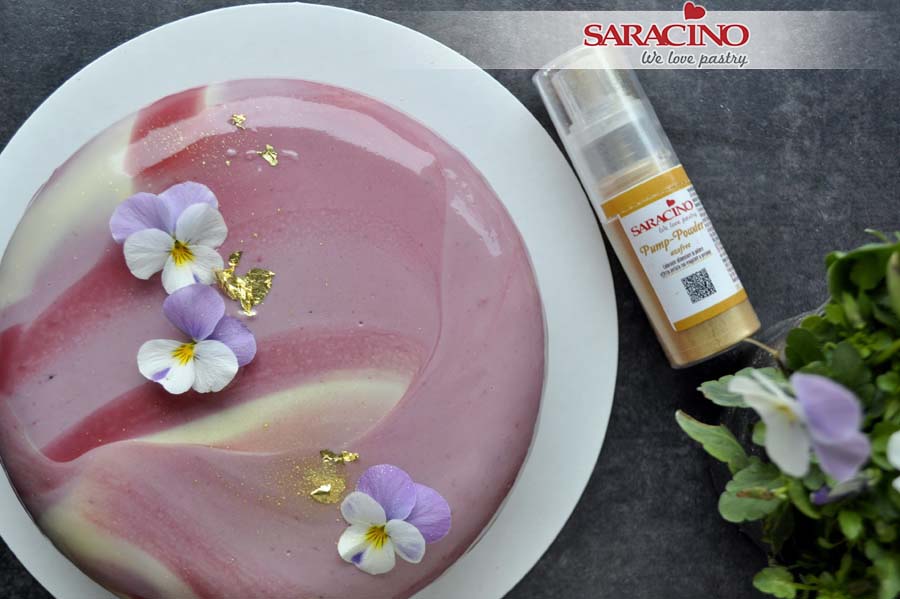
Decorate with edible flowers, edible gold and Saracino gold pump spray.
Et voila! Place for a few hours in the refrigerator and your dessert is ready to serve.


