You will need:
- Non stick board
- Small rolling pin
- #24 and #28 or 30# white wire
- Green florist tape 1/2 width
- Tweezers
- Set of moth orchid cutters medium by Cassie Brown
- Large tea rose veiner
- Flower paste Saracino WHITE
- Saracino Flower paste coloured green
- Cornflour to stop sticking
- Trex
- Orange airbrush colours
- Burgundy gel colour
- Fine brush
- Airbrush
- Sea holly cutter set
- Sea holly or leaf veiner
- Wire cutter
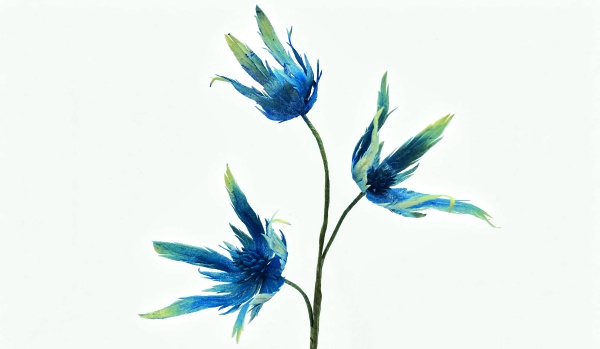
This is my favourite to make, known as a thistle its very popular with brides in their bouquets (something blue), there are over 250 species of thistle and they come in so many different shapes and sizes. It’s actually very easy to make once you get the hang of it. If you make just the centre of the sea holly but go larger on a 20# wire you have created a teasel. Have a go!
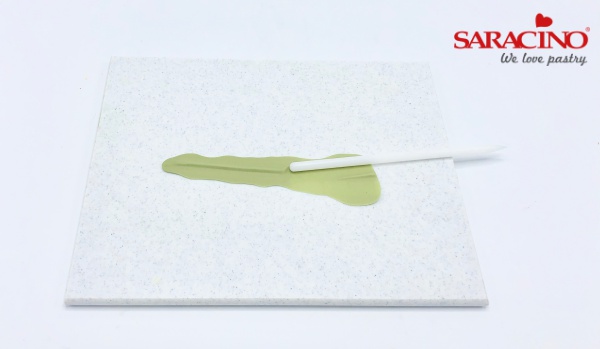
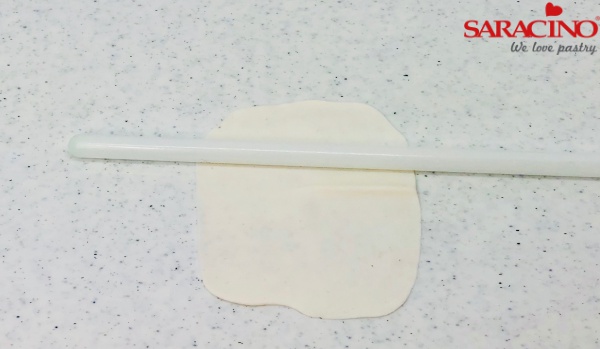
Step 1
To make the bracts, take a ball of green Saracino flowerpaste and roll into a sausage shape, using a thin rolling pin, roll a small ridge up the centre of the sausage.
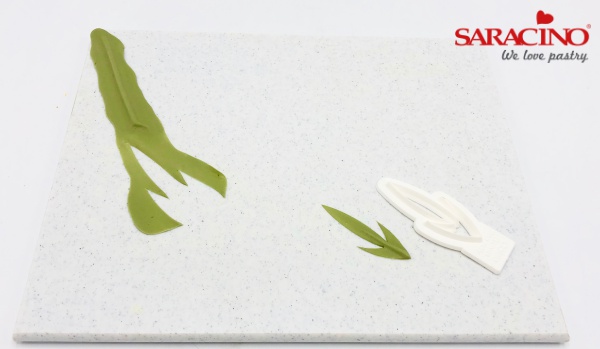
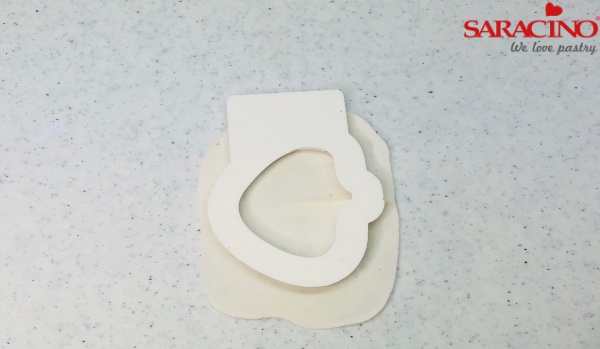
Step 2
Lift the paste off the board to make sure it is not sticking then using the medium sea holly cutter, place the cutter over the ridge and press down and gently move around the board to cut out the bract shape. Use cornflour if needed.
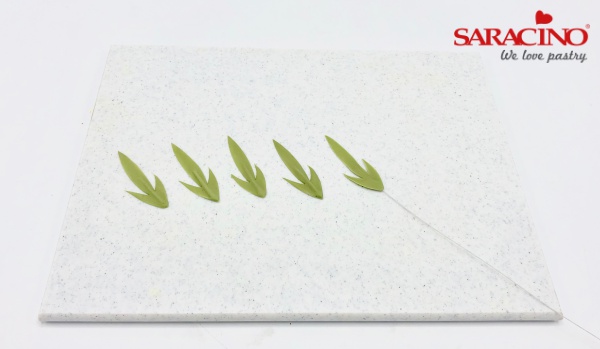
Step 3
You will need 5 bracts cut out at the same time (this will stop the bracts drying at different times). Push a 30# white wire up through the ridge to just over half way.
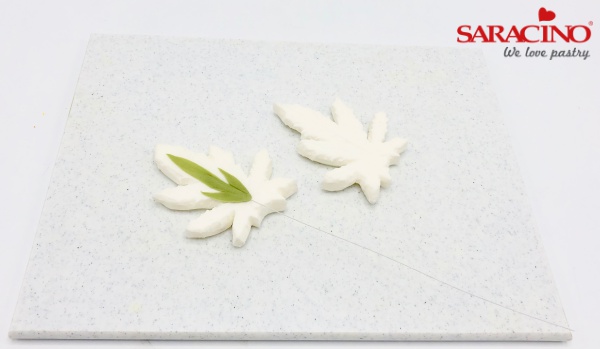
Step 4
Dust the veiner with a little cornflour. Place the bract on the bottom of the veiner then place the other veiner on top and press down firmly with your hand.
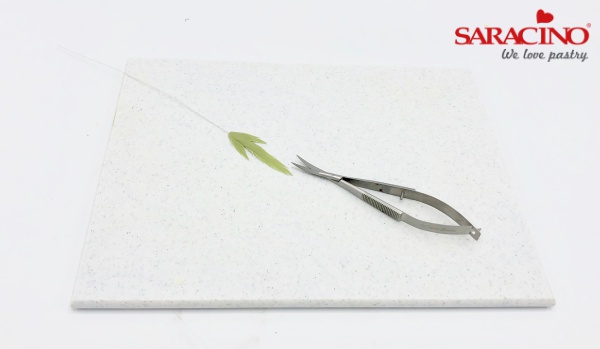
Step 5
Make little cuts around the bract with small scissors so it looks like a thistle or feather.
Step 6
Where the paste is over 1/2 way up the bract bend to a 90 degree angle and place on the side of a board or piece of foam (the bract should look like a little person with no head, dangling his feet into a swimming pool).
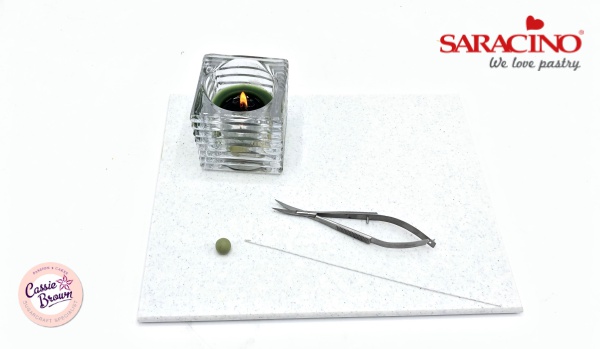
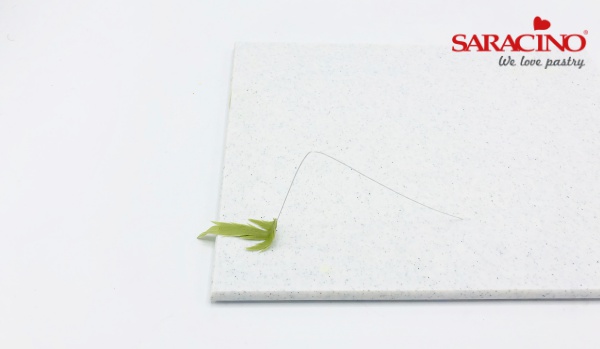
Step 7
To make the centre of the Sea Holly take a 1/2 length of 24# white wire and bend a small hook in one end, using a pea size amount of green flower paste, roll into a neat ball, heat the hook of the wire with a naked flame (I use a candle) as soon as the wire is hot then push straight into the ball of green paste.
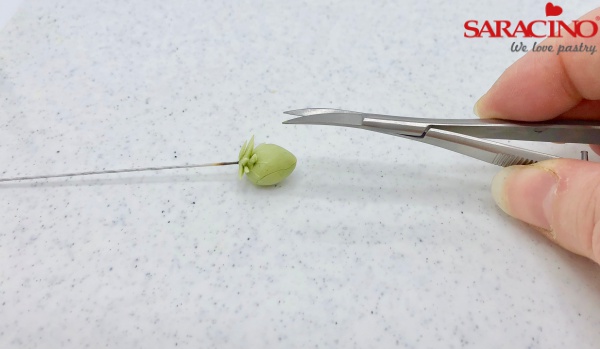
Step 8
Shape the ball into a slight rose cone shape. With a small pair of scissors start at the bottom of the cone making small cuts, work your way up and around the cone until you get to the top.
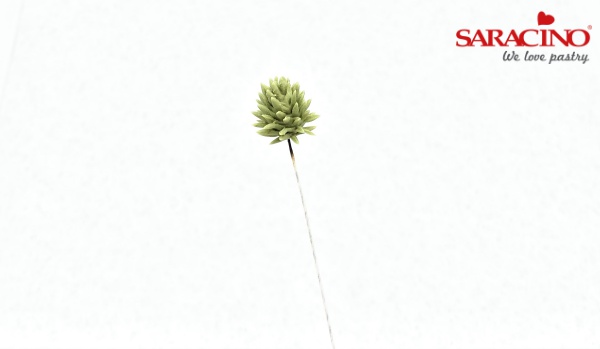
Step 9
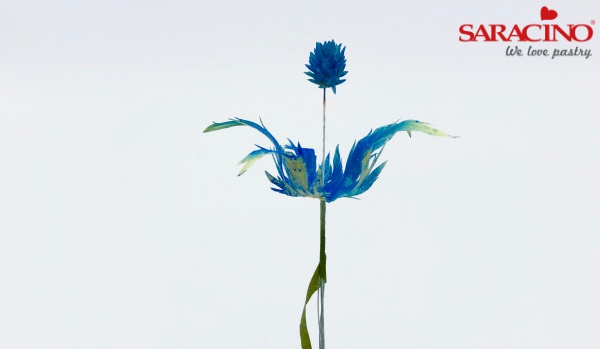
Finished sea holly centre

Step 10
Dust the Indigo blue from the base of the bract and fade before the colour gets to the end. Then dust all over with a little silver shimmer. Also dust the centre of the sea holly with the blue and silver.
Step 11
To wire, try to do this when the bracts are slightly damp. Take the five bracts and bend the wire as close as you can against the paste then place them around the the centre wire using ½ width green florist tape. Stretch the tape to release the glue and secure to the wires about ½ an inch under the bottom of the bracts, tape about one inch down the stem.
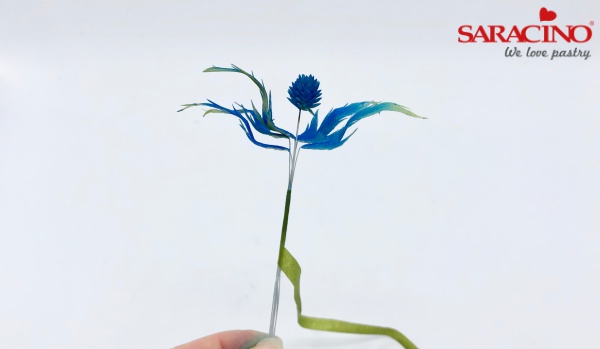
Step 12
Holding the taped wire, pull the wires one by one down through the tape so that you get a neat and tight finish to the back of the thistle, adjust the bracts if needed then pull the centre of the sea holly down. Finish taping down the wire.
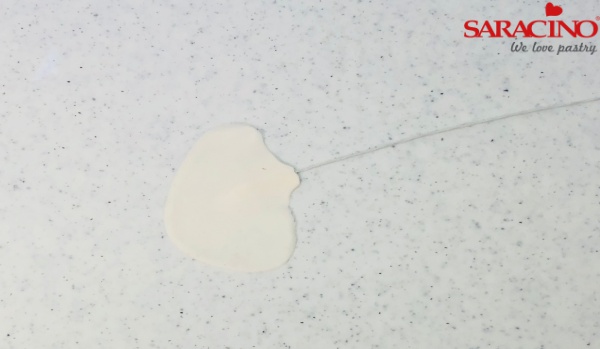
Step 1
Mix the flower paste with your fingers to soften then roll into a sausage, roll either side of the sausage to create a ridge in the paste for the wire, roll the top part of the ridge flat, for the top of the petal.
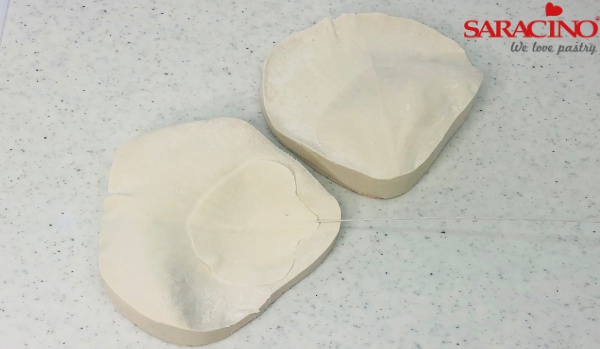
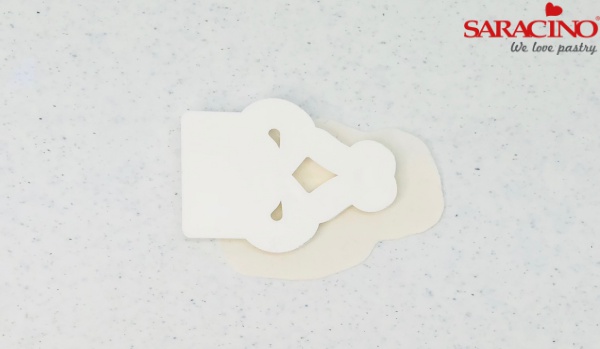
Step 2
Gently release the paste from the board then place the cutter over the top of the ridge, press down and move the cutter in circular movements to cut out, lift the paste and cutter, I like to roll my finger around the top of the cutter to make a neat finish.
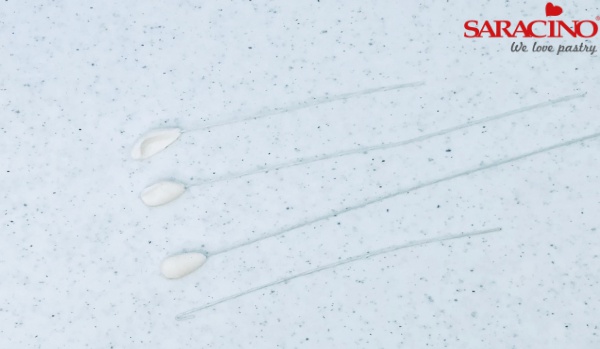
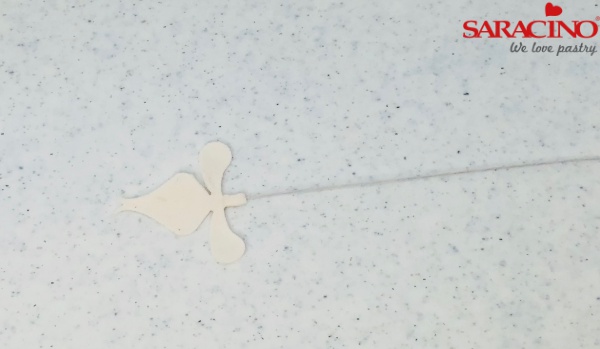
Step 3
Hold the ridge of the paste in-between your finger and thumb and gently push the wire into the ridge using your other hand.
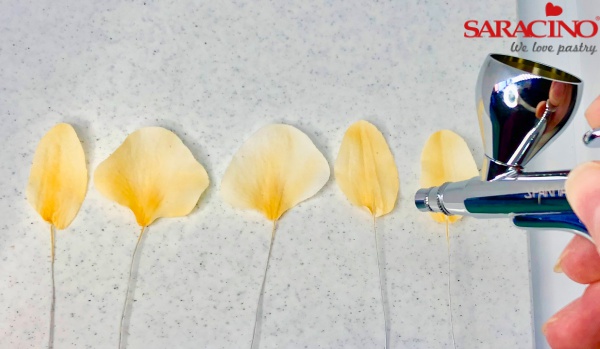
Step 4
Dust cornflour onto the rose petals veiner, place the petal on it and push the top veiner down to create the veins. Place onto a foam pad and gently soften the edges of the petals with a ball tool.
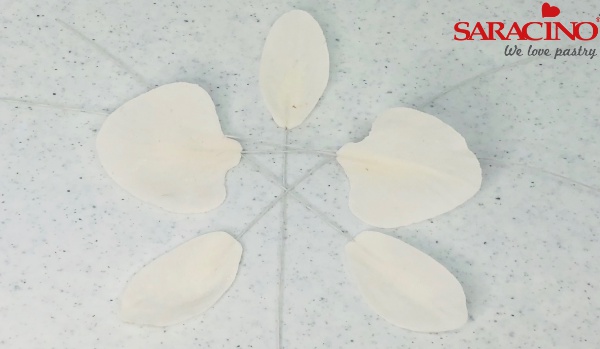
Step 5
You will need to repeat this process to make 1 head, 2 arms which are the large petals and 2 legs. You will need to turn the paste over to create a left and right for the arms and legs.
Step 6
Roll a small ball of paste about the size of 1/2 a pea, into a cone shape, pinch a small node of paste on the top side of the paste to create a nose like shape, then use the rounded end of the ball tool to soften the edges of the cone shape.
Step 7
Roll a ridge into the paste then release from the board (add a little Trex to the cutter to stop sticking) align the cutter so you can see the ridge through the cutter, then cut out the paste to create the throat shape.
Step 8
Cut a length of 30# wire into 3 pieces, gently push the wire into the ridge of the throat.
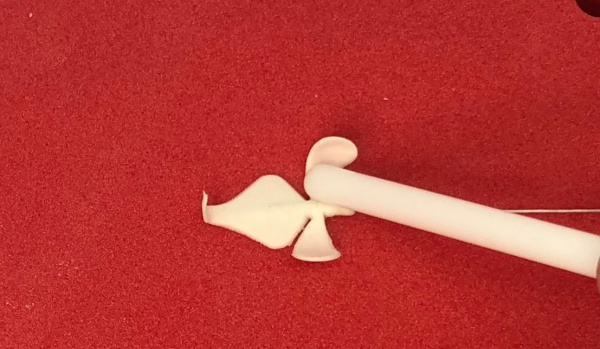
Step 9
Gently use the rounded end of the rolling pin and soften the inside of the ear like parts of the throat. This will make them curl up a little.
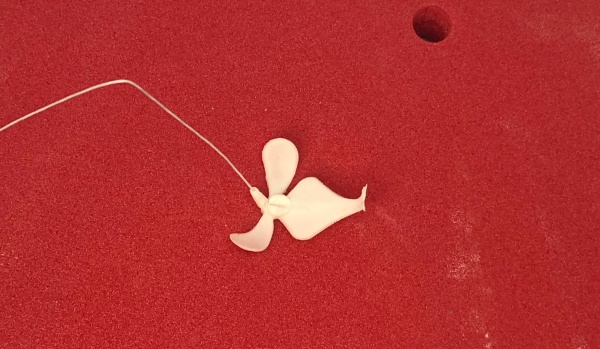
Step 10
Bend the paste and wire back on the orchid throat and leave to dry a little. Roll a very small piece of paste into a ball then place onto the throat of the orchid, using a little water to help it stick. Push the pointed end of the rolling pin through the middle of the ball to make an indent.
Step 11
Place 2 drops of orange airbrush colour into the colour well of the airbrush, practice creating a shade of colour by pulling back on the trigger about 1/3 of the way and being about 2 inches away from the paper. Gently shade over the petals, I like to make the petals a little darker in the centre of the flower.
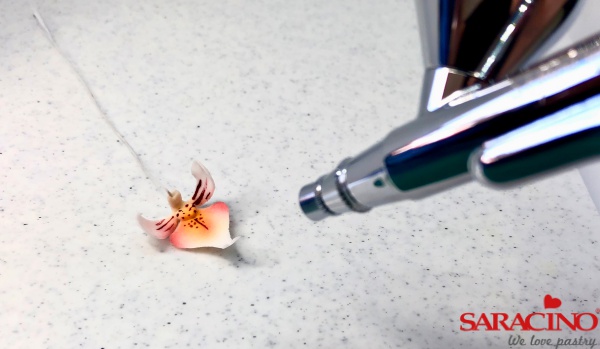
Step 12
Airbrush a fine mist of colour around the edge of the throat, then paint burgundy lines into the centre of the ear like parts of the throat. I then paint tiny dots onto the ball in the throat of the orchid.
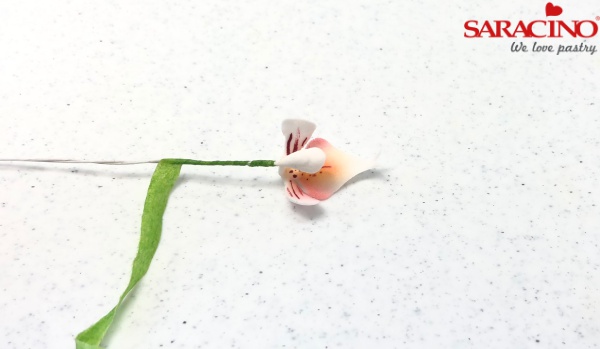
Step 13
Cut green florist tape in 1/2 lengths, then using one of the lengths of tape, stretch to release the glue then tape around the back of the 2 throats. And tape all the way down the wire.
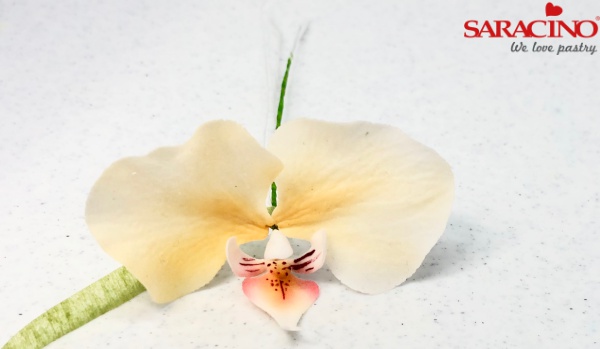
Step 14
Add the 2 large arms to the back of the throat and tape together. Then add the 1 head and 2 legs to the back of the flower and tape together.
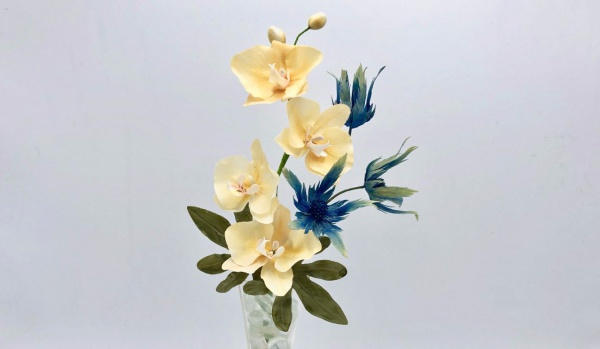
Step 15
I have wired the orchids onto a single stem with 2 small buds then added the stem of sea holly and 2 Japonica leaves. This would look stunning draping from the top of a cake but also in a vase next to a plain cake. Have fun creating.
